Summary
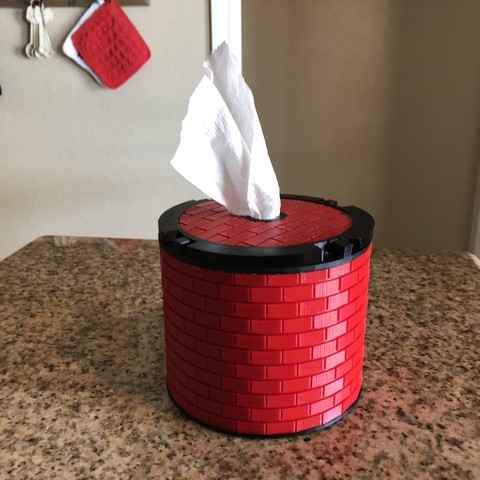
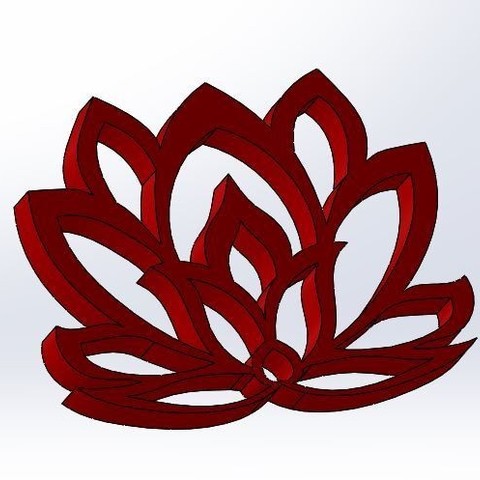
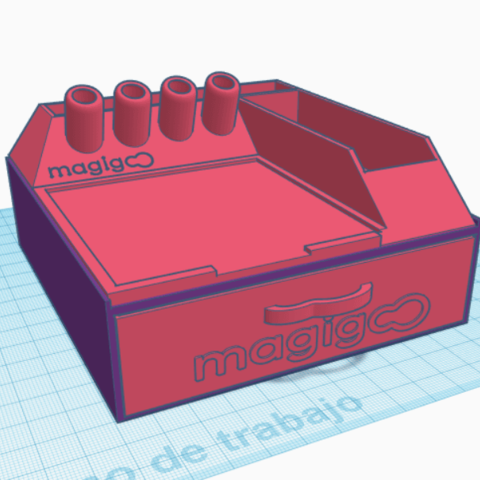
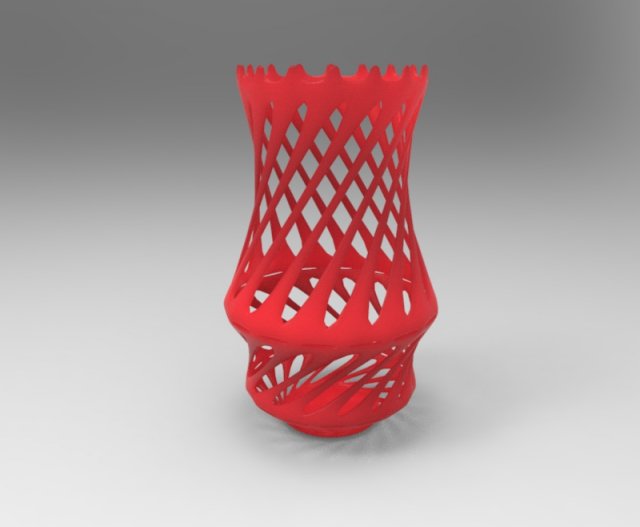
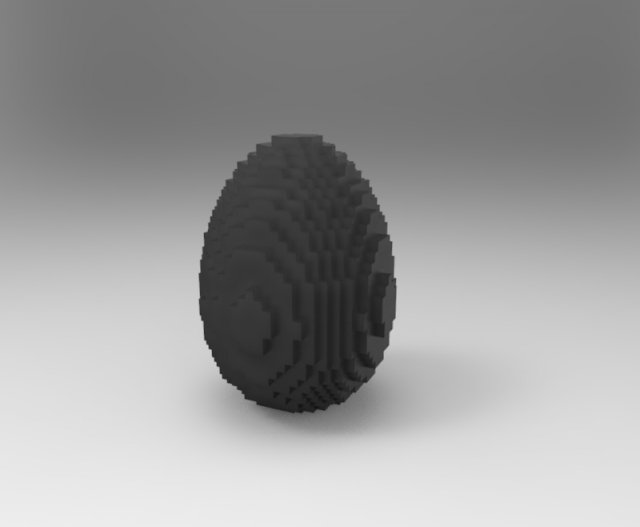
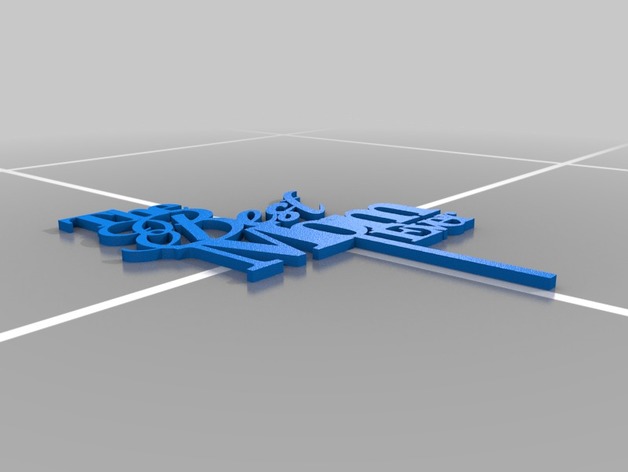
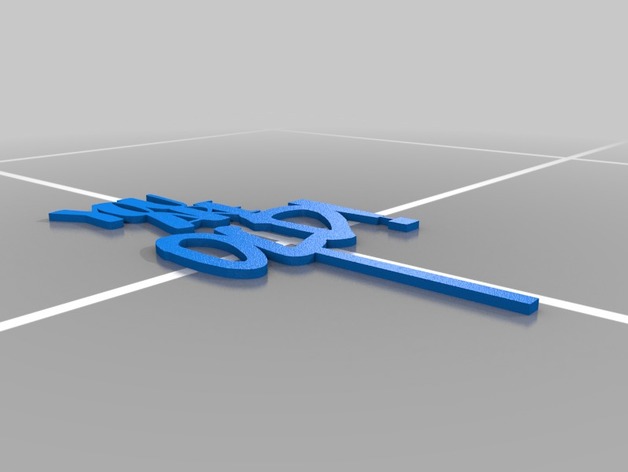
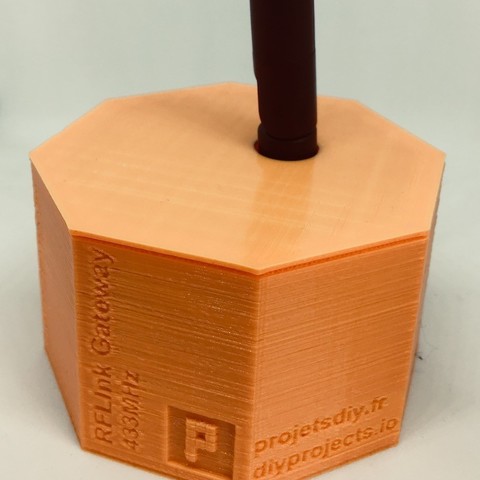
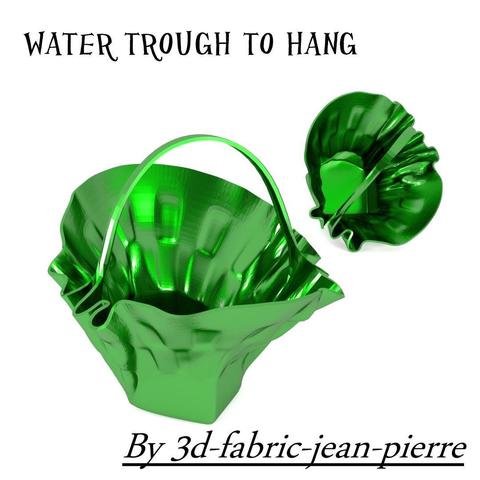
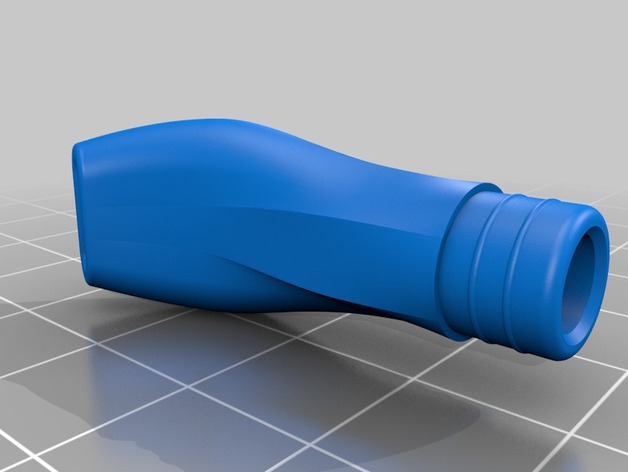
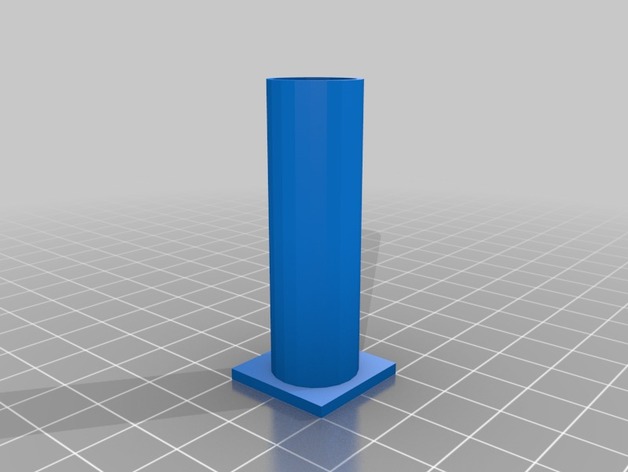
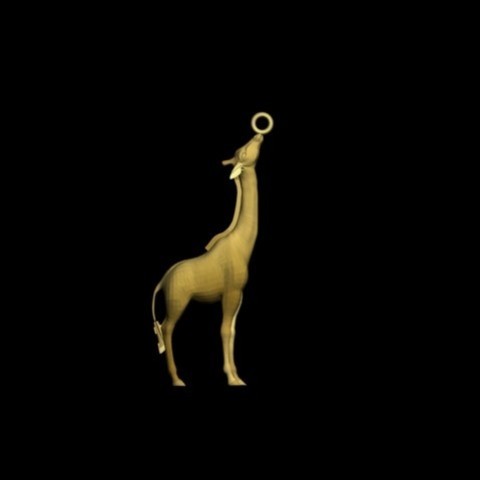
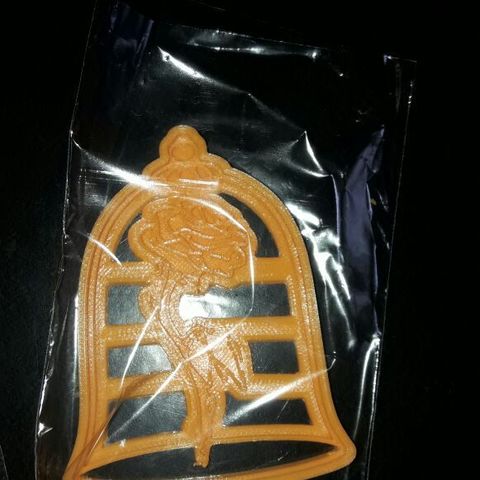
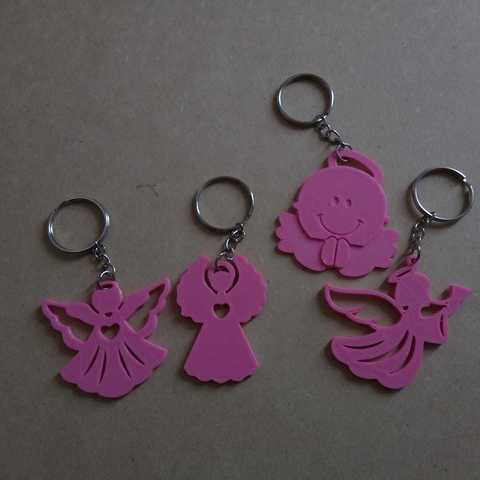
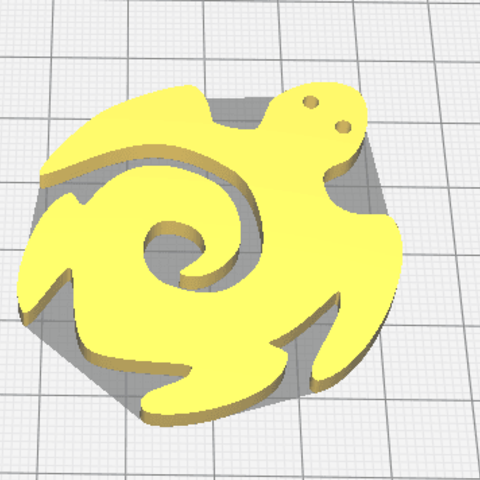
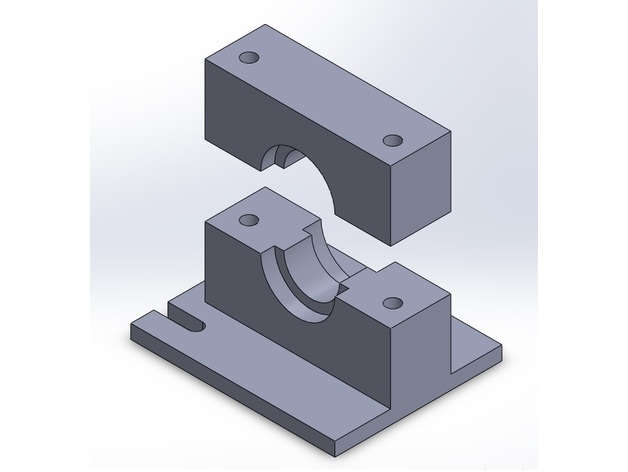
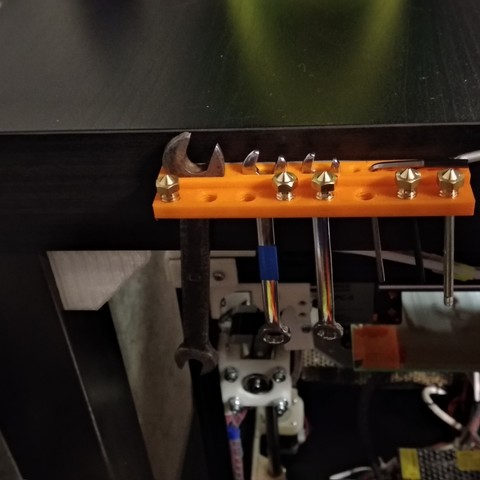
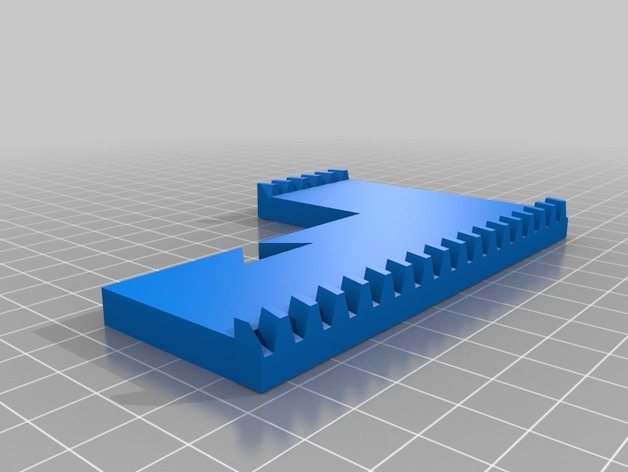
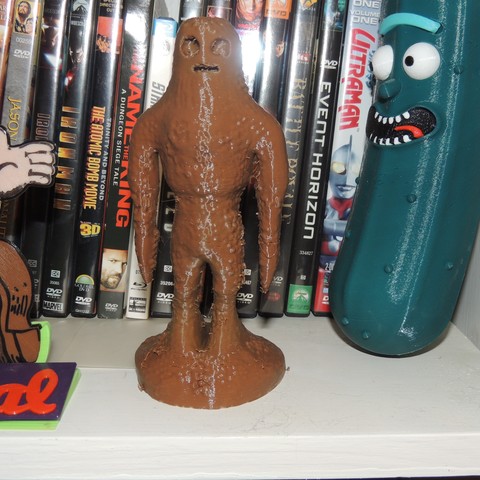
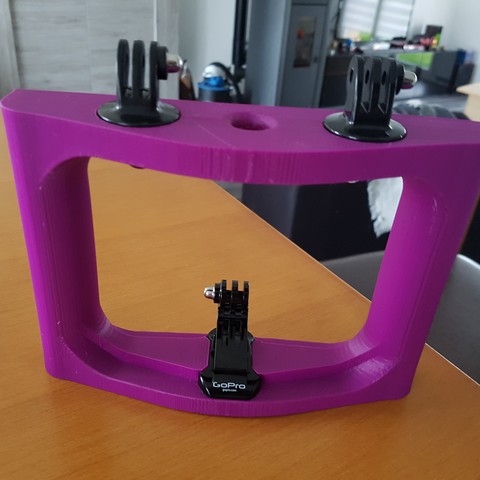
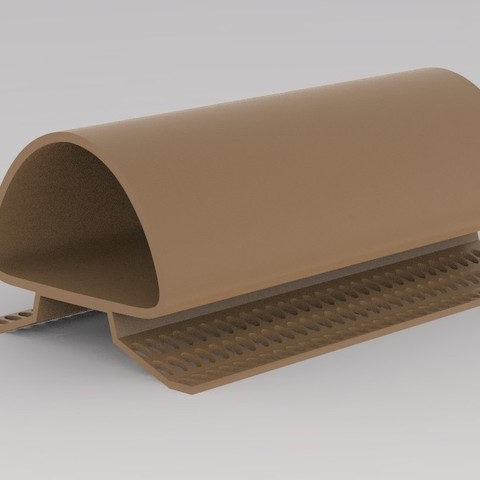
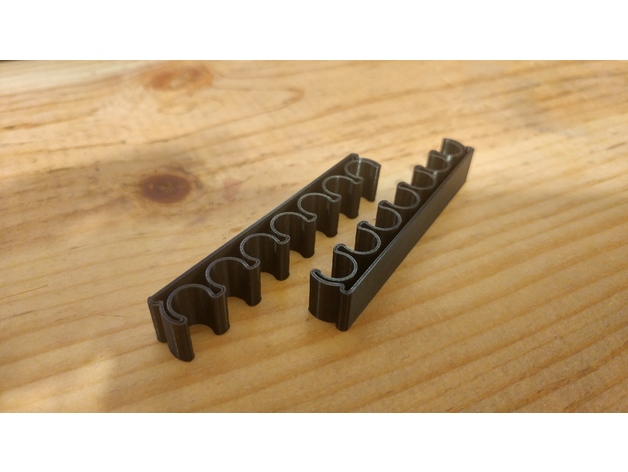
A cable holder. Scale to your needs.
Category: 3D Print Models
Premium & 3D Print models ready to be 3d printed. 3D Print Models and Free 3D Print Models are available for download in several formats including .STL, .3DM, .OBJ, .3DS, .DAE, .SKP, .BLEND, .DWG, .DXF, .STEP and much more. If you’re in search of high-quality 3D printed assets, we have a huge library of 3d print models for any of your needs. Also you can visit 3D Models and All 3D Models category.
-
40mm-fan-adapter-v2 3D Print Model
Summary
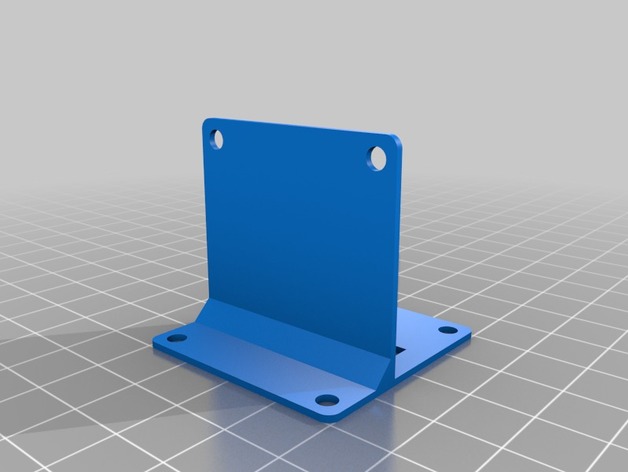
It was bothering me that the blower just sat on the adapter plate so I added a vertical support to screw the blower into.
This is a modification of natester’s https://www.thingiverse.com/thing:2765424 -
Field Stone Wall Tiles with Openlock 3D Print Model
Summary
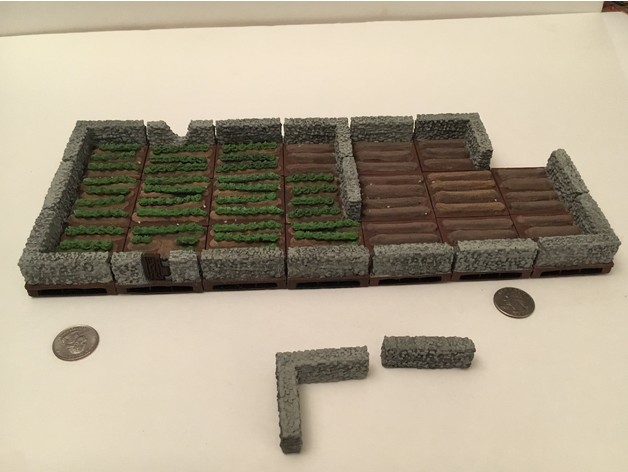
Many miniature 2×2 inch stone walls surrounding lettuce and unplanted field. Different corners and side stone walls to handle whatever orientation is wanted for the fields. Includes a corner and straight stone wall that can just be placed on existing tiles as well with no bases. Has one tile with a wooden gate and another that has fallen creating an opening.
There are two sets of tiles for every design. One design is compatible with the openlock system and the clips can be found for free. The second set is also 2×2 inches in size with 3mm bases and can be placed on bases with similar dimensions. I call these top caps.
Free clips are in the link provided below.https://www.thingiverse.com/thing:2343306
The original fields with no walls can be found here and matches perfectly the walled field tiles provided.https://www.thingiverse.com/thing:2846214
Print Settings
Printer Brand:
PowerSpec
Printer:
PowerSpec 3D Pro
Rafts:
No
Supports:
No
Resolution:
0.2
Infill:
15% -
Filthy Threaded Holo Projector 3D Print Model
Summary
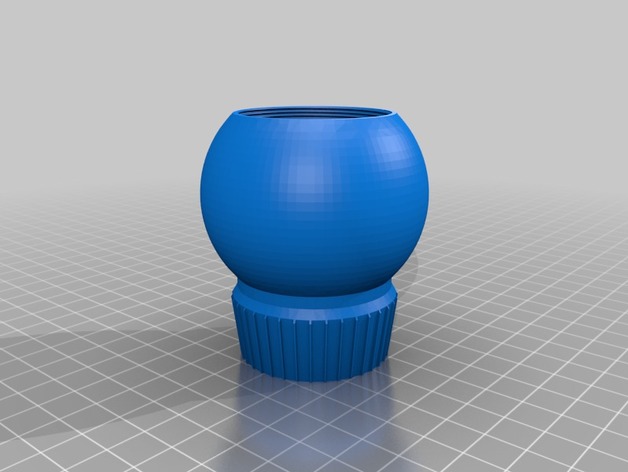
Added threads to Michaels Holo’s so they will accept Filthy’s Holo Lights.
http://astromech.net/forums/showthread.php?33317-Flthy-s-Holoprojector-LED-Servo-System-Regulator-BC-Approved-100-(9-17)-Open&p=453237#post453237
How I Designed This
Used TInkercad and model of Filthy’s threaded plug to create threads in Michaels Holo model. -
Acetone Vape Tray 3D Print Model
Summary
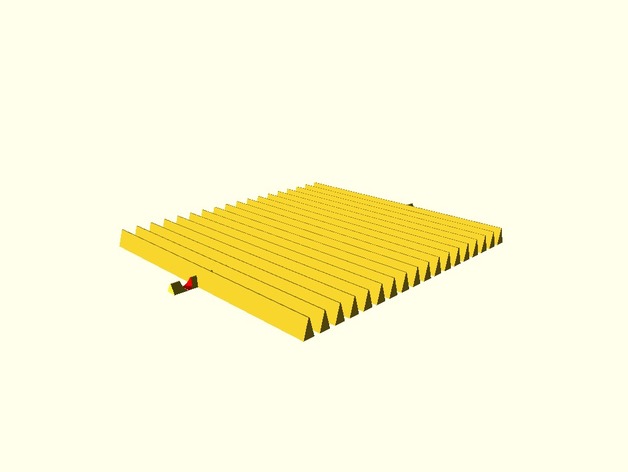
A new design for an Acetone Vape Tray that is 200mm (~8″) x 160mm (~6″) inspired by chinman’s design.
The holes are meant to accept 1/4″ threaded rod with a nut below and above (to lock).
More pics, videos and versions coming soon. -
Muflon ram sculpture for decor 3D Model
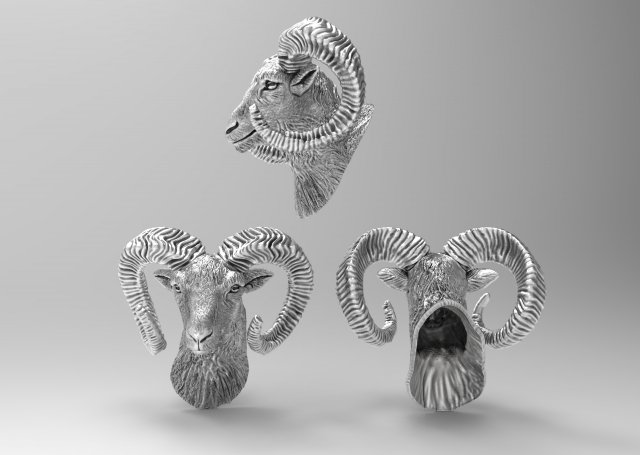
Sculpture of muflon for deco and other realization of your ideas
-
Eagle ring pack 3D Model
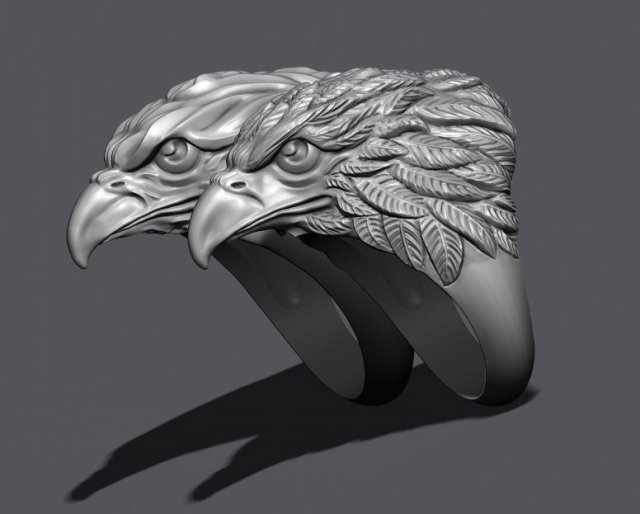
Eagle ring 3D print model packEagle ring 3d model packthis model created in Zbrush and have polygonal geometry
-
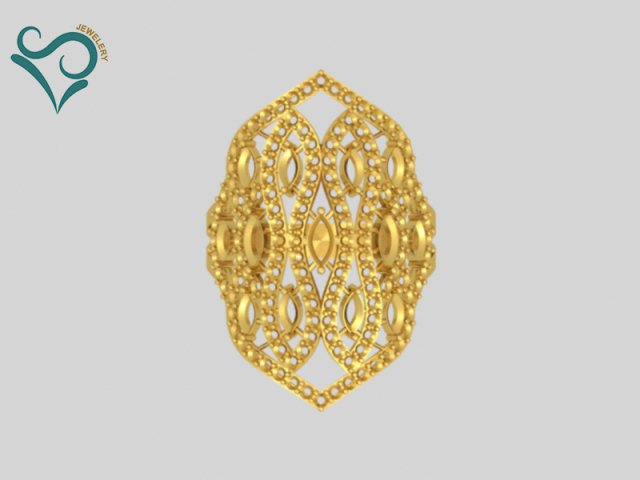
Golden ring 3D print model 3D Model
Description:golden ring with stone 3D print model women ring 3D print modelgolden ring 3D print model3D Jewelry RingI am the designer also a modeler, I would like to share how to use the 3d Printer to print the design and which way to casting it well.Ring 3D print model.Ring Size: 20 mm (adjustable).With stoneformat : STL, OBJ, 3DS, ….
-
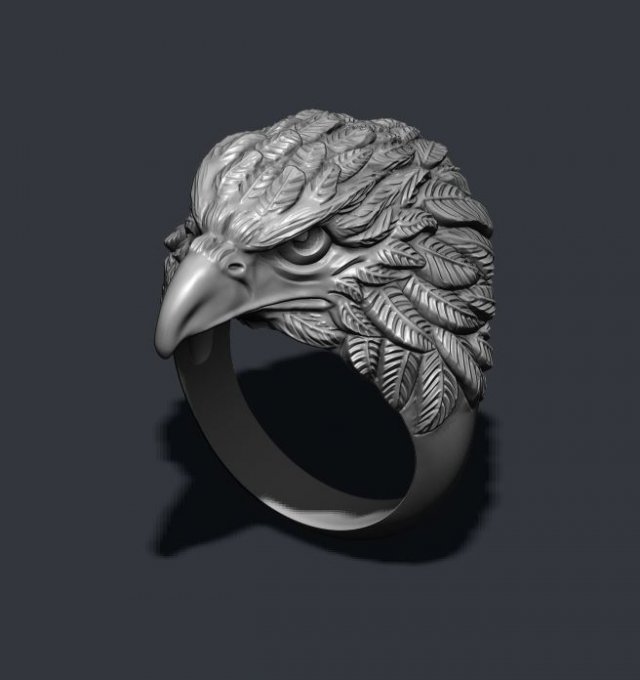
Eagle ring 3D Model
Eagle ring 3D print modelEagle ring 3d modelthis model created in Zbrush and have polygonal geometry
-
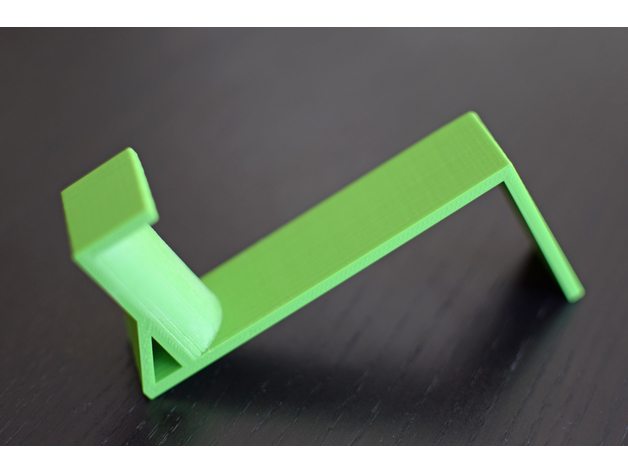
Monitor headphone hook Remix 3D Print Model
Summary
I had to make the hook a little bit wider to fit my headphones, so I remade the model following the original one with this little alteration; I also added an extra part at the bottom, a kind of rib to make everything stronger. I used PLA, printed with small supports for the rounded part.
It actually works and is greatly useful. Thanks for sharing!
This is a remix, here you find the original thing: Monitor headphone hook
Print Settings
Printer Brand:
Wanhao
Printer:
Wanhao Duplicator i3 V1
Rafts:
No
Supports:
Yes
Resolution:
0.2 mm
Infill:
20%
Notes:
Printing time: about 1 hour and 40 minutes -
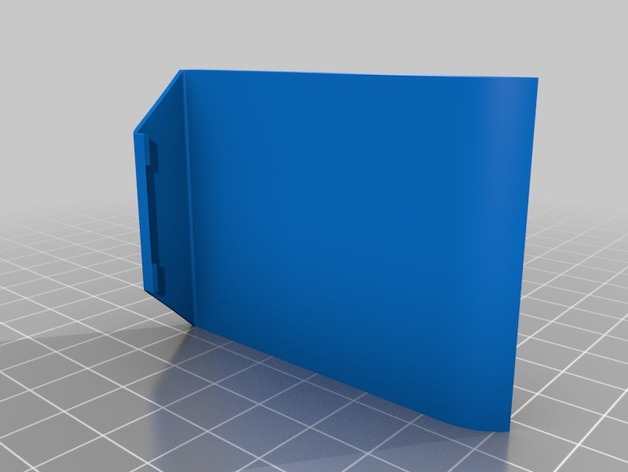
Anti-Jamming-Rattling-Plate for Djin from KS 3D Print Model
Summary
Hi there!
I have enjoyed Djin wallet without this plate.
However, as other people said, I also had a little on my mind about coin-jamming and rattling.
So I desinged this plate.
Please note that I strongly recommend to print this with soft material like rubber not ABS or PLA.
If you choose such hard material, you need to apply soft cloth or sometning with both-side-tape to absorb rattling sound.
Hope this will make your experience greater.
Regards, -
Kindle Fire HD 10 Wall Mount 3D Print Model
Summary
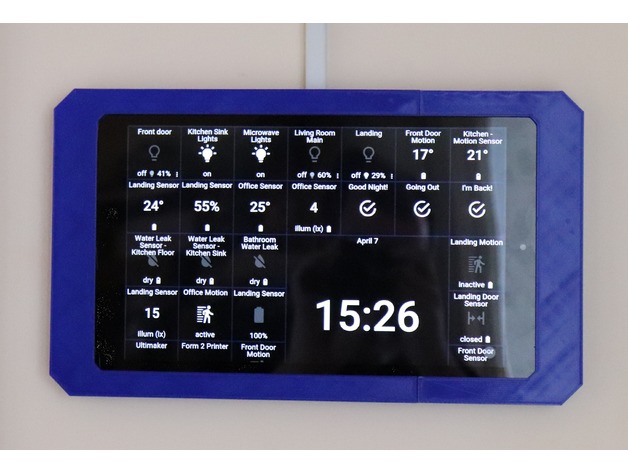
Wall mount for the Kindle Fire HD 10. Ideal for you ActionTiles fans!
Three versions are available. 45° corners, square corners and round corners. 45° is my favourite. Round corners will not print well vertically.
Prints in two sections, a left and a right to allow the Kindle Fire to slide in and be bolted together, it then hangs on screws in the wall. 5mm back thickness helps get a regular USB power cable to the Kindle, either from a wall outlet behind or from trunking from above or below.
Top and bottom “cutouts” are provided if you wish to use mini-trunking to bring the USB power cable to the Kindle Fire. Otherwise these can be left in place (If you prefer a cleaner cutout for trunking modify includeTrunkingCutout in the OpenScad file).
Print vertically (see screen shots). You can print horizontally but it adds a lot of supports and is prone to warping. The one in the photos was printed horizontally (to test the supports) so it’s possible, but you can see it warped slightly – even on BuildTak! 🙁
Depending on your printer it might be a tight fit. Adjust fireWidth, fireHeight, fireThickness in the OpenSCAD file if you need to open it out a bit more – Print the right hand section first to test the fit – it’s quicker.
If your printer doesn’t go as high as 200mm then adjust slicePoint in the file to reduce , but it has to be more than 50% of the model to allow for the two halves to be screwed together.
The two half’s are joined with M3 countersunk machine screws (12mm+). These thread into the plastic so don’t over tighten. The rear wall mounts also help keep the frame together.
Select your USB cable carefully. Use a right angle Micro B connector. If it’s too tight increase the size of the frame (boxWidth) or find a slightly smaller one. The round right angle ones work well, some right angle ones are a little too big. See photos for how to feed the cable when putting the two halves together.
Latest version will be on GitHub: https://github.com/BookSwapSteve/3DPrintableThings/tree/master/KindleFireMounts/Fire%20HD%2010
Print Settings
Printer Brand:
Ultimaker
Printer:
Ultimaker 2 Extended
Rafts:
No
Supports:
Yes
Resolution:
0.2
Infill:
5%
Notes:
Print vertically.
Unless you’re printing the round corner version, then horizontally will be better.
Increase infil if you wish. I get a pattern on the face with the infil so more might be better.
Use supports, you can get away with not when printing vertical but the wall mounting holes will be messy. I set my supports to 85% overhang angle, this avoids infil in the holes for joining the two sections -
bcn low whistle 3D Print Model
Summary
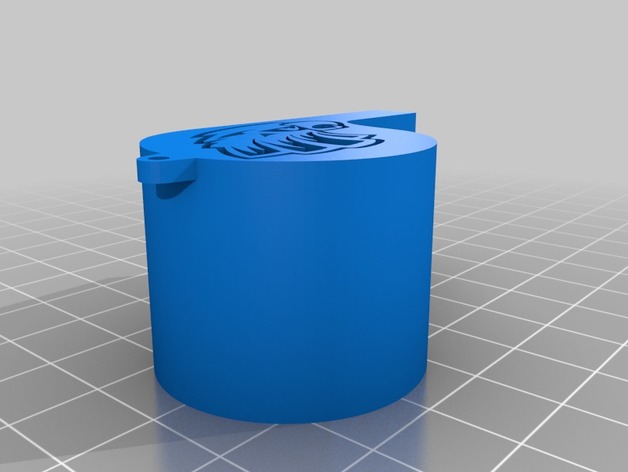
an extremely simple whistle with the bcn eagle logo on it
Print Settings
Printer Brand:
Prusa
Printer:
i3 MK2S
Rafts:
No
Supports:
No
Resolution:
<0.1
Infill:
10%
Notes:
for best results insure bed level and z offset are optimal to prevent elephants for from skewing the logo
Post-Printing
make sure the keychain loop is facing down on the printed -
Anet A8 Universal Spool Roller 3D Print Model
Summary
I was a bit annoyed at how wobbly the original spool holder of the anet a8 was. i had a few 608 bearings around and decided to put them to use.
you will need 4 608 bearings and print the model twice.
This is a modification to the original holder.
Print Settings
Printer:
Anet A8
Rafts:
No
Supports:
No
Resolution:
0.2
Infill:
40% for extra strength -
CARVED CABRIOLE Furniture LEG set – 001 3D Model
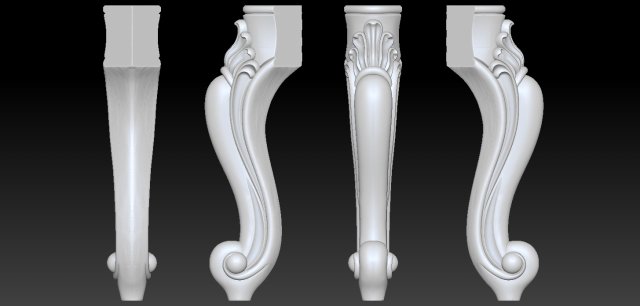
These ornament legs are modeled in Zbrush. Can be used for interior,exterior,furniture and also CNC machines (OBJ, ZTL, STL format included)Polygons and Vertices are noticed in the information section.If needed,Turbosmooth or Meshsmooth can be used for more quality.You can detach every element of this Ornament and use in your projects.All models are modeled.Please rate and review our model.Hope you like it.
-
Muflon sculpture for decor 3D Model
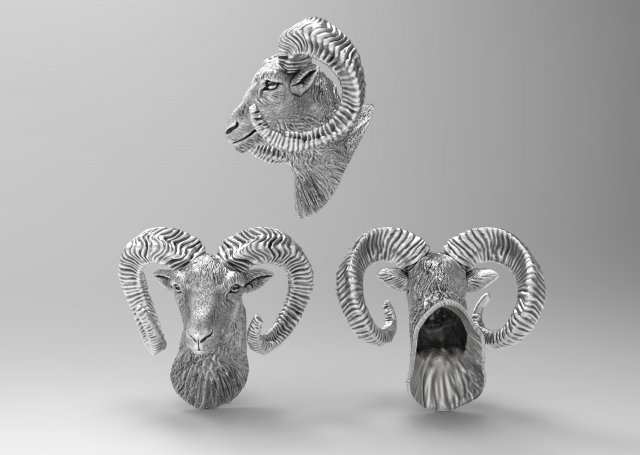
Sculpture of muflon for deco and other realization of your ideas
-
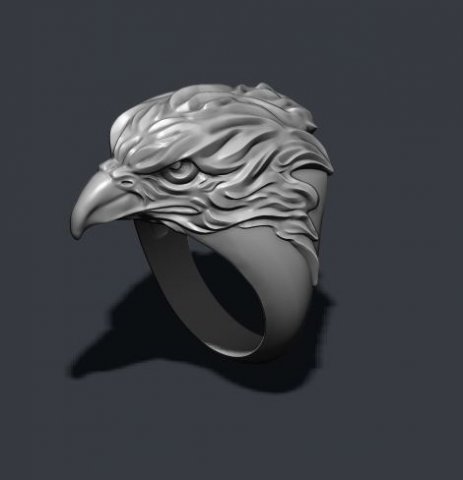
Eagle ring 3D Model
Eagle ring 3D print modelEagle ring 3d modelthis model created in Zbrush and have polygonal geometry
-
Knuckle Dusters 3D Print Model
Summary
I am not responsible for the anything you do with these.
Happy printing
-Scott -
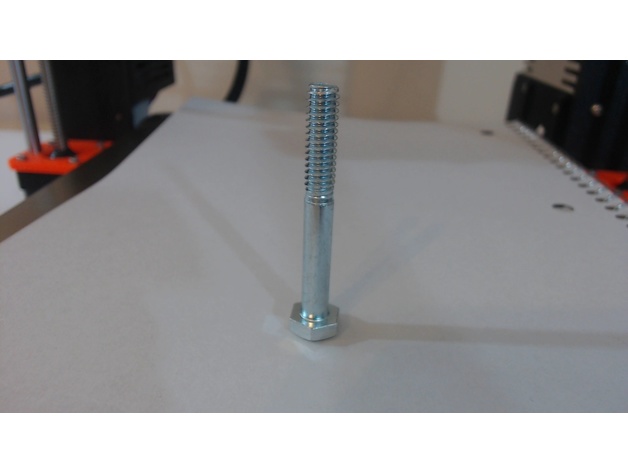
1/4-20, 2 inch bolt embedded knob 3D Print Model
Summary
Inspired by Stratasys and 3DP’s inserted bolts, I wanted to test it on my Original Prusa I3 MK3.
Making video: https://youtu.be/dqmZ2ZhSr4E
No support is needed. -
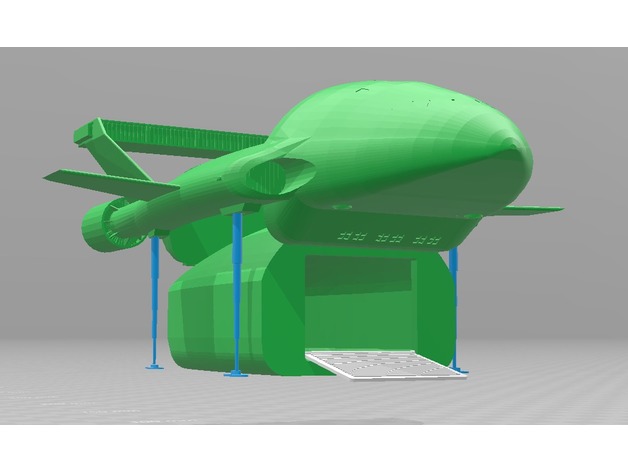
Thunderbird 2 and Pod 3D Print Model
Summary
This model is an updated version of my TB2 Pod (https://www.thingiverse.com/thing:1395981). This new version, however, does not use components from the (wonderful!) Thunderbird 2 model by Len Hickman; instead, it is a remix of my latest improvements to the one-piece model by Tobz. I split the model up for easier printing.
Note: the legs shown in the screenshots are not included in this “work-in-progress” release. These may be included in a future release.
Should print without support or raft. -
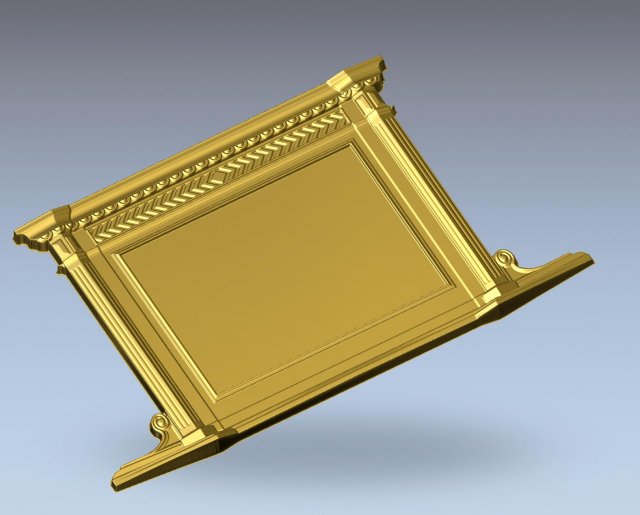
Scoreboard 3D Model
3D Model – ScoreboardThe model is ready for CNC machining and 3D printing.Available formats on request: .c4d, .obj, .fbx, .ma / .mb, .lwo / .lws, .3ds, .3dm, .dxf / .dwg, .stl.Download the 3D model of the scoreboard stl, obj, by VitAnGen
-
Delta 2060 Frame 3D Print Model
Summary
Delta 2060 Frame -
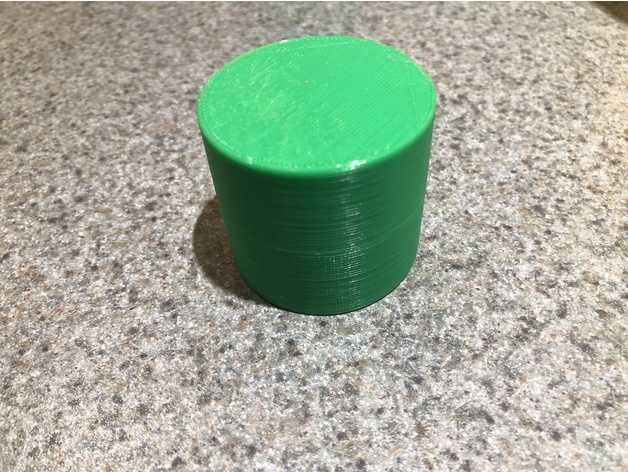
round lip groove box 3D Print Model
Summary
A round box to experiment with lip groove fasteners.
Print Settings
Printer:
MP Select Mini v2
Rafts:
Yes
Supports:
No
Resolution:
0.0875
Infill:
20% -
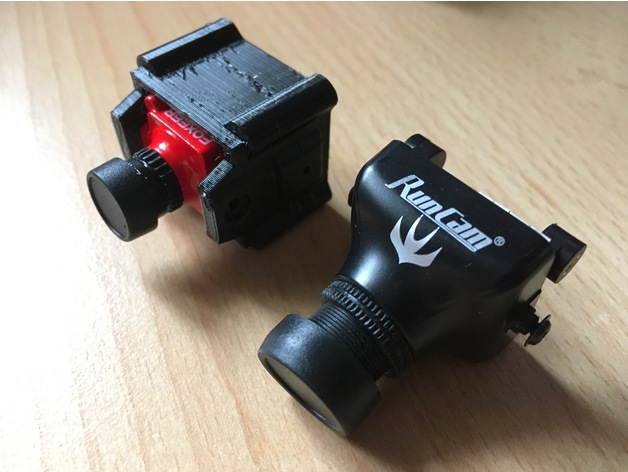
Micro FPV Camera to HS1177 Size Adapter 3D Print Model
Summary
This is a simple adapter to allow me to fit Micro cameras into models designed for ‘full size’ HS1177 style cameras. I’m sharing this in case others find it useful!
It should make the lens of the Micro Camera present at the front of the model roughly where the camera of a full sized FPV camera would be. There are holes to secure the Micro camera into the housing and two more that replicate the ‘standard’ mounting holes on a full sized camera.
Hope it’s useful to someone! 😀
Print Settings
Printer:
Turnigy Fabrikator II Mini
Rafts:
No
Supports:
No
Resolution:
0.2mm
Infill:
30-50%
Notes:
Flip it 180 degrees for an easy print… -
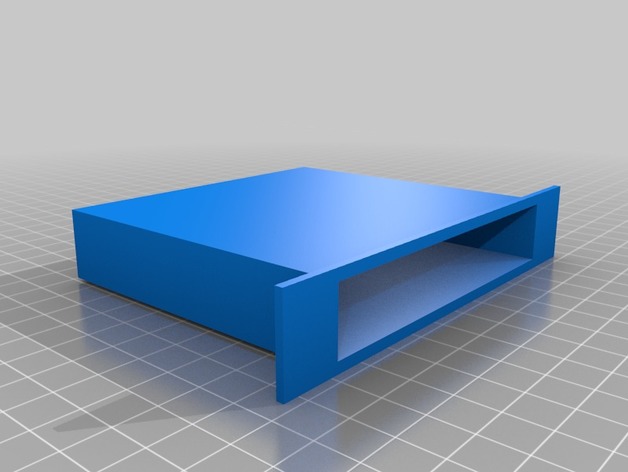
80 Series Land Cruiser dashboard pocket 3D Print Model
Summary
A replacement pocket for above the stereo. It’s flatter and deeper than the factory pocket, and has a cutout in the rear through which a cable can be fed -
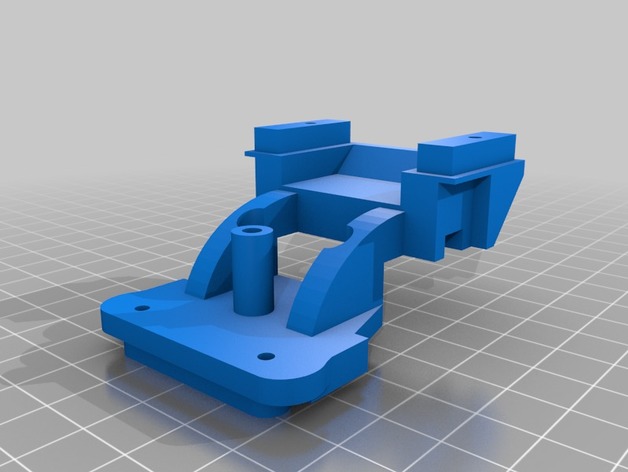
Tamiya Rising Fighter Upper Body / Spoiler Mount (Part D3) 3D Print Model
Summary
So my son’s Tamiya Rising Fighter lost out in a bike vs. r/c car collision and cracked the part where the upper body and spoiler mount to the chassis (part D3). Tried to get a replacement but was not available anywhere (Tamiya or online) except in the UK. So I did my best to design a replacement in Tinkercad.
Not sure if this is a common part to break no the car as this was kind of a strange accident but thought I would post in case someone else is in a similar situation.
Print Settings
Rafts:
Doesn’t Matter
Supports:
Yes
Resolution:
0.2
Infill:
100%
Notes:
I used ABS since I had some. I think PLA would work too but might not be as durable especially as you take the body off which screws into the piece. Best bet would probably be nylon but I didn’t have any so ABS it is.
Supports are needed given the shape. I use a brim when printing with ABS as I seem to get less issues with warping. Also, glue stick works really nice with ABS and allows for the part to be removed fairly easily.
I you want a really professional print you could order this through Shapeways which could be printed in nylon. -
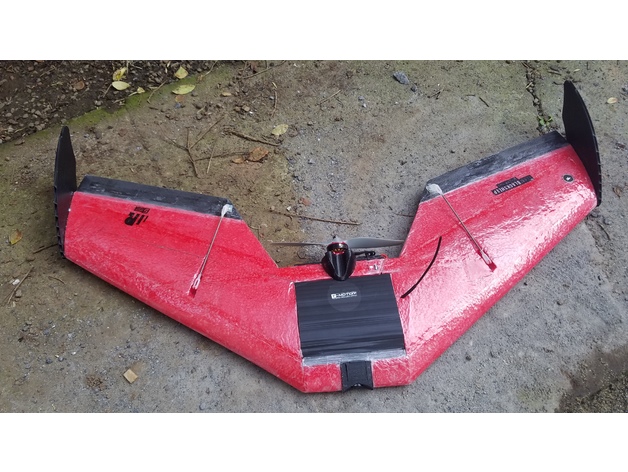
Defiant28 16×16 motor mount 3D Print Model
Summary
Simple mount to attach a brushless motor with a 16×16 bolt pattern to the defiant28. -
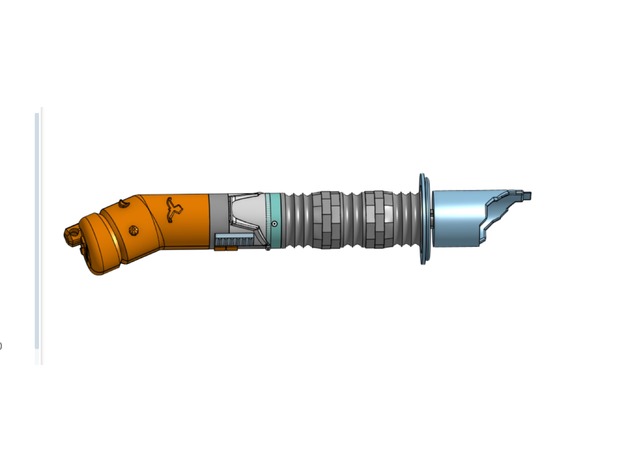
sabre inspired lightsaber 3D Print Model
Summary
decided to design and print my own lightsaber. have fun!
Print Settings
Printer:
Folger Tech Rabbit
Rafts:
No
Supports:
No
Resolution:
0.4mm
Infill:
10%Post-Printing
sand, fill gaps with woodfiller, prime and paint. connect pieces with dowel and epoxy
How I Designed This
Onshape CAD in parts -
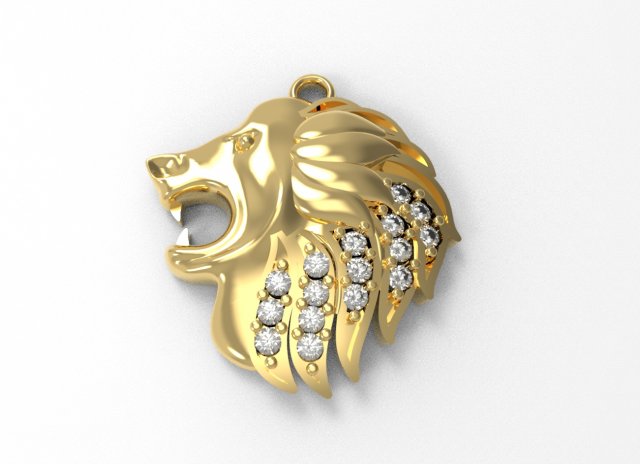
Lion Diamond Pendant 3D Model
Lion pendant for boys and girls.STL high resolution file provide with HD rendering images
-
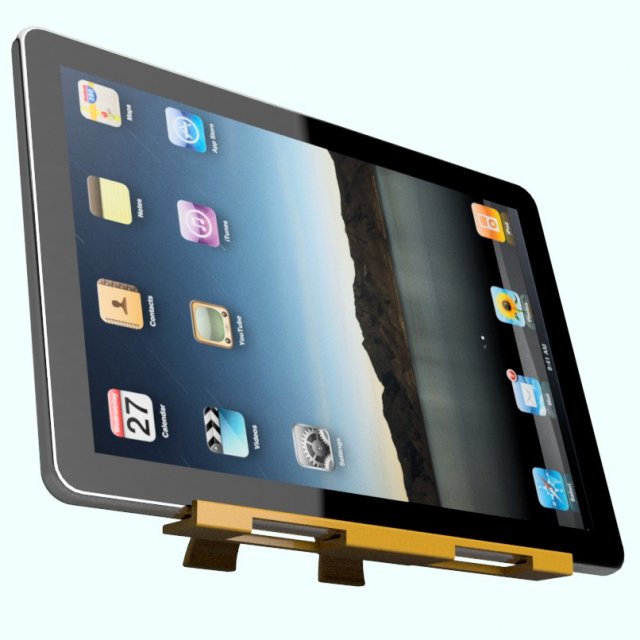
Support for the tablet 3D Model
подставка для планшета, пластик, 3D принтер, 3D печатьsupport for the tablet, plasticity, the 3D printer, the 3D press
-
Cover USB Type B 3D Print Model
Summary
Cover USB Type B -
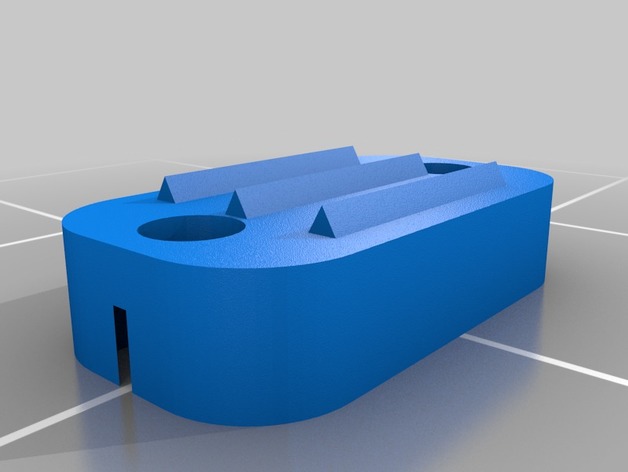
Belt Clamp 3D Print Model
Summary
These are not the belt clamps you’re looking for..
Required hardware :
Screws 7mm M1,4
Nut 1,5mm M1,4
They work great and print quickly and easily but you’re unlikely to have the tiny hardware i happend to have on hand.
Print Settings
Printer:
Tronxy X1
Rafts:
No
Supports:
No
Resolution:
0,2
Infill:
100% -
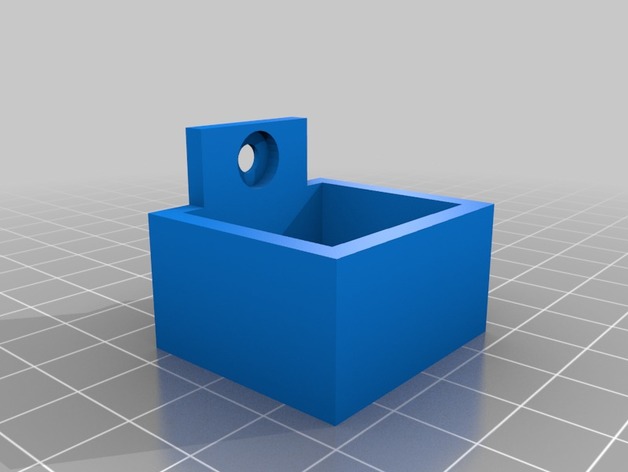
Holder Autoleveling Sensor Anycubic Kossel 3D Print Model
Summary
It’s a simple box to hold the Anycubic Autoleveling Sensor. -
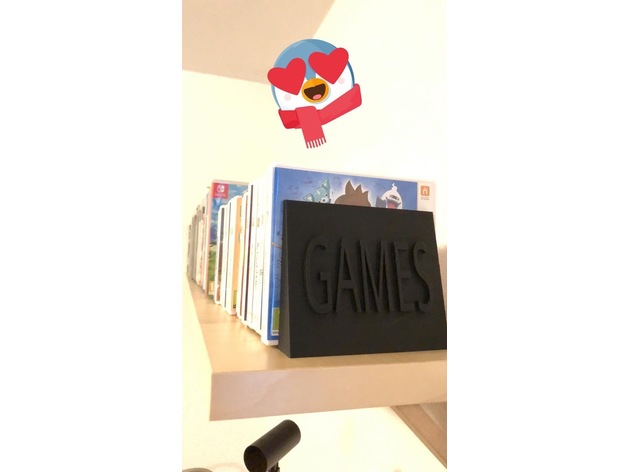
Game holder 3D Print Model
Summary
I made this holder, cause my games stand on the shelf.
I hope this will be usefull for someone 🙂
Print Settings
Printer:
Anycubic i3 Mega
Rafts:
Doesn’t Matter
Supports:
Yes
Resolution:
0.2
Infill:
10% -
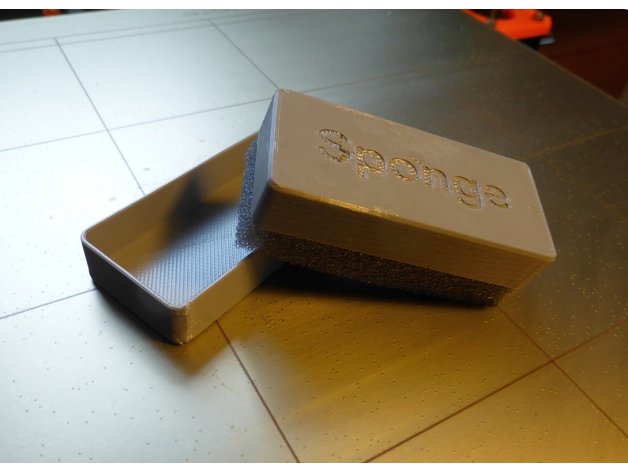
Sponge Holder Box for Hot Bed cleaning 3D Print Model
Summary
Like me, you have properly been wiping the printer hot bed for cleaning with a paper towel more times than you can remember – filling the paper bin with used towels.
I found the solution for me and it will properly also work for you – A sponge in a box, preventing it from drying out.
The box has a size to fit standard kitchen cleaning sponges (the cheap ones with heavy cleaning nylon on one side).
Just cut off the nylon part and slice it to the length you want. This is approximately 12 mm for the small box and 20 mm for the standard box.
I print a lot of PETG and therefore my sponge is wet with windows cleaner. Alternatively disc wash and water. You know best what is needed for your printing…
Don’t use solvents that can dissolve the printed box – just a warning.
>> If you like the design, please leave a Like or a Tip… thank you
Print Settings
Printer Brand:
MK3
Printer:
Prusa i3
Rafts:
No
Supports:
No
Resolution:
0.20mm
Infill:
20%
Notes:
2 perimeters, 3 top and 2 bottom layers.
Shown models is printed in Devil Design Gray PETG. -
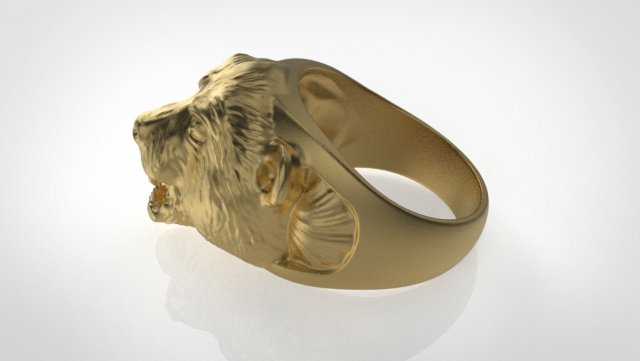
Bear Animal ring 3D Model
its 3dprintable 3d model of Bear Rings.It can be cast by wax lost method in any metal like gold or silver.finger size 20mm inner diameter.weight depends on metal purity.stl file formate available ,any other format will be provide if contact me.
-
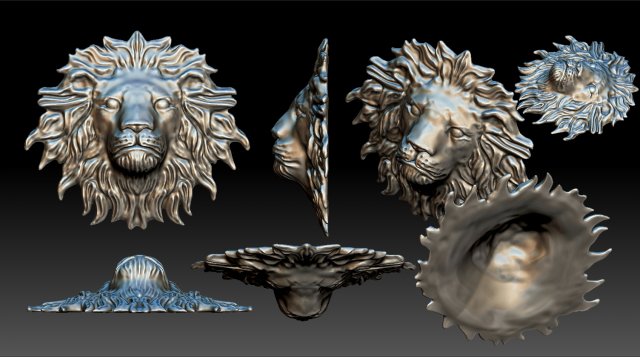
Lion Head 3D Model
> Lion head for metal casting by lost wax method.> Stl format with high resolution provide here.> Any other format provide as per demand.> all standard 3d printer allows STL file format
-
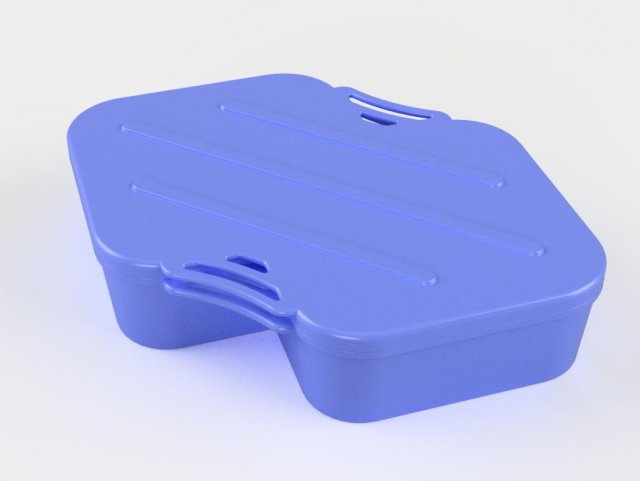
Food container 3D Model
container food, microwave oven, plastic, 3D printer, 3D pressконтейнер СВЧ пищевой, микроволновая печь, пластик, 3D принтер, 3D печать
-
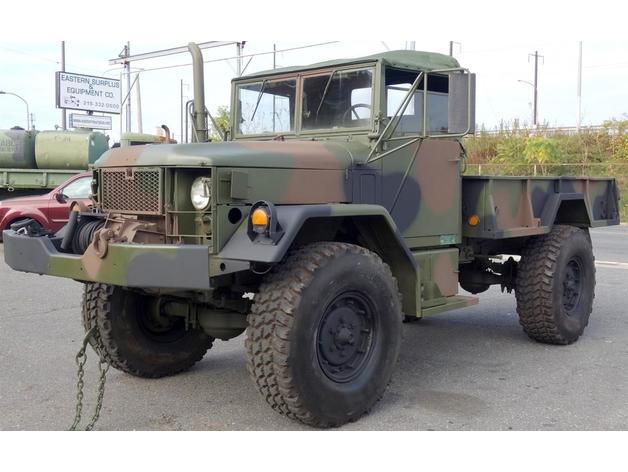
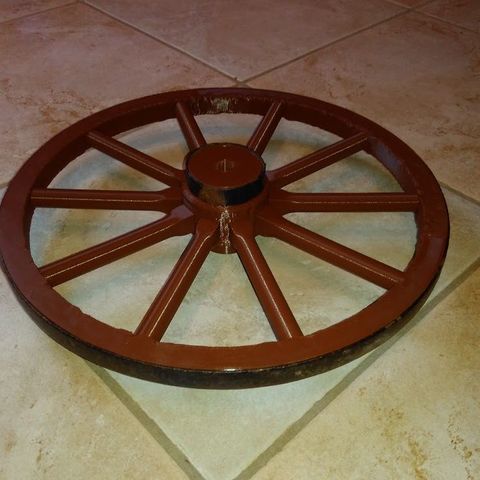
M35A2 Wheels 3D Print Model
Summary
Remix of outcastrc’s wheel. I wanted offset so I gave it some offset, and also moved the ring to the back of the wheel instead of the face of the wheel.
Still uses M2x10 screws -
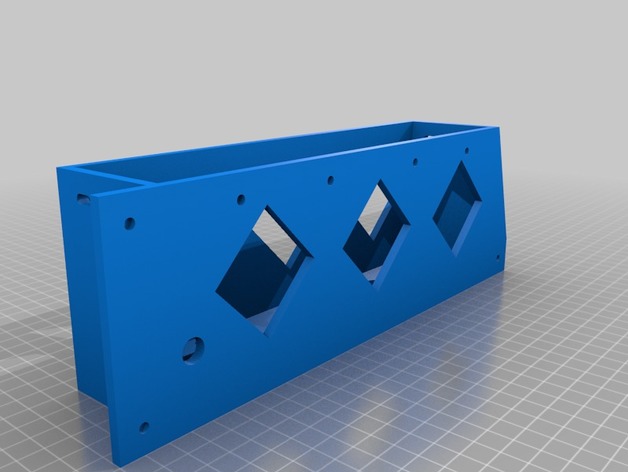
Tronxy X5S dual PSU Hanger 3D Print Model
Summary
The original used too much plastic. I added some holes to make it lighter and use less plastic. Should keep the same rigidity.
Print Settings
Printer:
Tronxy X5S
Rafts:
No
Supports:
No
Resolution:
.2 mm
Infill:
20%How I Designed This
Remixed it in Tinkercad -
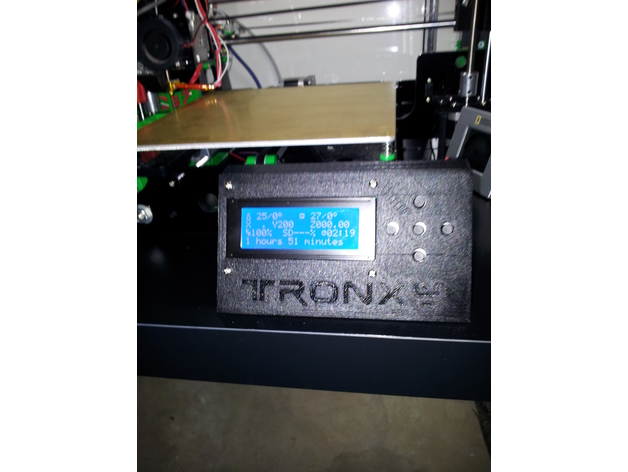
Tronxy P802MA external Display Enclosure – Remix 3D Print Model
Summary
Added the Tronxy Logo
Added on/off button on right hand side.
Print Settings
Printer:
Tronxy P802M
Rafts:
No
Supports:
No
Resolution:
.2
Infill:
15 -
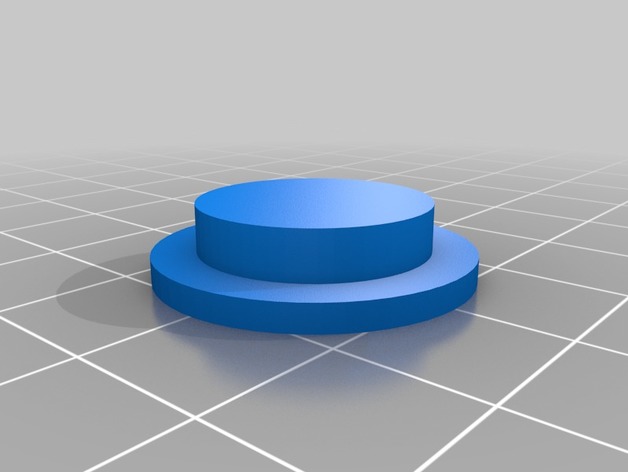
Reverse Osmosis Diaphragm Plunger for Whirlpool WHER25 3D Print Model
Summary
My Whirlpool Referse Osmosis system has a plastic plunger used for auto-shut-off. Years ago, I purchases a replacement plunger which also eventually failed (cracked into multiple pieces). This 3d printed replacement part has been in operation in our system for more than a year without issue.
Print using Food Grade PLA and sanitize before installing. I used RAPTOR Series Black PLA which has FDA approval for food contact and prints at 245F. Depending on your printer (and whether the final part has seams or small nubs, the part may require light sanding to ensure perfect fit as the plunger must travel freely for proper operation.
Food Grade PLA:https://www.makergeeks.com/collections/raptor-series-pla/products/raptor-series-pla-high-performance-3d-filament-true-black-175mm-1kg
Print Settings
Printer Brand:
Ultimaker
Printer:
Ultimaker 3
Rafts:
No
Supports:
No
Resolution:
0.1
Infill:
20% -
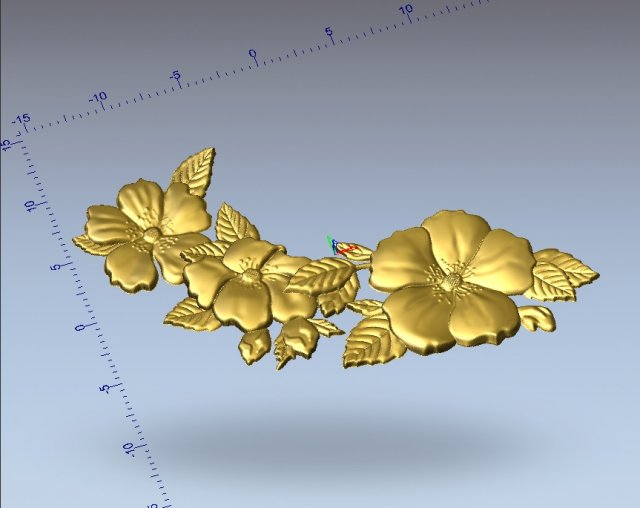
Decorative branch element 3D Model
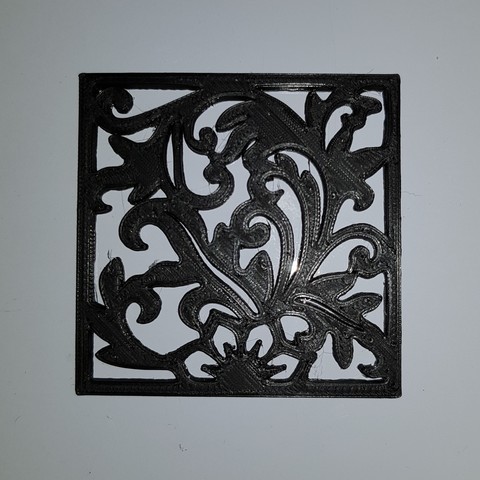
Decorative branch elementmodel for machine tools with software controlFormats STL OBJ ready for printingSize of the model in mm: 30×20.5x1Available formats on request: .c4d, .obj, .fbx, .ma / .mb, .lwo / .lws, .3ds, .3dm, .dxf / .dwg, .stl.Download 3D model Decorative element stl obj from VitAnGen
-
EggBot suction cup holder enlonged for table tennis’s ball with sources 3D Print Model
Summary
I’ve made it to print on table tennis’s balls. It is suitable for JJrobots Sphere-o-bot kit’s suction cup and has size enough to hold table tennis’s balls. -
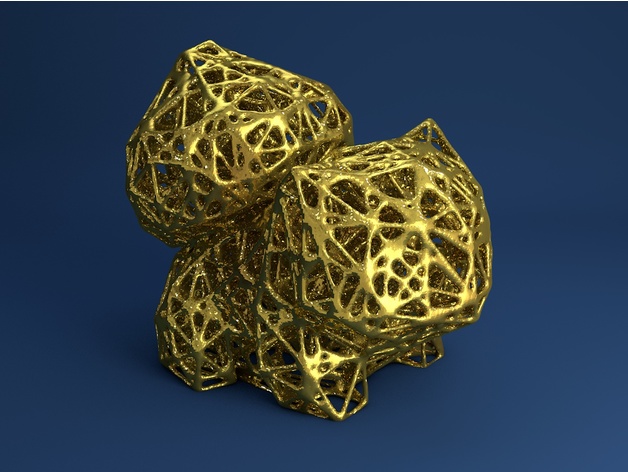
Bulbasaur Voronoi Style 3D Print Model
Summary
Bulbasaur (Bisasam) Voronoi Style. Please share your results. -
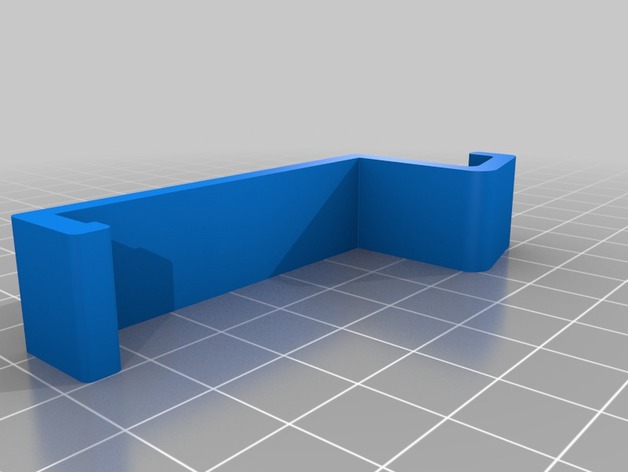
Cubicle Hook 3D Print Model
Summary
Changed jobs, came to work in an office full of cubicles. Found that the hooks that clip onto the top of the cubicle wall were a little hard to find, so I decided to borrow one & copy it. Took some measurements & made this my first ever project in Fusion 360. I purposely did not make it banjo-tight across the top of the cubicle wall, as I wanted to be able to try both PLA and ASA (I use ASA instead of ABS, but it has similar properties). I have only printed them in ASA, because it has some flex to it. I suspect PLA will work fine, since it won’t have to flex too much, but it might be a tad brittle & prone to stress cracking, depending on each filament brand’s properties.
Print Settings
Printer Brand:
Prusa
Printer:
i3 MK3
Rafts:
No
Supports:
No
Resolution:
.28mm
Infill:
50% rectangular
Notes:
With such a small/thin part, it’s all about perimeter strength. I used 4 solid top/bottom/perimeters in S3D, and 50% infill, because there is barely any infill after those perimeters, so it’s not really much of a waste. -
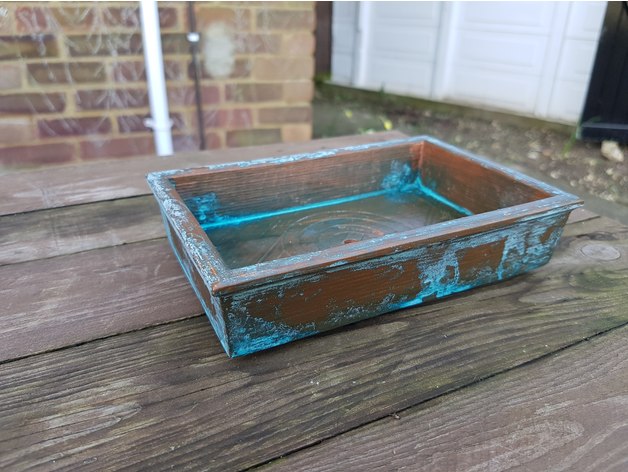
Rectangular Modern Bonsai Pot – No Support Print, With Drainage Holes 3D Print Model
Summary
Easy Printable Bonsai Pot Series
Pot 2 – Rectangular Modern Bonsai Pot
A simple, circular bonsai pot with drainage hole.
Why?
These pots are designed to be easily printed without supports.
There are a lot of bonsai pot designs that have no way of orienting them for printing without supports.
By splitting the pot into two pieces, feet and body, you can easily print both without support and have a great looking pot at the end of it.
Feet
Print the foot model 2 times as downloaded, and 2 times mirrored (this should be easily accomplished in your slicing software)
Print Settings
Printer Brand:
Tinkerine
Printer:
Ditto Pro
Rafts:
No
Supports:
No
Resolution:
0.3mm
Infill:
10%
Notes:
Print 4 copies of the feet, 2 of them mirrored, and glue to the base. They are designed to be glued right up to the edges.
Scale up or down as needed.
How I Designed This
Fusion 360 -
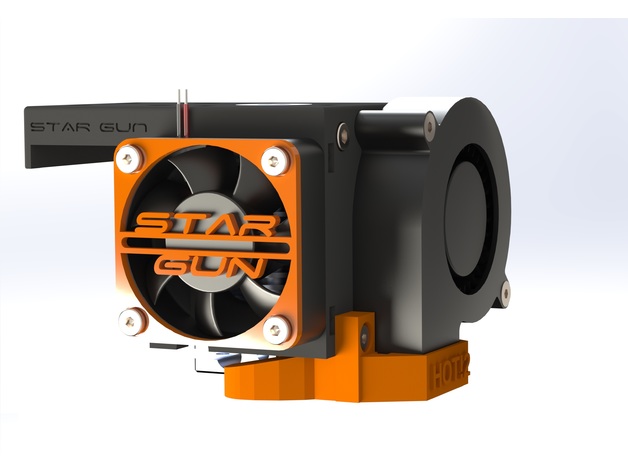
BLV E3D V6 Bowden Extruder Mount 3D Print Model
Summary
This is a remix of the Pruisa i3 MK3 bowden extruder mount for the BLV linear rail mod with the E3D V6 Extruder.
I wanted to have a minimal and stiff mount which suits a 40 mm fan and the common BL-Touch (Smart).
Print Settings
Rafts:
No
Supports:
Yes
Notes:
Resolution and Infill is up to you – I used fairly high infill percentage to make it reliable and stiffAssembly
Nozzle to probe offset is in the images.
Assembly and what I used:
11x M3 – nuts
2x M3x30 – putting the 2 parts (base and cover) together
2x M3x23 – mounting the 5050Fan
4x M3x18 – 40 mm Fan + Cover (use whatever you’d like to)
3x M3x10 – Nozzle-Fan and BL-Touch
4x M3 screws to mount the base to the linear carrier -> see BLV -
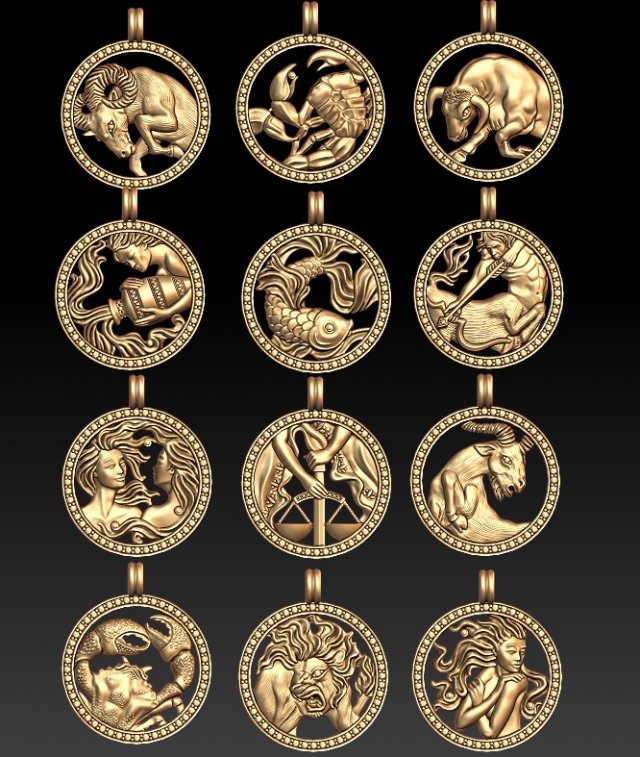
Jewellery horoscope signes pack 3D Model
jewellery horoscope signes pack 3D print modeljewellery horoscope signes pack 3D print model with gemsjewelry horoscope packthese models created in Zbrush and have polygonal geometry
-
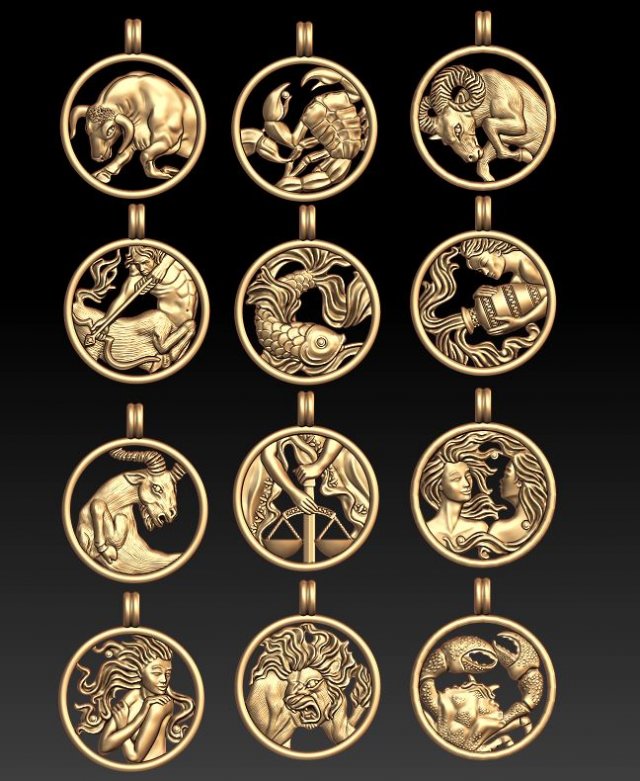
Jewellery horoscope signes pack 3D Model
jewellery horoscope signes pack 3D print modeljewellery horoscope signes pack 3D print model without gemsjewelry horoscope packthese models created in Zbrush and have polygonal geometry
-
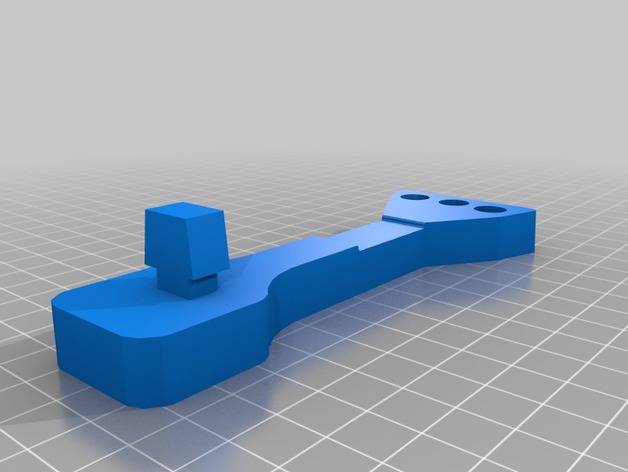
Robo3D R1 Filament guide 3D Print Model
Summary
Use this guide to install at the top of the printers cut-out hole.
Twist to lock it in place.
Take 6-8 inches 4mm PTFE tubing and insert thru the hole so that filament is fed from below and exits at the top.
Then, pull the filament into extruder.
This will cause PTFE tube to BOW and prevent filament to stap or grind against the printer when printing high objects or generally dealing with allot of LEFT to RIGHT motion.
Spool should be attached on the side of the printer. -
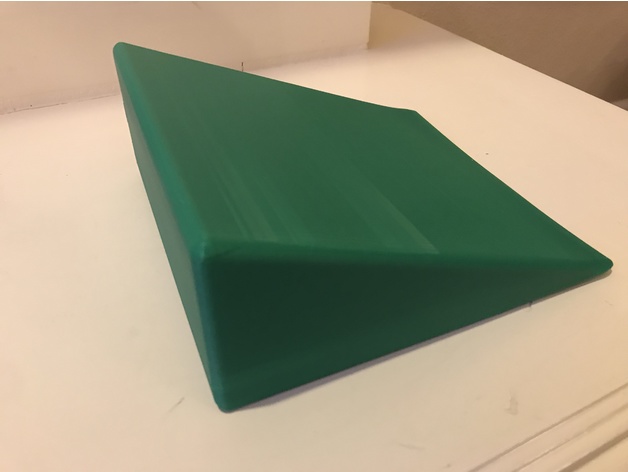
Calf Stretching Block 3D Print Model
Summary
This is a simple design of a calf stretching block.
Print Settings
Printer:
Anycubic i3 Mega
Rafts:
No
Supports:
No
Resolution:
.3
Infill:
10% -
KTM HDB Computer Relocation/Dash mount 3D Print Model
Summary
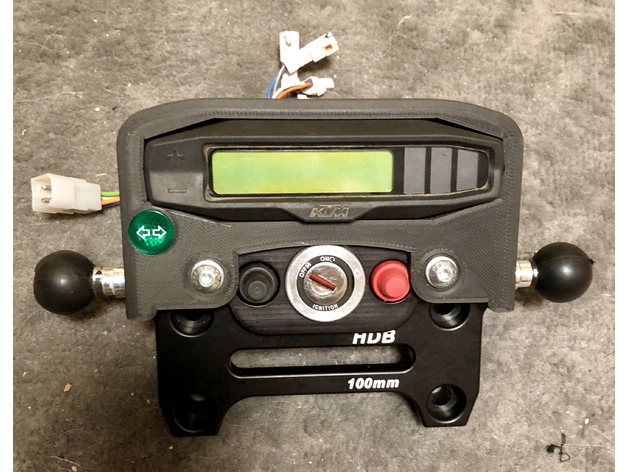
I made this to relocate the hard to see/hard to access computer on my 2017 KTM 350 EXC-F, and in the end also relocated my ignition switch, and blinker light all in one go.
This attaches to the Highway Dirt Bikes top clamp, and may or may not be specific to the size clamp that I use (100mm bolt spacing pattern, due to using Rox risers). As I don’t have another HDB to compare it to, any interested parties would have to give it a go and see if other clamps are the same physical size other than having a different bolt pattern.
This is made to use the top mounted Dash insert (shown here with two buttons and ignition switch).
Allows mounting a couple RAM balls with 8mm bolts on either side, or retain access to that HDB style hand guards (untested, as I don’t own them).
Print Settings
Printer Brand:
Prusa
Printer:
i3 MK2S
Rafts:
No
Supports:
Yes
Resolution:
.22
Infill:
20-30%
Notes:
Supports from build plate only work just fine (and possibly without). Infill is up to you. For the one I’ve mounted on my bike I used 30% using Protopasta CF HTPLA, which I heat treated, and feels very sturdy to me. -
Adjustable Raspberry Pi camera mount for PowerSpec Ultra 3D Printer 3D Print Model
Summary
What you need:
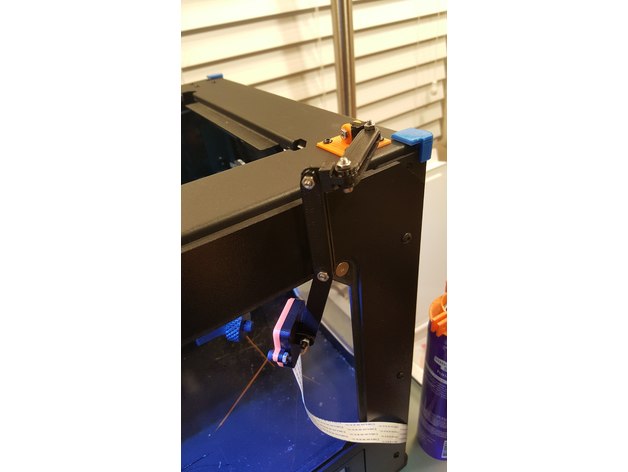
I’ve included arm linkage at 40, 50, & 60mm lengths, but you really only need 6 of the 60mm lengths.
You should also print 2 of the arm_joint model.
That’s just to replicate the setup that I have, but it’s honestly very customizable. Print whatever you want!How to setup a streaming webcam with your Raspberry Pi:
https://pimylifeup.com/raspberry-pi-webcam-server/The different bases:
If you have the PowerSpec Ultra, I recommend printing the large base as it’ll allow you to perfectly connect the base to existing screws. You can still use the small base, It just connects at opposite corners and looks a little funny. I’m really just including it for anyone that might not have the PowerSpec Ultra since it may work better for them.
If you are using the large base, do not unscrew all 4 bolts at once! You don’t want to drop one of your axis arms down. Unscrew 3 of them, screw the base most of the way in on one corner, and then unscrew the forth bolt and swing the mount around to line up with the other holes.The different front cases:
I removed the pins out of the case for the v2 version of the camera because they seemed more likely to break than do anything useful. I haven’t modified the v1 version from the original that u/ReMake posted since I don’t have the v1 camera. Just wanted to put everything in one place for everyone else.Adjusting the camera:
If you have the v2 version of the camera, I would print this adjuster: https://www.thingiverse.com/thing:1574661
I recommend printing the taller socket style one as I was constantly hitting my M3 bolts using the wrench style one.
Print Settings
Printer Brand:
PowerSpec
Printer:
Ultra 3D
Rafts:
No
Supports:
Yes
Resolution:
0.32mm
Infill:
100% -
Articulated elephant 3D Print Model
Summary
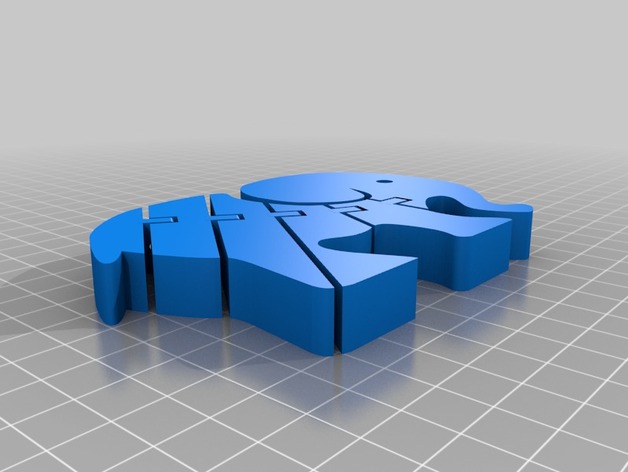
Articulated Elephant. No support required. I printed with 10% infill and 3 bottom/top layers. Enjoy