Summary
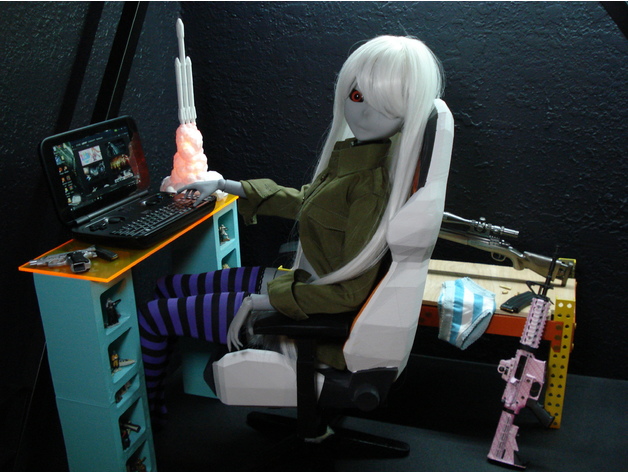
This project was a lot of fun, and very cheap. This BJD was originally designed by Driftgirlhttps://www.thingiverse.com/driftgirl/about
It was then reuploaded by sarf2k4https://www.thingiverse.com/sarf2k4/about
This version from me rescales the head from sarf2k4 to match the body, and modifies the files slightly. you will need a 9-10″ wig. Mine was $11.98 on eBay. All wigs are slightly different and the one I bought was very tight and almost wouldn’t fit. If you slowly pull the wig on one side at a time it will work. You will also need a 9-10″ wig cap. I prefer silicone, it costs $1.16 on ebay. For the eyes, I found that 22mm works best. My eyes were $12.28 on eBay. You will need eye putty. At least 8 grams for the eyes. Cost is $1.15 on eBay. As you can tell, eBay is a great source for everything related to ball joint dolls. Everything I ordered shipped from Shenzen, China. So depending on where you live it will take a couple of weeks to arrive.
A note on sanding and smoothing.
You will need to sand the doll A LOT. Sanding by hand takes a very long time. instead, make the sanding disk seen in the pictures. just cut a circle in regular sandpaper, poke a hole in the center, and attach it to a rotary tool. You will need to use a very slow speed setting. The sanding disk is flexible, so it can get into hard to reach areas. This will save you a HUGE amount of time.
This is the process I use…
Spray paint everything with Rustoleum filler primer in a thin even coat. Wait 24 hours for the primer to dry as it shrinks while drying. Next, sand everything with 80 grit until the surface is rough but no longer has layer lines. Most of the paint will be removed during this step. Then sand with 120, 220, 300, 400. I cleaned it with isopropyl alcohol, then I sprayed again with Rustoleum filler primer in a thin even coat. Give it 24 hours to dry, then VERY LIGHTLY BY HAND sand with 800 grit sandpaper. This is to remove the rough texture of the Rustoleum filler primer. Then spray with a Krylon matte clearcoat, allow a few hours to dry, and the doll will be super smooth. During painting, suspend the parts with wire as seen in the picture to avoid rough patches. If there are any holes in the pieces, before you start painting and sanding get a tube of Elmer’s carpenter’s wood filler and rub a small amount into the holes with your finger. It shrinks a little when dry, so you may need to do this twice. I had to fill in the back of the hands, and the tops of the shoulders.
A note on color and faceup.
I am not an artist, and proper faceup is VERY difficult. That is why I went with gray skintone, black eyes, and heavy bangs as it allowed me to avoid faceup. If you want a propper faceup, but like me don’t have that ability, I would suggest sending your doll’s head to an etsy artist. They work on commission and produce some excellent work. https://www.etsy.com/market/faceup
A note on stringing.
I used 3mm elastic cords. 10 yards will be much more than you need. I used small nails, and bent them into s hooks for the hands, feet, and head. Use a paperclip to get the shape right, then copy the shape with a nail. I strung in three sections. The hands were connected across the chest. The feet were connected across the groin, and the head was connected to the groin by drilling two holes in the lower stomach where the bumps are. There are lots of ways to string a doll, so look online and decide which way you want to try.
I am happy to answer any questions. Have fun making your doll!
1/3 ball joint doll bjd 3D Print Model