Summary
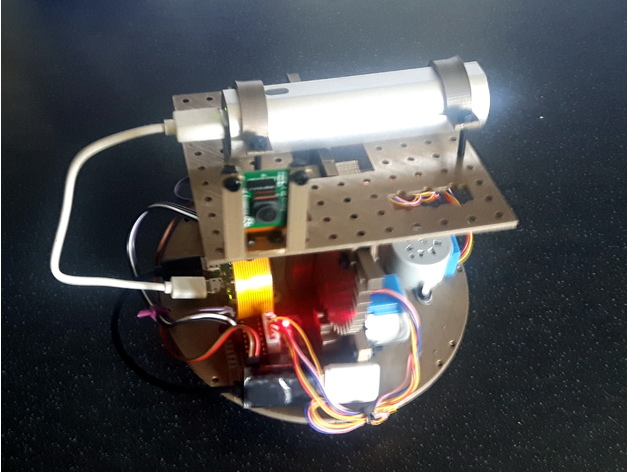
PiSkyScan – in action here https://www.piskyscan.com/wp-content/uploads/2017/07/pisky1.mp4
A Rasperry Pi Zero project to allow a camera to be remotely pointed any where.
Suitable for CCTV, 3d scanning room scanning, building scanning and hopefully much more.
Pi model B and model 3 versions coming soon.
Build instructions here.
https://www.piskyscan.com/
Print Settings
Printer Brand:
FlashForge Printer:
Creator Pro Rafts:
No Supports:
No Resolution:
0.1mm Infill:
15% Notes:
Apart from size (145mm x 145mm) should hopefully be a fairly straightforward print.
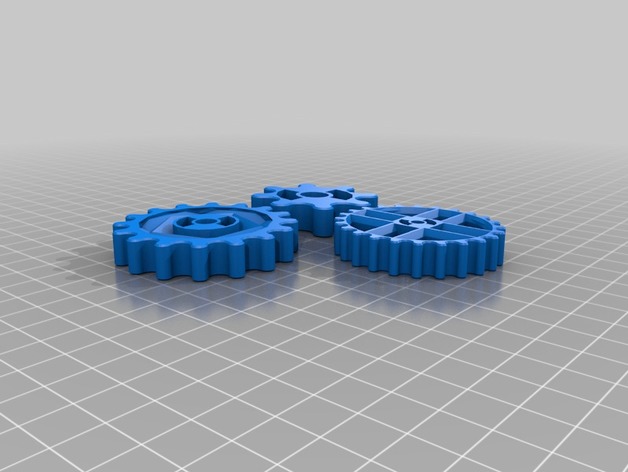
You need to print bearingCentre and smallGear twice.
The camera holder prints vertically, it needs rework anyway.
Post-Printing
Build instructions
Build instructions here https://www.piskyscan.com/
How I Designed This
Design
Designed using Blender.
Gears designed with help from http://www.otvinta.com/ (great sight for gears in Blender).
Design is coded in Python and then run in Blender to produce the various parts.
Category: Free 3D Models
Free 3D models ready to be used in your CG projects such as films, visualizations, games, VR etc. All 3D Models and Free 3D Print Models are available for download in several formats including .MAX, .STL, .FBX, .3DS, .C4D, .OBJ, .BLEND, .DWG, .DXF, .LWO and much more. If you’re in search of high-quality Free 3D assets, we have a huge library of 3d models for all your needs. Also you can visit 3D Models and 3D Print Models category.
-
PiSkyScan 3D Print Model
-
WaveShare 5inch Display Housing and Display Mount 3D Print Model
Summary
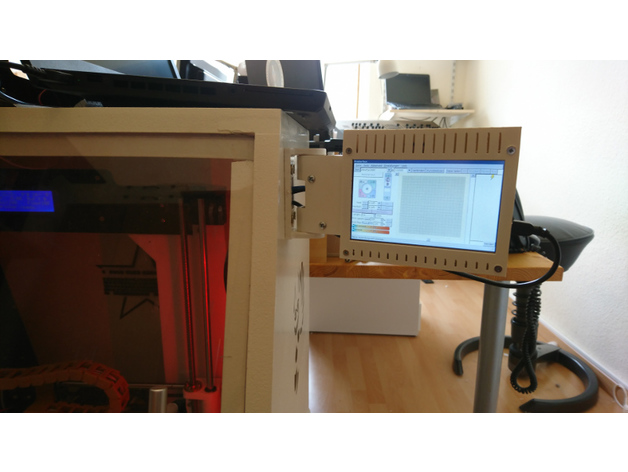
NOTE: Before printing please check, if it looks sane for you! Some of the models around thingiverse seem to have been designed for a different version of the display. My display and my Raspberry did not fit into those housings, so I designed this one.
This model contains a housing that fits a WaveShare 5inch Display (Version 2) including a Raspberry PI 3.
The project contains two versions of the model:
normal box without a mount
housing with a “wall mount” with a movable arm
I use the second version to mount a Raspberry PI running Pronterface mounted to my printer-housing.
The movable arm allows routing cables inside the arm. It is basically possible to also route the power-supply inside the arm, but I still need to solder micro-usb connector that is small enough to fit into the housing.
To close the housing, I used the spacers included in the WaveShare package including addidional M3 screws for the front-plate. The arm is fixed with M3.5 metal screws. Those can be easily removed to allow access to the USB and ethernet-ports of the Raspberry PI.
Print Settings
Printer Brand:
Prusa Printer:
Prusa Clone Rafts:
No Supports:
Yes Resolution:
0.2mm Notes:
The archive contains a model with and without a mount. The model without the mount only consists of the bottom and top part. The top part is also used for the model including the mount. Please ensure that you look at the files before printing and be sure that you rotate them properly.
For only the display case print
WaveShare_5inch_Bottom.stl
WaveShare_5inch_Top.stl
For the box including the mount, print
WaveShare_5inch_Top.stl
WaveShare_Mount_5inch_Bottom.stl
WaveShare_Mount_5inch_Mount_Top.stl
WaveShare_Mount_5inch_Mount_Plate.stl
I used slic3r for slicing. During the print I used white ABS. To ensure that the round parts came out nicely, I had to manually tune the support material settings.
The wall mount prints best, if printed on the side to ensure that the round parts are completely circular.
Note: The movable arm could use a drop of oil (yes oil, not WD40). Not much, so it does not drip out but enough to make it move smoothly. -
Water pipe turbine 3D Print Model
Summary
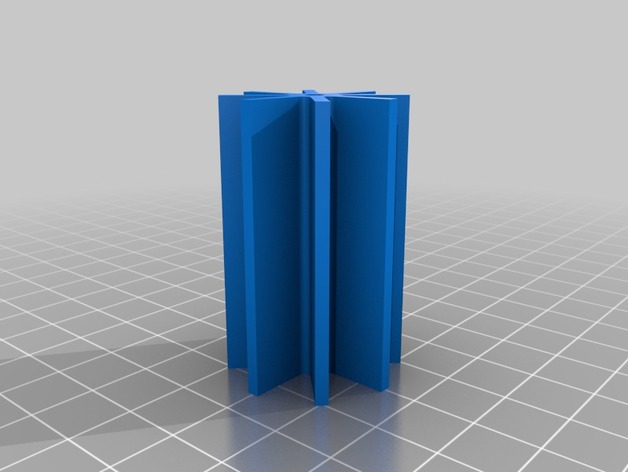
made this for a 30mm ID glass tube. Used a 3mm axle and two 3/4″ ID, 1″ OD, 1/8″ width O rings for the seals. Try printing just one stopper and scale it up and down a percentage or two to get a good fit. and I use a coat hangar wire with a small L bend at the end to extract the turbine. -
Tronxy P802M (Prusa i3) Filament Guide 3D Print Model
Summary
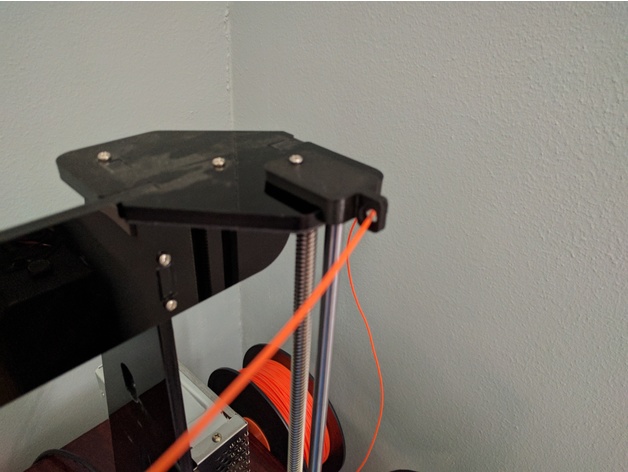
Simple filament guide for Tronxy P802M (Prusa i3 Clone).
May work with other printers. Location of mounting hole may require remix or drilling to fit. -
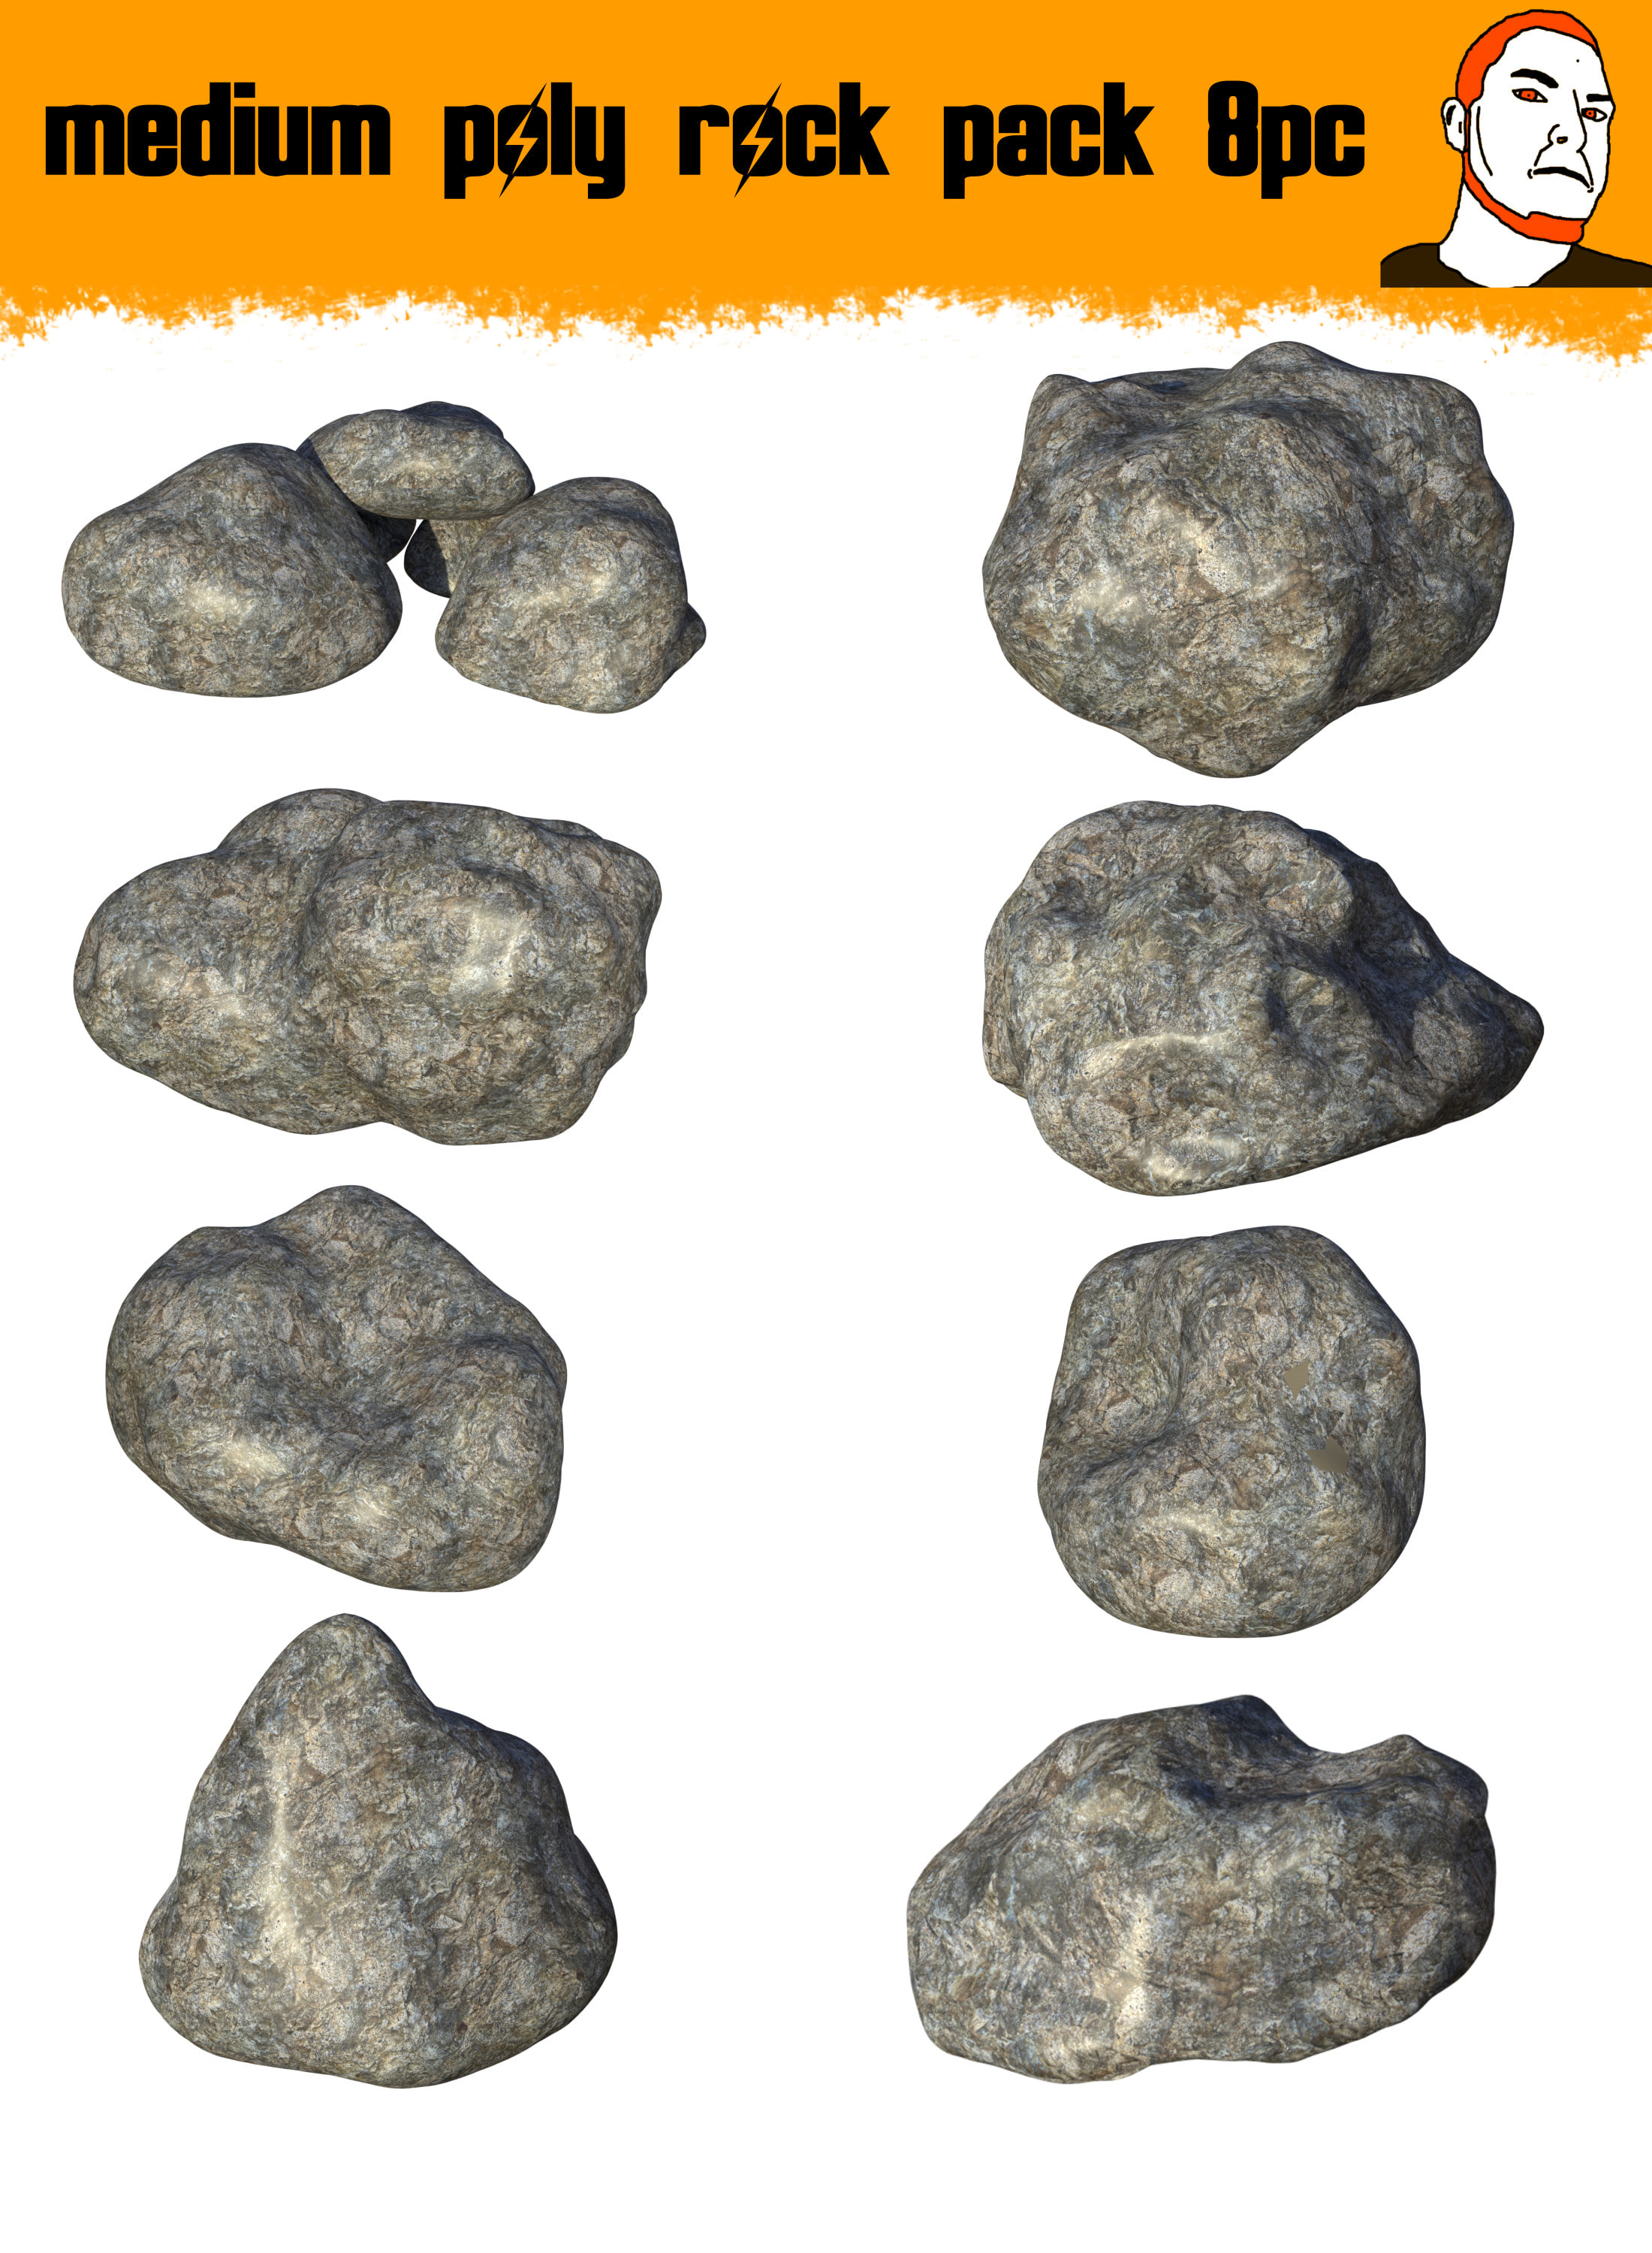
3D Medium Poly Rock Pack 8pc Free 3D Model
medium poly rocks for free! texture is in a seperate file, make sure you download.
-

Tea Cup (free) 3D model Free 3D Model
High detailed 3D model of porcelain tea setMain features: – Originally created with Blender 2.78 – Textures made with gimp – All textures pack in to the blend file – 1 texture, resolution from 1480×800 – Previews rendered in Cycles RenderGeometryPolys – 4,873 (subdivision level 0) – 19,521 (subdivision level 1) – 78,081 (subdivision level 2) Verts – 8,794 (subdivision level 0) – 91,526 (subdivision level 1) – 78,076 (subdivision level 2)
-
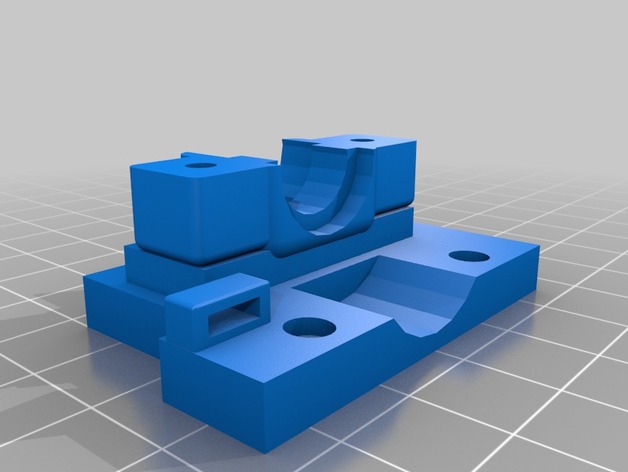
CTC Prusa i3 Pro B (E3D V6 Mount w/ Radial Fan mount) 3D Print Model
Summary
Created using TinkerCAD.
This mount was created to allow a 40mm radial fan to be attached to the front of the mount. The mount connects to the original carriage. It allows for a zip tie to be placed in order to hold all wiring.
Print Settings
Printer:
CTC Prusa I3 Rafts:
No Supports:
Yes Resolution:
.3mm Infill:
60% Notes:
Rotate top 180 degrees for the print. -
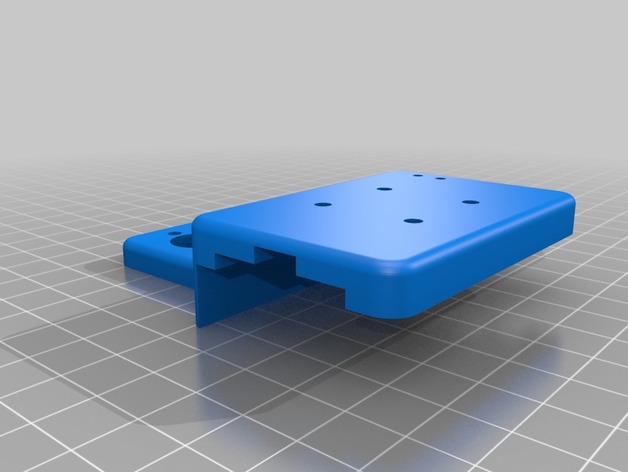
Modular Tevo Tarantula Dual Extruder X Carriage for MGN12H Linear Rail 3D Print Model
Summary
This is an X carriage for the Tevo Tarantula with dual extruder option. It is designed to be mounted on an MGN12H block on a linear guide rail. Make sure you get a block that has the same spacing as an MGN12H block (20mm distance between mounting holes).The belt is attached to the lower portion only and the upper portion screws on top of it (through it and into the MGN12H block). This allows the upper portion that holds the hotend, endstop, fans to be removed without detaching the belt. I designed it this way because I intend to have several different versions of the upper part to hold a single extruder or to hold other hotends.
Lastly, the top part has intentionally been left clear so as to accomodate other parts that can be bolted on later. I am currently working on cable management attachments that take advantage of this feature. It can also be used to attach fans, lights, etc.
Print Settings
Printer:
Tevo Tarantula Rafts:
Doesn’t Matter Supports:
Yes Resolution:
0.2mm Infill:
20% Notes:
Make sure your printer is calibrated correctly specially in the X and Y axes to ensure that the screw holes line up. -
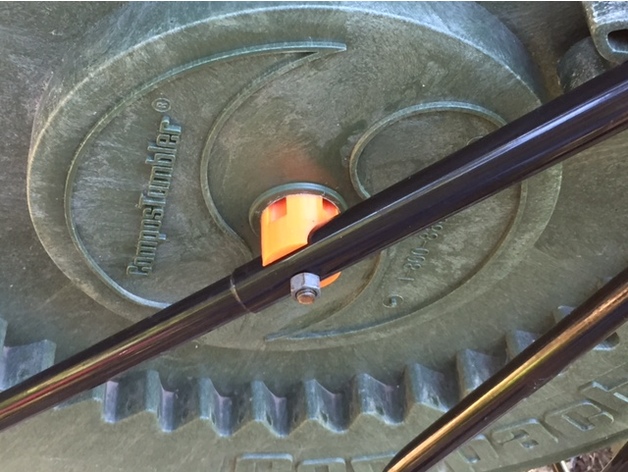
Compact ComposTumbler Stub Axle 3D Print Model
Summary
The axle on my Dad’s Compact ComposTumbler broke and he asked me if I could make a new one. Using the old one as a template, I created a copy of it in SketchUp and then used makeprintable to clean up the stl.
Here is a time lapse of the print – https://www.youtube.com/watch?v=NHK7dY1UrKQ
Print Settings
Printer Brand:
Wanhao Printer:
Wanhao Duplicator i3 V2 Rafts:
No Supports:
No Resolution:
2MM Infill:
80% Notes:
I printed this part with 3 shells and 80% infill. Honestly, that was probably overkill. I imagine you could get away with 50% and still be fine. -
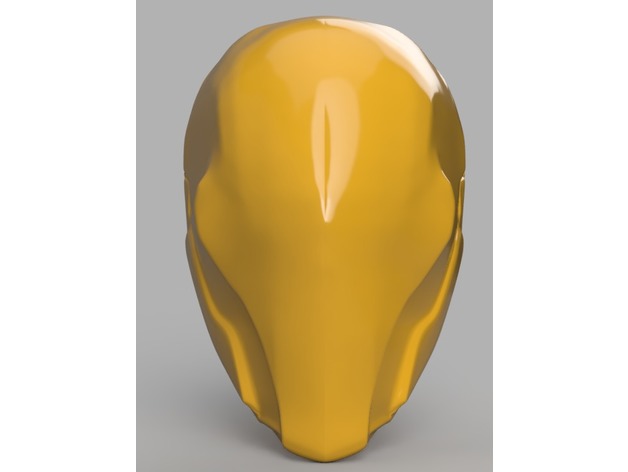
Deathstroke Mask with no eyes 3D Print Model
Summary
I wanted to complete the set of Deathstroke Masks. So here is the one with no eyes. -
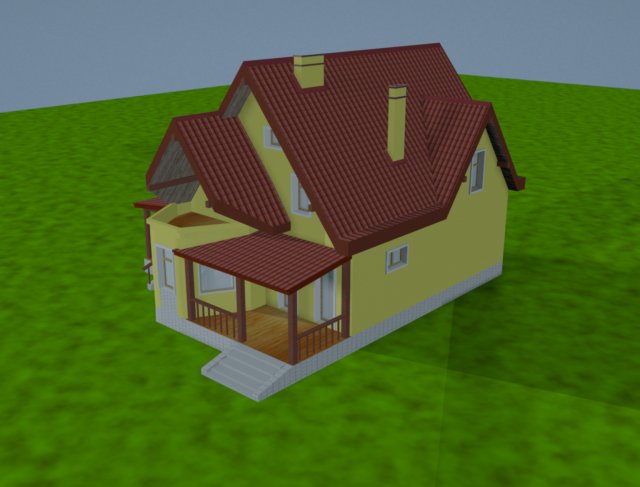
House Free 3D Model
he model is made in the autodecode 3ds max 2014, rendered using a standard visualizer, the model is made using polygon modeling from photos from the log, models have uvw sweep, the textures were created using procedural maps 3d max and also using images from the Internet, textures I Enclosed in a separate archive.The model can be used as a stationary scene object, for video clips and imagesAvailable formats:ObjFbx3dsIf you want to sweat other formats of the model, I’ll be happy to help you!Thanks for your choice and criticismVitaliy Pigolev
-
Radiator 3D Model
Additional Info: Radiator N310517 – 3D model (*.gsm+*.3ds) for interior 3d visualization.
-
Luster 3D Model
Additional Info: Luster Cremasco BRSF-TR N010617 – 3D model (*.gsm+*.3ds) for interior 3d visualization.
-
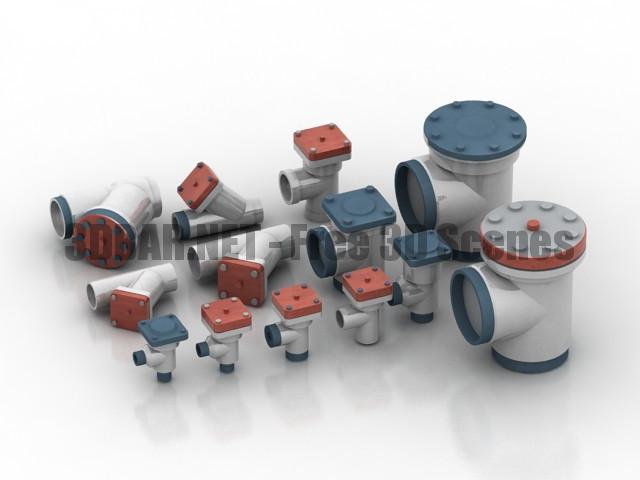
INDUSTRIAL REFRIGERATION VALVES CHV FIA 3D Collection
INDUSTRIAL REFRIGERATION VALVES CHV FIA 3d Models
-
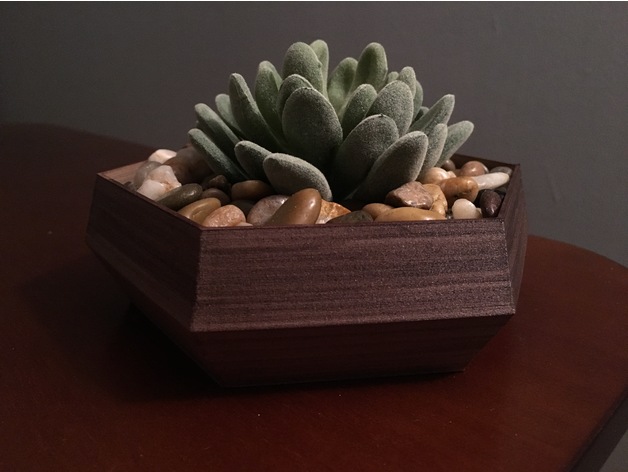
Hexagonal Succulent Planter 3D Print Model
Summary
Hollow hexagonal planter made with Hatchbox Wood PLA (see Post-Printing section for information on wood stain). After staining, fill with pebbles (I purchased a small bag of pebbles at the local craft store) and a small plant (I purchased a fake succulent plant on Amazon)
Print Settings
Printer Brand:
Prusa Printer:
Prusa Clone Rafts:
No Supports:
No Resolution:
0.2 Infill:
0-10%
Post-Printing
Staining Wood PLA
After printing in Hatchbox wood PLA, I used a “stain marker” to stain the planter (my particular stain marker is a dark walnut stain made by Rust-Oleum). Apply the stain marker in slow, uniform strokes (all strokes in the same direction and that direction should follow the layer lines). By slightly overlapping the strokes, it simulates wood grain and gives the wood a more realistic look. I do NOT sand the wood before staining, because in this particular application I think the layer lines enhance the wood look.
Note, the stain marker I used is 2-in-1 stain + finish (and it’s instant dry)… so it doesn’t rub off and can get wet. If you use a different kind of stain, you may want to finish it with a protective coat so the stain doesn’t rub onto your skin. -
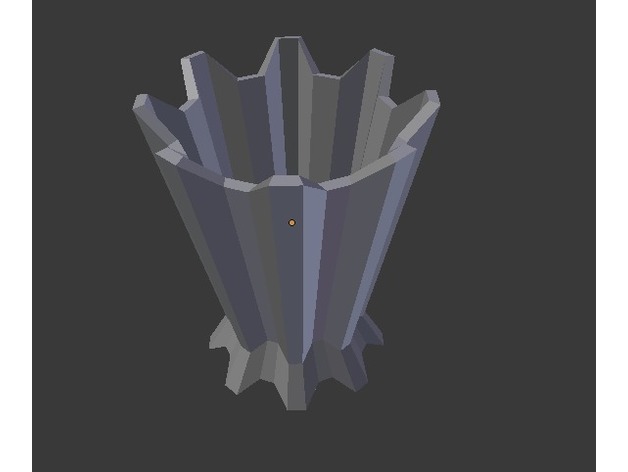
Spiky plant pot 3D Print Model
Summary
This is a plant pot that all plants desire to have. With this pot you can have any plant grow to its fullest. -
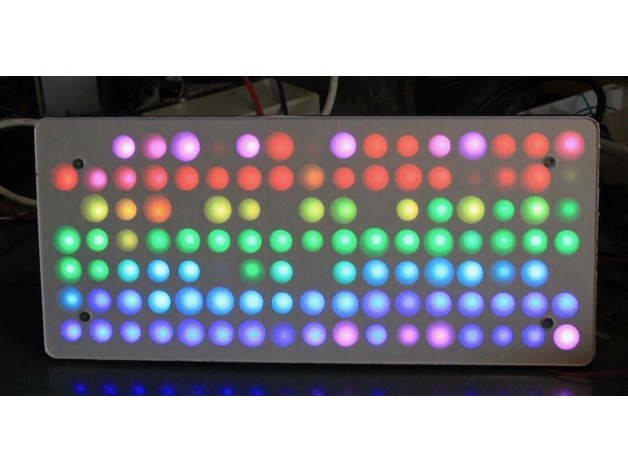
Irregular Neopixel matrix 3D Print Model
Summary
Irregular Neopixel matrix constructed from lasercut 4mm MDF, 2mm perspex, paper and 60 pixels/m Neopixel strip. Parametric Openscad design.
Controlled by an Arduino Micro using the Adafruit Neomatrix / Neopixel libraries. -
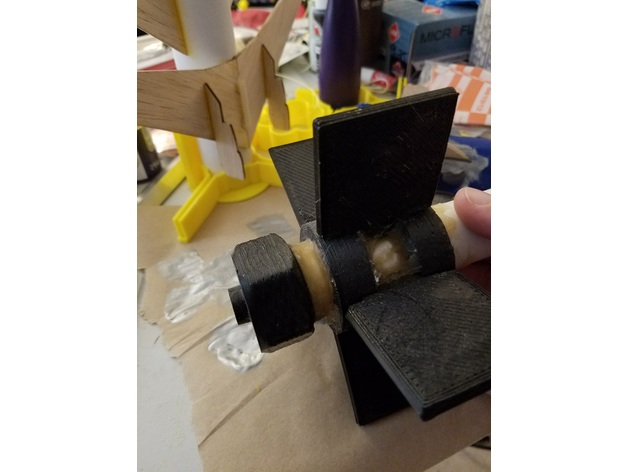
Parametric Motor Retainer 3D Print Model
Summary
This parametric motor retainer uses the “Poor man’s openscad screw library” found here: https://www.thingiverse.com/thing:8796
The settings in the scad file are adapted to my printer, aside from the dimensions at the top, you may need to adjust the “fudge_factor” setting until you get an appropriate fit on your body tube and a well-functioning thread.
Use this at your own risk, if you do not have sufficient layer adhesion, this part will not retain your motor when the ejection charge goes off. Ensure that your printed part is sufficiently strong before using it in flight! If the threads are too loose, they can slip off the retainer ring, so be sure your thread clearance is tight enough as well. The clearance should be as tight as possible while the threads are still functional.
Note that not all adhesives work well with printed plastics! Be sure you have a strong bond between the retainer ring and the motor mount tube before you use it for flight.
Print Settings
Printer Brand:
SeeMeCNC Printer:
Rostock MAX v2 Rafts:
No Supports:
No Resolution:
0.2 Infill:
N/A Notes:
A resolution of 0.1 mm might produce nicer threads; experiment to find the smoothest working & strongest part your printer is able to produce. -
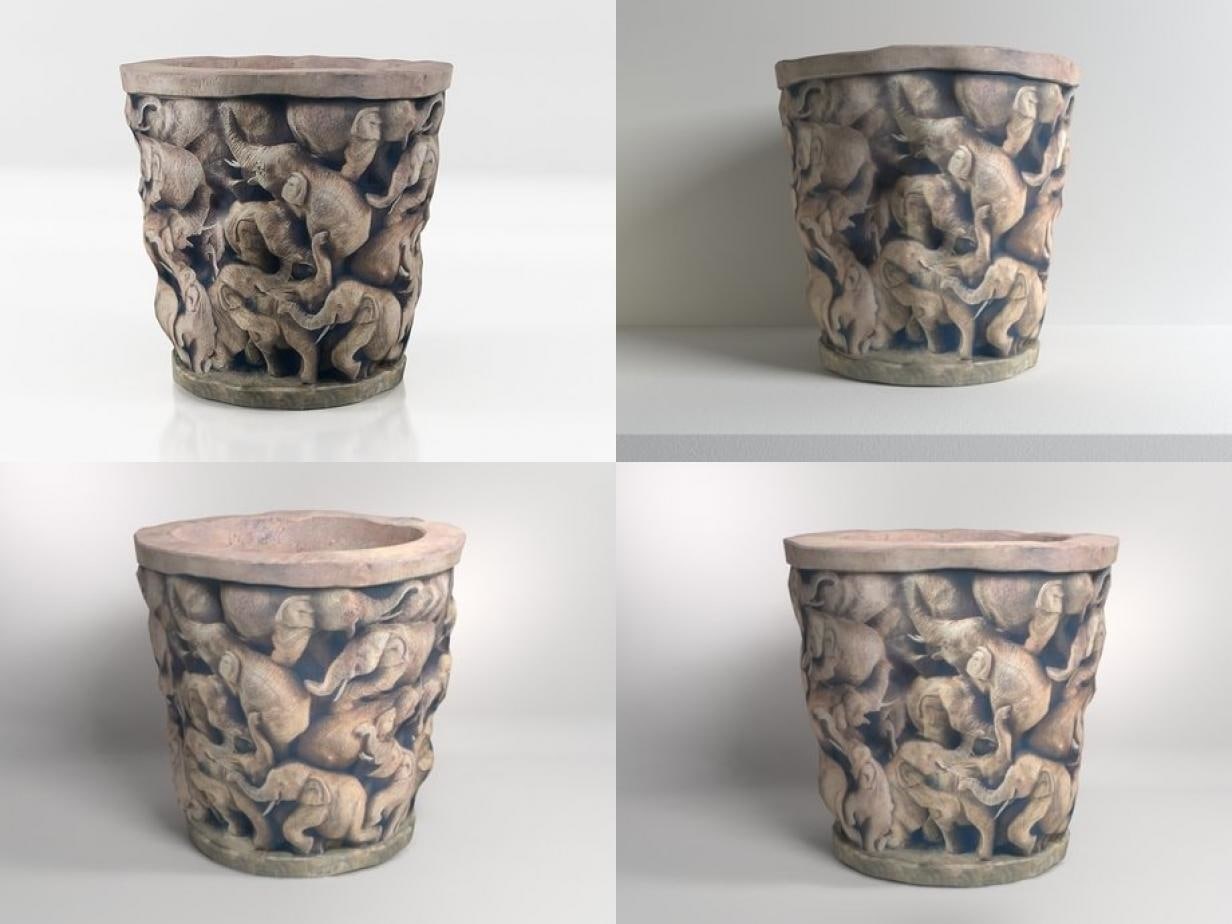
Elephant Bowl 3D model Free 3D Model
Elephant Bowl by N/A | 3d model produced by Design ConnectedThis 3d model is part of the highly acclaimed Design Connected collection featuring 6500+ carefully picked exclusive furnishings. Check out our full range of 3d models for more mid-century icons, contemporary classics and designer masterpieces.All Design Connected 3d models are originally created in 3ds Max and V-Ray renderer.Our in-house team of 3d artists handle all further remodelling, materials conversions and other adaptations to deliver best possible visual and technical quality of all the additional file formats and renderers we offer. Files units are centimeters and all models are accurately scaled to represent real-life object’s dimensions.Our models come as a single editable mesh or poly object (or as group for rigged models or where displace modifier has been used) properly named and positioned in the center of coordinate system. No lights, cameras and render/scene setup are included unless otherwise stated in the particular model’s description.AVAILABLE FILE FORMATS- Autodesk 3ds Max 2011 or above– VRay– Mental Ray– Scanline- OBJ and FBX – Abvent Artlantis ADDITIONAL FILE FORMATS UPON REQUEST- Cinema4D R16 or above- Sketchup 8 or above – ARCHICAD R16 or above- Autodesk 3ds – Rhinoceros – Autodesk DWG – Maya – Lightwave – Collada PRODUCT DESCRIPTIONBrand: N/A, Designer: N/ADesign Connected ID: 5014BEFORE PURCHASEWe highly recommend that you download few of our FREE 3D MODELS and test if they work well with your 3d software before making a purchase.ABOUT THE IMAGERYPreviews rendered in 3dsMax using VRay. Please note that the studio scenes and light and environment settings are not included.SUPPORTIf you have any questions about how to use Design Connected 3d models, please contact us via Support.Thank you for purchasing Design Connected models!
-
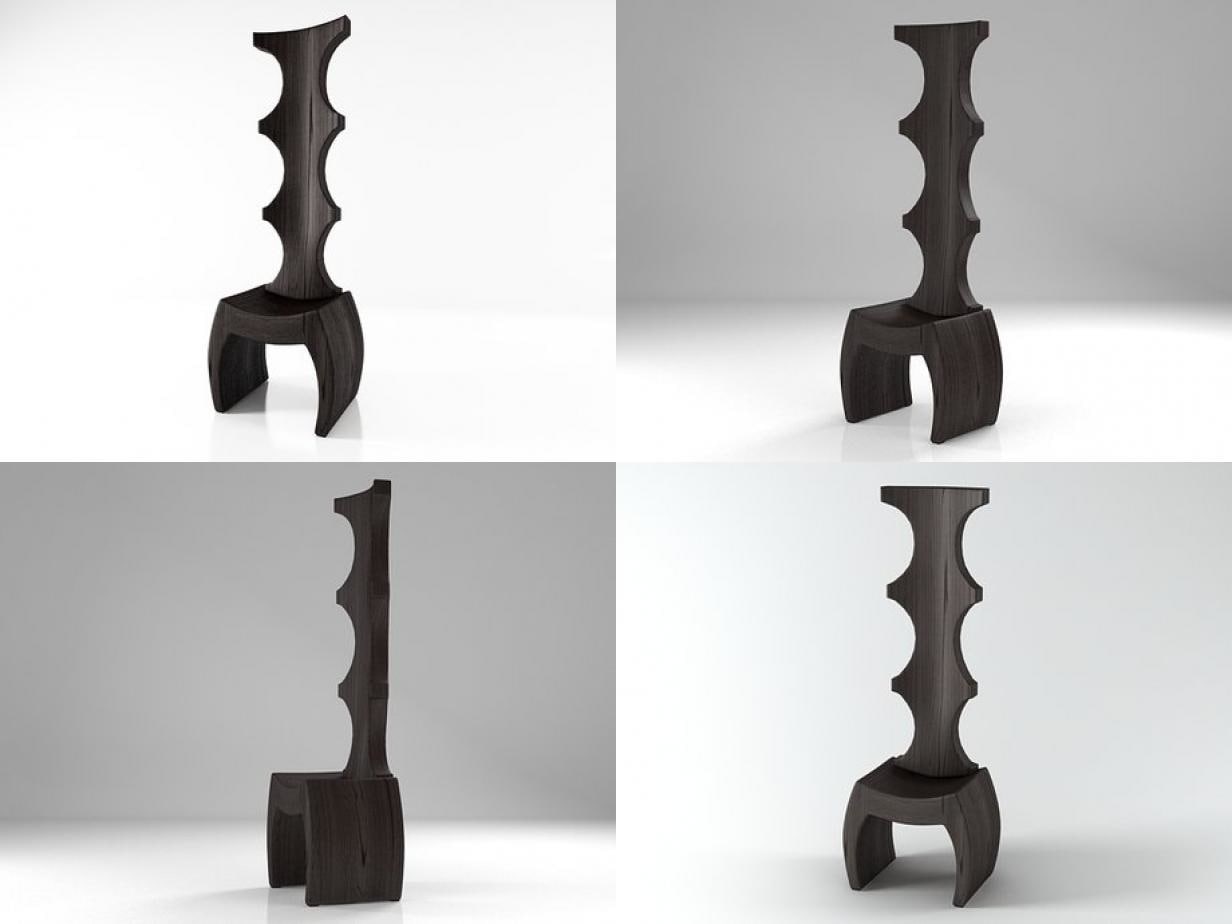
3D Ethno Chair model Free 3D Model
Ethno Chair by N/A | 3d model produced by Design ConnectedThis 3d model is part of the highly acclaimed Design Connected collection featuring 6500+ carefully picked exclusive furnishings. Check out our full range of 3d models for more mid-century icons, contemporary classics and designer masterpieces.All Design Connected 3d models are originally created in 3ds Max and V-Ray renderer.Our in-house team of 3d artists handle all further remodelling, materials conversions and other adaptations to deliver best possible visual and technical quality of all the additional file formats and renderers we offer. Files units are centimeters and all models are accurately scaled to represent real-life object’s dimensions.Our models come as a single editable mesh or poly object (or as group for rigged models or where displace modifier has been used) properly named and positioned in the center of coordinate system. No lights, cameras and render/scene setup are included unless otherwise stated in the particular model’s description.AVAILABLE FILE FORMATS- Autodesk 3ds Max 2011 or above– VRay– Mental Ray– Scanline- OBJ and FBX – Abvent Artlantis ADDITIONAL FILE FORMATS UPON REQUEST- Cinema4D R16 or above- Sketchup 8 or above – ARCHICAD R16 or above- Autodesk 3ds – Rhinoceros – Autodesk DWG – Maya – Lightwave – Collada PRODUCT DESCRIPTIONBrand: N/A, Designer: N/ADesign Connected ID: 4995BEFORE PURCHASEWe highly recommend that you download few of our FREE 3D MODELS and test if they work well with your 3d software before making a purchase.ABOUT THE IMAGERYPreviews rendered in 3dsMax using VRay. Please note that the studio scenes and light and environment settings are not included.SUPPORTIf you have any questions about how to use Design Connected 3d models, please contact us via Support.Thank you for purchasing Design Connected models!
-
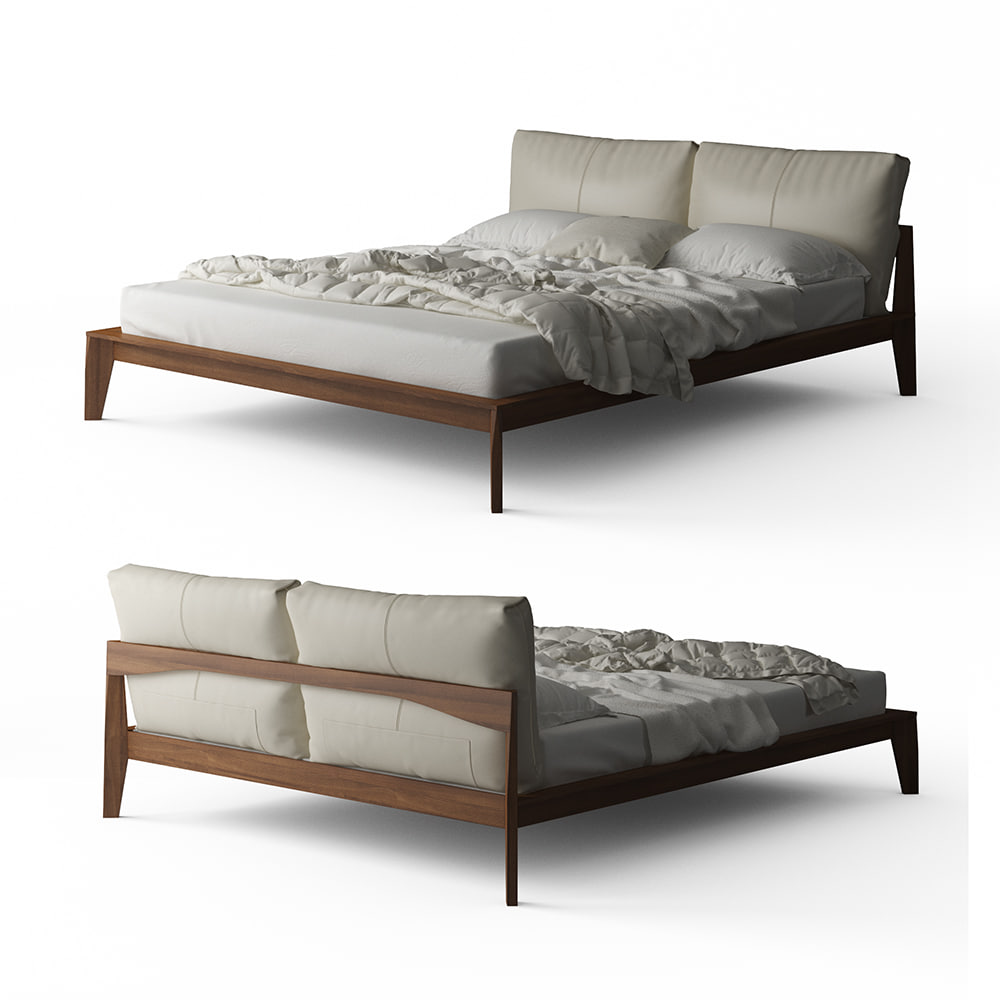
Wish Bed 3D Free 3D Model
3d model Wish Bed by MolteniUnits: MillimetersDimension: 2023.71 x 2343.84 x 901.48Polys: 2 741 972XForm: YesBox Trick: NoModel Parts: 14Render: V-RayFormats: 3Ds Max 2013, FBX
-
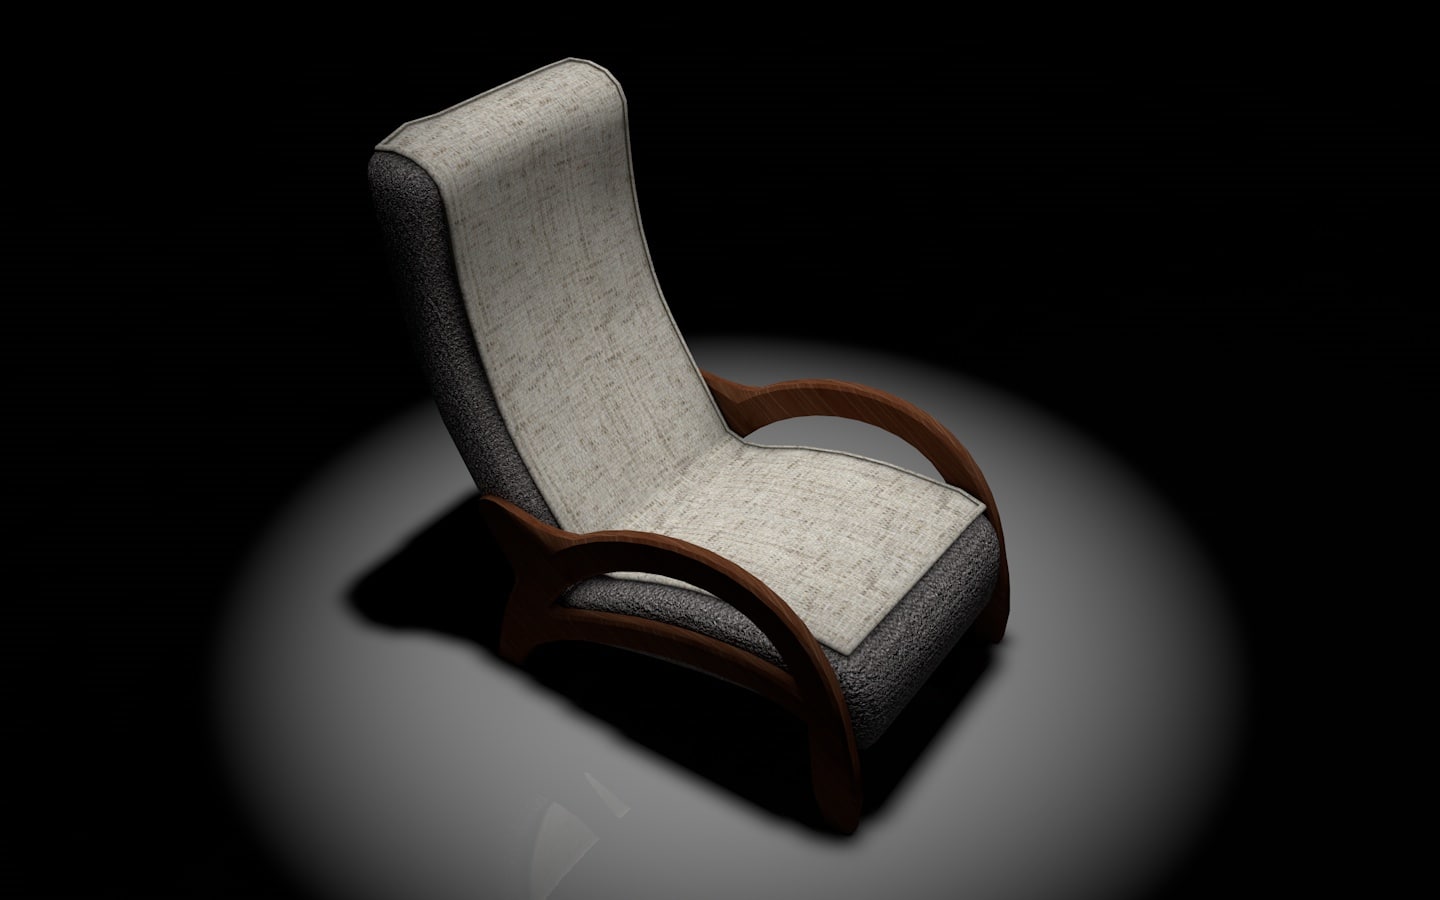
3D chair Free 3D Model
in addition to the model of chair you get 4 texture bedspreads.pick up this wonderful furniture, the bedspread that you like
-
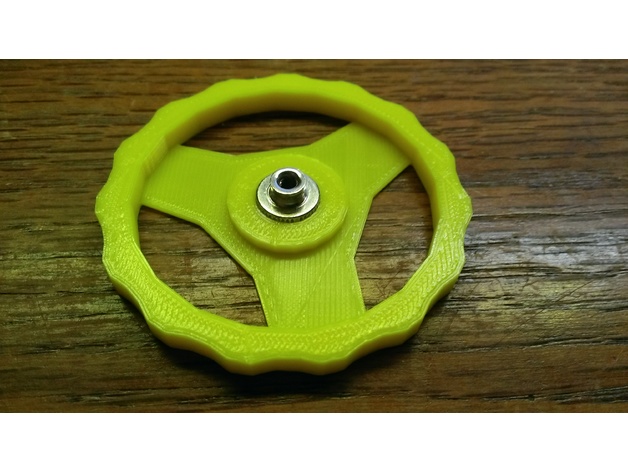
Tevo Tarantula Bed Level Knob WIDE 3D Print Model
Summary
Created this using TinkerCad, inspiration from the CR-10 bed level knob created by Valsrath. I was immediately spoiled by how easy it was to bed level once I had his knobs installed on my machine. Wanted the same experience for my Tevo, hadn’t yet seen anything like this, so I made my own. It’s a tight fit, intentionally, highly recommend removing the bed level nuts and then gently hammer them in place.
Designed this to use minimal amount of filament, but does appear to be plenty strong. I printed this on my CR-10. -
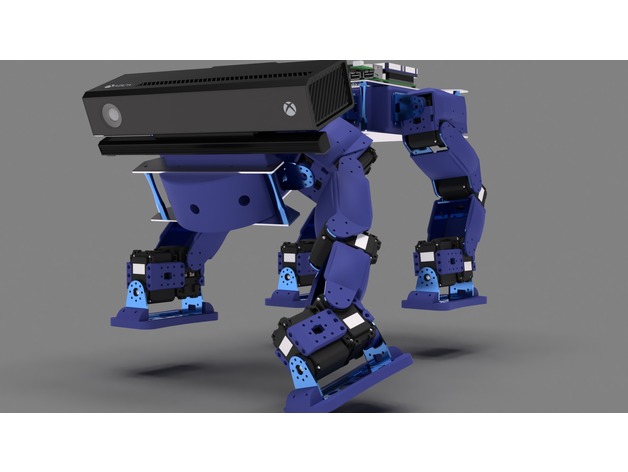
Quadbot 17 3D Print Model
Summary
This is Quadbot 17, a work-in-progress quadruped robot born out of a learning exercise in Autodesk Fusion 360.
This quadruped robot will use AX-12A Dynamixel servos (might be upgraded to the more powerful AX-18A). The legs currently have 20 DoF and there are an additional 2 DoF for the body. Servos and brackets are from the Robotis range, with some replaced by their metal counterparts available from Trossen Robotics. They will be painted to match the colour theme. The rest of the robot is designed with 3D printed parts in mind. The main framework of printed parts forming the body will be sandwiched between 1.6 mm thick custom plates.
The novel aspects of this quadruped are its articulated legs, which have higher DOF than usually found on small quadrupeds, and its articulated “spine”, which will help it in navigating uneven terrain.
A number of options are considered for the “head”, or main sensor pack: an XBOX Kinect v2 time-of-flight sensor, a Scanse Sweep LiDAR and an Intel RealSense depth-sensing camera.
Currently, a hardware test rig of one leg has been built, and the kinematics have been calculated and tested.
How I Designed This
Further information
For news and updates on progress of this robot, visit Cognitive Dissonance. -
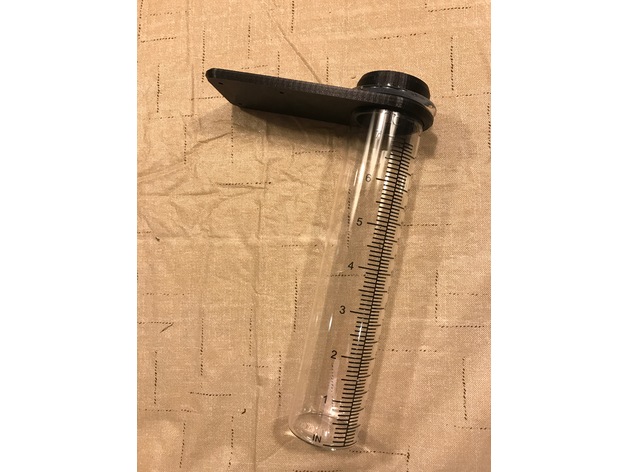
Rain Gauge Mount 3D Print Model
Summary
This is a holder for a replaceable rain gauge tube, or odometer. See the photos for the glass replacement tube info. I buy mine at Menards up here in northern USA for about $5.
The holder is a simple plate that allows one to attach it to a railing like on a deck. The first one I made clips to my deck railing, but since most railings are different I created this simple flat one that can be screwed down to any flat surface. The holes are 3mm which works great for #4 sized stainless steel screws.
The calibration ring helps the gauge read correctly. The glass tube is flanged outwards at the top which allows extra water to roll into the tube. This results in readings that can be 30% larger than the actual rain fall. The calibration ring should fit snugly so that water can’t run into the gauge between the glass and the ring. I simply silicone it in place.
Be sure to mount the gauge in a place that has an open view of the sky and is not shadowed by buildings or trees. -
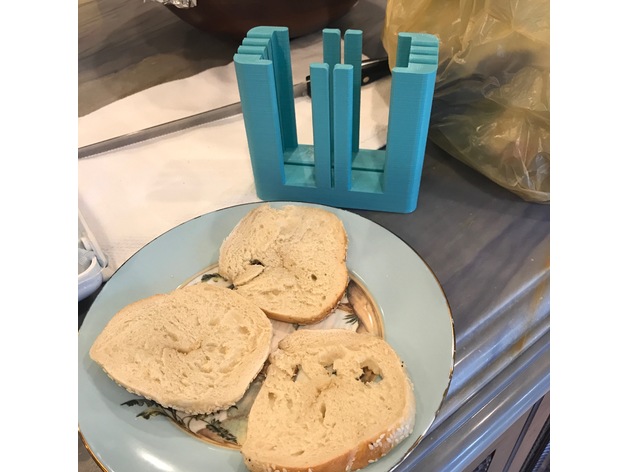
Bagel Slicer 3D Print Model
Summary
This item helps guide the knife through the bagel.
Print Settings
Notes:
I suggest using thick walls and high infill. -
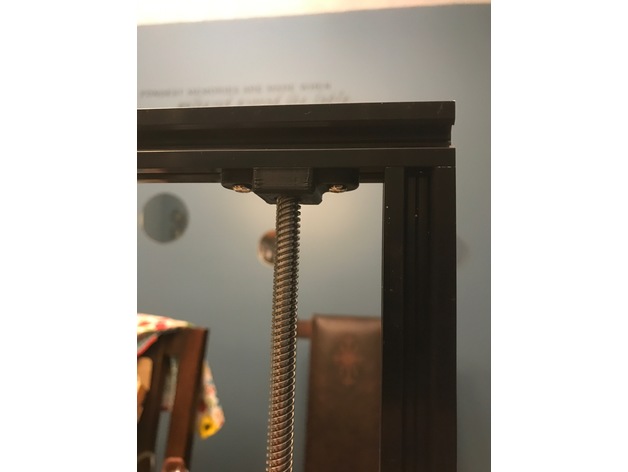
Tronxy x3 Z leadscrew stabilizer bearing support 3D Print Model
Summary
I needed a stabilizer that would house a 16mm bearing, as that is all I had. So I designed these instead of using the 22mm 608z skate bearings. The bearing is a 16x5x8. Enjoy.
Print Settings
Printer:
Tronxy X3 Rafts:
No Supports:
Doesn’t Matter Resolution:
.2 ish Infill:
your liking -
Sofa 3D Model
Additional Info: Sofa King Boulevard N060717 – 3D model (*.gsm+*.3ds+*.max) for interior 3d visualization.
-
Sconce 3D Model
Additional Info: Sconce large – 3D model (*.gsm+*.3ds) for interior 3d visualization.
-
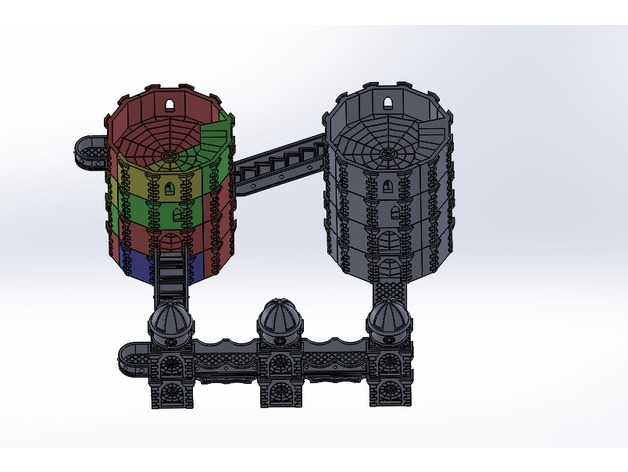
12-Sided Tower Accessory – Bridge Connectors PLUS 3D Print Model
Summary
This is a set of connector walkways and brdige parts to connect 12-Sided Towers at a long distance than the first bridge. It is completely modular and the same heights as the floorsfor the building so it all buiulds off the original.
Enjoy! -
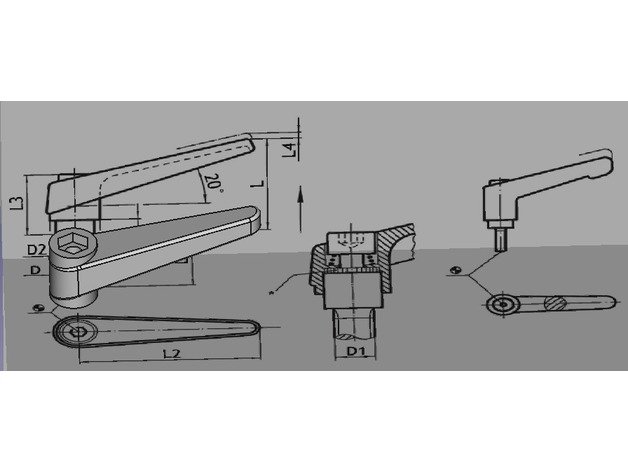
Spangrepen Clamping levers M6 3D Print Model
Summary
A M6 Clamping levers.
Printed in PLA 0.2.
Print layers perpendicular to the screw for more solidity. May be difficult to print
A M6 Clamping levers.
Imprimé en PLA 0.2.
Imprimer de facon a avoir les couches perpendiculaires a la vis pour plus de solidité. -
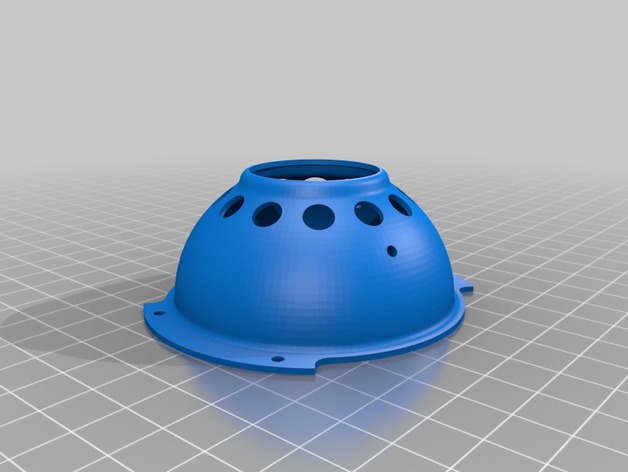
Holo Projector for R2D2 3D Print Model
Summary
This is the Holo Projector for R2D2. OpenScad Source Code included. -
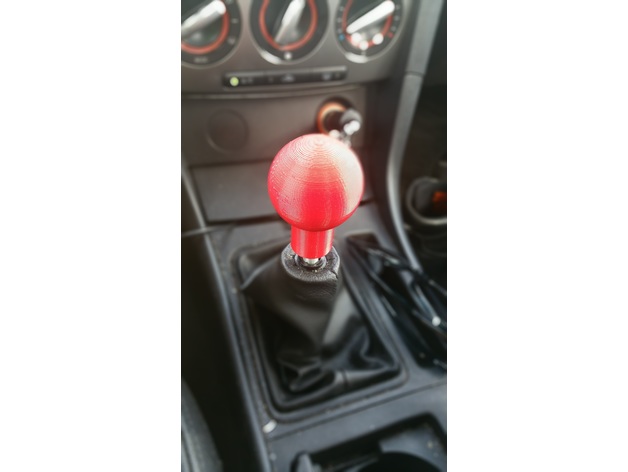
Mazda 3 Shift Knob 3D Print Model
Summary
My shift knob in my 2007 Mazda 3 broke, so instead of just buying a new one I created my own simple one. The picture shown does not have the knob screwed on all the way, it does go all the way down to the boot.
I was worried about printing this upright and using support, but it worked just great. I have since printed it upright without support so it is whatever you want to do with your specific printer.
The thread on it is M10x1.25, so even though I did this for a Mazda 3 it should fit any shifter that has that thread on it. It was a little hard to twist on, but I prefer that to ensure it won’t come off while driving.
I printed mine with a higher infill than I usually do (35%vs10%), this is because of the force that will be put on the center thread/core while shifting. I wanted give it a little more robustness while driving.
I hope at least one person finds this useful, it is my first upload to Thingiverse. Enjoy.
Print Settings
Printer Brand:
MakerBot Printer:
MakerBot Replicator Rafts:
Doesn’t Matter Supports:
Doesn’t Matter Resolution:
0.25 Infill:
20% + Notes:
Pretty easy print, shouldn’t be a problem. I did mine in ABS because that is what I have. -
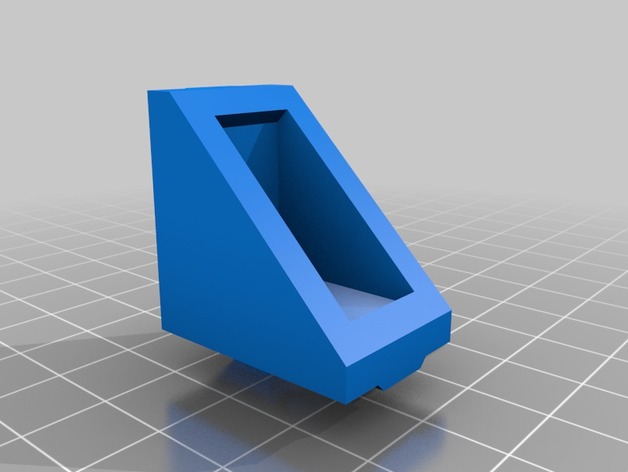
2020 Corner Bracket w/nut stop 3D Print Model
Summary
This is a 2020 corner bracket that has a built in stop for square nuts, which makes alignment easier when using them.
Created this because I’m using 8x8mm square nuts for my current d-bot build, and got sick of having issues with lining them up with my corner brackets so I made these to help me out.
Print Settings
Printer:
Custom Rafts:
No Supports:
No Infill:
100 Notes:
Put the face of the bracket on the print bed, and no supports are needed. I print at 100% infill since I’m using PLA and wanted rigidity. -
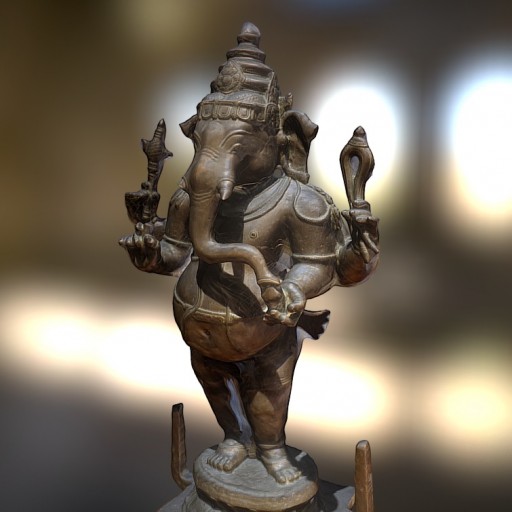
The elephant god Ganesha Free 3D Model
The elephant god Ganesha, Like the dancing Shiva and goddess Parvati Ganesha is found in the soil in Tranquebar 1799. Bronze. South India. Approximately 1200th. The National Museum of Denmark (Copenhagen, Denmark). Made with Memento Beta (now ReMake) from Autodesk.
Ganesha, also known as Ganapati and Vinayaka, is one of the best-known and most worshipped deities in the Hindu pantheon. His image is found throughout India, Sri Lanka, Thailand and Nepal. Although he is known by many attributes, Ganeshaâs elephant head makes him easy to identify. Ganesha is widely revered as the remover of obstacles, the patron of arts and sciences and the deva of intellect and wisdom.
For more updates, please follow @GeoffreyMarchal on Twitter. -
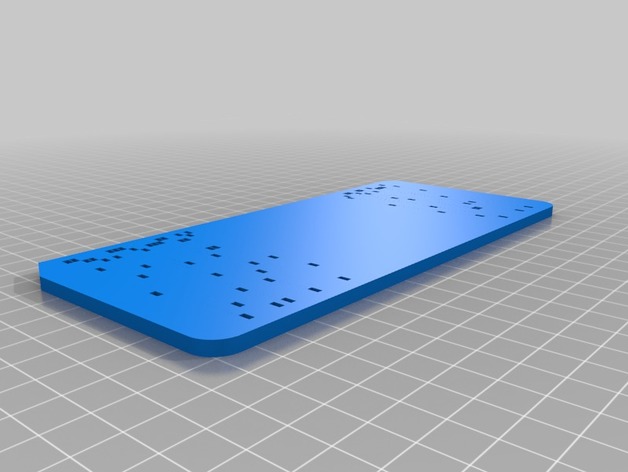
Punch Card 3D Print Model
Summary
Made this punch card. It says something specific for a retiree, so I uploaded the SketchUp file in case you want to change the message. -
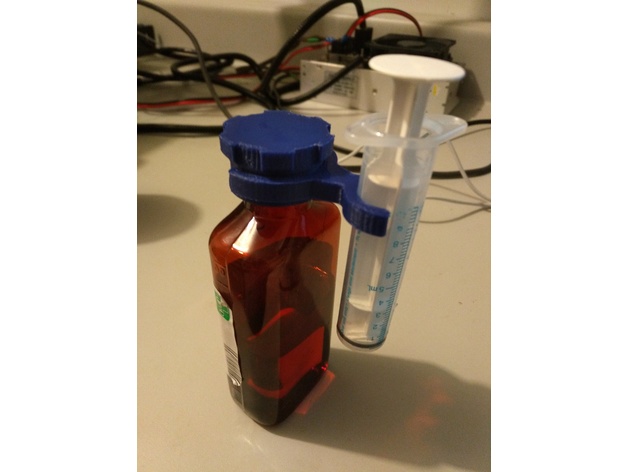
Medical bottle cap and syringe support 3D Print Model
Summary
First Useful thing printed.
Liquid medic bottle cap with syringe support. This cap fit and screw on the bottle neck over rubber reducer adapter for syringe that fit in the bottle neck. You can keep the adapter in place and seal the bottle with this cap. Plus, you have a outer reduced diameter groove to snap the syringe support. Hence, not loosing the … syringe anymore… 😉
I dont know the model of the supplied bottle of my pharmacy store but probably a very common model in Canada and in the US.
Cap must be printed upside down off course!
Enjoy!
Print Settings
Printer:
Tevo Tarantula XL Rafts:
No Supports:
No Resolution:
0.2 Infill:
20% -
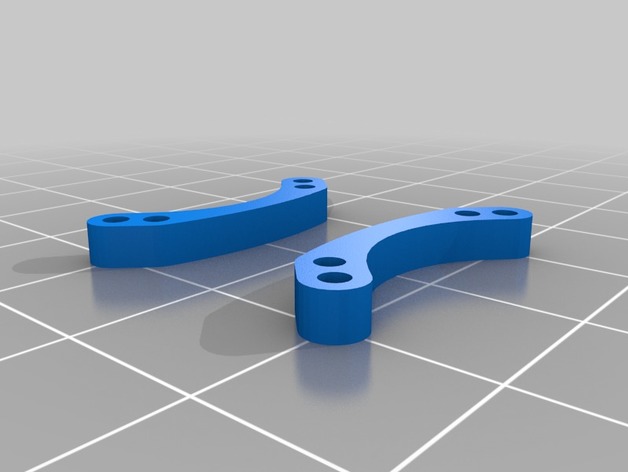
16x16mm to 20x20mm ESC/Flight Controller Adapter 3D Print Model
Summary
Used to mount a 16x16mm nano ESC or Flight controller on a frame that supports 20x20mm boards.
Best printed on ABS wtih 100% infill
For the 20x20mm holes, you will need to use thread using a M3x0.5 tap. For the 16×16, you can either thread using a M2x.04 tap or enlarge to use a M2 screw.
Print Settings
Printer Brand:
FlashForge Printer:
Creator Pro Rafts:
No Supports:
No Resolution:
.2mm Infill:
100 -
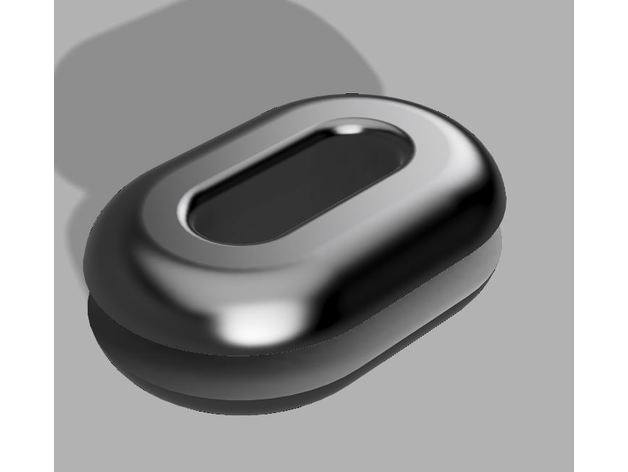
QAV210 grommet 3D Print Model
Summary
I didn’t feel like buying these so I made a model to replace the QAV210 quad copter frame grommet that holds the battery lead.
I made this with NinjaFlex, but any TPU is recommended. -
Bed 3D Model
Additional Info: Bed IKEA Malm N270417 – 3D model (*.gsm+*.3ds) for interior 3d visualization.
-
Grass 3D Model
Additional Info: Grass Decor Garda N040317 – 3D model (*.gsm+*.3ds) for interior 3d visualization.
-
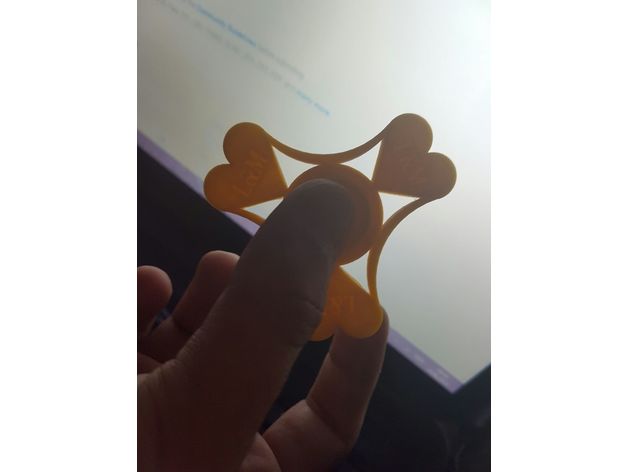
Love Spinner 3D Print Model
Summary
Designed as a Present for my Girlfriend.
(I have a ceramic bearing in there, and its spinning very nice) -
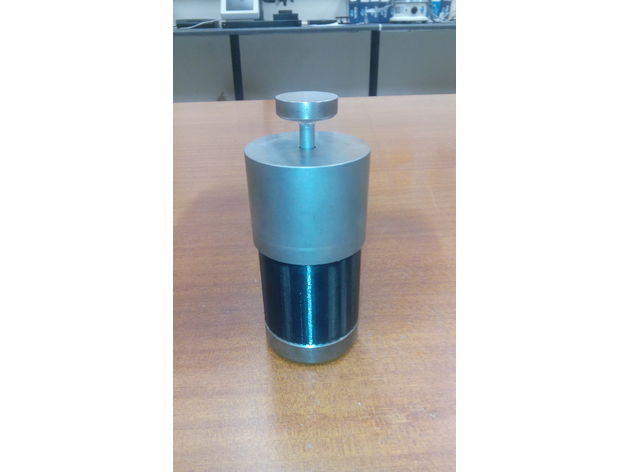
10mm Punch and Die set spacer 3D Print Model
Summary
This is a spacer for a 10mm die set. Used to create a floating die for compaction in both downward and upward directions. -
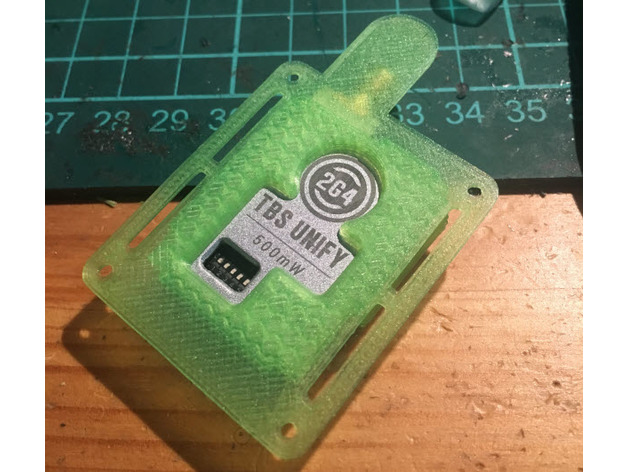
S800 Reptile 2G4 VTX Cover 3D Print Model
Summary
Just a quick mod of my VTX cover to incorporate the 2.4 VTX I’m planning on adding in rev 2. Shows off the VTX nicely and give access to all the dip switches. I plan on using hot glue or similar to mount the VTX, currently not sure how hot it will get for the hot glue but hopefully should be fine. -
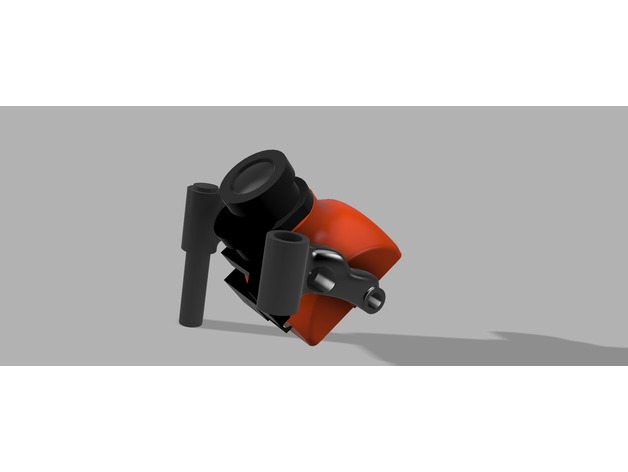
HS1177 or Micro FPV Cam Mount – 30.5 mm spacing 5mm standoff 3D Print Model
Summary
This mount will work for either an hs1177 or a micro fpv cam -
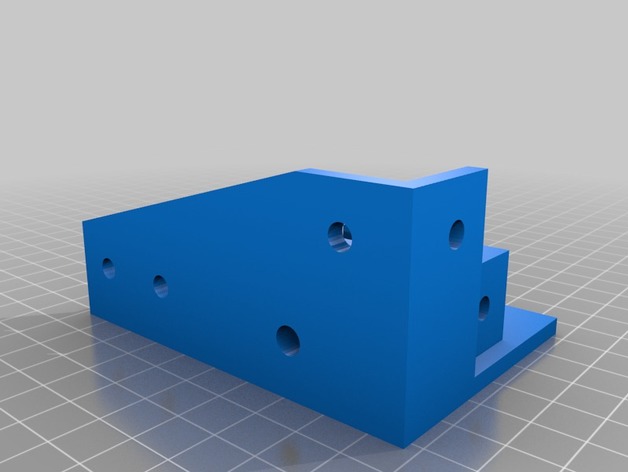
D-BOT – ALUMINUM CORNERS – MGN12H 3D Print Model
Summary
Do not print at this time. Still working on files.
Decided to redo the C-Bot/D-Bot files as I wanted to sturdy the frame with aluminum corner pieces. This allows room for the aluminum pieces to hold the frame together while the motor and idler ends are attached to the frame, hopefully keeping the printed pieces from strain. It gets to 120 degrees where I’m at and I planned on moving this around from time to time, so I wanted to build it as sturdy as possible. At the moment, all pieces are cut from misumi with the standard D-Bot build dimensions and a 2020 piece instead of a 2040 for the x gantry. -
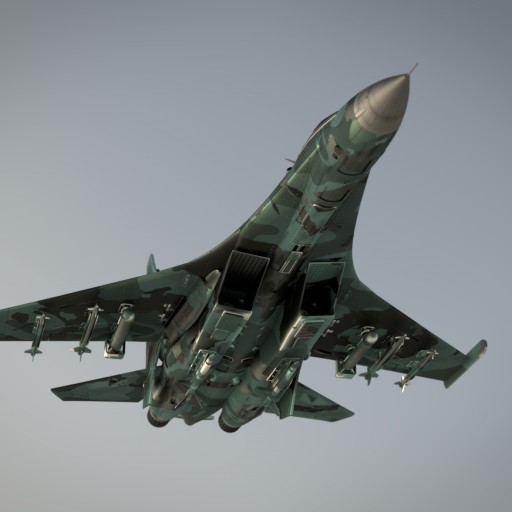
SU_27 FLANKER Free 3D Model
here it is my latest model the russian su 27 the hi performance fighter made by sukhoi design bureau , it’s been long time since my latest model here , this one is prety hi poly ( around 500k vertices and already rigged) also i’m now try to seel some stuff on https://www.turbosquid.com/Search/Artists/Muklis-sadewo if you want to support me on my next project here, anyway enjoy and happy blending
-
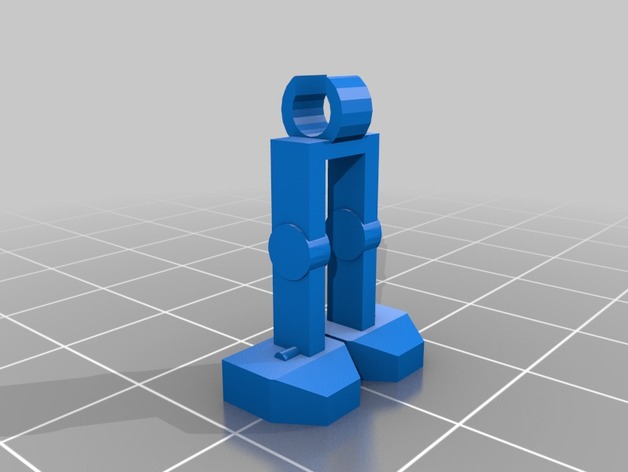
Lego Battle Droid Leg – Replacement 3D Print Model
Summary
For all those who have lost or broken your battle droid leg(s). I give you a replacement design. This fits a standard Lego Battle Droid torso. You can also use it to start making your own version of Roger Freemaker.
Made on the M3D micro with ABS-R
Print Settings
Printer:
M3D Micro Rafts:
Yes Supports:
No Resolution:
150 Notes:
Works good with ABS-R -
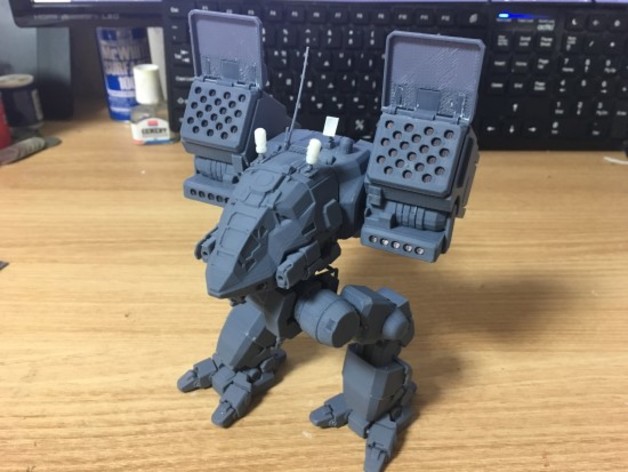
Articulated and Parted MWO Catapult 3D Print Model
Summary
i am bad at summary and english…
Note 1) Smaller revoloute Joints that did’t given specific Pin Model use 1.75mm Fillaments as pin.
Note 2) Revolute Axiess given 0.05mm toleance and other assmble joints given no tolerance in design so you will need some accuracy fit part together.
Note 3) you may need glue to weld part together which it will need when weld smaller parts on body
Note 4) Some joints and attach points may need put some a bit of tissue for comensate tolerance in order to keep tension on joints.
Note 6) if you want change scale i recommand you load Introduction STL on your editer whatever you use and edit then extract one by one if possible
Note 7) this modification work may completed but it will stay in ‘This Thing is a Work-In-Progress’ untill anyone proven this can be printed well in other printers especially Reprep which i afriad it may can not printed well with my supports.
Print Settings
Printer:
Cubicon Style (3DP-210F) Rafts:
Doesn’t Matter Supports:
Doesn’t Matter Resolution:
i recommend 0.1mm Layers height Infill:
10~15% Notes:
you will need to be good at get accurate Dimension of work of your printer as put male and female part together in 0.05mm toleance or no toleance on attach points
How I Designed This
I liked Mech and ship angled nicely such as UNSC ship , Catapult Mech, Raven Mech and i also interest in developing and covert models into articulated one so i work on this as fun. -
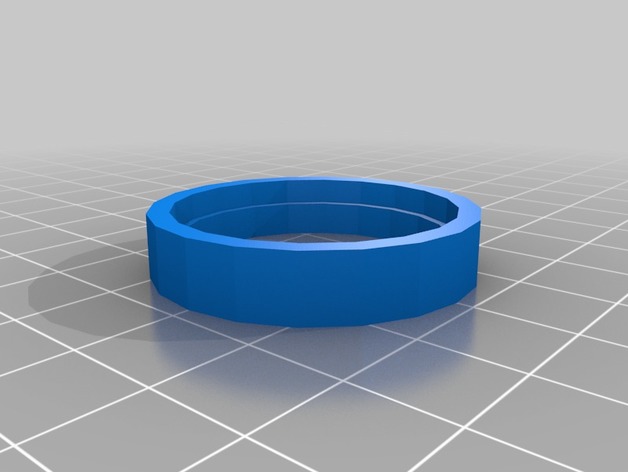
Vanishing Coin Accessory 3D Print Model
Summary
This is an accessory for the Magic Makers Vanishing Coin Trick. This is a replacement for the plastic ring that comes with the set.
The trick is cool. And can be bought here https://www.amazon.com/Magic-Makers-Vanishing-Coin-Ultimate/dp/B00TYP4QKC. However my plastic ring broke, making the trick worthless. I didn’t want to pay another $30 for a silly stepped plastic ring when I have a 3D printer, thus I give you a five cent replacement. Good as new or even better than the original!
Print Settings
Printer:
M3D Micro Rafts:
Doesn’t Matter Supports:
No Resolution:
any -
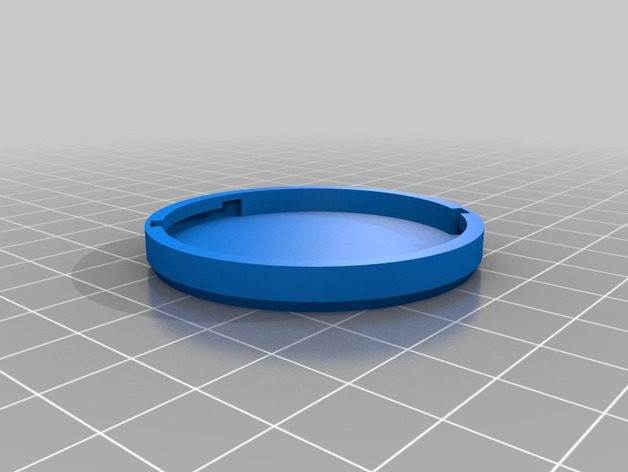
Eisenhower Dollar Coin Holder 3D Print Model
Summary
Remix of Dollar Coin Holder, scaled for Eisenhower Dollar Coins -
Luster 3D Model
Additional Info: Luster Vistosi Diadema SP 60 – 3D model (*.gsm+*.3ds) for interior 3d visualization.
-
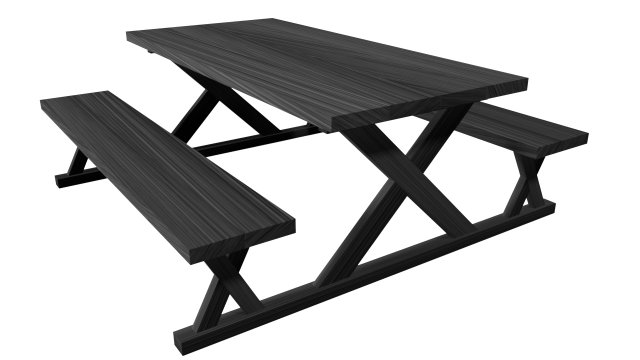
Picnic Table 3D Model Free 3D Model
The file formats available are.ma.fbx.obj.dxfThe texture file is also included.The product is low poly with black wood textureIt has a very basic design of a picnic tableThe product can be used as part of a larger scene or it can be used separatelyThe product is made as a realistic model with black wood texturing applied to the individual wood pieces.UV mapping is also applied.Autodesk Maya 2016 is used as the native modeling software and MentalRay is used for rendering the product.
-
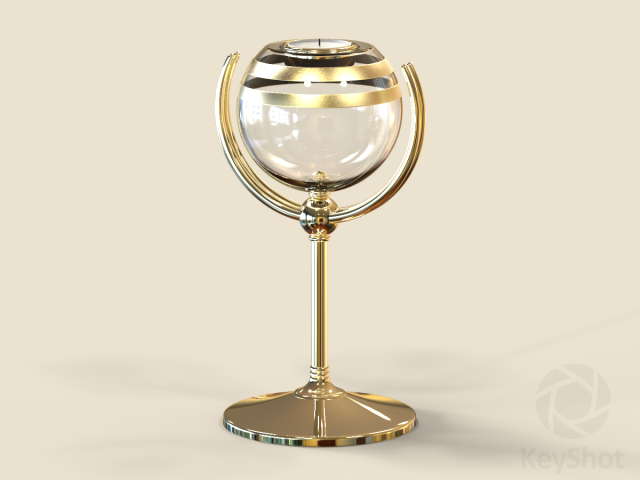
Concept Candle Holder 05 Free 3D Model
Modeled in MoI 3.0Remeshed in ZBrush 4R8Assembled and .OBJ exported in Blender 2.8Rendered at geometry subdivision level 1 in KeyShot 5, with default materials._______________________________Only KeyShot .BIP file ready for rendering._______________________________ZBrush subtools have XZ symmetry. Crease not used. Disable Quick button for smooth preview.
-
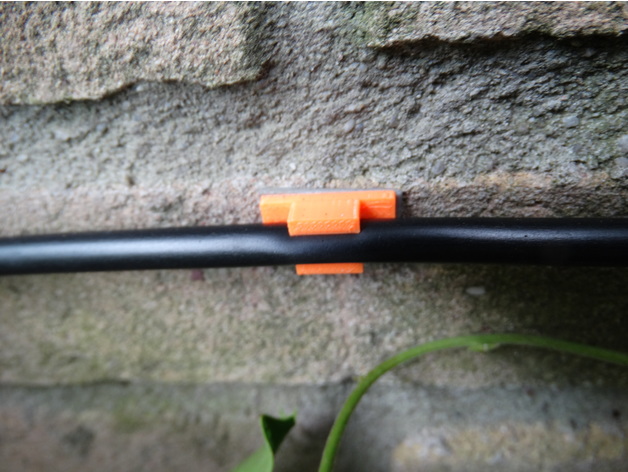
Irrigation Hose Wall Mount 3D Print Model
Summary
Wall mount for irrigation hoses with outer diameter of 6 mm. Includes 3 mm holes for mounting using screws, also it is possible to use double sided tape.
Print Settings
Printer:
Vertex K8400 Rafts:
No Supports:
No Resolution:
0.2mm Infill:
50% -
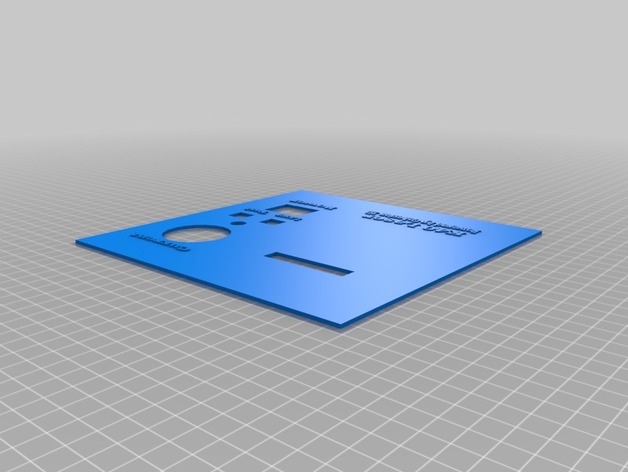
K40 Laser Panel for using an LCD with a Cohesion 3D board 3D Print Model
Summary
This is version 1 of the panel, I will add the holes for mounting as soon as I get a chance. This was designed to use with the case linked below and has had everything moved to accommodate the stock opening on the K40 laser itself.
https://www.thingiverse.com/thing:87250 -
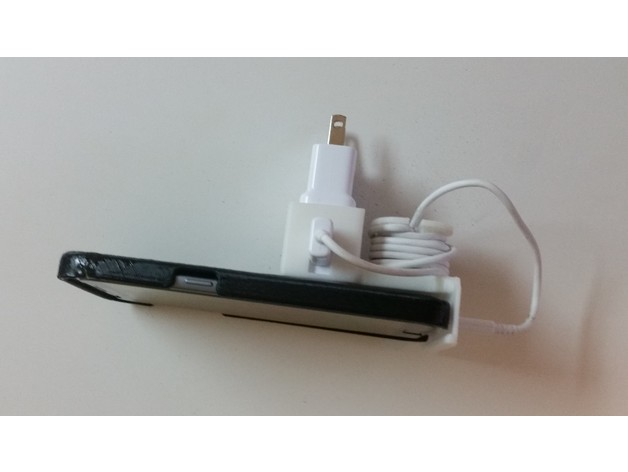
Phone and Cable Holder for Samsung Charger 3D Print Model
Summary
This is a small charging station that holds your phone and keeps the cables organized. There are a few samsung charging stations that hold your phones, but this one will keep the cable organized as well.
When plugged into outlets that hold the charger tightly, the phone can be placed upright or vertically on the charging station, but when the charger droops in the outlet, the phone will have to be placed on it side so it doesnt bend anything. This is a work in progress because I’d like to angle the phone relative to the charger, so this wont be an issue.
Print Settings
Printer Brand:
MakerBot Printer:
MakerBot Replicator Mini Rafts:
Yes Supports:
Yes Resolution:
0.3 Infill:
15% Notes:
These are the print settings I used for this. I’m sure there are many others you can use and still print succesfully. -
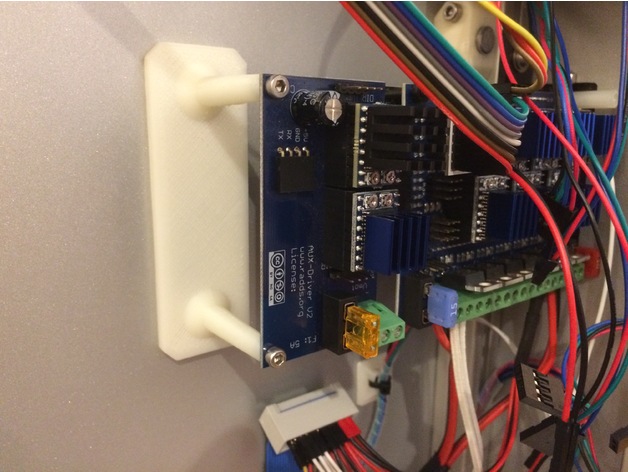
Spark cube 1.1xl RADDS extension board mount 3D Print Model
Summary
Might be useful for the SparkLab community. It’s for RADDS w/extension board builds. Tape thickness is calibrated for 3M VHB, but I’m sure it would work with other two-sided tapes. You could always stretch the z if you needed… -
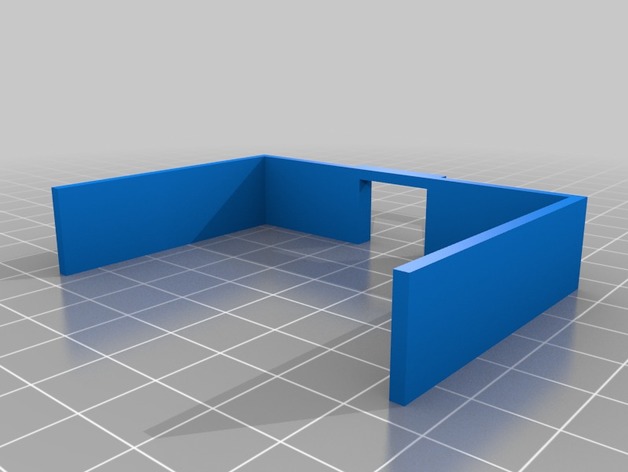
10mm wargaming building 3D Print Model
Summary
I printed it in parts, movable roof lets you put figures inside. Pics later. Used for 10mm wargaming.
Print Settings
Printer Brand:
Solidoodle Printer:
Solidoodle 2 – Base Rafts:
No Supports:
No Resolution:
.3 -
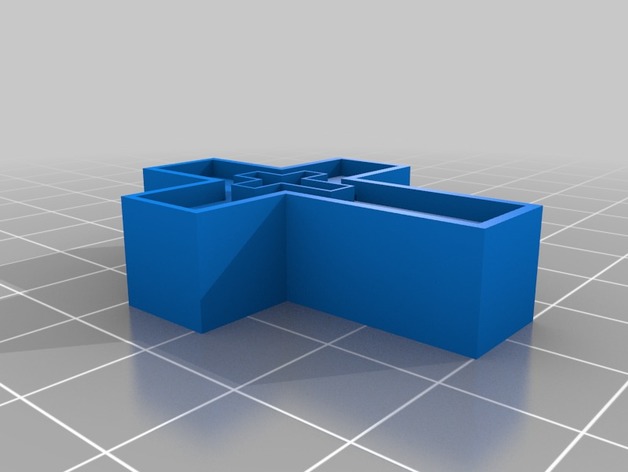
Cross pendent 3D Print Model
Summary
This is my 12 year old son’s first 3D design. This is a cross pendent designed with a hole in the top to put a cord through.
Print Settings
Printer:
Monoprice Select Mini V1 Rafts:
No Supports:
No Infill:
20 -
Motion Spinner perpetual motion 3D Print Model
Summary
Most defiantly in the works im making a new gear for the small gear.. -
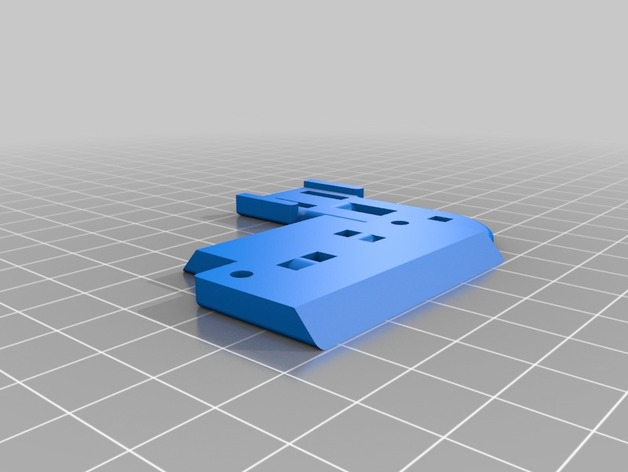
Anet Autolevel sensor mount(V6 hotend + Bowden) 3D Print Model
Summary
I originally printed the first one. I really like the design. The only problem is that the sensor sits too low to use the v6 hotend with a bowden extrusion setup. The highest you can raise it on the original, you were stil about 4mm away from the print surface.
So I chopped it a bit to make it higher, and gave it some more adjustment room.
I have not tested it. I haven’t had a chance to print it yet as the printer is not quite together yet. -
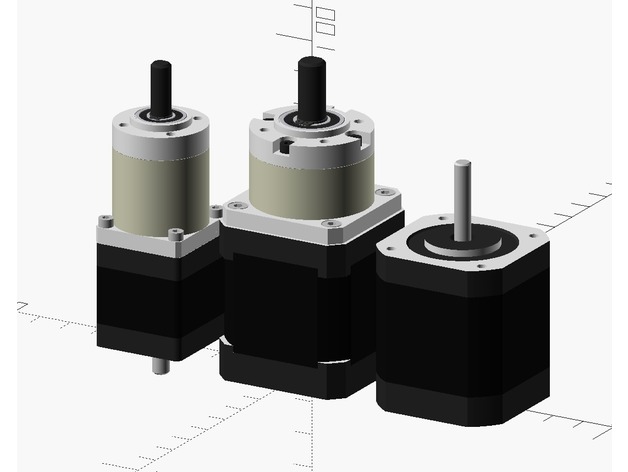
OpenSCAD HD Stepper Motors and Gearbox mockups 3D Print Model
Summary
This is an OpenSCAD library for displaying high detail, visually accurate stepper motors, with or without gearbox, for use in mockups of larger assemblies (eg. a RepRap 3D printer, or other robots).
There are Nema11 and Nema17 versions currently, but the script could probably be adapted for other sizes of stepper motors as well..
This model is not intended to be 3D printed, but for visualizing in OpenSCAD, checking fit of assemblies, making pretty screenshots and animations, etc.
Motor and gearbox internals are not modeled accurately(or at all!), their beauty is only skin deep.
This script requires the Open Source BOLTS library by jreinhardt for the hex cap bolts. -
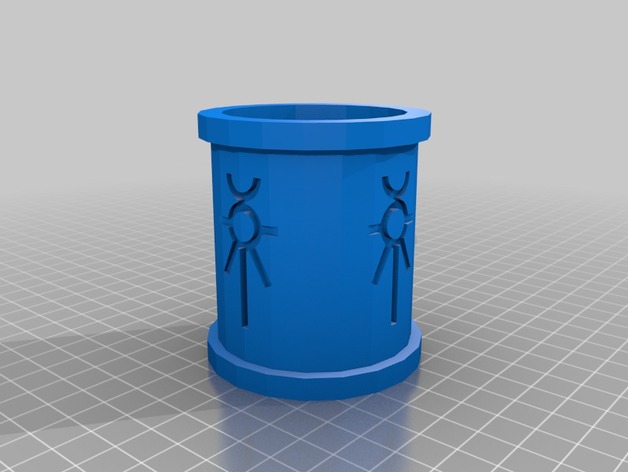
Necron Cup 3D Print Model
Summary
A simple dice cup to use with your Necrons. Or any other game and army if you just like the symbol. -
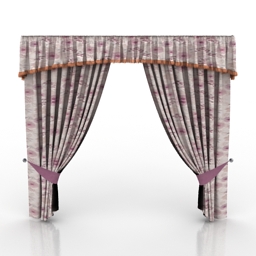
Curtain 3D Model
Additional Info: Curtain N270517 – 3D model (*.gsm+*.3ds) for interior 3d visualization.
-
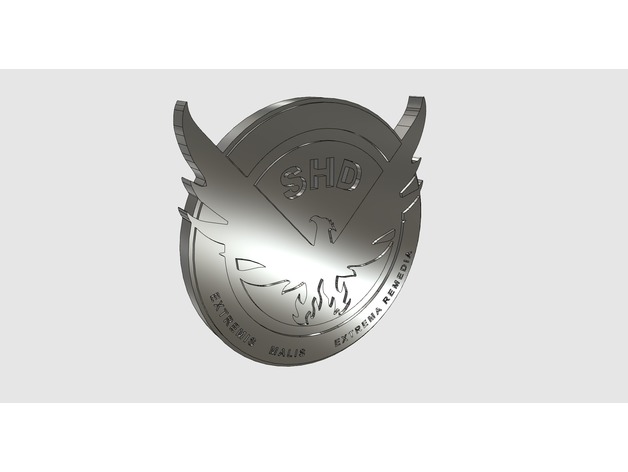
Phoenix Credit (coin/token) 3D Print Model
Summary
Just some fan art, of the Popular Tom Clancy game “The Division” made for cosplayers
Please download print and enjoy your “bird bucks”
How I Designed ThisFace
Back
Spine
-
Nameplate 3D Print Model
Summary
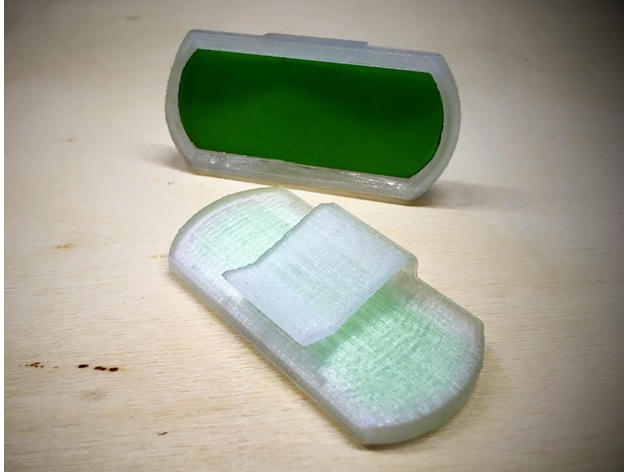
Another one asked from my kids – “Dad, can’t you print some Fireman-Nameplates. And as allways, sure…
So here they are. Small plates, they can be easily clipped on any t-shirt. The DXF ist for the paperplate itself – in case you have an Lasercutter or something similar.
Print Settings
Printer:
ZYYX 3D Printer Rafts:
No Supports:
No Resolution:
0.2 Infill:
10% – 20 % -
simple key chain calliper 3D Print Model
Summary
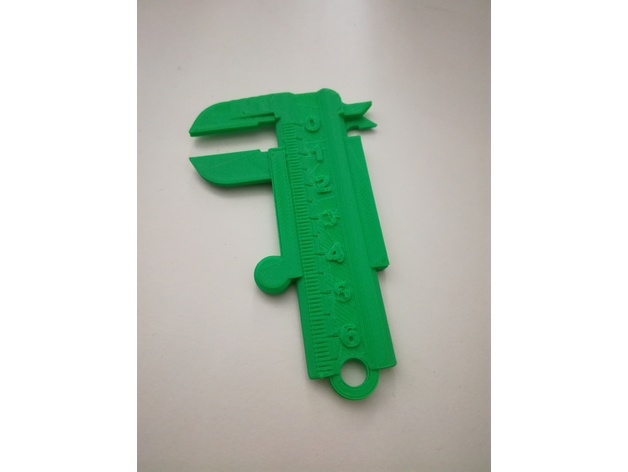
This is a simple calliper. good and easy printable. Use ABS not PLA. PLA will not slide propperly.