Summary
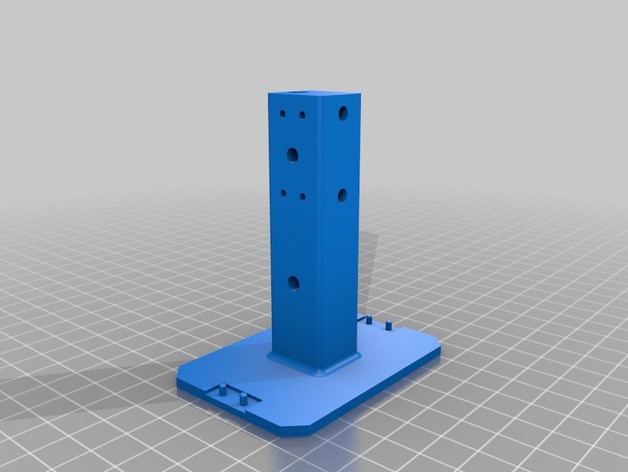
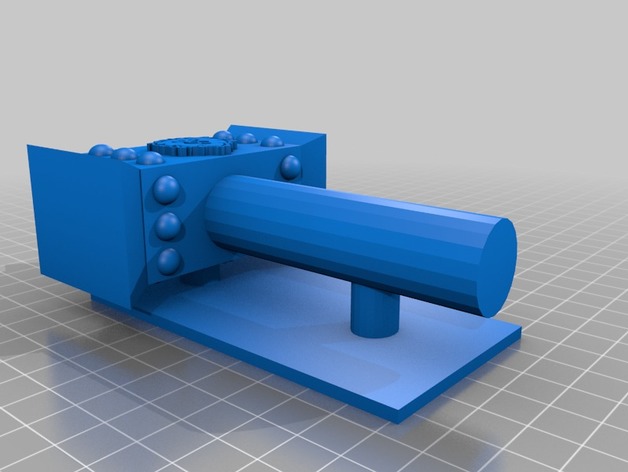
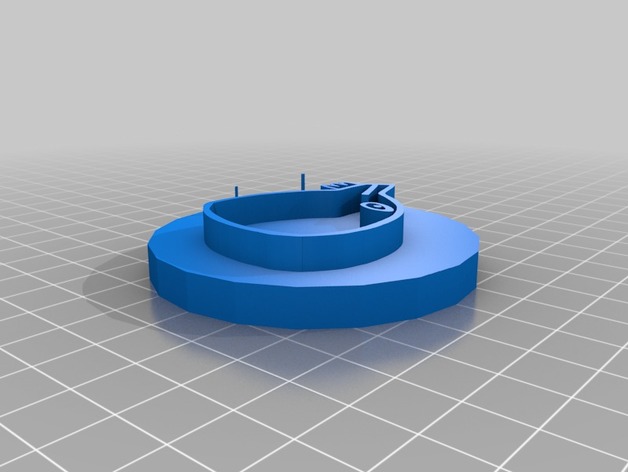
Lid lifts for the FLUX Delta printer so that the original lid can be used with an off-board filament spool.
Also allows accessory mounts such as the FLUX9001 & FLUX9002 & FLUX9003 and FLUX9004 to hang off the printer lip and not interfere with the lid.
Print Settings
Printer:
FLUX Delta Rafts:
No Supports:
Yes Resolution:
Low Infill:
20% Notes:
Note that only the left and right lifts need to be printed with support. Also note that those mounts are not symmetrical, and the left must be mirrored to get the right.
All the parts will press-fit into place. Some minor cleanup may be needed, especially around the support.
Category: Free 3D Models
Free 3D models ready to be used in your CG projects such as films, visualizations, games, VR etc. All 3D Models and Free 3D Print Models are available for download in several formats including .MAX, .STL, .FBX, .3DS, .C4D, .OBJ, .BLEND, .DWG, .DXF, .LWO and much more. If you’re in search of high-quality Free 3D assets, we have a huge library of 3d models for all your needs. Also you can visit 3D Models and 3D Print Models category.
-
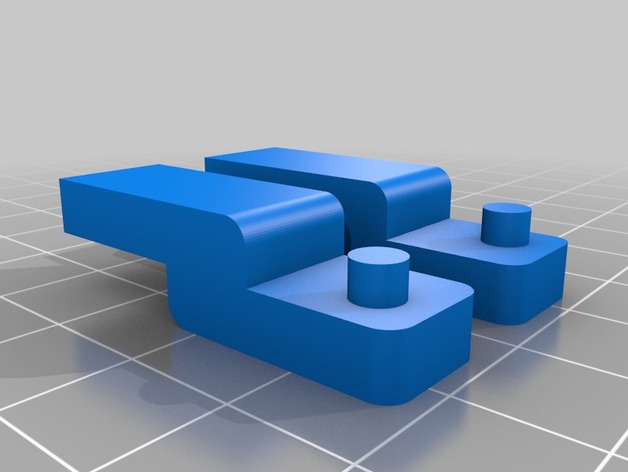
FLUX Delta Lid Lifts 3D Print Model
-
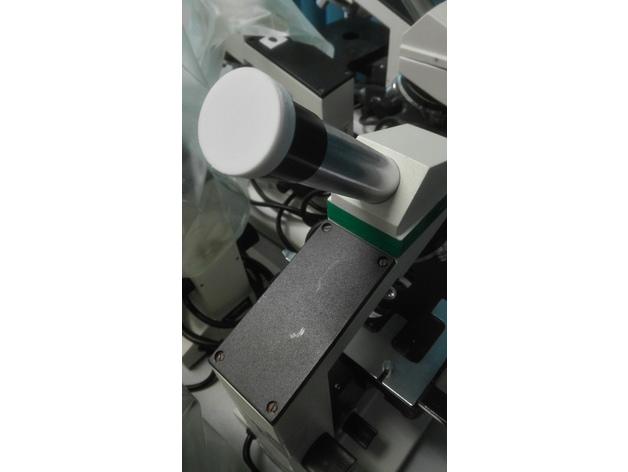
ocular protection for microscope 3D Print Model
Summary
an ocular protection for microscope or other obervatory material.
Use Flex wire.
Diameter 28mm but with the freecad file you can easily modify it. -
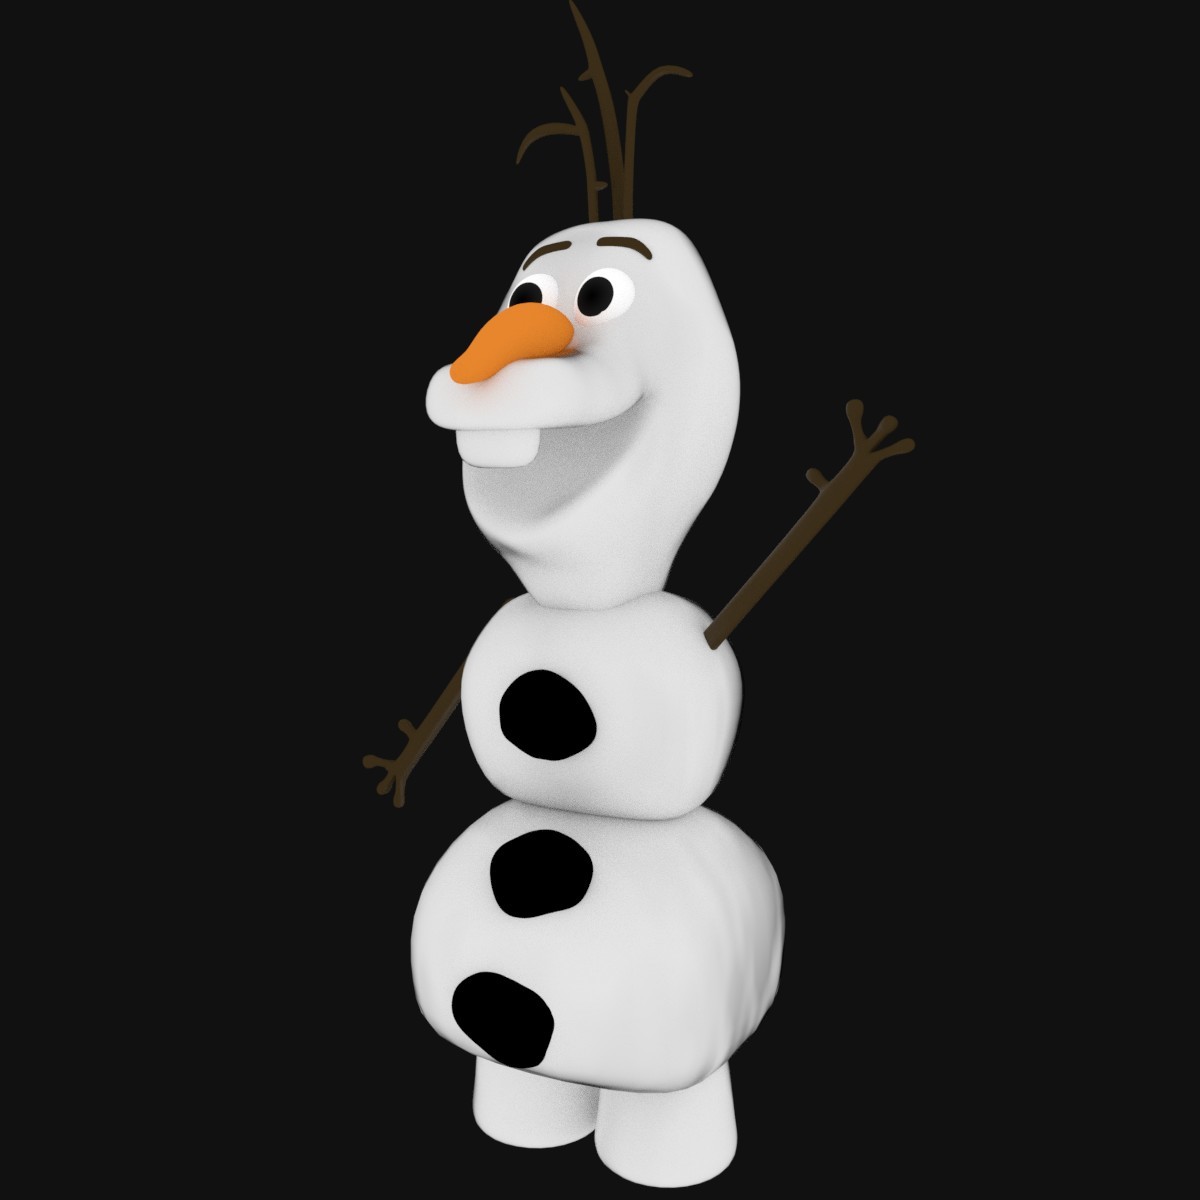
Olaf 3D Free 3D Model
This is Olaf from the 2013 film Frozen. This model is rigged, although very simply. It also has basic materials and a texture for the eyes. It has a very high poly count for the eyes but the rest is reasonably low. The file comes with the texture for the eyes.===Features====- Made with Blender 2.78- Contains an FBX file- Contains 1, very simple texture for the eyes
-
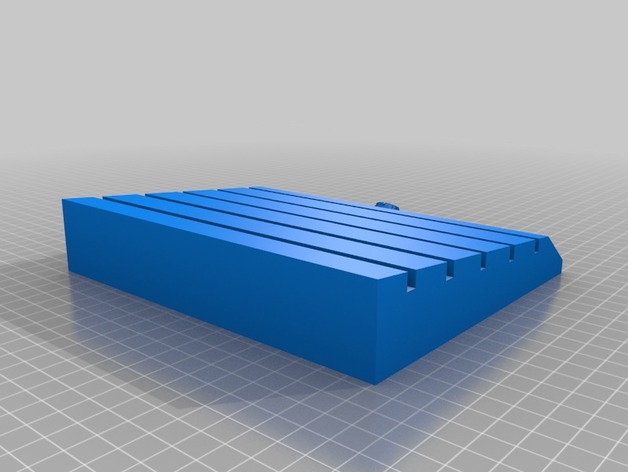
EOD Challenge Coin Display 3D Print Model
Summary
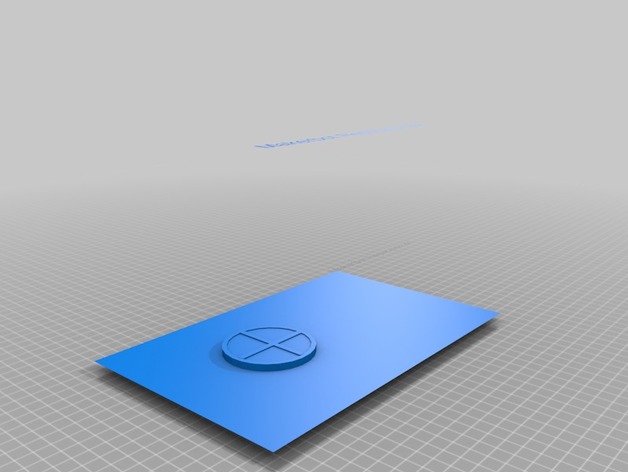
Remake of my other coin display. This one has the EOD Master Badge. -
ER250 Front Plate Stock Replacement 3D Print Model
Summary
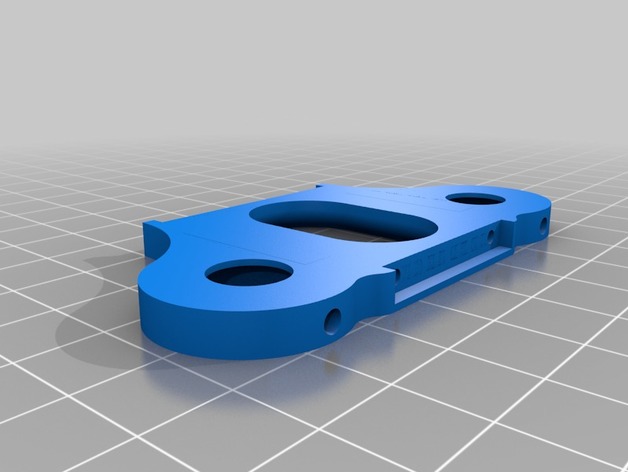
This is a replacement part for the Eachine 250 Racer front plate.
It has a larger camera port.
I’m waiting on a printed copy .. I like Nylon best so far has a nice finish. -
keurig Hack 3D Print Model
Summary
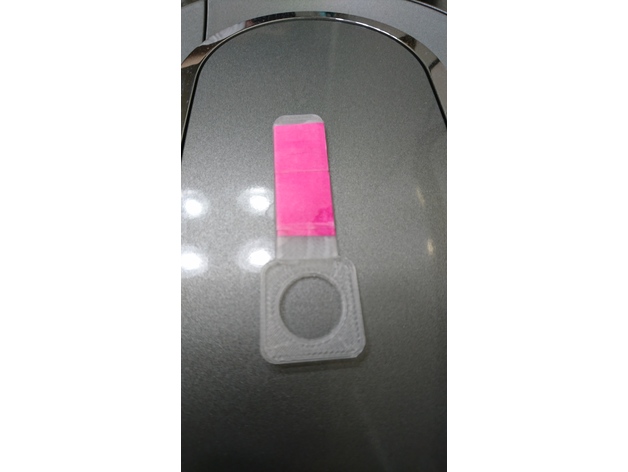
Keurig hack. inspired by the keurig freedom key.
you can tape a purple post it note on one side with masking tape to unlock special menu.
Note that if you print with PLA it might be soften by the heat. recommend to use ABS for this. -
BBQ 3D Model
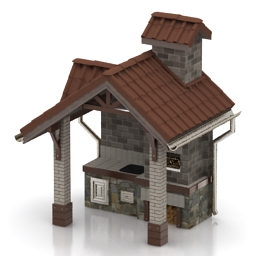
Additional Info: BBQ arbor N300317 – 3D model (*.gsm+*.3ds) for exterior 3d visualization.
-
Headset or headphone holder 3D Print Model
Summary
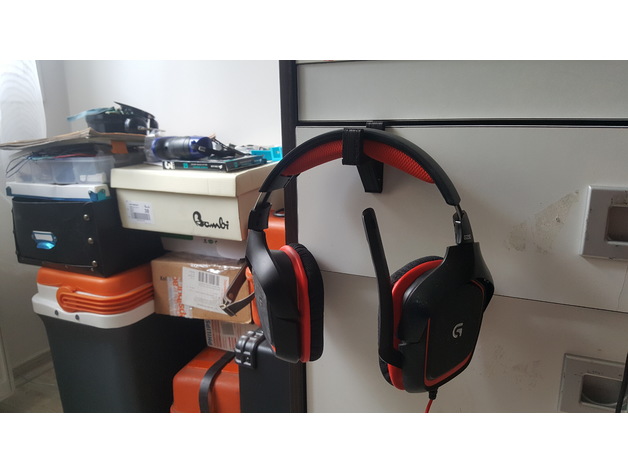
easy to print, Small and strong holder.Headphone/headset holder for drawer or screen
Print Settings
Printer:
pursa i3 Rafts:
Doesn’t Matter Supports:
No Infill:
20 -
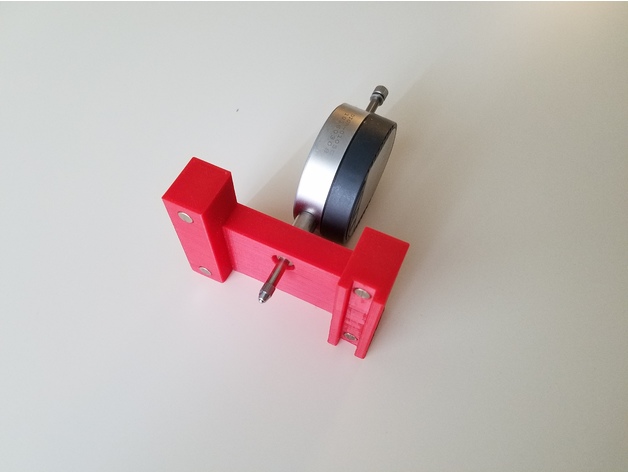
Digital caliper holder for 3D printer bed leveling 3D Print Model
Summary
This tool is designed to hold digital caliper for bed leveling. I made it to avoid constant pain with bed leveling which involves eye-balling and playing with Feeler Gauges.
Intended use algorithm:
1) Level bed manually — make sure you heated the bed first (temperature will temper readings). Make sure to heat your printer but not caliper.
2) Measure distance above each leveling knob
3) Next time you need to level a bed just use this tool to adjust knobs
Parts:
It assumes use of magnets to attach to rails and ensure there will be no fidgeting: “Magnets 6x3mm”
I used a caliper like this “Clockwise Tools DIGR-0105 Electronic Digital Indicator Gage Gauge Inch/Metric Conversion 0-1 Inch/25.4 mm with Back Lug Auto Off”
Post-Printing
It’s recommended to glue digital caliper to holder to make sure readings will be consistent. -
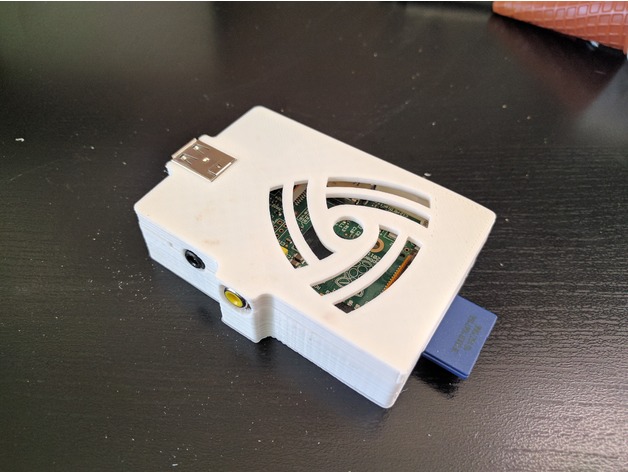
Raspberry Pi 1B Case – no screws 3D Print Model
Summary
Remixed from 0110-M-P’s excellent original design. I was going for style more than functionality, and removed the addtional port openings and screw holes. It’s designed to snap together, but probably isn’t sturdy enough to just toss in a bag and still stay connected.
Second photo shows a comparison between 0110-M-P’s original design on the left, and my remix on the right.
TinkerCAD links, in case anyone wants to see my atrocious editing job (might be useful for extracting the “logo” for your own design):
Top: https://www.tinkercad.com/things/9NS4N4xiAHE
Bottom: https://www.tinkercad.com/things/9ZxpVprNRZ3
Print Settings
Printer Brand:
SeeMeCNC Printer:
Rostock MAX v2 Rafts:
No Supports:
No Resolution:
.1 Infill:
20% -
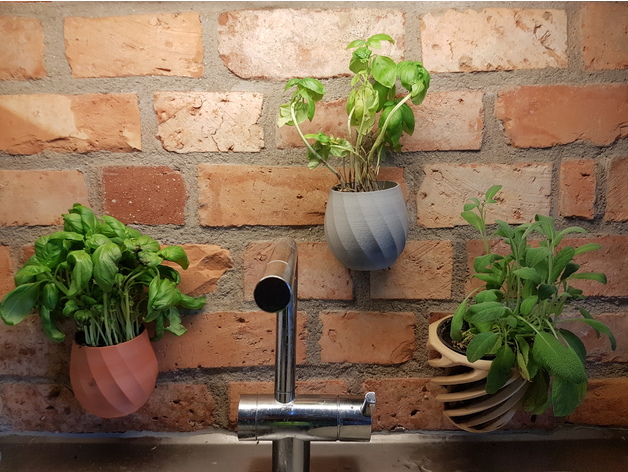
wallmounted flowerpot 3D Print Model
Summary
Printed easily without support.
Remixed from my own regular pots.
I hang them on the wall with sugru. works perfectly. I guess that drilling a keyhole should work as well for hanging with skrews. -
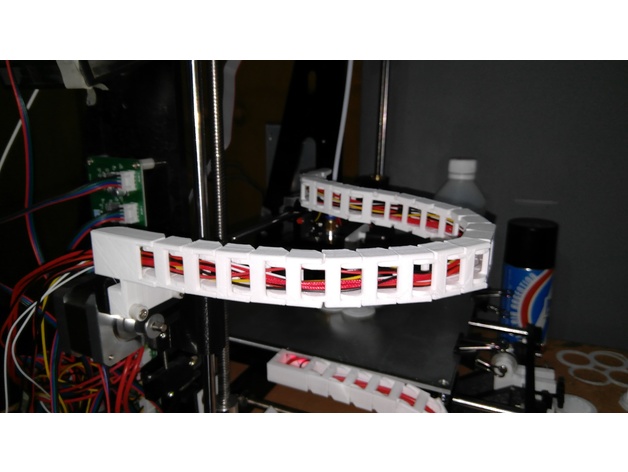
Cable Chain Adapter for Tronxy P802E – Axis X 3D Print Model
Summary
A simple remix from Cable Chain Adapter for Prusa i3 (Hictop) -
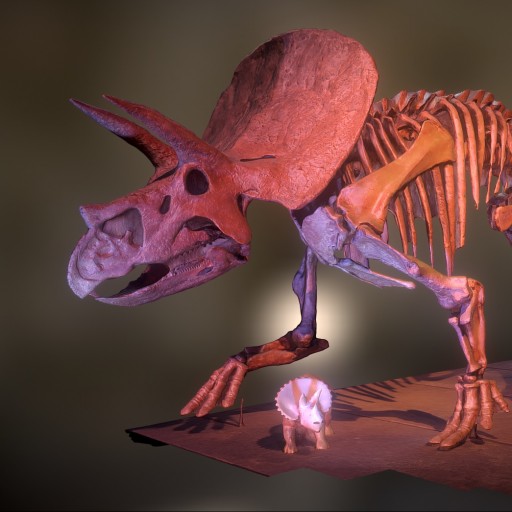
Triceratops Free 3D Model
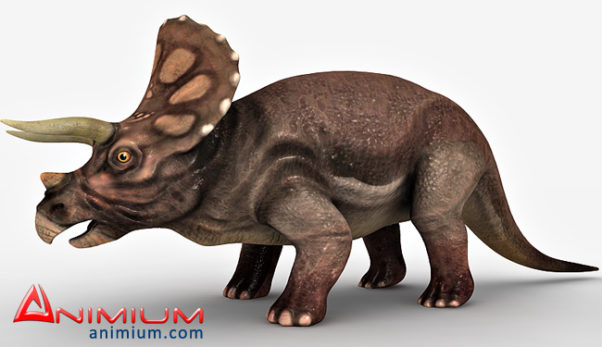
Triceratops means “three-horned face”. Musée d’Histoire Naturelle (Brussels, Belgium). Made with ReMake and ReCap from AutoDesk.
-
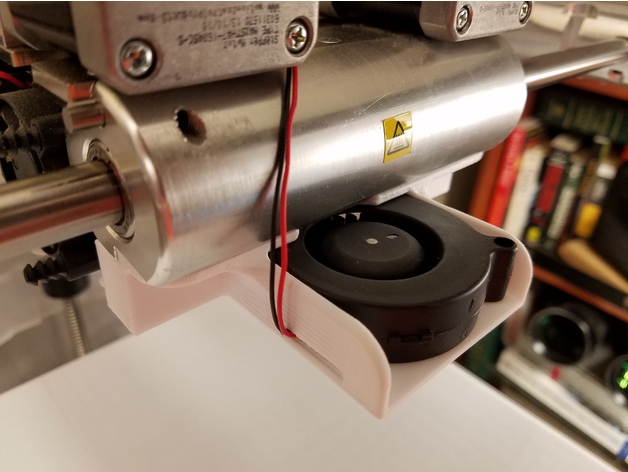
CubeX Part Cooling Fan – Front Mounted 3D Print Model
Summary
This is a part cooling fan for the CubeX and possibly Cube Pro 3D (not verified) printers. It uses a centrifugal blower (see specs below). The blower spacing is for using extruders 1 and 3. Remember to print two ducts. I will eventually upload a plenum for a 1-2, 2-3, and 1-2-3 option. Constructive feedback is appreciated.
These files are a work in progress. I prefer to have all my parts snap together without fasteners, but the plenum will need to be glued in place for now until I finalize the design.
Fan
Delta Electronics
BFB0512H-R00 (12V)https://www.digikey.com/products/en?keywords=BFB0512H-R00
BFB0524H-R00 (24V)https://www.digikey.com/products/en?keywords=BFB0524H-R00
Flow: 3.9cfm @0.709in H20
Noise: 38dB
Size: 51mm x 51.3mm x 15mm
Hardware
Socket Head Machine Screws M3 x 0.5 mm, 6 mm Long (quantity 2)https://www.mcmaster.com/#91292a111/=17i1kxt
Glue
Loctite Professional Liquid Super Gluehttp://www.loctiteproducts.com/p/sg_bottle_pro/overview/Loctite-Super-Glue-Liquid-Professional.htm
Print Settings
Supports:
No Resolution:
0.2mm Infill:
20% Notes:
Use PETG or ABS.
The models print easily with no supports.
The ducts require a raft so that they don’t get knocked over. If you flip them around the other way, the overhang is too extreme for PETG (on my printer at least).
Post-Printing
Assembly
1) Clean prints of stringing, blogs, and check internals for blockage.
2) Glue the plenum to the bracket with super glue. I use tape to align and secure it until the glue dries.
3) Snap in the two ducts.The ducts snap into place as long as your printer is well calibrated.
4) Screw the assembly onto the front of the carriage using the two outside screw holes where the OEM fan attaches.
5) Slide in the fan wires through the slot and snap fan into place. The blue wire is not used.
6) Connect power to your preferred source on your control board, or build a fused circuit directly from the power supply. Make sure you get the correct voltage fan for your 3d printer. -
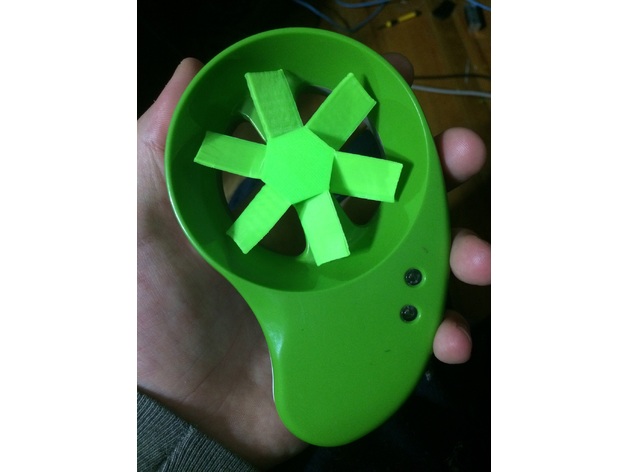
HYmini Wind Charger Impeller Blade 3D Print Model
Summary
This is a replacement impeller for the HYmini wind charger. Printed in ABS. Sixth and Seventh versions included. Designed by me. It’s pretty fragile so print it denser / solid. Does not need supports. Printed on Anet A8. -
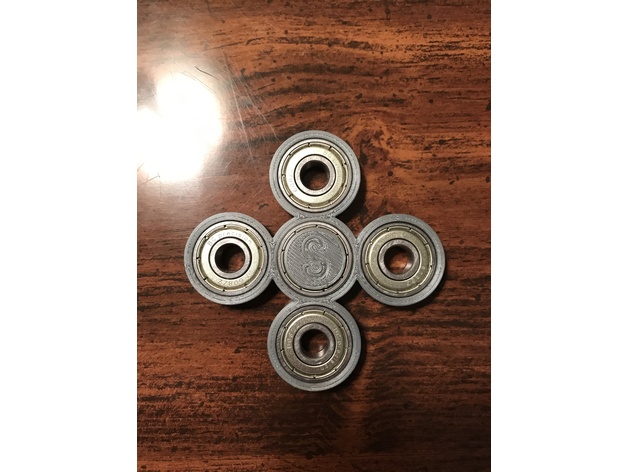
Quad Spinner 3D Print Model
Summary
This is a Fidget Spinner I created in Fusion 360. Works with five 608ZZ 8mm X 22mm X 7mm bearings. Also includes center caps as separate file. Hope you enjoy, let me know what you think!
Print Settings
Printer Brand:
Printrbot Printer:
Printrbot Simple Metal Resolution:
.15mm Infill:
80% -
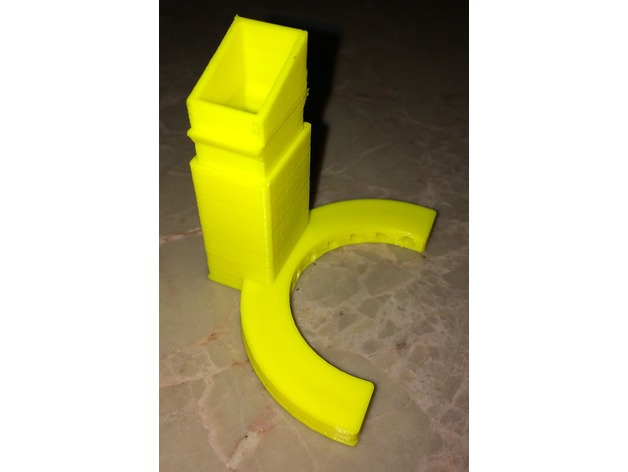
A6 Semi-circular Fan (Improved) 3D Print Model
Summary
This is an improvement to my previous Anet A6 Adjustable Fan. I have made this version for the Anet A6 in light of the results from testing by 3D Maker Noob. See his video at https://www.youtube.com/watch?v=vedP3jhMpy4&t=15s
I made the adjustable part smaller since several people complained that it was very hard to fit and adjust. This one is truly adjustable.
Print Settings
Printer:
Anet_A6 Rafts:
No Supports:
No Resolution:
.1 Layer height .4 nozzle Infill:
20% -
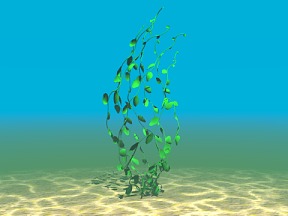
Aquatic Plant 05 Free 3D Model
Free Model of 3DPlants.com “Plant Model Libary CD?s” and Downloadable Model Sets! This Model also available on CD…with UV mapped textures! More Info?s, Preview Images, Shop and Downloadable Texture Sets or a “Seamless Natural Texture CD” you find directly at 3DPlants.com!
-
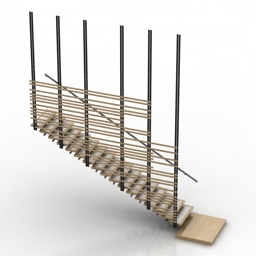
Stair 3D Model
Additional Info: Stair N181116 – 3D model (*.gsm+*.3ds) for interior 3d visualization.
-
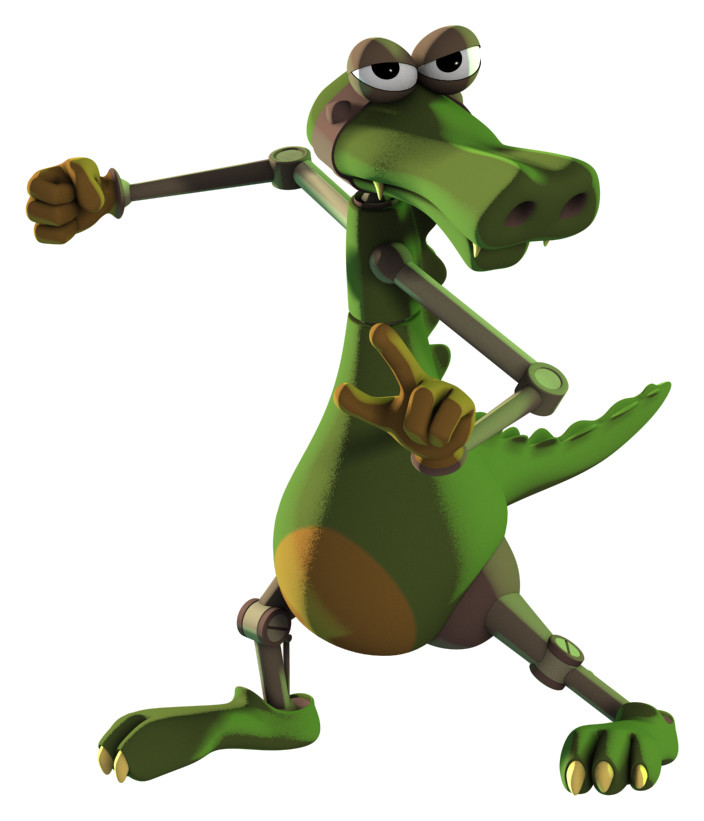
3D Crocodile dan Free 3D Model
Designed, modelled & rigged by Ben TiefholzI’m giving away my models. Free to use.Ben Tiefholz is in Tasmania. He has done animation and graphics for tv, planetarium, museum, and other things.–PEN_Attribute_holder_2.06.ms is the script needed for eye control.
-
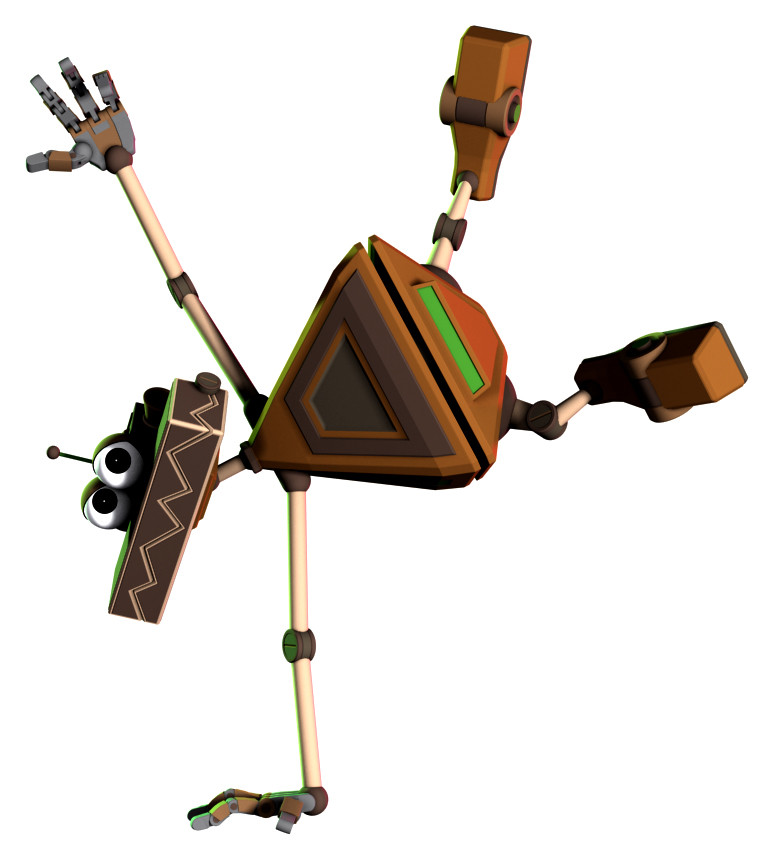
3D Tubbs model Free 3D Model
Designed, modelled & rigged by Ben TiefholzI’m giving away my models. Free to use.Ben Tiefholz is in Tasmania. He has done animation and graphics for tv, planetarium, museum, and other things.–PEN_Attribute_holder_2.06.ms is the script needed for eye control.
-
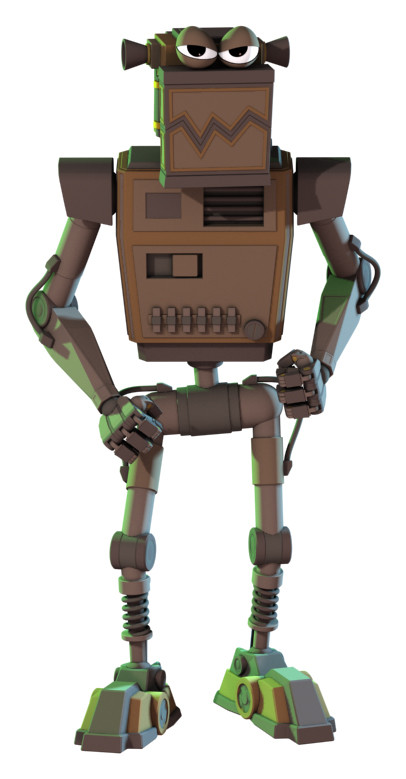
3D model Dave Free 3D Model
Designed, modelled & rigged by Ben TiefholzI’m giving away my models. Free to use.Ben Tiefholz is in Tasmania. He has done animation and graphics for tv, planetarium, museum, and other things.–PEN_Attribute_holder_2.06.ms is the script needed for eye control.
-
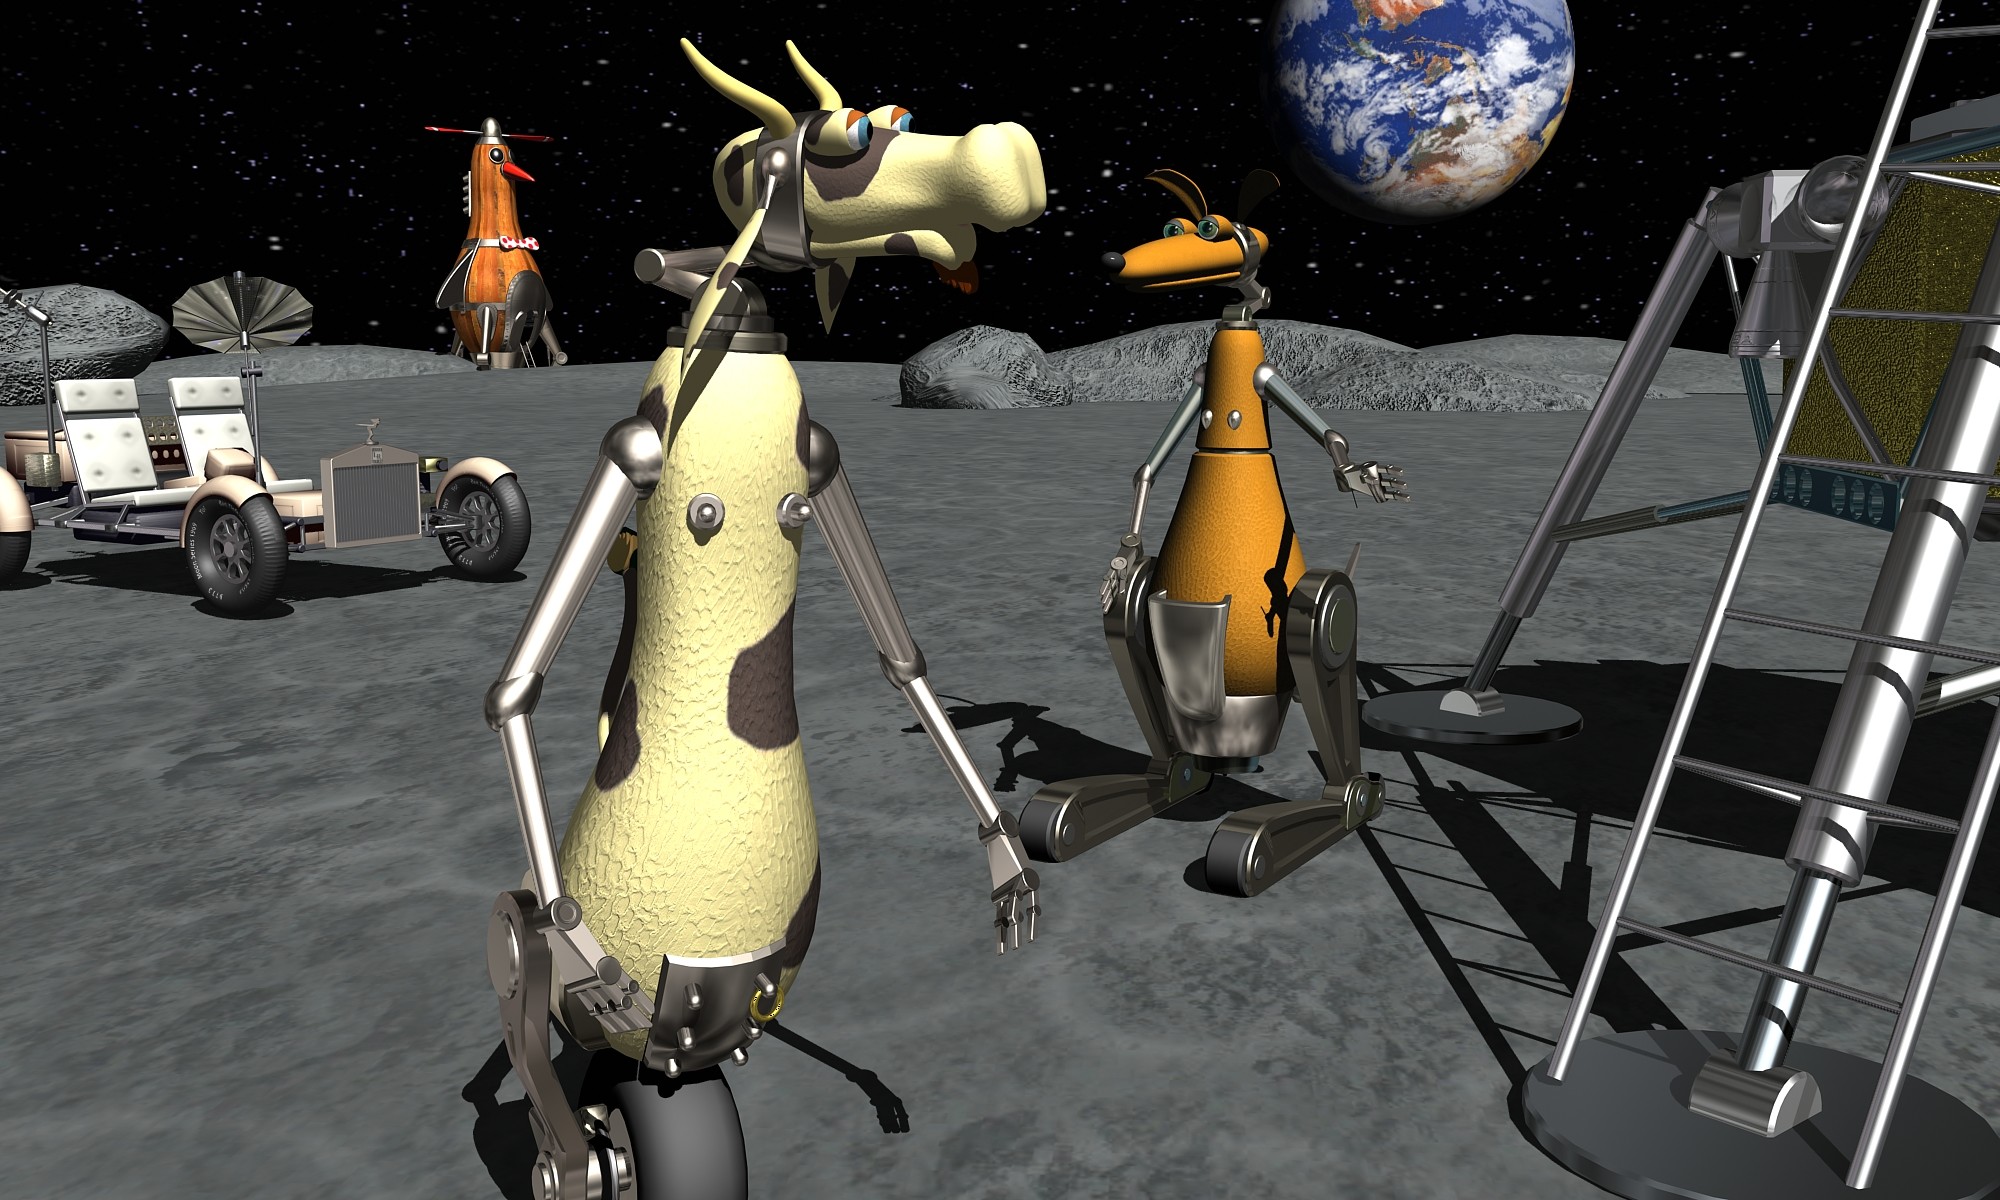
CH Jones – Moon 3D model Free 3D Model
Designed, modelled & rigged by Ben TiefholzI’m giving away my models. Free to use.Ben Tiefholz is in Tasmania. He has done animation and graphics for tv, planetarium, museum, and other things.
-
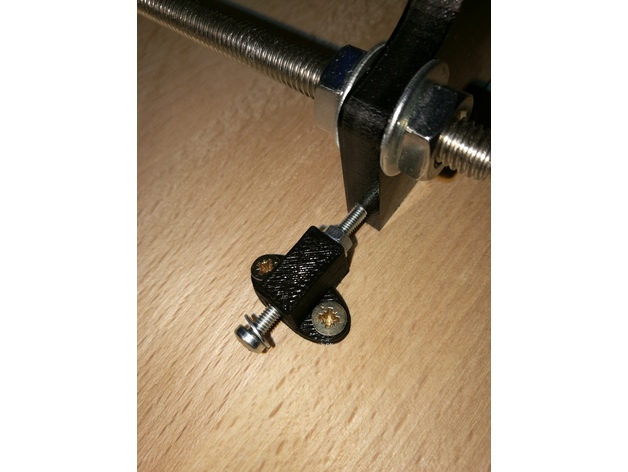
Anet A8 adjustment for Y-axis and printer leveling 3D Print Model
Summary
I’ve had the problem the floor on which the table for the printer stood wasn’t leveled. Which led to corners at the z-axis which haven’t had 90°. The same happened at the y-axis, because the threaded bars are bent.
If you just have a problem with a bend y-axis:Parts List:
Wooden board
10x screws for wood 3×12
1x M3x30
2x washer for M3
1x nut for M3
Angle profile length ~240mm
First cut the angle profile in two parts of ~62mm length and two parts of ~50mm length.
Drill in every part two holes and screw the ~62mm parts at the front of the housings and the ~50mm parts at the sides.
Print the STL, put the M3 screw with the washers and the nut in the small hole and screw it onto the wooden board near the side of the frontplate of the y-axis. Use the M3 screw to adjust the y-axis.
If you also have problems that your printer isn’t levelled perfect horizontally:
Parts List:
4x screwable case legs
Drill 4 holes in the corners of the wooden board by following the manual of the case legs. Use a water bubble to level the board.
Print Settings
Printer:
Anet A8 Rafts:
No Supports:
No Resolution:
0.2 Infill:
100% -
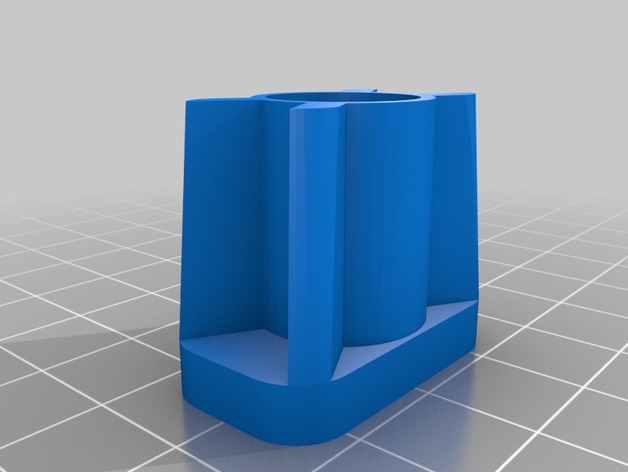
Camera stand Ricoh Theta 3D Print Model
Summary
Próximamente medidas de tubos y tornillería.
Print Settings
Printer:
Prusa B3D Rafts:
No Supports:
Yes Resolution:
0.3 Infill:
30% -
Cup Holder Wire Manager 3D Print Model
Summary
i was no balls’ed on reddit to post this 😀 -
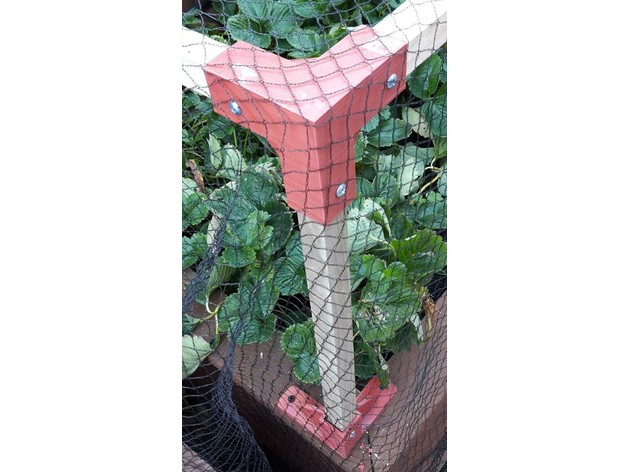
Brackets to join 25×25 mm wooden stakes to create a garden frame 3D Print Model
Summary
I made these brackets to build a framework from 25 x 25 mm wooden stakes for bird netting to protect my raised strawberry garden. It has proven to be very robust (over engineered one might say!) and the bird netting simply drapes over the frame from being attached to an adjacent fence. Because my stakes were a little under size I have drilled each bracket and screwed through the bracket into the stake to give it rigidity.
I enabled supports for the several parts that required bridging of significant area but my printer overrode that and printed quite satisfactorily just as if supports had not been enabled.
Sliced with Slic3r and printed at .3mm layers since surface finish was not a priority.
Print Settings
Printer:
FLSUN i3 clone Rafts:
No Supports:
Doesn’t Matter Resolution:
.3 mm Infill:
25% -
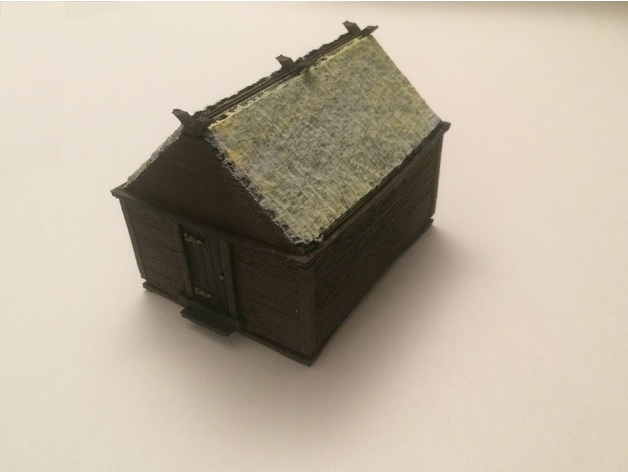
Thatched Home 4-Piece 3D Print Model
Summary
This is a small thatched house for 28mm play. It comes with 4 pieces that can be snapped together. It is purposely made of 4 components. This allows the gamer to have the home and then remove the walls or roof when entered. The walls outside have a detailed rough wood look. The floor is quite a detailed design over which the wall can be placed and then a roof. The door can be slid in and out of the opening. The roof is best done by using rafts which if possible should only be used for the lower portion to allow the lid feature to fit into the walls. The thatched roof is quite detailed with straw texturing. I just noticed that in the picture with everything assembled, I didn’t snap the walls into the floor. It fits snugger than the picture shows.
Print Settings
Printer Brand:
PowerSpec Printer:
Ultra 3D Rafts:
Yes Supports:
No Resolution:
0.2 Infill:
15% -
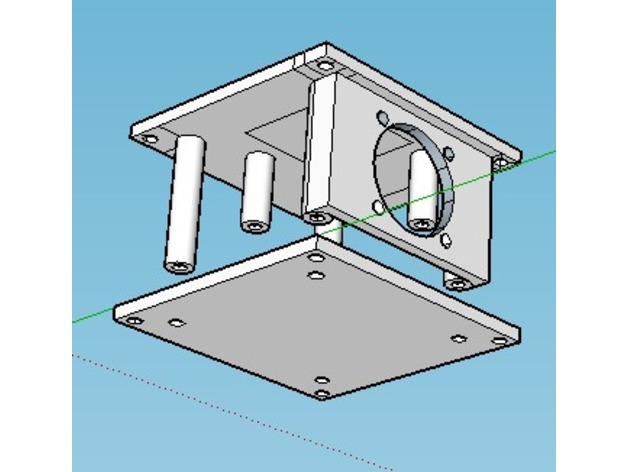
Orange Pi (OPi) Zero Minimalized Case 3D Print Model
Summary
Since Orange Pi Zeros have an overheating issue (mine does), I figured I’d make a minimalized ‘open air’ tall case with a 25mm 5v DC fan mount to blow directly at the core processor.
Notes:
I included the original Sketchup file with an outline (on the top and bottom) showing where I think an alternate location for another fan mount may be. This file also includes the measurements I used (after making the top portion) to make the bottom, just in case anyone wants to redo the bottom.
The design uses 3mm screws/bolts.
The holes on the ‘towers’ are deliberately undersized (a bit) to help create a good thread when attached to the top.
It can be bolted from the top or bottom – change the hole sizes if needed.
The fan mount is for a generic 25mm fan, but I specifically use the 2510S 5V DC fan attached to pins 4 and 6 (on the OPi Zero pinout). -
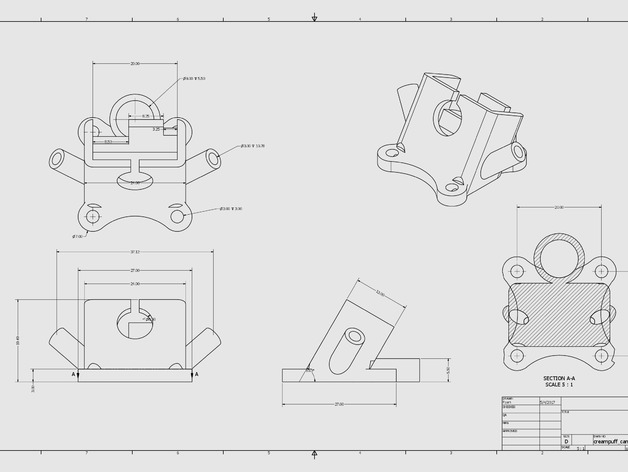
Creampuff camera mount 30 degree 3D Print Model
Summary
Creampuff camera mount. 30 degree recline. 20mm x 20mm mounting holes. Equipped with antenna mounts w/ 3mm holes. Also, a holder is added at the rear for a 9mm x 5.5mm buzzer.
Print in TPE/TPU.
Print Settings
Supports:
Doesn’t Matter -
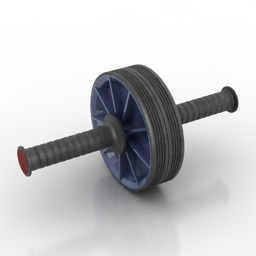
Ab Wheel 3D Model
Additional Info: Ab Wheel N120117 – 3D model (*.gsm+*.3ds) for interior 3d visualization.
-
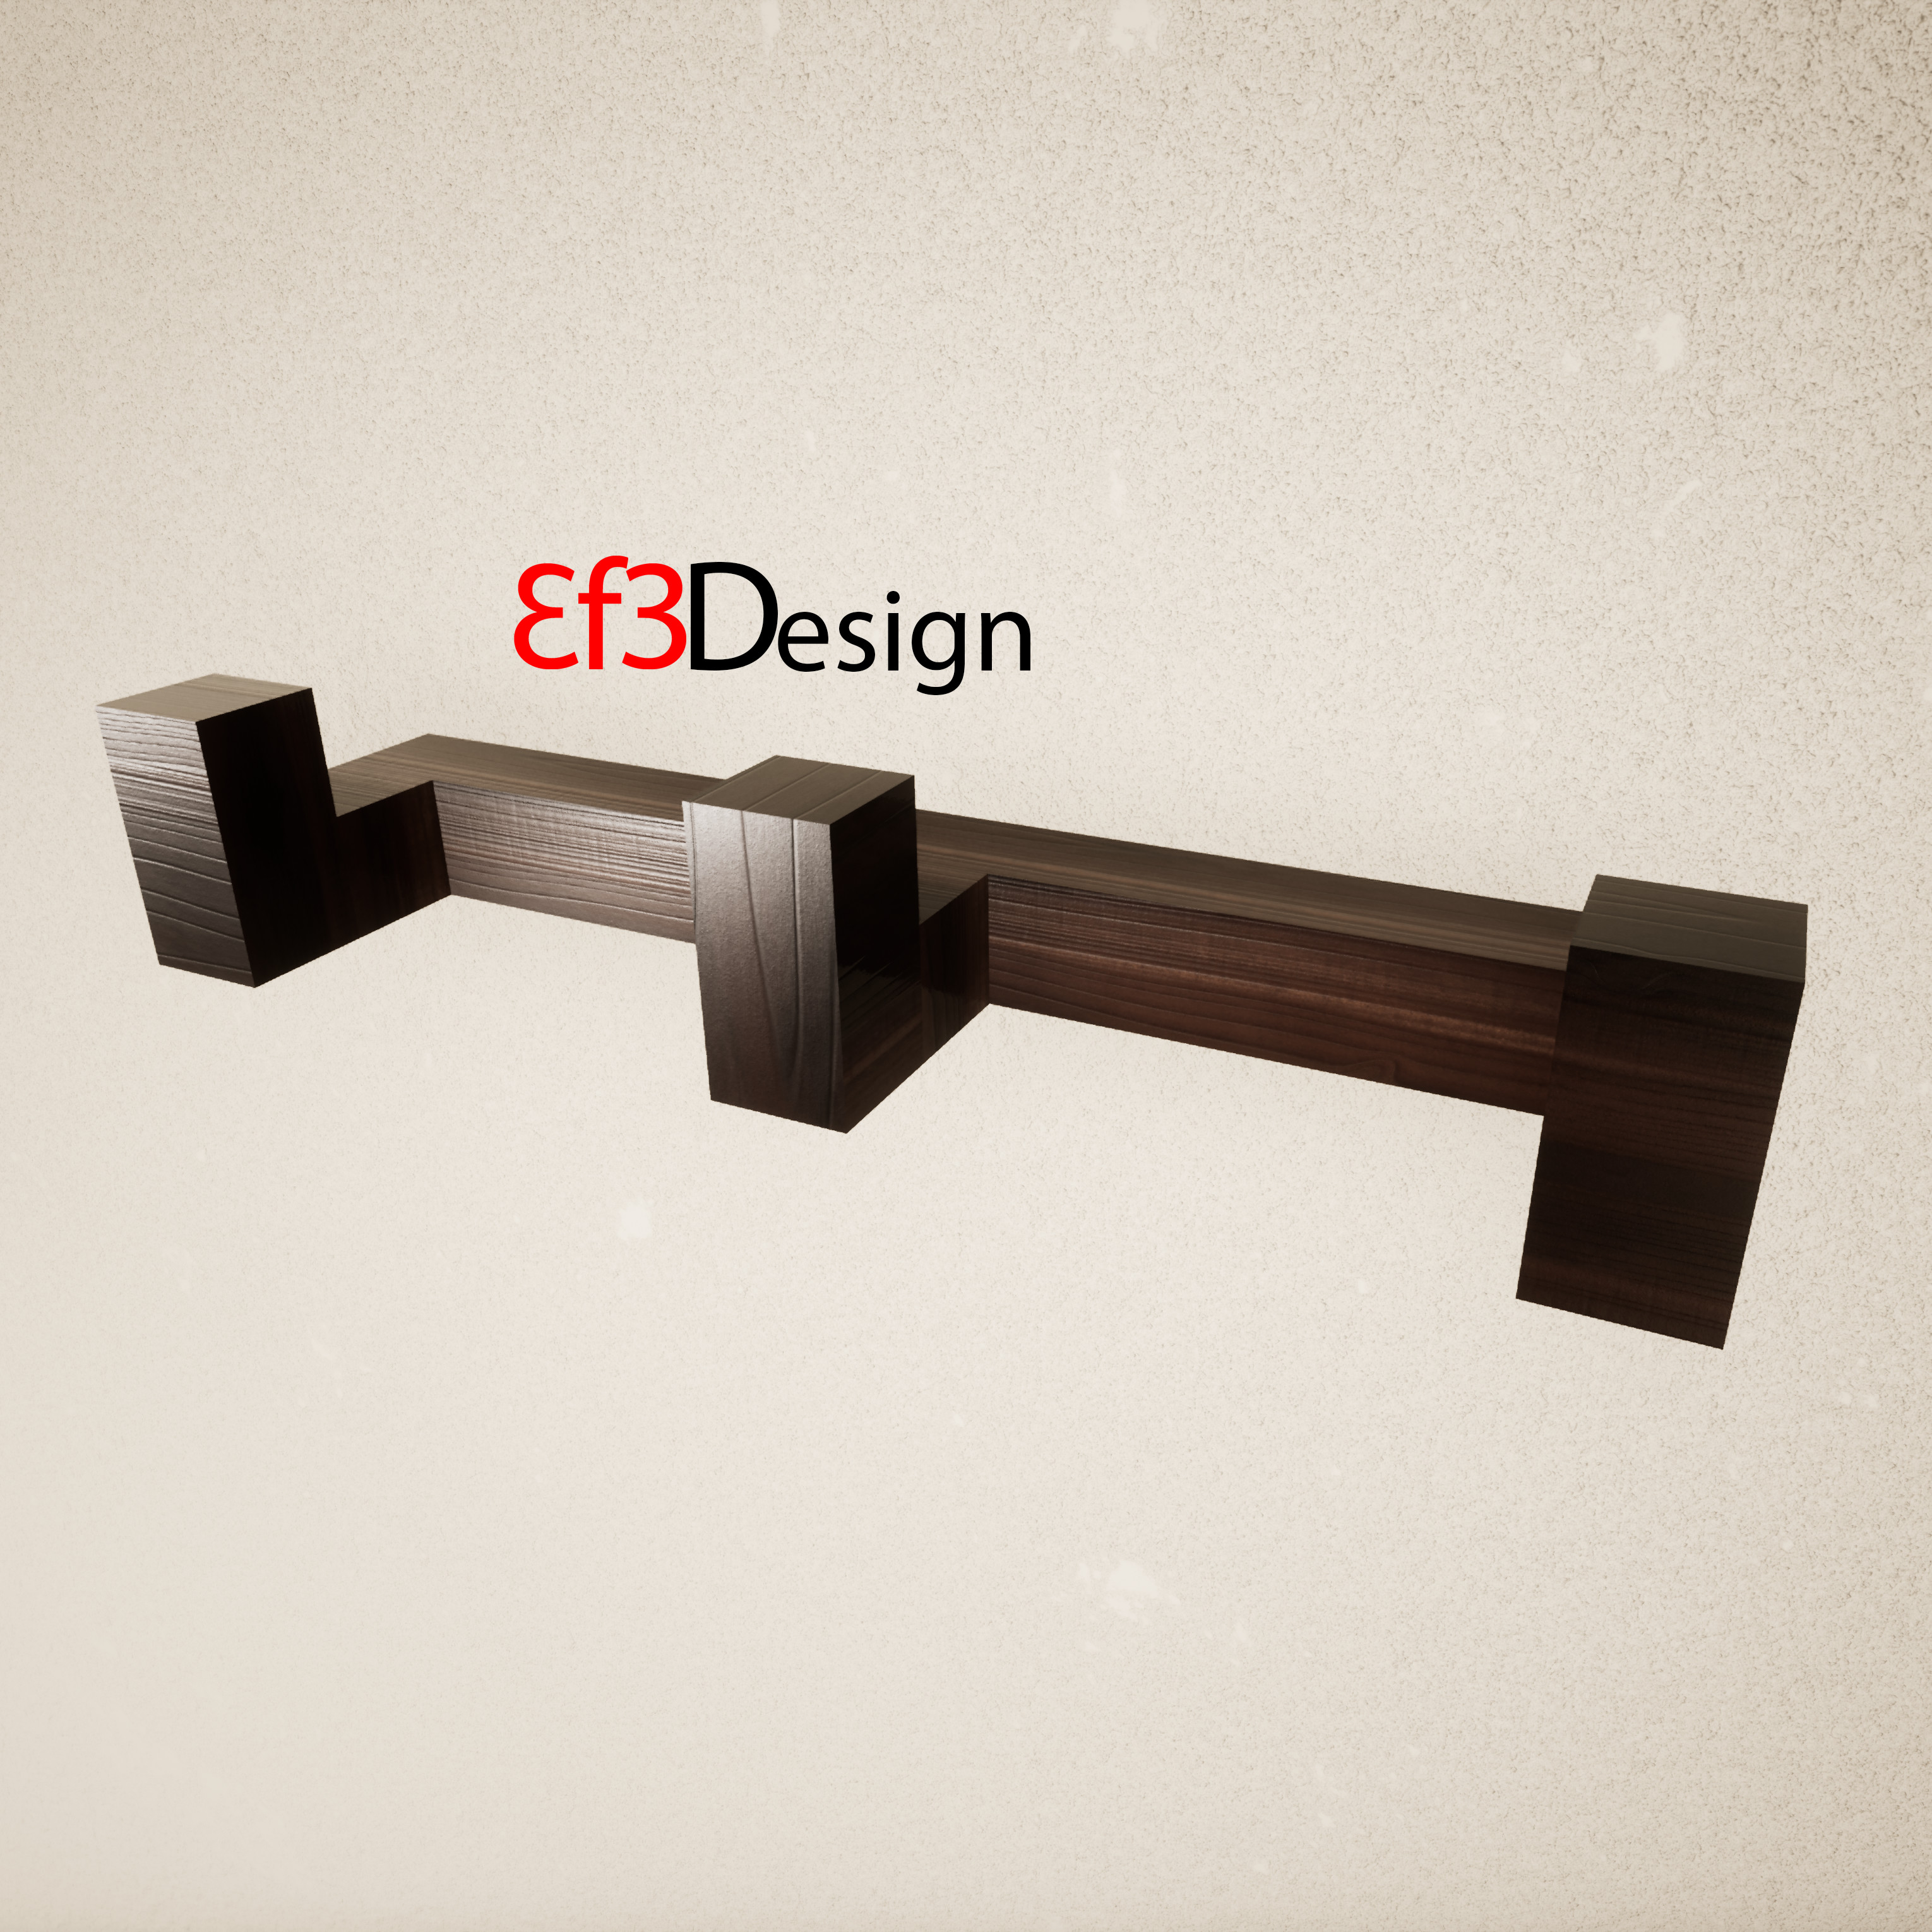
Wall Hanger (UE4) 3D model Free 3D Model
Wall hanger 3D model ready for Unreal Engine architectural visualization.VR friendly.All textures baked in 4k resolution.
-
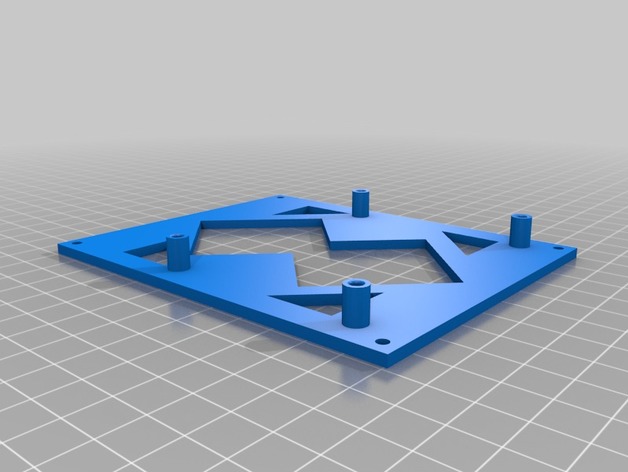
Anet A2 Mainboard Cover MKS Mosfet 3D Print Model
Summary
This is a Mainboardcover for Stock Anet A2 Mainboard with mounts for MKS Mosfet.
Print Settings
Printer:
Anet A2 Rafts:
No Supports:
No Resolution:
0.2 Infill:
20% -
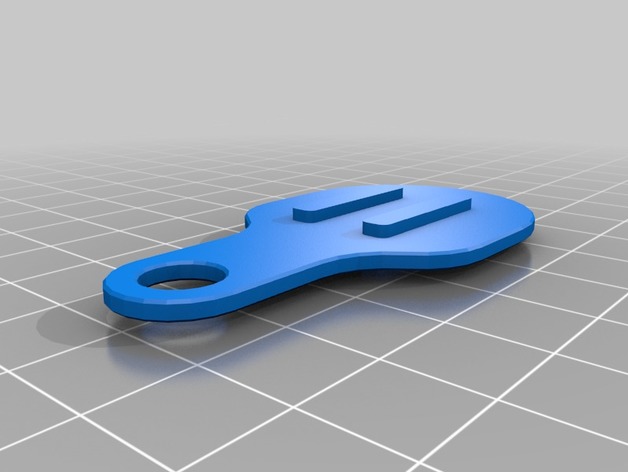
Chipcard for “Autoscooter/Autoskooter/Autodrom” 3D Print Model
Summary
After much searching around I have accidentally found an old chip coin for the autodrom and I thought to myself who would not like to drive for free. So I just made a chip card which comes after the dimensions of the original chip. For the chip card you have to use a support structure. Otherwise, there is nothing to consider.
I do not take any responsibility if someone is caught or caused harm!
Have fun printing;) -
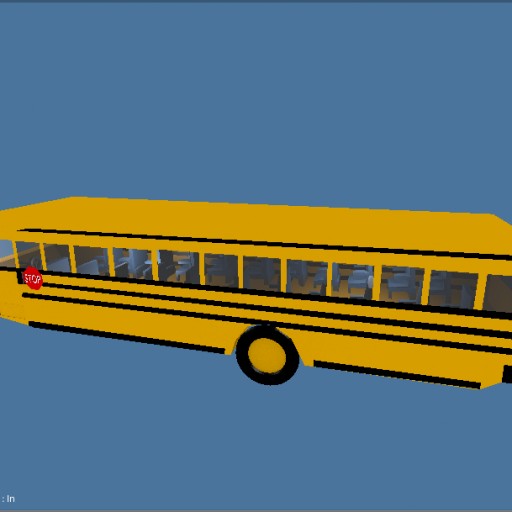
School Bus Free 3D Model
This is a school bus that I made in Blender. I think that the downloading should work but I am not sure yet. It is not rigged but it has 2 shape keys. One controls the stairs and the other the sliding door. The stop sign can be fairly easy to move though without bones you just click on the black part and rotate it on the Z axis.
Faces: 12,050
Lamps: 4 -
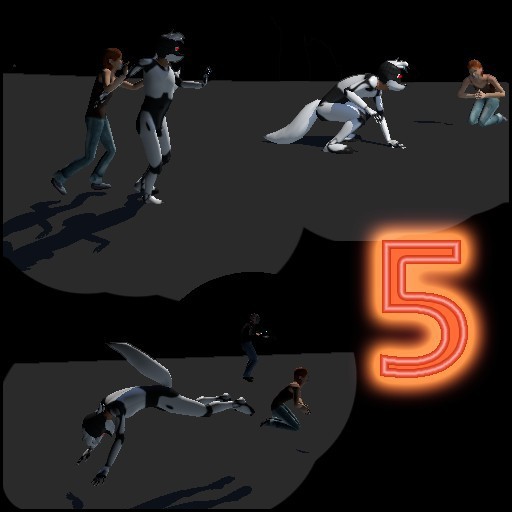
Runner 5.0 (My Version) Updated Free 3D Model
This is an updated version of Runner 5.0 due to the other one not having the textures working. This one should work.
-
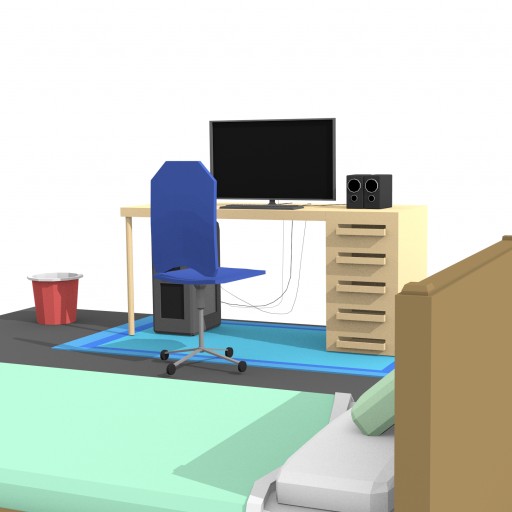
Gamer SetUp Free 3D Model
This is a 100% original model.
You can use it for anything.
No textures are needed, the model uses solid material (which are included).
Enjoy! -
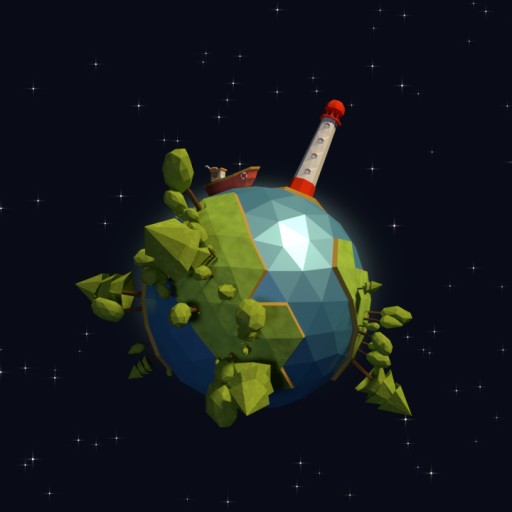
Low Poly Planet Animation Free 3D Model
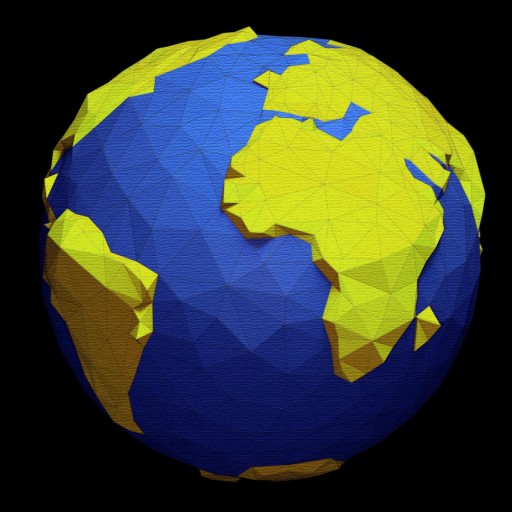
Here is a little Blender scene of a low poly planet animated.
Hope you like it! -
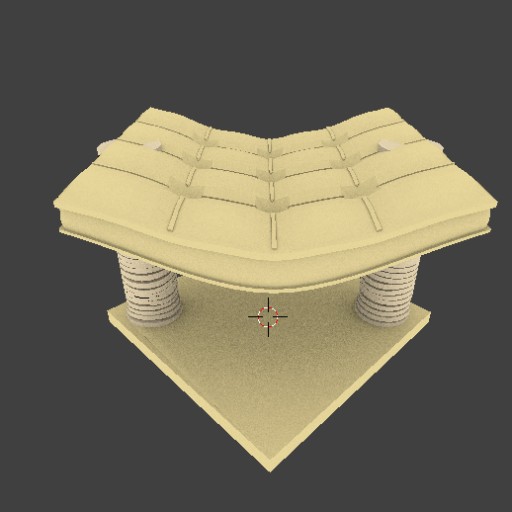
Cat Scratching Post Free 3D Model
This is a scratching post that I made in Blender. It has a lattice deformer which you can change the strength on in order to have the cushion sag or be straight. It has 9,580 faces and can be animated fairly easily. Everything is parented to the base plate so if you move that everything else will move as well.
-
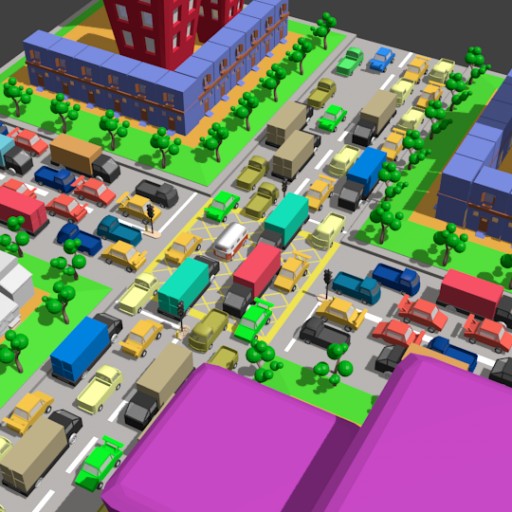
traffic light Free 3D Model
this blend i made for my job on the school so i make it low poly and sorry if not perfect
this blend showing the traffic light -
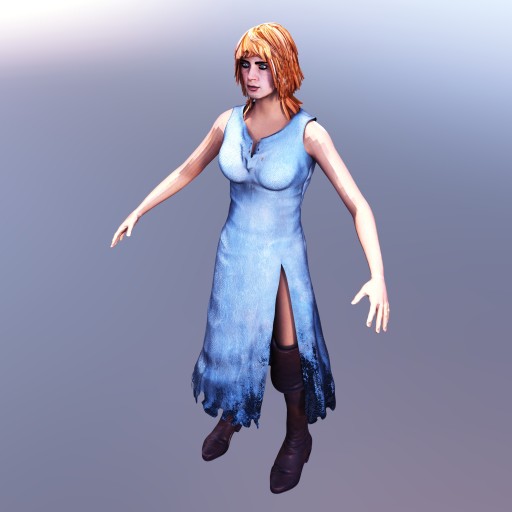
Woman in Blue Dress Free 3D Model
Blend file – https://www.dropbox.com/s/s4d4wexcxtxuov9/spacelady.blend?dl=0
-
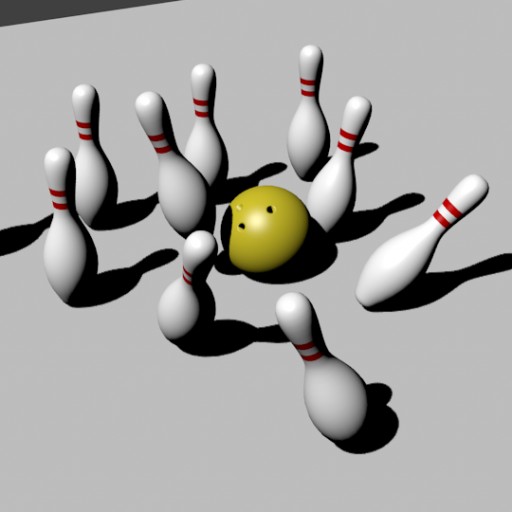
Bowling Ball and Pins Free 3D Model
Bowling Ball + Bowling Pins, this was created by me when studying 3D modeling with a bought online course. Hope this has quality enough for you to use anywhere. Thanks
-
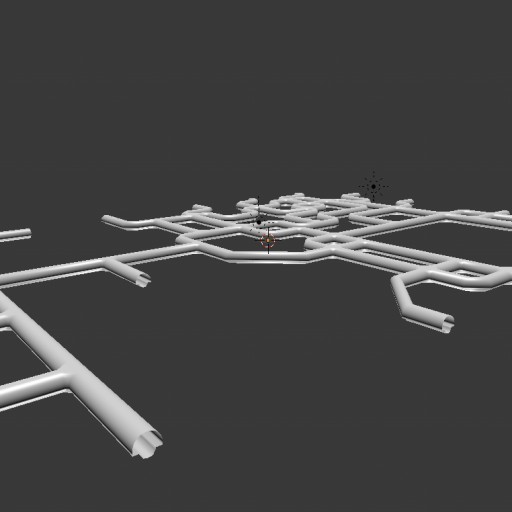
Sewers model (texture unwrap help) Free 3D Model
I made these sewer system (which anybody can use) and I need help unwraping the texture so it would not leave any seams or smears. I have tried and failed to do so.
And this isn’t the best sewer model, if anybody has any better sewer models that I also would be able to unwrap it easlily.
-Thank you
Also is made for bge (blender game engine) -
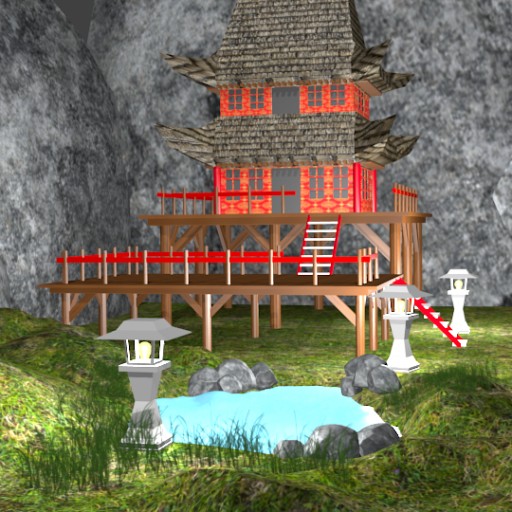
the emperor kindom Free 3D Model
this kindom come from asian emperor , this blend full texture and lowpoly
-
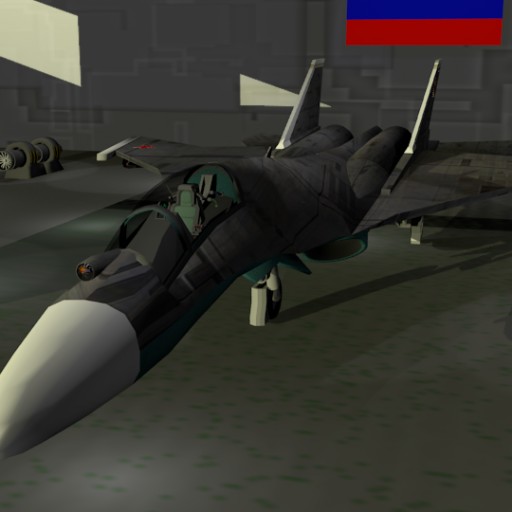
Sukhoi SU-92R Ultra Free 3D Model
A fictional aircraft based of a common design used by the Russian Air Force that is said to be resistant to EMP blasts and has Stealth Capability similar to that of the Su-50 (or T-50/PAK-FA).
-
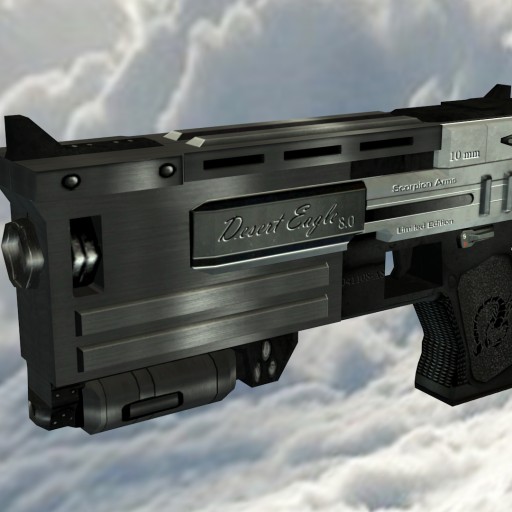
10mm pistol Free 3D Model
Fallout 3. 10mm pistol. Desert Eagle.
10mm pistol without muffler.
Muffler will be soon.
In the year 2051. -
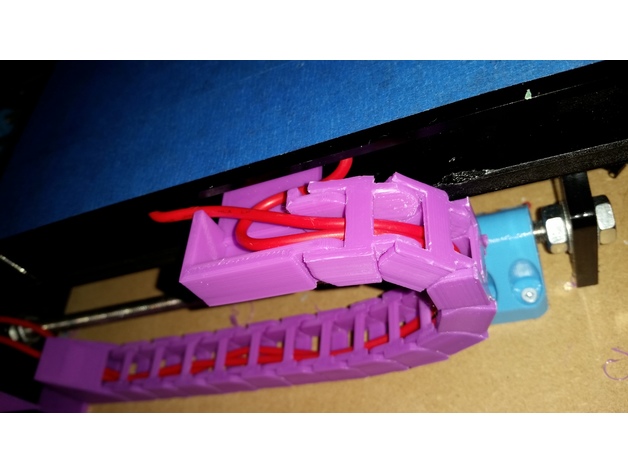
TronXY P802E Y-Axis Cable Chain Remix 3D Print Model
Summary
I saw a number of chains for various frames for the TronXYs but none that fit for the P802E specifically. After printing a couple that didn’t quite fit properly, i ended up remixing the designs of two other chains. This fits properly and doesn’t fray your bed cable.
Print Settings
Printer:
TronXY P802E Rafts:
No Supports:
No Resolution:
0.2 Infill:
30% -
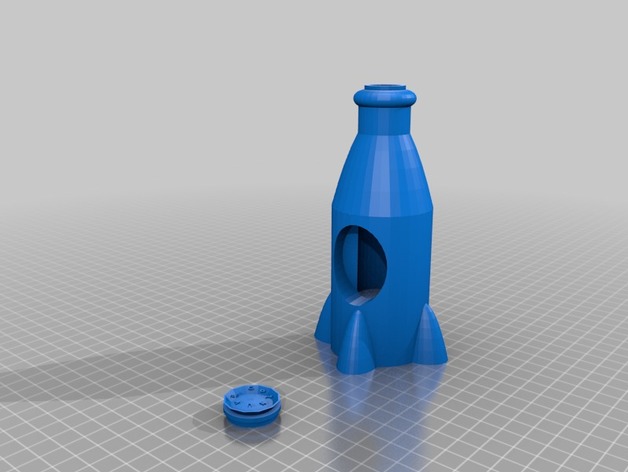
Nuka Cola from Fallout 4 3D Print Model
Summary
This is a not-so-accurate model of a Nuka Cola bottle from Fallout 4. Not watertight, work in progress, the label part goes through, and there is a big hole in the model. Just saying, not watertight in the least, so don’t try.
Print Settings
Printer Brand:
MakerBot Printer:
MakerBot Replicator Rafts:
Doesn’t Matter Supports:
Doesn’t Matter Resolution:
? Infill:
? Notes:
? -
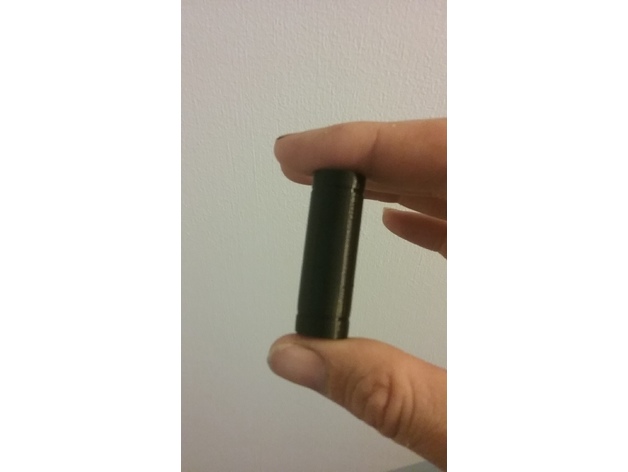
LM8LUU File down bearing 3D Print Model
Summary
I remixed this bearing because some people have problems printing exact sizes, the bearing I made should fit off the printer, but with only 5 access points you can easily hand file the inner diameter with a small file if you need to. I recommend using PLA, on a smooth rod this bearing should last for many years be for it gets enough slop to be noticeable.
Print Settings
Rafts:
Yes Supports:
No -
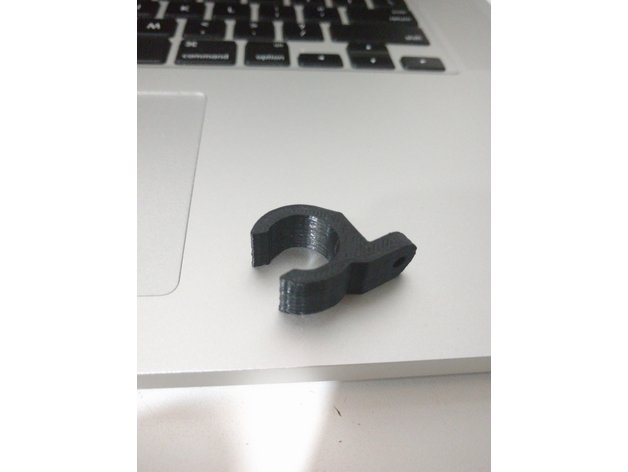
Extruder Cable Support 3D Print Model
Summary
This is 3d printer part for support the cables of extruder and hot end.
Print Settings
Printer:
Graber Pro Rafts:
No Supports:
No Resolution:
0.2 Infill:
15% Notes:
Printed with ABS Premium -
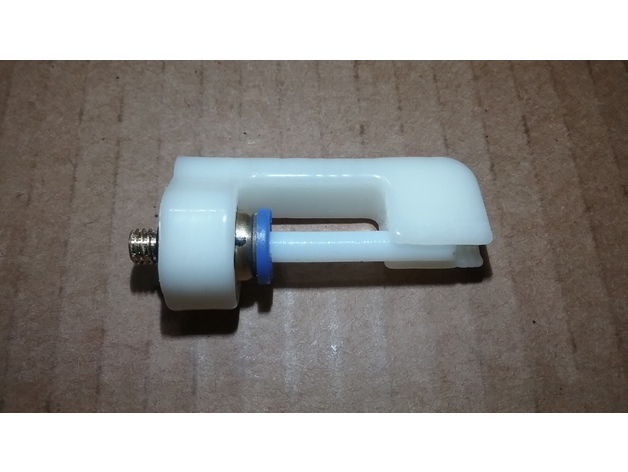
Bowden tube strain relief used on extruder motor 1.75mm 3D Print Model
Summary
I created this to relieve the strain on the bowden tube pneumatic connector on the extruder motor for 1.75mm filaments. It has been tested and is working great. This should pretty much fit all pneumatic connectors with 10mm diameters from face to face on the flat sides and can be used on the extruder motor or the effector end.
Print Settings
Printer:
FLSUN Delta Supports:
Yes Resolution:
.2 mm Infill:
30% -
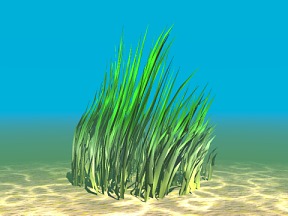
Aquatic Plant 11 Free 3D Model
Free Model of 3DPlants.com “Plant Model Libary CD?s” and Downloadable Model Sets! This Model also available on CD…with UV mapped textures! More Info?s, Preview Images, Shop and Downloadable Texture Sets or a “Seamless Natural Texture CD” you find directly at 3DPlants.com!
-
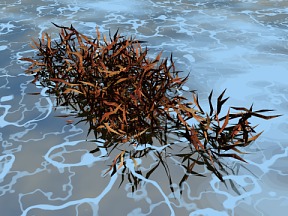
Aquatic Plant 07 Free 3D Model
Free Model of 3DPlants.com “Plant Model Libary CD?s” and Downloadable Model Sets! This Model also available on CD…with UV mapped textures! More Info?s, Preview Images, Shop and Downloadable Texture Sets or a “Seamless Natural Texture CD” you find directly at 3DPlants.com!
-
Cut Out 3D Print Model
Summary
It looks like I cut my name out of the actual project! I hope you like it!!!!!! -
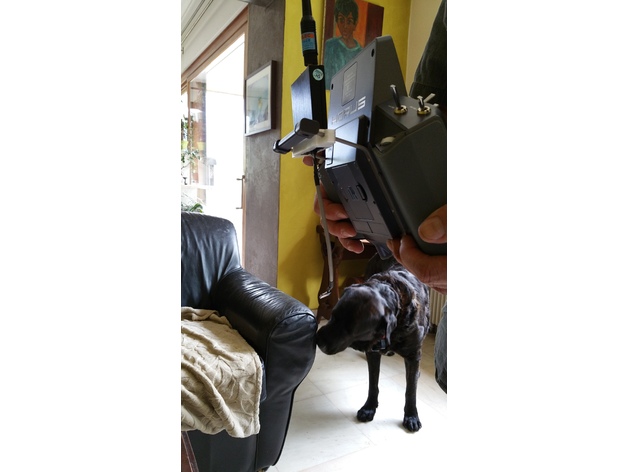
Frsky Horus x12s Mount for Rlink Transmitter 3D Print Model
Summary
printed with flex filament
Print Settings
Printer:
tevo tarentula Rafts:
Doesn’t Matter Supports:
Yes Infill:
30 Notes:
printed with flex filament -
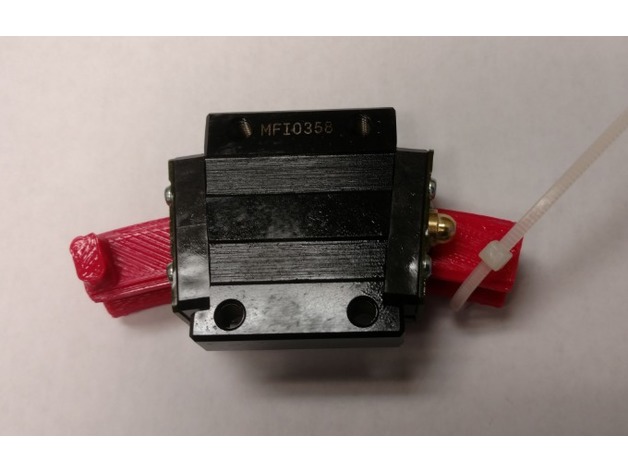
Shipping insert for THK brand HCR 15A 150R 3D Print Model
Summary
Doubt anyone would need this, but what the heck. I printed at 99% scale
Shipping insert for THK brand curved rail cart HCR 15A 150R
https://tech.thk.com/en/products/pdfs/en_a01_318.pdf -

Star Wars Keychain | Tinkercad Import Lesson 3D Print Model
Summary
A Thingiverse search for “star wars keychain” brings up a couple results but they have some small flaws (too flimsy, hole not positioned well, etc.) I’m trying to fix those issues with this simple design. The keychain looks best printed in multiple colors (If your printer allows pauses, switch out the filament color once it starts printing the logo.) May the 4th be with you!Overview and Background
Originally this was just a quick, fun little project for Star Wars day. However, I then realized that many students may not know about the Import feature of Tinkercad, and it could make a great learning experience. This lesson assumes students have been introduced to the basics of Tinkercad. The focus of this lesson is to:
a) learn to vectorize images
b) use the Tinkercad Import feature
c) design a keychain around their chosen artwork
I’ll be using the Star Wars logo as an example, however, students may use any clip art or logo of their choosing.
Lesson Plan and Activity
Step 1: Choose an Image
Do a quick google image search for whatever you’re going to include on your keychain. Usually a logo or clipart is best, so try including those words in your search. For more precise results, try using the “tools” tab to search for transparent images, and large ones with a high resolution. Then choose and download your image as a .jpg or .png.
Search for your imageSet to
Here’s the logo I chose
Step 2: Vectorize
Now you’ll take your downloaded .jpg or .png and convert it to a vector image (.svg.), since a vector is the only type of image file Tinkercad can accept. There are a number of free online vectorizers you can use, but my favorite is https://www.vectorizer.io/ and that’s what I tend to use. It has fairly good instructions and is relatively intuitive, so just follow their directions and you should be just fine. Download your converted image as an .svg. Step 3: Import Logo to Tinkercad
Go to https://www.tinkercad.com/ (if you’ve never used Tinkercad, watch this video first: https://www.youtube.com/watch?v=KCaenAGeK_Q It is a bit outdated, so sorry!), open a workspace, and name it. Click the “Import” button.
Import button
This will open a window, asking you to choose a file. Select your .svg you created before. Then change your dimensions to something reasonable, such as 20 mm. Your logo should now be imported.
Logo imported!
Step 4: Design the Keychain
Personally, I like to work in inches, so click “edit grid” and convert to inches.
Insert a ruler somewhere into your workspace. Now we can rescale our logo to inches. I suggest making it .2″ thick, and then scaling so that you keep approximately the same ratio for the sides, but no dimension is more than 2″. For the Star Wars logo, 1.75″ by .75″ seemed best. Now we can go on to build the keychain itself.
Scaling Logo
Step 5: Designing the Keychain
Of course, there are many ways to go about this, but here is the one I used. Insert a rectangle the size of your logo, but .1″ high. Then insert a cylinder, also .1″ high, with the diameter of the shorter side of your rectangle. Place the rectangle so the it is “inside” the circle, and cuts the circle in half. Then group these 2 shapes.
Base keychain: only 2 shapes!
Now put in a hole. Insert a cylinder with a diameter of .25″ and .1″ high. Place it in the rounded edge you just created and group to form a hole. (Snap grid helps with this!)
Step 6: Add the Logo
Finally, you can drag your logo back in and center it on your base keychain. Once again, group, and you’re all finished! You just created a custom keychain with your very own image! High five!
All finished!
Materials Needed
Software
Tinkercad
Slicer/Host software of your choice Physical
3d printer
Keyrings
Black and Yellow filament (preferable)
Skills Learned
Tinkercad
Tinkercad Import
Image Conversion
Duration of Lesson
30 minutes- 1 HourFurther Learning
Dual Color Printing
Teach the students how to pause a print and switch out the filament using g-code commands in slic3r! https://www.youtube.com/watch?v=sk1aP6MQEhc Negative Image
Instead of having the image extruded out of a thin keychain, try making the base keychain .2″ thick and an 1/8″ larger in the other directions. Change the logo to a hole, .1″ thick and .1″ raised from the plane. Center it in the base keychain and group!
Negative Extrude
Conclusion
I hope this guide was helpful! I had a blast making it and poured a bunch of time into it, so please support me by liking it, and upload your own designs as remixes. Thanks for checking it out, and happy Star Wars day! -
Hanger P-8816 3d model FAMEG
Dimensions:Width: 57 cmDepth: 57 cmHeight: 179 cmDate added: 2015-04-26Format: 3ds, dxf, objDownloads: 161