Summary
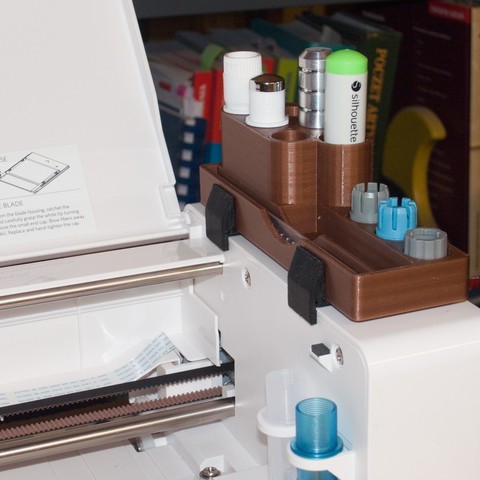
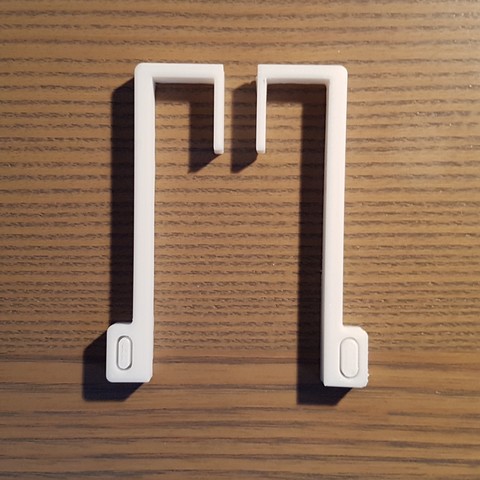
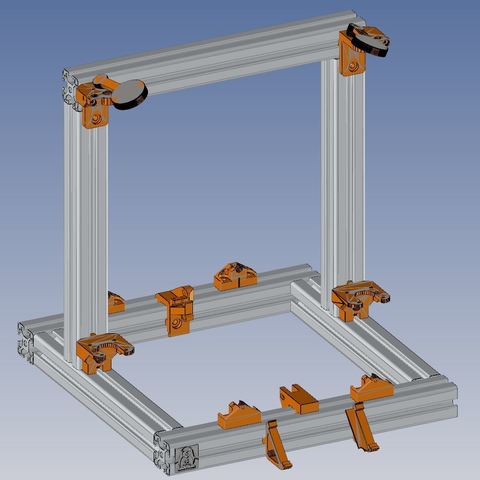
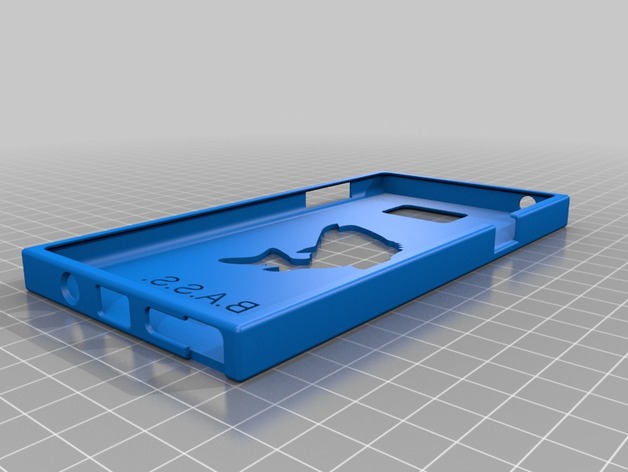
a BLTouch mount I created for the Tevo Tornado. Also, if you’re looking for instructions on how to install the BLTouch on a Tevo Tornado, here’s a Youtube video I made explaining the whole process: https://youtu.be/mBwHGuX5de8
Category: 3D Print Models
Premium & 3D Print models ready to be 3d printed. 3D Print Models and Free 3D Print Models are available for download in several formats including .STL, .3DM, .OBJ, .3DS, .DAE, .SKP, .BLEND, .DWG, .DXF, .STEP and much more. If you’re in search of high-quality 3D printed assets, we have a huge library of 3d print models for any of your needs. Also you can visit 3D Models and All 3D Models category.
-
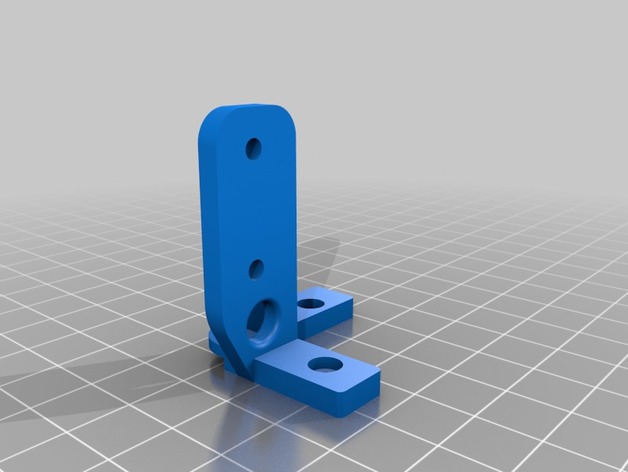
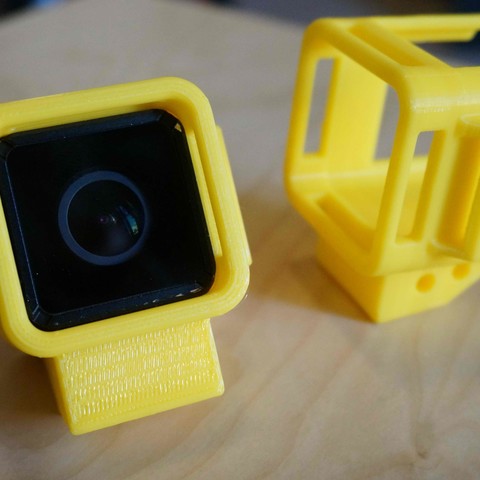
Tevo Tornado BLTouch Mount 3D Print Model
-
Oil can pump 3D Print Model
Summary
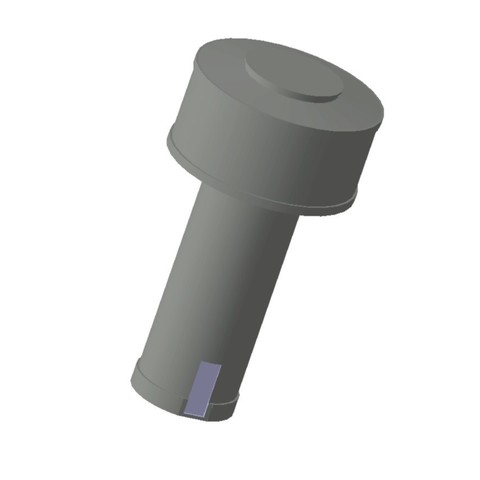
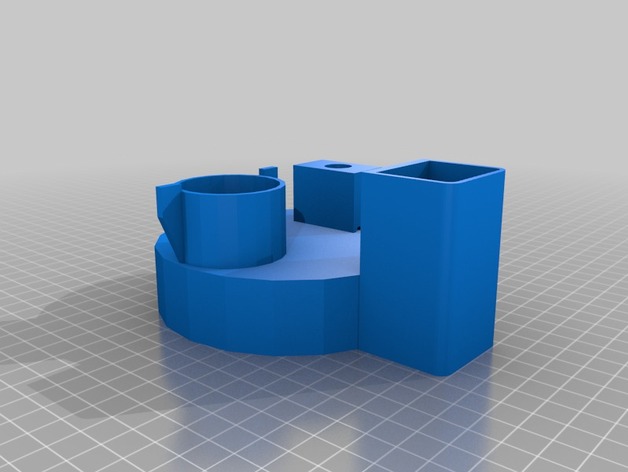
This an oil pump I designed to help service oils where the entry point is tight or elevated. I am an aircraft mechanic so I would use this to service starters or the various motor gearboxes. But it can be used in a wide variety of applications.
It is designed to sit on top of a 1 qt metal oil can. It requires a 6v peristaltic pump, 4 AA battery housing (links below), and a switch. Plus associated tubing, wires etc.
I sold my printer before I got to print the final design. I know the specs are good, and everything fits, but I don’t know if it ACTUALLY works.
Pump- https://www.amazon.com/Yosoo-Peristaltic-Aquarium-chemical-Analytical/dp/B00VHYO9F0/ref=sr_1_20?ie=UTF8&qid=1507346077&sr=8-20&keywords=peristaltic+pump
Battery Holder -https://www.amazon.com/Hilitchi-Thicken-Battery-Standard-Connector/dp/B01381A020/ref=sr_1_5?ie=UTF8&qid=1507346310&sr=8-5&keywords=4+aa+battery+holder
Switch- Source locally, so it can work with your needs. I used a momentary push button. -
Soldering Station 3D Print Model
Summary
https://fpv-community.de/showthread.php?41335-DIY-SMD-L%F6tstation-Ersatz-f%FCr-(WELLER)/page113 -
Cat Tag 3D Print Model
Summary
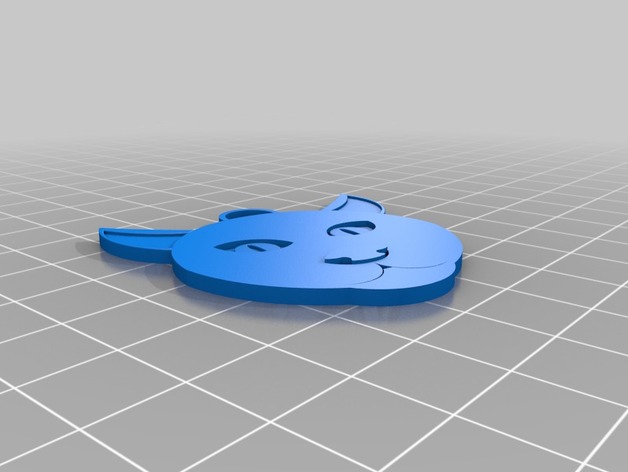
Cat tag with room on back for pets name, home phone number, and veterinarian phone number in the negative so less likely to be worn down and unreadable. -
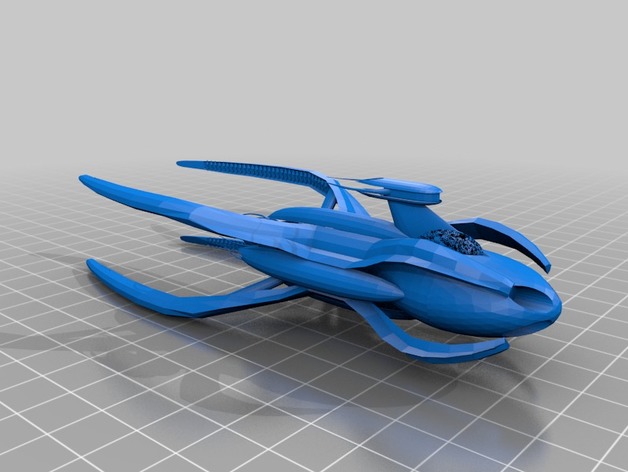
Vorlon Dreadnaught from Babylon 5 3D Print Model
Summary
Author: Evelio Perez-Albuerne
How I Designed This
Downloaded from http://www.ultradrive.com/b5_3d_index.htm
Converted to obj file with AccuTrans 3d converter program.
Uploaded here. -
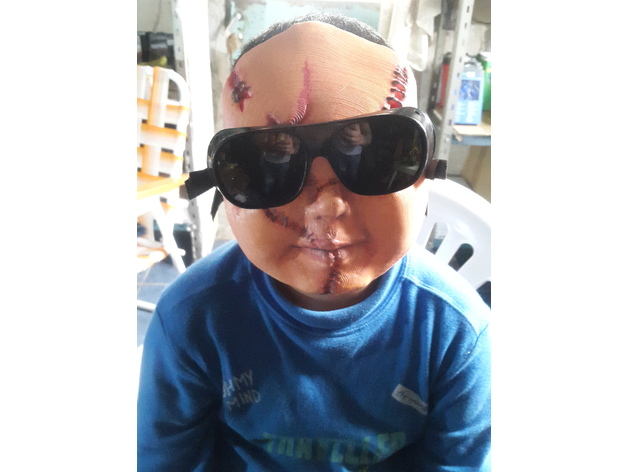
CHUKY MASK 3D Print Model
Summary
RESOLUCION : 0.4MM
SHELL: 0.8
DENSIDAD ; 30
MATERIAL ; PLA
SOPORTE ; SI -
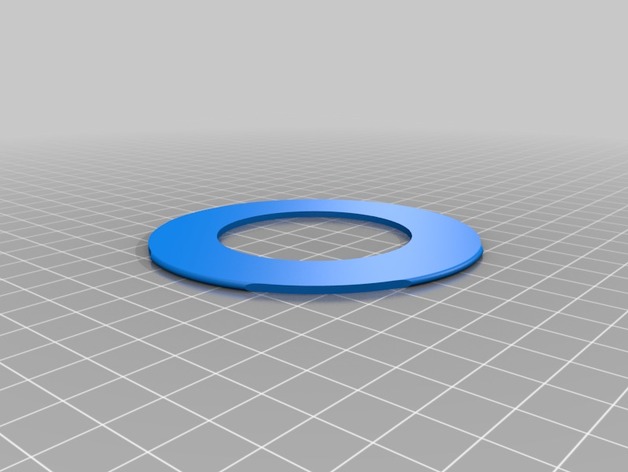
3dconnexion SpaceNavigator Handrest v2 3D Print Model
Summary
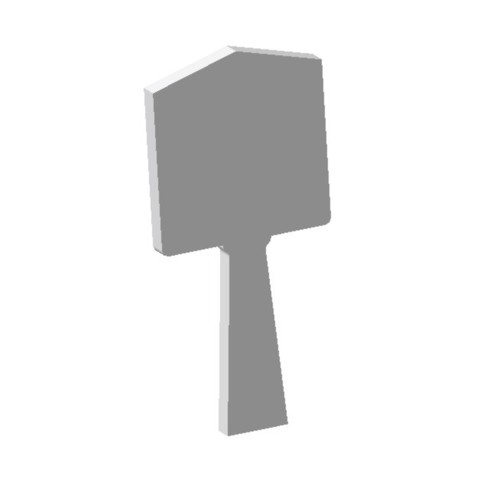
This is the same as DarthBane’s design… just split so that it can be printed on a Printrbot Simple Metal. Look at my make of his to see my settings.
Layer Height: .15 mm
Shell Thickness: 1.2 mm
Bottom/Top Thickness: 1.2 mm
Fill Density: 15%
Print Speed: 85
Printing Temp: 210 C
Support Type: None
Platform adhesion: None
Diameter: 1.75 mm
Flow: 95% -
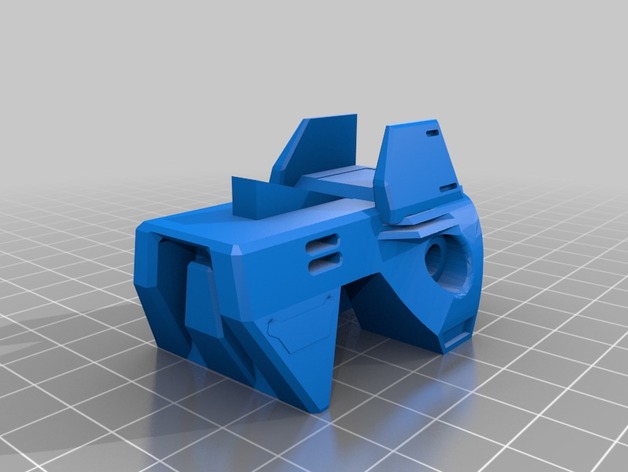
Big Boy Stryfe Kit 3D Print Model
Summary
By request for Nerf Moders Welcome
None of this is my own design but I did combine different things and modify them to make them all work as a kit. This is all the parts from the “Big Boy Stryfe” minus the Foam Blast parts which can be found here:
Stryfe Wire Channel https://www.thingiverse.com/thing:2422841
FoamBlast Nerf Stryfe Magazine/Clip Release https://www.thingiverse.com/thing:2479594
Nerf Stryfe Rev Trigger (Bobololo style) https://www.thingiverse.com/thing:2362063
You will need additional parts such as motors, wires, switches, m2 screws, m4 screws and such.
Print Settings
Printer:
Monoprice Select Mini V2 Rafts:
No Supports:
Yes Resolution:
Varies Infill:
Varies Notes:
Battery Door I print at 20% infill and 0.2mm resolution.
Butt Cap I print at 20% infill and 0.1mm resolution.
Flared Mag Well I print at 20% infill and 0.1mm resolution.
Motor Cover I print at 20% infill and 0.2mm resolution.
Pusher I print at 100% infill and 0.1mm resolution.
Stryfe Foregrip I print at 20% infill and 0.1mm resolution.
Strfe OFP Cage I print at 20% infill and 0.2mm resolution.
Stryfe Trigger (Long or Short) I print at 30% infill and 0.1mm resolution.
W Piece I print at 20% infill and 0.1mm resolution. -
Interlocking MacBook Pro Retina Stand for Smaller Printers 3D Print Model
Summary
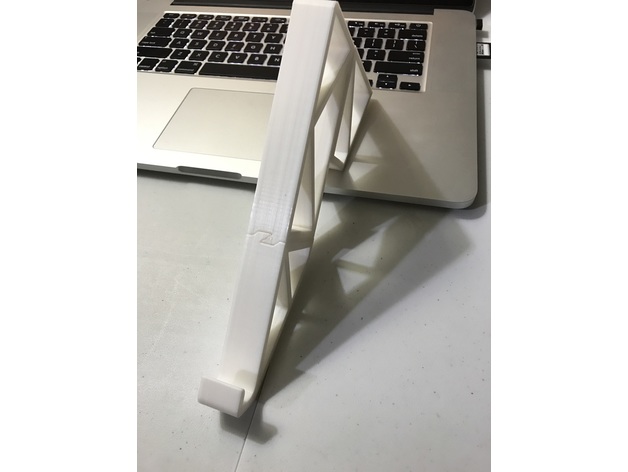
For those of you with a smaller printer like me, this interlocking remix of Thomasdc_’s geometric MacBook Pro Retina Stand (https://www.thingiverse.com/thing:1330829) will allow you to print this great stand in multiple parts without having to glue or fasten anything together.
The parts are an interlocking slide fit that’s very secure, and is best assembled via tapping them together with a weighted object (i.e. small hammer or large wrench)
The gap in the interlocking pieces is 0.15mm so layer heights above this will be tight. I have printed at 0.175 and it’s a nice tight fit.
Print Settings
Printer:
Monoprice Select Mini Rafts:
No Supports:
No Resolution:
0.175mm Infill:
20% Notes:
Note that gap between interlocking parts is 0.15mm. Layer heights will affect the fit of these parts because of orientation of the locking features. They are oriented this way because the stand is very sturdy as a result and doesn’t require glue.
Post-Printing
Inspect the interlocking channels for zits and other inconsistencies clean the up as required. Mine came out nice and didn’t require any clean up.
How I Designed This
I traced the .STL file in Fusion 360 and created my own part splits and locking features once I had the outline traced. I changed the bracing just because I like the look of triangles. -
Homemade CNC Mini Lathe Chuck Drills Spindle Power Wood DIY Headstock Tool Rest Tailstock 3D Print Model
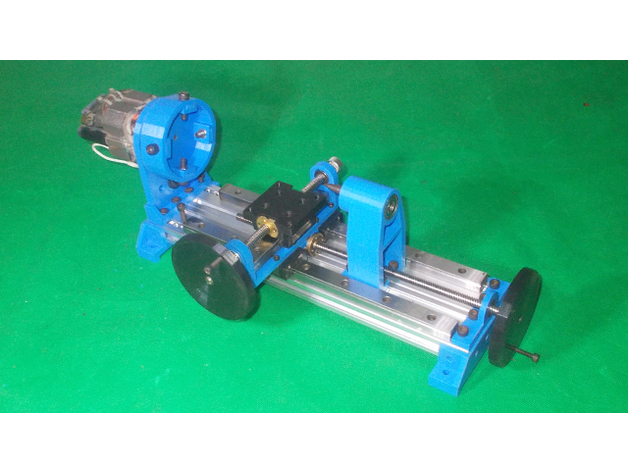
Summary
If you like my designs please consider buying me a coffee or tea!
DIY Bed Base here: https://www.thingiverse.com/thing:2567579
DIY Bed Base and Motor here: https://www.thingiverse.com/thing:2567294
DIY All Base here https://www.thingiverse.com/thing:2569111 -
Shrink Tubing cutter for any scissors 3D Print Model
Summary
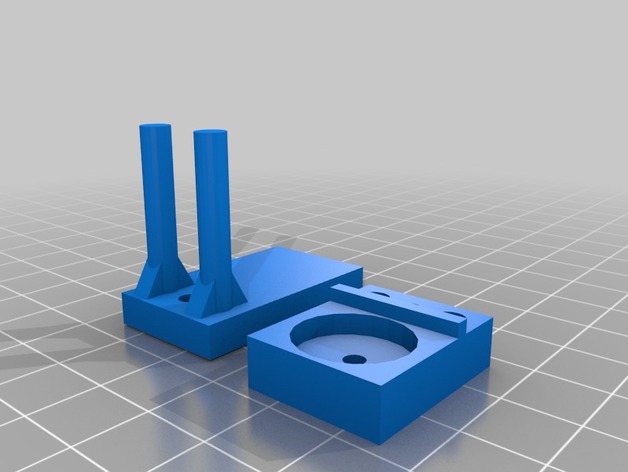
Always need to cut multiple pieces of shrink tubing for cable ends and they look much better if they are uniform in length. The little unit attaches to the one blade of any scissors and the user can adjust the depth to get the desired length. The magnet is a 15mm x 4mm round with a countersunk hole. I use a 4-40 flathead bolt that taps the plastic to secure the magnet. The adjuster is a 4-40 pan head with a nylon locking nut to keep it secured to the gauge plate, but still turns. The other end of the pan head screw threads the magnet/scissor piece to make the adjustment. -
Anet A6 Mainboard case with fan 3D Print Model
Summary
I am use mainboard case in this proyect https://www.thingiverse.com/thing:2067818 -
Blank Medal 50mm Image Diameter / Medalla en Blanco para Imagen de 50mm 3D Print Model
Summary
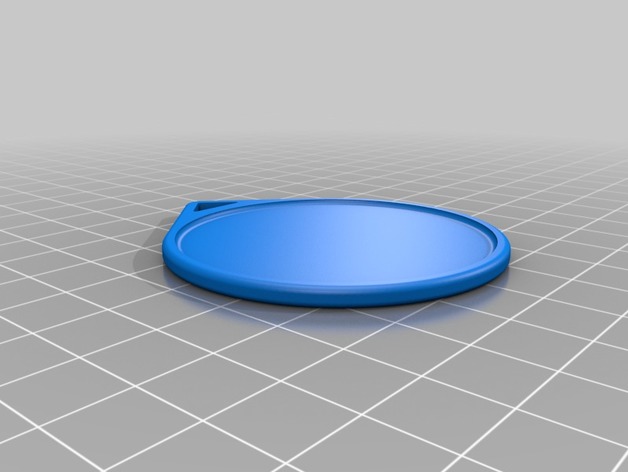
For fast printing < 10 min:
Layer Height: 0.29
Top Layers: 3
Bottom Layers: 2
Perimeter Shells: 1 -
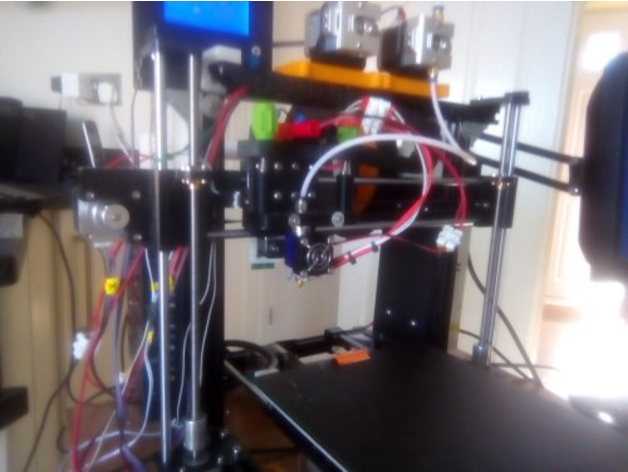
Prusa I3 Single/Dual E3D Mount 3D Print Model
Summary
This collection of things provide a single or dual mount for E3D nozzle assemblies for the Prusa I3 printer.
Full details are provided in the encvlosed PDF document.
Print Settings
Printer Brand:
FlashForge Printer:
Dreamer Rafts:
Doesn’t Matter Supports:
No Resolution:
0.2 Infill:
20% -
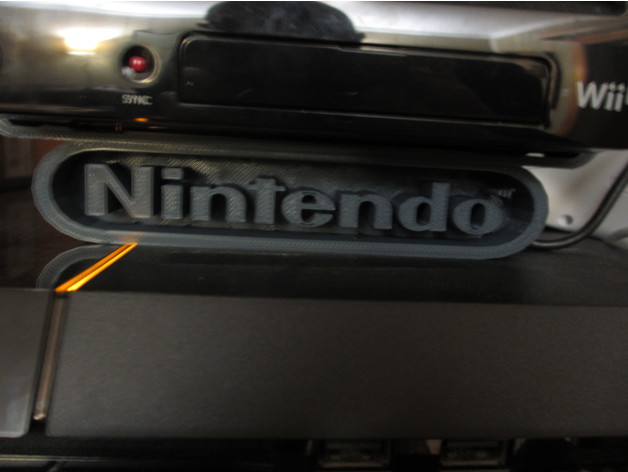
Nintendo Wii U Horizontal Stand W/ Nintendo Logo 3D Print Model
Summary
This is a horizontal stand for the Nintendo Wii U with the Nintendo Logo on it. It holds the Wii U snuggly and it is very sturdy.
Enjoy! -
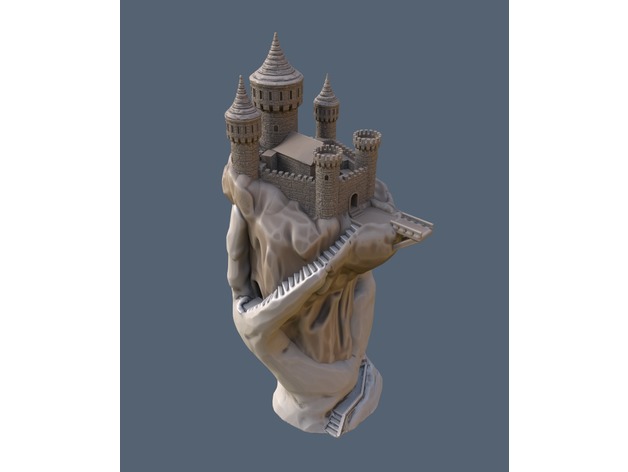
Abode of the Hand 3D Print Model
Summary
This is based on the drawing by Stuwaha as seen here: https://stuwaha.deviantart.com/art/Fortress-15171542
I tried separating the castle from the base but it turned out to not work so well. So I’m releasing it as merged model.
Doesn’t need supports. -
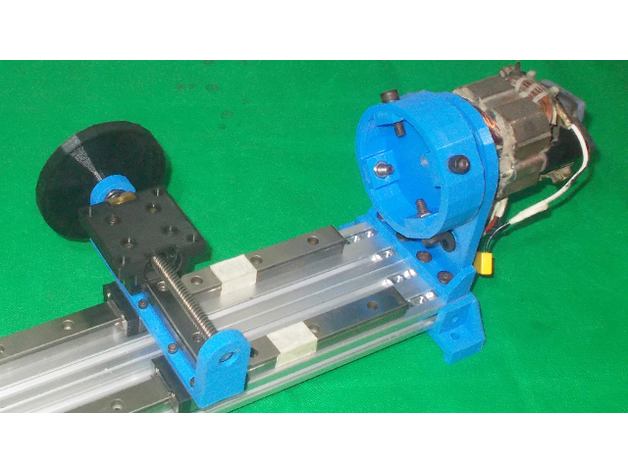
Homemade CNC Mini Lathe Chuck Drills Spindle Power Wood DIY Headstock Tool Rest Tailstock 3D Print Model
Summary
If you like my designs please consider buying me a coffee or tea!
DIY Bed Base here: https://www.thingiverse.com/thing:2567579
DIY Bed Base and Motor here: https://www.thingiverse.com/thing:2567294 -
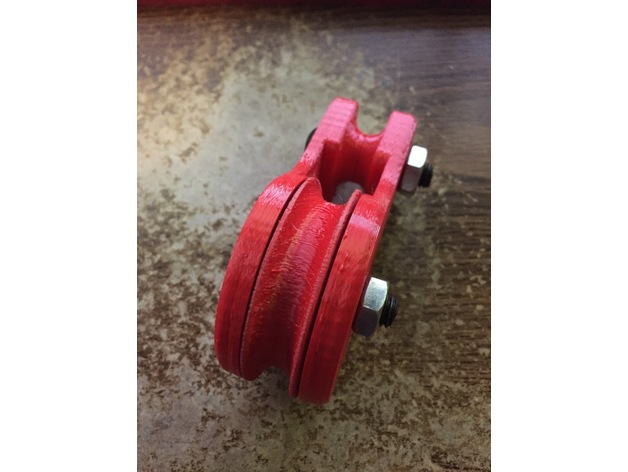
50mm Pulley (2x 608 bearing) 3D Print Model
Summary
This is a basic pulley. It has a 50mm main wheel and will handle up to a 10mm or 3/8″ line. You need two 608 skate bearings, and two 8mm x 35-40mm bolts and nuts. You can either tie a line to the top or use a carabiner as a clip. There are two wheel designs one fancy and one easier to print. I find that the wheels print well in the standing position with support. If you have problems printing that way the simpler design can be printed on its side. I may include a no bearing wheel very soon. The sides should be printed flat with 30% or more infill. I used 2mm walls, top and bottom with 30% infill. That basically makes the sides 100% with a little infill around the top block. There will be more variants, so stay tuned.
Enjoy.
If you like my designs why not tip me a dollar or two. Your support will allow me to spend more time on these designs and their variations. Thanks! -
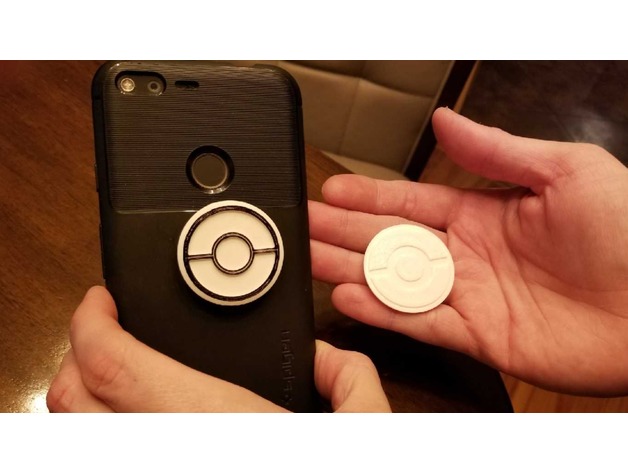
Popsocket Pokeball faceplate 3D Print Model
Summary
I wanted a pokeball popsocket so I made one by using the popsocket faceplate cbusbey made and the pokeball logo xxdanmurphyxx made
Print Settings
Printer:
Anycubic i3 mega Rafts:
Doesn’t Matter Supports:
Yes Resolution:
.2mm Infill:
100 -
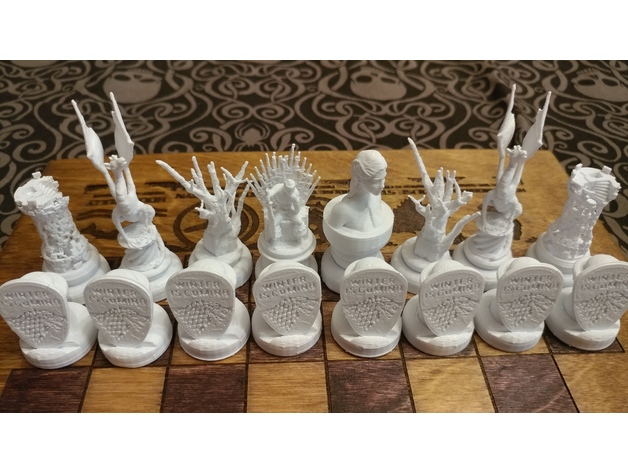
GoT inspired chess board 3D Print Model
Summary
A co-worker asked me to make a Game of thrones inspired chess set. I combined many different models that i found here on Thingiverse and with few modifications came up with this set. I will attempt to attribute all the original models, if I forget one please let me know.
The chess board was laser engraved on 1/4 in ply-board then stained. If interested, send a comment and I can load the files. Yes the checkered pattern is off by 90 degrees. Standby for version 2.
Notes:
Queen crown file has 2 different sized crowns to pick from. I super glued the crown onto the piece with no problems.
Print 16 Pawns, 8 Lannister and 8 Stark sigils, then super the sigils to the pawns.
How I Designed This
source files
Inspirations:https://www.thingiverse.com/thing:2433214https://www.thingiverse.com/thing:1249096https://www.thingiverse.com/thing:607559https://www.thingiverse.com/thing:1805869https://www.thingiverse.com/thing:767823https://www.thingiverse.com/thing:1160005https://www.thingiverse.com/thing:1492107https://www.myminifactory.com/object/game-of-thrones-character-busts-1886https://www.thingiverse.com/thing:1629858 -
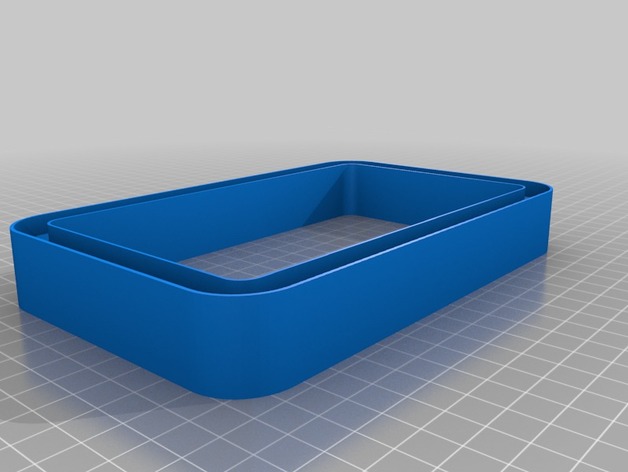
Phrozen Make Resin Vat 3D Print Model
Summary
Resin vats are expensive. So is FEP sheet. Resin vat screws are fragile. I found this out the hard way! Decided to create my own “disposable” resin vat that needs no screws, only ABS or “Raptor” PLA from MakerGeeks (http://bit.ly/2xS5wh3), epoxy resin, and some clear teflon (FEP) sheet (http://bit.ly/2xZe3y4). Use a filament that is strong, that’s why I recommend ABS or Raptor PLA, which can be annealed in the oven and actually becomes strong and more heat/chemical resistant than ABS or carbon filament! Anyway, using a thin bead of epoxy resin in the channel and on the bottom of the insert helps seal the build, and the pressure from the large vat screws on the printer combine to make this thing leak-free.
Print Settings
Printer:
Creality CR-10 Resolution:
.2mm Infill:
15% Notes:
Sliced and printed with gcode from Simplify3D. I like to use a brim of 1 layer and 3 outlines right next to the print. It gives you something to help you remove the insert when you test the fit!
Post-Printing
ANNEAL THE RAPTOR AND AN ABS CAVEAT!
If you use the Raptor PLA, make sure you anneal the parts in the oven following these instructions!Place piece on glass or ceramic or stone
Place a ceramic tile (or glass) over the piece to help prevent warping (if piece is flat on top)
Place item in a cold oven
Heat oven to 212F/100C
Set timer for 15 minutes
After 15 minutes, turn oven off – leave oven closed, leave piece in oven
Set timer for 45 minutes
After 45 minutes, remove ceramic or glass tile from the top of piece
Remove piece from oven (it should be pretty cool but not cold)
Item is still somewhat soft, so don’t drop itLet item cool completely (maybe another 30 minutes)
Item is ready for use!
IF YOU ARE PRINTING IN ABS, DO NOT “SMOOTH” IT WITH ANYTHING, OR YOU COULD RUIN THE FIT! -
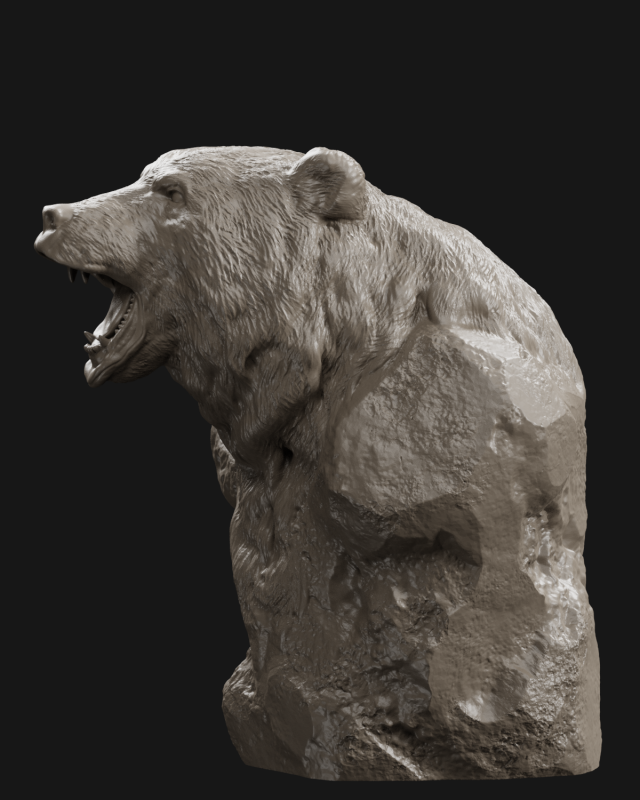
Bear Grin Bust 3D print model 3D Model
3D model Bear Grin Bust ,face, head , model made in Blender , prepared for 3D printing , the polygons in the model 1735756 , model height 15 cm.
-
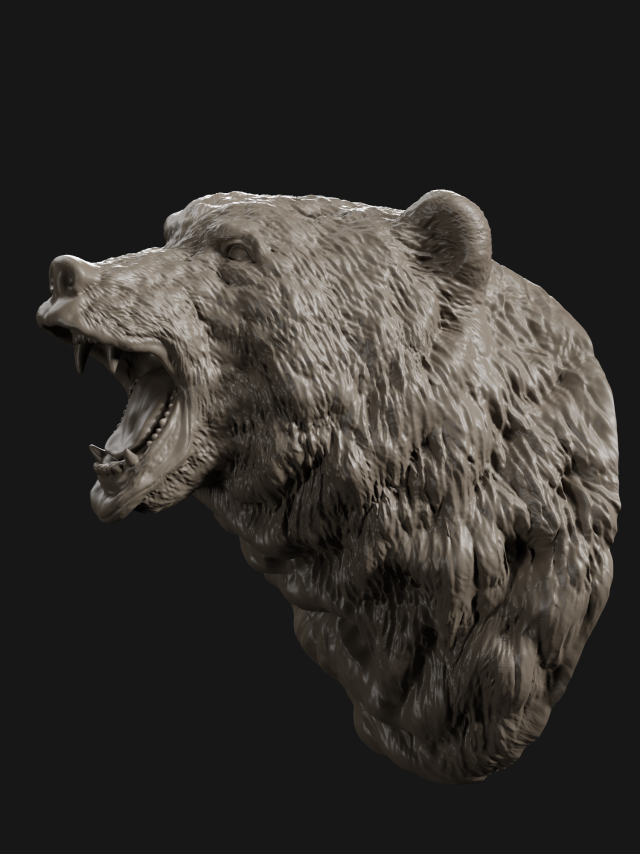
Bear Head Grin 3D print model 3D Model
3D model Bear Grin Head ,face , model made in Blender , prepared for 3D printing , the polygons in the model 1050430, model height 15 cm.
-
Jeton 3D Print Model
Summary
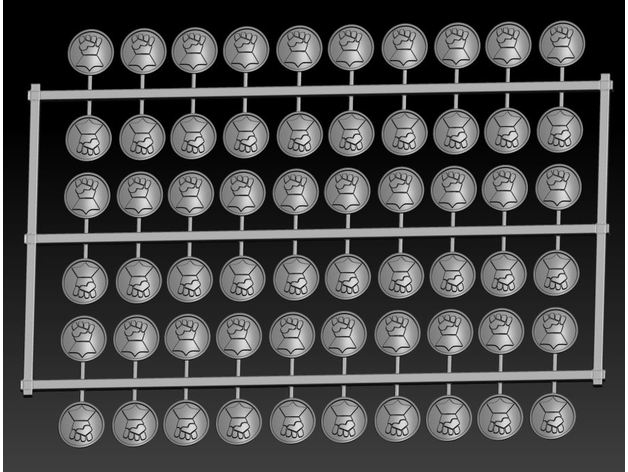
Encore un modèle -
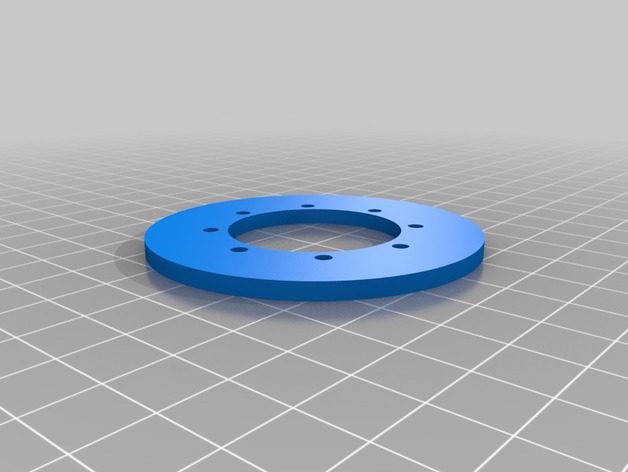
No Support Net Cup 3D Print Model
Summary
Don’t need no stinking supports! Print with PLA and add just a drop of super glue for assembly! -
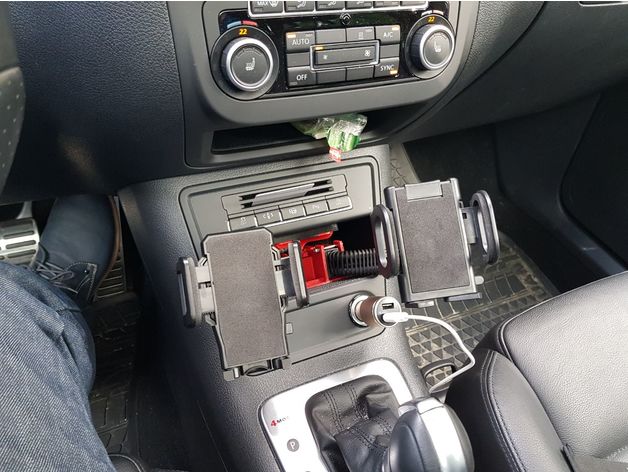
Mobile Phone Mount without screw 3D Print Model
Summary
This is the better Version ofhttps://www.thingiverse.com/thing:2413379
improvements:
more stable
dual device posible but not necessary
better to mount
does not deform
works perfect with https://www.aliexpress.com/item/Universal-360-Degree-Rotating-Motorcycle-Rear-Mirror-Mobile-Phone-Holder-Mount/32827042657.html (Adapter-Standardaufnahme.STL not necessary)
Print with PETG or ABS. PLA is not recommended
Infill, 35-50% -

Nardelli Offroad Wheels 3D Print Model
Summary
When completed this will be a collection of the four Nardelli off-road wheels
TR50
DX105
STG
HDX
They will all be 1.9 inch wheels with a 12 mm hex and all 1 inch wide (except the HDX due to the bolt heads on the outer rim)
Feel free to post any comments, questions, suggestions, ideas, etc.
The inspiration for these wheels came from here:https://www.beamng.com/threads/nardelli-offroad-wheels.30588/ -
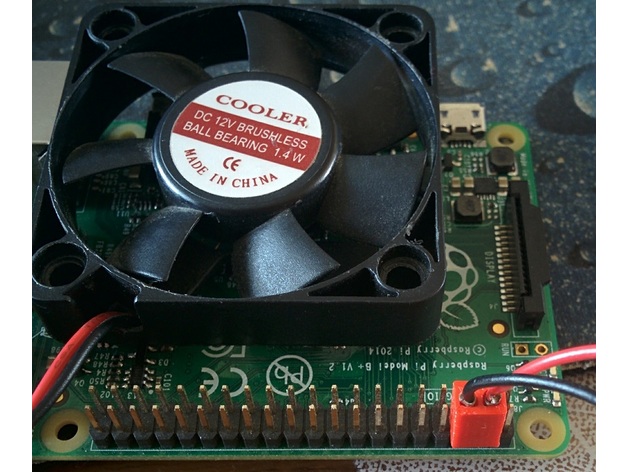
Connecteur de ventilateur pour Raspberry Pi / Fan connector 3D Print Model
Summary
Un simple connecteur permettant d’utilisant un ventilateur classique de PC (après avoir retiré le connecteur en plastique d’origine).
Il est important de conserver les lames ressort en état pour un contact efficace.
Les ventilateurs 12v tournent moins vite en 5v mais cela est largement suffisant pour le raspberry pi. -
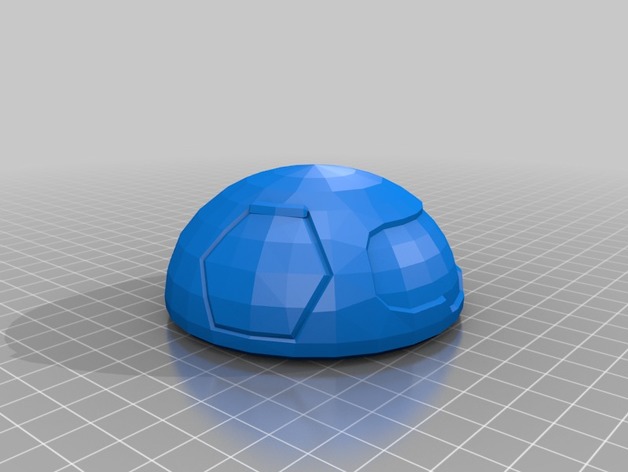
SnowBall (overwatch) 3D Print Model
Summary
i took this model and made it 6 inches tall and 7 inches wide and i had to support it differently i cut it and gave it pegs and a rotating head.
Print Settings
Rafts:
Yes Supports:
Yes Resolution:
fine Infill:
13 -
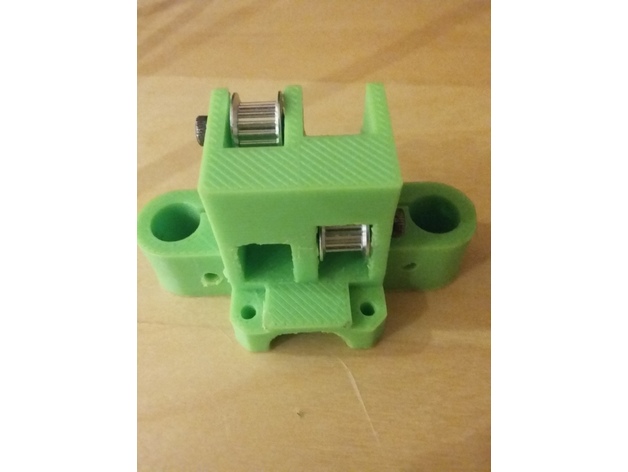
hypercube XY_Joiner remix (wider place for bearings) 3D Print Model
Summary
This is my modified version of the XY joiner in the hypercube 3d printer. The width of where you would usually put 2 flange bearings is slightly wider to accommodate toothed pulleys with an outer width of 8.6mm. see pictures for details.
Please note that the clamp peice needs to be from this page. the clamp from tech2c’s hypercube will not line up with the screws of this XY Joiner. -
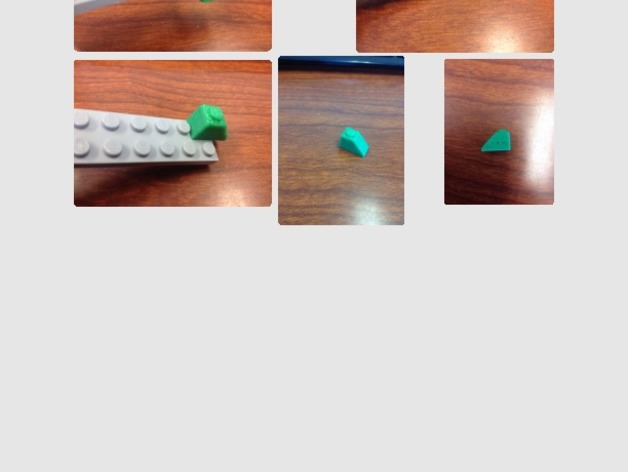
Lego Design 3D Print Model
Summary
My 3D print lego’s top part can fit with other legos very well, but it is hard to to fit with others in the below part. -
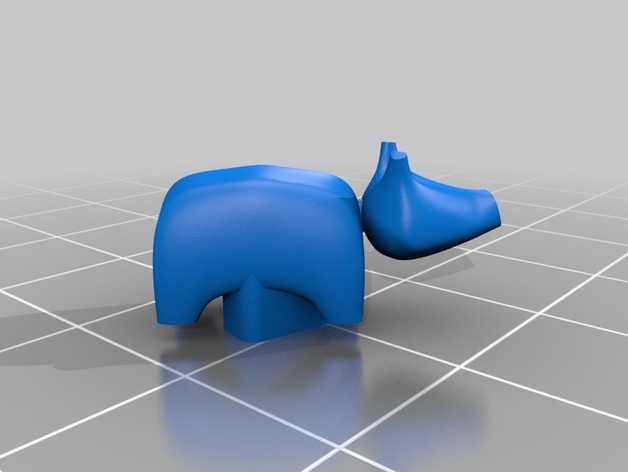
Akabeko, Japanese traditional toy 3D Print Model
Summary
“Akabeko” is a Japanese traditional toy that means ‘Red Bull’.
This model is fingertip-sized.
The scale is about 1/18.
Print Settings
Printer Brand:
Ultimaker Printer:
Ultimaker 2 Rafts:
Yes Supports:
Yes -
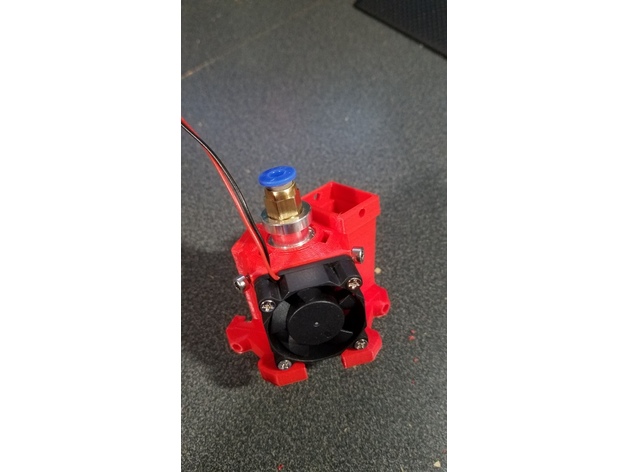
Delta Effector 3D Print Model
Summary
This is a delta effector that I have created based on some ideas from other effectors that I have seen here on thingiverse. Still some addons to come. Enjoy!
Print Settings
Printer Brand:
Prusa Printer:
Prusa Clone Rafts:
No Supports:
Yes Resolution:
.16 Infill:
100 -
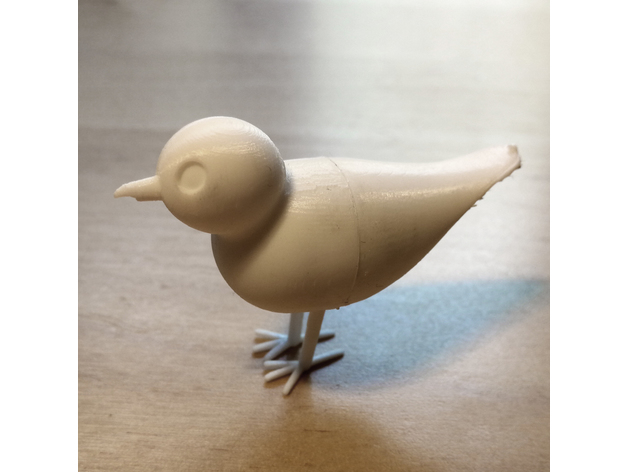
Baxter the bird 3D Print Model
Summary
A simple model of a bird I made in Solidworks. I thought it looked quite nice, so I named it Baxter;)
I printed the model in 4 parts (front, back and two legs) and glued them together with some super glue, working quite well in my opinion. Make sure to print the top parts of the model (beak and tail) very slow. I also included the entire model as on and the Solidworks file.
Enjoy printing! -
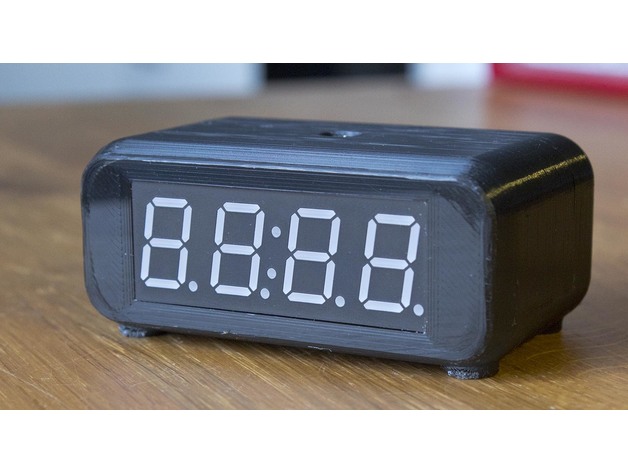
Simple Arduino based clock 3D Print Model
Summary
This is a simple clock based on an Arduino Nano, an RTC module and a serial 7 segment LED display module. It has a fast and easy to use user interface with four buttons to set the time on the back side. The case is 3D printed in two halves that are screwed together with two M3 screws.
Only the STL-files for the case is available here on Thingiverse, schematic and Arduino code is available on my website here: http://axelsdiy.brinkeby.se/?page_id=1485 -
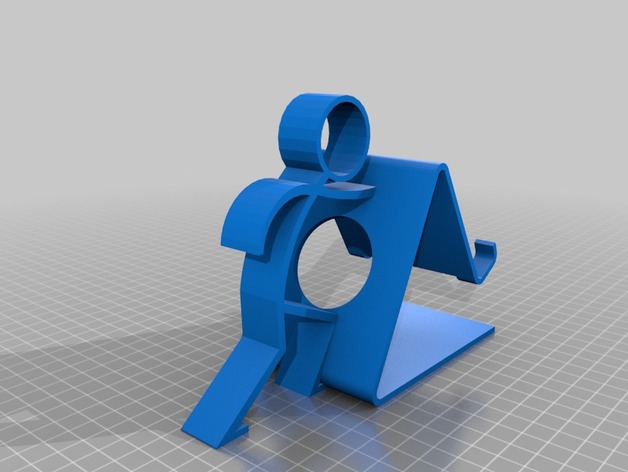
Phone holder 3D Print Model
Summary
Phone or tablet holder
Print Settings
Printer:
ANET A8 Rafts:
Yes Supports:
Yes Infill:
20-30% Notes:
Print on its side using supports – it’ll print much quicker than standing up and will not require as many supports
How I Designed This
Designed using SketchUp 2017 Maker for Mac -
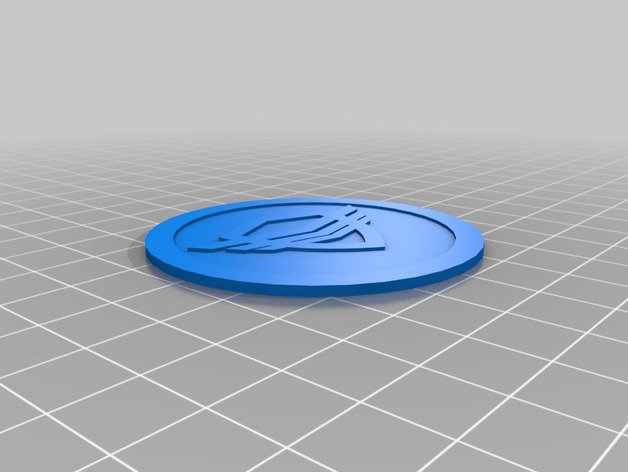
Planetary Union Security Badge 3D Print Model
Summary
Planetary Union Security Team badge as worn by Lt. Alara Kitan. -
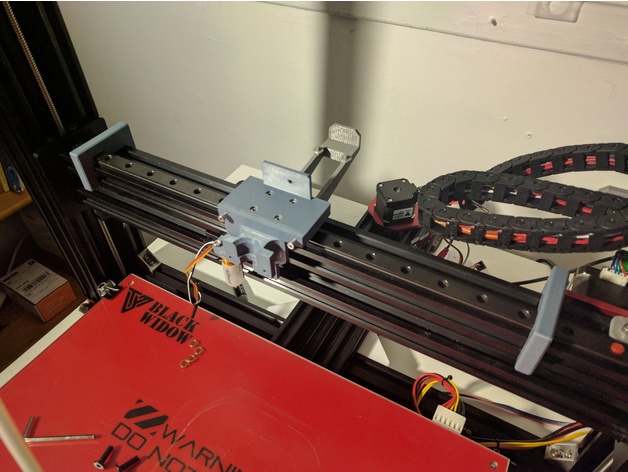
MGN12 Guide Tool for 2040 Extrusion 3D Print Model
Summary
This is an Alignment tool that will place your MGN12 rail over a 2040 extrusion aligned, ready to be bolted down.
Use 2-3 of these to line up your rail.
Print Settings
Printer:
TEVO Black Widow Rafts:
No Supports:
No Resolution:
0.2 Infill:
10-20% Notes:
Settings don’t really matter as long as your printer produces good dimensional accuracy. -
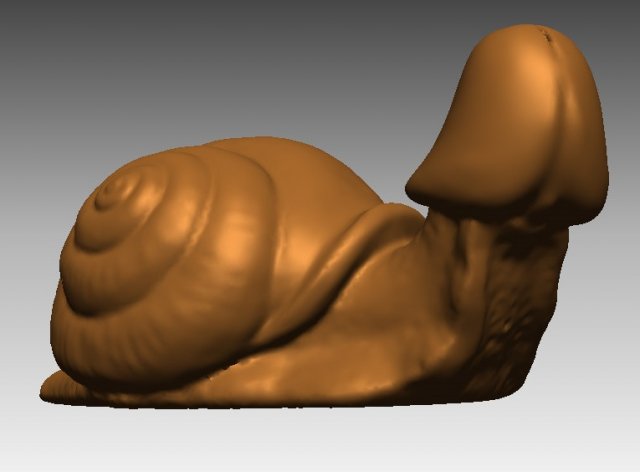
Snail cock 3D sculpture 3D Model
Hi detailed 10cm long 3D sculpture ready to print.The sculpture is hollow to save on print time and material.Recommended 3D print settings :- Support on / 75° off horizontal plane- 3 loops or more (additional perimeters)
-
Sticky Pad Holder 3D Print Model
Summary
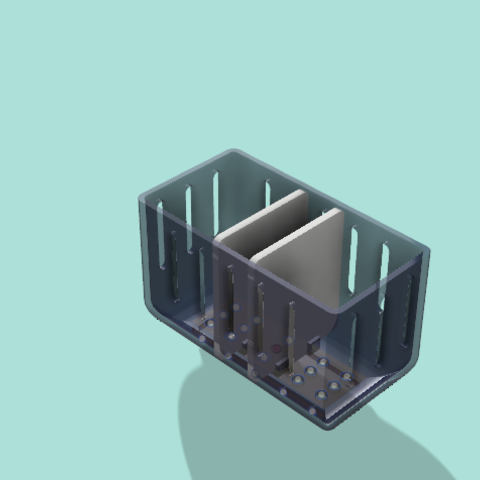
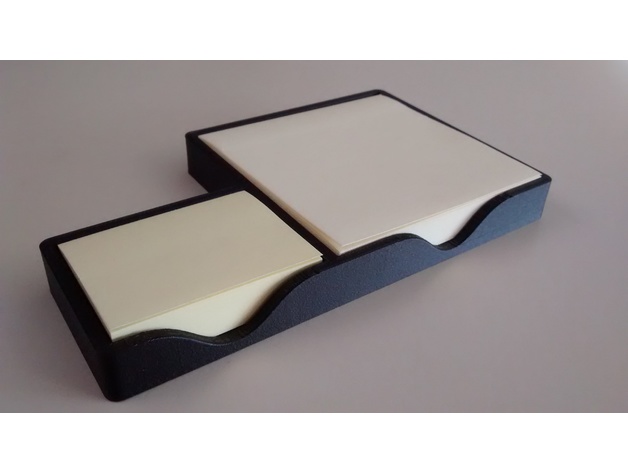
This simple sticky pad holder was born out of necessity. I use a lot of sticky pads at work for marking up paperwork, flagging key pages in giant binders, writing down the day’s tasks, etc. I wanted a one-handed sticky note solution for both sizes of sticky notes that my office stocks, so I took a lunch break and designed one.
This fits two sizes of sticky notes: The standard 3″ x 3″ sticky note, and the slightly less common 1.5″ x 2″ sticky note. I over-sized the compartments by .050″ in each direction (e.g. 3.050″ x 3.050″ and 1.550″ x 2.050″) to accommodate for tolerances in the sticky note manufacturing process. I tested several different pads of both sizes, and they all seemed to fit pretty well.
I printed this on a Markforged Eiger Onyx One with 4 floor/ceiling layers, 2 wall layers, and 50% triangular infill. The filament I used was Onyx chopped carbon fiber filament.
Possible design improvements include:
Adding a recessed square on the bottom for a piece of double-sided tape
Slightly larger and/or lower cut-outs in the front for easier access
Thinner floor/walls for a faster print time
Increasing the height to stack multiple sticky pads
Happy printing! -
Rotary Axis For Diode Laser 3D Print Model
Summary
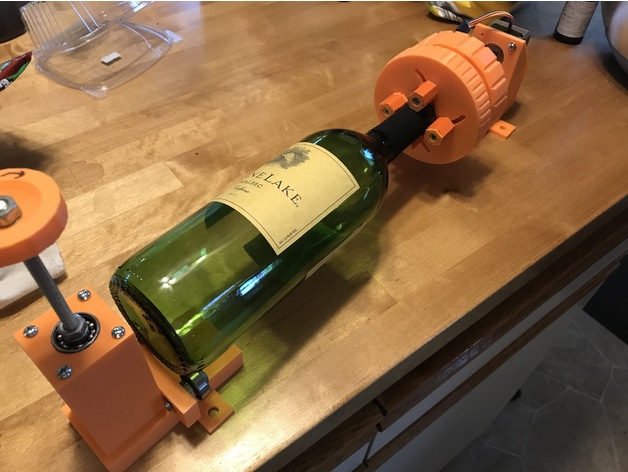
After looking all over for a rotary axis for my diode laser, I tried a few here on thingiverse, but none worked well for me. As I am not working on anything huge and do not need much torque, I decided to design my own direct drive Rotary Axis.
I cannot take all of the credit. Thanks to hexitex for his awesome 3d printable longworth chuck: https://www.thingiverse.com/thing:5791, I was able to make my design work.
While this did start out as a project just for myself, during the build process, I collaborated with nottingham82 on this project. Many thanks to him. Him an I both found different ways to improve the design, thus making a much better setup.
He called his a remix of my design, but mine is also a remix of his. Outside of the core base design, we each designed our rotary axis independently.https://www.thingiverse.com/thing:2561227
Outside of the 3d printed parts, you will need the following:
1/4-20 threaded rod
1/4-20 nuts (around 6)
6/32 bolts for chuck
8/32 bolts for support top
M3 nuts and bolts for coupler
NEMA17 motor
608 bearings (5x)
Here are some videos of the rotary axis at work (please let me know if they don’t work, They were still loading when I posted this):
First Test: https://youtu.be/4F4NecvExnU
First Laser Test: https://youtu.be/H4r3i-HPrOo
Wine Bottle: https://youtu.be/QvoQ9ZGuGgY
Print Settings
Printer:
Maker Select v2 Rafts:
Doesn’t Matter Supports:
Yes Resolution:
0.2 Infill:
40 -
Oloid Wobbler (rolling fidget desk toy) 3D Print Model
Summary
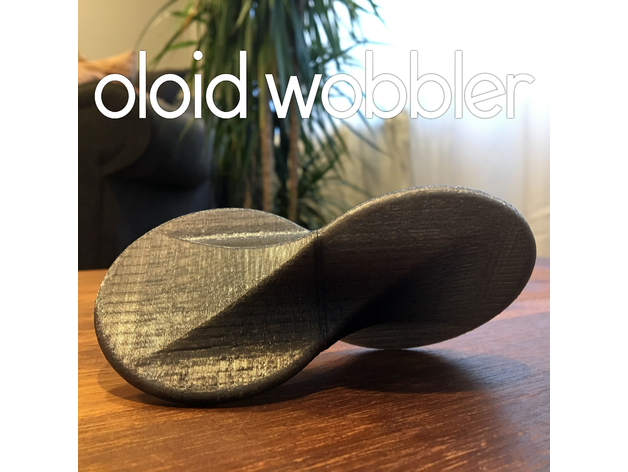
This is a oloid wobbler! iterating on my rolling ellipse design i came up with this easy to print more aesthetically pleasing 3 part design! print all 3 peices without support and screw them together! Enjoy! -
poohead 3D Print Model
Summary
someone i know who talks a lot of s***. Made a bust of them. the zbrush file is in there if you want to adjust it. -
Paw Patrol 3d print cookie cutters model 3D print model 3D Model
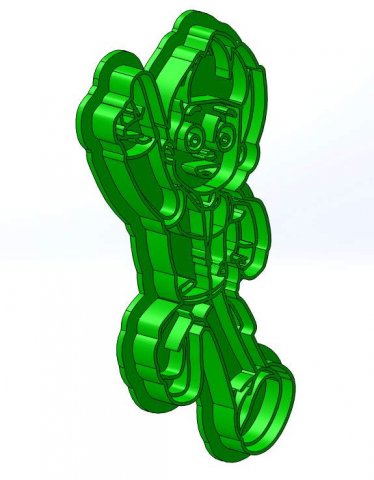
Height 100mm.I can moify model as You need.
-
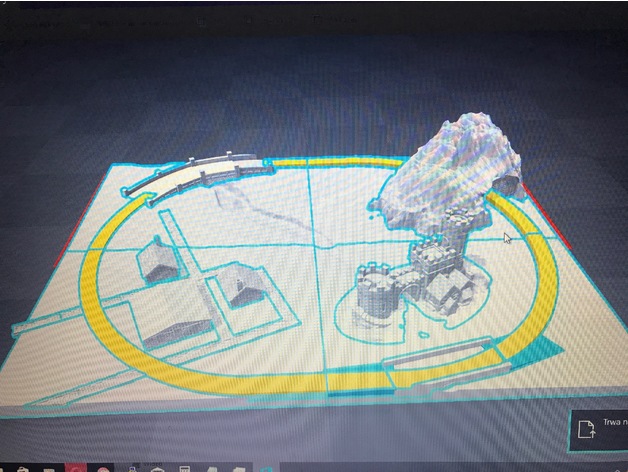
Z Gauge 220 diorama Marklin 3D Print Model
Summary
Layer: 0.1
Printer: Prusa I3
Split to 4 parts – total scaled to A3 format [ 29.7 x 42 ], -
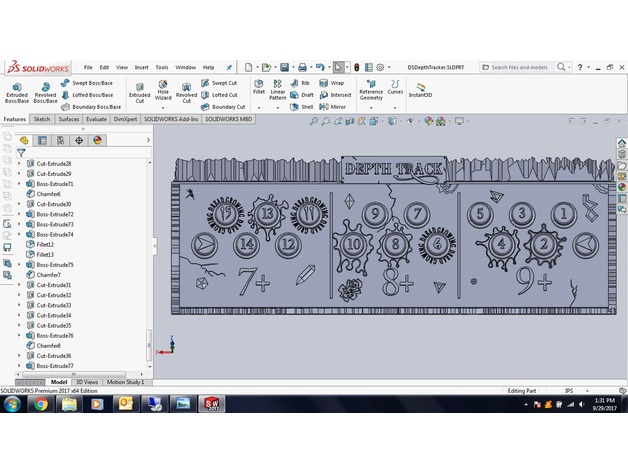
DS Depth Track 3D Print Model
Summary
My own custom 3D depth tracker for shadows of brimstone. DARK STONE DEPTH TRACKER -
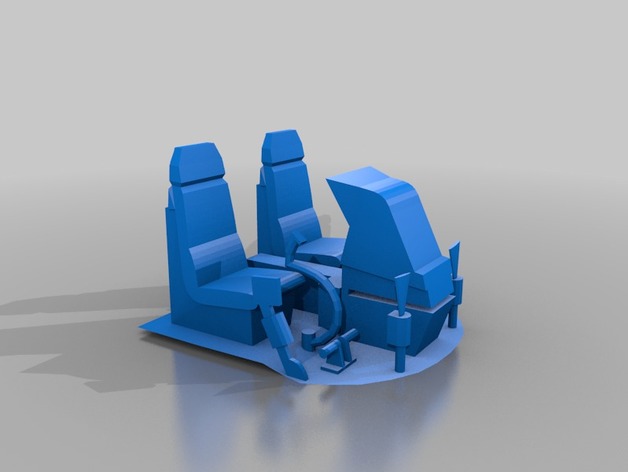
BO-105 cockpit E-flite 130X fuselage 3D Print Model
Summary
2 versions, default + fixed by makeprintable -
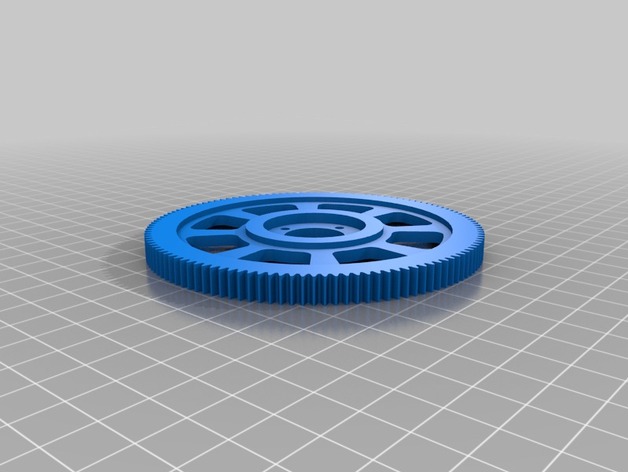
Hauptzahnrad Quickie EP10 3D Print Model
Summary
Hauptzahnrad Quickie EP10
Print Settings
Printer Brand:
Ultimaker Printer:
Ultimaker 2 Supports:
Yes Infill:
25 -
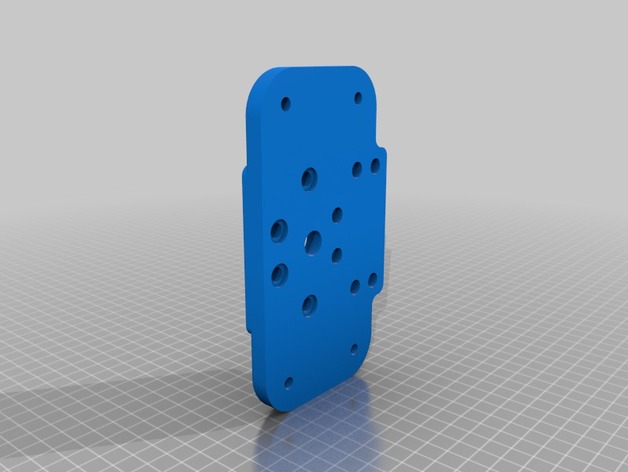
Various Upgrades TEVO Black Widow 3D Print Model
Summary
Here you can find some Upgrades for the TEVO Black Widow that i designed.
I also made some Remixes of other Peoples Upgrades for the Printer which i will add some time soon.
Please keep in mind that the parts are work in progress and may change, the things i already installed and know that they fit atleast my printer are the Corner Brackets bottom and the inner Corner Brackets. -
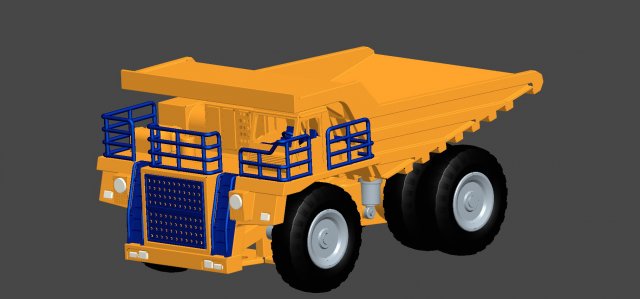
Belaz 75131 3D Model
Realistic 3d model.Quarry dumpers are designed for transportation of rock mass in loosened state along technological roads on open mines with different climatic conditions. Can be used for the construction of large industrial and hydraulic structures, for the construction of highway complexes, as well as in the technological divisions of enterprises of the processing industry. Depending on the specific weight of the cargo being transported, the greatest efficiency is achieved when used with excavators or bucket loaders of the following capacity: 12 – 20 m3.MAIN CHARACTERISTICSCarrying capacity 130-136 tonsEngine Cummins KTA 50-CEngine power 1194 kWTransmission electromechanicalTransmission FormulaADDITIONAL CHARACTERISTICSTorque, N * m / rev / min 6292/1500Specific fuel consumption at rated power, g / kWh 208Tires 33.00-51; 33.00R51; 36 / 90-51Variable-direct current transmissionThe gear box of a motor-wheel planetary two-rowSuspension dependent for the front axle and the drive axle – longitudinal levers with a central hingeTRACTION ELECTRIC MOTOR -EDP-600; EK-590THRESHOLD GENERATOR – GSN-500; GTS-1; SGT-1000BRAKE (WITH HYDRAULIC DRIVE)front wheels are dry discback wheels dry discparking discauxiliary electrodynamic braking by traction motors with forced air cooling of braking resistorsVOLUME OF THE BODY, M³geometric 40,0; 45.5; 50.1; 55.0; 59.6; 103.8with “cap” 2: 1 67.0; 71.2; 75.5; 80.0; 84.0; 134.8turning radius, m 13Weight, KGwithout load 107100 (standard equipment)gross weight 237100-243100Maximum speed, km / h 50