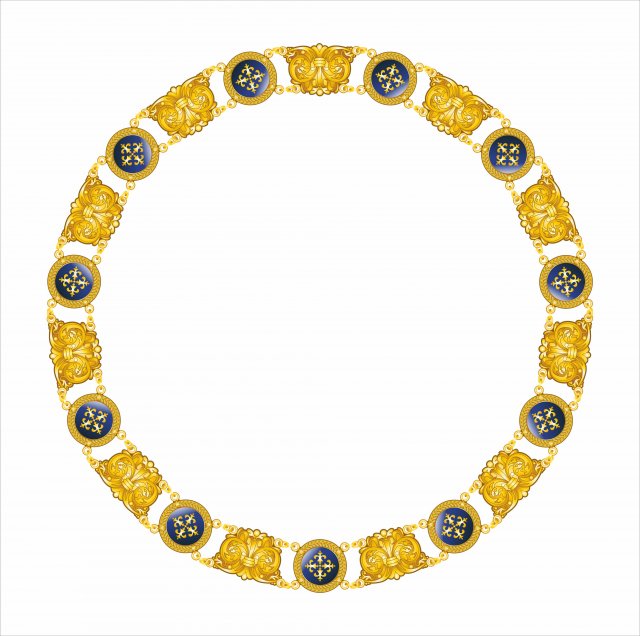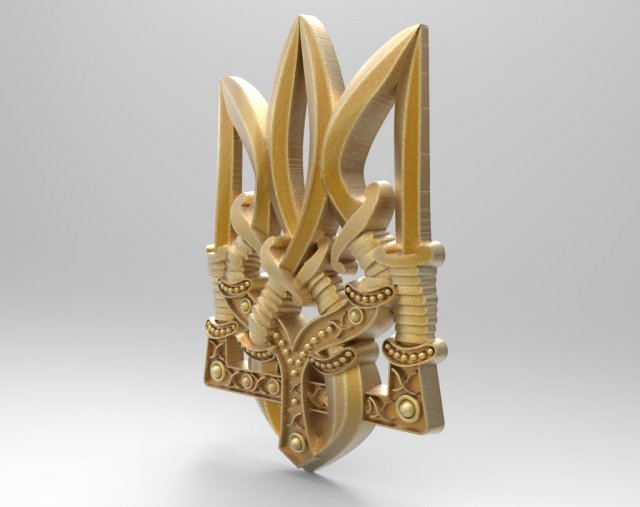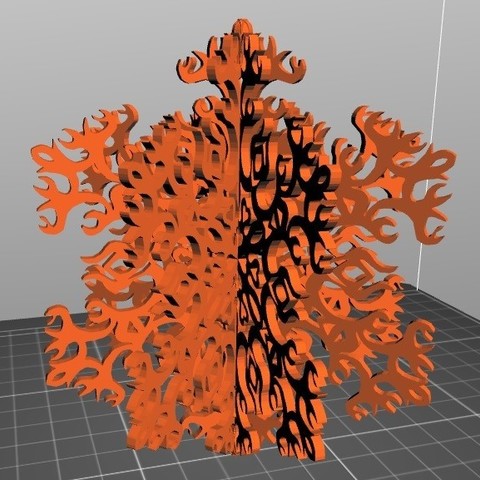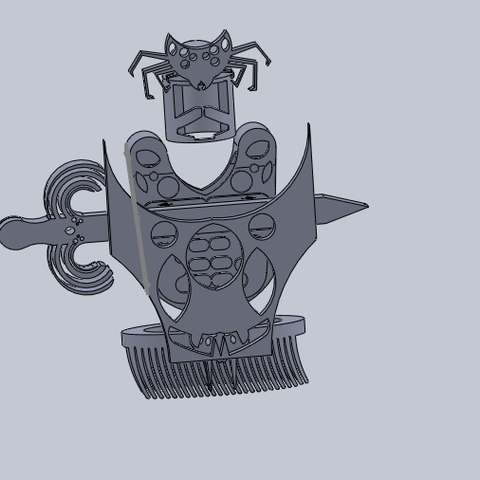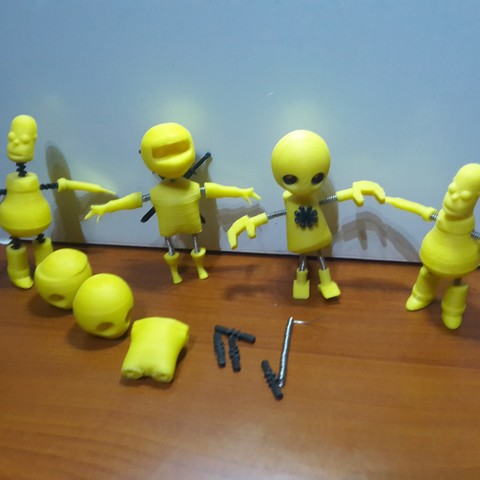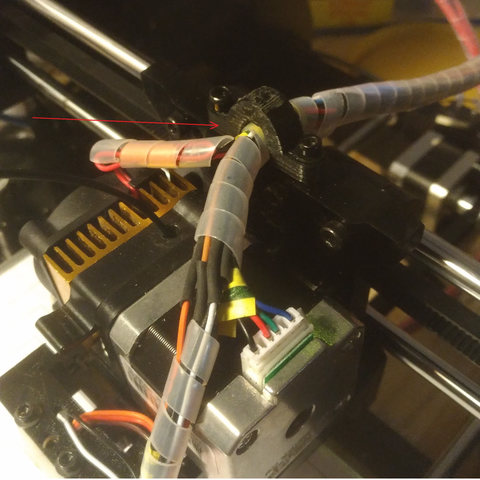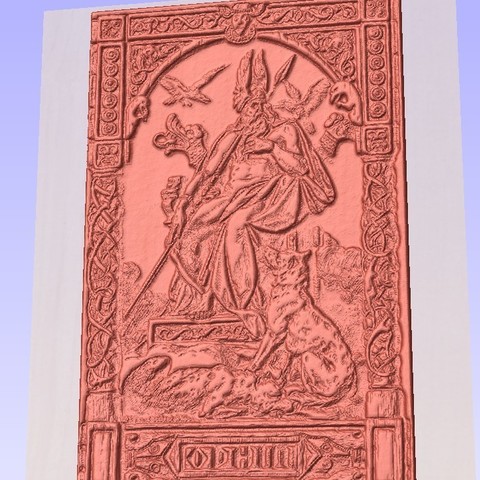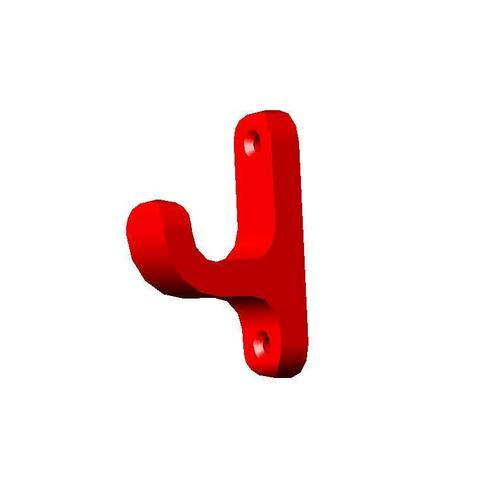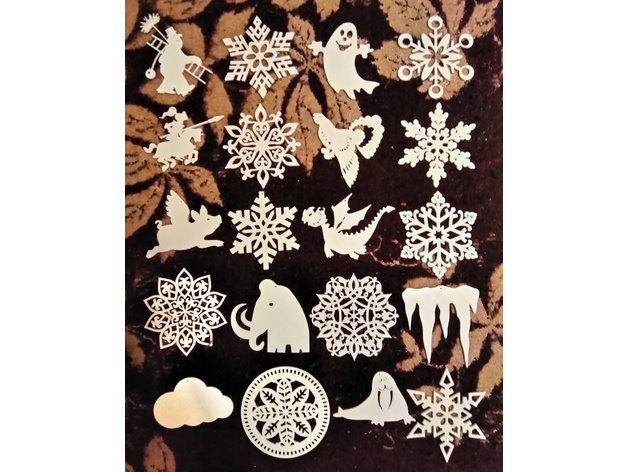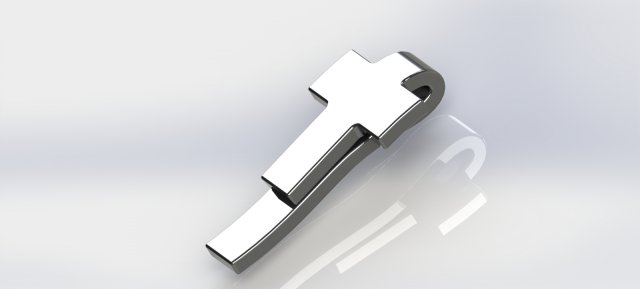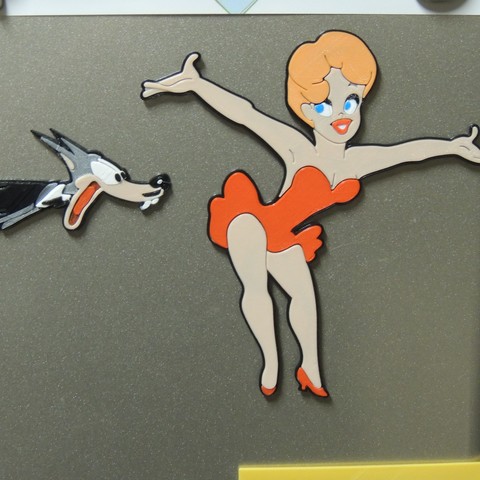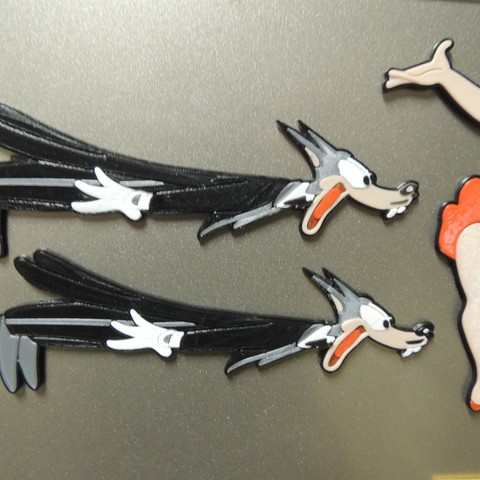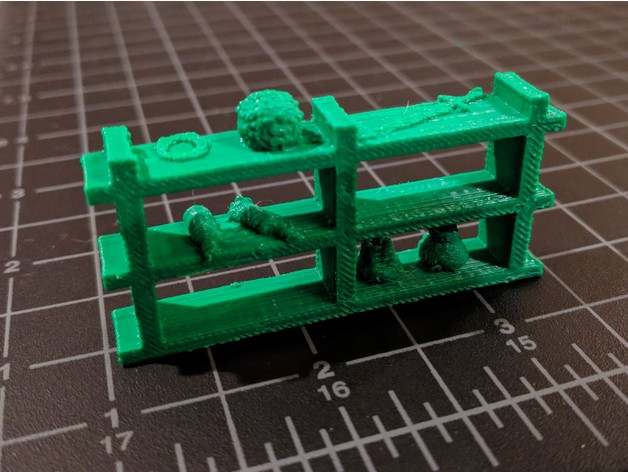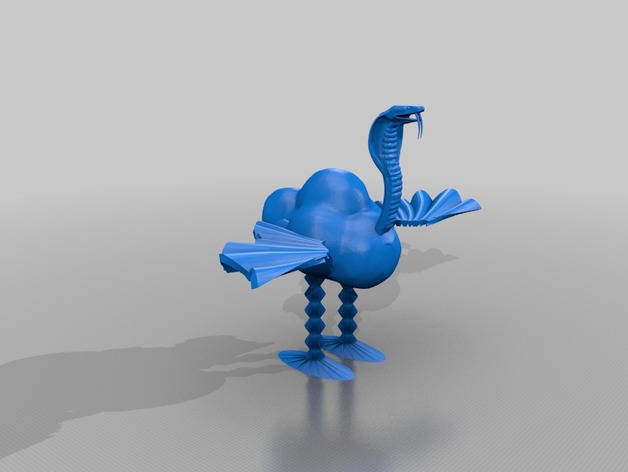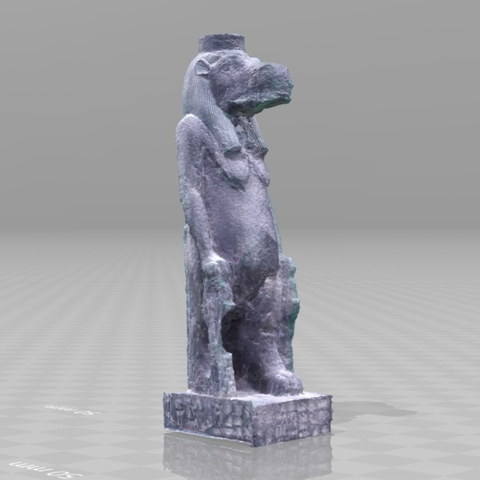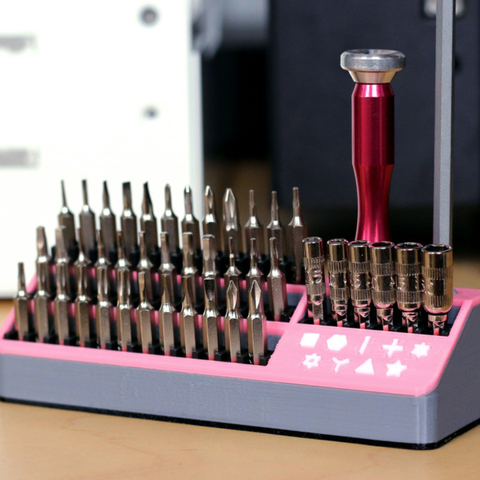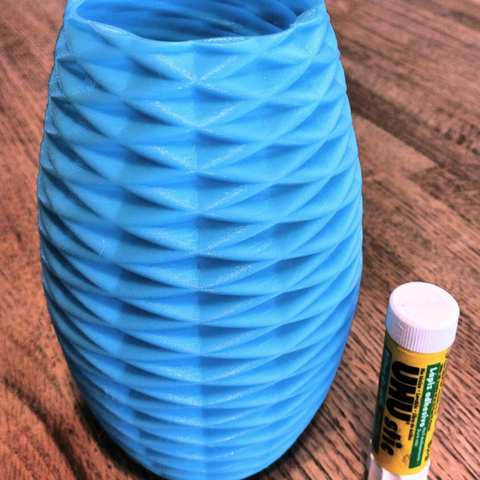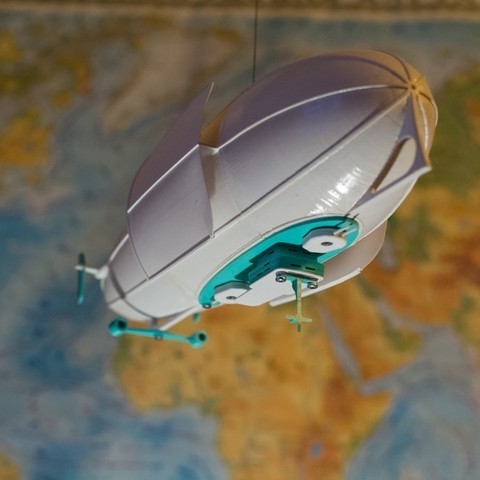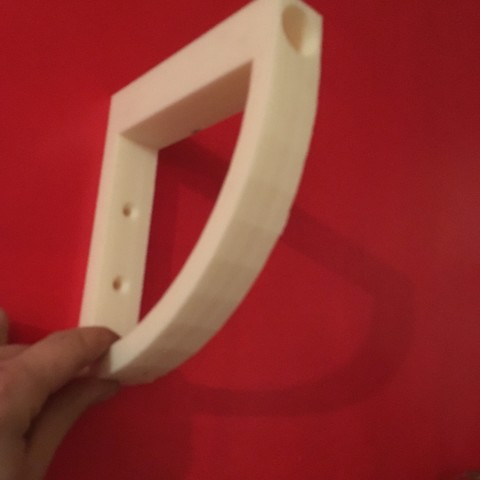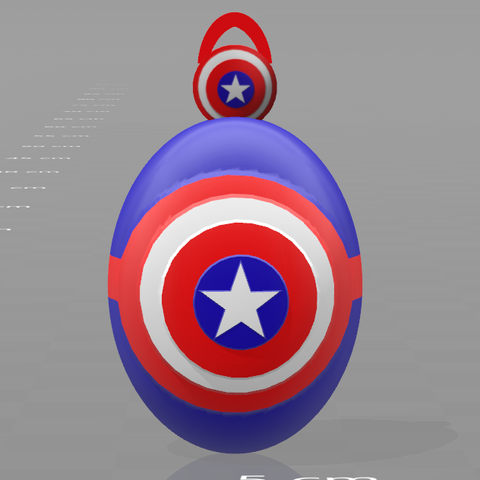
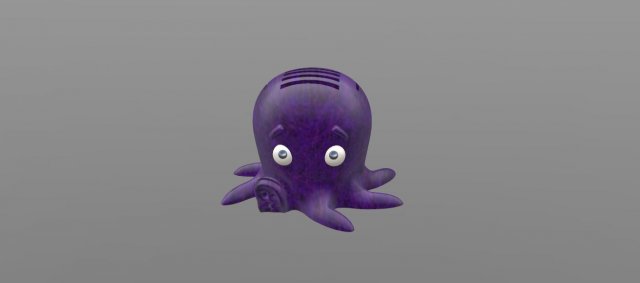
Octopus, original stand for micro sd, sd card. Ready for printing. You can change the size, color.
Category: 3D Print Models
Premium & 3D Print models ready to be 3d printed. 3D Print Models and Free 3D Print Models are available for download in several formats including .STL, .3DM, .OBJ, .3DS, .DAE, .SKP, .BLEND, .DWG, .DXF, .STEP and much more. If you’re in search of high-quality 3D printed assets, we have a huge library of 3d print models for any of your needs. Also you can visit 3D Models and All 3D Models category.
-
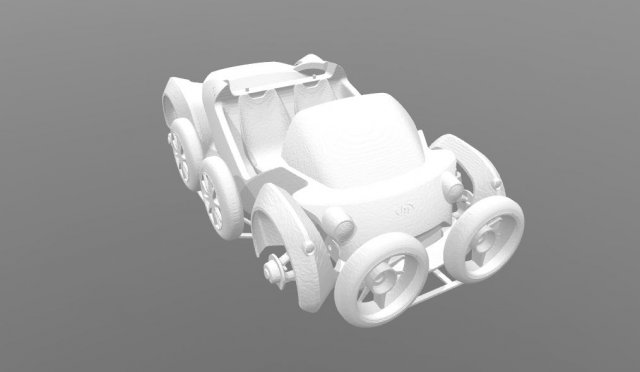
Car Strati model team 3D Model
3d model “Car “Strati”” model team, after the printing of every detail you need to detach from the overall design and to connect with the body of a car. The model has an active steering mechanism. It is possible to change the model dimensions at your discretion and change the color palette. The model is ready to print.
-
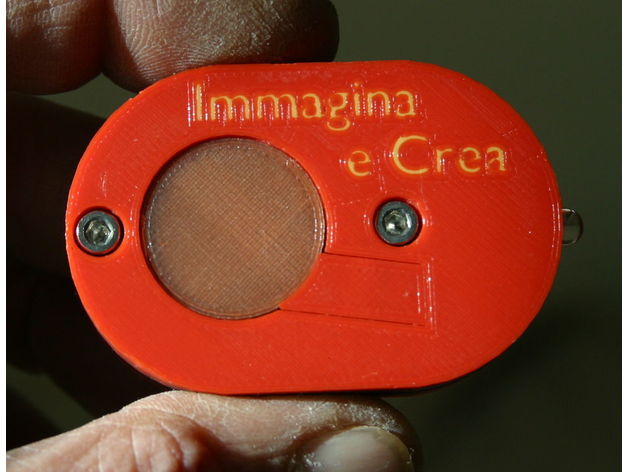
MMMT – Multi material Mini Torch 3D Print Model
Summary
This torch are printed with graphene material, colored pla and phosphorescent pla.
The graphene material is very dirty but does not conduct current in the insulating parts.
Battery is a Duracell 2450 (3V)
Printed with IeC 9/12 Veloce (first prototype) with “9 ways flux capacitor” – 4 materials in print -
3 Panel Lithophane 3D Print Model
Summary
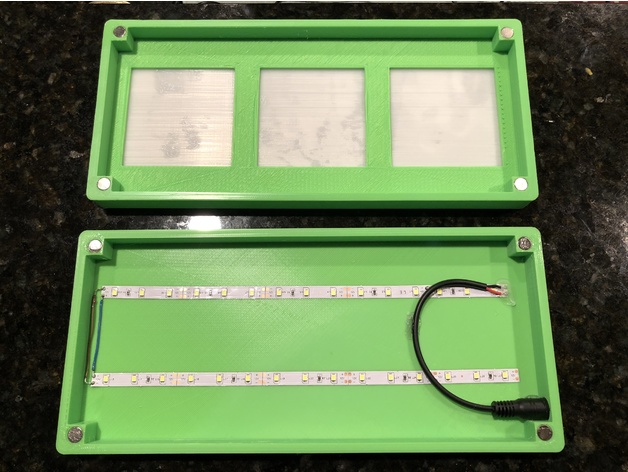
I printed my panels at 74.7mm x 74.7mm to get them to fit with a small amount of friction in the frame.
LED lights I usedhttps://www.amazon.com/gp/product/B00MHLIFO8/ref=oh_aui_detailpage_o02_s00?ie=UTF8&psc=1
Magnets I usedhttps://www.amazon.com/Magnets-Refrigertor-Stainless-Whiteboard-Multi-Use/dp/B078LX554X/ref=sr_1_1_sspa?ie=UTF8&qid=1516375131&sr=8-1-spons&keywords=8x1mm+magnets&psc=1 -
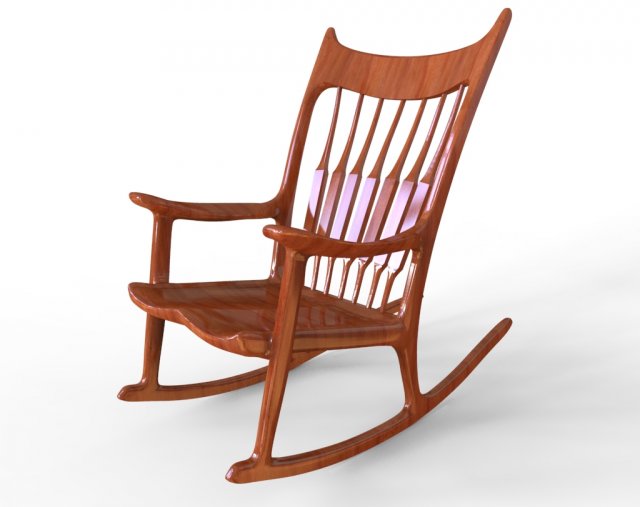
Rocking chair 3D Model
Famous rocking chair master-hand Sam Maloof. Real size. The model is built using the program Rhinoceros and the plug-in T-splines
-
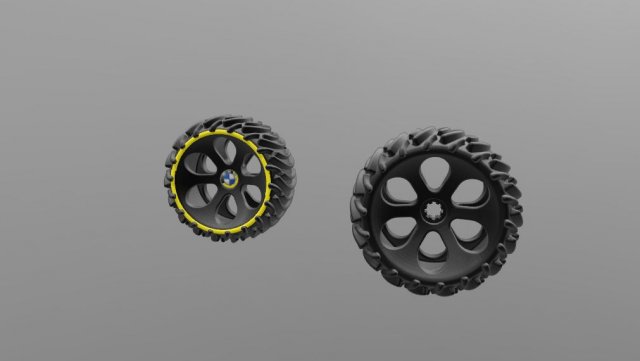
Wheel for BMW SUV 3D Model
Wheel for BMW SUV 2 different versions with the possibility to change the dimensions and print on 3D printer formats .obj .3mf
-
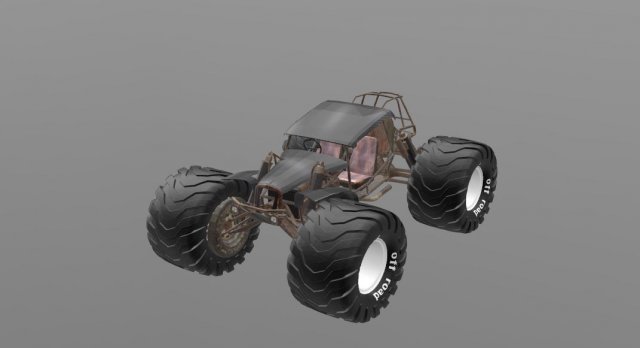
Off Road Buggy 3D Model
Buggy SUV – changed the model of buggy for 3D printing.The available formats .obj .3mf .mtl
-
MUMM-RAS SWORD 3D Print Model
Summary
THIS IS OUR VERSION OF MUMM-RAS SWORD FROM THE 80s THUNDERCATS CARTOON & TOYS. WE HAVE CHALLENGED OURSELVES TO DO 3 NEW DESIGNS, PRINT & POST VIDEOS ON YOUTUBE A WEEK IN 2018. WE WILL BE PUTTING THEM UP HERE WITHIN COUPLE WEEKS OF VIDEOS POSTING. IF YOU LIKE THIS MODEL PLEASE CHECK OUT OUR YOUTUBE CHANNEL “A SKEWED VIEW 3D” SUBSCRIBE & RING THE BELL AS WE WILL HAVE ALOT OF CONTENT COMING OUT THIS YEAR. EVENTUALLY WE WILL BE DOING PROP SIZE VERSIONS OF OUR MODELS BUT AS IT IS TAKEN ALL OUR TIME TO DO 3 NEW ONES A WEEK THAT WILL BE DOWN THE LINE. THANK YOU FOR YOUR INTEREST & HAVE A WONDERFUL DAY. GOD BLESS -
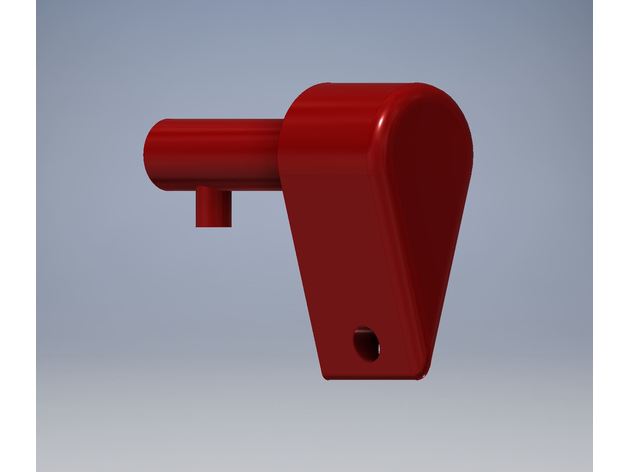
Shopsmith Pro Planer Safety Key 3D Print Model
Summary
Safety key for the Shopsmith Pro Planer. You may have to scale it down slightly (1% or less) in the X and Y axis (not Z) for a perfect fit. -
c-bot / d-bot multi-purpose x carriage 3D Print Model
Summary
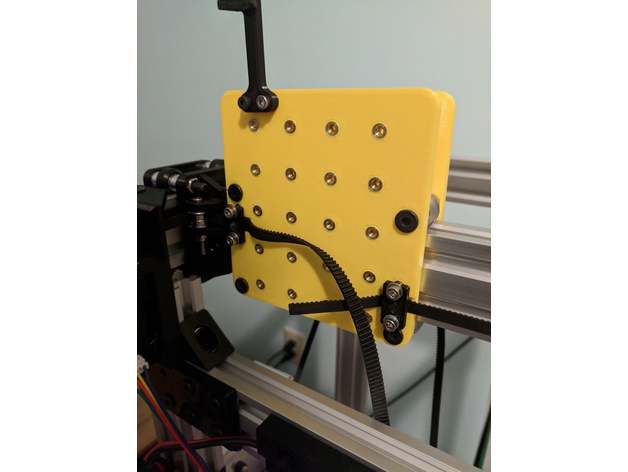
The main idea behind this plate is to allow me flexibility in what tool I put on the x-carriage, where I put fans and other sensors etc. I’m planning to create a few parts which are based on this plate.
At present I’m just printing this plate twice and using for both sides. Technically over-kill but you never know ( quad extruder anyone? )
To use this plate you will need heat-set inserts. Either from Lulzbot or McMaster. I have set the spacing to be 20mm center to center and they should be just the right size to take these inserts. The lulzbot guys did a nice write-up demonstrating how to put them in.
You will also need the following:
4 x mini-v wheel kits ( either delrin or polycarb )
4 x 6mm spacers
4 x 6mm eccentric spacers
4 x M5 45mm
4 nylock nuts ( or regular and thread lock )
For each plate, 26 heat-set inserts ( see above for link options )
I’m still messing around with the extruder mounts. The titan large diameter gear screws around with the spacing so it sticks out kinda far which could make the hotend subject to moving during rapid transitions.
Also note, this is a work in progress. I’ve assembled it and done movement tests but have not used it for anything serious. Any thoughts or ideas on improvements or changes would be welcome. I plan to make a laser engraver mount and going to try a cnc mill later.
The c-bot you see in the photos is a small form factor so I can iterate on this kind of stuff without taking my main printer down so the plate looks huge 😉
Print Settings
Printer:
c-bot Rafts:
No Supports:
No Resolution:
.2mm Infill:
20-50% Notes:
Using kisslicer I use 3.25 perimeters. At 20% infill and the perimeters this plate feels plenty stiff using PETG. Use your best judgment there.
No overhangs or nut captures so no supports are necessary -
KIRITOS DARK REPULSER 3D Print Model
Summary
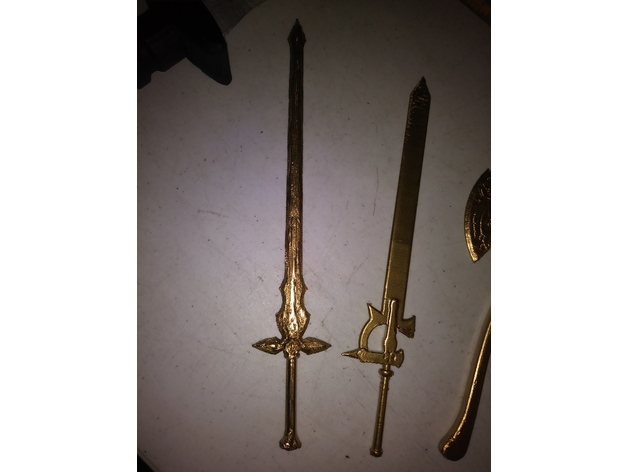
THIS IS OUR VERSION OF KIRITOS DARK REPULSER FROM SWORD ART ONLINE ANIME. WE HAVE CHALLENGED OURSELVES TO DO 3 NEW DESIGNS, PRINT & POST VIDEOS ON YOUTUBE A WEEK IN 2018. WE WILL BE PUTTING THEM UP HERE WITHIN COUPLE WEEKS OF VIDEOS POSTING. IF YOU LIKE THIS MODEL PLEASE CHECK OUT OUR YOUTUBE CHANNEL “A SKEWED VIEW 3D” SUBSCRIBE & RING THE BELL AS WE WILL HAVE ALOT OF CONTENT COMING OUT THIS YEAR. EVENTUALLY WE WILL BE DOING PROP SIZE VERSIONS OF OUR MODELS BUT AS IT IS TAKEN ALL OUR TIME TO DO 3 NEW ONES A WEEK THAT WILL BE DOWN THE LINE. THANK YOU FOR YOUR INTEREST & HAVE A WONDERFUL DAY. GOD BLESS -
Tiny Teddy Bear 3D Print Model
Summary
My First thing on Thingiverse.
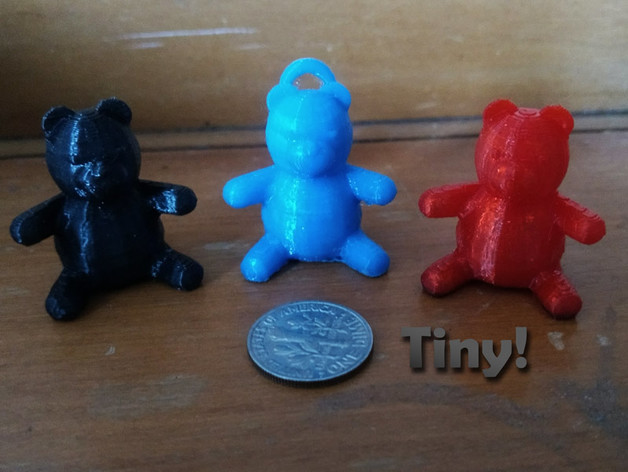
I decided to print this from my IMVU product (http://www.imvu.com/shop/product.php?products_id=31938983) for my youngest son, then ended up printing a bunch of them. I want to build an army!
You can print with or without a loop for hanging on the Christmas tree. I printed it in PLA. Supports are needed.
Show me your army!
Print Settings
Printer Brand:
FlashForge Printer:
Finder Rafts:
No Supports:
Yes Infill:
15% -
Sanding sticks with engraved grit size 3D Print Model
Summary
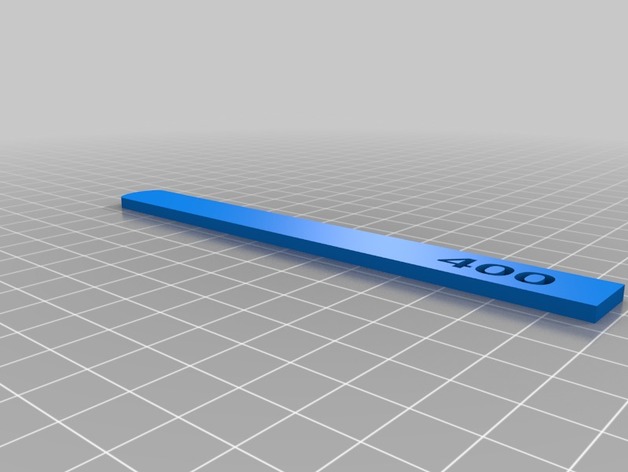
Sanding sticks with grit size engraved designed for gunpla hobby.
Print Settings
Printer:
Dremel 3d40 Rafts:
Doesn’t Matter Supports:
No Resolution:
0.1 Infill:
80 -
doorstop wedge 3D Print Model
Summary
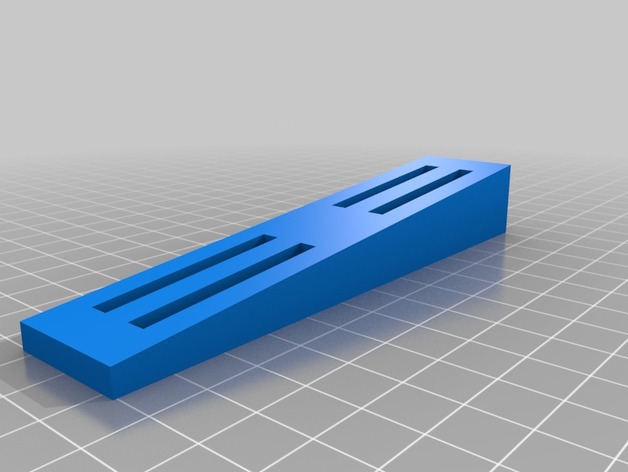
well… its a wedge thing. to keep a door open. or whatever else you may need it for.
flip it over and lay it flat for simple printing without support. -
GoPro Tripod Adapter with 6mm thread 3D Print Model
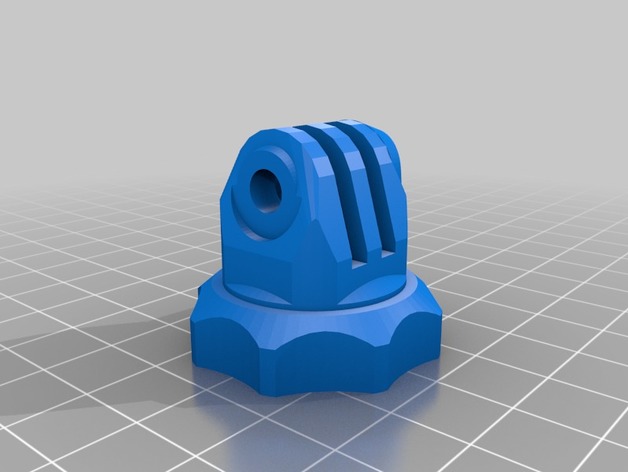
Summary
Remix from https://www.thingiverse.com/thing:1238967
now comes with 6mm thread. -
3.5″ hard drive mount to a flat surface 3D Print Model
Summary
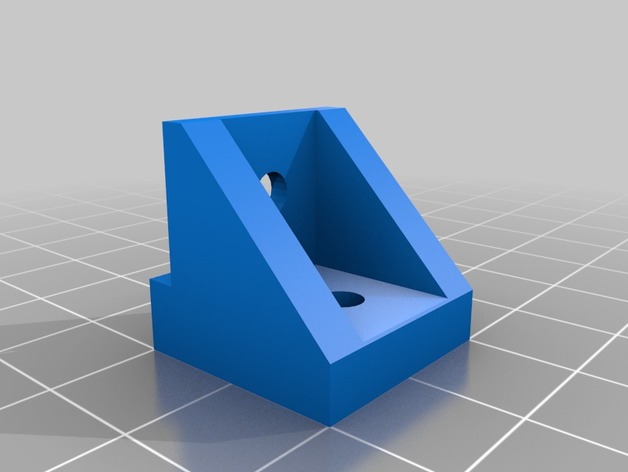
These mounts will fasten a 3.5″ hard drive to a flat surface. They are inspired by tkbletsc’s hard drive brackets (https://www.thingiverse.com/thing:2352211), using the heights and sizes in his model, but created from scratch in TinkerCAD. The ledge lifts the HDD appx 6mm from the surface for cooling. The screw holes are 4mm internal diameter, and will fit standard hard drive screws.
This is the first model I have created and uploaded. I needed some hard drive mounts for an arcade machine project. All the other mounts I found where too large and would take too long to print, so I created this. Each mount is only about 2g and prints in around 15 mins (according to Cura 3.1 with a 0.2 layer height and 20% infill). -
Key for electrical fuse cabinet 3D Print Model
Summary
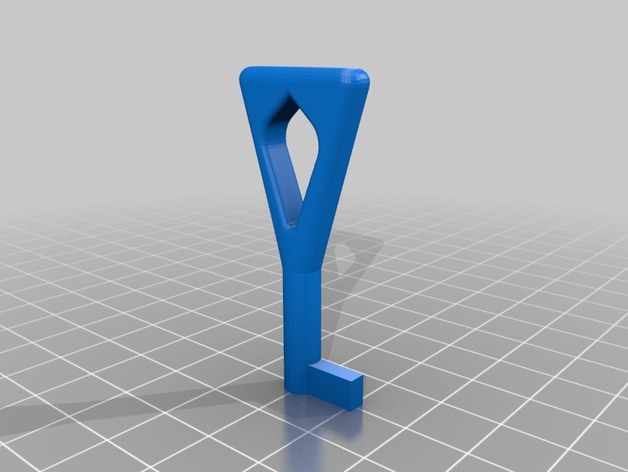
It’s a key that should fit the standard fuse cabinets (in Norway at least). Print it massive, and use it carefully not to break it in the keyhole. I had one in ABS that i used for a while. -
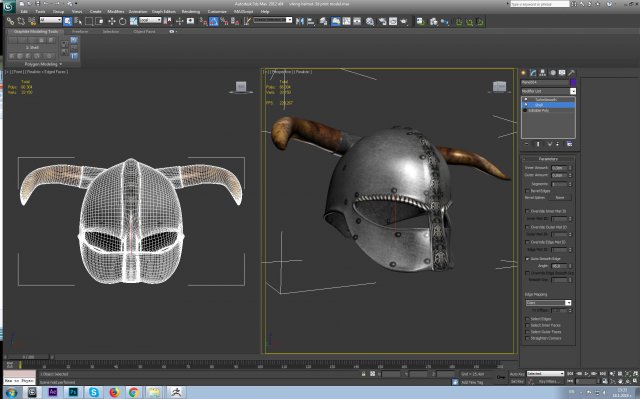
Viking helmet-3d print model 3D Model
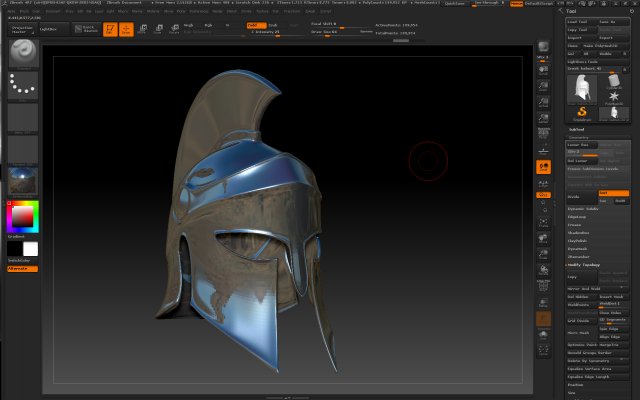
3d print modelshell-0,3cmyou can change shell and turbosmooth from 3ds max fileUnwrap UVW
-
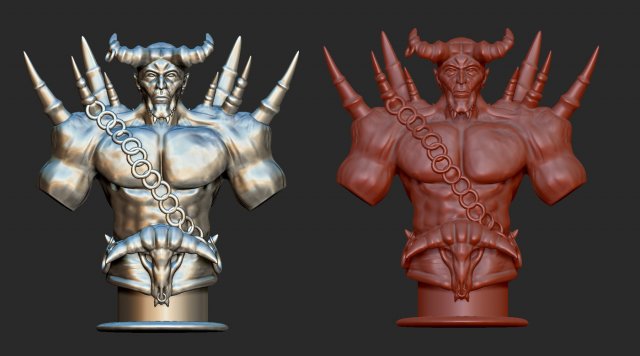
Demon for print 3D Model
Demon 3D model for print.Sculpted in Zbrush 4R7.File contains one mesh object with 999 962 polygons.Available formats are: .fbx, .stl, .obj, .ztlNative format is .objThank you for interest!
-
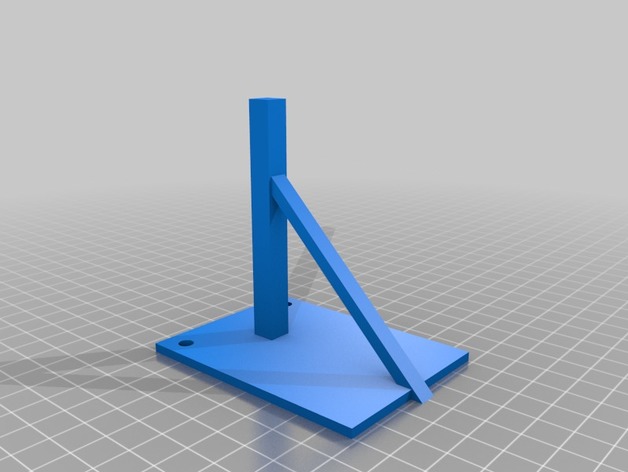
MG Wall Mount 3D Print Model
Summary
Simple, wall-mounted stand for MG Gundams
Print Settings
Printer:
Monoprice Select Mini V2 Rafts:
Doesn’t Matter Supports:
Yes Resolution:
0.3 Infill:
40% -
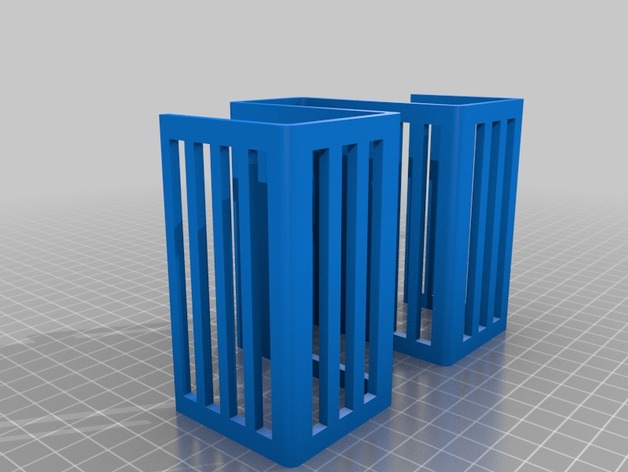
Sink caddy 3D Print Model
Summary
Needed a holder for my sponge and scrub brush in the kitchen sink. I wanted something that would hold both out of the way and free up my limited counter space.
Print Settings
Rafts:
No Supports:
No Infill:
10% -
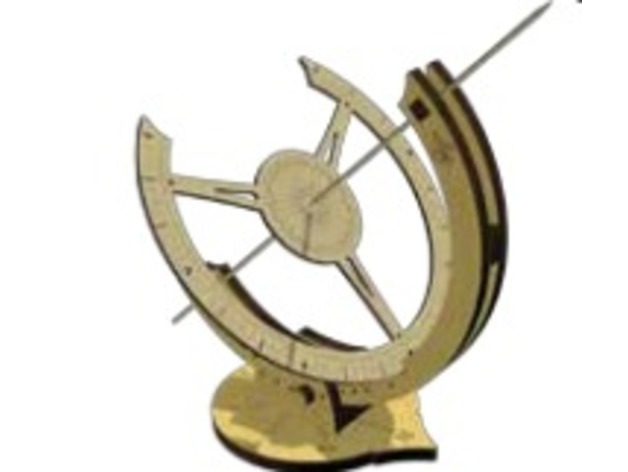
Equatorial solar clock type desktop for laser cutting 3D Print Model
Summary
Equatorial solar clock type desktop. The latitude of each country in the adjustment of the base is regulated. Order of laser cutting. tags: manipulative astronomy, latitude, rotation, translation, earth tilt, shadow inclination summer and winter
Print Settings
Printer:
none – laser cut Notes:
490 x 217 mm board size
How I Designed This
based on this model. Assembly instructions almost equal to these http://www.abong.com/pro…/sundial/sundial-instructions.pdf -
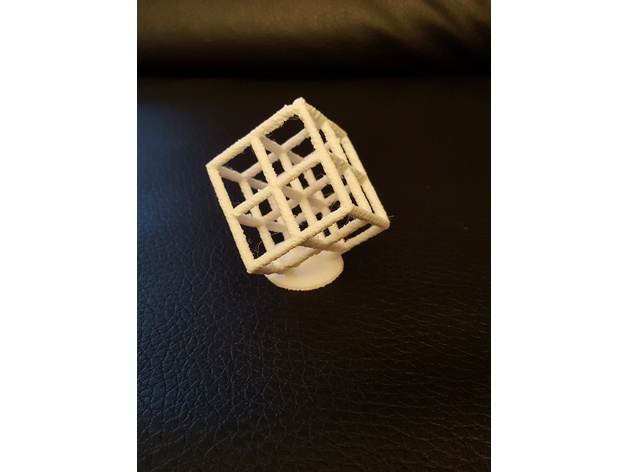
Cube art 3D Print Model
Summary
Nice print, took an hour and 15 min at 0.5 scale. I,m a beginner and this is an easy print.
Thanks for sharing!
Print Settings
Printer:
Vertex K8200 kit Rafts:
No Supports:
No Resolution:
0.25mm Infill:
25% Notes:
original download: https://www.thingiverse.com/thing:1850320 -
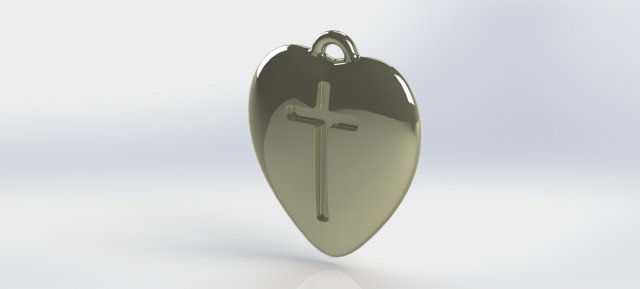
3D Print Heart – Cross 3D Model
Pendant Heart with a Cross printable model 3D print modelModel created in SOLIDWORKS and checked. It is ready for printing. The STL file is attached.The model is a heart with a cross carved on the front with a depth of about 2 mm.Best print quality by SLS, SLM, SLA, DLP 3d printing methods.Feel free to ask me any questions about the model you might have.Total weight of Metal in pure gold is about – 42 gramsTotal weight of Metal in pure silver is about – 24.3 grams
-
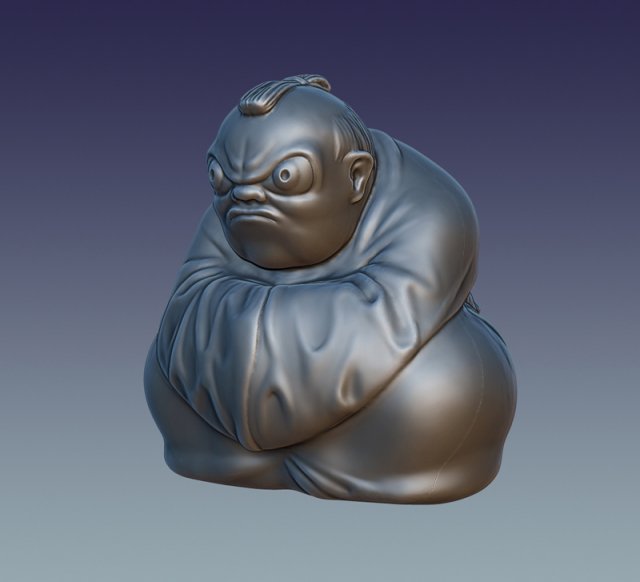
The Netsuke 3D Model
Low-poly model of traditional Japanese figurine with PBR textures.And the high-poly model for 3D print, which has a hole for the cord (Approximate size 4 cm)STL-file exported from Zbrush.Can be used as a decorative element or key chain, backpack chain.
-
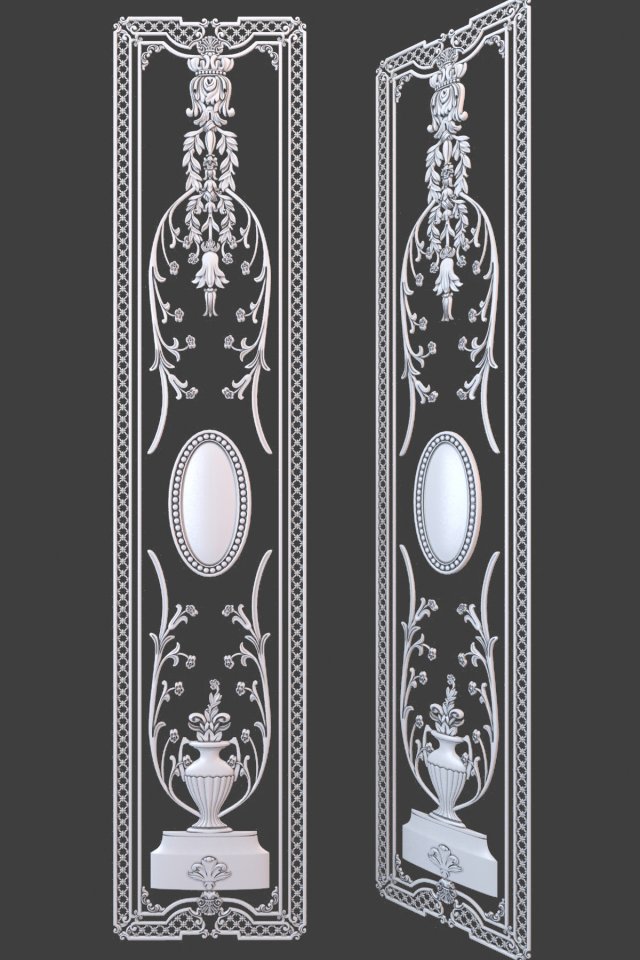
Architectural Elements 3D Model
– Photorealistic frame.- Executed in 3d max 2009.- All textures and materials needed for the rendering found in the archive.- Smoothing modifier is stored in the stack for convenience.-Gamma 2.2-Correction of textures and materials mood in 3d max, as well as tiling textures because of possible problems with the display of textures and materials in other programs distinct from 3d max and Vray-So there is an archive with de scene full studio tuned light.-For all questions with regards to the model, you can contact me through the administration of the site, if you want something to fix or correct, if something does not work
-
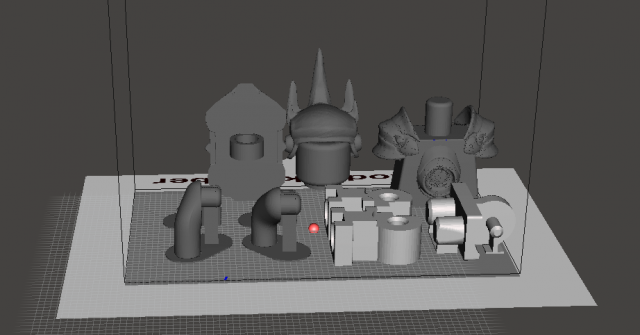
Lego reinhardt overwatch 3D Model
It is a lego character, modified as reinhardt of overwatch, Head, chest, shield, The hammer can be printed from several sides, since I could not design it ..Hope you like
-
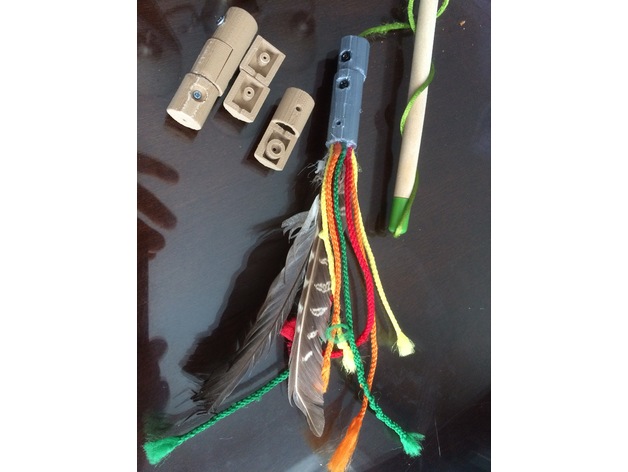
Cat toy magnetic link 3D Print Model
Summary
I made this magnetic link and toy adapter for my cat. He likes to destroy all things feather very quickly and toys don’t last very long. I am sure I am not alone. In order to refurbish cat toys this adapter can be placed at the end of the string of the destroyed toy. Feel free to attach strings and feathers to the second link (you may use hot glue and a screw can secure it) and as you prefer you may glue the parts or use screws for reusing the adapter. The magnets are from HFT to keep it cheap. I made the link magnetic to give my cat the chance of enjoying his catch and when done to steal it from him for a new chase.
Magnets:https://www.harborfreight.com/10-piece-rare-earth-magnets-67488.html
Print Settings
Rafts:
Yes Supports:
Yes Resolution:
0.2 mm Infill:
30-50% Notes:
Since the base has minimal platform contact a rim and supports help against possible warping. Should print in 60 mins. -
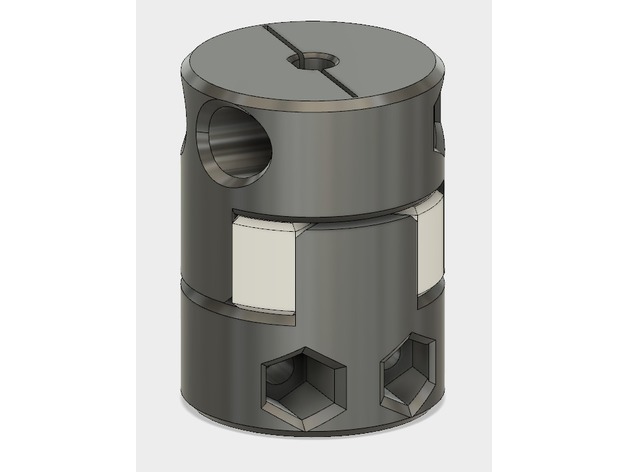
Flexible Shaft Coupler 5mm to 8mm 3D Print Model
Summary
Flexible Shaft Coupler – for 5mm Shaft with flat to 8mm Shaft. Print the coupler end pieces from PLA or ABS, the flexible insert with NinjaFlex/TPU, etc. Designed for 4mm screws and nuts to clamp to the shafts.
Print Settings
Rafts:
Doesn’t Matter Supports:
No Resolution:
0.2mm Infill:
40-80% for shaft clamps, 35% for flexible insert -
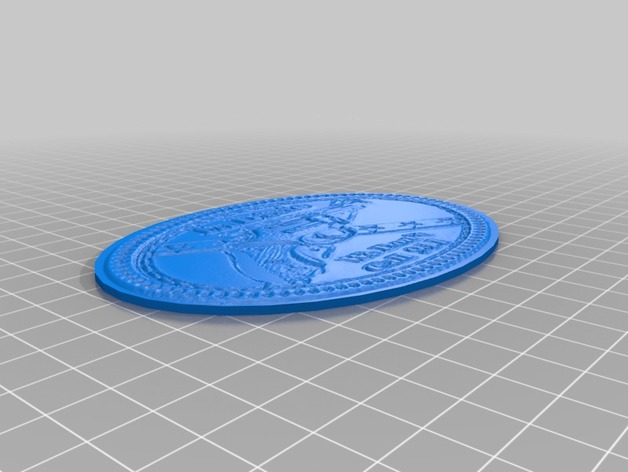
Dixie pride 3D Print Model
Summary
Based off a scan of a belt buckle. This was an oval .ply with a rectangle border. Had to use meshmixer/ lab to clean background, add oval base, remesh. Not perfect but not bad. -
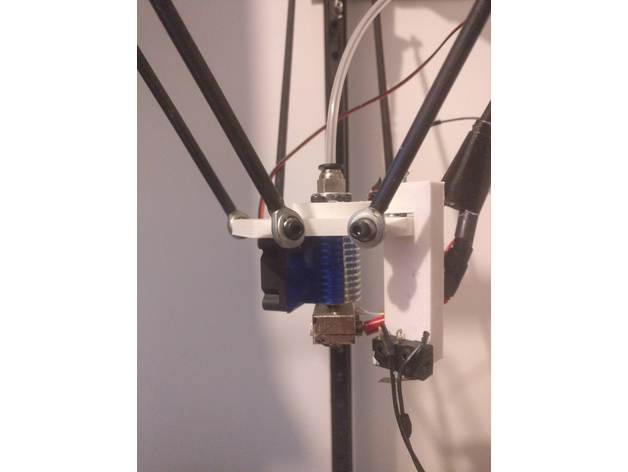
Autolevel mount for V6 delta printers 3D Print Model
Summary
Why
This is a quick design for an autolevel probe that should fit most Delta effectors like the Anycubic Kossel, FLsun etc. etc.
The probe is specifically made to support Delta printers with effectors that clamp the top end of a bowden V6 extruder. It’s probably too short for a V5 hotend.
Features
Fits most Delta effectors
Designed to match the e3d v6 hotend in length
Uses standard M3 mounting hardware (nut and bolts)
Uses standard endstop switch
Instructions
Print it in PETG with multiple walls and slow speed to get the strongest part.
Print without a fan to get the strongest part.
No supports required
If you encounter inconsistent bed leveling, your effector may not be entirely level. Mount the probe closer to the center, or upgrade to a hotend-mounted autolevel probe.
Open Source
As always the original design file (fusion360) is included, so feel free to improve it (or learn from it)! -
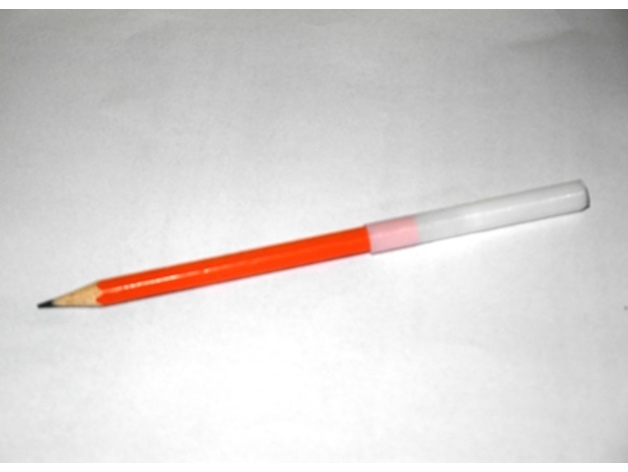
Pencil Extender 3D Print Model
Summary
Have you had any time problems writing with too short pencils, this might be your solution!
For bigger pencils just scale it up in your slicer!
If you have any ideas for improvement just write them into the comments.
If you love my makes, don’t hestate to click the follow button or like this thing!
Print Settings
Printer:
Flsun Cube Rafts:
Yes Supports:
No Resolution:
0.15 Infill:
20% -
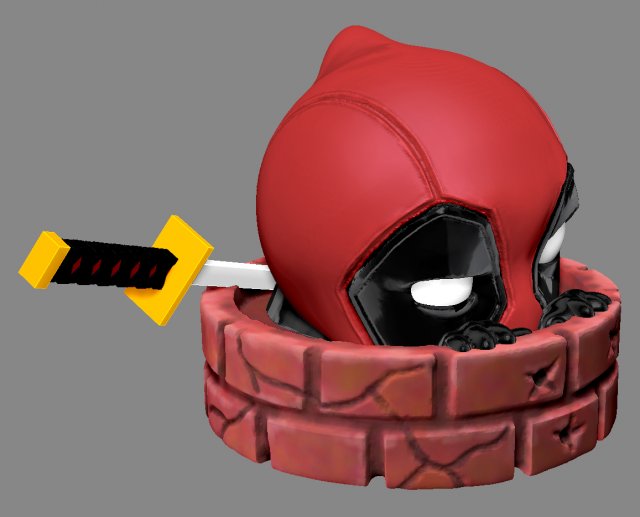
Deadpool Peeking 3D Model
Deadpool Peeking 3D print Readya printable deadpool chibisize : 80.5 x 64.0 x 50.0 mm
-
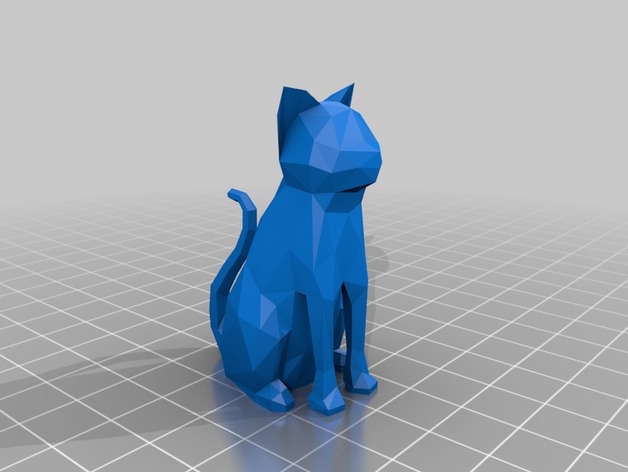
Polygonal Cat 3D Print Model
Summary
Just a small little cat I made in sketchup really quick
Print Settings
Rafts:
Doesn’t Matter Supports:
Yes Resolution:
.15 or .2 Infill:
20% Notes:
I’ve only tried it with supports and a raft, but I’m not sure it really needs them, feel free to experiment -
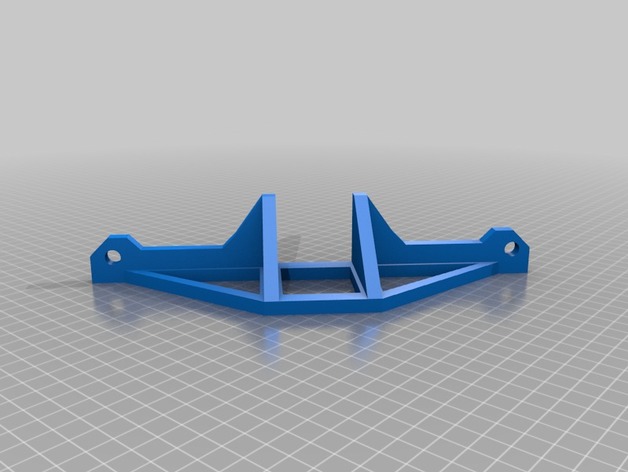
Anet A8 Front Brace – Lower Bolt Holes 3D Print Model
Summary
I needed a front brace for my A8. All the models that I found here didn’t fit. For some reason the holes for the bolts were too high for my machine. So I made a design with the center of the bolt holes lowered to at about 14mm above the bottom.
How I Designed This
Designed in TinkerCAD. -
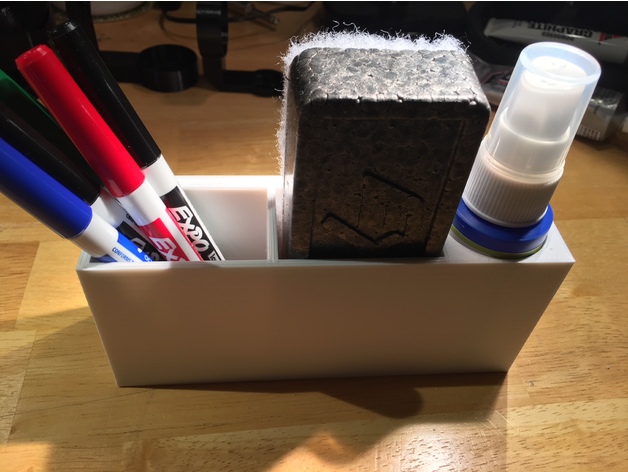
Expo Dry Erase Marker set magnetic holder 3D Print Model
Summary
I have a whiteboard without a marker tray. I bought the small Expo dry erase marker set that you see in the pictures from Amazon and wanted to be able to have a magnetic holder to keep it in that I could attach to the dry erase board. Pretty simple design, but it works for my needs. Hopefully it’s useful to someone else.
Marker set:https://www.amazon.com/gp/product/B00006IFIM/ref=od_aui_detailpages00?ie=UTF8&th=1
Magnets:https://www.amazon.com/gp/product/B00CS5OV0U/ref=oh_aui_search_detailpage?ie=UTF8&psc=1
E6000 Craft Adhesive:https://www.amazon.com/gp/product/B004BPHQWU/ref=oh_aui_detailpage_o00_s01?ie=UTF8&psc=1 -
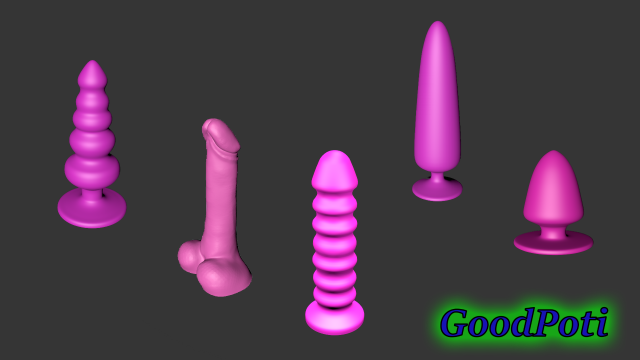
Sexshop set 3D Model
File format:OBJ,3Ds,STL.Five great sex toys. 3D models for printing.Buying this kit, you save 10$
-
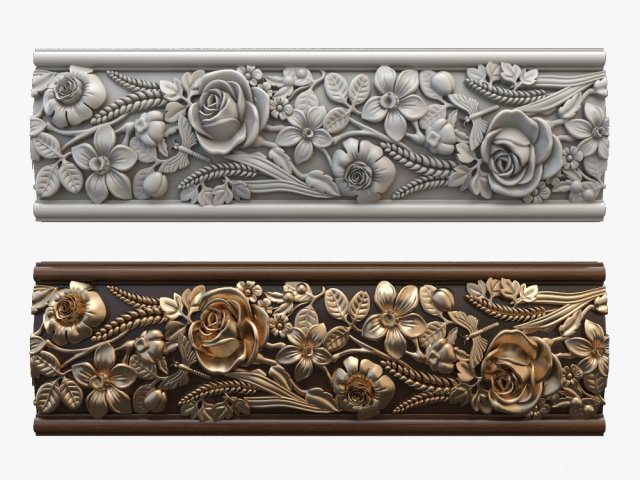
Moulding cnc 3D Model
– Photorealistic moulding.- Executed in 3d max 2009.- All textures and materials needed for the rendering found in the archive.-Gamma 2.2-Model optimized for Vray-Smoothing modifier is stored in the stack for easy editing-Models are manufactured by milling machine, CNC can also be of use for 3D printing, the same model can be used for decoration when rendering scenes.-The model consists of separate elements, parts of panels can be combined or used with other decorative purposes-For all questions with regards to the model, you can contact me through the administration of the site, if you want something to fix or correct, if something does not work
-
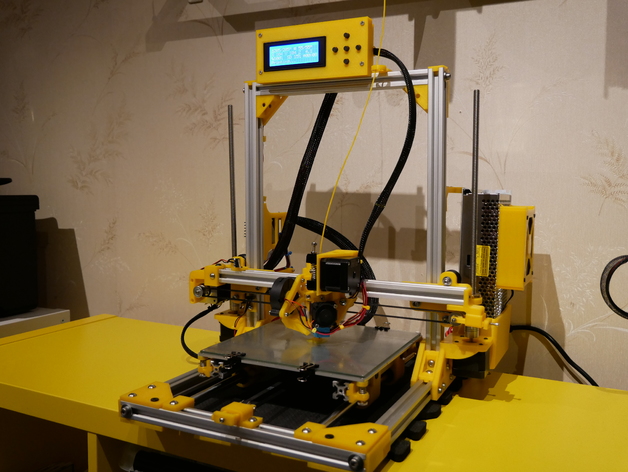
Cartesian One v2 3D Print Model
Summary
This is a my take of an Cartesian printer that should be relatively easy to build and easy to get good and consistent print quality. The Cartesian One is based on 2020 aluminium v-slot extrusion, some mini wheels and a lot of 3D printed parts. You should have access to a printer when building this one!
Some parts can be easily changed due to the modular design. You can change the extrusion lengths to get a bigger bulid plate, taller printer, different smooth rods etc.
On my build I have used 12mm smooth rod for the Y-axis, but it is simple to adapt it to 8mm smooth rods by replacing a few printed parts.
I decided to 3Dprint as many parts as possible including the 2020 corners https://www.thingiverse.com/thing:2502931. I even printed the gantry plates and the spacers to keep cost and waiting time for shipments down. A few components are coming from the AM8 project and from some of the AM8 remixes. The x-carriage is a new version of my thing, https://www.thingiverse.com/thing:2469435 ,just using wheels instead of bearings.
2020 extrusions for my build with a 220 x 220 build plate: (will obviously depend on your own build plate and the build height you would like)
3 pcs. 300 mm (X)
2 pcs. 385 mm (Z)
2 pcs. 380 mm (Y)
You will need one more v-slot for the x-carriage. Probably best to cut that one to exact length when you have the other components printed and mounted. (On my printer it was 370mm).
Tap the both ends of the y-extrusion, bottom end of the z extrusion and the top x-crossbar extrusion for M5 bolts.
I used some 2020 extrusion (1 pc 144mm and 2 pcs 214mm) for the base plate for the bed as well, but you could use something else. (The width between the smooth rods can be adjusted within a wide range and it should be easy to reuse something you have in stock)
You will need 20 teeth pulley and idler for X to clear the wheels on the x-carriage. You may use 16 or 20 teeth for Y belt. (16 teeth recommended).
300mm T8 lead screws with nuts
A lot of M5 bolts and t-nuts…
Wheels used in my build: https://www.banggood.com/3D-Printer-FlatV-Type-Plastic-Pulley-Concave-Idler-Gear-p-1038551.html type 2 -
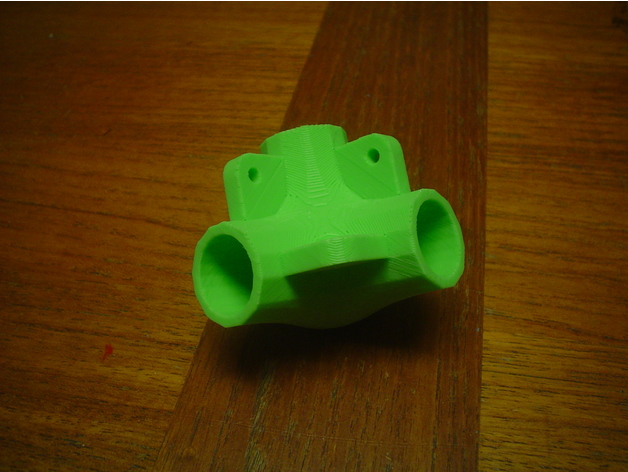
Corner for 0.75 inch OD tubing 3D Print Model
Summary
A corner for making boxes from 0.75″ OD tubing.
One version with ears for mounting side panels. The other version without
Epoxy the tubing in.
Made with Mathematica and OpenSCAD. -
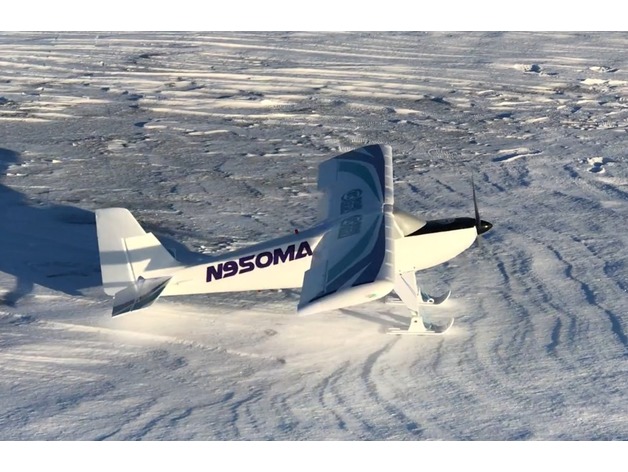
E-Flite Timber Snow Skis 3D Print Model
Summary
E-Flite Timber Snow Skis
Video: https://www.youtube.com/watch?v=Nn0KLkLK3VE
Summary
The E-Flite Timber is a fantastic little STOL plane that comes with big bush wheels and floats for flying off water. Many people use those floats for flying off snow as well, but I wanted skis. There are some options out there, but none of them meet all of these (in my opinion critical) criteria:
Easy to print without supports
Stock fit and finish (no modification to the plane)
Allow for limited travel of the skis to handle rougher terrain
Able to print all 3 skis at once (on an 8×8 print bed such as i3 style)
Does not negatively affect flying characteristics
Lightweight
These skis were made a little wider than many options, so that they could be shortened a bit and still have tons of surface area. They also fit on the stock axle with the stock landing strut with no modification, and have limited travel to navigate the terrain. They include a loop to hook a rubber band to, to keep the tips up while flying and landing.
I included the “test” files that we used when designing these. They are what we used to check fitment and travel of the ski. You can use them to test tolerances of your printer and determine whether or not you need to scale the model for it to fit well–without wasting plastic on the whole ski.
Printing
I printed these with .8mm nozzle at .2mm layer height, 20% infill, 2 shells top/bottom/sides. YMMV but this gave me a very strong part that was still plenty lightweight.
Preparation
I use warm (a bit cooler than boiling) water to soften the tip of the ski, and then use the front of a frying pan to shape the ski tip. Dip the ski into the water so that the tip is in the water basically up to the rubber band arch. Place the ski “right side up” inside the frying pan, and slide the tip into the edge of the pan to shape the front of the ski. Others have used heat guns and pringles cans with good effect, but I find the water to be more controlled as far as where the heat is going, and the frying pan gives a good shape.
You will also want to shape the front of the rear ski slightly so that it doesn’t catch on the snow. Do not bend the rear ski up much, or it will strike the empennage. The two holes go in front, and the grooves go down.
Installation
The fronts should be relatively self explanatory. Remove the stock lock nut, slide the wheels off, put the wheels somewhere safe, slide the ski on, and then secure with the lock nut. Attach a rubber band to the arch on the ski, and then secure the other end to the landing struts where they meet the fuselage.
For the rear, remove the 3 screws holding the rear wheel on, remove the cover plate and wheel and place them in the same safe spot as the front wheels, and then use the stock screws to secure the rear ski where the cover plate used to be. the screws should be able to countersink down into the model. -
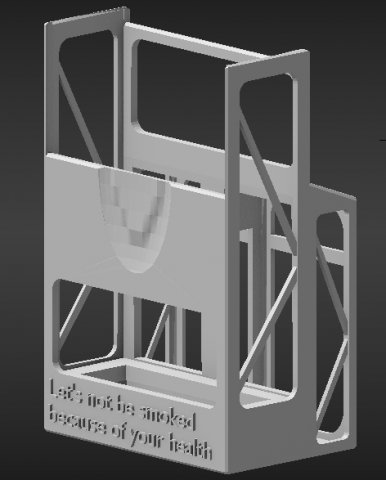
Cigarette holder 3D Model
You can store a cigarette box and two disposable lighters.Of course the written letter is a joke.
-
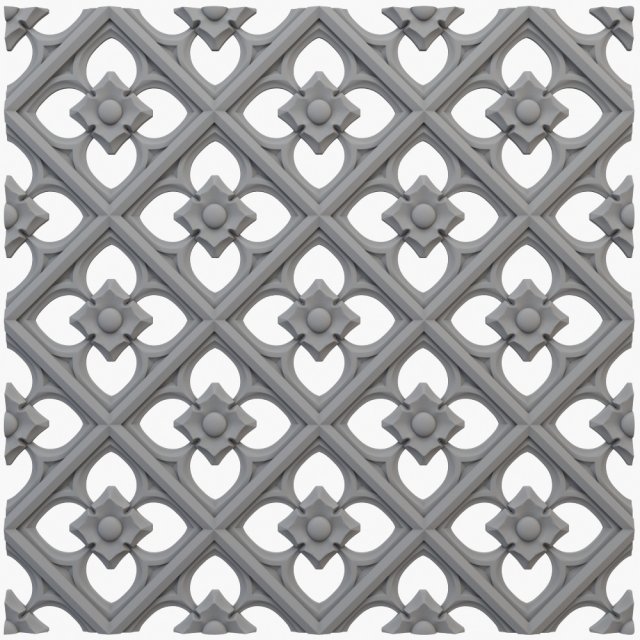
Gothic pattern cnc 3D Model
– Photorealistic Gothic moldings.- Executed in 3d max 2009.- All textures and materials needed for the rendering found in the archive.-Gamma 2.2-Model optimized for Vray-Smoothing modifier is stored in the stack for easy editing-Models are manufactured by milling machine, CNC can also be of use for 3D printing, the same model can be used for decoration when rendering scenes.-The model consists of separate elements, parts of panels can be combined or used with other decorative purposes-For all questions with regards to the model, you can contact me through the administration of the site, if you want something to fix or correct, if something does not work
-
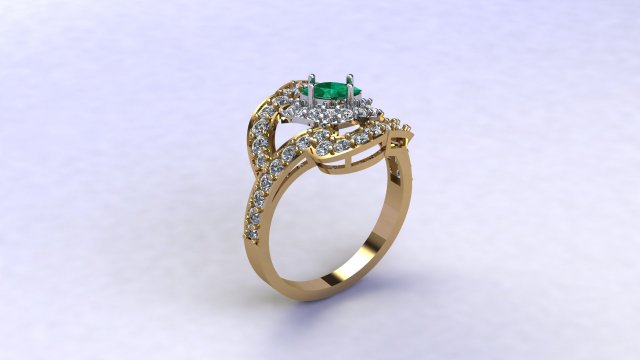
Mashrique Rings Pack 2 Rings 3D Model
Name: M-R 006, M-R 007Ring Size: US7Ready for Printing. For more details about the models, please message me.
-
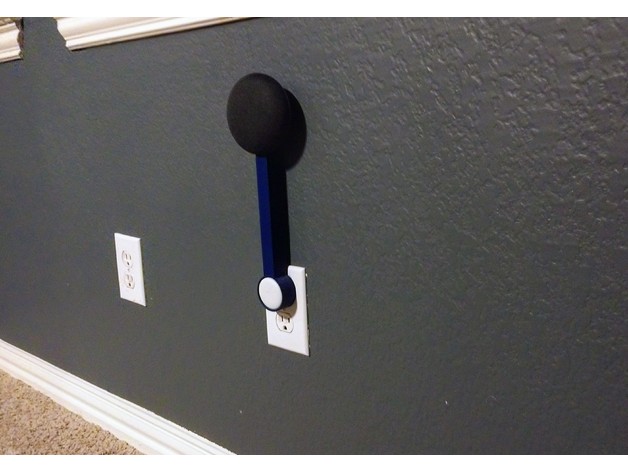
Another Google Home Mini Outlet Mount 3D Print Model
Summary
Let your Google Mini soar while completely hiding the cord! No tools or hardware required, though you can use a screw to better anchor the printed part. If you have dogs, curious cats, kids, or are just clumsy I would HIGHLY recommend using a screw to prevent damage to you wall, speaker, and/or the printed part. I may add a spacer to print for even better stability while using a screw.
The cord folds nicely in to the open area between the outlet and the speaker, just insert the mini b end, plug adapter, and slowly fold the cord in to the opening. Be careful to not bend the cable too tightly so as to not stress the internal wires.
Print Settings
Supports:
Yes Infill:
30-60% Notes:
Make sure to use strong filament, even printed solid PLA is a bit weak for this.
How I Designed This
Wanted something that raised my mini away from the floor, completely hid the cord, and elegantly held the speaker. After finding Jakewk13’s design and seeing an image of something like what I wanted, credit to DannyG72 for the concept, I came up with this! -
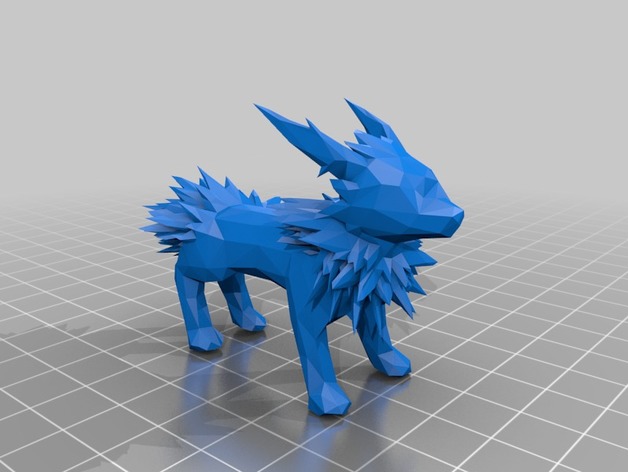
Complicated Low Poly Jolteon 3D Print Model
Summary
Yeah I may Have went crazy on the spiky fur, I am sorry, but I still would LOVE to see your guys’ makes! -
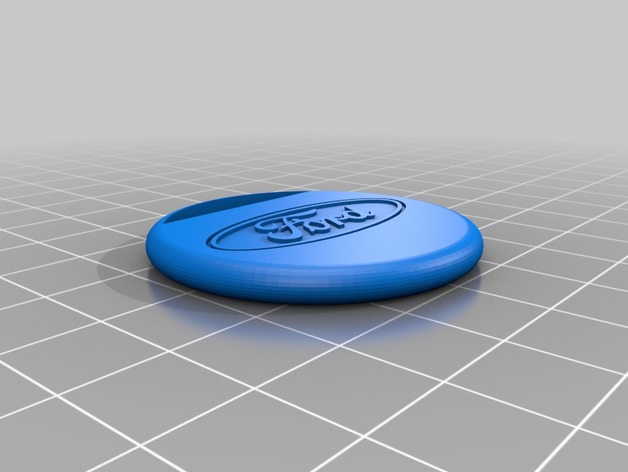
Small simple ford keyring 3D Print Model
Summary
just a small keyring i designed in fusion,
print at 100% infill, with logo facing up, comes out great, no support needed -
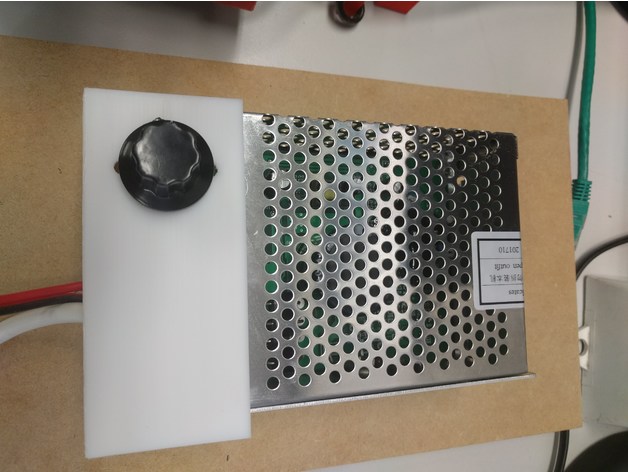
Power supply cover for ER11 spindle 3D Print Model
Summary
A remix of “loading_username” very nice PSU Cover,
This one can be screwed down/mounted.
Cheers Rob. -
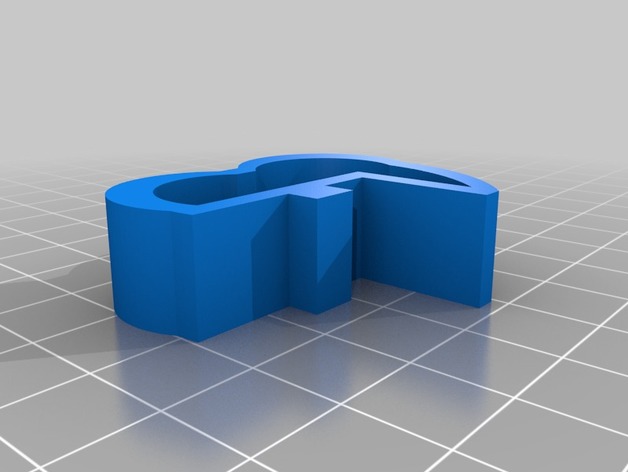
2020 Antivibration Stand for Delta Corners 3D Print Model
Summary
tried using Shepard48’s 2020 antivibration stand on my delta but due to its height even with 4 on each side it still moved about more than i liked. i edited the original so they can now be used right up to the ends of the 2020 extrusions and therefore get the most stability out of just 6 total, 2 under each corner.
used SemiFlex TPU at 100% infill with a 0.4mm nozzle and following the recommended maximum print speeds
Print Settings
Printer Brand:
RepRap Printer:
RepRap Kossel XL Rafts:
No Supports:
No Resolution:
0.4 Infill:
100 -
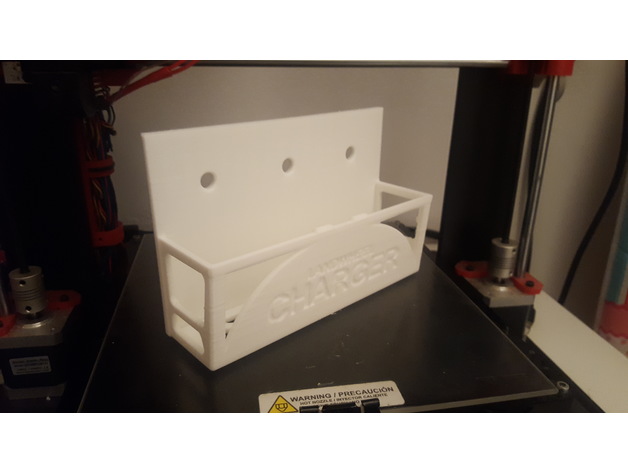
Landwheel Charger Dock 3D Print Model
Summary
Landwheel battery charger wall mount
Added 45º version with supports
Print Settings
Printer Brand:
Prusa Printer:
Prusa Clone Rafts:
Doesn’t Matter Supports:
Yes Resolution:
0.3 Infill:
20% -
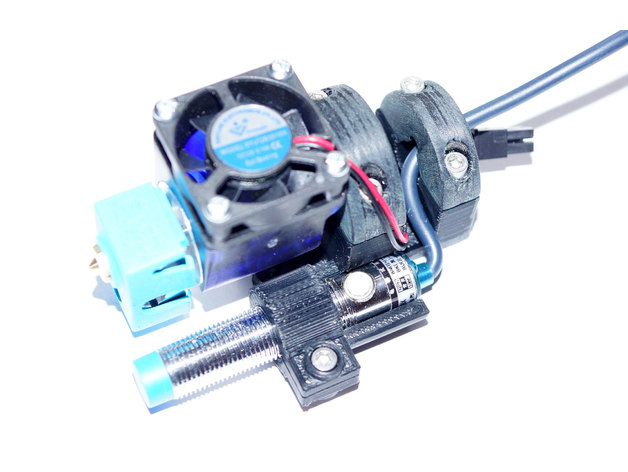
Rock-solid E3D V6 mount for CR-10 with 12mm ABL sensor support 3D Print Model
Summary
Since I would like to change my CR-10 hotend to a more reiable one in terms of clogging (my PTFE tube alway melts after printing ABS at 250 degree) I’ve decided to go for an original E3D V& hotend. OK, it’s not the cheapest solution but in terms of construction it really convinced me since the PTFE tube is to going straight down to the heated block but ends in the cold zone of the hotend.
So I waas looking for a mount that allows me to attach my new hotend to my CR-10 and lets me add an ABL sensor in addition. Unfortunately I could not find any that was working for me. Some were too bulky, some had some construction issues and some simply did not support ABL or the ABL holder was too weak.
Therefore I’ve started to build one from scratch which can be found attached. It fits very well to the CR-10 plate and is easy to print (just print the STL files as they are. The mount.STL migh need some supports to be printed well).
Also the construction is rock-solid – no shaky ABL sensor and no movement of the whole construction.
The ABL Sensor has been placed as close as possible to the nozzle so measurement discrepancies should be as low as possible if the bed is a little uneven. For ABL I’ve used the following capacitive sensor: Heschen LJC12 A3–5-Z/BX.
Print Settings
Printer:
Creality CR-10 Rafts:
No Supports:
Yes Resolution:
0.2 mm Infill:
30% Notes:
Use ABS because of hotend temperatures. Some supports might be needed for mount.stl.
How I Designed This
The mount had been designed in 123D Cad. Used the sensor and the E3DV6 hotend as reference and also did some trial and error when designing the whole mount.
The first design was paying attention to get the sensor as close to the hotend as possible and to have a minimalistic design – anyway, it failed because the sensor was not getting close enough to the bed.
The second approach was much better since the sensor height was perfect now and a cable clamp had been added. However, when trying to mount it to my CR-10 I’ve noticed that the roller screw was preventing the attachment of the mount.
1st attempt2nd attempt
-
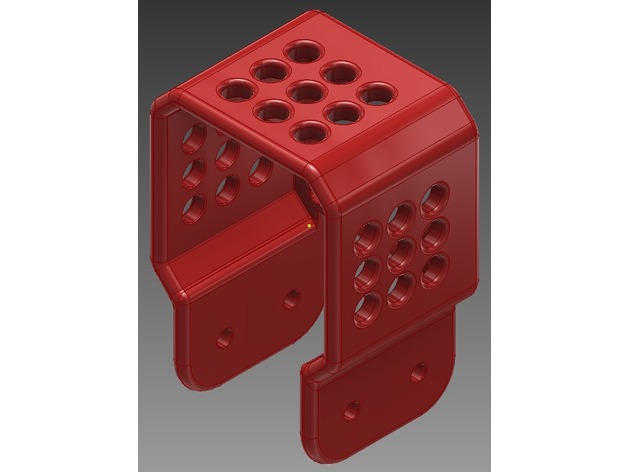
Staffa nema17 48 mm estruso 3030 3 3D Print Model
Summary
Staffa nema 17 per estruso 3030
Altro https://www.thingiverse.com/thing:2755114
Altro https://www.thingiverse.com/thing:2755366 -
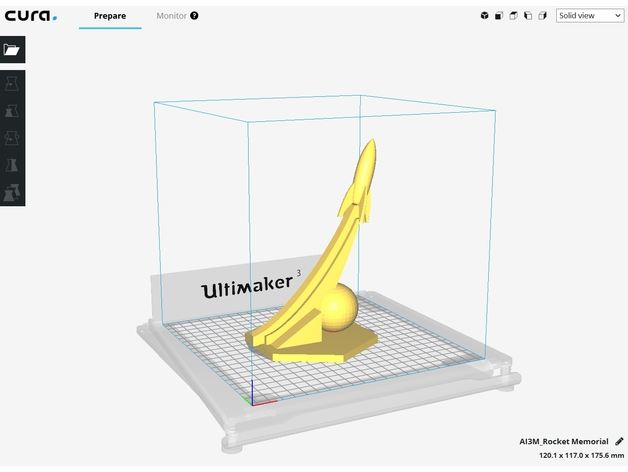
Rocket Memorial 3D Print Model
Summary
I wanted to make a russian style influenced memorial for my desk 🙂 It´s a remix from SJ627 Rocket Storage – https://www.thingiverse.com/thing:454192
How I Designed This
My first File
I did this in tinkercad and i hope you like it 🙂 -
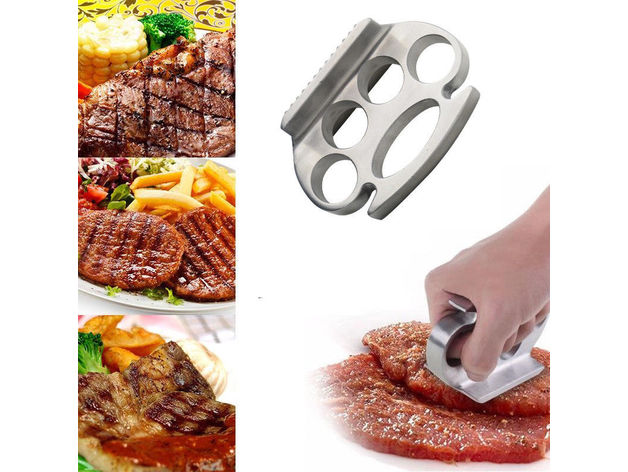
Meat Pounder 3D Print Model
Summary
I saw this online and I just had to have one lol 😉
!Don’t forget to CHECK OUT my other designs and FOLLOW my daily KooKoo uploads, Enjoy 😉
Print Settings
Rafts:
No Supports:
No Resolution:
0.2 Infill:
25-35% Notes:
5 Shells Min