Summary
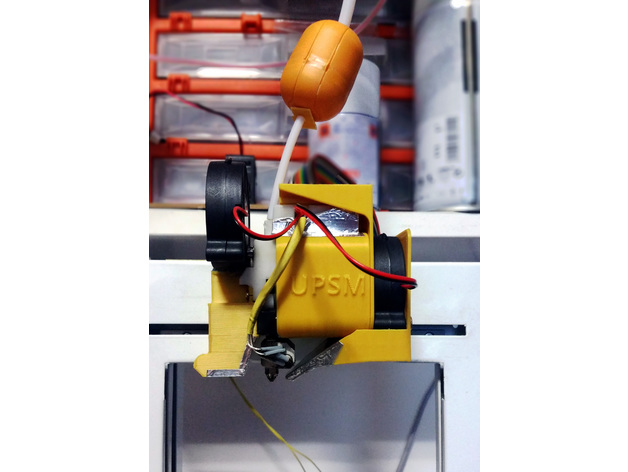
The Discone antenna is remarkable in that it is capable of receiving and transmitting over a wide range of frequencies with good matching. Because of this, it is a good match for SDR receivers such as the popular RTL-SDR sticks.
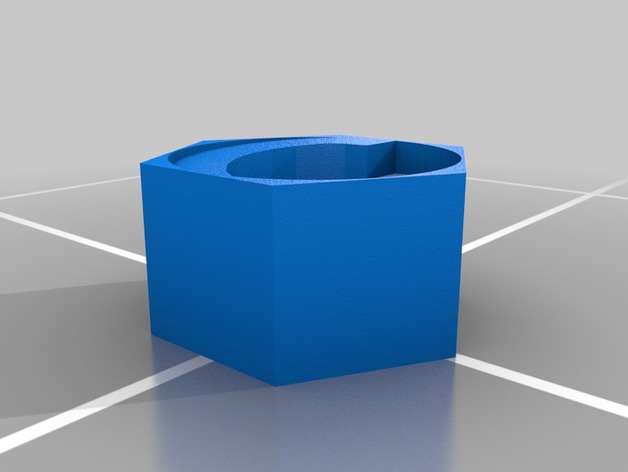
The only really tricking thing about making a discone is that the disc has to be balanced at the very top of the cone, which is mechanically awkward.
The two parts here allow the cone to be solidly clamped and provide an adequate base for the disk. There also two holes for bring the coax centre and braid out to the disc and cone.
The base part has a socket at the bottom for 25mm (1 inch) plastic conduit for mounting
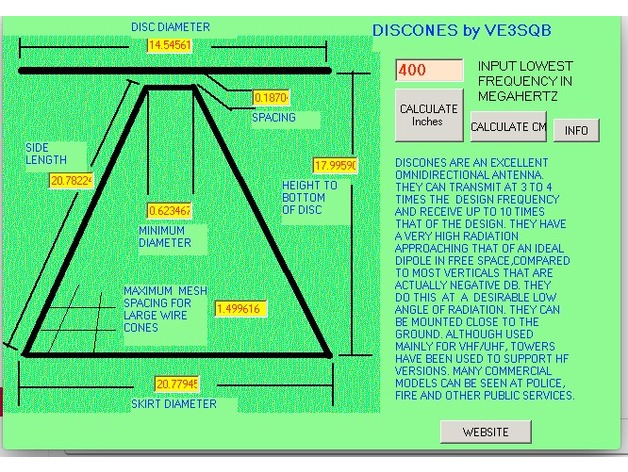
This antenna illustrated is designed for 400MHz and up, and as such transmits well on the 70cms amateur band, US and UK PMR channels and 23cms. It also receives aircraft ADS-B signals very well. I used .3mm plastic sheet for the cone and 2mm plastic for the disc, and then covered them with aluminium weatherproof tape. Be sure to check for continuity across the tape stripes.
The screenshot is of a calculator by VE3SQB which can be downloaded from http://www.ve3sqb.com/ if you want to make attenna’s for other ranges.
Tag: up
-
Discone Antenna Hub 400MHz and up, 70cms, ADS-B 3D Print Model
-
Make up organizer 3D Print Model
Summary
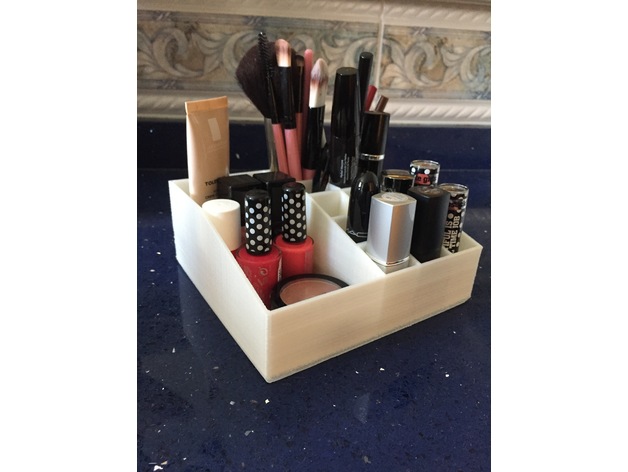
Makeup organizer, has a main hole to place large objects, two deep holes in the back to place brushes and 12 locations to place the lipstick.
Print Settings
Printer:
Anet A8 Rafts:
Doesn’t Matter Supports:
Yes Resolution:
0.2 Infill:
20 -
PP3DP UP Plus 2 PLA printing kit 3D Print Model
Summary
PP3DP UP Plus and UP Plus 2 are usually terrible with printing PLA. Three major issues with these printers are
The throat of the hotend gets too hot as heat creep up the steel tube and the PLA starts to bulge there and gets impossible to reliably extrude
Extruder stepper motor gets hot during print, both from the fact that it’s a puny motor doing a lot of work and because it’s used partially as a cooler for the cold part of the hot end. This heats up the PLA print and does not allow it to solidify properly, overhangs are crap and bridges are almost impossible.
PLA requires cooling, the “solution” originally is that hotend cooling duct has a “door” that let some of the air go into to part. The “solution” does not work.
To solve these problems I started by redesigning the extruder cooling. This solves both the issue of bulging inside the hotend and the problem with extruder getting too much heat from the hotend. This solves all the print issues with ABS, PETG, PC, Nylon.. but is not enough for PLA.
To tackle second and third problem this small project was created.
The fan duct goes over the stepper motor and allows for air to pass around the motor and exit back to cool the motor. Make sure you are extracting air and not pushing air in. The “cover” part will clip in to original top part on the UP Plus / UP Plus2 and will come behind the fun duct keeping it in place. As you can notice on both cover and duct there is 2 set of screw holes, 4 holes for the 40mm axial fan and 2 holes for the radial fan. If you do not need part cooling (ABS, PETG..) you mount 40mm axial fan here to extract air and you are golden.
If you do want to use part cooling fan (PLA requires it), I decided to recycle the air and push the air that we get from cooling the extruder motor into the part. This way the air is not “too cold” and will not stress neither the part nor the nozzle and it should (time will tell, so far so good) create PLA parts with less in-built stress. The part cooling duct houses a radial fan (no glue, hotsnot, silicone .. needed, just put it there) and screws trough the back of the cover into the duct.
I’m using custom firmware on the UP Plus2 so I’m controlling the fan trough there. On the top board you can see 3 3pin connectors (picture attached). The leftmost is 12V supply where your extruder cooler is connected. Middle (on the right side of the board the left connector) is also 12V supply and you can connect your fan here. If you are using only motor cooling (no part cooling) this is where you want to connect your fan. The third, rightmost connector is PWM-able. Originally this is where “light strip” is connected on some of these printers. If you have CPU upgrade with NXP chip to run smoothieware (I do) this is on port 1.18. If you are using original UP Studio software then probably check if you can change “light intensity” from software to change fan speed or just connect part cooling to a constant 12V, there’s usually never too much cooling for PLA so should work ok 😀
smoothieware config:
switch.fan.enable true
switch.fan.input_on_command M106
switch.fan.input_off_command M107
switch.fan.output_pin 1.18
switch.fan.output_type hwpwm
switch.fan.max_pwm 100
switch.fan.ignore_on_halt true
switch.fan.startup_state true
switch.fan.startup_value 0
switch.sw1.fail_safe_set_to 100
Print Settings
Printer:
self made Rafts:
Doesn’t Matter Supports:
Yes Resolution:
0.2 – 0.3 Notes:
You want the part to be solid but everything is “thin” here so the infill itself is irrelevant (I use 0%) but you want
4top, 4bottom solid layers
5 perimeters
I printed this in ABS, some other high temp plastic should work (PETG should be great for cover for e.g.)
Do not print in PLA it will deform quickly
Post-Printing
Self adhesive aluminium tape is your friend 🙂
remove supports
take a piece of self adhesive aluminium tape and attach it over the top part of the part cooling duct “nozzle”. This way the heat from the heater block will be reflected and part will last much longer. Also the ABS oils and other dirt that exist in vapors around the heater block will be easier to wipe off.
if you feel the whole contraption is not “stiff” enough, you can use a small piece of tape and attach the duct to the top plastic piece housing the small pcb board.
How I Designed This
onshape source available
this whole project was heavily influenced by PrintMo’s work -
Apache Camper (pop up) door turn button 3D Print Model
Summary
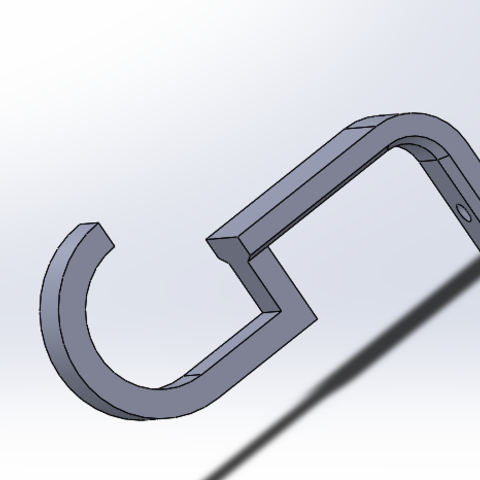
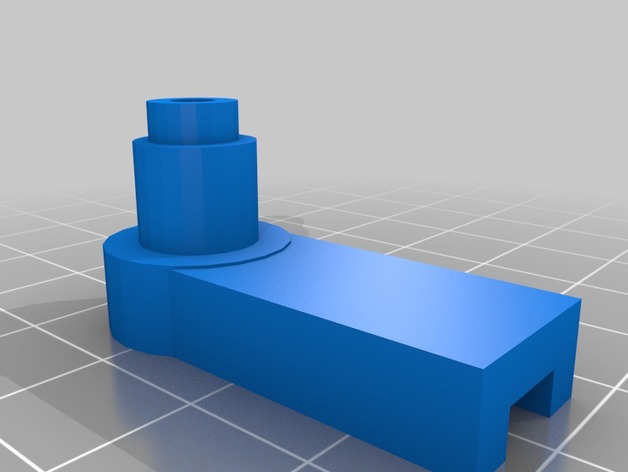
This is door turn button (the piece that you turn down to keep the top door linked to the bottom door once the camper is up).
It is my first design and probably a little rough but it works.
Print Settings
Printer Brand:
Up! Printer:
Up Mini
Post-Printing
You’ll need to remove the infill or not. Works just as fine. -

Triple Rear ALP Holder 4% angle up 3D Print Model
Summary
This is a holder for the ALP. It is 18″ at its widest point and is made to fit the latest (2014-2017) silverados.
This is made to mount behind the License plate. The plate on the silverado is angled 4 degrees down so I have angled the heads 4 degrees up to compensate for this.
This is just a concept. i have not actually printed this yet as i am writing this message. -
Peugeot Pick Up 4×4 2017 3D Model
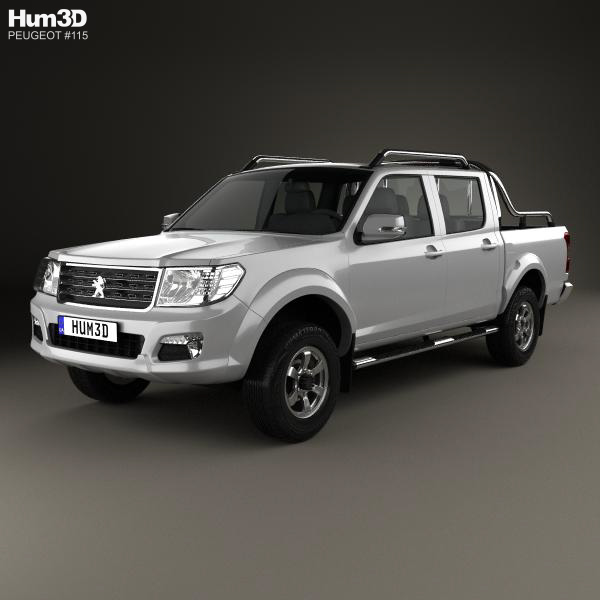
The 3d model based on a real pickup, created according to the original dimensions. All model files were “smoothed”. We can provide product files with original geometry by your request.
All main parts of the model are separated objects. Therefore, you can easy change all materials. We provide several formats for each model, most of them available by default.
* images rendered with using V-Ray plugin (we don’t include lighting and environment to a set). -

3D Facebook Like Sign model 3D Model
This is a model of a Facebook Like SignOriginally created with 3ds Max 2015|| USAGE ||This model is suitable for use in [broadcast, high-res film closeups, advertising, design visualization, forensic presentation, etc.]This model is using a scale of 1 unit = 1 centimeter|| SPECS ||This model is 1 objectsThis model contains 1604 polygons with Subdivision OFF This model contains 6416 polygons with 1 level SubdivisionIncludes V-ray material|| PRESENTATION IMAGES ||Preview Images are rendered using V-ray 3.00.08.This file includes information on lighting placement, exposure control and render settings.|| TEXTURES ||2 textures:facebook_like_Diffuse.png [2048×2048]facebook_like_Glossiness.png [2048×2048]1 HDRI:TSHero_HDRI_v10.exr [4000×2000]|| GENERAL ||Units used: Centimeters. Model is 14.7 centimeters tall.Scene objects are organized by layers / groups.FBX, OBJ format only contain geometry data without subdivision.
-

VW Ceafter 2017 double cab pickup 3D Model
– detailed exterior, simple interior.- every object has material’s name, you can easily change or apply materials….max format:Rar archive contains:1. 3ds max 2011 with vray materials, which you can see in preview images studio renders. Carpaint colour can be slightly different. Lighting and render setup included but render results can be different because photoshop was used to correct contrast, brightness, saturation etc.. but Photoshop CS6 macro file (.atn) for post production is also included.2. 3ds max 2011 with mental ray materials, which you can see in preview images on outdoor renders. Carpaint colour can be different. Enviroment not included.3. 3ds max 2011 with simple standard materials scanlineJust put into your scene and render!In each scene model is provided with mesh smooth modifier on stack on objects that need it. Mesh smooth is set 1 or 2 for renders. Exterior and wheels are in different layers. ..obj format:Rar archive contains two versions of model:1. Exported without collapsing after mesh smooth. Low or med poly mesh which you can see in preview images, good if you need to edit model.2. Exported after appllying mesh smooth. Just import, apply materials and renderSimple materials, textures may have to be added manually…lwo, .xsi, .c4d format:Rar archive contains model exported without collapsing after mesh smooth. Low or med poly mesh which you can see in preview images, good if you need to edit model.Simple materials, textures may have to be added manually. In Cinema 4D some elements may have to be optimized…fbx and .3ds format:Rar archive contains model exported after appllying mesh smooth. Just import, apply materials and render.Simple materials, textures may have to be added manually…Polycount:without meshsmooth max,obj,lwo,xsi,c4d: 330 000 polygonscollapsed fbx,3ds,obj: 1 650 000 faces/ 950 000 polygons
-

Double Sided Step Ladder 3D Model
Double Sided Step Ladder 3d modelThe suction cup made from autocad.The final render images were processed with 3ds max vray.The 3ds max zip file also includes vray and standard material scenes.*****************************Features:- All colors can be easily changed.- Max models grouped for easy selection and objects are logically named for ease of scene management.- It was modeled with precision and great attention to the details.*****************************File formats:- 3ds Max (3ds max)- AutoCAD (Dwg)- Light wave (lwo)- IGES (igs)- Rhino (3dm)- 3D ACIS (sat)- STEP 3D CAD (stp)- VRML (wrl)- Wavefront (obj)*****************************Tissue formats:JPEG (.jpg)*****************************I hope you like it!Also check out other models, just click on your username to see the gallery.
-
Rolling garage door / shutter 3D Model
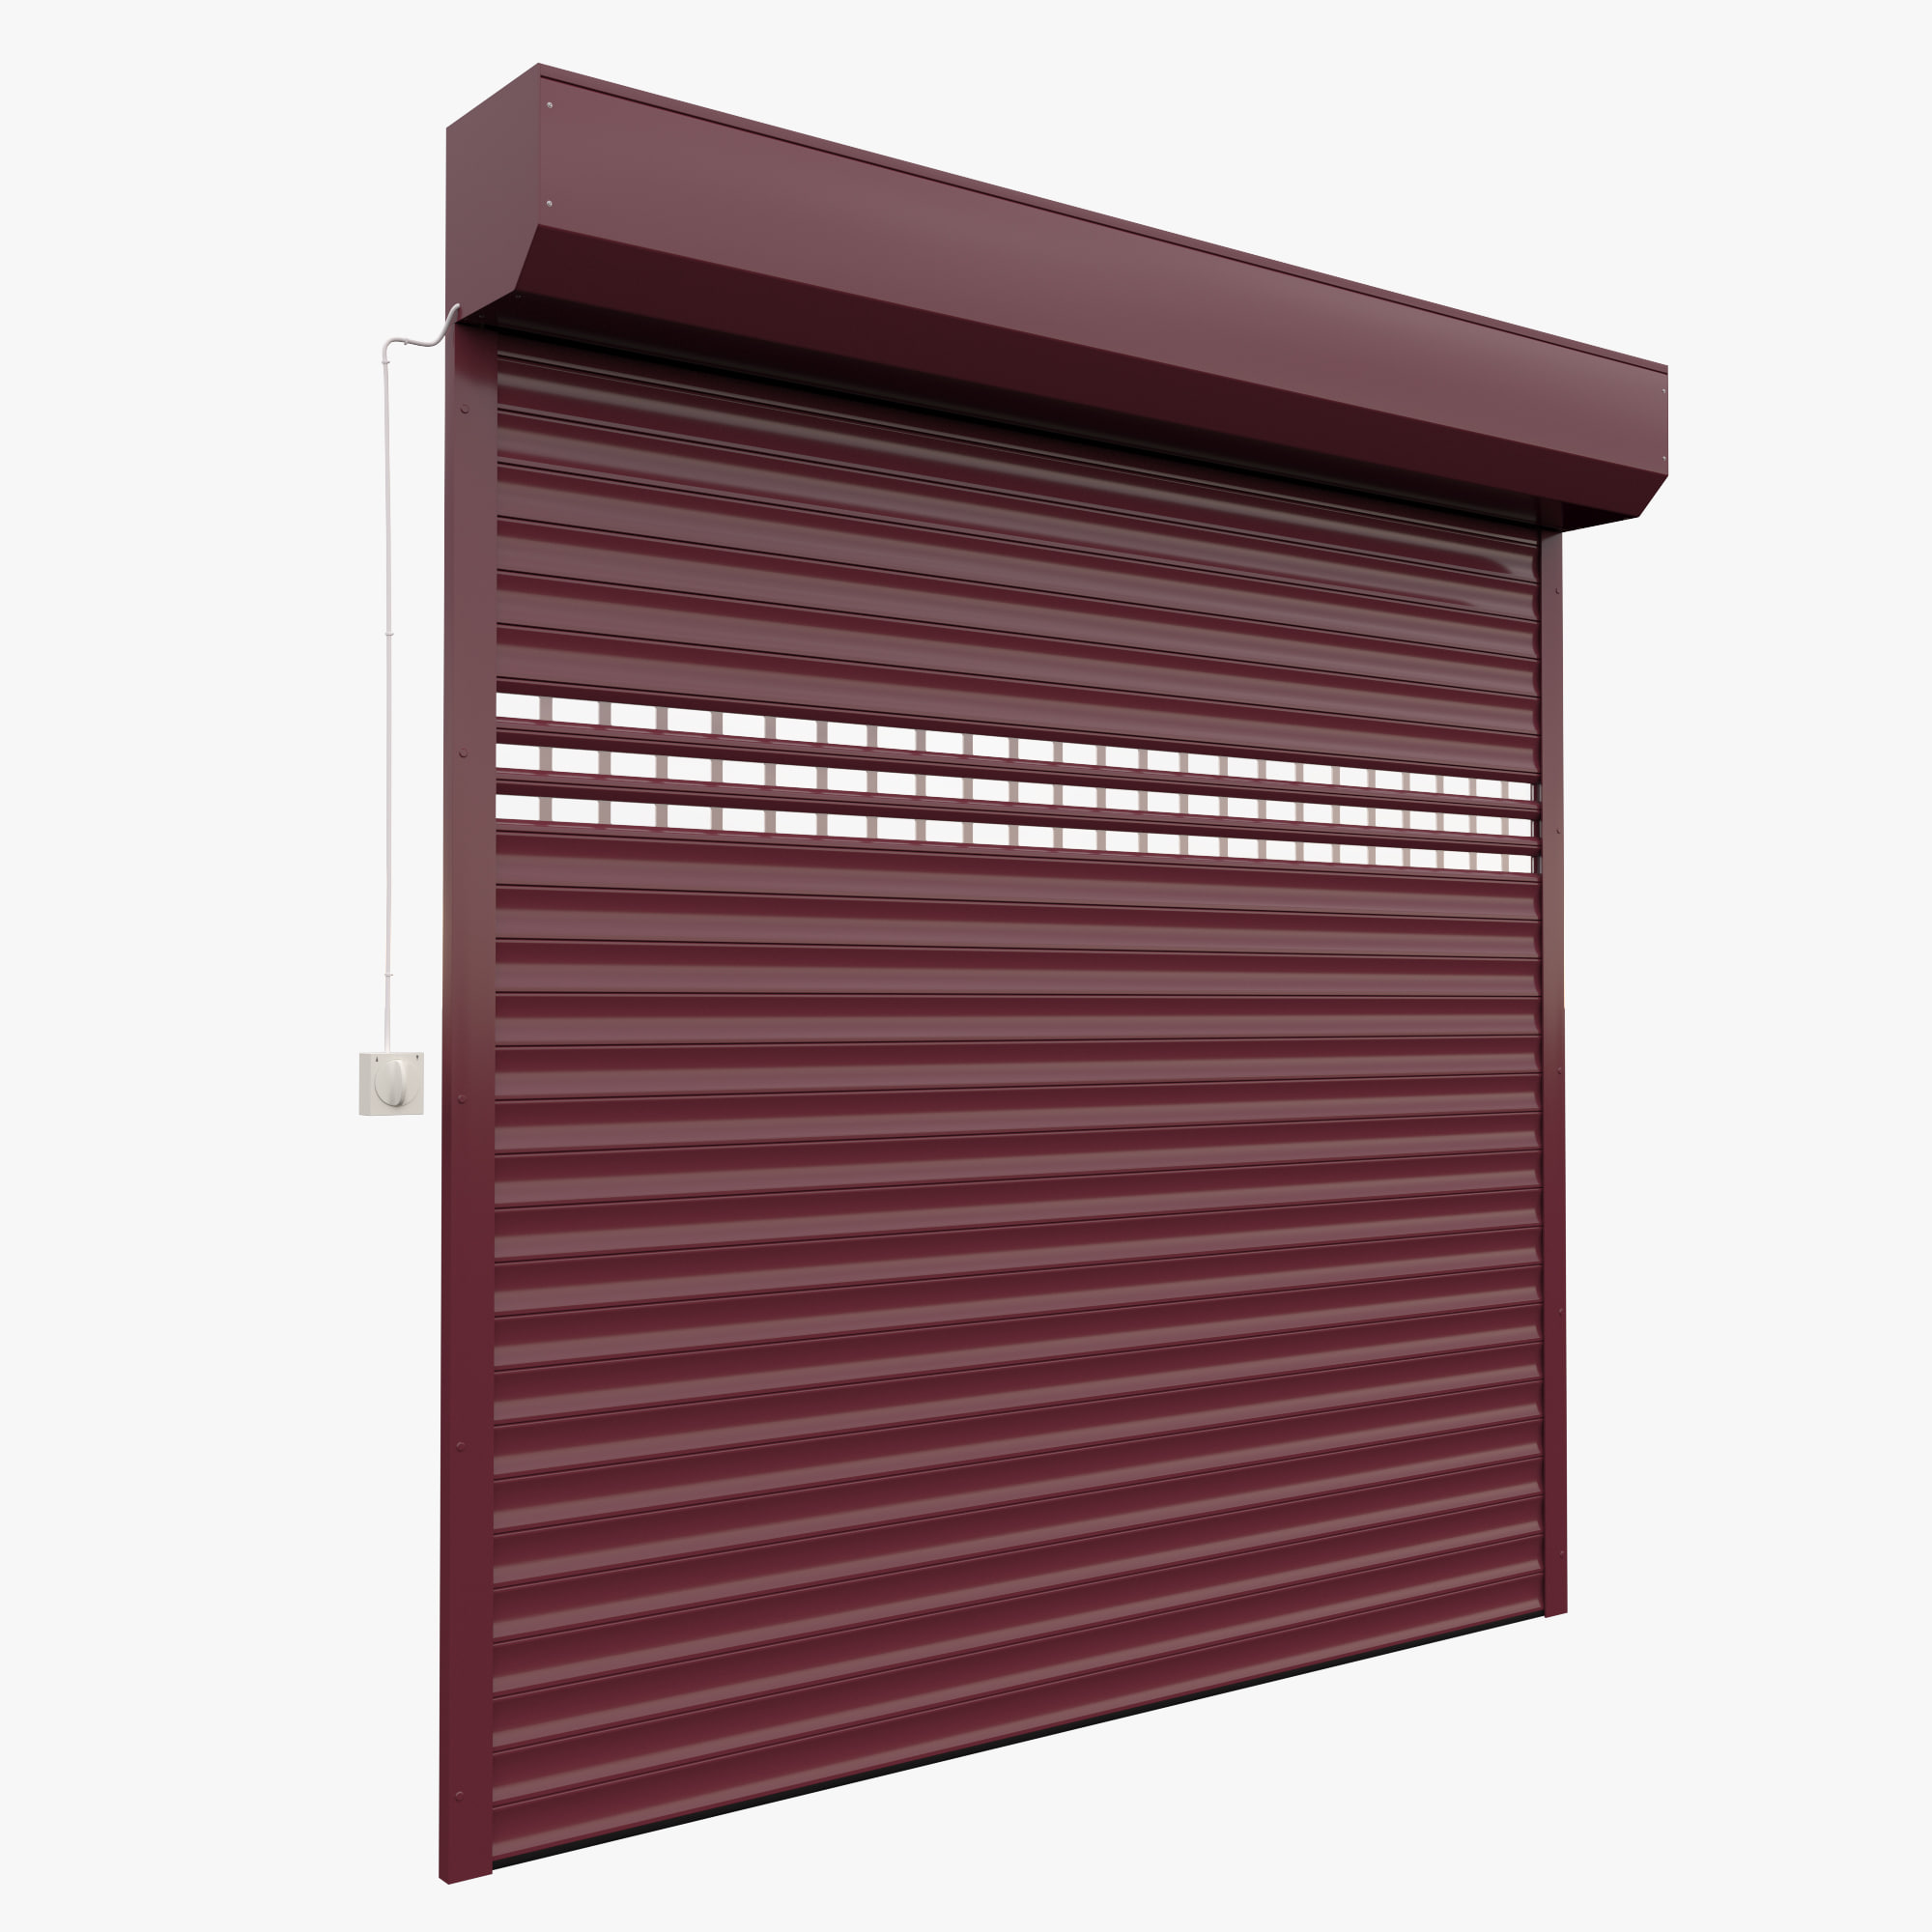
A high detailed rolling door with included Corona Render materials and textures. Engine included. Overall height – 2600 mm, Overall width – 2540 mm.Opening height – 2260 mm.Opening width – 2410 mm.Textures for glossy and reflections.NOTE: HDRI is not included
-
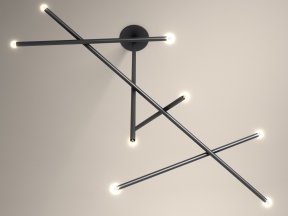
Pick Up Chandelier 5 Stick Vertical 3D Model
One purchase gives access to all file formats available. By default only .max file format is selected for download.
-
Generic Pickup Realtime 3D Model
Generic Pickup Realtime low-poly 3d model ready for Virtual Reality (VR), Augmented Reality (AR), games and other real-time apps. Very good polygon topology for great shadingGeneric Pickup real time model with interior fully textured. Doors can be opened. Model is included in 3 LODs plus collision object. Generic means this car does not exist in reality. Triangle-count of the LODS: LOD1: 37662 trianglesLOD2: 10578 trianglesLOD3: 5595 trianglesIncluded textures:Exterior 2048×2048 pixelExterior lightmap 2048×2048 pixelInterior 2048×2048 pixelInterior lightmap 2048×2048 pixelWindows 1024×1024 pixelLight interiors 512×512 pixelWheels 512×512 pixelBrake callipers 512×512 pixelBrake discs 512×512 pixelNormal maps for exterior, lights, brake callipers, brake discs and wheels.3dsMax 2010/ Maya 2010/ Maya 2016/ FBX/ Obj/ Unity Package 5.33f1/ Cinema 4D 9.6/ Lwo 6.0 /3ds Previews have been made from studio scene included in the Unity version of the model.
-
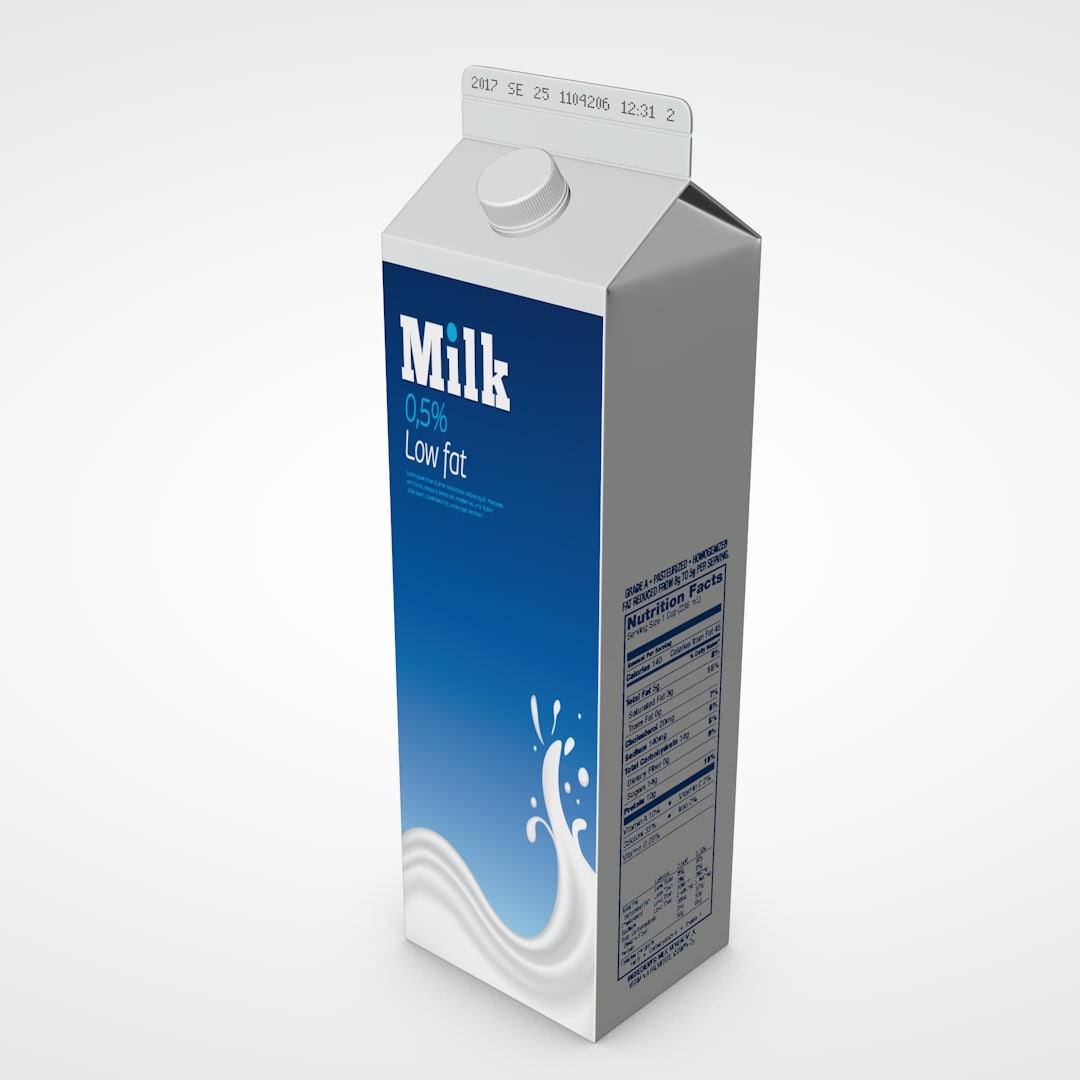
Milk Box Mockup 3D model 3D Model
Milk Box Mockup.Cinema 4D file format.All textures, materials and HDRI files included.Thank you for your visit!
-

Milk Box Mockup 3D Model
Milk Box Mockup.Cinema 4D file format.All textures, materials and HDRI files included.Thank you for your visit!
-
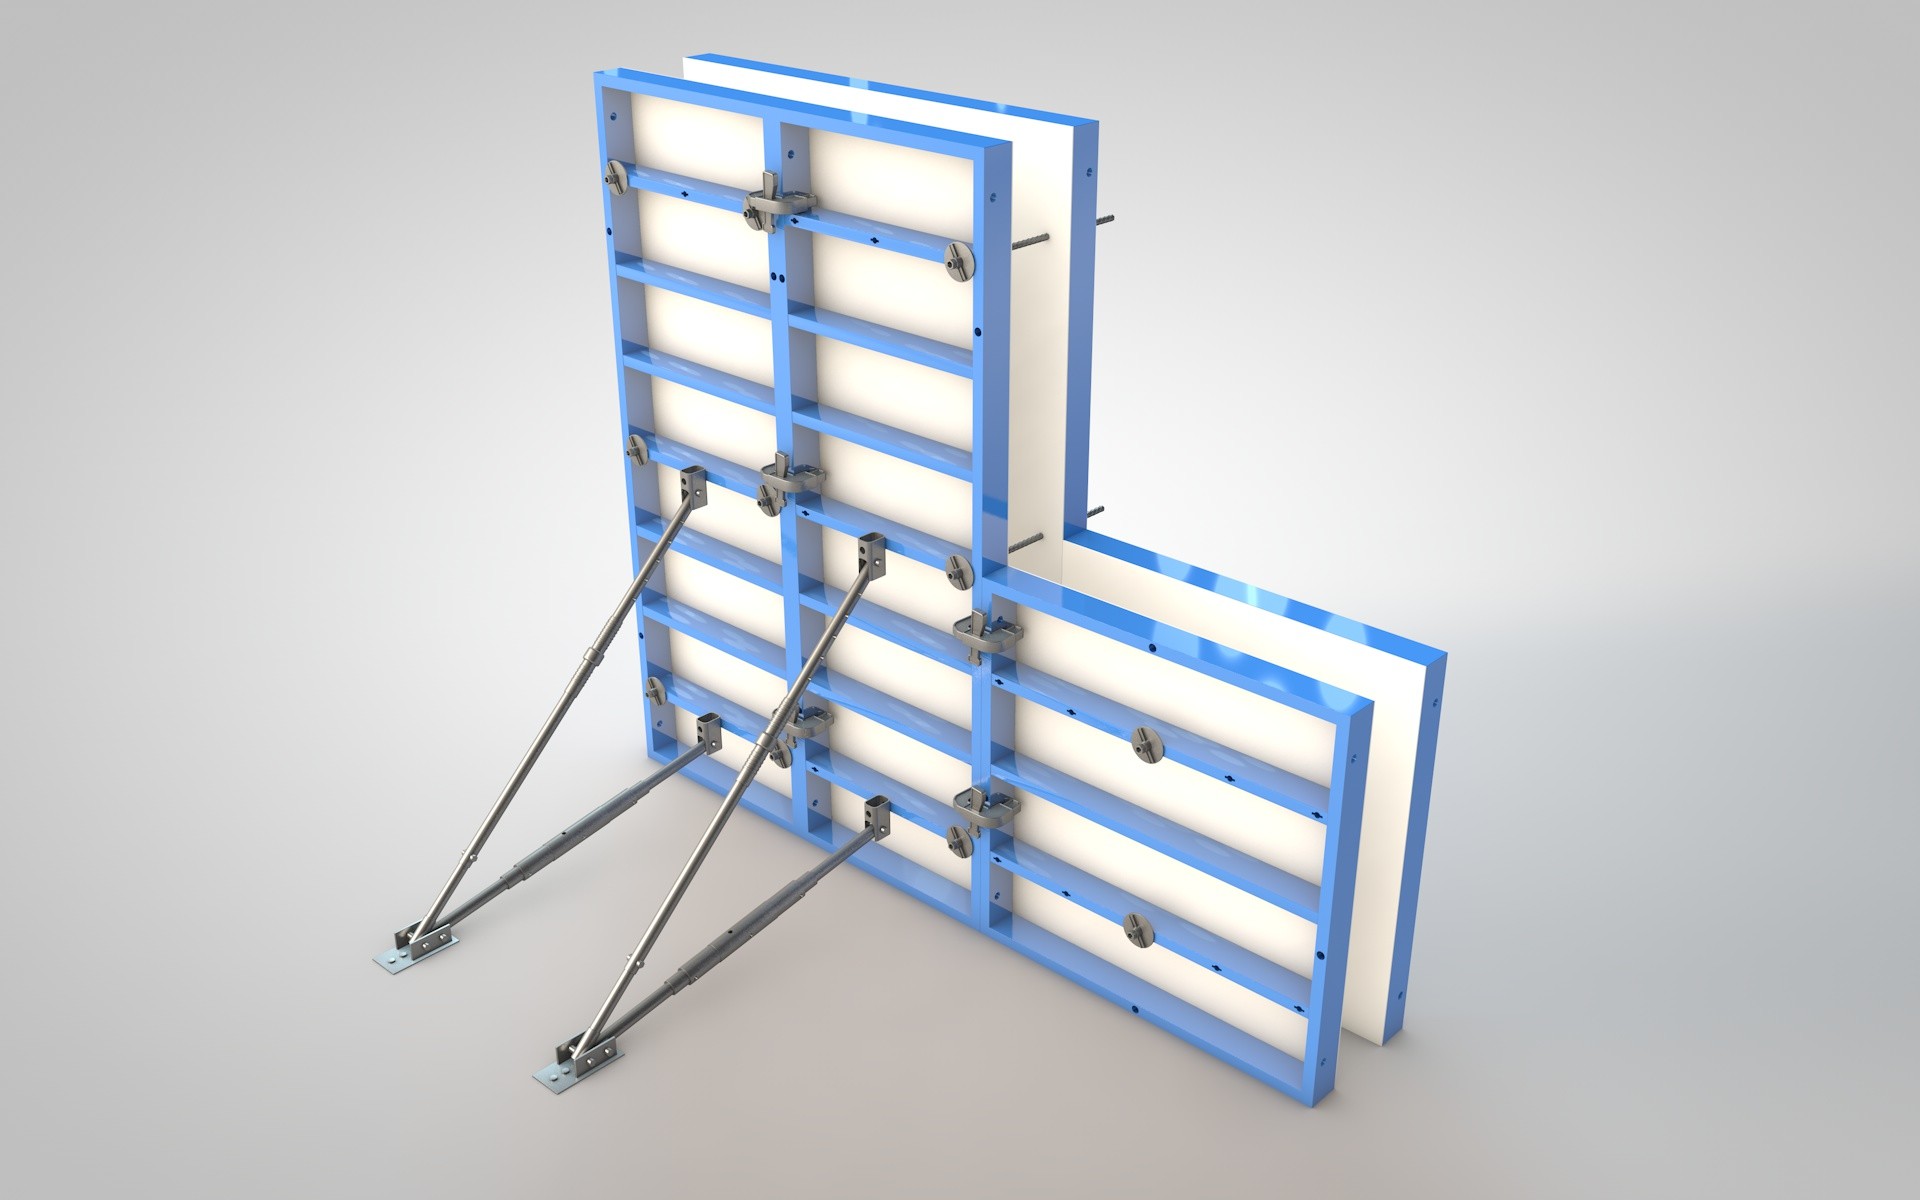
Formwork concrete 3D 3D Model
A 3D Model of concrete formwork panels, in different sizes, including the build up parts.Panel sizes:3300 x 13503300 x 7502700 x 13502700 x 9002700 x 3001350 x 13501350 x 9001350 x 300900 x 900900 x 300inner cornerouter cornerThe panels can be found as individual objects, for further build up, according to the construction.Made in Cinema 4d V17 with the standard renderer. No plug-ins.There are no textures. The materials are custom made in Cinema 4D.Includes the light-enviroment the cameras and the setups to instand render.The build up example scene is also provided as a separate 3D model.Message to buyers: We hope you like the design. Enjoy.
-
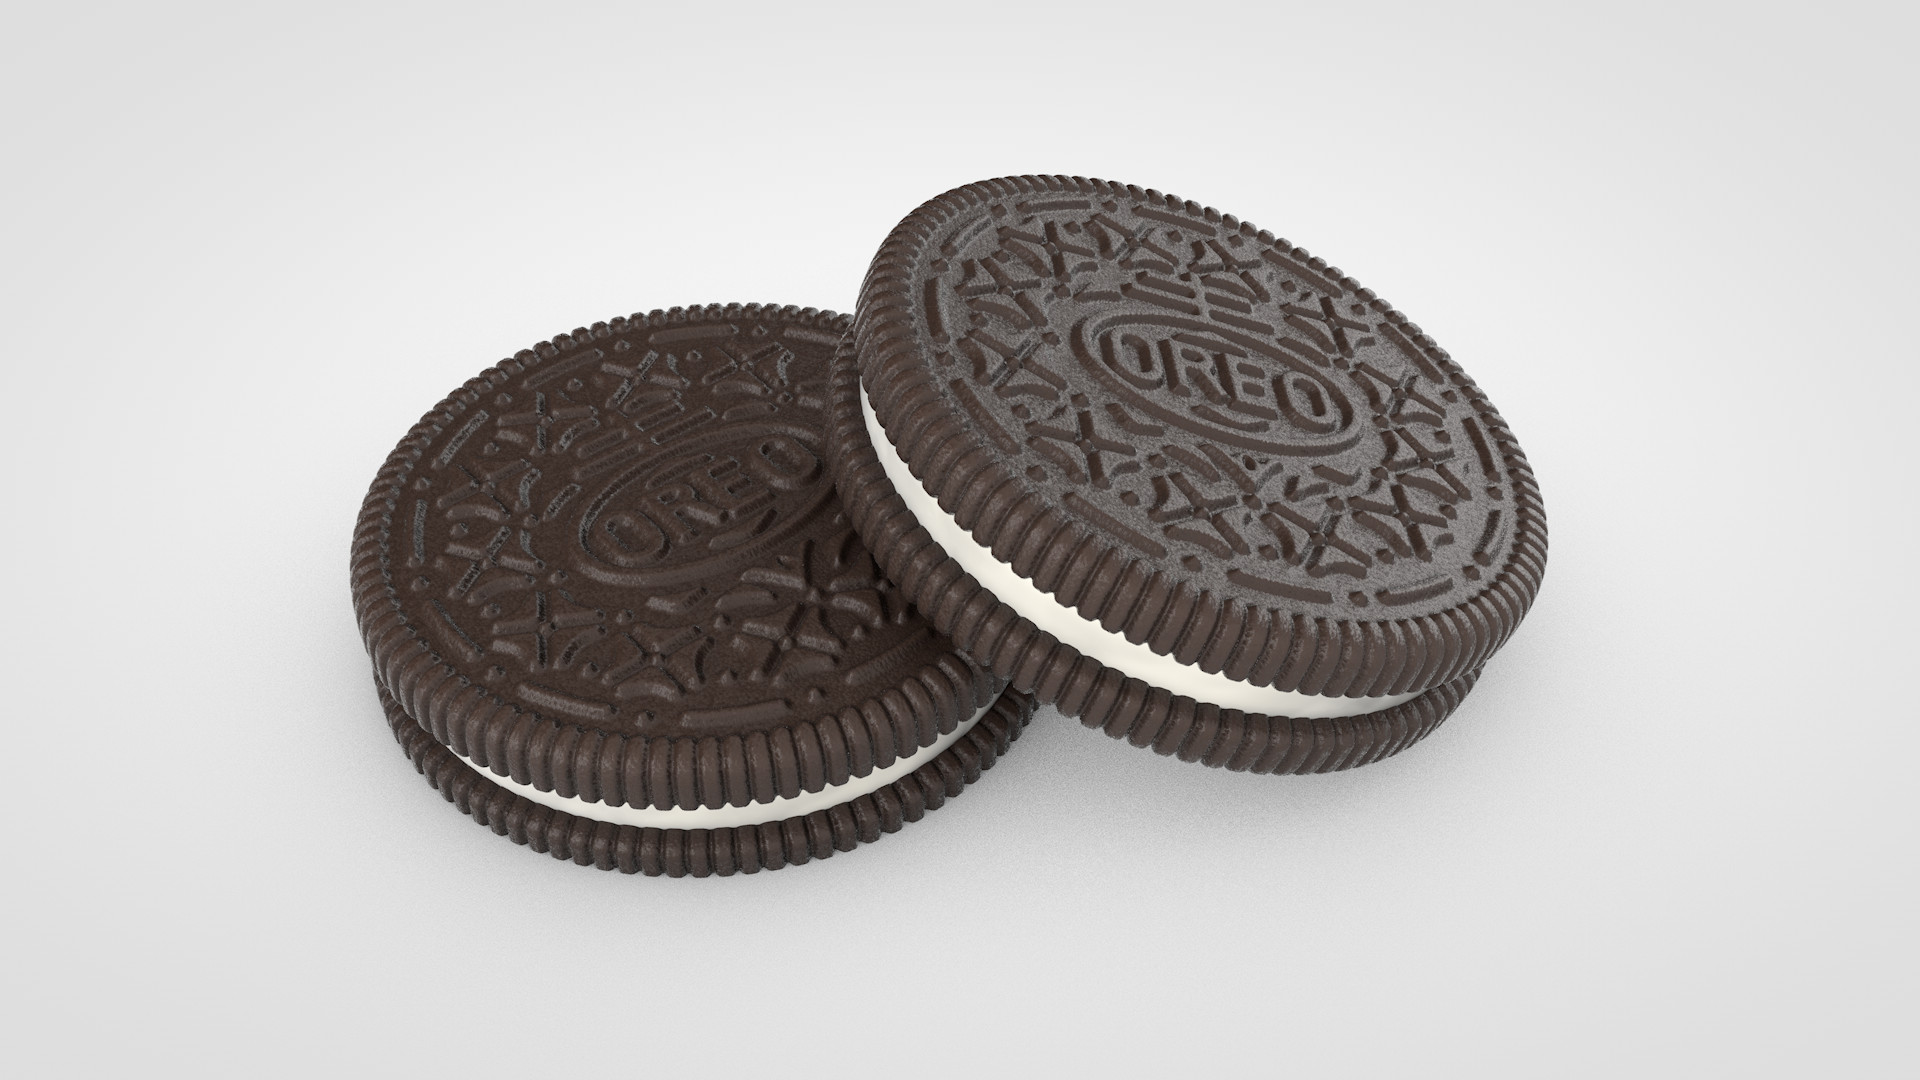
Oreo Cookie 3D Model
Oreo Cookie.Cinema 4D Studio file format.Displacement map used with physical render.All textures, materials and HDRI files included.Thank you for your visit!
-
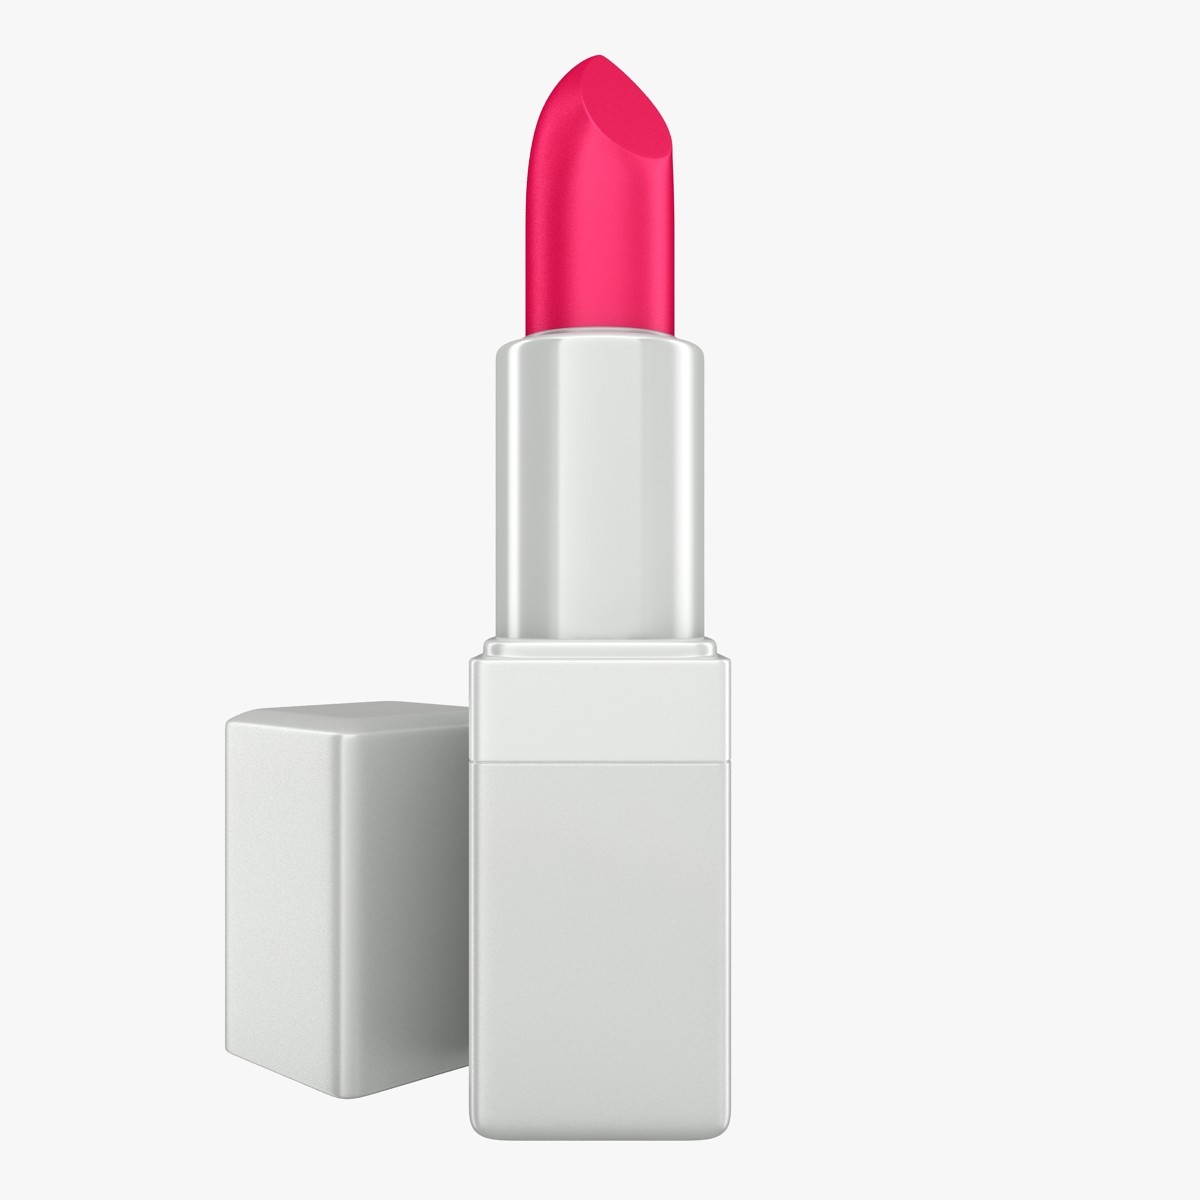
Lipstick (Silver) 3D Model
Realistic 3D model of the Lipstick (Silver)* The materials are available in the 3ds Max file format with V-Ray and Default Scanline Render-Scene lighting is included, ready for instant rendering* The entire model is subdivided-3ds Max files:TurboSmooth modifier can be used to increase mesh resolution if necessary-FBX file:subdivision level 0 subdivision level 2 (render scene)-Two OBJ files:subdivision level 0 subdivision level 2 -Two 3DS files:subdivision level 0 subdivision level 2 * Low poly modelPolygons smoothed: 85,540Vertices smoothed: 43,069* All the objects of the model are named* All the materials are named* Clean UVs (Non-overlapping) * Texture:-Model MapJPEG (.jpg)- 4096*4096-Environment Map (Reflection)V-Ray Renderer: HDRI- 2000*1000Default Scanline Renderer: JPEG (.jpg)- 2000*1000* Requires 3ds Max Version 2010 and higher* Real-world scale (Millimeters)
-
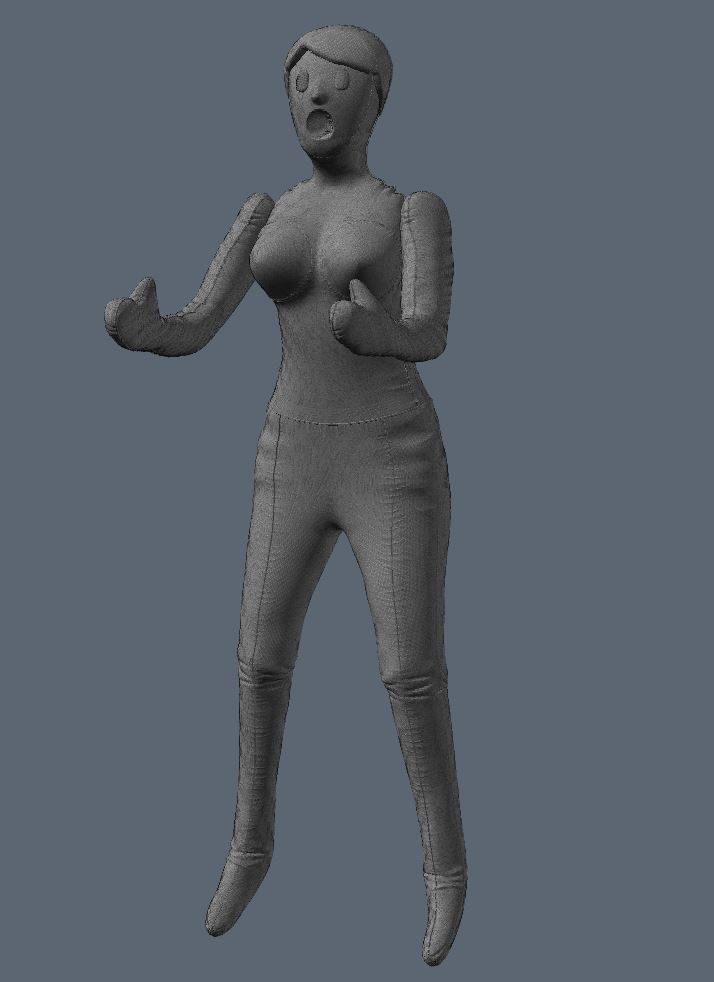
Inflatable doll 3D Model
High quality model of a Inflatable dollAlso check out my other models, just click on my user name to see complete gallery.
-
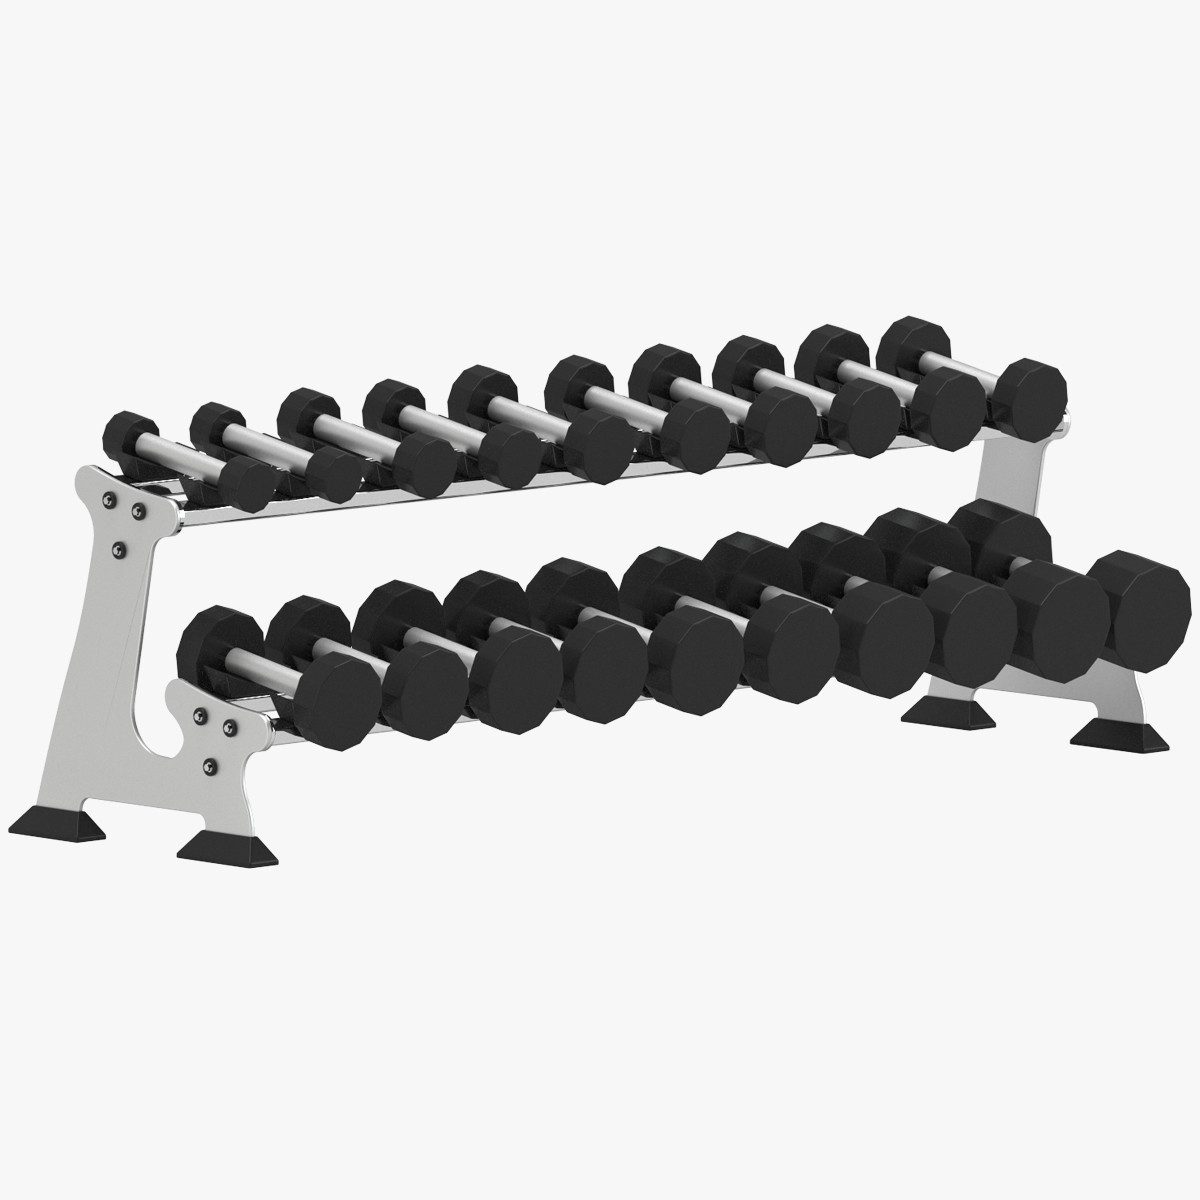
GYM Dumbbell Rack 3D Model
GYM Dumbbell Rack=============================================TECHNICAL INFO:1. 3ds max 2011 with V-ray and Corona renderer materials,2. Model is centered at origin,3. Real world scale (cm)4. LAYER name: GYM Dumbbell Rack5. Dimensions close to: – length = 215 cm- depth = 91 cm- high = 91 cm=============================================TEXTURES:Model is optimized and uses only simple materials. There is no texture. =============================================
-

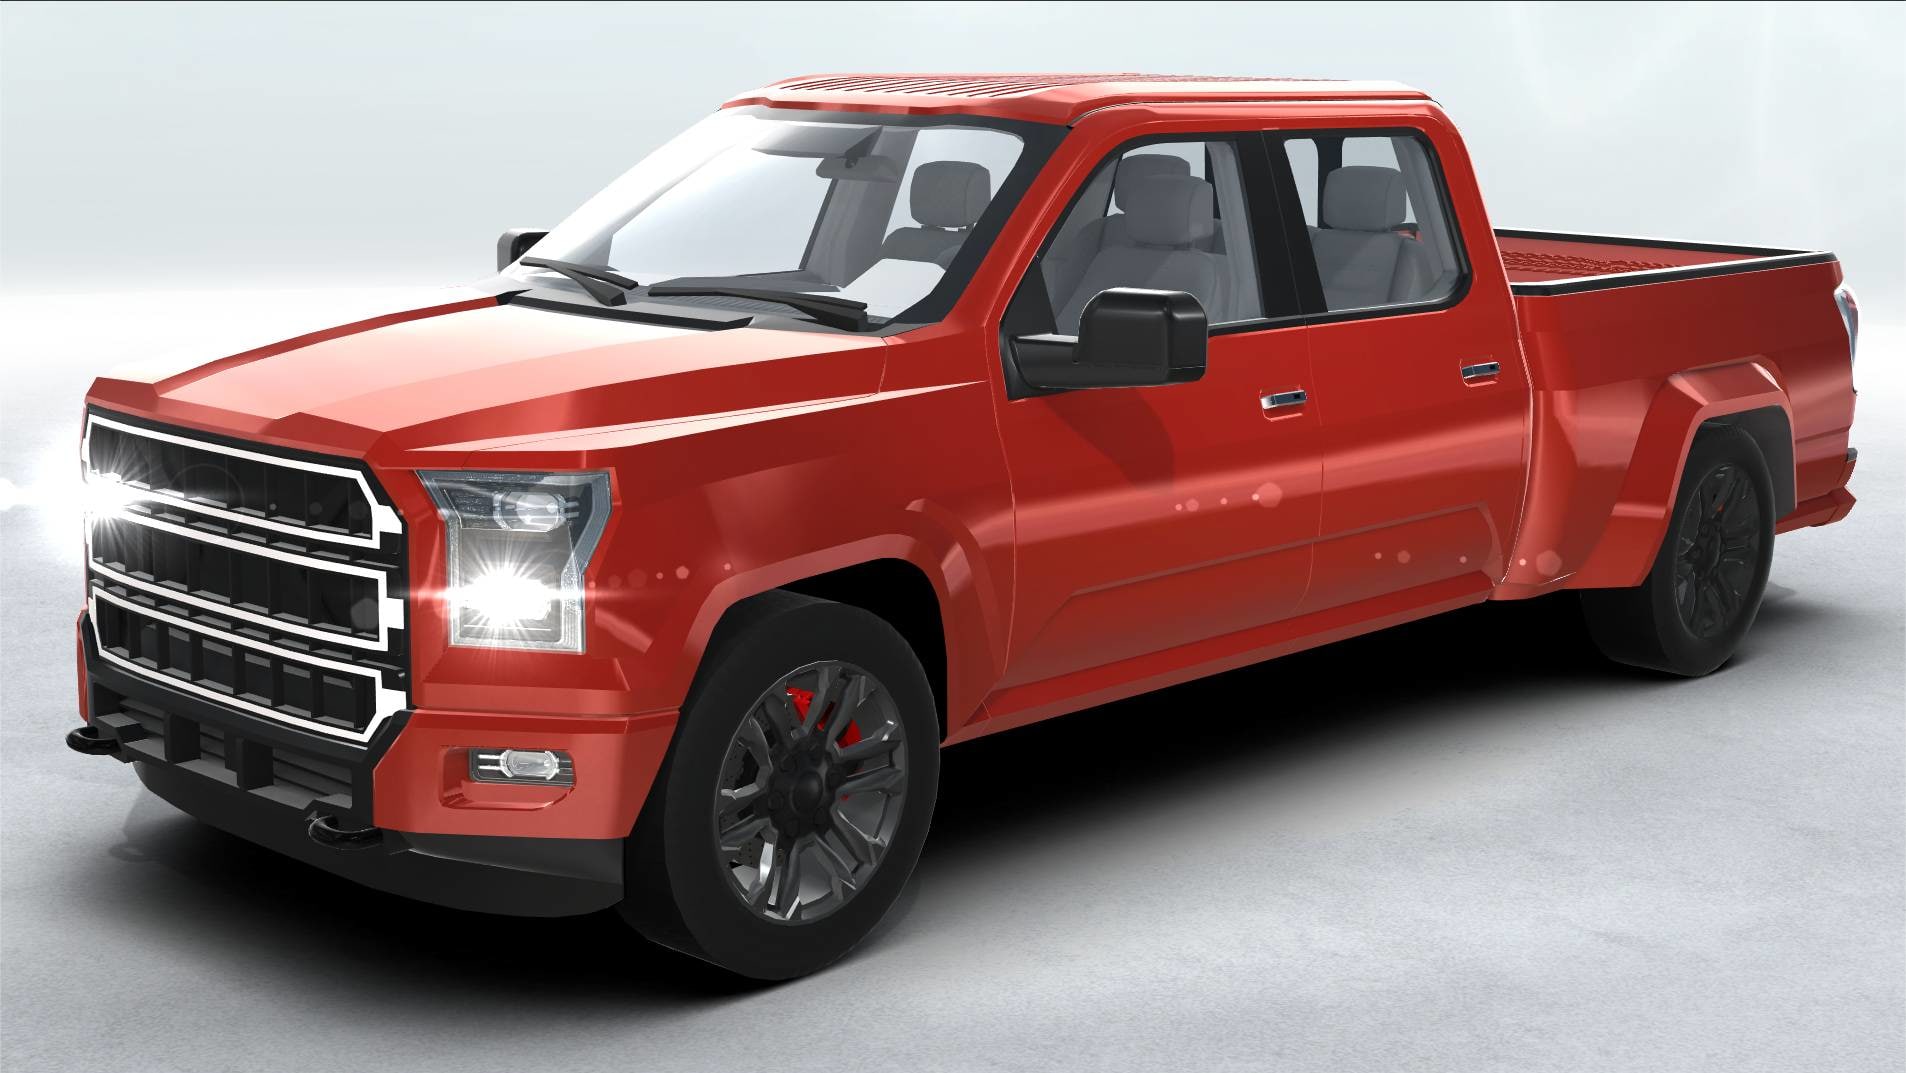
Ford F-150 Raptor 2017
Great quality very realistic hipoly 3d model of Ford F-150 Raptor 2017 with textures and with mid-detailed interior.Turbosmooth modifier can be applied on most of car’s objects if you need to get higher polycount.The model presented in a large variety of different formats optimized for different applications (OBJs formats are Maya/Rhino/Cinema4D/Lightwave3D/Blender-optimized) and matches almost all applications.Geometry contains only quad-polygons. Every geometry part is grouped according to it’s materials. Geometry of a certain material has a color corresponding to this material so it is easier to select objects and groups.All of the lights are made with detailed geometry, not only with textures.All render settings and HDR are included inside the 3ds max file. Easy To change colors for materials.The summary polycount includes polycount of wheels. Approximate 4-wheel polycount in all models is 75 000 – 100 000All car gauges are presented with no geometry, but with texture only.All materials are in the slate material editor. All car materials are included even if they are not used in this particular car.The scene contains 2 (or sometimes more) default carpaint materials.The model is ready for 4K CloseUps and VR renders.Thank you very much for buying ‘BlackSpring Designs’ Team models!
-

Cardboard stack bale
– Two models representing pressed cardboard bales;- Each cardboard stack is made out of 866 polygons,1732 for both of them;- The models are fully unwrapped (with overlapping parts for higher resolution);- Each cardboard stack has two textures: diffuse and opacity, and they are 4096/4096 pixels each;- The models are aligned with the grid, and you don’t need any special pluggin in order to open the scene.