
************************The object is modeled in the environment Autodesk Inventor 2018.To create a photo renderer, use Inventor Studio.************************The model contains the most popular formats************************The model contains the most popular formats. Each file was checked for opening and full content by the model.Thank you for coming to see this model. Also pay attention to other models by clicking on the name of the account in the right corner.
Tag: Select
-
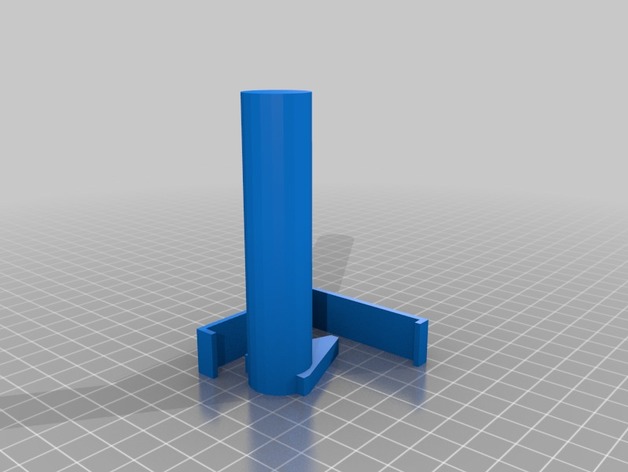
Monoprice maker select v2 spool holders 3D Print Model
Summary
spool holder (1) needs to have 2 copies and they need a 3/4 inch PVC pipe
Print Settings
Printer:
Monoprice maker select v2
Rafts:
Doesn’t Matter
Supports:
Doesn’t Matter
Resolution:
.2
Infill:
20
Notes:
spool holder (2) needs supports the others don’t -
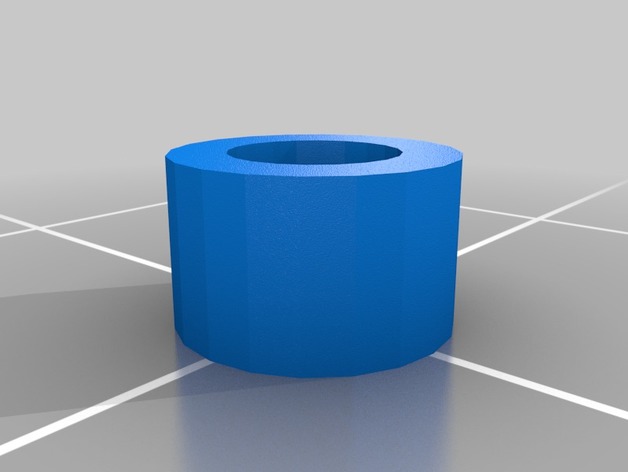
Maker Select Plus / Wanhao Duplicator Plus Hotend Fan Bolt Spacers 3D Print Model
Summary
The screws that attach the fan to my hotend in my Maker Select Plus / Wanhao Duplicator Plus bent. Those screws are apparently M3 x 37MM. I couldn’t find those anywhere, so I purchased very common M3 x 40MM bolts, and designed this spacer to make it fit correctly. It goes in between the bolt and the fan.
Print Settings
Printer:
Maker Select Plus Rafts:
Doesn’t Matter Supports:
Doesn’t Matter Resolution:
.1MM Infill:
Doesn’t Matter -
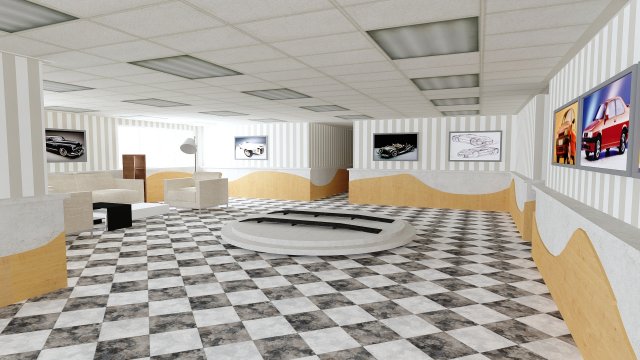
Car Showroom Garage Gallery 3D Model
It is the car selection gallery or render scene for your games or 3D projects.
-
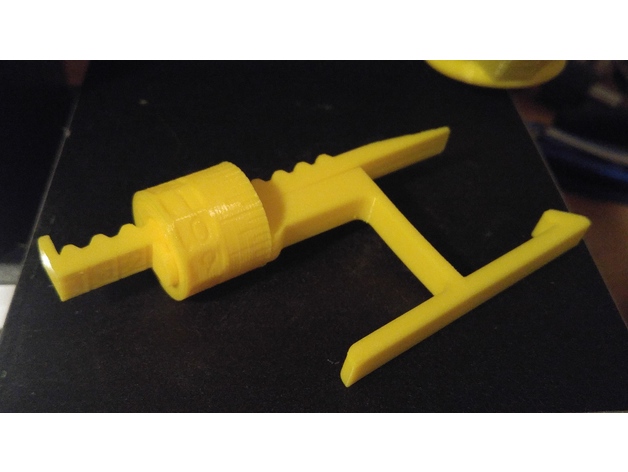
MPSM Fully Adjustable Z Spacer (MP Select Mini) 3D Print Model
Summary
Fully Adjustable Z Spacer
MP Select Mini
By Wiley Kyoto
This Z spacer is designed to give you continuous adjustment from 1mm to 5mm. If you want to switch between the stock bed and glass bed, you don’t have to adjust your print bed and then re-level it. If the beds already level, just adjust the spacer for the change in height to account for the glass thickness. Also If you change nozzles, the new one might be slightly longer or shorter, so just adjust the Z offset accordingly. I gave the Bracket a slight bend so it keeps constant pressure to hold it firmly in place.
My Print Setup:
PLA
210/60C
No Supports
0.175mm Layer Height
1.4mm Wall Thickness
1.05mm Top and Bottom Thickness
Orientation – Lay the AdjArm and Bracket flat on their sides. Put the AdjDial on one of the flat ends (I had numbers near the top).
Assembly:
Put the AdjDial on the Bracket, in the groove next to the indicator mark, with the numbers closest to the outside edge.
Insert the sloped edge of the AdjArm through the AdjDial, with the threads of the AdjArm facing away from the Bracket.
Keep pressure pushing the AdjArm into the AdjDial as you start to turn the AdjDial clockwise. Keeping in mind that the thread is reversed thread, such that turning the AdjDial clockwise will wind the AdjArm farther in.
Set the AdjDial to roughly the right spot (See Reading the Dial).
Make sure the head position of the printer is a good couple centimetres in the +Z direction, to prevent damage to the Z limit switch.
Insert the assembled spacer through the vertical slot in the back of the printer tower, snapping it into place on the Z Bearing Block(Black Plastic Block with metal rods running vertically through it), which you can see through the vertical slot. You should hear and feel a solid click as it snaps securely into place, pushing forward firmly on the top lever of the spacer should help it snap into place.
Make final adjustments the the AdjDial but homing the printer and checking the fit with a piece of paper under the nozzle.
Reading the Dial:
Note – the readings won’t have absolute accuracy as it depends on the exact placement of the Z Limit switch, but the relative accuracy should be great.
The AdjArm has 4 notches, with numbers 1 to 4 next to them. These represent whole mm steps.
The AdjDial has 40 notches, every 4 notches are numbered .0 through .9. These represent decimal mm steps. Each notch is a 0.025mm step.
The Bracket has one indicator notch which lines up with the notches on the AdjDial to indicate where to read the setting.
When the outside edge of the Bracket is lined up with the first notch(next to the 1) on the AdjArm and the .0 setting on the AdjDial is centred on the indicator notch, the spacer is set to 1.0mm.
When the AdjArm is all the way into the AdjDial, and the AdjDial is set to .0, the spacer is set to 5.0mm.
The spacer can be set less than 1mm but at some point (around 0.7mm on my printer) the limit switch will slip off the end of the spacer and effectively act as 0mm offset. -
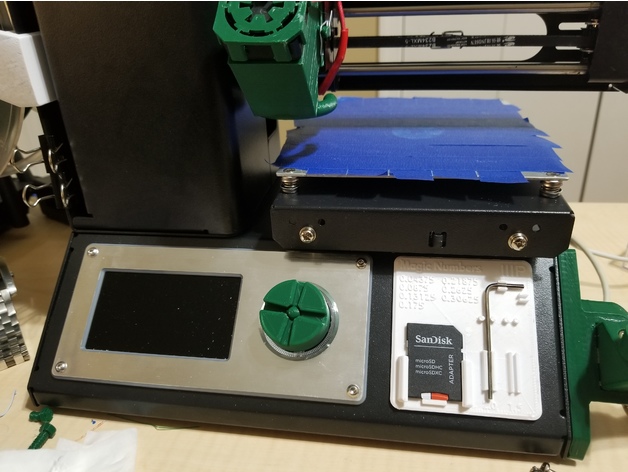
Menu Knob thing for MPSM Select Mini V2 3D Print Model
Summary
I was looking around for a knob for my V2 Select Mini but all the ones were for the V1 which has a different size middle thing so they didn’t work.
I found one but the design dimensions were sloppy and not that tight so I made my own based on the dimensions of that one but slightly smaller so it’s a very tight fit.
After printing it will take a bit of pressure to pop it onto the printer but after it’s on there it feels like it’s one piece with the printer. No glue or anything needed.
I printed mine in eSun PLA+ @210C and no heated bed. Print came out very nice.
Print Settings
Printer:
Monoprice Select Mini Rafts:
No Supports:
No Resolution:
0.2 or 0.1 Infill:
20% -
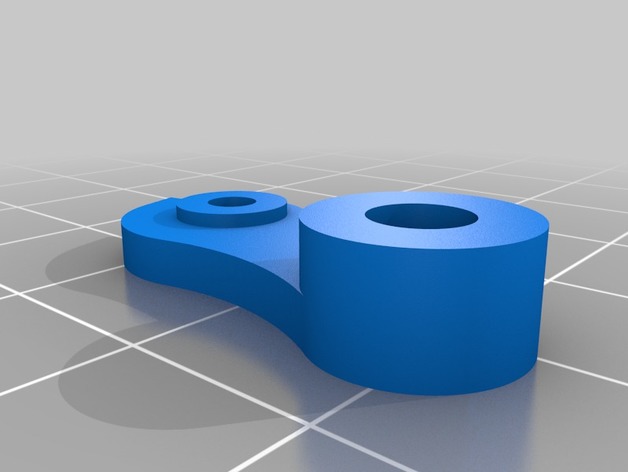
monoprice mini select Extruder Lever Arm 3D Print Model
Summary
Warning: The cover is as of yet untested. Tell me in the comments if it needs to be adjusted. This is a drop-in replacement for the monoprice mini select extruder arm and cover. After mine broke the day after my printer was delivered, I found Makerbot’s Replicator 2 extruder design to be the same except for the bearing size. I modified it in Onshape, and the bearing from the MP Select Mini fits snugly. If you had to replace parts other than the arm or cover of the extruder, Makerbot’s other parts should fit fine. I can’t find any dimensional differences between my part and the original, but your experience may vary. Tell me if it works in the comments! doesn’t seem to have any issues with it but if you do end up with problems, download the “fixed” version and try that. I also added a file with both the cap and the arm.
Print Settings
Printer:
monoprice mini select Rafts:
Doesn’t Matter Supports:
Doesn’t Matter Resolution:
0.2 Infill:
40-100%
Post-PrintingHow I Designed This
-
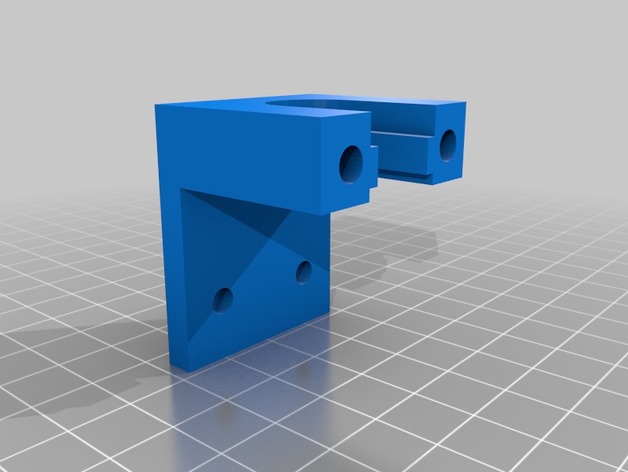
Monoprice Select Mini E3D V6 heat sink adaptor 3D Print Model
Summary
This is a bracket for holding the Bowden stype E3D V6 heat sink/hot end on the Monoprice Select Mini. It is sized so that it will be at the same level as the original that came with it so no adjustment to the z axis limit switch is necessary.
I used 2.5mm melt in threaded inserts, available from McMaster Carr:https://www.mcmaster.com/#94180A321.
I used 3mm melt in inserts for the clamp that holds the heat sink in, again from McMaster Carr.
Installation tool is right next to it on order page. You can also use a nut with a through drilling if you like.. -
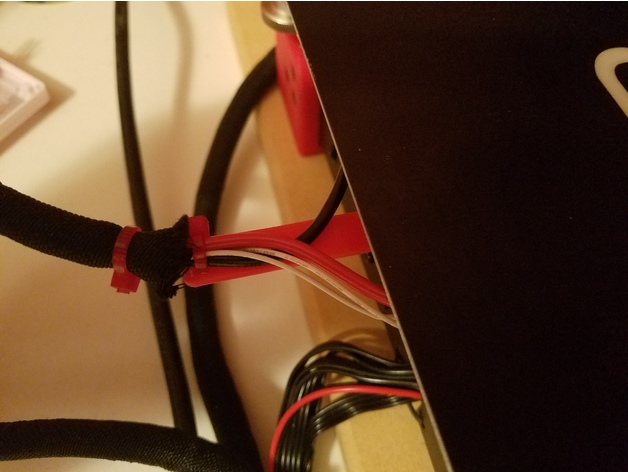
Monoprice Maker Select V2.1 Hot Bed Cable Bracket 3D Print Model
Summary
This is a bracket to help keep the hot bed wires from bending and hitting the build plate. It also keeps the wires low and away from a rear mounted part cooler when the extruder is near the rear of the build plate. The bracket is designed to work with the RepRap Champion Y Carriage Plate Upgrade for the Monoprice Maker Select / Wanhao Duplicator i3.
To install:
Place the bracket between the Y-carriage plate and the hot bed with the clips pointing down, near the hot bed wires. Hook the clip on the outside of the Y-carriage plate and slowly lift the end until the other clip clicks into place inside the Y-carriage plate cutout. It’s a tight fit so some trimming may be needed. Once the bracket is in place, lay the hot bed wires on top of it and use a small zip tie and the provide holes to secure them in place. Make sure the eyelet of the zip tie is on the upper side of the bracket to keep it from hitting the frame.
Print Settings
Rafts:
No Supports:
No Resolution:
0.2 Infill:
100% -
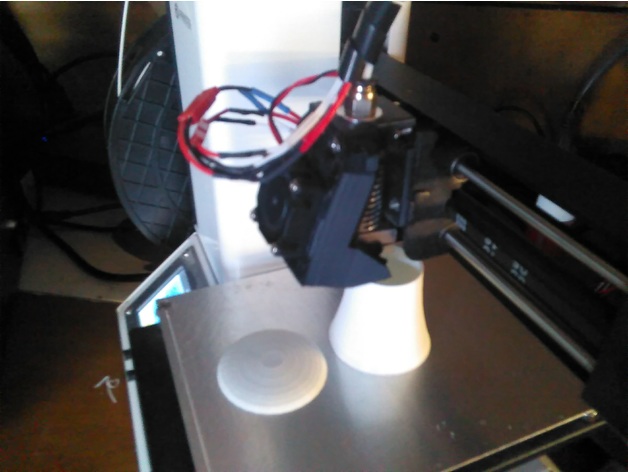
Monoprice Select Mini E3D 30mm single fan hotend and nozzle cooling 3D Print Model
Summary
I wanted to upgrade my MP select mini (V1) with an e3d hot end, but couldn’t find a holder for it that didn’t require an additional new fan. The closest I could find was Toolboxx’s upgrade for a single fan, but that still assumed I would be switching out the fan for a 40mm fan. So I did a simple remix.
All the 3D printed parts you need are included. You will need 2 M3x15mm screws and M3 bolts. -
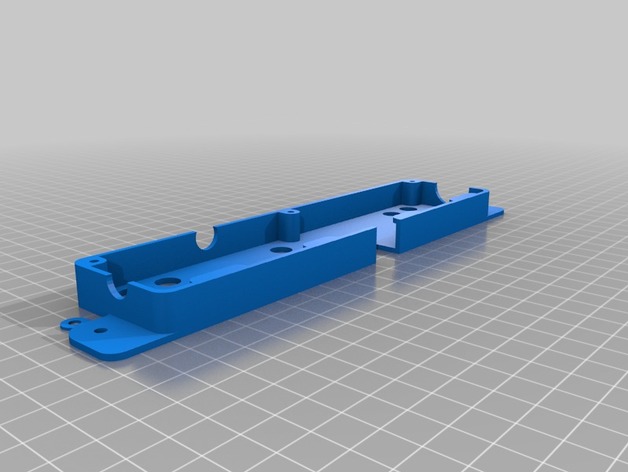
Monoprice (slight remix) Maker Select V2 Rear Cable Conduit 3D Print Model
Summary
This is the same as the version posted by inches, but I added a small name plate and changed the Wanhao lettering to the Monoprice logo on the cover plate. the base is exactly the same file, i just added it here so people wouldn’t have to pull from both thing files. Now those of us with the monoprice clone can accessorize in style. -

Mercedes-Benz Vito Tourer Select L2 W447 2014 3D Model
The 3D model was created on real car base. It’s created accurately, in real units of measurement, qualitatively and maximally close to the original.Model formats:- *.max (3ds Max 2008 scanline)- *.max (3ds Max 2008 vray)- *.fbx (Multi Format)- *.obj (Multi Format)- *.3ds (Multi Format)- *.mb (Maya 8.5)- *.lwo (Lightwave 6)- *.c4d (Cinema 4D 11)* tire’s texture is not included in the set.* renders Are made in 3ds Max 2008 using vray 1.5 (studio environment is not included in the set)If you need any other formats we are more than happy to make them for you.The model is provided combined, all main parts are presented as separate parts therefore materials of objects are easy to be modified or removed and standard parts are easy to be replaced. If you experience difficulties with separating standard parts we are more than happy to give you qualified assistance.We greatly appreciate you choosing our 3D models and hope they will be of use.We look forward to continuously dealing with you.Sincerely Yours,Hum3D Team
-
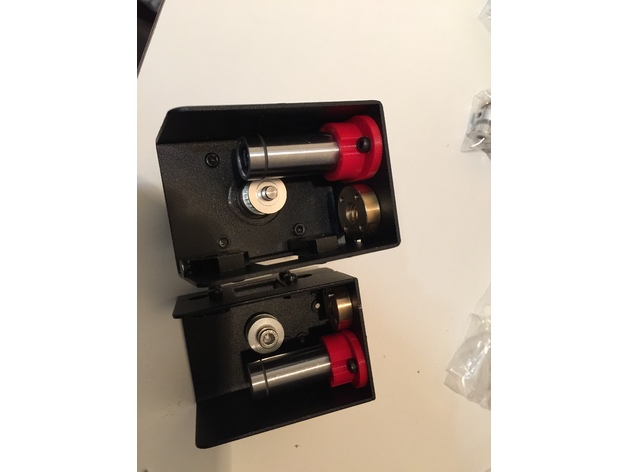
Maker Select v2 Z axis Bearing Mounts 3D Print Model
Summary
previously I created a set of X-ends for the Monoprice Maker Select v2 to replace the stock metal ones because I wanted a way to use standard LM8UU bearings for the z-axis. Those have been installed on my printer for the last couple of months, but I figured I’d try making a set of bearing holders in case any of you want to use different bearings, but are happy with the metal x-ends that your printer came with.
These seem to work pretty well. Just screw them in from the bottom, slide the bearing into place, and you should be good to go.
I printed these in ABS with 4 perimeters and 40% infill, but the walls are pretty thin so you could probably do them 100% infill and it wouldn’t make much difference in print time. -
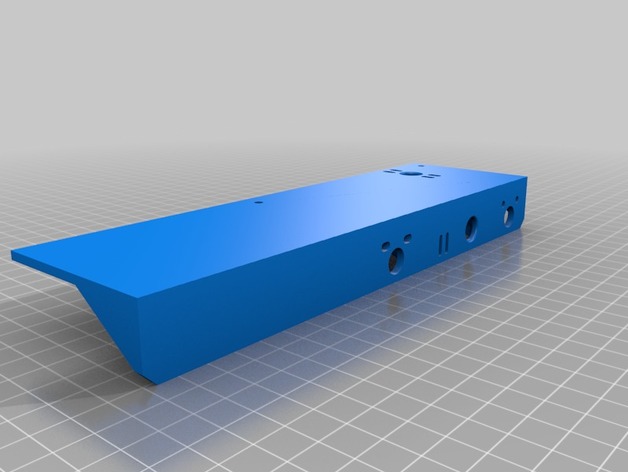
Monoprice Select Mini extended bed brackets 3D Print Model
Summary
Extended the bed brackets to utilize the 300x200mm Anodized Aluminum Y Carriage Plate XL Upgrade for Prusa i3.
I have not tested, printed or fit as I have yet or order the carriage plate. If successful it will use the carriage, heat bed and borosilicate glass from the prusa I3 for the monoprice select mini. -
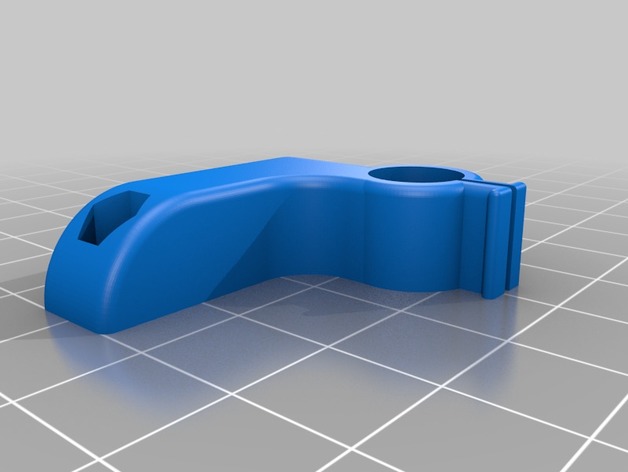
Maker Select V2.1 fan mount for Dial Indicator
Summary
Made a copy of the Dial Indicator clamp to fit my Maker Select V2.1 but offsetting the dial indicator to line up with the extruder. M3 nuts and M3 bolts longer than the original fan bolts necessary.