Summary
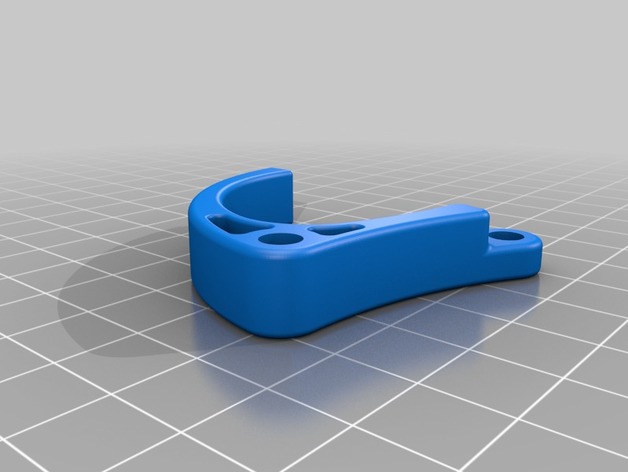
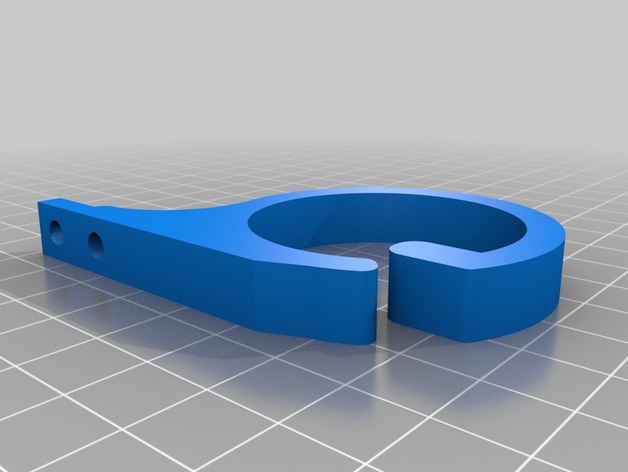
Thanks to JTM 88 for the original. I extended the base to add a second screw hole as it suited me more. Great design.
Print Settings
Printer:
ultibots d300vs
Rafts:
Doesn’t Matter
Supports:
Doesn’t Matter
Resolution:
.2mm
Infill:
50%+
Tag: (remix)
-
Cable clip v2 remix 3D Print Model
-
Pitan Geared Extruder (thinner tighter gears remix) 3D Print Model
Summary
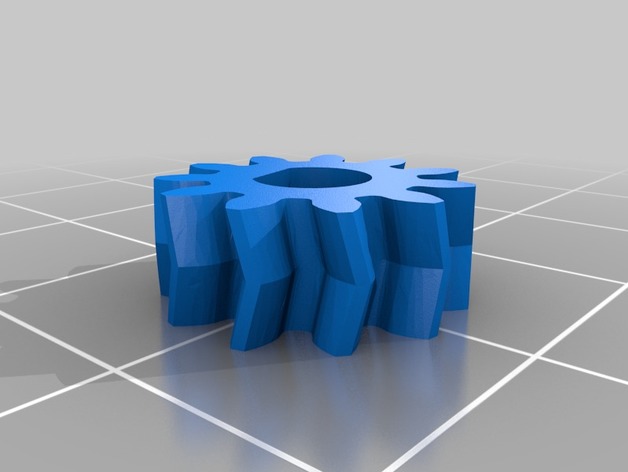
These are the remixed gears I used in my Pitan make (https://www.thingiverse.com/make:493744) that are 5mm thick and have very tight D shaft and Hex Bolt Head fit. I ended up using Nylon because the small gear D shaft warbled out when I used PLA. Also as I mentioned in my make, I bought the hardware in bulk so send me a message if you would be interested in a set that includes the nuts, bolts, screws, washer, bearings (a 623 and two 695s or 625s), mk8 gear, spring, 3 meters of Nylon filament (enough to print gears twice), metal bowden groove mount, and some ptfe tube. -
Remix Folding Brass Catcher 224 Valkyrie 3D Print Model
Summary
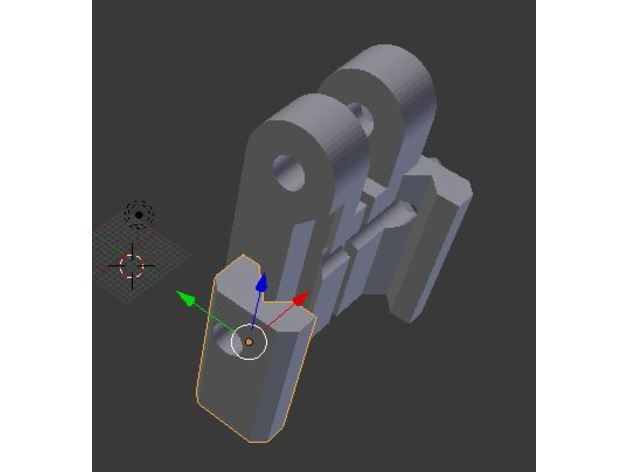
This is a remix! I like the design and made some changes. The mount can use more work.
You can Sew up a bag from old blue jeans with a zipper to catch the brass, or just use it as a brass deflector. Make shorter or longer as needed for Mlok or Pic rails.
Enjoy! -
FT-5 Adjustable Glass Holder – remix (heat insets) 3D Print Model
Summary
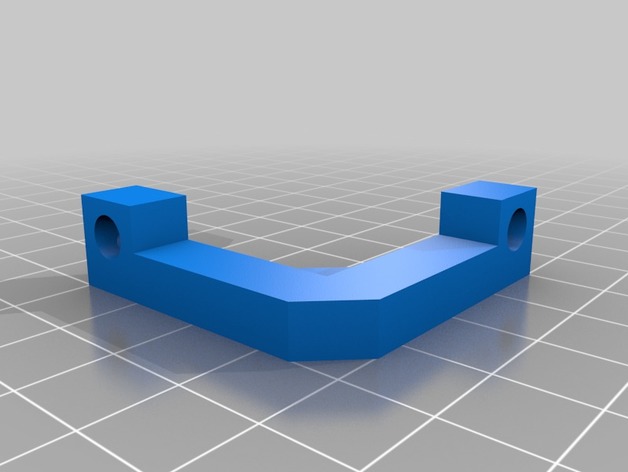
Remix of the FolgerTech FT-5 Adjustable Glass Holder (https://www.thingiverse.com/thing:2260982) I didn’t have enough of the 3mm square nuts to make the other version, but I do have heat insets that work quite nicely. This version is essentially the same as the original, but a little taller, and configured for heat set inserts instead.
Best printed in ABS or some other heat-resistant material.
The inserts I used and designed for are on Amazon here:https://www.amazon.com/gp/product/B077CL322T
Print Settings
Printer:
FolgerTech FT-5 R2
Rafts:
No
Supports:
No
Resolution:
0.1
Infill:
30% -
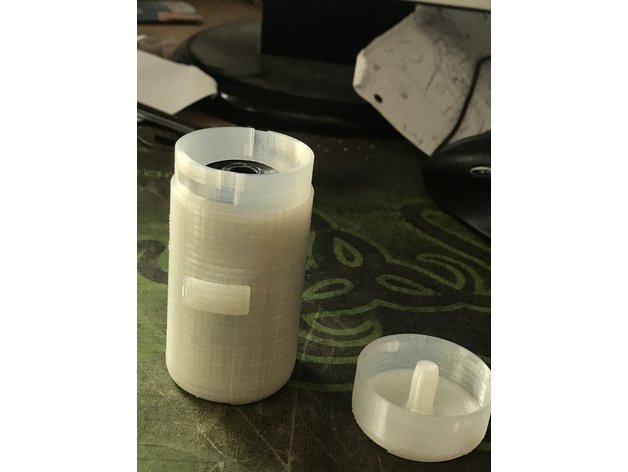
Flexi Dog Waste Bag Attachment (no thread remix) 3D Print Model
Summary
As the original cap is hard to screw due to a threaded design I changed that part only so now it closes without much trouble.
Printed at 0.2 resolution for first 60mm and 0.15 for the locking part with the groove. (but should be fine with 0.2 everywhere)
Print Settings
Printer Brand:
TEVO
Printer:
Tarantula
Supports:
Yes
Resolution:
0.2 -
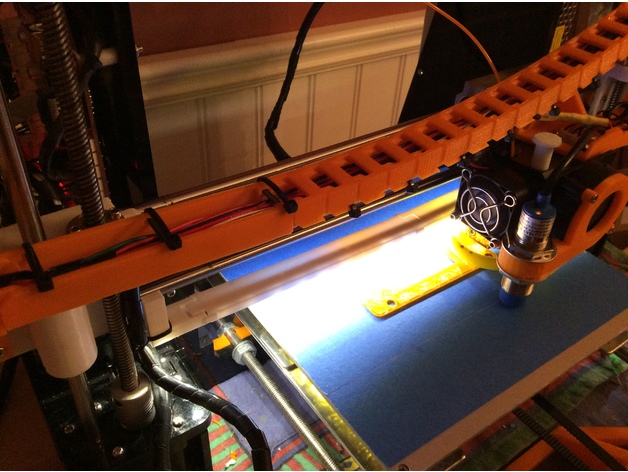
Anet A8 LED strip mount under X axis clip on remix 3D Print Model
Summary
This remix was remixed in Tinkercad to remove the screws. Assembly is the same, but instead of using screws, you just snap fit the brackets on. No screws needed!
😀 -
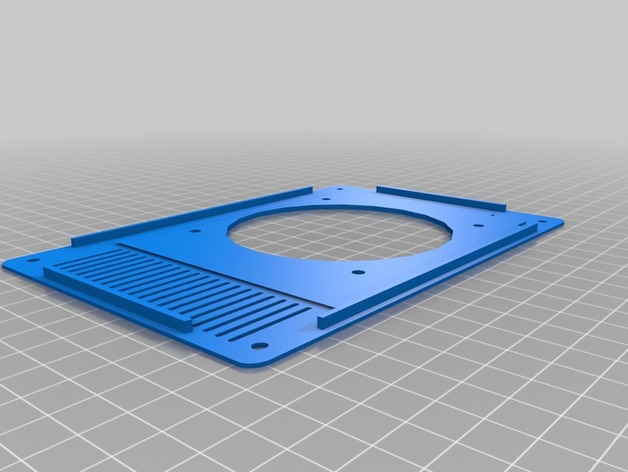
MKS Makerbase V1.3 Case – Remix 3D Print Model
Summary
Remix of https://www.thingiverse.com/thing:2008844
Not perfect – modified in Tinkercad but serves it’s purpose. -
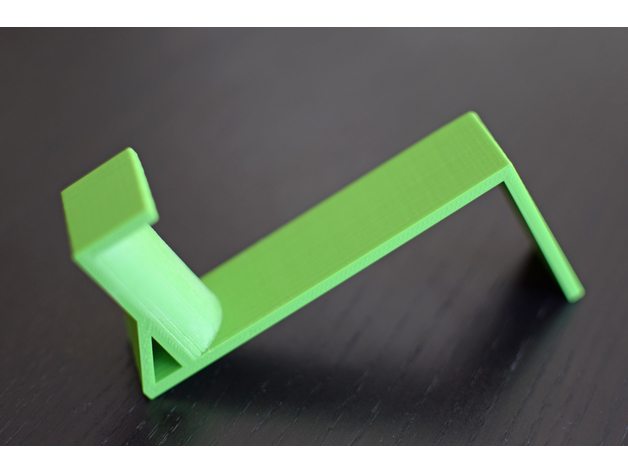
Monitor headphone hook Remix 3D Print Model
Summary
I had to make the hook a little bit wider to fit my headphones, so I remade the model following the original one with this little alteration; I also added an extra part at the bottom, a kind of rib to make everything stronger. I used PLA, printed with small supports for the rounded part.
It actually works and is greatly useful. Thanks for sharing!
This is a remix, here you find the original thing: Monitor headphone hook
Print Settings
Printer Brand:
Wanhao
Printer:
Wanhao Duplicator i3 V1
Rafts:
No
Supports:
Yes
Resolution:
0.2 mm
Infill:
20%
Notes:
Printing time: about 1 hour and 40 minutes -
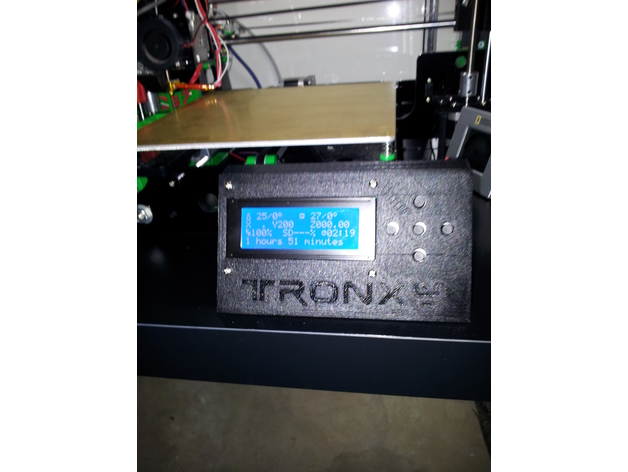
Tronxy P802MA external Display Enclosure – Remix 3D Print Model
Summary
Added the Tronxy Logo
Added on/off button on right hand side.
Print Settings
Printer:
Tronxy P802M
Rafts:
No
Supports:
No
Resolution:
.2
Infill:
15 -
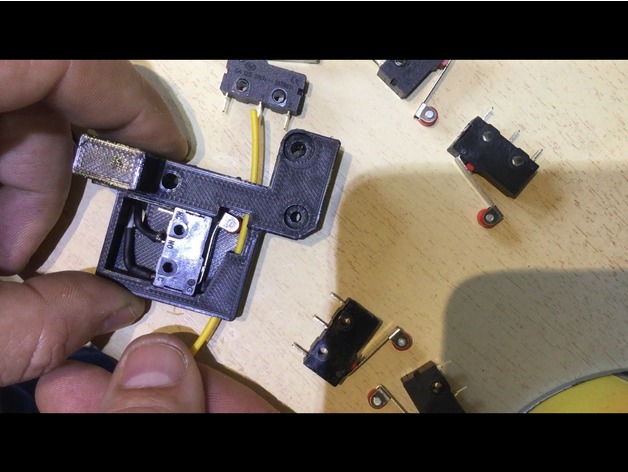
Remix élément extrudeur Nicosky pour contact Amazon 3D Print Model
Summary
Remix du remix de Nicosky afin de coller dedans un contacteur disponible sur Amazon.
Il suffit juste de lui collé une petite claque au bout pour intensifier la pression.
Passer les cables dans le trou avant soudure pour ne pas être embêté par la prise, qui elle ne passera pas.
Le contacteur est disponible ici:http://amzn.eu/1cAJ7r0 -
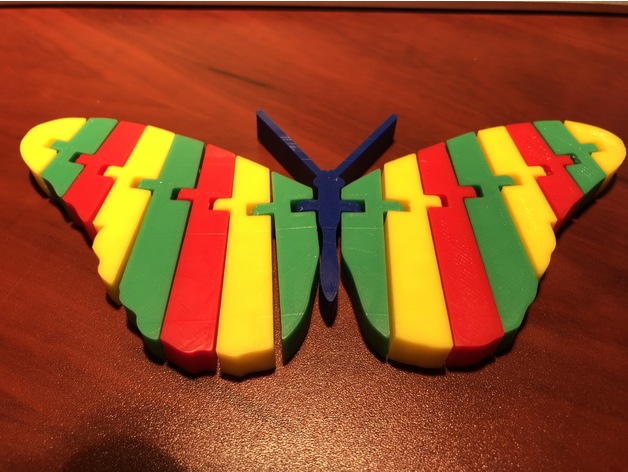
Articulated Butterfly Remix – 4 color 3D Print Model
Summary
This is a great model, but I wanted it in 4 STL files for the Prusa MultiMaterial printer. I used Blender to split out the solid objects and rebuilt it as 4 STL files (one per color). -
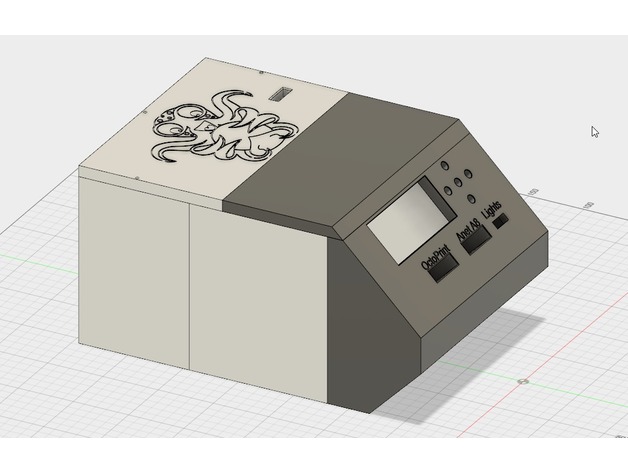
No Touch Screen Remix 3D Print Model
Summary
Just removed the touch screen from the front and move the Anet A8 screen.
Original Thing here: https://www.thingiverse.com/thing:2748195 -
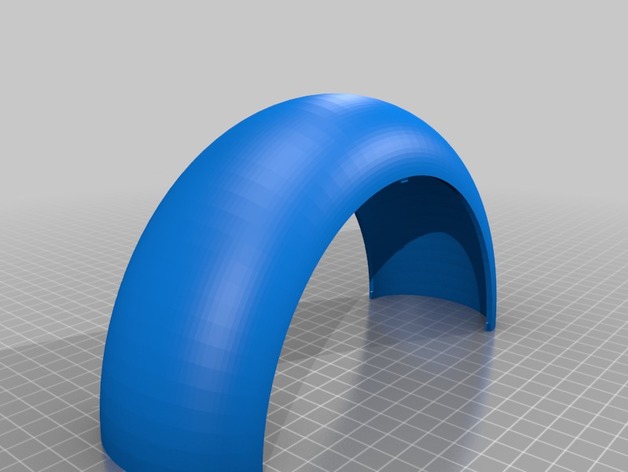
3d printed led night lamp Remix 3D Print Model
Summary
As the auther pointed out the parts dont fit together without shaving off some material.
I tried to fix it in 3d builder, just placing the parts together and the extracing excess from the parts.
There are a very thin line of material that should be removed on the bottom parts, but since its so thin my Slic3r doesnt care about it anyway..
I have not test printed it yet. -

Golf Ball Belt Clip Remix 3D Print Model
Summary
This is a remix from the TheKre8Group’s one.
Added 3 tee holders, and a slot to label/mark the balls (putting helper).
Printing tips:
o.2 layer height
perimeter width : 0.45
and allow single extrusion wall for the outer perimeters (that’s for the support wall).
All attribution to TheKre8Group! -
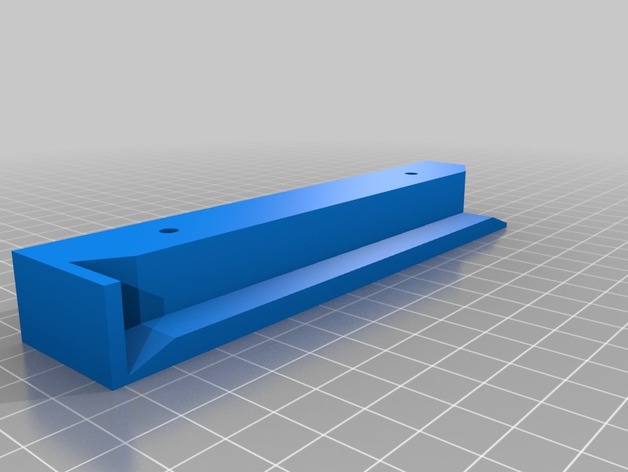
Slim Wireless Keyboard Rack with backstop – Remix 3D Print Model
Summary
The original design my user ‘drou’ inspired me to create a simple variation for a project at my office. The intent was to truncate the height of the rack to accommodate a slim keyboard design. Second, I needed a stopper at the back of the rack in order to keep the keyboard from pushing all the way through and falling out the other side.
There is only one file, simply mirror this STL for the other side of your keyboard rack.
Will get some finished photos uploaded.
Original thing: https://www.thingiverse.com/thing:1456347/
Print Settings
Printer:
Anet A8
Rafts:
No
Supports:
No
Resolution:
.1
Infill:
10%How I Designed This
TinkerCAD -
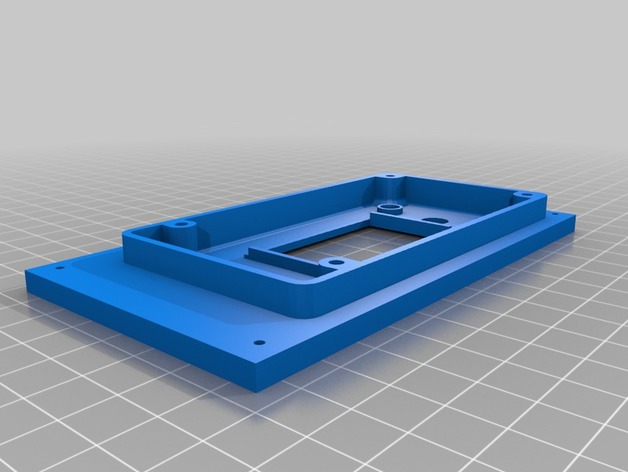
MKS MINI PANEL REMIX 3D Print Model
Summary
Remix to make a plate cover for my d-bot corexy printer. -
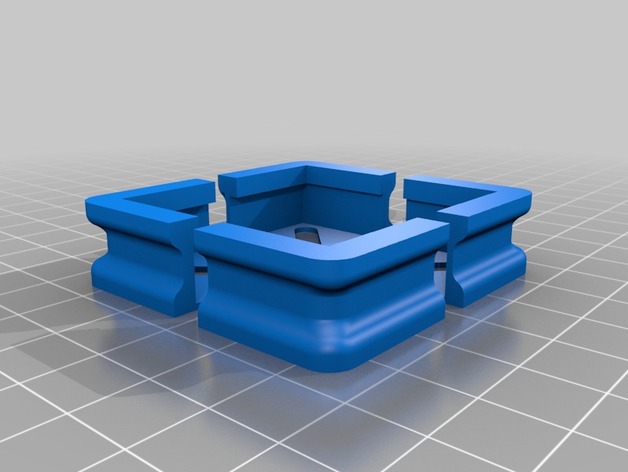
Glass Plate Corner Brackets for Flashforge Inventor 3D Printer (Remix) 3D Print Model
Summary
These corner brackets were designed to interface with the Flashforge Inventor 3D printer and the glass plate upgrade from Flashforge USA. Supports glass dimension (L x W x H) 9 x 6 x 0.15 inches. Glass must be installed on top of the Flashforge build tape and aluminum build plate. You may require four washers to prevent the hex nuts from going through the gaps of the corner brackets.
The corner brackets are designed to be of sufficiently low profile to accommodate the build plate movements in proximity of the internal filament spools. The corner brackets can be fastened using the existing build plate hardware and are flush with the surface of the glass.
I would like to say that this project worked on the first attempt but it would be false. What started as a deliberate design attempt turned into a series of trial and error. It took me seven versions to get it right.
Print Settings
Printer:
Flashforge Inventor
Rafts:
No
Supports:
Yes
Resolution:
0.08mm
Infill:
100%
Notes:
In order for these brackets to work at bed temperatures up to 110 degrees Celsius, I recommend using Proto-Pasta Carbon Fiber HTPLA for printing these and then following directions from Proto-Pasta for annealing. I do not recommend the use of regular PLA or ABS for this project as they will become soft and rubbery during heated bed operation.
To ensure compatibility with your system, here are the measured dimensions of the parts that the brackets interface to:
Original Aluminum + PCB + Tape Build Plate (L x W x H) 232 x 153 x 8.25mm
Glass Plate Upgrade (L x W x H) 229 x 152.45 x 3.8mm
I recommend tightening the nuts once the build plate is fully raised and pre-heated to 60-70 degrees Celsius.
How I Designed This
Step 1: New Enhancements
After having used the source version of these for two months, I discovered some areas for improvement. I increased the height of the opening that interfaces with the “Original Aluminum + PCB + Tape Build Plate” by 0.2mm in order to get an even better fit. I also reinforced the external sides of the corner brackets as they seemed to start warping slightly at 110 degrees Celsius (even with the annealed Proto-Pasta Carbon Fiber HTPLA). I think that with the thicker material, which is an insulator, the part should maintain its shape. This is still a work in progress in that I have not yet printed it to verify the fit and conduct some testing; I plan on having it verified and tested next week. -
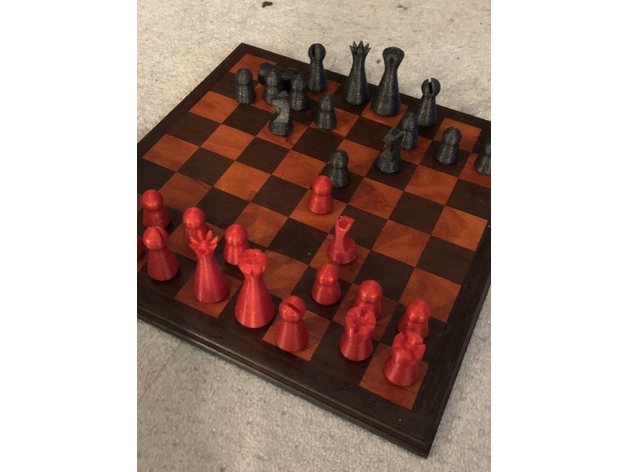
Minimal Look Chess (remix) 3D Print Model
Summary
I remixed this set to have large holes in the bottom to be able to add weight. I used hot glue and lead shot with a felt bottom. Got great reactions at the chess club! -
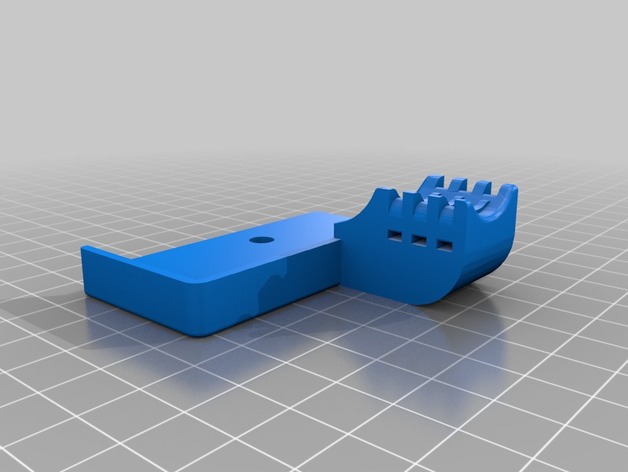
TEVO Tornado Ultrabase Upgrade Remix with cable strain relief 3D Print Model
Summary
Clamps to attach Anycubic Ultrabase to the Tevo Tornado.
Added cable strain relief to the rear left part.
Remixed this https://www.thingiverse.com/thing:2782720 and this https://www.thingiverse.com/thing:2748197 things. -
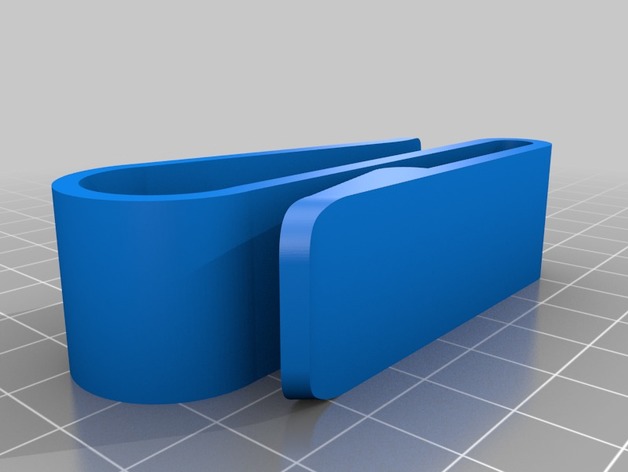
Sunglasses Car Sun Visor Clip – Remix 3D Print Model
Summary
Added a “butée” (french word) to avoid sun glasses fall. -
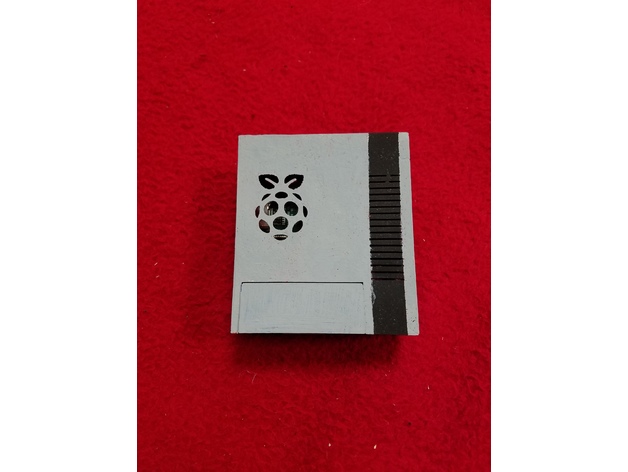
BabyNES RasPi B+ case remix 3D Print Model
Summary
Shoutout to jrebeiro for the design!
I originally wanted to add a spare 30mm fan to the top of this case. And while it is possible with a raspberry pi 3, it isn’t really necessary. After doing some reading online, it doesn’t seem like I could ever get the Pi hot enough to cause performance issues. So I opted to add another vent instead. The Raspberry Pi cutout sits just above and slightly off-center from the Pi’s processor. I didn’t want to damage the integrity of the original design, and to be honest I prefer how this looks.
Happy printing!
Print Settings
Rafts:
No Supports:
No Resolution:
.2 Infill:
20 Notes:
Printed in PLA
205 print temp
70 bed temp
Post-Printing
There are 4 holes that run from the bottom of the case almost to the top.
I stuck in pieces of 1.75 mm filament and broke them off and then extruded extra filament into the holes and smoothed it with my fingers.
It won’t create an unbreakable seal, but it will allow you to pick up the case without it falling apart.
Painted with acrylic paint.
(Not to perfect color/paint area specifications for you nit-pickers out there) -
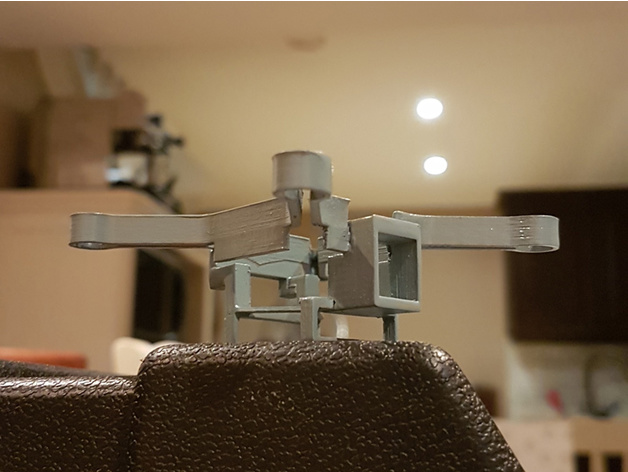
XL-RCM 10.0 PIXXY: Pocket drone / FPV quad Remix 3D Print Model
Summary
I chopped up the original model to print with no supports but some glue, a little sanding and patience are required. PLA
Print Settings
Printer:
Deegreen Rafts:
No Supports:
No Resolution:
100 μm Infill:
30% Notes:
I chopped up the original model to print with no supports but some glue, a little sanding and patience are required. PLA -
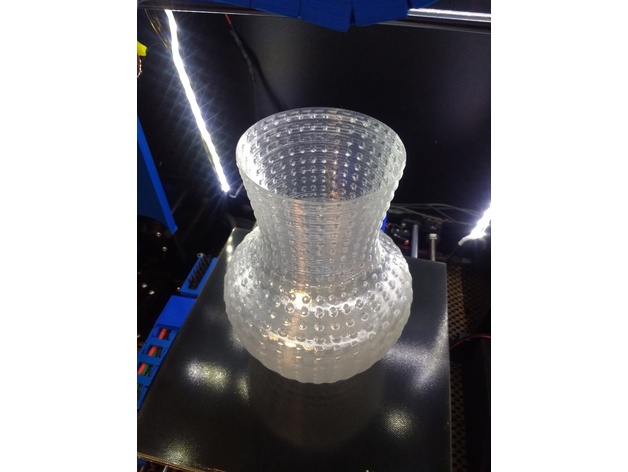
Bump Vase – Solid Remix (Lower Poly) 3D Print Model
Summary
Made it solid to accommodate printing in vase mode.
Also made it a lower poly version.
I printed with a0.6mm nozzle @ 0.35mm layers, using transparent PLA @ 210° & 80mm/s
Took 2hr7m in vase mode. -
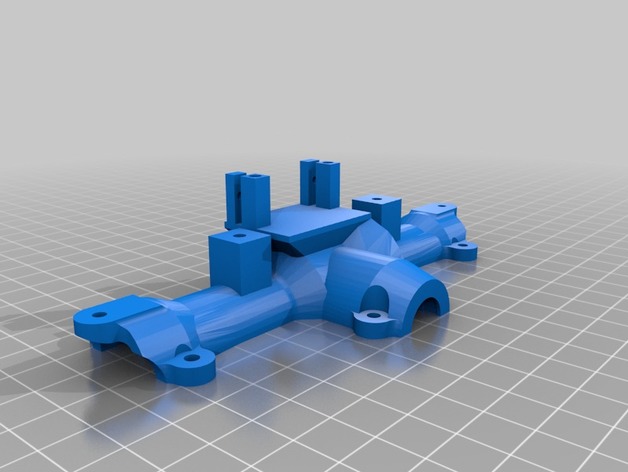
remix of MrCrankyface by Flyon20s axles middle axles with servo mounts 3D Print Model
Summary
I wanted to build an 8×8 Hemmt. I am new to 3d design so I didn’t want to get into designing gears so I found the mid axles and adapted them for leaf springs and made them longer because my vehicle is wide. I did not have room to put my servos on the frame so I added a mounting plate on the tops. they need tweaking because my turning radius is horrible. I was going to wait till got it working perfect. I will be posting the Hemmt frame and body soon.
Print Settings
Printer:
anet A8 Rafts:
No Supports:
No Resolution:
.02 Infill:
20% Notes:
I printed the half shafts at 100% just for extra strength might not be needed. -
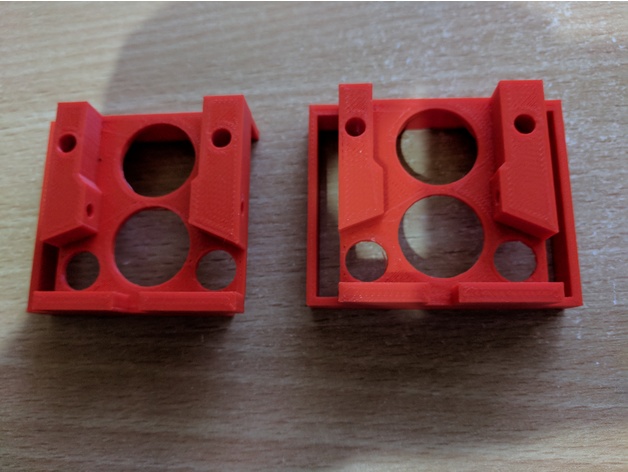
Remix Creality CR-10 Bed Leveling Indicator V3 3D Print Model
Summary
remix of CallJoe’s Creality CR-10 Bed Leveling Indicator V2 as it would not go over my air cooling exhaust.
Print Settings
Printer Brand:
FlashForge Printer:
Creator Pro Rafts:
No Supports:
Yes Resolution:
0.18 Infill:
20% Notes:
I added some extra manual supports in S3D to make sure I had no issues and printed on my FFCP as I’m still working out the bed leveling on the CR-10 and my gauge hasn’t arrived yet 🙂
How I Designed This
just used Tinkercad to remove the right hand side -
Gadget Wall Mount 3mm Remix 3D Print Model
Summary
Original Credit to PrintTo3D’s Gadget Wall Mount found here: https://www.thingiverse.com/thing:4738
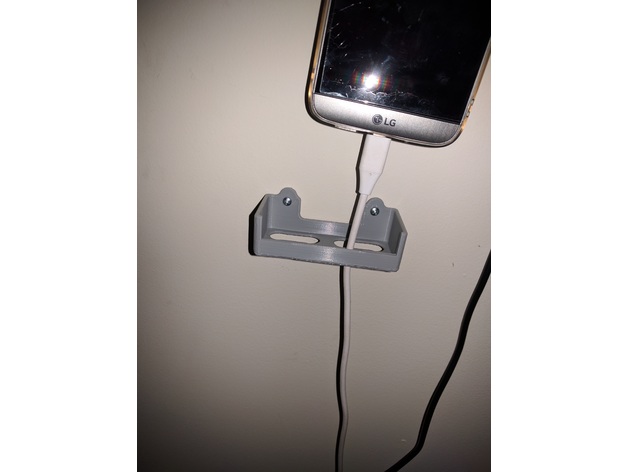
I did printed off his original thing but it ended up breaking on me due to the holes being to small for the screws I was using while I was trying to drill them out to make them bigger. I also created bigger openings on the bottom so I could fit my usb-c charger to my phone while it sat in the holder.
Remixed to make the holes a little bigger to 3mm, dropped the holes down a little bit from the top for more stability, and I ended up cutting off the diagonal front in case someone wants it and doesn’t have a long screwdriver, as it accomodates shorter fatter ones vs precision screw drivers.
Print Settings
Printer:
Maker Select v2.1 Rafts:
Doesn’t Matter Supports:
No Resolution:
.1 Infill:
100 Notes:
I suggest 100% infill. -
hypercube XY_Joiner remix (wider place for bearings) 3D Print Model
Summary
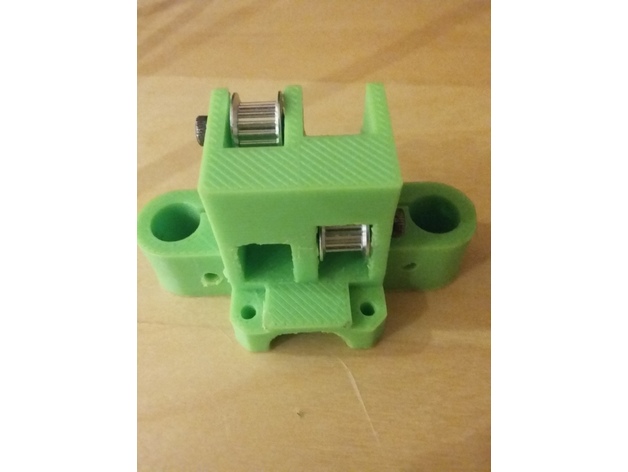
This is my modified version of the XY joiner in the hypercube 3d printer. The width of where you would usually put 2 flange bearings is slightly wider to accommodate toothed pulleys with an outer width of 8.6mm. see pictures for details.
Please note that the clamp peice needs to be from this page. the clamp from tech2c’s hypercube will not line up with the screws of this XY Joiner. -
Remix of efpi’s Headphone Monitor Hanger 3D Print Model
Summary
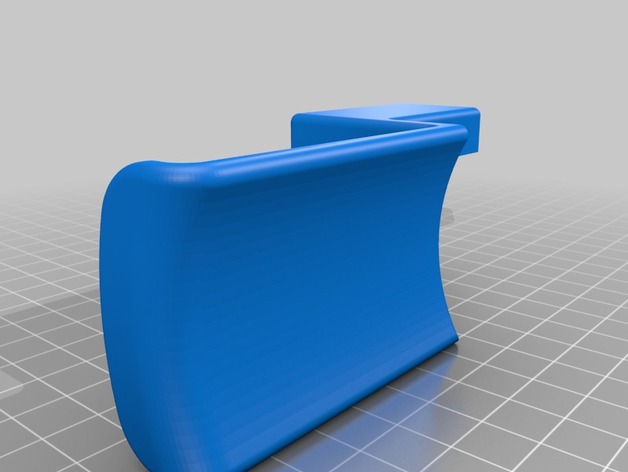
I loved efpi’s original design. I remodeled it with a longer extension to hold my Tenqa REMXD Wireless Bluetooth Headphones so they hang straight down, away from the monitor. I also gave the hanger a curved surface. I then created a mirrored design for my second monitor to hold my hands-free telephone headset. The second monitor is not the same brand, so I adjusted the clip slightly. I kept the headphone rest portion the same, in case I want to swap them.
Unfortunately, photography is not allowed inside the office, otherwise I would post a photo of hangers in action.
On Monday, I’ll check the model numbers of the monitors and post.
How I Designed This
Pro/ENGINEER Wildfire 4.0 -
Customizable Remix of DJI Spark Floats Water Landing Gears 3D Print Model
Summary
Remix of the floats by “modelsport”. This version has the complete floating gear in one piece – no gluing required. Each gear weights ~30g, so the four add ~120g to the Sparks weight of ~300g.
Attention: With these floats, the Spark neither swims nor flys well! Please watch the video at https://youtu.be/lQo1Fi36_p4 to see what I mean. Maybe with a later firmware update, the copter gets more stable for such kinds of extra weight, but for now…
Useful ball radius values are between 32mm (-> 550g) and 40mm (-> >1kg). Anything below 32mm has a big risk of the Spark touching water during landing.
You may customize the following values:
numFloats – the number of gears to render
ballRadius – a value between 32 and 40
armRadius – the radius of the arm between the motor cover and the ball.
Use rafts to achieve strong contact to the build plate. Paint the balls with coat after printing for better durability. Use the “PaintSupport” model to print a support plate for painting the gears.
Print Settings
Printer Brand:
Wanhao Printer:
Wanhao Duplicator i3 Plus Rafts:
Yes Supports:
No -
Honda motorcycle keychain (a remix) 3D Print Model
Summary
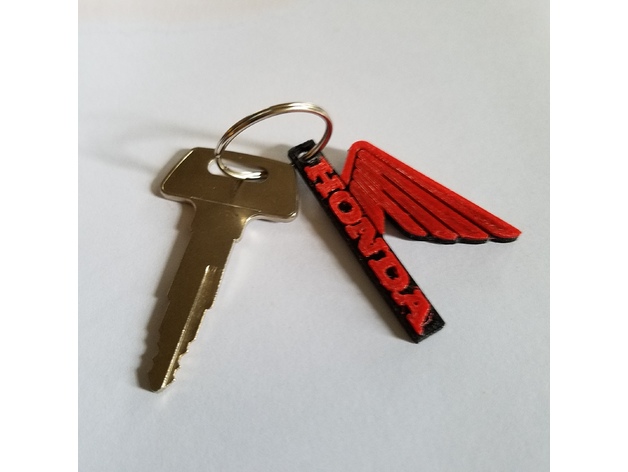
I scaled it down to be 50mm long and added a solid backing between the wings so I could do a filament color switch. Printed using TPU.
First I created a 2D outline using the following command in OpenSCAD:
projection(cut=false) import_stl(“/full/path/to/stl”);
and exported a DXF.
Then I imported the DXF into Onshape to remove the gaps between the wings and extrude it a few mm, then exported that as STL.
Then I imported both into Tinkercad to merge the STLs together:https://www.tinkercad.com/things/7UjYYDNdtQZ-honda-keychain
Thanks for the original design! -
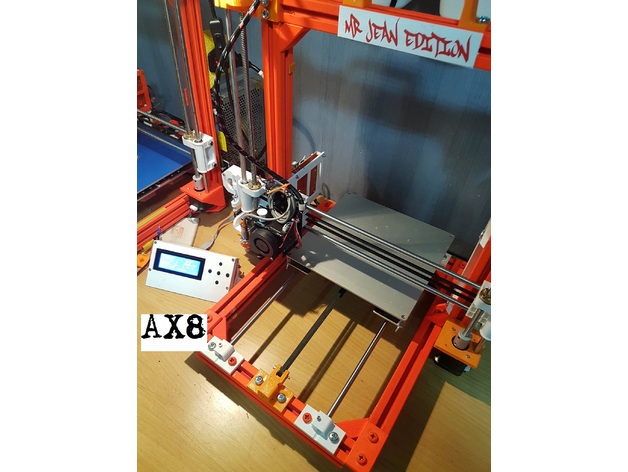
AX8 Anet a8 frame ( AM8 remix ) 3D Print Model
Summary
Just a 3030 anet a8 🙂 , is a AM8 remix so all credit go:
To pheneeny for https://www.thingiverse.com/thing:2263216 ( many parts )
To EclipseDS for https://www.thingiverse.com/thing:2374402 ( Z rod )
to Leo_N for https://www.thingiverse.com/thing:2360242/#files ( fan and sensor )
to jbrandonferg for https://www.thingiverse.com/thing:2127743/#files ( x belt tentions)
to GaryK47 for https://www.thingiverse.com/thing:2367376/#files ( cable holder )
to runtimejack for https://www.thingiverse.com/thing:2380794 ( psu mount )
LCD mount u get here https://www.thingiverse.com/thing:2005640
like i said before , i remixed somes parts and adapted them to 3030 , works perfekt , i just use screws from local store , m6 10 and m6 nuts , printed brackets and works like a dream, i used to put a screwdeiver on the side of the nut when i screw it , i dindt buy any special screw/nuts , i am not pro on this so please if u can make some upgrades just do it <3
Thx
Mr Jean
Print Settings
Rafts:
Doesn’t Matter Supports:
Doesn’t Matter -
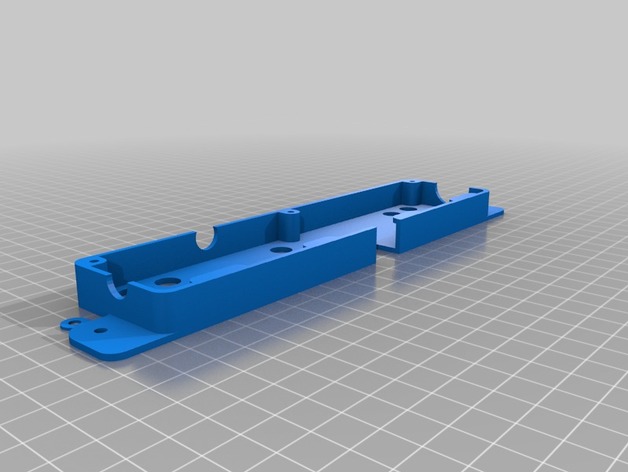
Monoprice (slight remix) Maker Select V2 Rear Cable Conduit 3D Print Model
Summary
This is the same as the version posted by inches, but I added a small name plate and changed the Wanhao lettering to the Monoprice logo on the cover plate. the base is exactly the same file, i just added it here so people wouldn’t have to pull from both thing files. Now those of us with the monoprice clone can accessorize in style. -
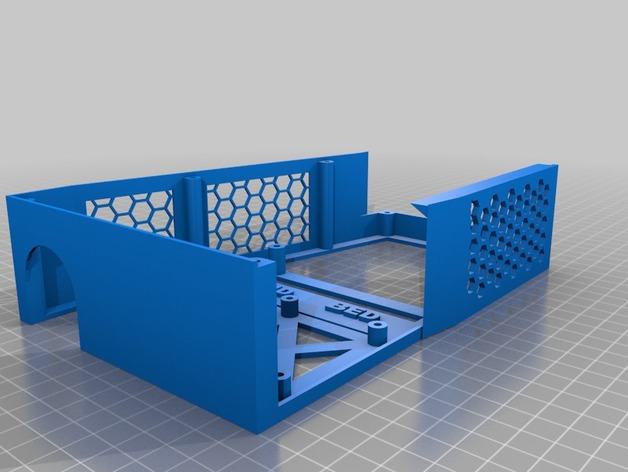
Prefect case for Anet A8 Remix 3D Print Model
Summary
So, I really liked this case but it did not fit my setup because i have the “Hulk” Frame Brace for the Anet A8. This original case had a little overhang that rested on top of the left back support. So i modified this case to remove the “lip” so it would fit my setup. I also added a name tag bar just above the mofset’s mount, labeled: bed , and hotend. -
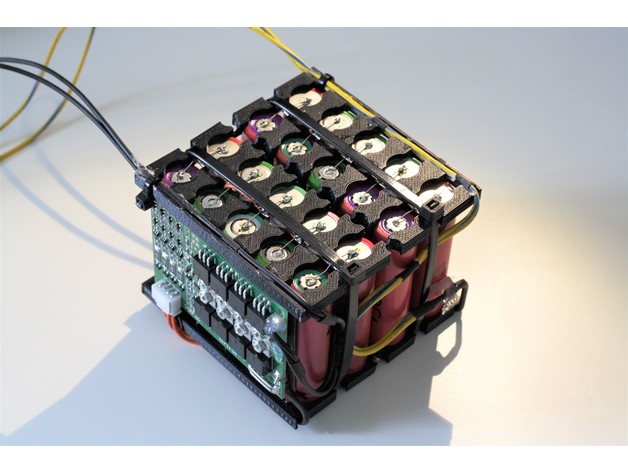
18650 holder 4 bank 5 cells remix PowerPlayground 3D Print Model
Summary
It’s a remix for a powerbank, with 4 bank 5 cells
Print Settings
Printer:
Dagoma Discovery 200 Rafts:
No Supports:
No Resolution:
0.15mm Infill:
33% -
Blank Universal tool mount for MPCNC 525 remix by Brink 3D Print Model
Summary
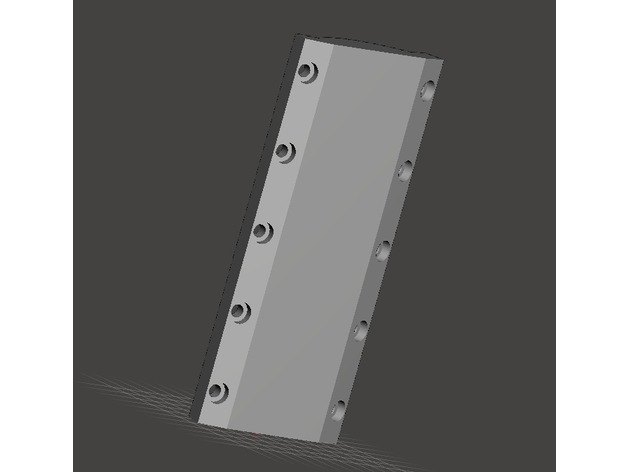
I mixed in and printed wbarber69’s in a tool mount I was working on before I realized that the shoulder on the insides of the holes were very thin. My tool was substantial and I feared that it would rip those thin shoulders right out of the back of the mount plate. I ended up using washers on mine that made the screws grab the front of the hole. I thought though that I would beef up the thickness of the shoulders since it was easy for me to do so and my help someone else who wished to use wbarber69’s design in their project.
This is the same as wbarber69’s mount except for thicker shoulders inside the mount holes. The screw heads wont go as deep and there is more “meat” for the screw to grab hold of.
Includes only stl file. -
KLAMP – IKEA lamp hot air gun holder remix (print in place) 3D Print Model
Summary
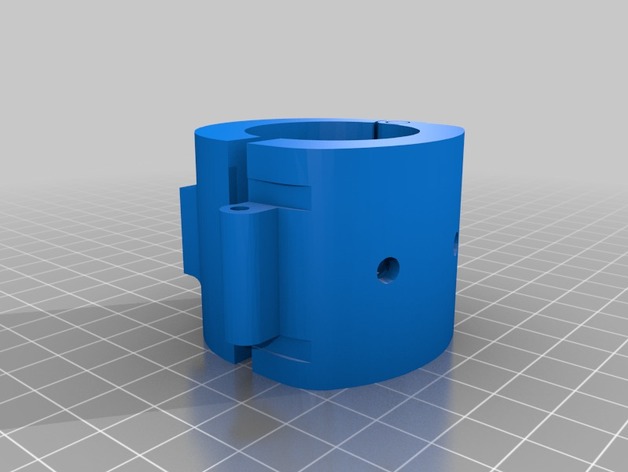
Saw a design flaw in the original…how are you going to get the clamp pieces together if the rod is already there…only thing I could think of to fix was put them together in tinkercad for a print in place solution…haven’t tested it yet…but it should work..hopefully.
You will need the other KLAMP parts from the original -
Butter Robot remix parts 3D Print Model
Summary
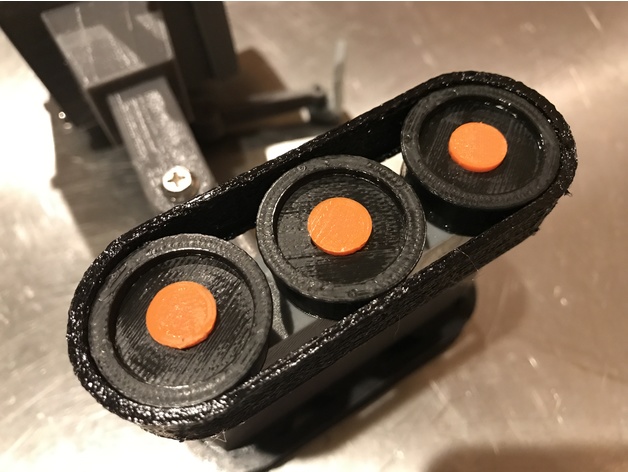
I liked the files jimbone provided but wanted a more screen accurate model. still not perfect, but simple Tinkercad created a few modifications. Lens is in three parts. outer printed in grey, mid printed in black and inner printed in light blue. also made some caps, that need to be glued (not press-on) for the orange part.
Print Settings
Printer Brand:
Robo 3D Printer:
R1 ABS + PLA Model Rafts:
No Supports:
No Resolution:
.2 -
Anet A8 Remix of Extruder Fan Mod V2 by hadoko 3D Print Model
Summary
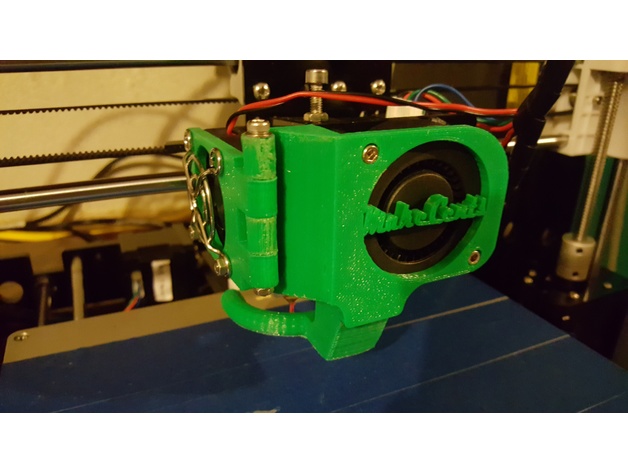
I added a slot on the bottom of the front of the front mount, and a tab on the half moon shape fan nozzle to hold it in place.
Print Settings
Printer:
Anet A8 Rafts:
No Supports:
Yes Resolution:
.2 Infill:
10 Notes:
Check out his original mod for instructions. Hardest part is drilling to flush mount the screws.https://www.thingiverse.com/thing:2290361
I added my logo to the front of mine, but the files uploaded I removed it. -
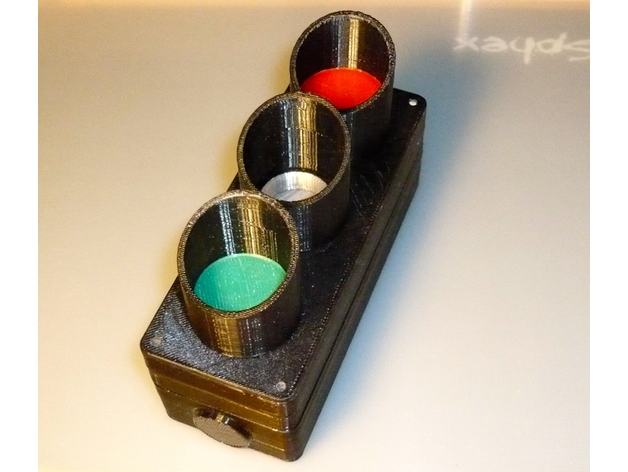
Mini Stoplight by Montiey remix 3D Print Model
Summary
This is a remix of Montiey stoplight.
Since his design makes solid rather complex parts I have split the toppart into pieces and printed them separately.
The sun shilds are inserted from the front and glued together with the case and the neutral white inserts.
Have removed the switch hole,
added mountholes with captured nuts to the backside plate and
added a cable go through at the bottom of the thick back part.
It has the same “Stopfen” that I have made for my Notausschalter-case:https://www.thingiverse.com/thing:2412076
Made a thin and a thick LED mountplate separately, can be adopted easily to LED that has other shapes.
Have the case in two versions:
fat thing that can hold the elctronics and a battery as well
the flat has the LED’s only.
I hate making things for a very special purpose only.
Thats why I have made a series of parts that can be used for other purpose than bringing LED to live.
I.e. make a case for push switches, put them to the CNC mill,…
So, an even more fat thing can be put together by stacking up
the thin parts and or an intermediate LED frame and or a thick backpart of the case.
Not provided as of now publicly. Please ask if you need them.
The depicted red and green inserts can be removed if the LED are not bright enough.
Otherwise a coloured transparent thin foil can be added inside the housing.
Hint:
Germans ask the local hobby store for Windradfolie.
They can be had in many colours.
Take that if you have no other than black filament by hand , he 😉 -
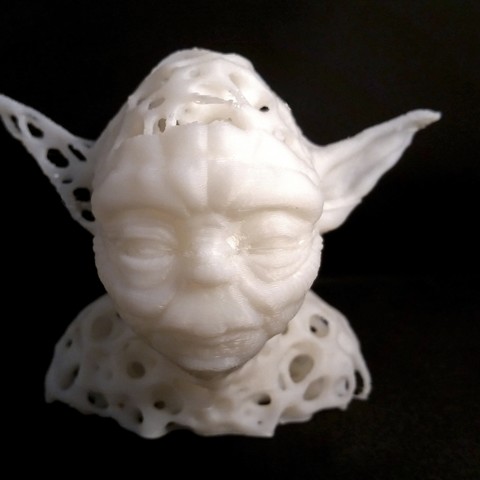
Mashup-Yoda 3D Print Model
Mashup-Yoda is the second design in my series of mashups – a creative combination of 2 designs on Thingiverse:
-
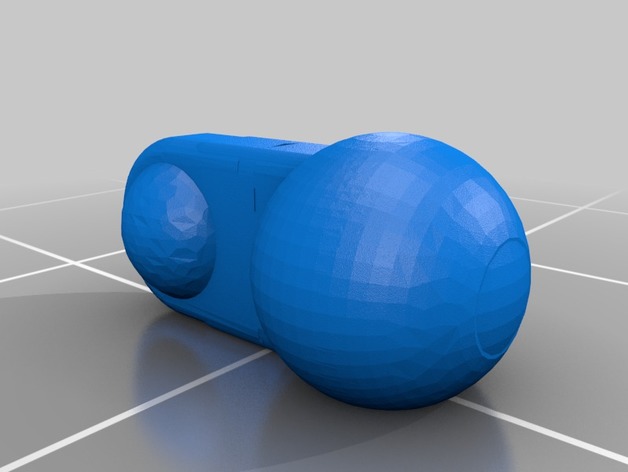
Transformers CW Posable Hands 2.0 Knuckles (remix) 3D Print Model
Summary
This is a simple remix to re-orient the ball-joint version of the first knuckle on the fingers and thumbs of the Combiner Wars hands made by Sickofyou. The vertical orientation led to parts that would sheer off and cause breakage, while laying them vertically should produce greater durability and the ability to handle a little more force applied.
I used Tinkercad to orient the parts, move the flat spot of the ball joints to the side it rests on, and reinforce the issues with the mesh caused by importing it into Tinkercad. Print with the same settings you would use for the originals! -
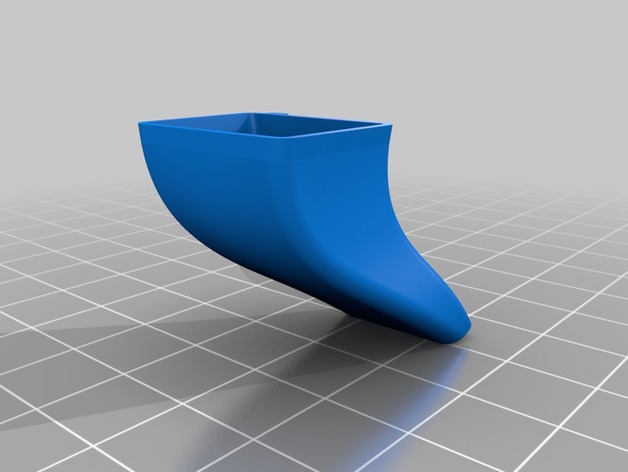
Fan ducts remix – Flsun cube printer 3D Print Model
Summary
Another crudely remixed file.These are the fan ducts I’m using for the Flsun Cube printer. Hopefully this helps someone else out.
The ducts work with this fan mount https://www.thingiverse.com/thing:2358917 -
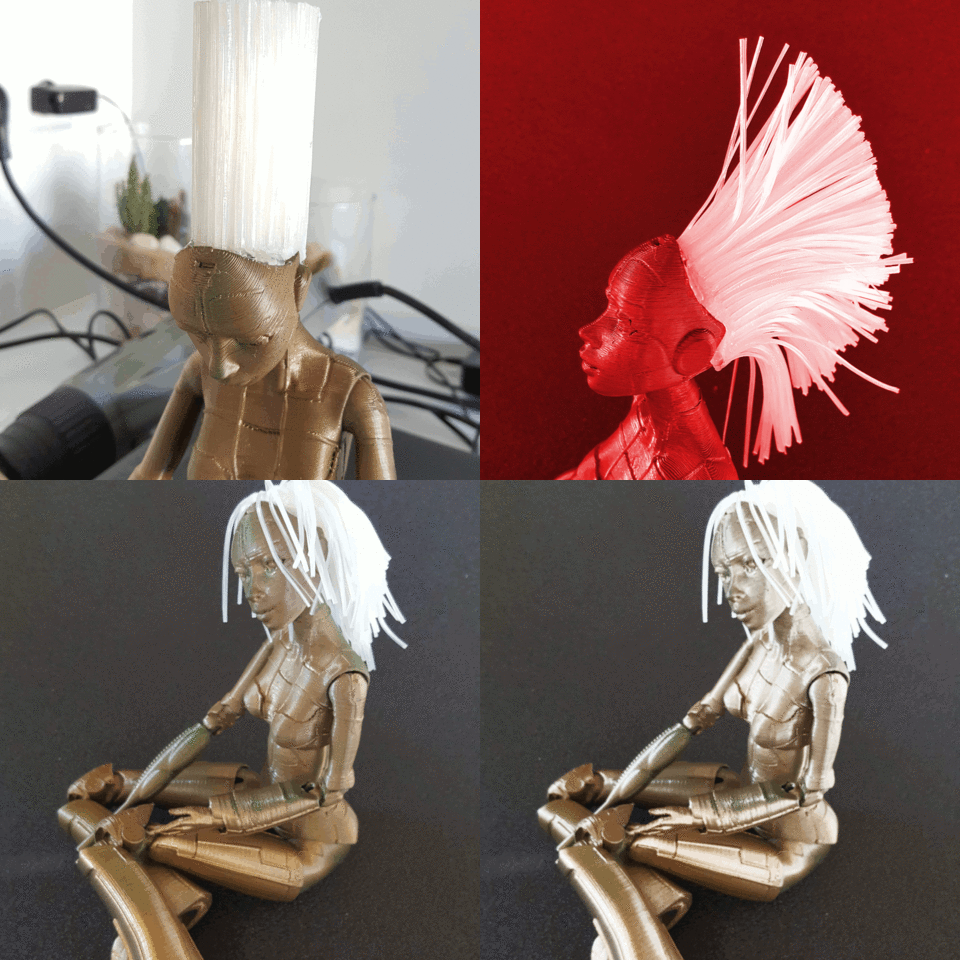
HAIRY ROBOTICA (REMIX) 3D Print Model
WITH PLA (GLOW IN THE DARK) OR NINJAFLEX (BLACK)
HAIR DREAD STYLE TO GLUE ON -
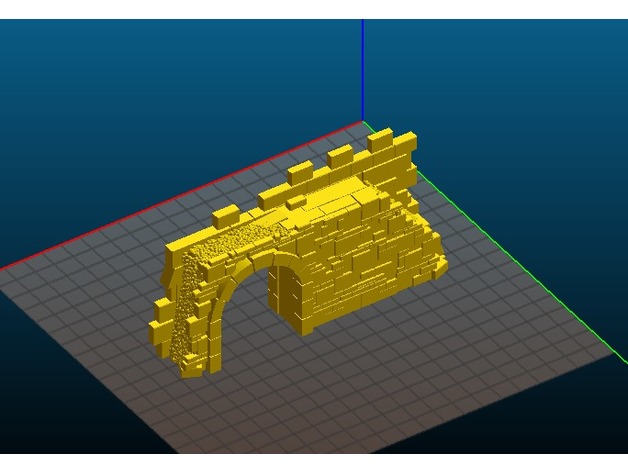
Roman Archway – REMIX – Miniature Terrain 3D Print Model
Summary
I really like a lot of Earsling’s work, but I especially liked the Roman Archway. I wanted more compatible pieces to go with it, so I made these.
I used Meshmixer to mirror the original piece. I used Netfabb Basic to cut the parts and XYZWare to rejoin them. I stretched the corner halves to make the second corner piece.
I’ll post prints as I get them done, but most show 7-8hrs to complete.
They all need supports. -
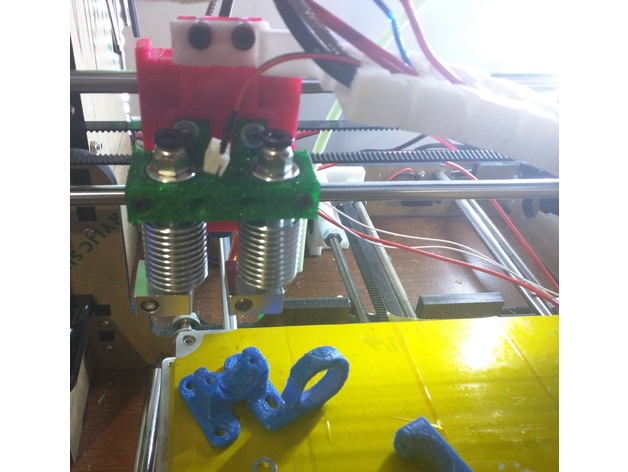
Prusa i3 Remix Multi-Hotend Mount 3D Print Model
Summary
I liked aaroncm’s minimal/simple hotend mount, I had been using it for a while.
But I want to use two hotends on it, so I measured the original model and got it close to the original in OpenSCAD.
Everything is square in my scad because I don’t know how to make rounded shapes that won’t deform their original size in OpenSCAD.
I designed this so the values are all in variables that someone can change.
There is also a setting to specify how many hotends you want. I only needed two, but it works past 10… I have no limit on it.
If there is any suggestions, or ways I can improve my program, please let me know. I’m a fluent programmer, but I’m a novice with OpenSCAD still.
I did not design this with a proximity sensor mount because I am using a modified rear one that attaches to the back of the i3 remix carriage. -
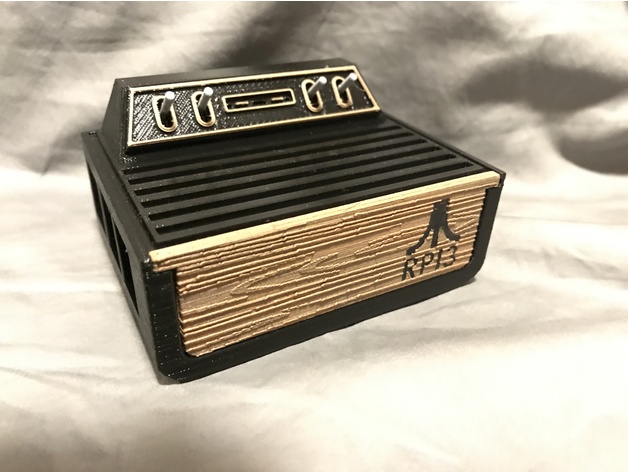
REMIX RPI3 2600 WOODGRAIN (Raspberry Pi 3 Atari 2600 Case) 3D Print Model
Summary
Had to make the bad ass design from Haunt Freaks https://www.thingiverse.com/thing:2269086
Even more bad ass by added a woodgrain front plate for a more Authentic look
Print Settings
Printer:
DREMEL Rafts:
No Supports:
Doesn’t Matter Resolution:
.15mm Infill:
15% Notes:
Print the Front piece vertical for best result i used matchbox wood fill so i could stain to a color of my choice. -
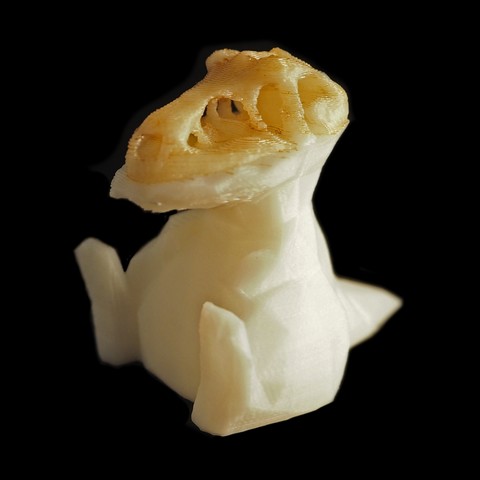
Mashup-Rex 3D Print Model
This design is a mashup of 2 other files. I have written a full tutorial, including a video, showing how easy it is to mashup 2 or more designs using Autodesk Meshmixer. Just check out the post on my blog for details https://edditiveblog.wordpress.com/2017/05/14/the-meshmixer-mashup-mashup-rex/
-
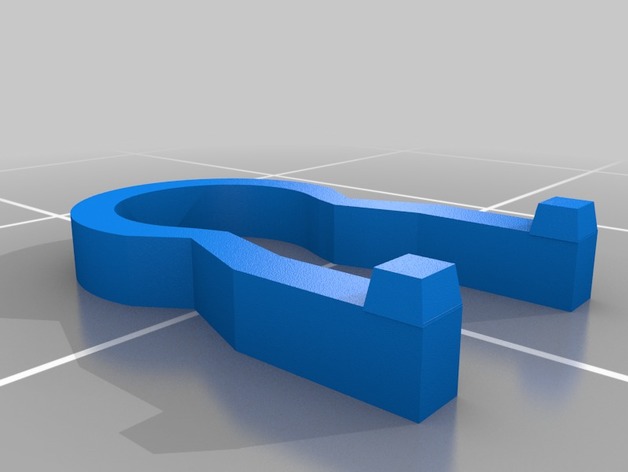
2017 remix of baloon turbine by petropixel 3D Print Model
Summary
Converting the original design to smoother faces to see if it will run smoother. Used Freecad an imported the original stl and recreated using basic geometric shapes and a couple of sketches. I am attempting to print this as this is being published. Will update with info as soon as I have tried it. -
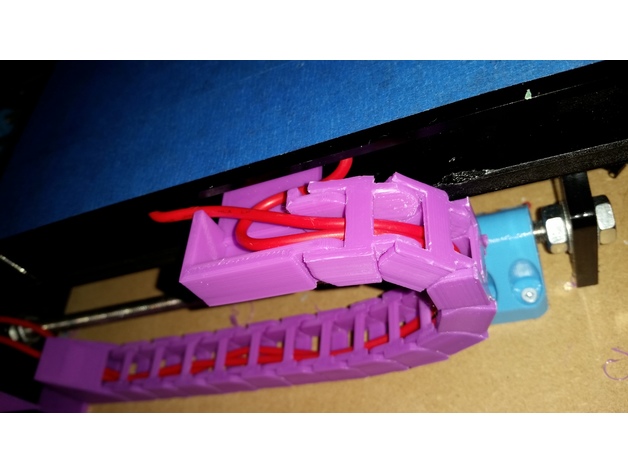
TronXY P802E Y-Axis Cable Chain Remix 3D Print Model
Summary
I saw a number of chains for various frames for the TronXYs but none that fit for the P802E specifically. After printing a couple that didn’t quite fit properly, i ended up remixing the designs of two other chains. This fits properly and doesn’t fray your bed cable.
Print Settings
Printer:
TronXY P802E Rafts:
No Supports:
No Resolution:
0.2 Infill:
30% -
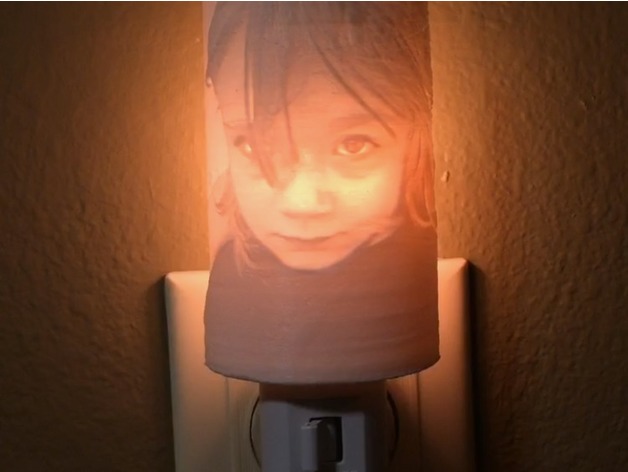
Lithophane Night Light adapter (remix)
Summary
This is a slight remix of poor_red_neck’s Lithophane Night Light adapter. I used his guide to create mine. I used all of the same settings as him, except in the model settings on http://3dp.rocks/lithophane/ I set the curve to 160. This makes the lithophane wrap around the light more.
I remixed his adapter, adding more curve to fit the new shape of the lithophane as well as adding a bit of support to the wings that slide around the light.