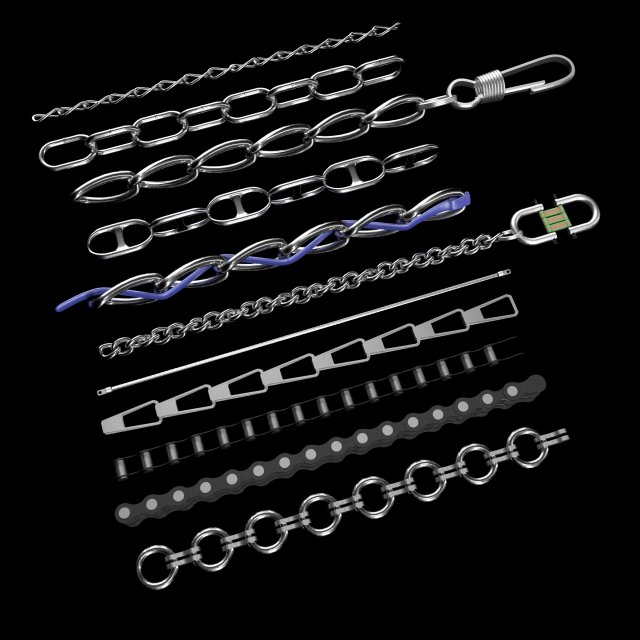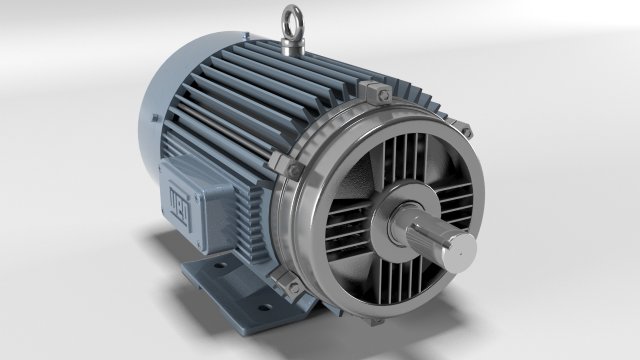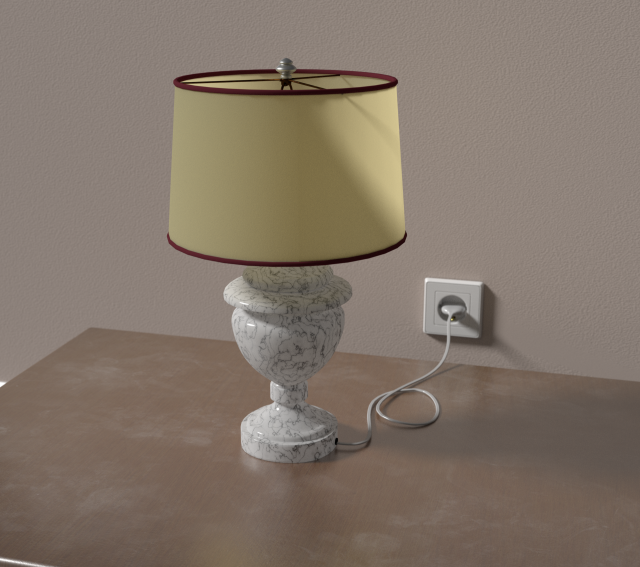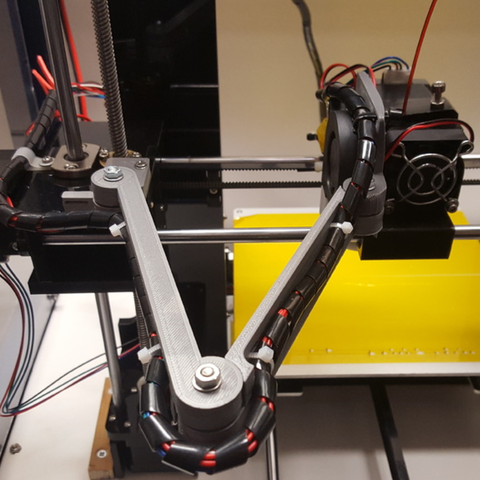
Additional Info: Cord electric 2 – 3D model (*.gsm+*.3ds) for interior 3d visualization.
Tag: cable
-
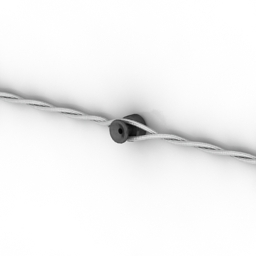
Cord 3D Model
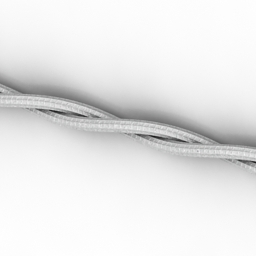
Additional Info: Cord electric 1 – 3D model (*.gsm+*.3ds) for interior 3d visualization.
-
Cross the rope 3D Model
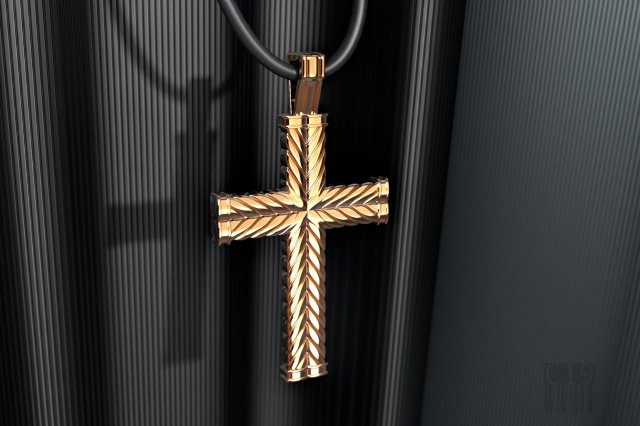
jewelry Golden cross the rope 3d stl obj fileModels for printing to use for production, for casting and machining.The STL model is ready for prototyping on CNC and 3D printingHigh quality modelweight of gold 29,400 gramsweight in silver 19,800 grams of gold
-
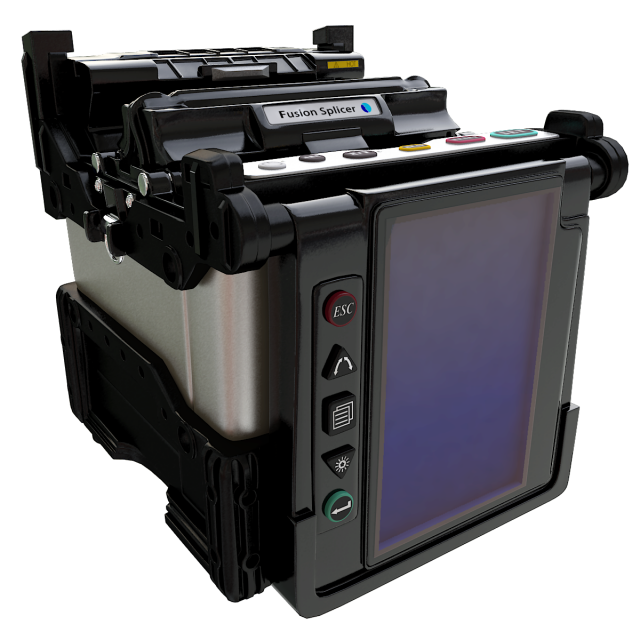
Fusion Splicer 3D Model
Model Features1. High quality cleaned up Polygon model2. Proportionately scaled representation of original objects3. Mesh smooth function can be used to increase mesh resolution4. Model complete with Materials and Textures5. All colours and textures can be modified6. Materials included7. Originally modelled in Maya 20118. Model parts grouped for easy selection9. Properly named model parts for importing and scene management10. Can be directly opened in Maya softwareModel Specifications1. Vertex Count: 9829022. Polygon Count: 1959942Available File Formats1. .Mb2. .OBJ3. .FBXAvailable Texture Formats1. .PNG (1200 X 1200)2. .JPG (3072 X 3072)
-
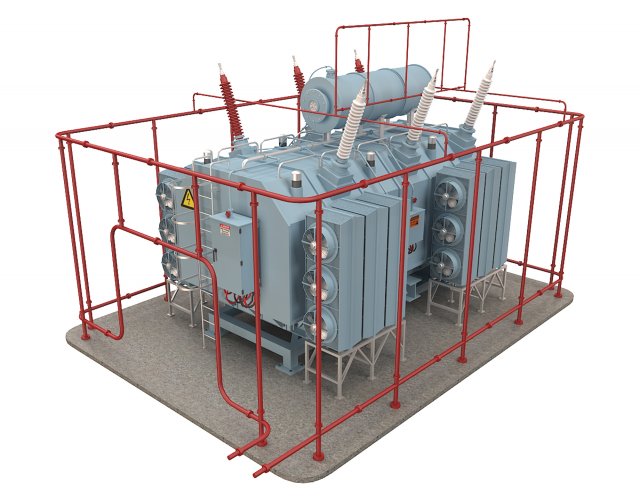
Electrical Transformer5 3D Model
ABOUT MODEL:-* This is a Realistic 3d model with Texture.* Ready to drop into any scene or be used as a stand-alone prop.* Real world scale and exact proportions.* Excellent polygon efficiency.* The model has a different topology and realistic textures. The model is perfect for you for a variety of purposes.* Model is suitable for use in games.* Model have only basic wall (no interior wall)MATERIAL & TEXTURE:-* All materials in Multi Sub-Object.* Material and Texture setup is included only in MAX FORMAT (vray and scanline version).* UVW Mapping are applied.* All textures are in defuse map.* Textures can be easily repaint.LIGHTING:-* Studio setup is not included.FILE FORMAT:-* 3DS* FBX* OBJ* Blender 2.79* Cinema4d R11* Maya 2010* MAX (Vray Version)* MAX (Standard Version)* Native file is 3ds Max 2009(max)* Other formats were converted from the MAX file.OBJECTS:-* Same material objects are attached for easy selection.* All objects are unique named.WARNING:-Depending on which software package you are using.The exchange formats(obj, 3ds and fbx) may not match the priview images exactly.Due to the nature of these formats, there may be some textures that have to beloaded by hand and possively triangulated geomatry.Thank you for your interest in this model.
-
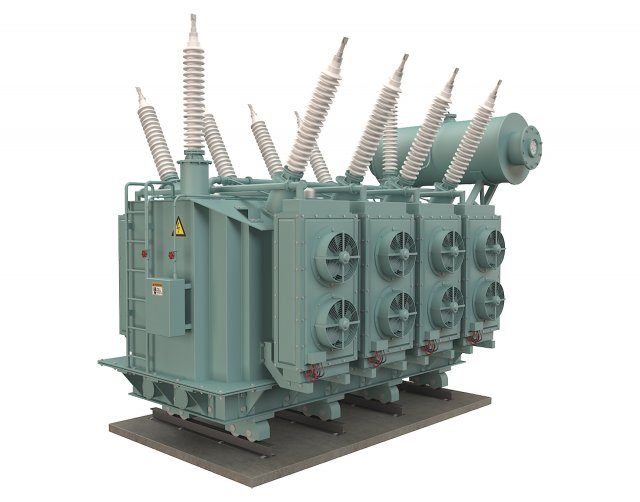
Electrical Transformer4 3D Model
ABOUT MODEL:-* This is a Realistic 3d model with Texture.* Ready to drop into any scene or be used as a stand-alone prop.* Real world scale and exact proportions.* Excellent polygon efficiency.* The model has a different topology and realistic textures. The model is perfect for you for a variety of purposes.* Model is suitable for use in games.* Model have only basic wall (no interior wall)MATERIAL & TEXTURE:-* All materials in Multi Sub-Object.* Material and Texture setup is included only in MAX FORMAT (vray and scanline version).* UVW Mapping are applied.* All textures are in defuse map.* Textures can be easily repaint.LIGHTING:-* Studio setup is not included.FILE FORMAT:-* 3DS* FBX* OBJ* Blender 2.79* Cinema4d R11* Maya 2010* MAX (Vray Version)* MAX (Standard Version)* Native file is 3ds Max 2009(max)* Other formats were converted from the MAX file.OBJECTS:-* Same material objects are attached for easy selection.* All objects are unique named.WARNING:-Depending on which software package you are using.The exchange formats(obj, 3ds and fbx) may not match the priview images exactly.Due to the nature of these formats, there may be some textures that have to beloaded by hand and possively triangulated geomatry.Thank you for your interest in this model.
-
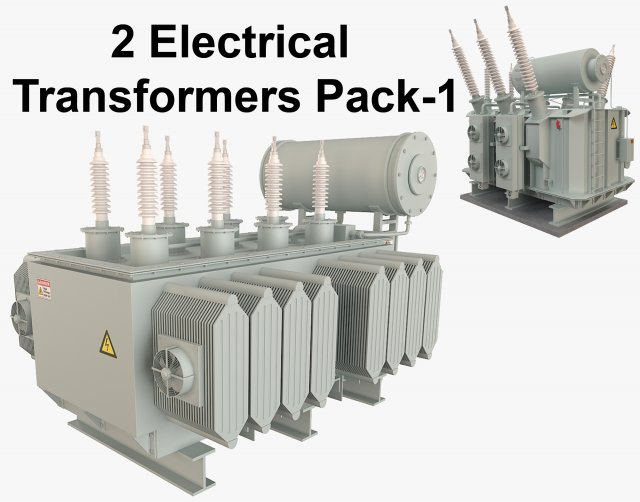
2 Electrical Transformers Pack1 3D Model
ABOUT MODEL:-* This is a Realistic 3d model collection with Textures.* Ready to drop into any scene or be used as a stand-alone prop.* Real world scale and exact proportions.* Excellent polygon efficiency.* The model has a different topology and realistic textures. The model is perfect for you for a variety of purposes.* Model is suitable for use in games.* Model have only basic wall (no interior wall)MATERIAL & TEXTURE:-* All materials in Multi Sub-Object.* Material and Texture setup is included only in MAX FORMAT (vray and scanline version).* UVW Mapping are applied.* All textures are in defuse map.* Textures can be easily repaint.LIGHTING:-* Studio setup is not included.FILE FORMAT:-* 3DS* FBX* OBJ* Blender 2.79* Cinema4d R11* Maya 2010* MAX (Vray Version)* MAX (Standard Version)* Native file is 3ds Max 2009(max)* Other formats were converted from the MAX file.OBJECTS:-* Same material objects are attached for easy selection.* All objects are unique named.WARNING:-Depending on which software package you are using.The exchange formats(obj, 3ds and fbx) may not match the priview images exactly.Due to the nature of these formats, there may be some textures that have to beloaded by hand and possively triangulated geomatry.Thank you for your interest in this model.
-
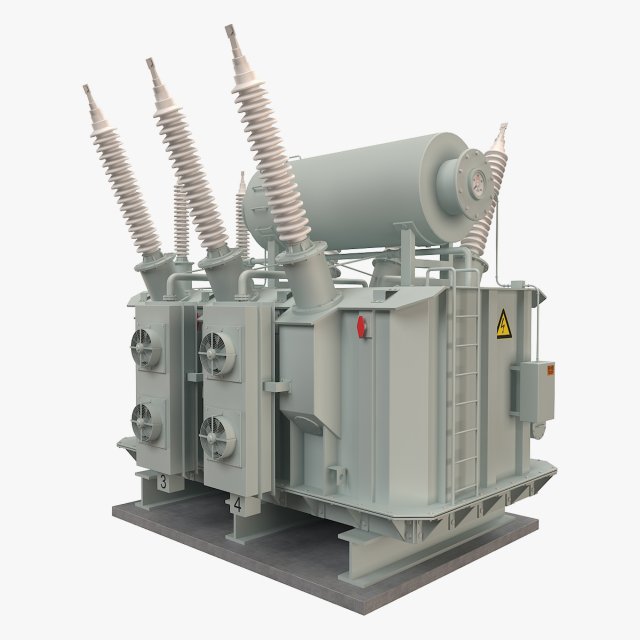
Electrical Transformer2 3D Model
ABOUT MODEL:-* This is a Realistic 3d model with Texture.* Ready to drop into any scene or be used as a stand-alone prop.* Real world scale and exact proportions.* Excellent polygon efficiency.* The model has a different topology and realistic textures. The model is perfect for you for a variety of purposes.* Model is suitable for use in games.* Model have only basic wall (no interior wall)MATERIAL & TEXTURE:-* All materials in Multi Sub-Object.* Material and Texture setup is included only in MAX FORMAT (vray and scanline version).* UVW Mapping are applied.* All textures are in defuse map.* Textures can be easily repaint.LIGHTING:-* Studio setup is not included.FILE FORMAT:-* 3DS* FBX* OBJ* Blender 2.79* Cinema4d R11* Maya 2010* MAX (Vray Version)* MAX (Standard Version)* Native file is 3ds Max 2009(max)* Other formats were converted from the MAX file.OBJECTS:-* Same material objects are attached for easy selection.* All objects are unique named.WARNING:-Depending on which software package you are using.The exchange formats(obj, 3ds and fbx) may not match the priview images exactly.Due to the nature of these formats, there may be some textures that have to beloaded by hand and possively triangulated geomatry.Thank you for your interest in this model.
-
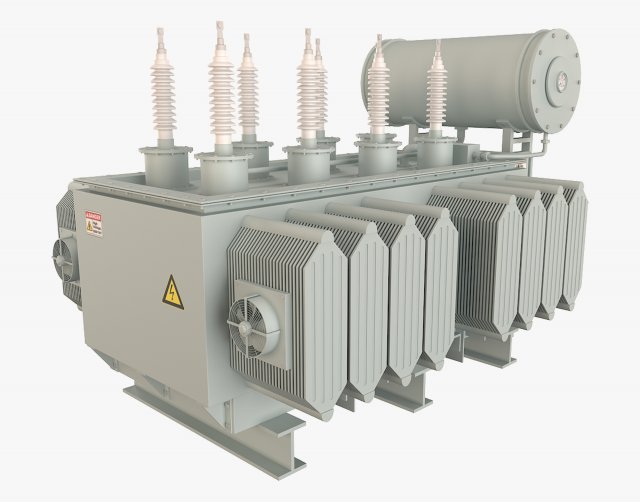
Electrical Transformer1 3D Model
ABOUT MODEL:-* This is a Realistic 3d model with Texture.* Ready to drop into any scene or be used as a stand-alone prop.* Real world scale and exact proportions.* Excellent polygon efficiency.* The model has a different topology and realistic textures. The model is perfect for you for a variety of purposes.* Model is suitable for use in games.* Model have only basic wall (no interior wall)MATERIAL & TEXTURE:-* All materials in Multi Sub-Object.* Material and Texture setup is included only in MAX FORMAT (vray and scanline version).* UVW Mapping are applied.* All textures are in defuse map.* Textures can be easily repaint.LIGHTING:-* Studio setup is not included.FILE FORMAT:-* 3DS* FBX* OBJ* Blender 2.79* Cinema4d R11* Maya 2010* MAX (Vray Version)* MAX (Standard Version)* Native file is 3ds Max 2009(max)* Other formats were converted from the MAX file.OBJECTS:-* Same material objects are attached for easy selection.* All objects are unique named.WARNING:-Depending on which software package you are using.The exchange formats(obj, 3ds and fbx) may not match the priview images exactly.Due to the nature of these formats, there may be some textures that have to beloaded by hand and possively triangulated geomatry.Thank you for your interest in this model.
-
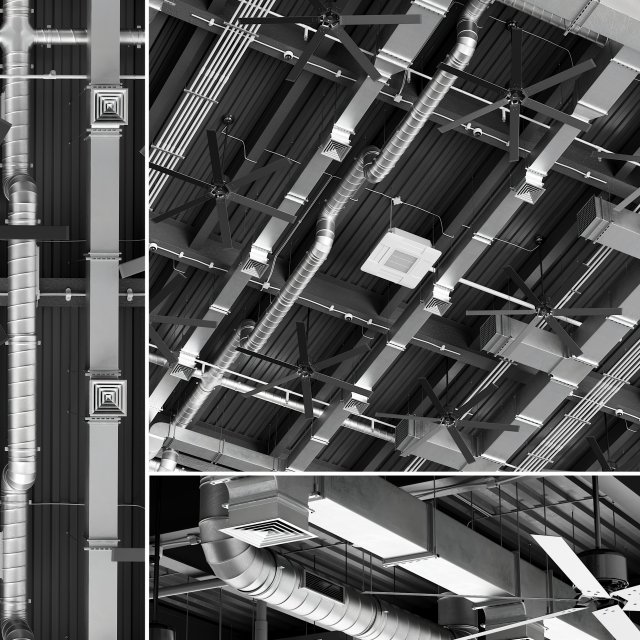
Ceiling Ventilation 4 3D Model
Realistic 3d model Ceiling Ventilation 4______________________________IMPORTANT:- Not smoothingGENERAL:- Originally created with 3ds Max 2014- Model prepared for V-Ray 3.40 and Corona render 1.7- Includes Format OBJ (not smoothed)- Includes Format FBX (not smoothed)- All objects, textures and materials have their own names- Model is built to real-world scale- Units used: mm- Scene objects are organized by groups- Doesn’t have third-party renderer or plug-ins- Doesn’t have missing DLL- Doesn’t have default names- Geometry layer – Ceiling_Ventilation_4______________________________GEOMETRY:- Polys: 947 291- Verts: 981 777______________________________FORMATS:- MAX CORONA ( 159 mb )- MAX VRAY ( 159 mb )- OBJ ( 137 mb )- FBX ( 52,6 mb )______________________________If you use V-Ray 3.0 and less, be careful,in materials in the chapter BRDF stands Microfaset GTR ( GGX ),If you yse V-Ray 3.1 and more, the field will be empty.Select Blinn, Phong or Ward.______________________________Check out our other models
-
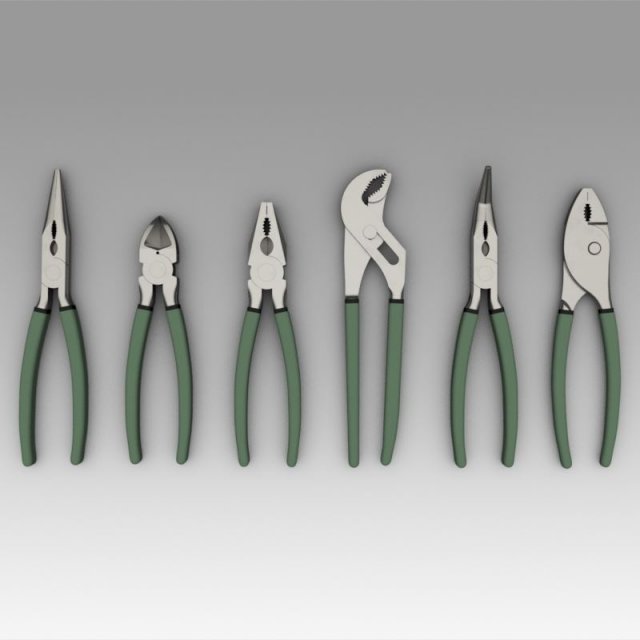
Pliers 3D Model
Pliers 3D model************************The object is modeled in the environment Autodesk Inventor 2018.To create a photo renderer, use Inventor Studio.************************The model contains the most popular formats************************The model contains the most popular formats. Each file was checked for opening and full content by the model.Thank you for coming to see this model. Also pay attention to other models by clicking on the name of the account in the right corner.
-
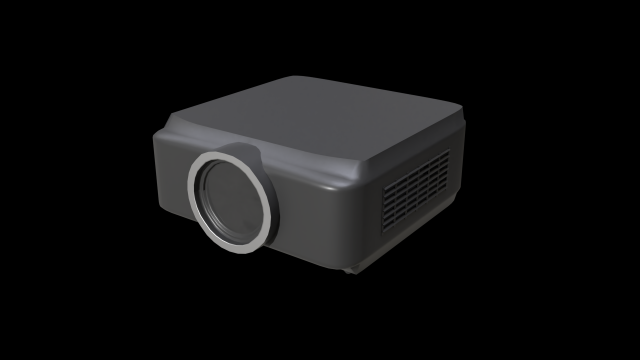
Classroom Projector 1 3D Model
School classroom projector that was created using Blender. This is the first version of two projectors that could be used in a school classroom. This model uses the metalness workflow and is PBR ready. It also has been exported in 4 file formats (FBX, OBJ, 3DS, DAE/Collada).This model can be found as part of my “School Classroom Asset Pack”.Additional Information:-Uses metalness workflow-Textures can be edited in any photo editing software-Includes 6 PBR textures 2048×2048 in PNG format-Overlapping UVMap for duplicate parts of the mesh to save texture space-Models are exported in 4 file formats (FBX, OBJ, 3DS, DAE/Collada)-Part of “School Classroom Asset Pack”Included Textures:-Projector-Diffuse-Projector-Roughness-Projector-Gloss-Projector-Metallic-Projector-AO-Projector-UVLayout
-
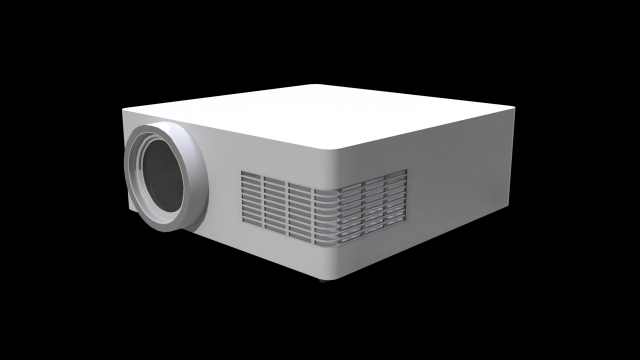
Classroom Projector 2 3D Model
School classroom projector that was created using Blender. This is the second version of two projectors that could be used in a school classroom. This model uses the metalness workflow and is PBR ready. It also has been exported in 4 file formats (FBX, OBJ, 3DS, DAE/Collada).This model can be found as part of my “School Classroom Asset Pack”.Additional Information:-Uses metalness workflow-Textures can be edited in any photo editing software-Includes 6 PBR textures 2048×2048 in PNG format-Overlapping UVMap for duplicate parts of the mesh to save texture space-Models are exported in 4 file formats (FBX, OBJ, 3DS, DAE/Collada)-Part of “School Classroom Asset Pack”Included Textures:-Projector-Diffuse-Projector-Roughness-Projector-Gloss-Projector-Metallic-Projector-AO-Projector-UVLayout
-
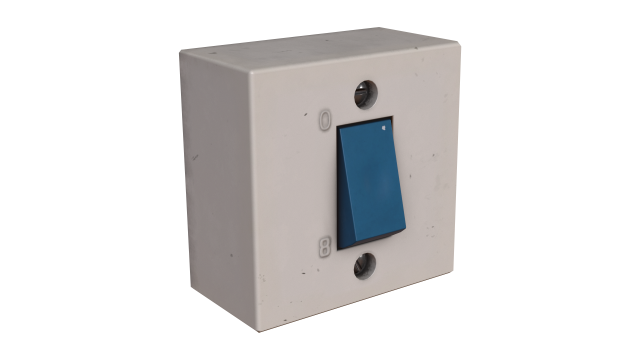
Old Switch 3D Model
This is a model of an Old Switch- There are no unused vertexes and polygons- This model is low-poly and has PBR textures, so you can use it in real-time renders- This model contains 1 separate objects- No Photoshop or compositing used, product is ready to render out-of-the-box- All textures and materials are included- You can edit textures if you have Substance Painter 2 (The project is included)Textures:- Switch – 4096×4096, . png (Diffuse, BaseColor, Normal, Specular, Glossiness, Roughness, Metallic, AO)
-
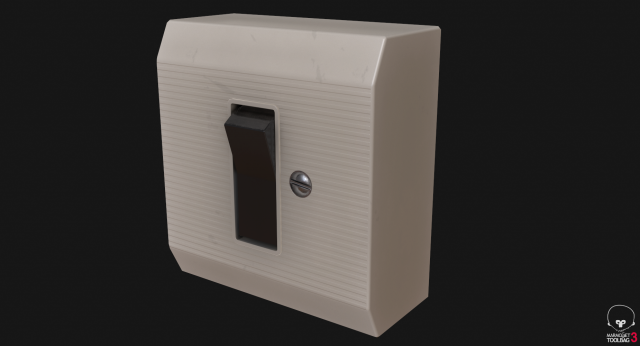
Old Switch 3D Model
This is a model of an Old Switch- There are no unused vertexes and polygons- This model is low-poly and has PBR textures, so you can use it in real-time renders- This model contains 1 separate objects- No Photoshop or compositing used, product is ready to render out-of-the-box- All textures and materials are included- You can edit textures if you have Substance Painter 2 (The project is included)Textures:- Switch – 4096×4096, . png (Diffuse, BaseColor, Normal, Specular, Glossiness, Roughness, Metallic, AO)
-
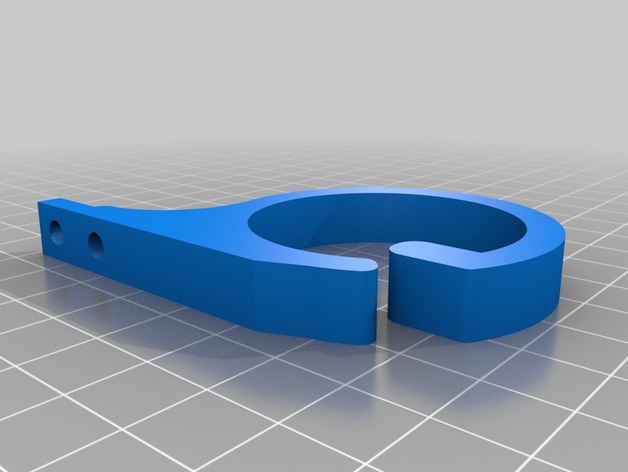
Cable clip v2 remix 3D Print Model
Summary
Thanks to JTM 88 for the original. I extended the base to add a second screw hole as it suited me more. Great design.
Print Settings
Printer:
ultibots d300vs
Rafts:
Doesn’t Matter
Supports:
Doesn’t Matter
Resolution:
.2mm
Infill:
50%+ -
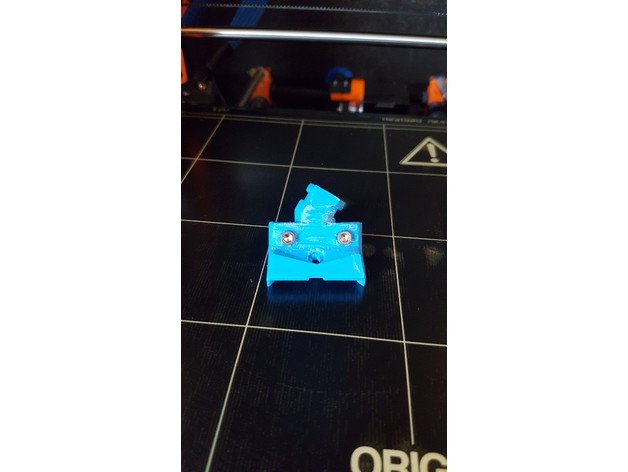
Double 45 Prusa MK2/S heatbed cable cover for enclosures (The Viper) 3D Print Model
Summary
This is a heatbed cable cover for Original Prusa i3 MK2/S designed to work in IKEA lack enclosures. I really liked Neeper’s design and wanted to modify it just abit to better work in my enclosure. I also wanted to lose the zip-tie so I made a little cover for the back held together by two M3x12 bolts and 2 hex nuts. I modified the eyes to have more depth since printing my own so please let me know if you print this and have trouble getting it to fit. -
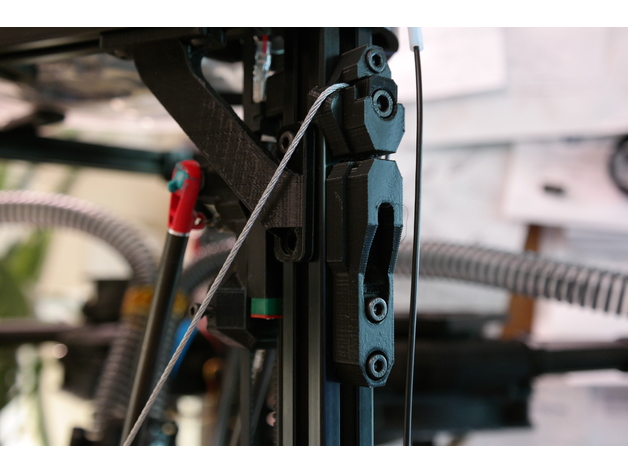
Kossel Wire Cable Frame Braces 2020 (Unlock WARP SPEED) 3D Print Model
Summary
Turn your Kossel from a wobbly tower that rings like a bell into a rigid, no-nonsense, crisp-printing etc. etc. etc. thing of awesomeness with these snazzy-looking anchors for steel wire frame braces and increase either your quality or speed/acceleration by a lot (or meet in the middle someplace), hurray!
It’s basically the same benefit you’d get from screwing big, thick panels of something stiff to all three sides of your printer. Or close, anyway, and waaaaaay less involved.
IMPORTANT DISCLAIMERS: this mod is fairly quick to print, remarkably easy to mount, has a dead cheap BOM, and offers huge and instant benefits, but it comes with the tradeoffs of a moderately reduced build envelope (basically, it’s going to cut off three outside chunks of the build platform somewhere near the inward extent of the horizontal frame members, but exactly how much depends on how far out the build plate extends over the frame horizontals, as well as your arm spacing — on my machine it’s about a 25 mm cut at the deepest) and the need to really verify your bowden/wiring clearances and look for new potential sources of wear — plus you could theoretically destroy your frame corners if you don’t take your time tensioning the setup evenly, although this mod is specifically designed to make it very difficult to apply uneven tension that would wrack your frame to death. Also, I would not recommend doing this mod without also having some compatible corner braces, like mine (https://www.thingiverse.com/thing:2474583), that will transfer twisting moments on the uprights into the horizontals, because otherwise I think this mod could eventually cam the uprights enough to split your corners.
But hey, you’re a big girl/boy and you want WARP SPEED, right? Read on to the design section and I’ll share a semi-secret that’s holding you back if you’ve never monkeyed with the stock Anycubic firmware settings, too!
Anywise. Also see the design section for all my reasoning that led to this design.
You’ll need 3 each of the adjustable and fixed anchors, 3 of the screw adjust mounts, 6 clamp washers, and 1 double eye join, plus:
1/16″ steel cable (about 4.5 meters for an AnyCubic Kossel XL, or estimate by taking your frame’s top to bottom diagonal measurement times 6 + 10%).
3x M5x20 bolts (socket head)
6x M5x12 bolts (socket head)
9x M5 nuts
15x M4x12 bolts (socket head)
15x M4 nuts
4x wire clips (preferably the screw-on kind, not the permanent ones) to fit the wire
Drinking straws in your favorite color
Kapton tape or similar
Special tools:
Wire clippers
A ball-end hex key to fit your M5 bolts will make life much easier.
After I put this on my printer I couldn’t resist dialing up the speed and acceleration to stupid speeds and trying to print a Benchy, and I was pretty shocked when something came out in half an hour that actually LOOKED like a benchy. Is it great? Heck no! My long ol’ bowden and direct drive extruder can’t even approach keeping up with these kinds of speeds. On the other hand, the visible ringing artifacts wouldn’t have been out of place on this machine at half the speed, if that, before I put this mod on it. So at the end of the day it is a vast improvement, but like with most such mods you push out one limitation and put the pedal down only to find the next limitation waiting 🙂 In the case of my AnyCubic Kossel, it’s definitely the extruder followed by the risk of the steppers skipping when doing psycho travel moves near the outside of the build envelope.
Print Settings
Printer:
Anycubic Linear Kossel XL
Rafts:
No
Supports:
Yes
Resolution:
.2 for the anchor pieces, .1 for the washers and eye join
Infill:
95% for the anchor pieces, 100% for the washers and eye join
Notes:
I printed in PLA with 3 perimeters + Cura’s alternating bonus perimeter, 6 top/bottom layers, and ironing on the anchor pieces. I also used Cura’s tree support for the screw adjust anchors to make sure the small lips on either side of the nut socket (gross) didn’t droop. The eye join doesn’t technically need much for support at 0.1 layers, but fiddling with tower/tree settings to get some bonus material around it will make it more likely to print successfully without getting knocked over or warping a lot.
Post-Printing
Super tip: fitting M4 nuts into vertical 2020 slots and holding them in place with something so you can screw bolts into them is a pain in the butt — UNLESS you stick a little rolled-up piece of scotch tape (sticky side out) into the slot first, and stick the nuts to that.
If you have corner braces on your machine, start by loosening up the bolts fixing them to the frame horizontals (you can leave the vertical-side bolts alone; this just ensures that if your frame wasn’t perfectly trued up because of the corner braces, you won’t be fighting that imperfection when you set up the wire braces).
Terminology notes: the fixed anchors are the ones with TWO holes for M4x12s, while the adjustable anchors have ONE hole for an M4x12, and the screw adjust mounts are the guys with the big slot for the M5x20’s. The M5x20 bolts are the ones you’ll use for applying final tension later.
Assembly Steps:
Stick all 9 M5 nuts in all the sockets that need them.
Stuff an M5x20 into each of the screw adjust mounts’ slots and wind it all the way up, then back it off until the one of the adjustable anchors can fit on top of it with no space in the joint. See the pictures if you’re not clear on this.
Bolt the 3 fixed anchors with the wire slot DOWN to the Kossel’s three uprights. Mount these as far down as they’ll go. (NOTE: you could slide them up a little bit — or a lot bit — to gain back some of your build envelope, but the higher they are, the more strain they’ll probably put on your plastic corner pieces. The goal is to have the twisting/tilting loads transferred as directly as possible into compression forces on the frame horizontals, and the further up the anchors sit, the more of a moment you’re inflicting on the corners to transfer the force).
Mount the 3 adjustable anchors at the top of each frame upright with the wire slots UP, and place them about 15-20mm down from the bottom of the plastic frame corner. You’ll need the extra travel above these for the final tensioning later. Don’t tighten these on too much.
Mount the 3 screw adjust mounts at the top of each frame upright with the M5x20 bolts inserted into the holes in the bottom of the adjustable anchors and scoot them all the way up so their top sides butt against the anchors’ bottoms (again, see the pictures…), then tighten them down. Make sure the M5x20’s are snug against the adjustable anchors, but not actually pushing them up yet.
The fun part: string the wire! Well, first put one end of the wire in the eye join and fix it good with two of the wire clips (leave yourself a tail of at least 5-8 cm); then wind the wire twice around the machine through the wire slots in each anchor, alternating up and down, until you get back to the eye join.
Run the second end of the wire through the eye join, snug it up, and tighten on two wire clips just enough to hold the wire in place. Clip off the excess wire, again leaving yourself a tail of at least 5-8 cm.
Now it’s the really fun part: applying the tension!
FIRST, give the top of your frame a rock and a twist to see how much it can flex, just so you have a point of reference when you rigid it up.
NOTE that this design uses a single loop of wire strung all the way around the machine so that you can avoid all the hassle of trying to get six different pieces of wire the exact same length and tension — as long as you don’t lock down the clamp washers until the very end, and make your tension adjustments in small increments to each joint in turn, you should get perfectly even tension all the way around. You can test for even tensioning as you go by simply plucking the wires — if they all generate the same tone, you know you’re good.
We kick off this process by getting as much slack out of the wire as possible by hand, without using the screw adjusters. Do this first by just going around the machine, snugging up each length of wire, and working the slack around to the side with the eye join, then tugging the slack through the eye join and wire clips to hold it in place. IMPORTANT: make sure you get the eye join someplace where you’ll have enough room for both tails, but also where it won’t risk interfering with the printer’s arms. I chose to mount mine pretty close to the top of its side, since the arms can only bump the wires on the bottom halves. This is very much most convenient to get situated while you’ve still got slack.
Once you’ve got most of the slack out, you can go ahead and mount all the clamp washers with the M5x12s. DON’T tighten these on, just get them on enough to put a tiny bit of friction on the wire.
Okay, now you can GENTLY tighten ONE of the clamps for the side with the eye join. This will hold that corner in place so we can work out slack around the machine and back to the eye join to take it out.
Start working around the machine again, taking out slack (easiest way to do this is to pull the wires gently OUT or IN, one segment at a time, in order) from the fixed corner and back to the other side of the eye join, where you can work it out through the eye and wire clips.
Don’t go crazy with the wire, just get it so it’s not sloppy. Now is a good time to do an initial check of how your build envelope is going to change by checking where the arms will touch the wires around the outside of the volume, and to make sure that your bowden and wiring have freedom of movement throughout the printable area. I ended up routing both through the bottom/center quarter of the same side of the printer, but had to shift my extruder a bit to get the bowden moving freely. Be especially sure that the wire and bowden can’t get caught with a loop on the wrong side of the wires in the case of a homing move starting close to that side of the build plate.
When you’ve got the slack pretty well out, tighten down all the wire clips really well on both sides of the eye join.
Now loosen that one clamp back up, along with the bolts holding on the adjustable anchors.
GENTLY screw in the M5x20’s in the screw adjust mounts until they all have about the same tension on them.
Now start going around the machine, CAREFULLY tightening each M5x20 bolt by 1/4 to 1/2 turn each time. The tension will rise faster than you think. GENTLY rock/twist the top of the machine from time to time — this will let you track how the rigidity is coming along, plus it will help distribute the tension evenly by helping the wires scoot around the corners if they need to.
When the frame feels decently solid and the wires feel decently and EVENLY taut (they should make a clear bass note when plucked, and all play about the same note), go ahead and re-tighten the M4’s on the adjustable anchors to fix them firmly to the frame.
This is also a good time to go around and make sure all the other M4’s are good and tight, and to re-tighten the bolts on the frame corner braces that you loosened earlier.
FINALLY! Go around the anchors in order and gently tighten each of the M5x12s to tighten up the clamps. This will put a final lick of tension on the assembly.
Okay, last steps:
You’ll want something on the wires to prevent wear and tear in the event that printer parts do contact the wires. I used scissors at an angle to spiral-cut some plastic drinking straws, which made pretty good ad hoc fenders when wound onto the wires and taped together at the crossing. The bottom halves are crucial to shield against arm contact, along with anywhere your bowden, wiring, etc. might brush up against.
Test carefully at first! A gentle bump or slide of the arms against the wires won’t hurt (the wires will give outward a bit even under a lot of tension), but a hard crash into them could seriously strain your frame. Likewise pay close attention to your bowden and wires until you’re confident they’re not going to bind anywhere. I assume no liability if you bork up your machine with this.
Re-level your printer after this mod (duh).
There’s going to be a wear-in period where some tension is lost to the wires conforming better to the corner radii, the PLA deforming a bit, etc. After a few prints, start by re-tightening all the M4’s holding the anchors to the frame, then loosen all six corner clamps again, along with the adjustable anchors’ M4s, and go around in order again, tightening the M5x20’s by a quarter turn at a time, until you’re back where you want to be, then tighten the adjustable anchors’ M4s again, followed by all the clamps. This might need to happen a few times.
Probably also get some loctite on the wire clips’ nuts.How I Designed This
I genuinely don’t know why nobody’s thought of this one yet (or if they have, I couldn’t find jack about it on Google).
The problem: if you’ve got a Kossel, you know it’s not a rigid setup. You’ve got plastic corners (or possibly metal) to keep the uprights true, but they don’t have much leverage, whereas the forces inflicted on the uprights are pushing way up high, where they have tons of leverage. Take the top frame and push it or twist it and watch what happens to your effector head — it’s going to shift all over the place. It’s not a good recipe if you want to go fast, because going fast takes high acceleration rates, which means you’re pushing your frame harder, which means every start, stop, and corner is like hitting your frame with a bat.
I figured this out pretty quick when I got my Kossel, and my first fix was designing some bolt-on corner reinforcements. They definitely helped with the ringing that came from the stock frame’s lack of rigidity, but they only reduced it, and the reason is pretty obvious from an engineering perspective: they just don’t have good mechanical advantage compared to the forces they’re meant to counteract. I got especially worried about this when I took out my steppers to put in some dampers and discovered that two of the three corners had cracked across the motors’ mounting faces. No idea when that happened, but heaven knows I’d been pushing my printer hard.
Anyway, from the inadequate corner braces, the next logical step is to look at stiffening up each side of the frame with longer braces, and the best-case for this would be braces that go all the way from corner to corner. Rigid braces would be ideal, but difficult in practice — you’ve got to get the lengths and mounting angles perfect to avoid wracking the frame out of true, plus at those lengths you’re not going to be able to count on good resistance to compression forces without having pretty fat chunks of CF tubing or similar, which is going to cost. The other idea (as done on printers like the Fisher) is to mount nice, stiff plates either around the corners or across the sides; I’d regard this as probably the ideal solution, but not the easiest one to implement at home without access to equipment for doing a really precise job of cutting the plates (and/or bending them) and getting all the holes in exactly the right spots. Plus, again, the plates will probably need to be made of something not-cheap even if you don’t have to pay somebody else for the custom fabrication.
So I wondered: why not just go for purely tensile bracing, which would mean nothing more complicated than steel wires? They’d self-align, and if I used a single loop they’d also self-adjust for even tensioning around the structure. Plus, with all the anchors mounted to the uprights, I figured the wires ought to be able to take on a lot of tension without putting terrible strain on the corners. The main tradeoff, then, would be balancing how far to mount the wires from center on the uprights, because too far out would mean giving the anchors a big moment arm to translate the uprights’ deviations from vertical into twisting forces on the uprights themselves (bad for the corners), but too far in would start cutting into the usable print volume by limiting how far side-to-side the printing arms could move. My first design iteration errs well to the “closer to the center” side of this, but if I really start to miss my lost printing volume, I’ll probably start experimenting with how far I can spread the wires without endangering the plastic corners.
Initial testing has shown that these wire braces can improve frame rigidity a LOT for a minor build volume loss; time will tell how it translates into more (or less, hopefully) wear and tear on the rest of the printer from reduced cyclical wear on the frame.
Oh yeah, and that secret to warp speed? Go into your firmware and change your DEFAULT_MAX_FEEDRATE to something like {400, 400, 400, 400} and your DEFAULT_MAX_ACCELERATION to something like {9000,9000,9000,9000}. If you’ve never done this, you’ve probably been stuck all this time with a speed limit of 200mm/s and 3k mm/s^2 on all axes. Even if you don’t push your speeds/accelerations up to these new limits, you might be surprised at the effect of raising them — in my case, I think my extruder had been constrained somehow by the lower limits, because until I made these changes my prints always suffered from underextrusion above about 30mm/s at 0.2 layer height.
But once you’ve raised the limits, it’s worth seeing what a 350mm/s travel move really looks like at 5500 or 6000 mm/s^2. (Answer: sorta scary, honestly)
Designed from scratch in SketchUp. -
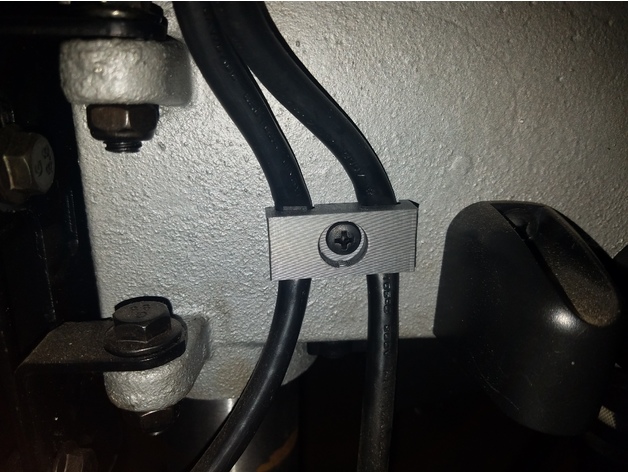
Ryobi Drill Press Power Cable Bracket 3D Print Model
Summary
This is a replacement for the dual power cable management bracket that comes with the 10″ ryobi drill press.
This was designed after the part that comes with the Ryobi 10 Inch with Laser (Model DP103L). It may or may not work with other ryobi drill presses.
https://www.homedepot.com/p/Ryobi-10-in-Drill-Press-with-Laser-DP103L/205503636
Print Settings
Printer Brand:
Prusa
Printer:
i3 MK2S
Rafts:
No
Supports:
Doesn’t Matter
Resolution:
.15mm
Infill:
30% -
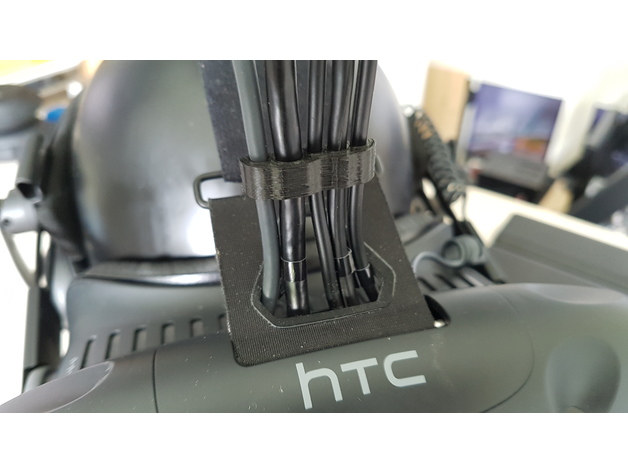
HTC VIVE – TPCAST CABLE CLIP FRONT 3D Print Model
Summary
I wanted to arrange all front cables used by TPCAST on my vive. Now they are all alligned and do fit perfectedly. Also no further risk of connection lost.
Print Settings
Printer:
Anycubic I3 Mega
Rafts:
No
Supports:
No
Resolution:
0.2
Notes:
PLA, ~ 8 minutes print time -
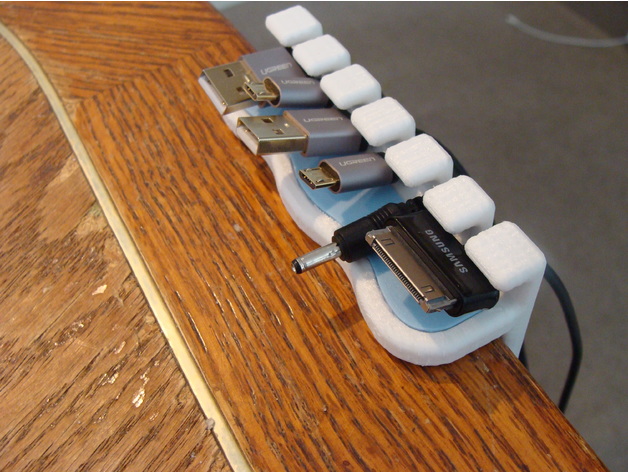
USB Cable Organizer 3D Print Model
Summary
I designed this USB cable organizer so that I would be able to move it if I necessary.
I have included 4 different versions, a straight and a curved version with a snap-in insert and also a straight and a curved version without an insert
This was the first time I tried to design an snap together Thing, and it turned out fairly well.
Please let me know if you have any problems.
I designed this for a standard (1 1/2″) (38 mm) thick table. If your table is a different thickness, message me with the size, and I will try to help you out.
Print Settings
Rafts:
No
Supports:
No
Resolution:
0.2
Notes:
Main bodies at 25% infill
Inserts at 100% infill
Post-Printing
Make sure you clean up the inserts and the holes for the inserts. -
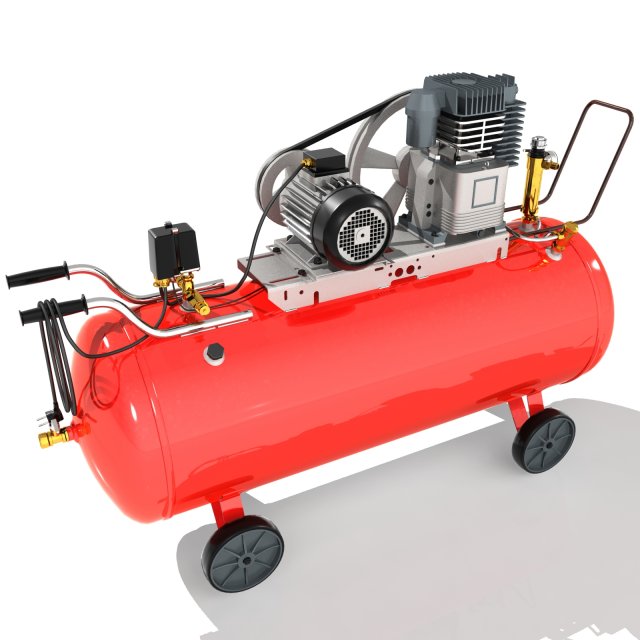
Electric Air Compressor 3D Model
Electric Air CompressorOriginally created with 3ds Max 2015 and rendered in Mental Ray.Total Poly Counts:Poly Count = 56691VertexCount = 53784Model is placed to 0,0,0 scene coordinates.Every parts of the model named properly.The model is Full UVW unwrapped.Include 1 camera and 3 light With Studio setup.Unit Setup : MeterUse 1 jpg textureTexture Size : 1024*1024 pxAlso available in many formats.3ds Max 2015 Mental RayOBJFBX3DS
-
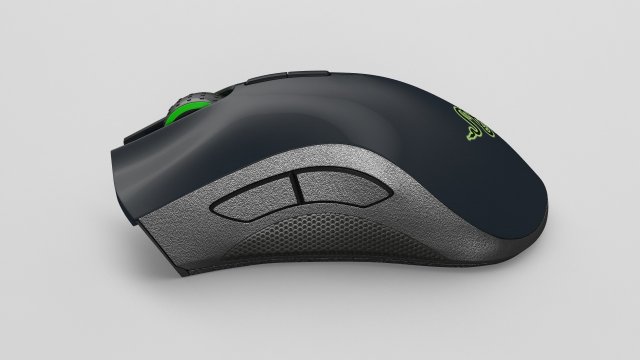
Razer Deathadder – Element 3D 3D Model
This high quality 3d model for 3ds Max, Cinema 4D and Element 3D – Razer DeathadderItem included file scene with all light setups and materials. Just click the render button and you’ll get image like preview images .File formats:-.3ds(multi format)-.fbx (multi format)-.obj (multi format)-.c4d(Cinema 4D R15 and above)-.max(3ds Max 2014 and above)-.e3d(plugin Element 3D v2.2 from Videocopilot)Features:- 3d model is completely ready for detailed and beautiful rendering and animation.- High-poly and low poly- element 3d v2.2- The model have clean topology- All objects are separated and named- Suitable for close-up rendering- You can easily change or aply new materials, color and other.All parts of this model have been modelled separately to achieve as much realism as possible.It can be used as a production model without any requirement of additional modeling and texturing.Please font’t forget to rate this item if you liked him.Sincerely Yours,Cactus 3D Team
-
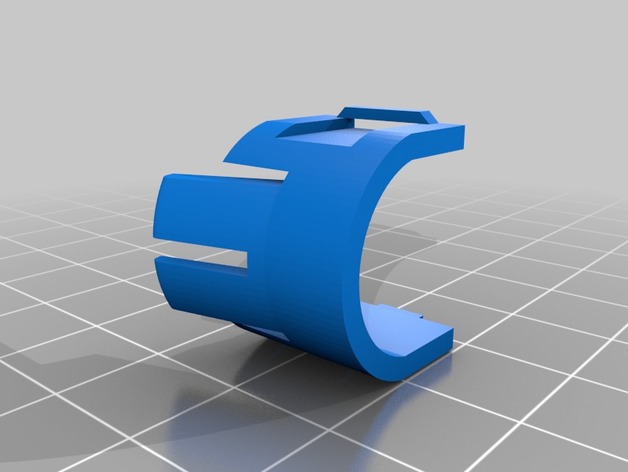
Citroen, Peugeot rear cable sleeve clip 3D Print Model
Summary
This is a replacement clip for my Citroen C4 (2007) Coupe cable sleeve at the boot.
Since there was a problem with the cables (they would brake every now and then and cause shortcuts) removing the cable sometimes results in braking this little piece that is essential to hold the cable sleeve (FYI: my mechanic broke it and had it super glued, so after a while the whole sleeve would come off!).
It’s a replacement part that you cannot find anywhere (or no one would sell it to me!), so I had to print one.
The Citroen order code for this is : 96308075.80.
You will need to print 2 of those since one locks to each other (the locking is not great but a little bit of super glue to each other gets the job done).
Enjoy! 🙂
Print Settings
Printer:
Anet A8
Rafts:
No
Supports:
Yes
Resolution:
0.1
Infill:
100%
Notes:
It’s best to print it in nylon, ABS or PETG. PLA will be too fragile (brakes when sliding in the opening) and since in warm climates the temperature of the roof/ trunk can reach high temperatures I would recommend a much stronger/temperature proof filament.
Use supports if you want it printed as it is (on the side) I have noticed that printing it like this would result in being stronger when bending the flaps. However, if you rotate it you can print it without supports. -
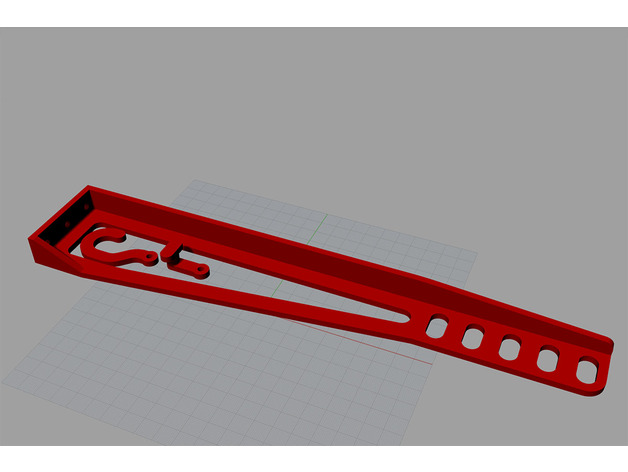
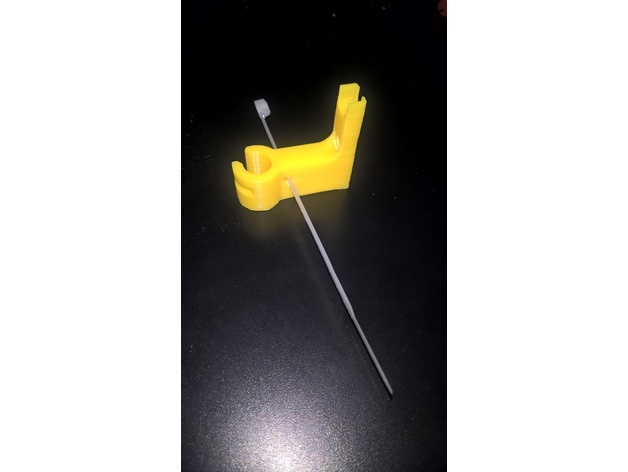
Heat Beat Cable Support (Crane Type) 3D Print Model
Summary
A simple heat-bed cable support for the Tevo Black Widow. Use a piece of cable, string, cord, fishing line or similar between the hooks and adjust the length as required.
Print Settings
Printer:
Tevo Black Widow
Rafts:
No
Supports:
Yes
Resolution:
0.2mm
Infill:
20%
Notes:
0.8-1.2mm walls -
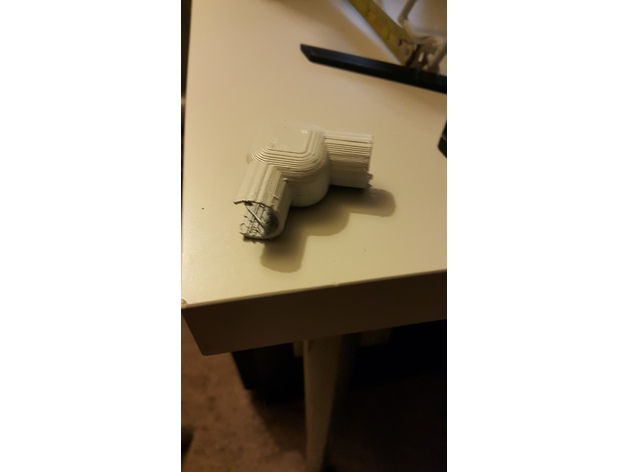
Corner Coupling for Lowes Peel and Stick Audio Cable Tubes 3D Print Model
Summary
Lowe’s Peel and Stick Speaker Wire Tubes are great and come with a straight alignment coupler but need a corner piece. This will fit their standard tubes. If unsure, print one and take it with you to Lowe’s or wherever and size it up.
Print Settings
Printer:
XYZ Davinci 1.0 Pro
Rafts:
Doesn’t Matter
Supports:
Yes
Resolution:
.3
Infill:
35 -
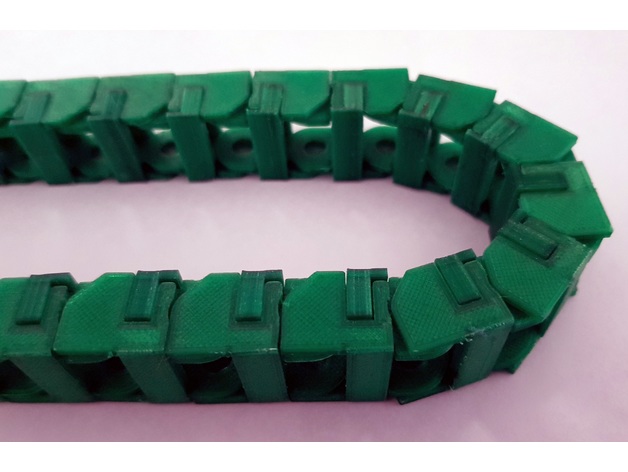
Flat Print Cable Chain V2 ( No Glue ) 3D Print Model
Summary
This is a flat printed Cable Chain that is folded into the final shape. This gives you a stronger, cleaner part that will move smoothly.
Print Settings
Printer:
Hypercube
Rafts:
No
Supports:
No
Resolution:
0.2 initial layer, 0.1 layers, 0.2 Nozzle.
Infill:
50%
Notes:
The clip needs to be printed in the given orientation so that it has the maximum strength during flexing. After cleanup ( I use PETG so it can be blobby ) reheat the link to 80C on the bed to prevent stress during bending. -
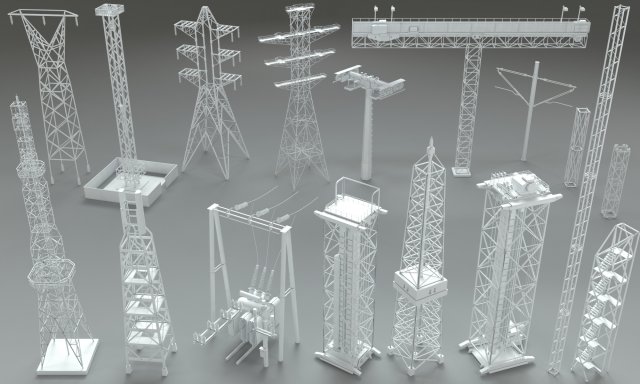
Electric Towers – 17 pieces 3D Model
17 pieces electric towersinclude max(2015), fbx, obj and stl filesinclude Vray material and HDRI
-
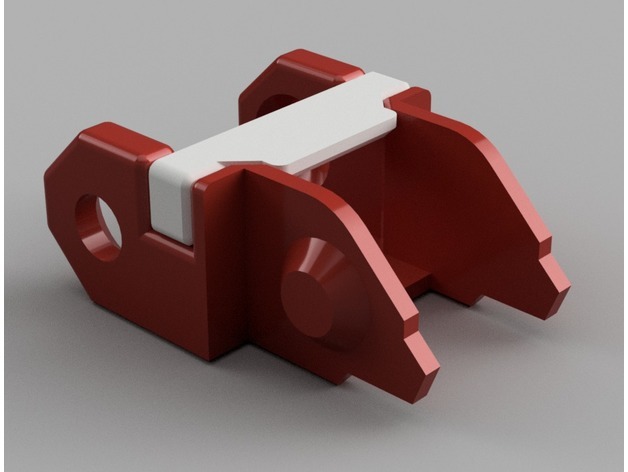
open cable chain 3D Print Model
Summary
This is a 10 x 15 open style cable chain with a radius of 18 degrees for best performance print in nylon. here is a video showing the assembly of the links.
IF YOU LIKE THE DESIGN AND WILL LIKE TO SEE MORE STUFF LIKE THIS PLEASE LEAVE A COMMENT BELOW, ALSO DON’T HESITATE TO CONTRIBUTE WITH A TIP
Print Settings
Printer:
ft-5, flash forge creator pro
Rafts:
No
Supports:
Yes
Resolution:
.1
Infill:
50%
Notes:
This has very high tolerance so make sure your printer is calibrate and has a very good cooling fan i have printed this an test so i know it work as it should
How I Designed This -
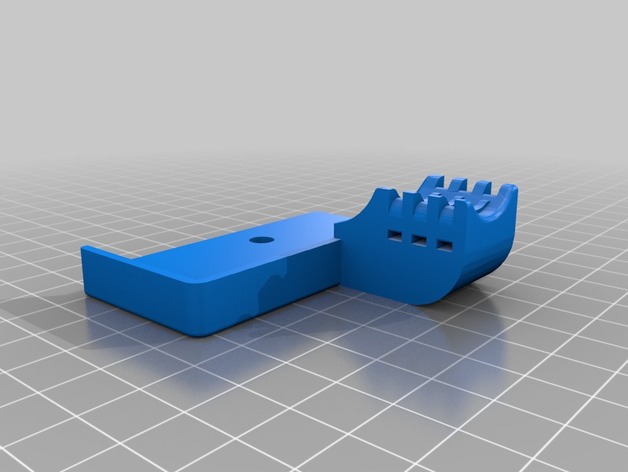
TEVO Tornado Ultrabase Upgrade Remix with cable strain relief 3D Print Model
Summary
Clamps to attach Anycubic Ultrabase to the Tevo Tornado.
Added cable strain relief to the rear left part.
Remixed this https://www.thingiverse.com/thing:2782720 and this https://www.thingiverse.com/thing:2748197 things. -
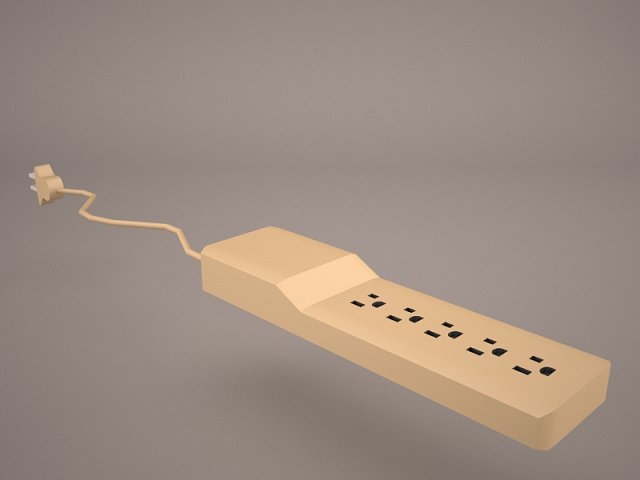
Electrical Outlet 3D Model
strip powerstrip surge protector plug outlet electrical cord sockets extension multiplug lead power cable equipmen
-
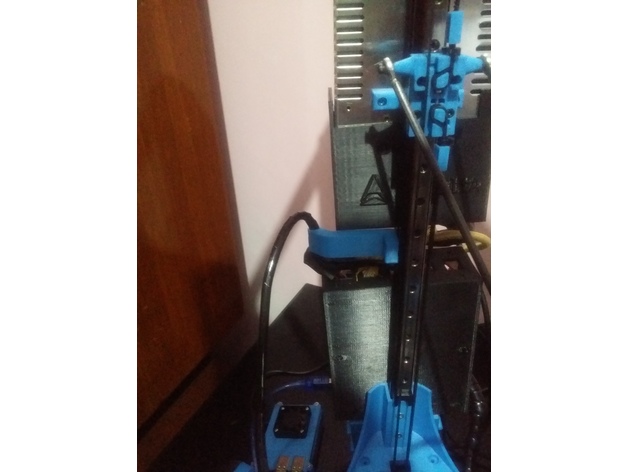
Anycubic Kossel Back Cable Holder 3D Print Model
Summary
Cable Holder for Delta kossel, prevent jamming cause by cable during printing
using M5 and T nuts M5 -
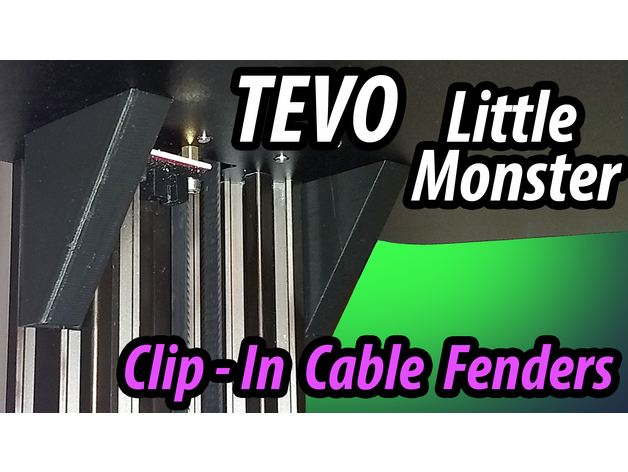
Tevo Little Monster Clip-On Cable Fenders 3D Print Model
Summary
Tonight when I was calibrating my Little Monster I heard that awful sound when the cable gets stuck between the truck and the optical sensor… It’s probably the 20th time it’s happened but this time I said enough is enough!
So I made these cable guards that only take 10 minutes to print and they snap into position and won’t budge unless you want them to – they work a treat! 🙂
Print in vase mode in the supplied orientation
You can check out my other designs here:-https://www.thingiverse.com/ScottyMakesStuff/designs
You can see all my videos on my YouTube Channel, ScottyMakesStuff here:-https://www.youtube.com/c/ScottyMakesStuffhttps://twitter.com/ScottyMakesStufhttps://www.instagram.com/scottymakesstuff/ -
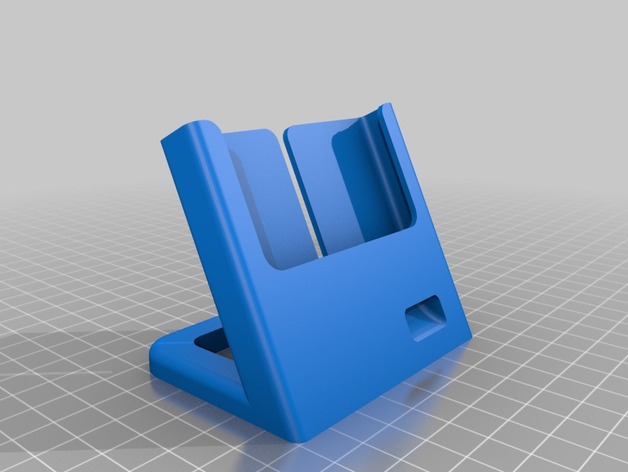
iPhone6 dock for Fairtec cable and Tech21 cover 3D Print Model
Summary
Created an iPhone6 dock that is compatible with Fairtec charging cable and Tech21 cover.
Print Settings
Printer:
Creality CR10 Rafts:
No Supports:
No Resolution:
0.2mm Infill:
20% -
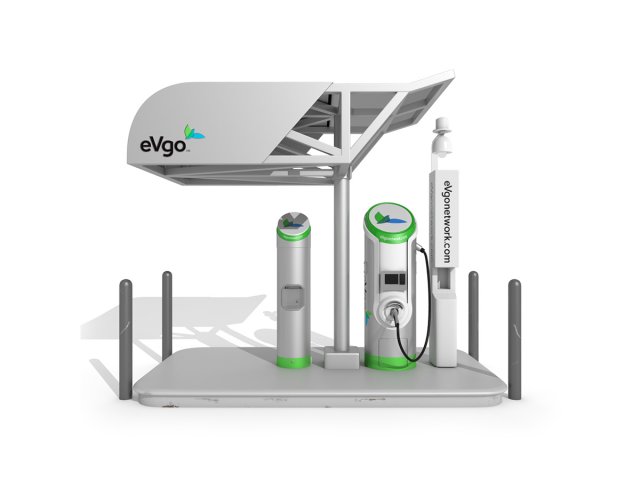
Electric Vehicle Charging Station eVgo 3D Model
Bee3dd is a team who making 3d model best quality, you don’t need worry when use our models. We take care to build the smallest detail in the model to ensure the best results. These things are not in others.Our slogan is: best quality – best price!+ We offer all electronics 3d model ( latest and oldest ). It is place where you can find anything about technology for your project ( earlier and faster than others )+ Every model we build goes through thorough Quality assessment both visual and technical to make sure the assets look realistic and the models are of the best quality.—————————–The model has a fully textured, detailed design that allows for close-up renders, and was originally modeled in 3ds Max 2012 and rendered with V-Ray. Fidelity is optimal up to a 2K render. Renders have no postprocessing.—————————–File Formats:+ 3ds Max 2012 + Vray 2.0 full setup lighting, camera+ 3ds Max 2012 standard+ Cinema 4D R12 standard ( materials and textures was setup )+ Maya 2012 standard ( materials and textures was setup )+ Lightwave 11 ( materials and textures was setup )+ FBX 2012+ OBJ 2012+ 3DS 2012—————————–Features:+ No isolated vertices+ No coincident vertices+ No coincident/coplanar faces+ Quads and Triangles only ( Clean edge flow, mostly quads, subdividable topology, no poles with more than 5 edges on the model, holding/support edges present to retain shape after subdivision )+ Models resolutions are optimized for polygon efficiency. (In 3ds Max, the Meshsmooth/Turbosmooth function can be used to increase mesh resolution if necessary.)+ Real-world scale ( We make 3d model from actual size and images reference. It is best for making video intro, marketing, animation, games… )+ Naming and Organization ( All geometry is contained in a single layer structure, with the layer having the same name as the product. )+ No special plugin needed to open scene.+ 3ds Max models are grouped for easy selection, and objects are logically named for ease of scene management.—————————–TEXTURES:- Textures highquality, enough for close-up render ( 2048-4096 pixels )- UVWs mapping with mixed: overlapping and non-overlapping- No texture paths referenced by the model. All texture paths were stripped from the model.—————————–Rate for ours models: We are required to assess the customer’s finished product with the best quality. Let us know your comments, we are very thankful for that!Thanks you,Best regardBee3dd team
-
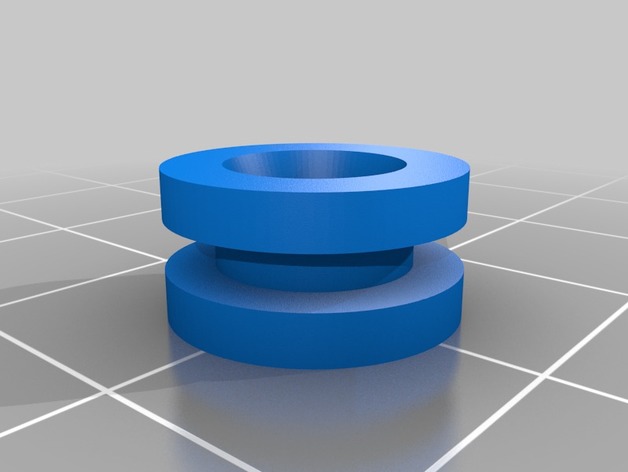
Cable Grommet – Parametric 3D Print Model
Summary
Parametric Cable Grommet to put into electronic boxes where you want don’t a flexible cable to fatigue
Allows Full Parametric Adjustment of all sizes
Cable Hole size inc Tolerance
Overall Size and Thickness
Chassis Wall Thickness
External Cable Exit Chamfer
Print Settings
Printer:
Creality Ender 2 Rafts:
No Supports:
No Resolution:
0.2 -
Cable Reel 2 3D Model
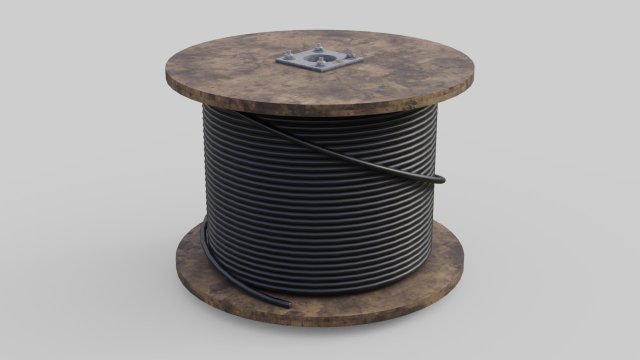
This is a model of a Cable Reel.Originally created with Blender 2.79.|| USAGE ||This model is suitable for use in broadcast, advertising, design visualization, real-time, video game etc.|| SPECS ||This model contains 4 separate objects.This model contains 6847 polygons.This model contains Blender Cycles materials.|| PRESENTATION IMAGES ||All preview images are rendered with Blender Cycles Renderer.Product is ready to render.Render setup is included as a separate Blender file, which is needed to produce images that match the thumbnails.|| TEXTURES ||Textures have 8 bits per channel.Cable_Reel_2_BaseColor.png 2048×2048.Cable_Reel_2_Metallic.png 2048×2048.Cable_Reel_2_Normal.png 2048×2048 X+Y-Z+.Cable_Reel_2_Roughness.png 2048×2048.cedar_bridge_1k.hdr 1024×512.|| GENERAL ||Model is built to real-world scale(the unit system is metric).No third-party renderer or plug-ins needed.|| ADDITIONAL NOTES ||Other file formats. May be needed to reassign textures and will not render like the preview images.-FBX-OBJ
-
Ceiling ventilation 2 3D Model
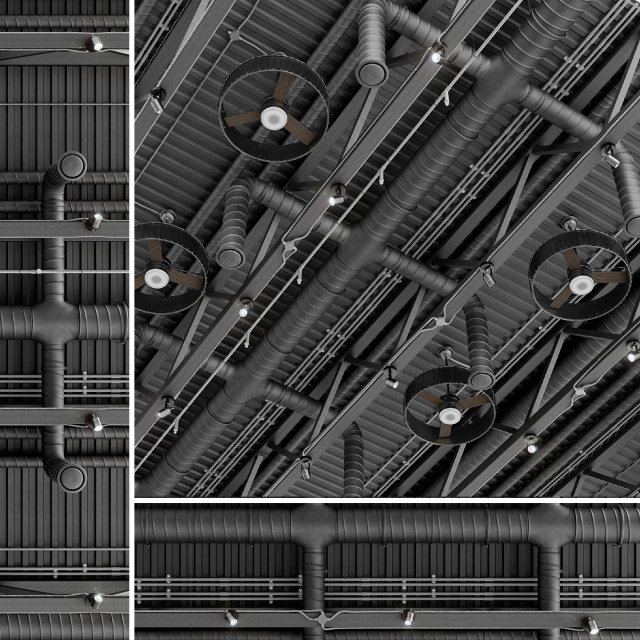
Realistic 3d model Ceiling ventilation______________________________GENERAL:- Originally created with 3ds Max 2014- Model prepared for V-Ray 3.40- Includes high-resolution textures- Includes Formats FBX (not smoothed)- All objects, textures and materials have their own names- Model is built to real-world scale- Units used: mm- Scene objects are organized by groups- No third-party renderer or plug-ins- Don’t has missing DLL- Polygons with more than 4 sides – 0- Don’t has objects with non-100% scale- Don’t has default names- Geometry layer – Ceiling_ventilation_2______________________________GEOMETRY:Subdivision level 0:- Polys: 1 629 579- Verts: 1 643 104Subdivision level 1:- Polys: 6 512 920- Verts: 6 543 591______________________________FORMATS:- MAX ( 280 mb )- FBX ( 73,7 mb )- OBJ ( 198 mb )______________________________TEXTURES:JPEG 4096x4096pxJPEG 2048x2048px______________________________Check out our other models
-
Cable Reel 1 3D Model
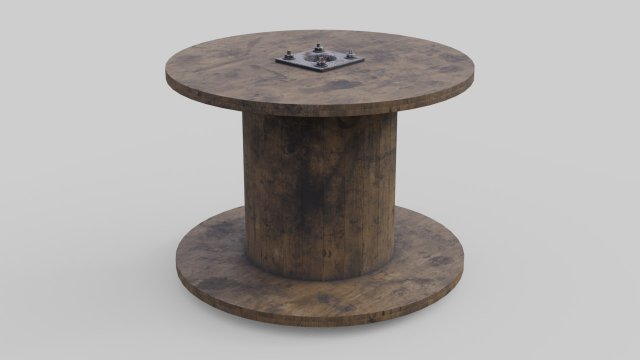
This is a model of a Cable Reel.Originally created with Blender 2.79.|| USAGE ||This model is suitable for use in broadcast, advertising, design visualization, real-time, video game etc.|| SPECS ||This model contains 4 separate objects.This model contains 2224 polygons.This model contains Blender Cycles materials.|| PRESENTATION IMAGES ||All preview images are rendered with Blender Cycles Renderer.Product is ready to render.Render setup is included as a separate Blender file, which is needed to produce images that match the thumbnails.|| TEXTURES ||Textures have 8 bits per channel.Cable_Reel_1_BaseColor.png 2048×2048.Cable_Reel_1_Metallic.png 2048×2048.Cable_Reel_1_Normal.png 2048×2048 X+Y-Z+.Cable_Reel_1_Roughness.png 2048×2048.cedar_bridge_1k.hdr 1024×512.|| GENERAL ||Model is built to real-world scale(the unit system is metric).No third-party renderer or plug-ins needed.|| ADDITIONAL NOTES ||Other file formats. May be needed to reassign textures and will not render like the preview images.-FBX-OBJ
-
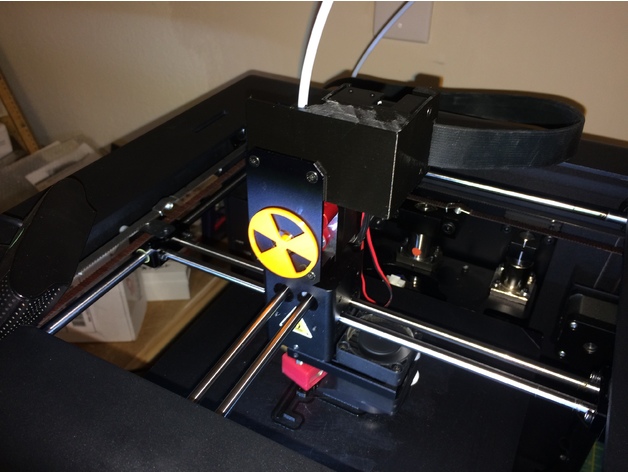
Monoprice Ultimate 90 Degree Adapter for ribbon cable 3D Print Model
Summary
I installed a flexion extruder on my Monoprice Ultimate and need some additional clearance to I could access the set screw on the flexion. I also decided to turn the ribbon cable 90* sideways so the cable lays parallel to the top of the printer.
Print Settings
Printer Brand:
Wanhao Printer:
Duplicator 6 Rafts:
No Supports:
Yes Resolution:
.18 Infill:
20% Notes:
Print this as it lays in the stl file. I also include my preferred .gcode and Simplify3D .factory files. -
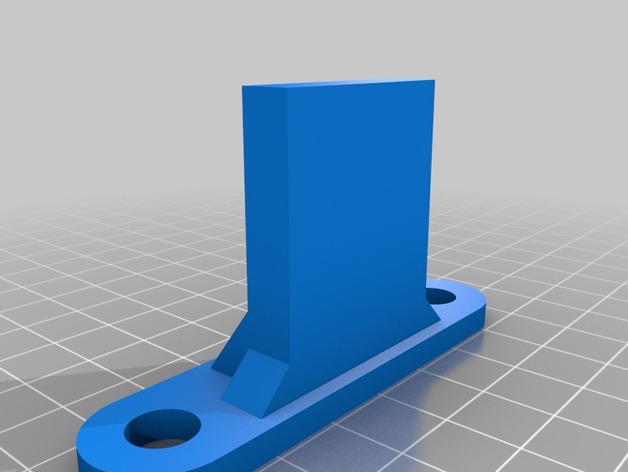
MPCNC cable chain connector 3D Print Model
Summary
I made this to hook up the cable chain to the axis itself.
Connecter i use for the chain: https://www.thingiverse.com/thing:14562 -
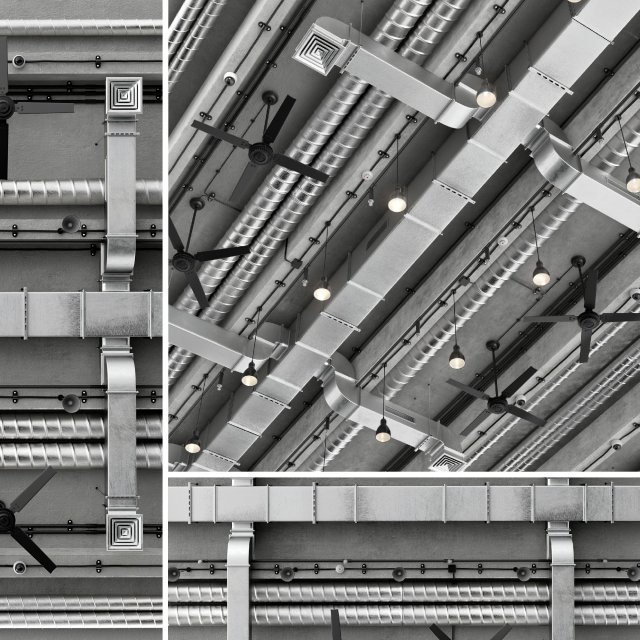
Ceiling Ventilation 3D Model
Realistic 3d model Ceiling ventilation______________________________GENERAL:- Originally created with 3ds Max 2014- Model prepared for V-Ray 3.40- Includes high-resolution textures- Includes Formats FBX and OBJ (not smoothed)- All objects, textures and materials have their own names- Model is built to real-world scale- Units used: mm- Scene objects are organized by groups- No third-party renderer or plug-ins- Don’t has missing DLL- Polygons with more than 4 sides – 0- Don’t has objects with non-100% scale- Don’t has default names- Geometry layer – Ceiling_ventilation______________________________GEOMETRY:Subdivision level 0:- Polys: 709 275- Verts: 728 480Subdivision level 1:- Polys: 2 833 752- Verts: 2 873 196______________________________FORMATS:- MAX ( 122 mb )- FBX ( 42 mb )- OBJ ( 111 mb )______________________________TEXTURES:JPEG 4096x4096pxJPEG 2048x2048pxJPEG 1024x1024px______________________________Check out our other models
-
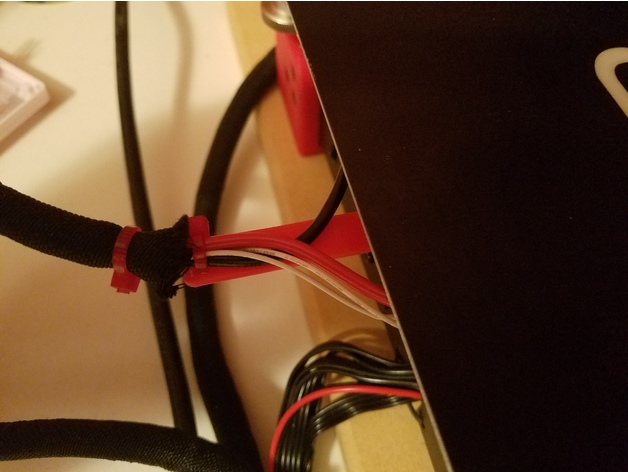
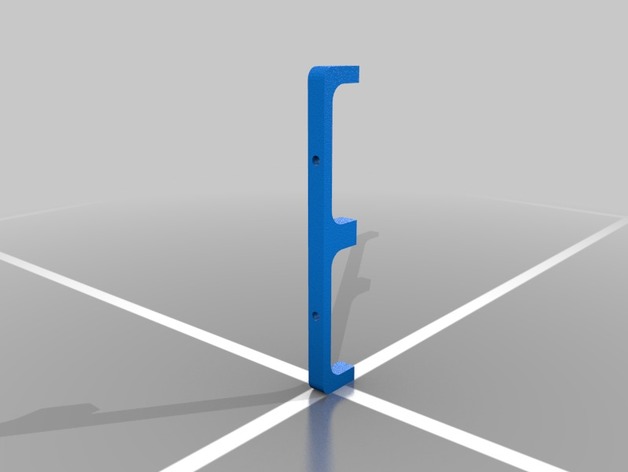
Monoprice Maker Select V2.1 Hot Bed Cable Bracket 3D Print Model
Summary
This is a bracket to help keep the hot bed wires from bending and hitting the build plate. It also keeps the wires low and away from a rear mounted part cooler when the extruder is near the rear of the build plate. The bracket is designed to work with the RepRap Champion Y Carriage Plate Upgrade for the Monoprice Maker Select / Wanhao Duplicator i3.
To install:
Place the bracket between the Y-carriage plate and the hot bed with the clips pointing down, near the hot bed wires. Hook the clip on the outside of the Y-carriage plate and slowly lift the end until the other clip clicks into place inside the Y-carriage plate cutout. It’s a tight fit so some trimming may be needed. Once the bracket is in place, lay the hot bed wires on top of it and use a small zip tie and the provide holes to secure them in place. Make sure the eyelet of the zip tie is on the upper side of the bracket to keep it from hitting the frame.
Print Settings
Rafts:
No Supports:
No Resolution:
0.2 Infill:
100% -
Apple Phone Adaptor 3D Model
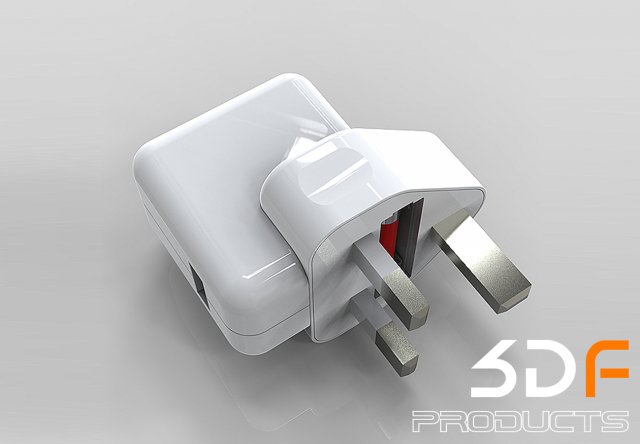
WELCOME TO 3DFORMATIONSYou are guaranteed precision component assembly with clean mesh and product lines for HIGH AND LOW POLY based model DATA.FULL SETUP READY TO RENDER FOR: (KEYSHOT) USERS ONLY.YOUR DOWNLOAD FILE INCLUDESX1 3DSX1 IGESX1 OBJX1 3DMX1 BIP KEYSHOT + MATERIAL MAPS + ENVRIOMENT MAPIMPORTANT: SETUP ROOT PATHS TO ALL MAPS (INCLUDED) FOR CORRECT KEYSHOT (RENDER) SETUP.PLEASE CHECK OUT MY OTHER MODELSCLICK ON MY USER NAME (3DFORMATIONS) AT THE TOP OF THIS PAGEFOR MORE INFORMATION GOOGLE (KEYSHOTS) ITS FAST EASY TO USE FOR STUNNING RESULTS
-
cable homework 3D Print Model
Summary
cable holder
Print Settings
Printer Brand:
Prusa Printer:
Prusa Mk2 Rafts:
No Supports:
No Resolution:
.1-.2 Infill:
50% -
Pomax Star Wars 3D Model
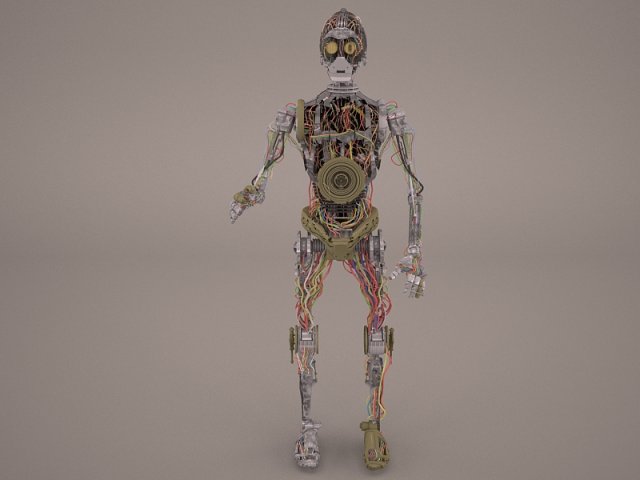
star wars warrior game sci-fi electric electricity character cable robot pomax C3 Standing Stormtrooper soldier science fiction empire force
-
Outdoor Electric Power Control Panel 3D Model
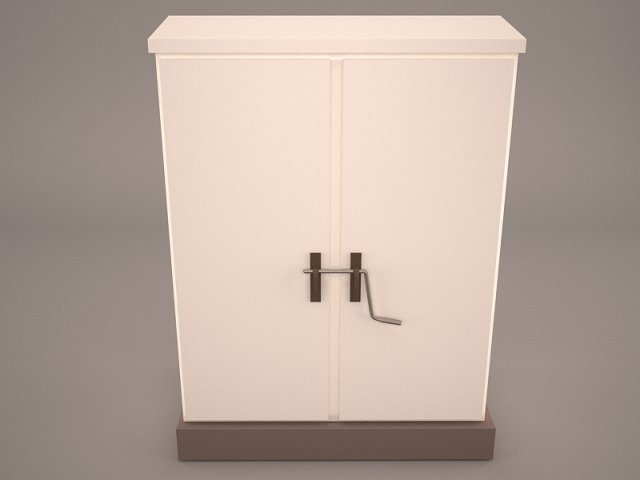
electric panel electrical engineer cable meter braker circuit electricity power cabinet technology control outdoor switch components utility box
-
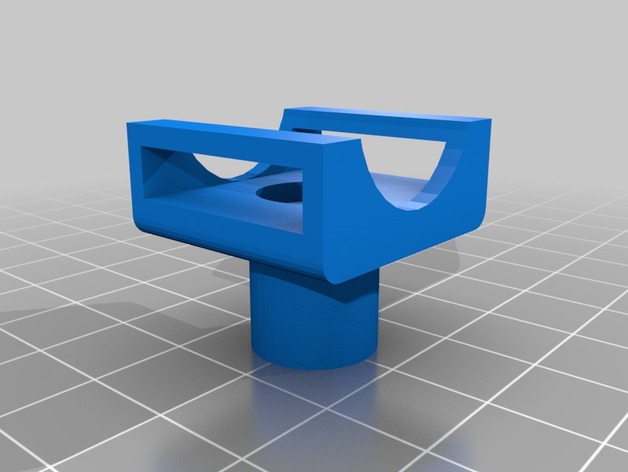
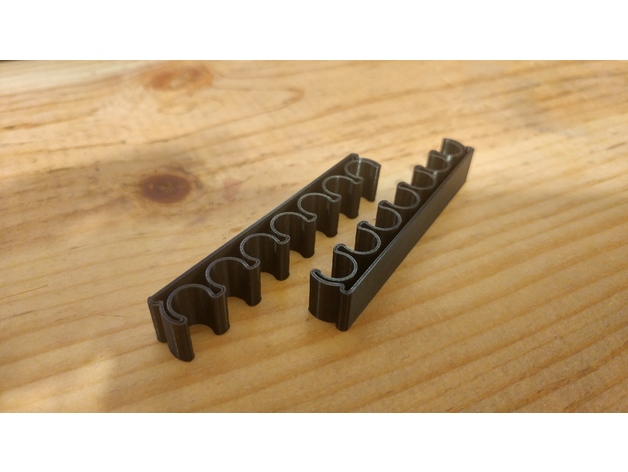
Cable organiser for velcro straps 3D Print Model
Summary
Mount with standoff for organising cables with velco straps (2cm wide). I used this in my server cabinet witch is insulated using 2cm foam (therefore the standoffs) -
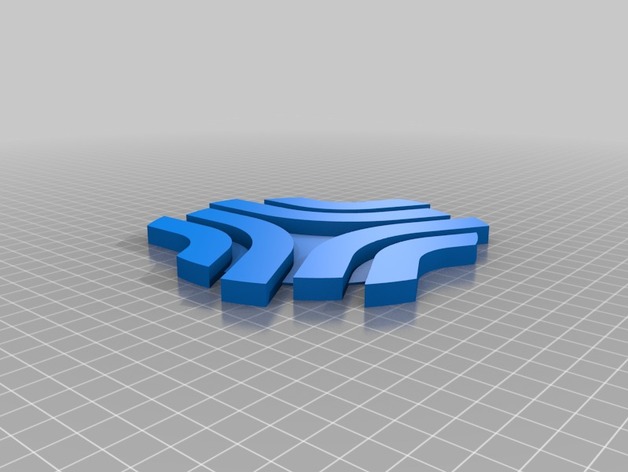
Boosted Board Logo Charger Cable Holder 3D Print Model
Summary
I wanted somewhere to put my charge cable when not in use, so decided to make a large version of the logo, where the spacing between the logo holds the charger cable. Lots of ways to place the cable in the logo. Grab the most orange filament you have, set your printer to fast, and stick the result to your wall, above your pride and joy! -
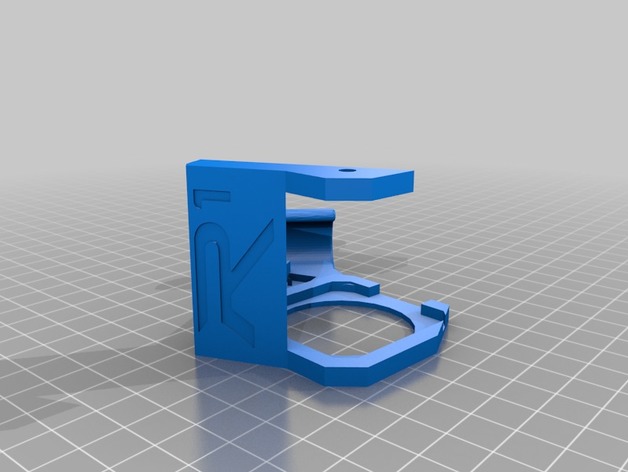
Robo 3D R1 Plus Shroud with Cable Hook 3D Print Model
Summary
This was a simple combination to allow an easier alternative to a cable chain. It seems to work fine if you add the two screws to fasten it down.
Print Settings
Printer Brand:
Robo 3D Printer:
R1 ABS + PLA Model Rafts:
Yes Supports:
Yes Resolution:
.2 Infill:
100% -
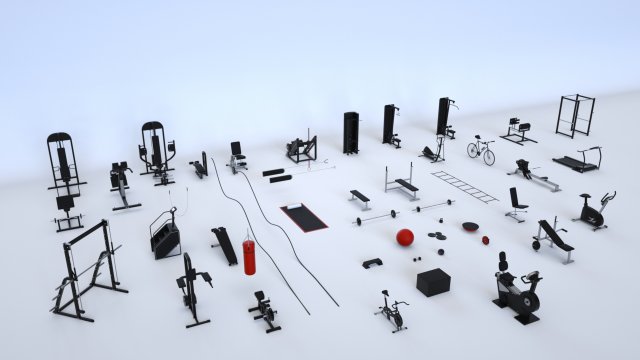
Gym Equipment Collection 47 pieces 3D Model
Massive Gym Equipment Collection 3D modelThis is the best value Gym Pack on the Internet!The following Gym pack contains 47 Assorted pieces of Gym Equipment; 21 of which are rigged and animated.It has been built to render in both Mental Ray and Octane, and all materials have been neatly arranged and attached to one Multi-Sub Material, so you can replace the Materials with your own very quickly and easily.The List of equipment can be seen below:————————-RIGGED / ANIMATED ASSETS————————————–CARDIO————-BikeStationary BikeSpinbike MachineRecumbent Bike MachineEllipticalRowing Machine————-CHEST————-Chest Press MachinePecDec/Flye Machine————-BACK————-Lat PullDown MachineLat PullDown Machine – V-Bar ExtensionPull Up Assist Machine————-LEGS————-Leg Curl MachineLeg Extension MachineLeg Press MachineSeated Calf Raise MachineSmith Machine————-MISC————-Boxing BagSkipping RopeCableCable – Rope ExtensionSuspension Cable————————-NON RIGGED ASSETS————————————–WEIGHTS————-Barbell – HeavyweightBarbell – LightweightEZ Curl BarDumbbellKettleBellIsolated Weights – 5kg, 10kg, 20kgMedicine Ball————-STATIONARY————-BenchBench – InclineBench PressChairPower RackGlute Ham RaiserHip RaiserHyper ExtensionPreacher Curl StationSitup Bench————-MACHINES————-TreadmillStairMaster Machine – Not Rigged————-MISC————-Ab RollerBosu BallFoam Roller + MatBattlingRopesExercise ballFloor LadderBoxStep
-
Cable Carrier 3D Print Model
Summary
Common use snap-fit cable carrier with enclosed top.
Print Settings
Printer Brand:
Prusa Printer:
Prusa Clone Rafts:
No Supports:
Doesn’t Matter -
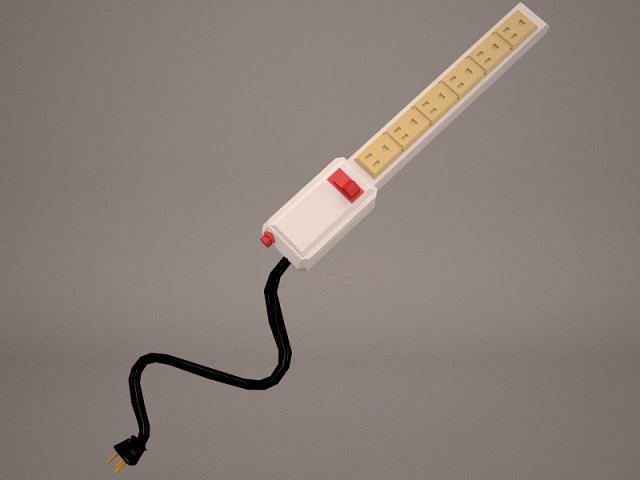
Electrical Outlet 3D Model
strip powerstrip surge protector plug outlet electrical cord sockets extension multiplug lead power cable equipmen
-
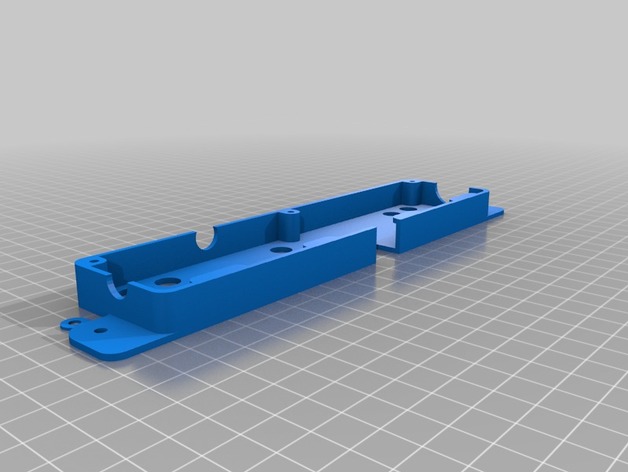
Monoprice (slight remix) Maker Select V2 Rear Cable Conduit 3D Print Model
Summary
This is the same as the version posted by inches, but I added a small name plate and changed the Wanhao lettering to the Monoprice logo on the cover plate. the base is exactly the same file, i just added it here so people wouldn’t have to pull from both thing files. Now those of us with the monoprice clone can accessorize in style. -
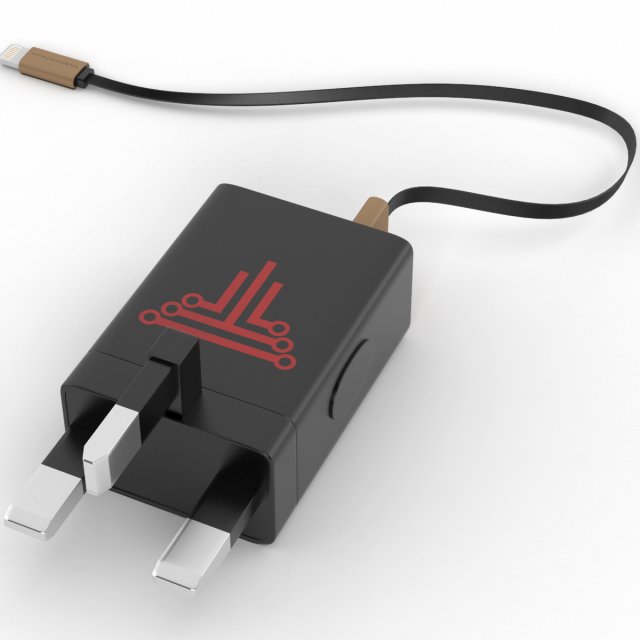
UK charger iphone 3D Model
the model is made by 3ds max with right scale world no confuse to make selection, just grab model on scene and start render,all textures and materiel included like you see on images.i hope you like it just check others models on my profil
-
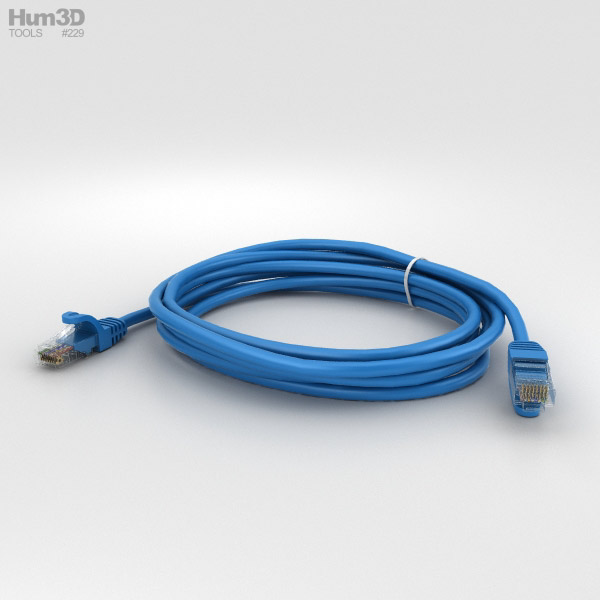
Ethernet Cable 3D Model
The 3d model based on a real
gadget, created according to the original dimensions.
All main parts of the model are separated objects. Therefore, you can easy change all materials. We provide several formats for each model, most of them available by default.
* images rendered with using V-Ray plugin (we don’t include lighting and environment to a set). -
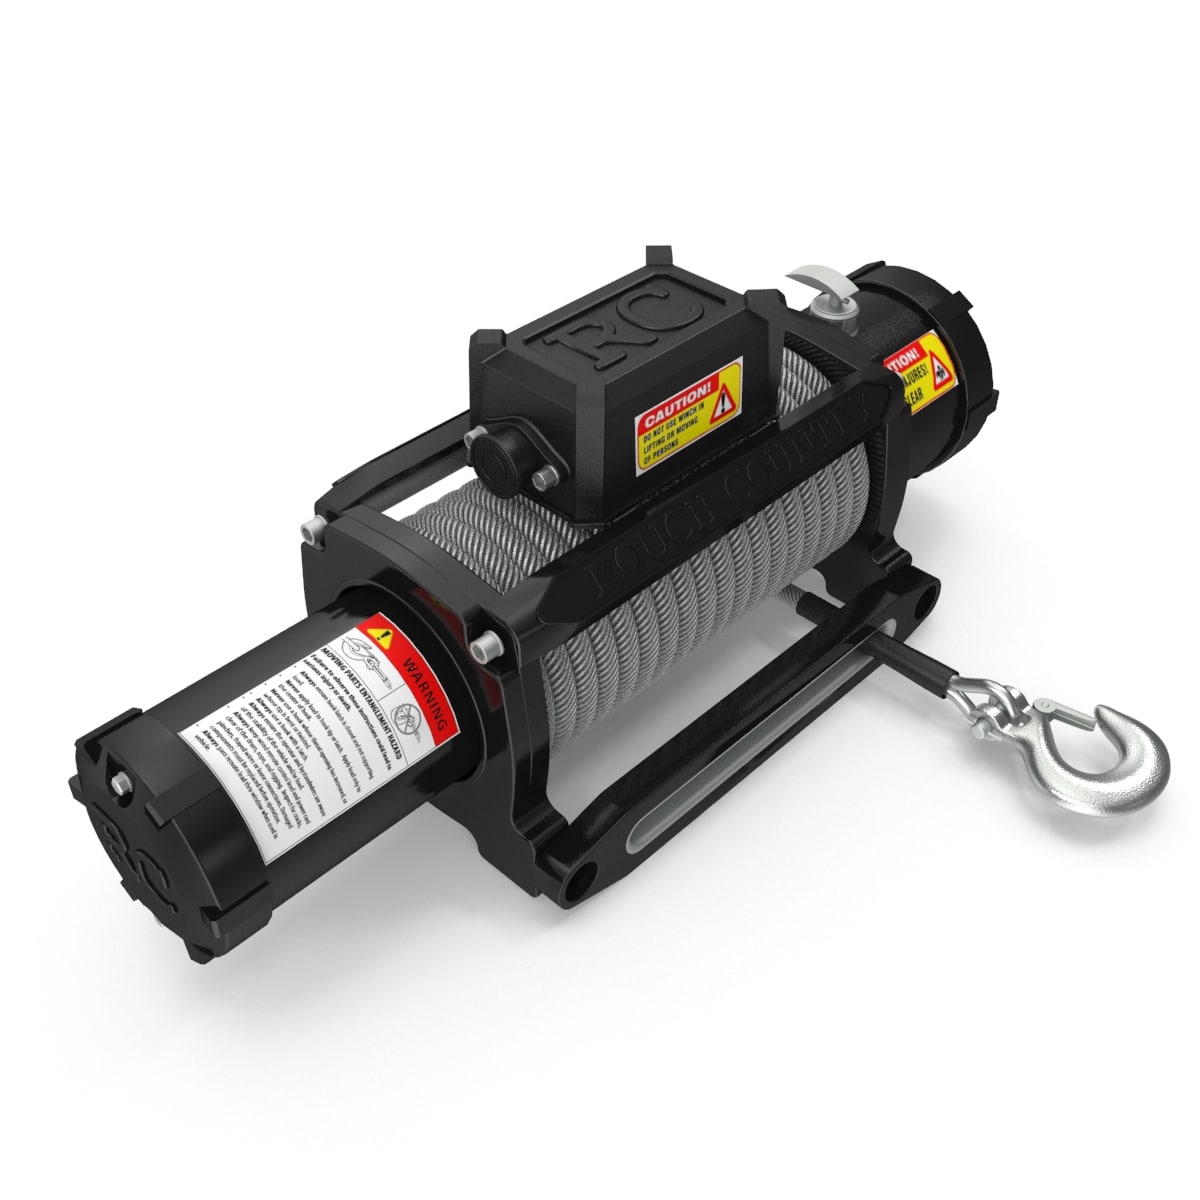
Winch 3D Model
WinchHDRI file Not Includedfiles . 3ds, .fbx, .obj exported directly from 3ds max and may required texture reassignment file .max 2012 saved directly from 3ds max 2015
-

Extension socket 3D model 3D Model
3D model of the Extension socket.This model are intended for subdivision.Lighting rig is not included.Polygon count – 15223 and verticies count 15845textures: 1024×1024
-
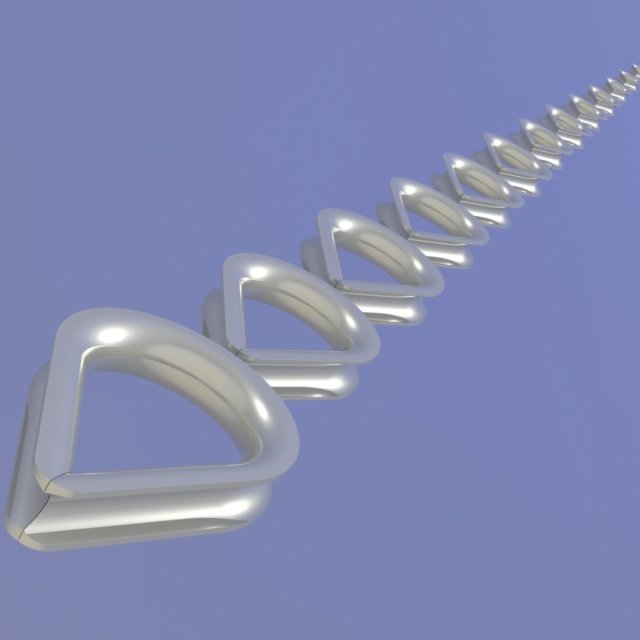
Thimble DIN 6899 SolidWorks 3D Model
Thimble corresponds to the DIN 6899. The model includes all standard sizes. The model is prepared to be added to the user’s library. Version of SolidWorks – 2015. Version of STEP – AP203. Version of SAT – 3.0. Units: mm.
-
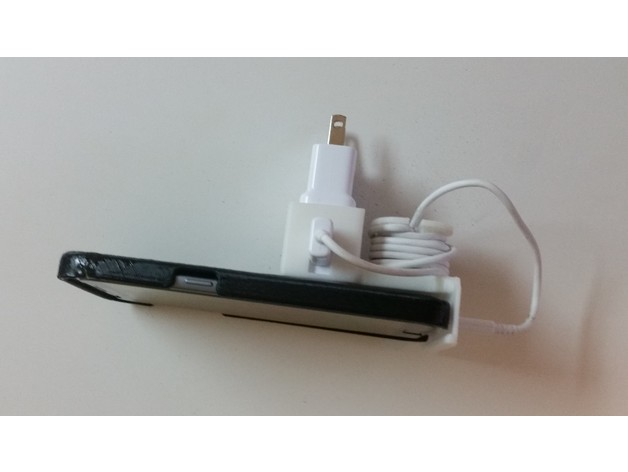
Phone and Cable Holder for Samsung Charger 3D Print Model
Summary
This is a small charging station that holds your phone and keeps the cables organized. There are a few samsung charging stations that hold your phones, but this one will keep the cable organized as well.
When plugged into outlets that hold the charger tightly, the phone can be placed upright or vertically on the charging station, but when the charger droops in the outlet, the phone will have to be placed on it side so it doesnt bend anything. This is a work in progress because I’d like to angle the phone relative to the charger, so this wont be an issue.
Print Settings
Printer Brand:
MakerBot Printer:
MakerBot Replicator Mini Rafts:
Yes Supports:
Yes Resolution:
0.3 Infill:
15% Notes:
These are the print settings I used for this. I’m sure there are many others you can use and still print succesfully. -
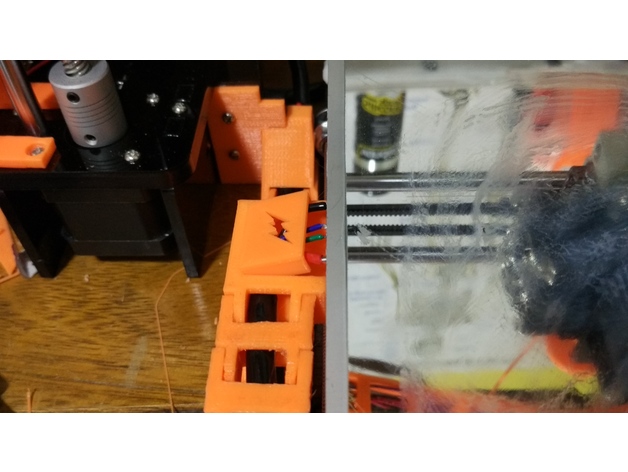
Tampa do cable chain do eixo y 3D Print Model
Summary
Peça para enfeitar o cable chain do eixo y. ela fica sobre o conector. -
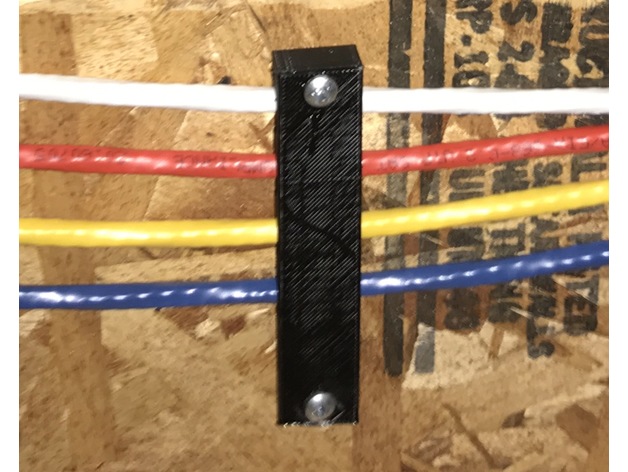
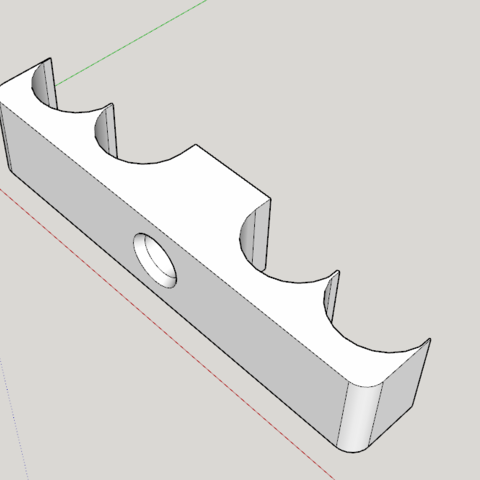
RJ45 Ethernet 5-hole Cable Holder 3D Print Model
Summary
Very simple 5-hole Ethernet cable organizer. 5 holes to accommodate WLAN + 4 other cables. -

Apple iPhone 8 All Colors 3D Model
Apple iPhone 8 Concept LeakI learned all the leaks on the Internet and created final versions of the jubilee IPhone X (8) model.The dimensions of the model are 139,7×71,7mmDisplay size: 132.5×64,5mm, Display aspect ratio: 18,5×9 , Display diagonal:5.8″File Formats: 3ds Max 2014 (V-Ray), 3ds Max 2011 (V-Ray), 3ds Max 2011(Standart), OBJ, 3DS, FBXWrite your comments to the model and ask questions. Also, do not forget to put LikeAfter the official release of the gadget, if my version will be different, I will make the necessary changes to the model and everyone who buys the model before the release will receive the free update. The price after the release will rise
-
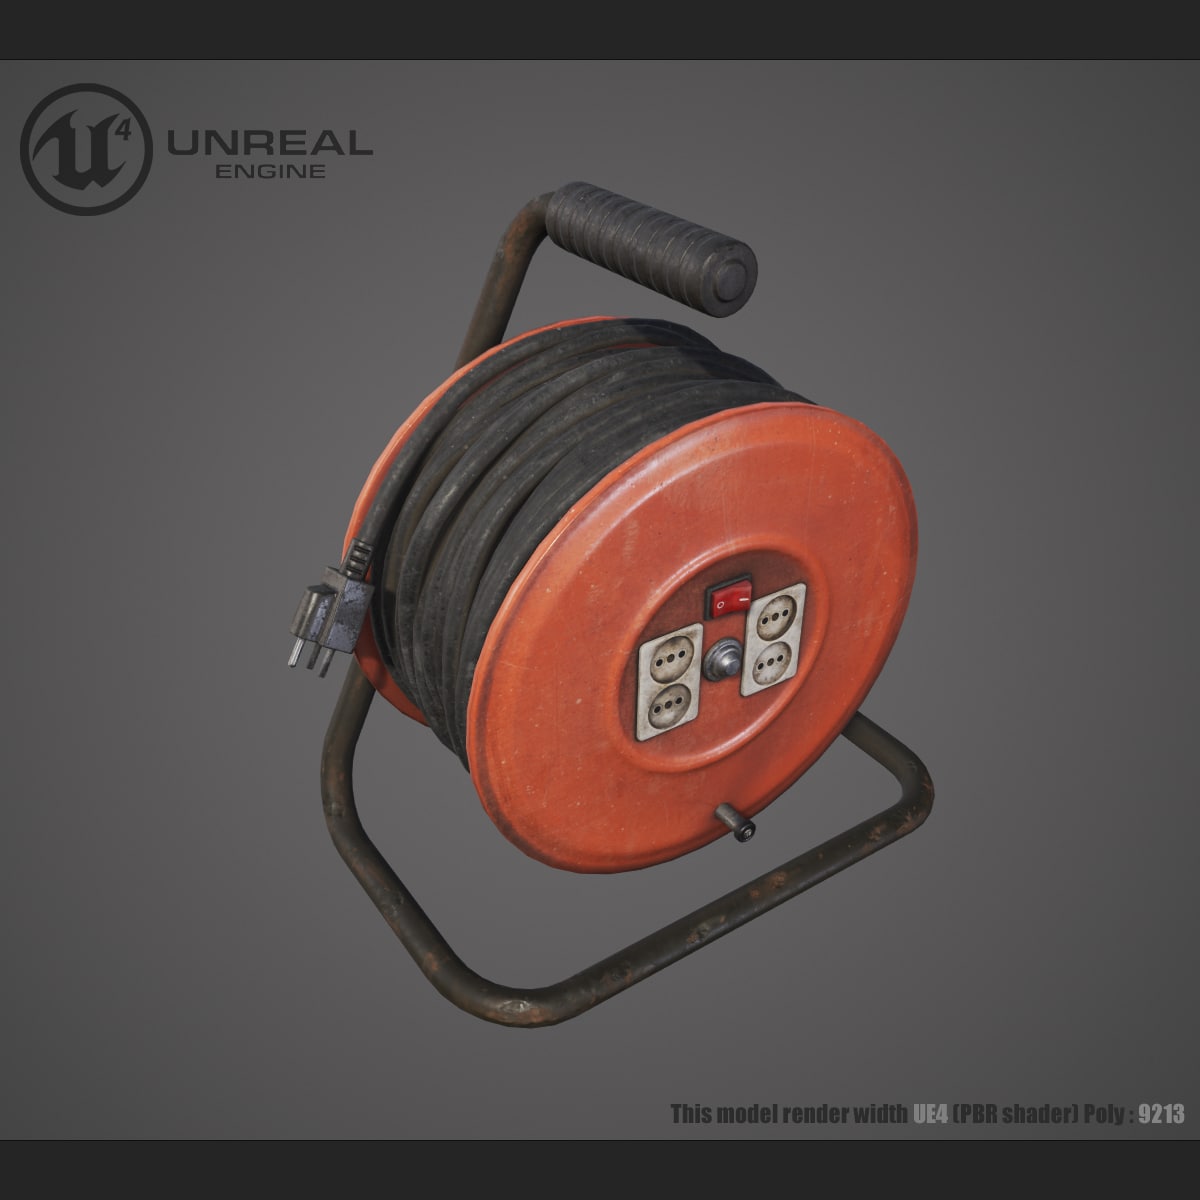
3D model Power Extension Cord 3D Model
Power Extension Cord (PBR shader)Texture size 4096×4096 and 2048×2048 + Normal + AO + Roughness + Metalness 3D format: FBX, OBJ, MAX (2017)The model shown in the Unreal 4 PBR shaders, you can use this model in any engine with support for these shaders.You have to remember, in different engines may be displayed differently
-
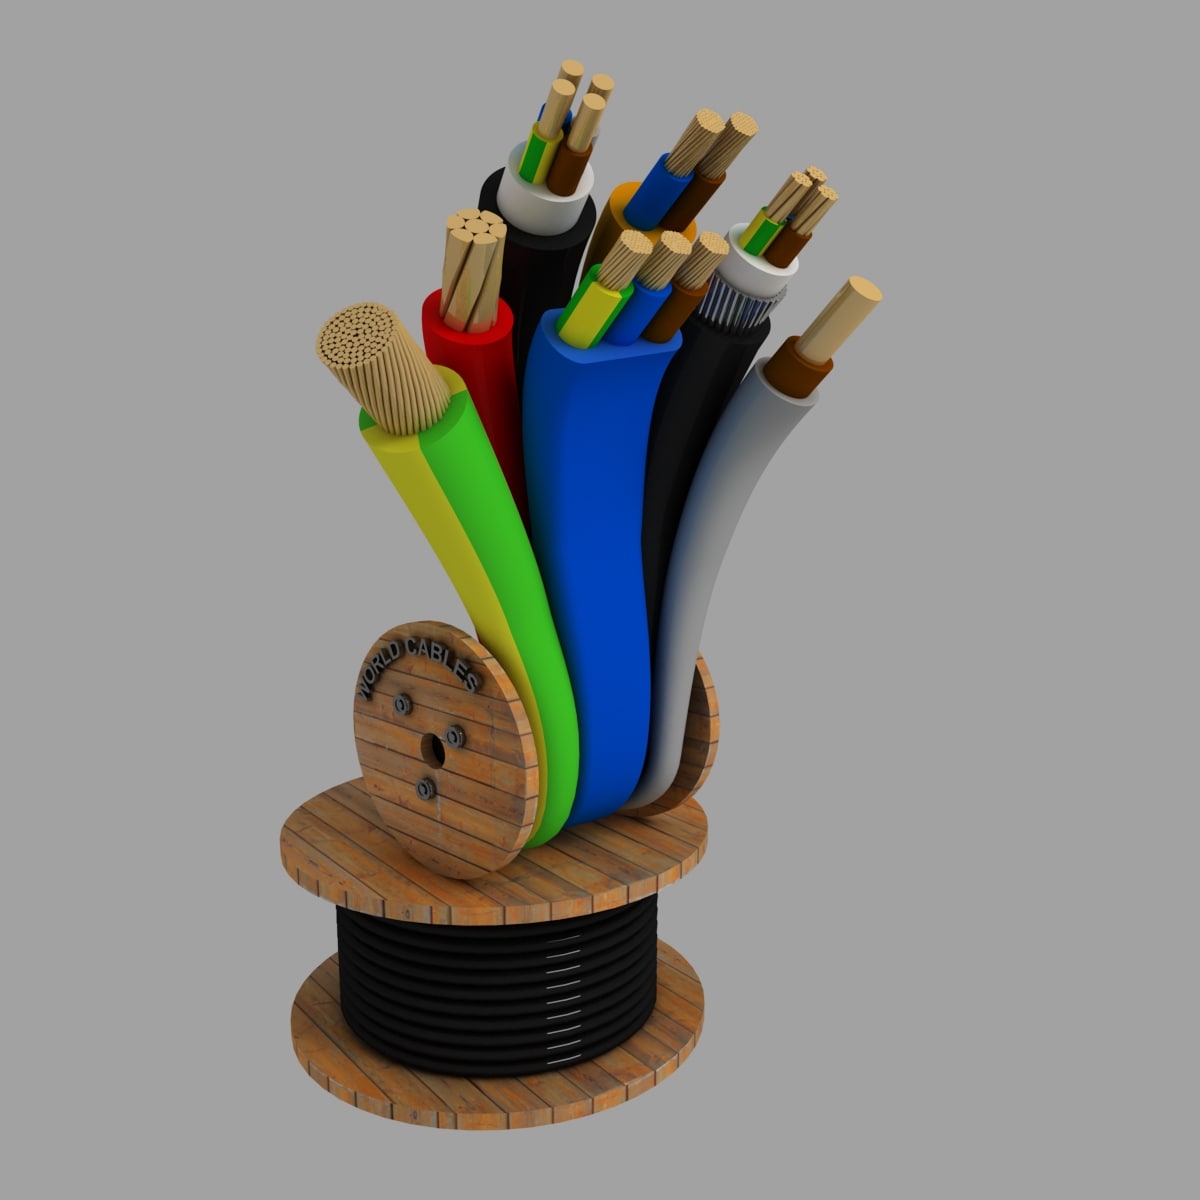
Cables Scene 3D 3D Model
Made in Max 2016 ready to render. –Included files–Max 2016 (archived)Max 2015Max 2013Max 2012OBJ FileTextures–Texture Files–wood-b.tiff 1679X1398 pxwood-d.tiff 1679X1398 pxwires.jpg 756X512 px
-
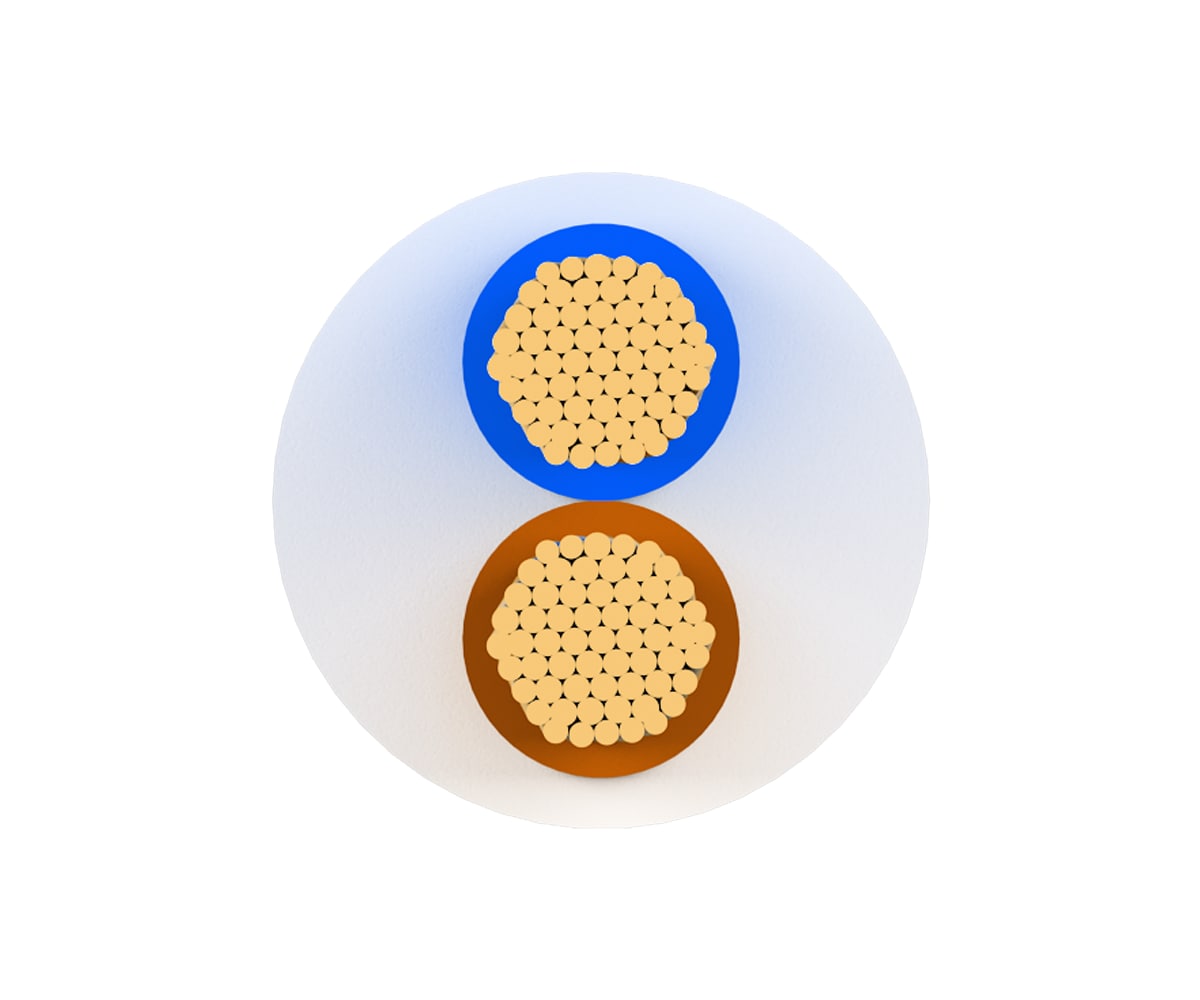
3d Cables Set 3D model 3D Model
All the cables I`ve published seperatly before are in one pack here. There are totaly 15 cable in this pack. Each rar file contains 1 cable include max version files from 2010 to 2016 also fbx file. However only Cable-15.rar file doesn`t have max 2010 and 2011 version file but from max2012 to 2016 versions are included with fbx file. No used textureCable-1Polygons : 15,192Vertices: 19824Cable-2Polygons: 718Vertices: 706Cable-3Polygons: 762Vertices: 916Cable-4Polygons: 252Vertices: 202Cable-5Polygons:734Vertices: 984Cable-6Polygons: 11548Vertices: 13354Cable-7Polygons: 3978Vertices: 5904Cable-8Polygons: 2322Vertices: 4396Cable-9Polygons: 5084Vertices: 11094Cable-10Polygons: 30800Vertices: 15416Turbosmooth Iterations 1Cable-11Polygons: 79344Vertices: 39740Turbosmooth Iterations 1Cable-12Polygons: 92160Vertices: 46100Turbosmooth Iterations 2Cable-13Polygons: 674176Vertices: 337222Turbosmooth Iterations 2Cable-14Polygons: 33797Vertices: 46552Cable-15Polygons: 23377Vertices: 30212
-
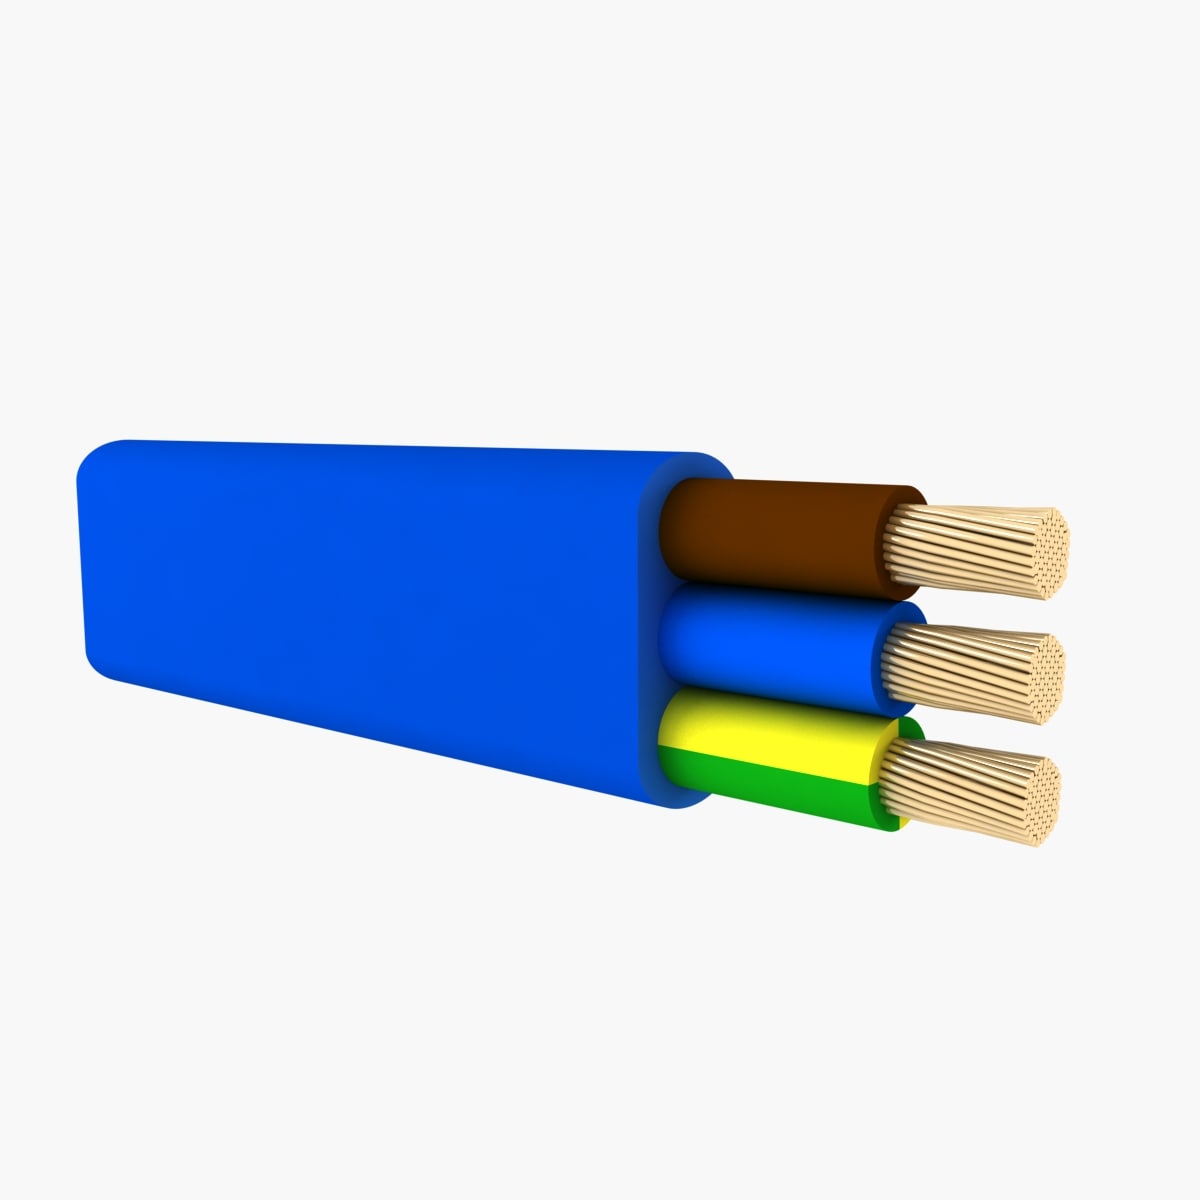
Electric Cable 15 3D Model
It was modeled in Max 2012. I included all the Max versions from 2012 to 2016. Also fbx and 3ds files are included. No used textures, you can change colors as you wish by material editor.
-
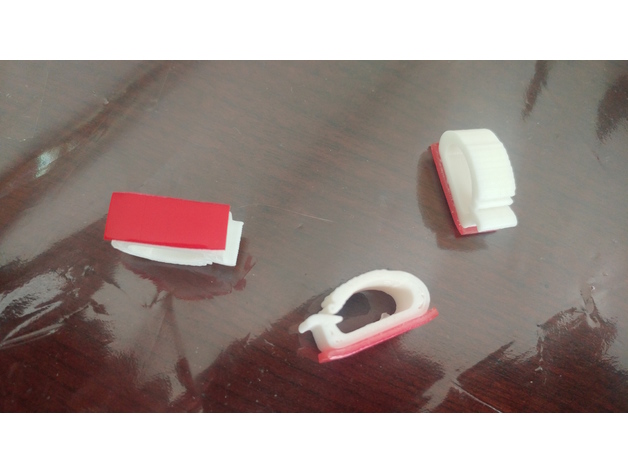
Cable Clamps 3D Print Model
Summary
Clamps snap closed with finger pressure and can be released with a quick twist of a screwdriver blade or your finger. Just add an adhesive-backed foam mounting pad for allows the clamp to be applied quickly to almost any clean, smooth and grease-free surface.
I also add 3DM file for (rhinoceros) in case someone wants to change anything.
Print Settings
Printer Brand:
FlashForge Printer:
Creator Pro Rafts:
No Supports:
No Resolution:
0.2 Infill:
15 -
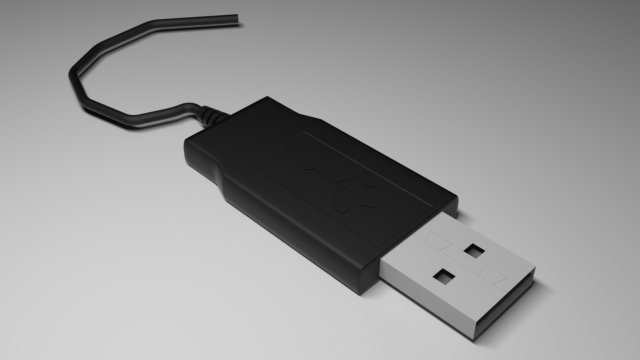
USB cable Free 3D Model
USB cable,cable that end of the usb is still a line , all part of usb are still editable not collapsed.I hope u enjoy it.
-
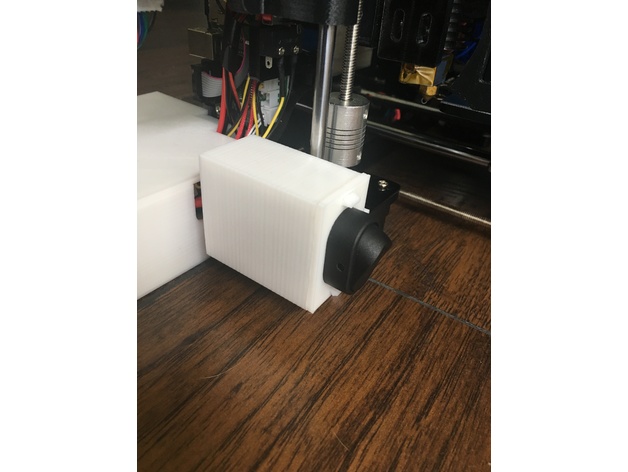
Cable Management & Switch Upgrade for STARTT (TronXY-100) 3D Print Model
Summary
If you are like me and own a STARTT printer you know that the cable management for this printer can use some work. I spent some time trying to use as much of the supplied hardware as I could to route wires and came up with the routing shown in the images. It works very well and drastically cleans things up. To take it a step further I printed a box that hooks to the back of the printer so I could hide the excess wires running to the circuit board.
Additionally, the only way to power the printer off is to unplug from the wall or barrel connector. This is a pain and not good on the machine so I added a LED switch that I purchased from O’Reilly auto store rated at 30amps which is a little overkill, but works great.
Some of the images posted are just to show how I routed the wires and secured the wire bundles in case others are struggling to find a good solution with cable management for this printer.
I had some issues with warping on the parts, but they are functional and look way better than a rats nest of wires. May reprint in the future.
Note: All parts printed with PLA
Print Settings
Printer:
STARTT Rafts:
Yes Supports:
No Resolution:
0.2mm Infill:
10% -
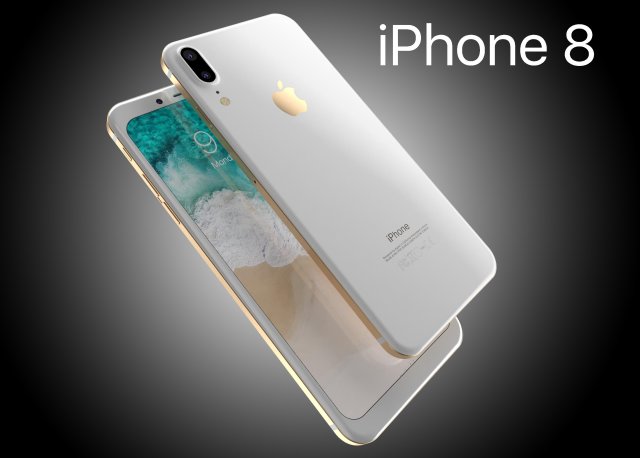
Apple iPhone 8 X Concept Leak Corner edges All Colors 3D Model
I learned all the leaks on the Internet and created few versions of the jubilee IPhone X (8) model.The dimensions of the model are 149,5×72,5mmFile Formats: 3ds Max 2014 (V-Ray), 3ds Max 2011 (V-Ray), 3ds Max 2011(Standart), C4D (Cinema4D), OBJ, 3DS, FBX, 3DM (Rhinoceros)Write your comments to the model and ask questions. Also, do not forget to put LikeAfter the official release of the gadget, if my version will be different, I will make the necessary changes to the model and everyone who buys the model before the release will receive the free update. The price after the release will rise …If you have questions about the model – contact me
-
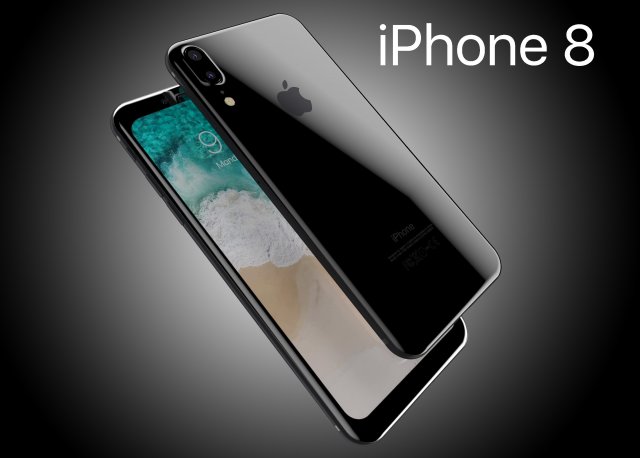
Apple iPhone8 2017 Rounded edges Leak All Colors 3D Model
Apple iPhone 8 (X) Concept LeakI learned all the leaks on the Internet and created 5 versions of the jubilee IPhone X (8) model.The dimensions of the model are 149,5×72,5mmFile Formats: 3ds Max 2014 (V-Ray), 3ds Max 2011 (V-Ray), 3ds Max 2011(Standart), C4D (Cinema4D), OBJ, 3DS, FBX, 3DM (Rhinoceros)Write your comments to the model and ask questions. Also, do not forget to put LikeAfter the official release of the gadget, if my version will be different, I will make the necessary changes to the model and everyone who buys the model before the release will receive the free update.If you have questions about the model – contact me
-
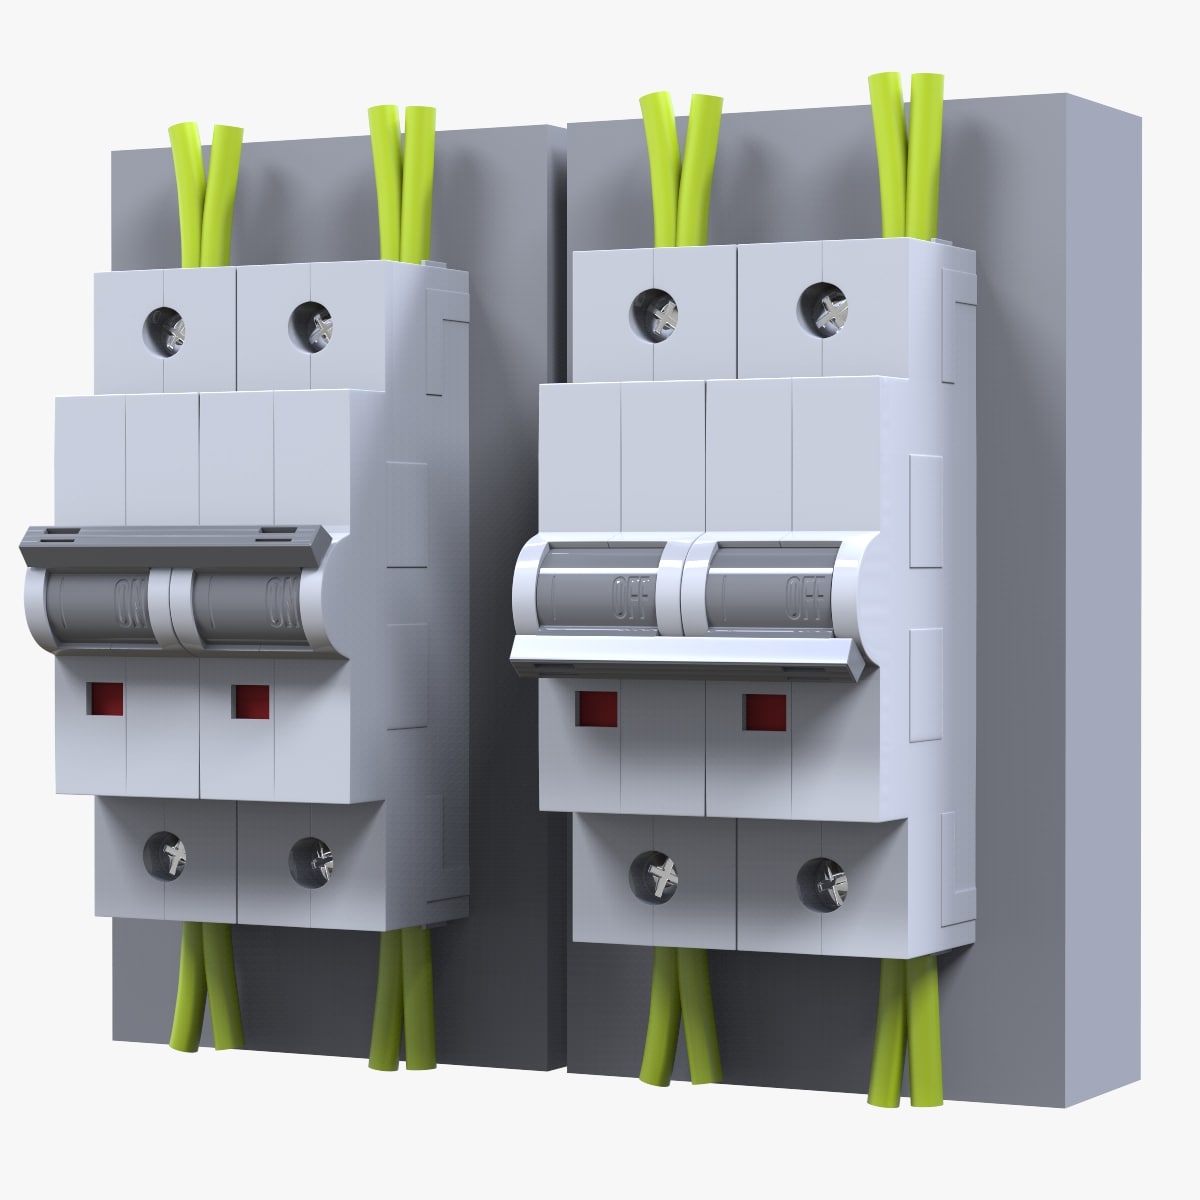
3D Electrical Switche Power model 3D Model
‘Electrical Switche’ is a high & accurate model to add more details and realism to your projects. Detailed enough for close-up renders. *********************************Features:- Model resolutions are optimized for polygon efficiency(in 3DS MAX the meshsmooth function can be used to increase mesh resolution if necessary).- All colors can be easily modified. – No part-name confusion when importing several models into a scene. – No cleaning up necessary, just drop model into your scene and start rendering.- No special plugin needed to open scene.- HDRI background i used is not included*********************************File formats:- Max- FBX (Multi Format)- OBJ (Multi Format)- Cinema 4D R17************************************Texture:-1 JPEG bump map (2048*2048)Available in ‘Accompanying Product Files’ sectionHope you like it! Also check out my other models, just click on my user name to see complete gallery.Infos about my work:I work always my files with a lot of attention to details, good topology and optimizes polygons, I also bring a serious touch in the provided textures.I would like to thank every guys who bought my files, you motivate me to produce some more very nice 3d models.Newlc – 2017
-
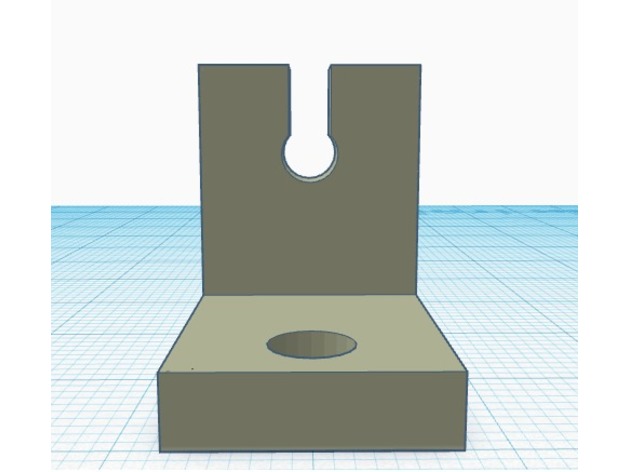
Soporte de cable de celular 3D Print Model
Summary
Soporte para sostener el cable del cargador del celular, asi no se cae al piso. -
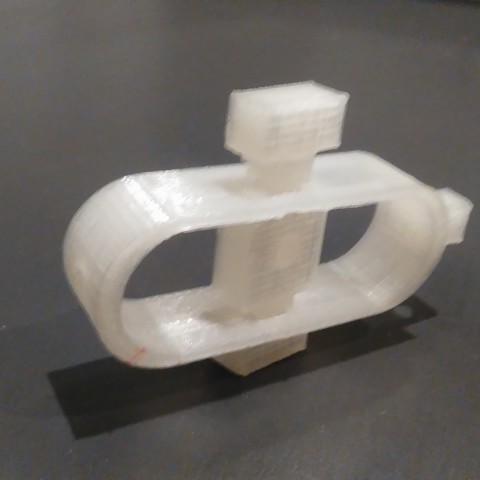
stretcher 3D Print Model
The garden grows, it is now necessary to stretch cables to grow the peas. What better than this strainer;)
-
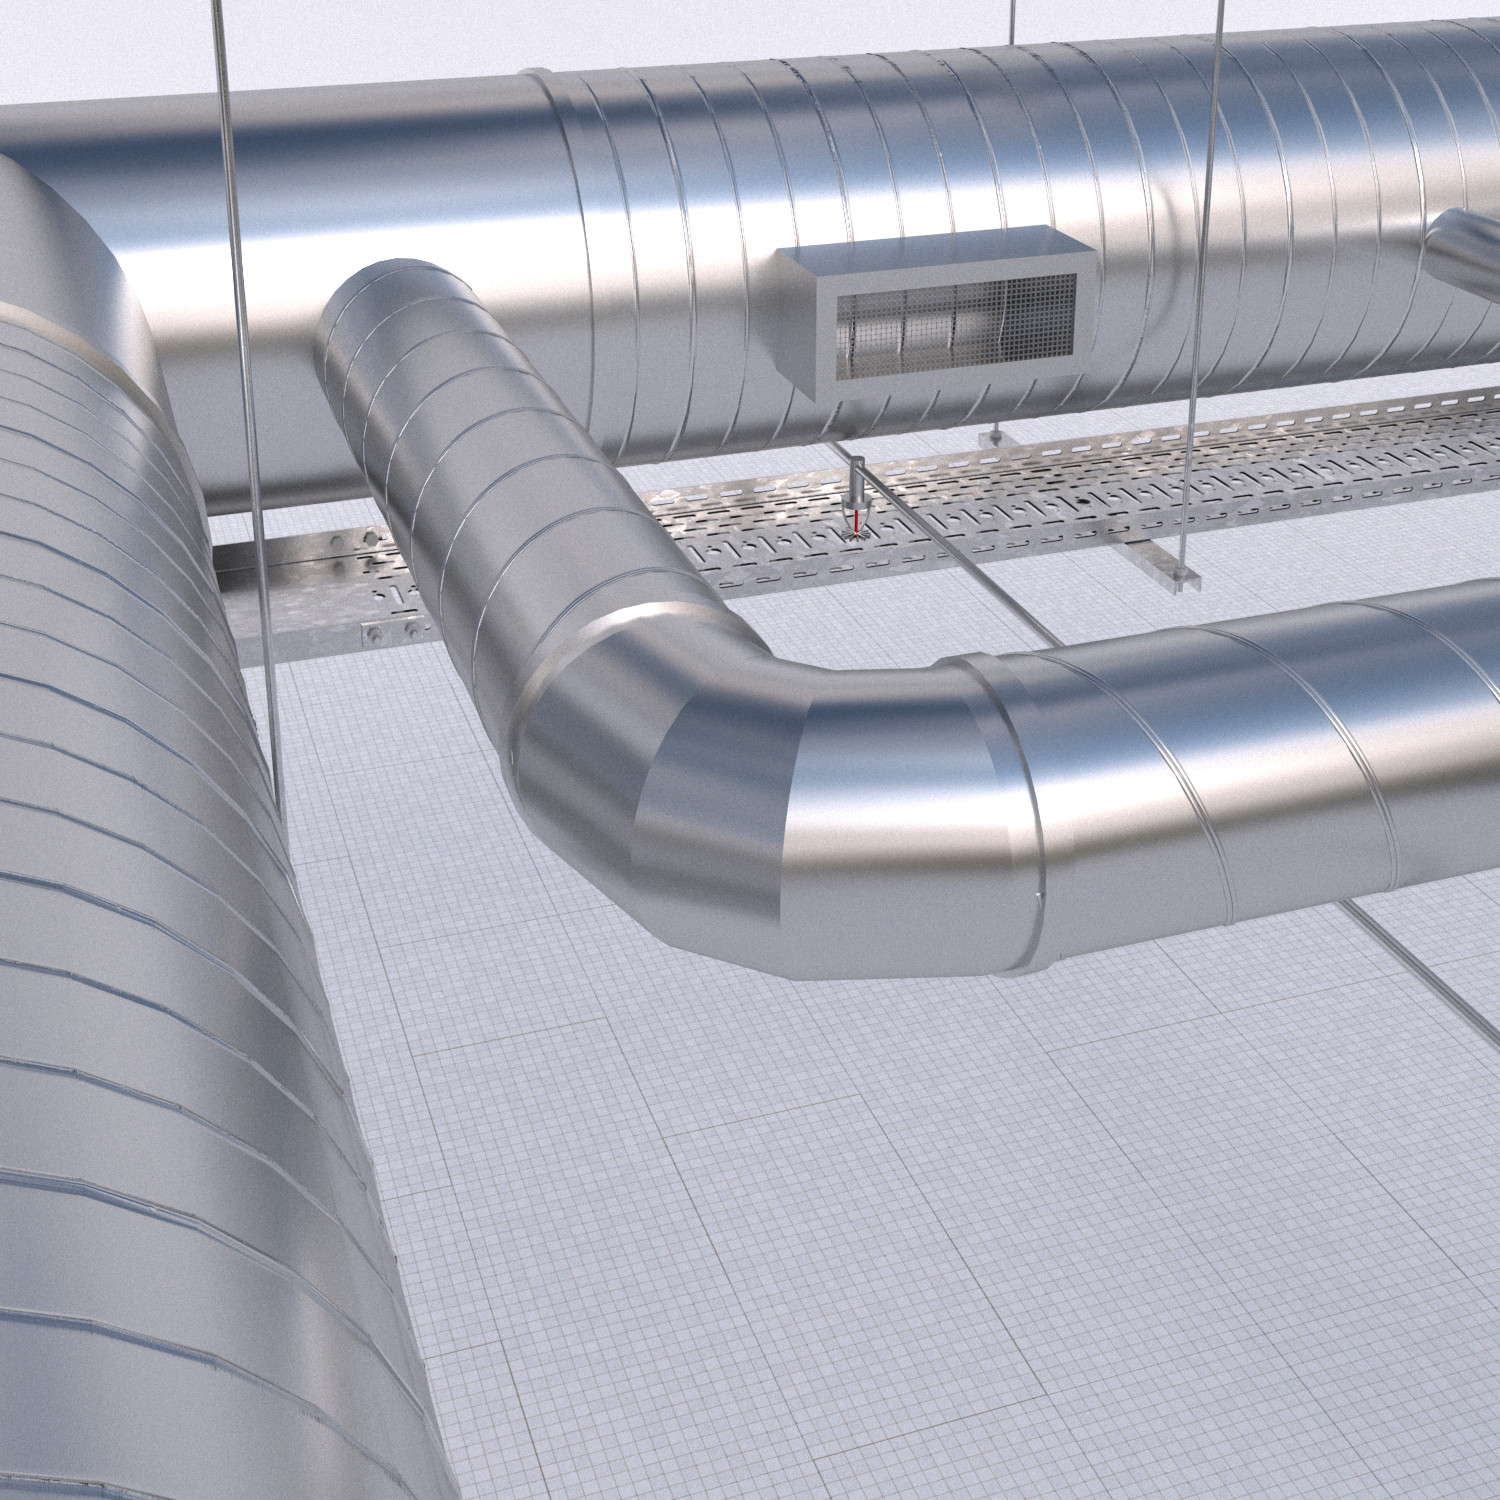
CeilingServicesBundle 3D 3D Model
Bundle of Duct System, Cable Tray System, and Air-conditioning Unit products.
-
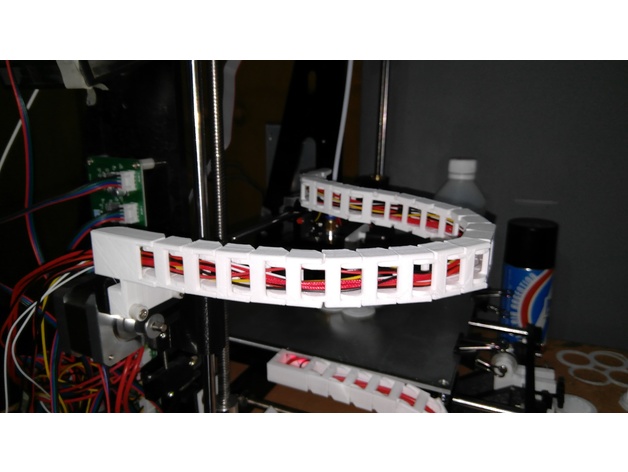
Cable Chain Adapter for Tronxy P802E – Axis X 3D Print Model
Summary
A simple remix from Cable Chain Adapter for Prusa i3 (Hictop) -
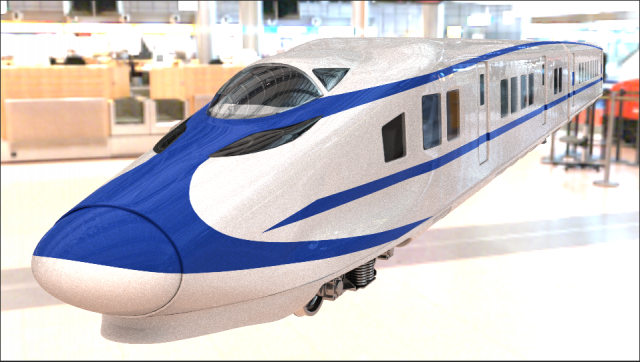
Siemens CRH2 high speed train 3d model vray 3D Model
High Quality polygonal model for subdivision smoothing, no plugins used, materials included. Ready for production render.
-
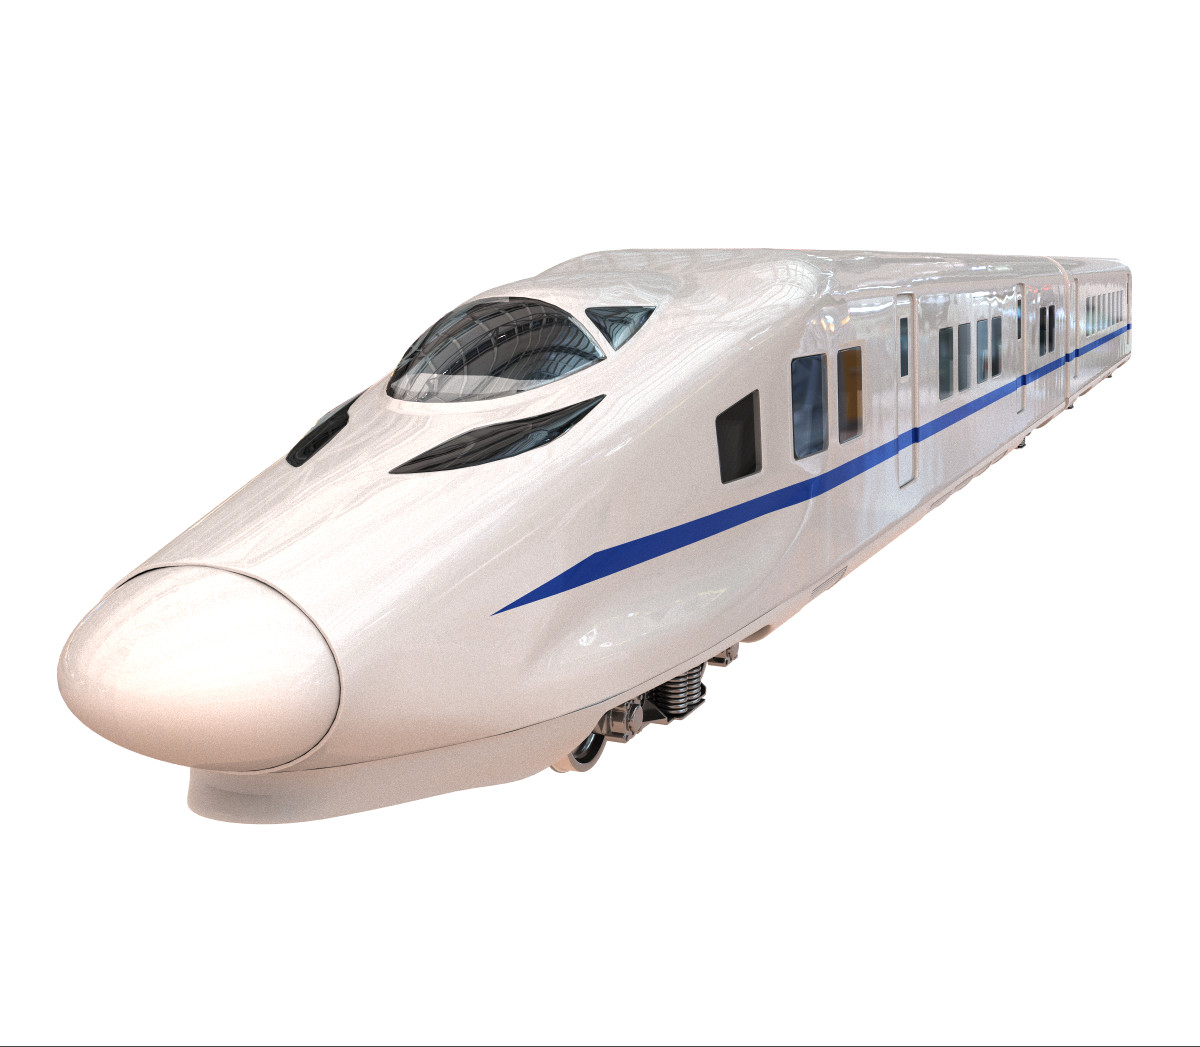
Siemens CRH2 high speed train vray 3d model 3D Model
High Quality polygonal model for subdivision smoothing, no plugins used, materials included. Ready for production render.see attached video preview
-
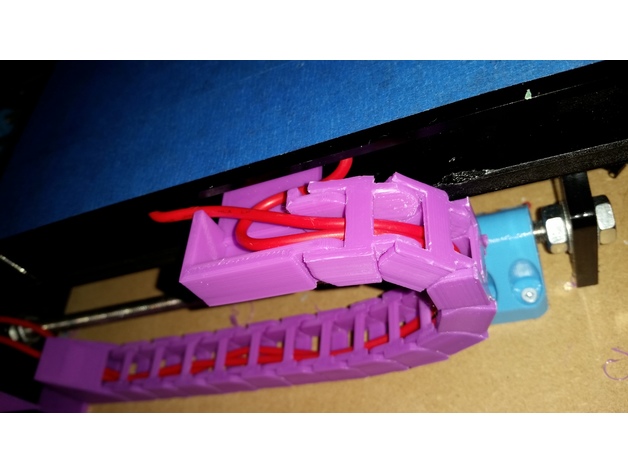
TronXY P802E Y-Axis Cable Chain Remix 3D Print Model
Summary
I saw a number of chains for various frames for the TronXYs but none that fit for the P802E specifically. After printing a couple that didn’t quite fit properly, i ended up remixing the designs of two other chains. This fits properly and doesn’t fray your bed cable.
Print Settings
Printer:
TronXY P802E Rafts:
No Supports:
No Resolution:
0.2 Infill:
30% -
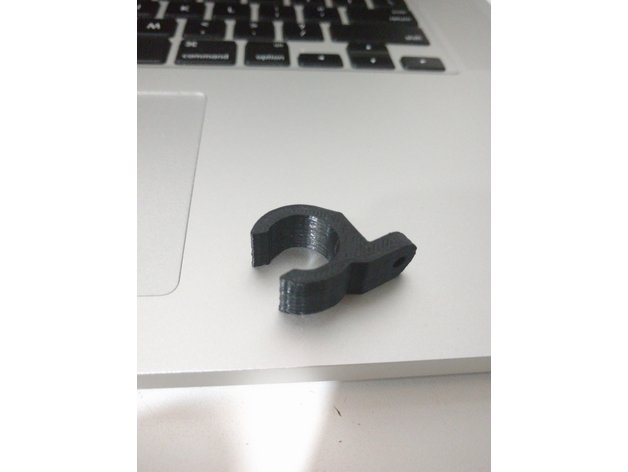
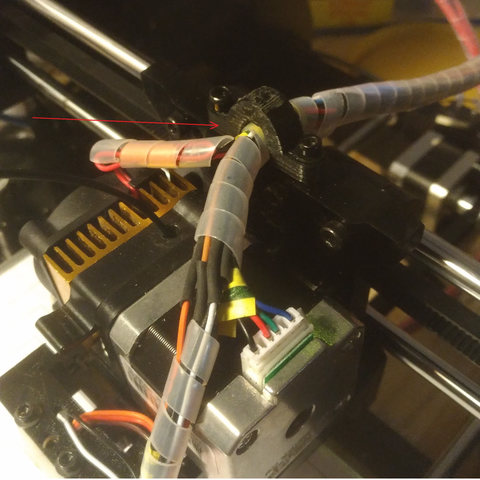
Extruder Cable Support 3D Print Model
Summary
This is 3d printer part for support the cables of extruder and hot end.
Print Settings
Printer:
Graber Pro Rafts:
No Supports:
No Resolution:
0.2 Infill:
15% Notes:
Printed with ABS Premium -

UK Power Plug (Fused) model
— 3d model of a fused Power Plug —- Subdividable, high detail and clean mesh geometry- High resolution textures included (for Metallic / Roughness PBR-Workflow)- Can be used in realtime environments (Game Engines etc.)- Suitable for close-up renders- Model is made of 100 % Quadrangles— Real world dimensions —H x W x D = 7.2 cm x 4.8 cm x 4.2 cm— Included Texture(s) —- PowerPlugFused_BaseColor.tif (4096 * 4096 pixels, Color map)- PowerPlugFused_Height.tif (4096 * 4096 pixels, Bump / Displacement map)- PowerPlugFused_Metallic.tif (4096 * 4096 pixels, Metallic map)- PowerPlugFused_Normal.tif (4096 * 4096 pixels, Normal map)- PowerPlugFused_Roughness.tif (4096 * 4096 pixels, Roughness map)— Important Notes (Lighting / Rendering / File Formats) —- Environment setup as seen in the previews is not included- All renderings show the model in subdivision state 1 (if not stated otherwise)- Native scene format is Cinema 4D (.C4D)