Summary
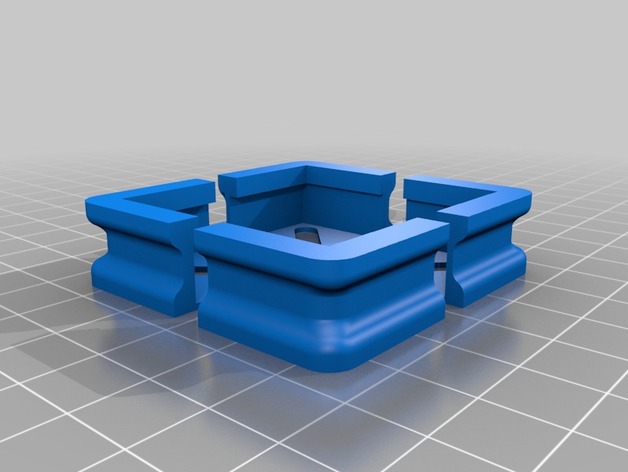
These are replacement brackets for the Steel Battalion controller. These brackets hold the 3 controller blocks together.
Tag: brackets
-
Steel Battalion Controller Brackets 3D Print Model
-
Glass Plate Corner Brackets for Flashforge Inventor 3D Printer (Remix) 3D Print Model
Summary
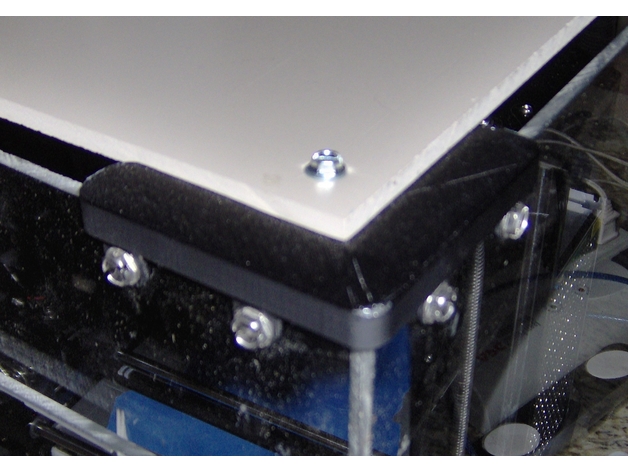
These corner brackets were designed to interface with the Flashforge Inventor 3D printer and the glass plate upgrade from Flashforge USA. Supports glass dimension (L x W x H) 9 x 6 x 0.15 inches. Glass must be installed on top of the Flashforge build tape and aluminum build plate. You may require four washers to prevent the hex nuts from going through the gaps of the corner brackets.
The corner brackets are designed to be of sufficiently low profile to accommodate the build plate movements in proximity of the internal filament spools. The corner brackets can be fastened using the existing build plate hardware and are flush with the surface of the glass.
I would like to say that this project worked on the first attempt but it would be false. What started as a deliberate design attempt turned into a series of trial and error. It took me seven versions to get it right.
Print Settings
Printer:
Flashforge Inventor
Rafts:
No
Supports:
Yes
Resolution:
0.08mm
Infill:
100%
Notes:
In order for these brackets to work at bed temperatures up to 110 degrees Celsius, I recommend using Proto-Pasta Carbon Fiber HTPLA for printing these and then following directions from Proto-Pasta for annealing. I do not recommend the use of regular PLA or ABS for this project as they will become soft and rubbery during heated bed operation.
To ensure compatibility with your system, here are the measured dimensions of the parts that the brackets interface to:
Original Aluminum + PCB + Tape Build Plate (L x W x H) 232 x 153 x 8.25mm
Glass Plate Upgrade (L x W x H) 229 x 152.45 x 3.8mm
I recommend tightening the nuts once the build plate is fully raised and pre-heated to 60-70 degrees Celsius.
How I Designed This
Step 1: New Enhancements
After having used the source version of these for two months, I discovered some areas for improvement. I increased the height of the opening that interfaces with the “Original Aluminum + PCB + Tape Build Plate” by 0.2mm in order to get an even better fit. I also reinforced the external sides of the corner brackets as they seemed to start warping slightly at 110 degrees Celsius (even with the annealed Proto-Pasta Carbon Fiber HTPLA). I think that with the thicker material, which is an insulator, the part should maintain its shape. This is still a work in progress in that I have not yet printed it to verify the fit and conduct some testing; I plan on having it verified and tested next week. -
Hex-a-shelves (with other brackets as well) 3D Print Model
Summary
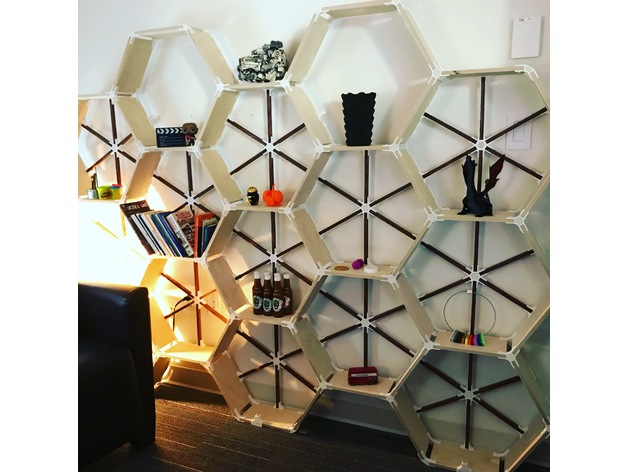
Brackets designed in Fusion360 to allow custom shelf design. I built a shelf for my office (see pictures) which was a huge hit.
Print Settings
Printer Brand:
Prusa
Printer:
i3 MK2S
Rafts:
No
Supports:
No
Resolution:
0.2mm
Infill:
30%
Notes:
Assembly instructions:
Please note before starting, it is best to assemble the pieces with it laying flat on the floor (like the shelf has fallen over) so that the back support brackets can be attached before standing it up. Without the back brackets, you will not have a very sturdy shelf and any weight added to it will result in tears… yours.
I chose to make a pretty hefty hex grid of shelves as you can see in the picture, but you can modify and make whatever design you want. My support brackets are only designed for the hex arrangement and if you alter, you may need to design and print some brackets depending on your design to help support it. There was quite a bit of printing to get this design. The bigger the shelf, the more you’ll be printing… I used 6 full 1kg spools of white filament by the time I was done.
The wood measurements for me below:
Main shelf length 240mm
Back support strip length 205mm, width 15mm. Orientate so you see the edge towards you.
Baltic Plywood Thickness 1/2 inch (or 12.5mm)
I used 1/2 inch white tipped screws for the construction. You only need to go in one side of the bracket, not both.
Printing the brackets, I decided not to have the top and bottom layers filled in. I chose a honeycomb pattern as it matched the overall design. You will need to experiment with your printer to get the strongest results. I used 9 perimeters, no top or bottom, and 30% infill. I printed on both my Prusa MK3 and MK2s.
Depth of shelf is up to you… I made mine 6” deep, that way I could get all the pieces I needed from 1 4’x8’ sheet of plywood. I used Baltic Birch as it has a nice edge after being cut. Don’t forget about the kerf (thickness) of the blade when making cuts to make sure you get accurate measurements. The depth of your shelf could be at least 8” before needing to print a middle bracket for support.
I stained the back support to give it extra contrast, up to you if you want to do the same.
If you use these brackets and post, please credit me @vfxsoup (for instagram) for my design. Initial inspiration came from looking at a design by martcaset on thingiverse. Good luck, it was a really fun project printing all the parts and putting it together. -
Replacement Leg Brackets For Futon 3D Print Model
Summary
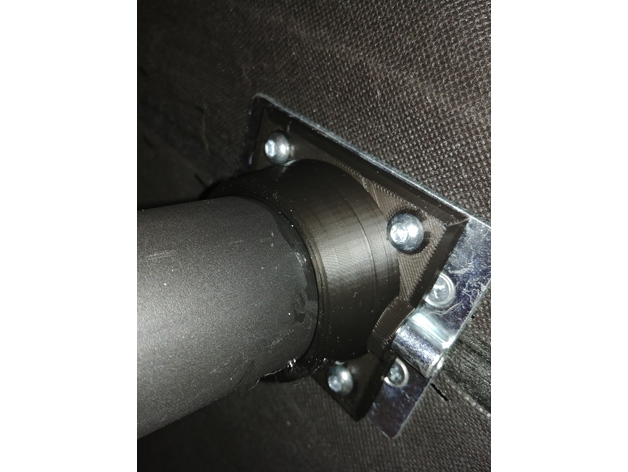
The plastic legs broke on the center of my futon (which for some reason hinges in the middle?!) and so I sawed off the broken bracket portion of the legs and printed replacement brackets which could be epoxied onto the remaining legs. It works great while in place because the brackets don’t need to be load bearing but I would not be able to move the futon without breaking them. So if you use these be smart about it. This futon was a bad design. -
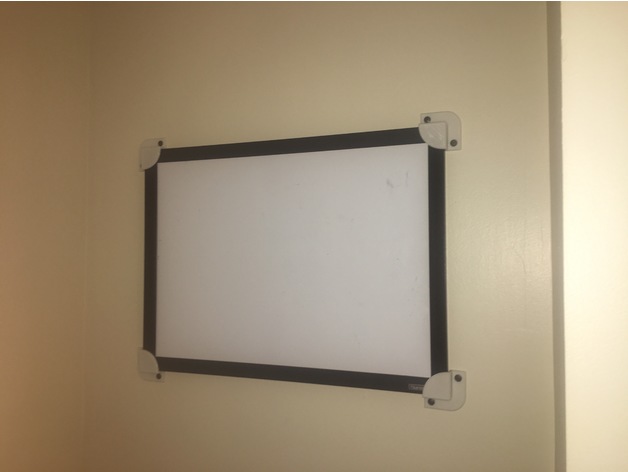
Whiteboard/picture-frame mounting brackets 3D Print Model
Summary
I sturdy and snug way to mount my whiteboard, and I couldn’t find anything similar so I designed this.
Print Settings
Printer Brand:
Afinia Printer:
AFINIA H480 Rafts:
Doesn’t Matter Supports:
Yes Resolution:
0.4mm Infill:
20% -
Corner brackets for printer enclosure, two widths 3D Print Model
Summary
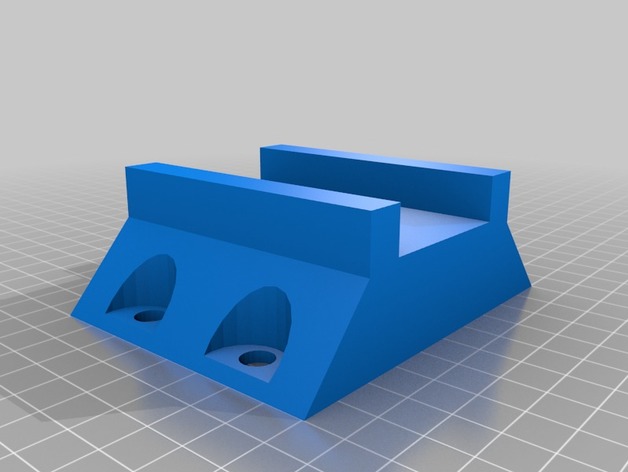
Top and bottom brackets for two thickness’s of material. Top has a shelf for top material. Post acts as a support for shelf when printing. -
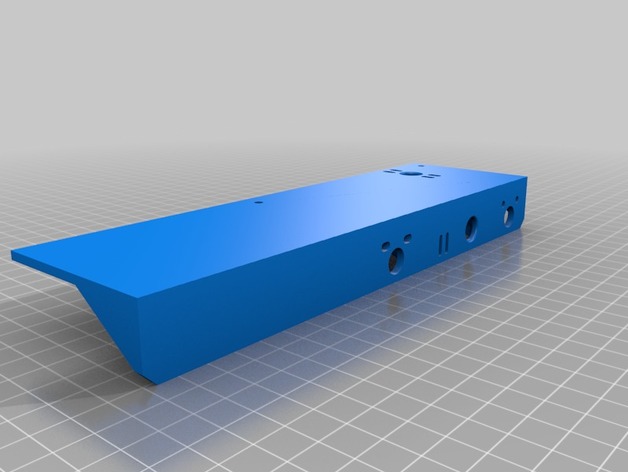
Monoprice Select Mini extended bed brackets 3D Print Model
Summary
Extended the bed brackets to utilize the 300x200mm Anodized Aluminum Y Carriage Plate XL Upgrade for Prusa i3.
I have not tested, printed or fit as I have yet or order the carriage plate. If successful it will use the carriage, heat bed and borosilicate glass from the prusa I3 for the monoprice select mini. -
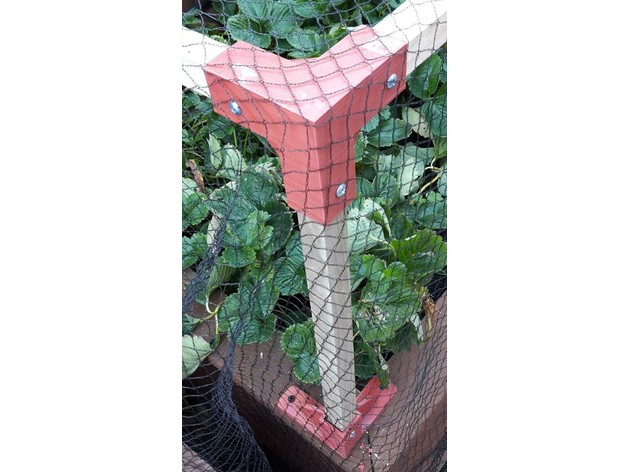
Brackets to join 25×25 mm wooden stakes to create a garden frame 3D Print Model
Summary
I made these brackets to build a framework from 25 x 25 mm wooden stakes for bird netting to protect my raised strawberry garden. It has proven to be very robust (over engineered one might say!) and the bird netting simply drapes over the frame from being attached to an adjacent fence. Because my stakes were a little under size I have drilled each bracket and screwed through the bracket into the stake to give it rigidity.
I enabled supports for the several parts that required bridging of significant area but my printer overrode that and printed quite satisfactorily just as if supports had not been enabled.
Sliced with Slic3r and printed at .3mm layers since surface finish was not a priority.
Print Settings
Printer:
FLSUN i3 clone Rafts:
No Supports:
Doesn’t Matter Resolution:
.3 mm Infill:
25% -
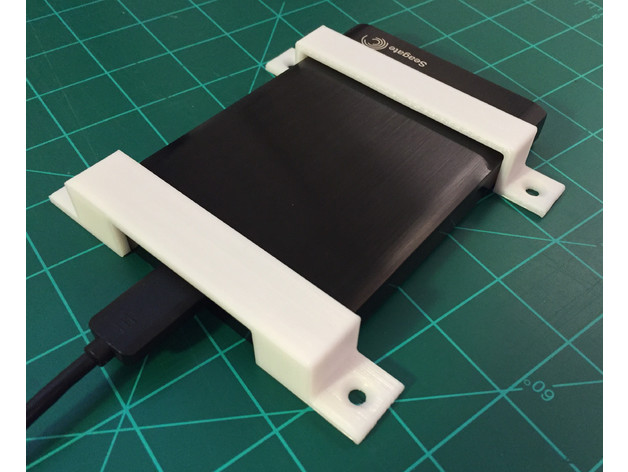
Seagate Backup Plus mounting brackets 3D Print Model
Summary
Use these brackets to mount your Seagate Backup Plus external hard drive under your desk or against any flat surface. The holes are countersunk to fit a #8 screw. See drawings for dimensions.