Tag: Bowden

  • BLV E3D V6 Bowden Extruder Mount 3D Print Model

    BLV E3D V6 Bowden Extruder Mount 3D Print Model

    Summary
    This is a remix of the Pruisa i3 MK3 bowden extruder mount for the BLV linear rail mod with the E3D V6 Extruder.
    I wanted to have a minimal and stiff mount which suits a 40 mm fan and the common BL-Touch (Smart).
    Print Settings
    Rafts:
    No
    Supports:
    Yes
    Notes:
    Resolution and Infill is up to you – I used fairly high infill percentage to make it reliable and stiff

    Assembly
    Nozzle to probe offset is in the images.
    Assembly and what I used:
    11x M3 – nuts
    2x M3x30 – putting the 2 parts (base and cover) together
    2x M3x23 – mounting the 5050Fan
    4x M3x18 – 40 mm Fan + Cover (use whatever you’d like to)
    3x M3x10 – Nozzle-Fan and BL-Touch
    4x M3 screws to mount the base to the linear carrier -> see BLV

  • enclosure bowden extruder mount 3D Print Model

    enclosure bowden extruder mount 3D Print Model

    Summary
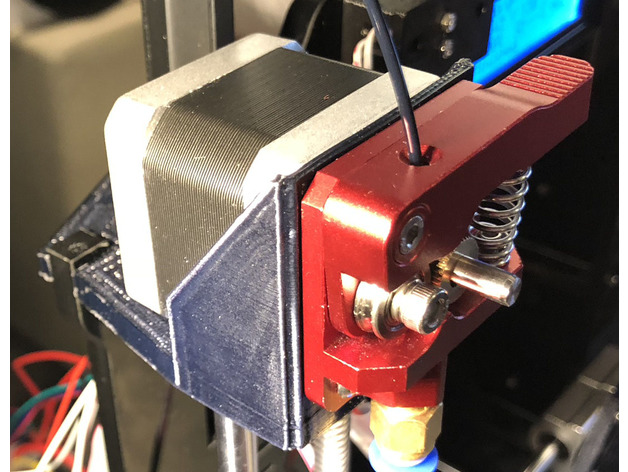
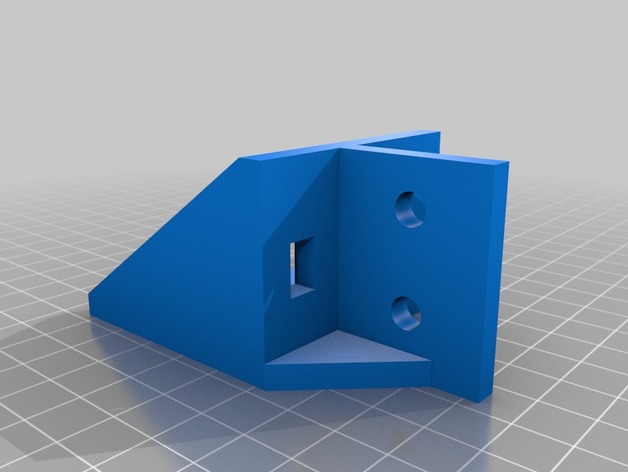
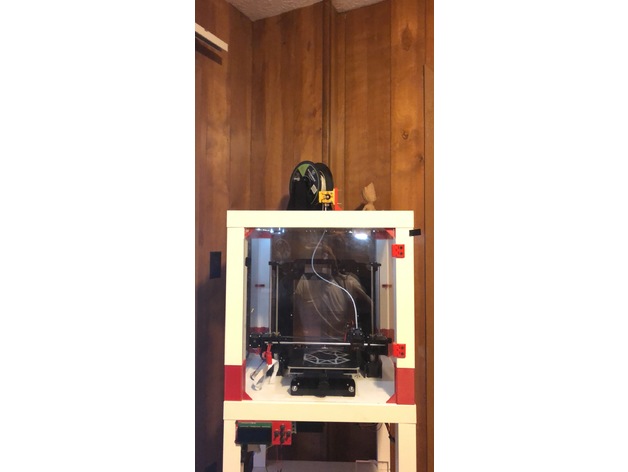
    This is a bracket used on the top of an enclosure to mount an hot end extruder. This allows you to change the filament easily from the outside of the extruder.
    Print Settings
    Printer:
    Anet A6
    Rafts:
    No
    Supports:
    No
    Resolution:
    user option
    Infill:
    20 percent

    Overview and Background
    I wanted to make a mount for the extruder motor for outside of my ikea enclosure so it was very easy to change filaments.
    Lesson Plan and Activity
    To make it easy to change filaments from outside of the enclosure.

  • Bowden High Stepper Motor Mount for Hictop Acrylic Printer 3D Print Model

    Bowden High Stepper Motor Mount for Hictop Acrylic Printer 3D Print Model

    Summary
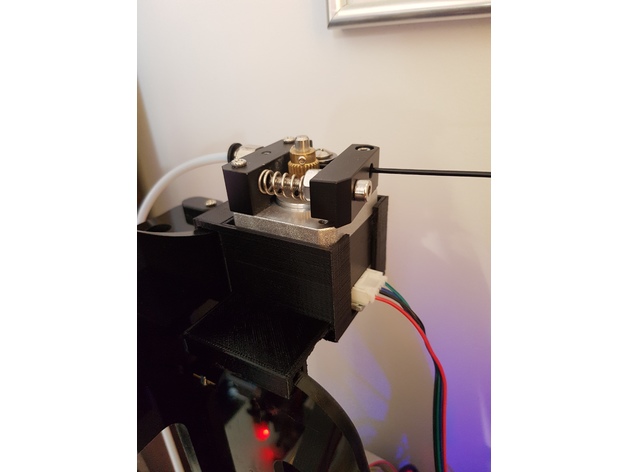
    This is a remix of mechaet’s motor mount (V4) for conversion of the Hictop acrylic printer to a Bowden or style. Supports 2 extruders (one motor on each side). This piece replaces the entire top left acrylic piece and has a built in mount for a Nema 17 motor. Sits front and center for easy filament tube down to the nozzle. If you want this one on the top-right just mirror the print in your tool of choice.
    Print Settings
    Printer:
    Hictop i3 Acrylic
    Rafts:
    No
    Supports:
    No
    Resolution:
    .2
    Infill:
    25%

    Post-Printing
    Mine required some slight sanding to get it to fit in place, but otherwise works fine.
    How I Designed This
    Modeled in Tinkercad based off of mechaet’s V4 https://www.thingiverse.com/thing:1816832

  • P905X E3D V6 Bowden 3D Print Model

    P905X E3D V6 Bowden 3D Print Model

    Summary
    Version pour E3D V6 Bowden.
    A faire avec support sur le lit

  • CTC PRUSA i3 Pro B Bowden Drive with Autoleveling 3D Print Model

    CTC PRUSA i3 Pro B Bowden Drive with Autoleveling 3D Print Model

    Summary
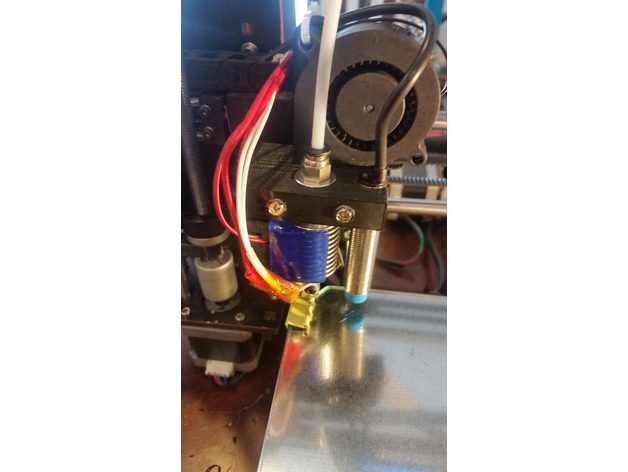
    My CTC hotend broke and I was without a 3D printer. Luckily I am in the process of building a HEVO and therefore I had the mount, hotend, extruder, retainer and duct already on hand. By drilling two extra holes and removing a little plastic near the X endstop flag in the mount, I made it fit the CTC carriage perfectly. Again, since my printer was down, I didn’t design this in CAD and just modified the piece I had by hand and then created the STL for thingiverse so no guarantees that it will fit. I left a bridge in there for support that you will have to break out and I put in two mounting options; one way the way I mounted it by drilling holes, and another for mounting it with M3 brass fittings to lower the mount closer to the bed. The HEVO mount has the proximity probe spot already, so I figured I should add that sensor as well.
    If you are ready for a double mod, keep reading…
    Items Needed:
    Soldering Iron
    several connectors
    connector wires (from breadboard)
    Arduino IDE
    an extra Arduino as ISP to update the bootloader on the CTC Aduino
    Marlin firmware
    BOM:

    1 x 5V NPN M12 inductive sensorhttps://www.aliexpress.com/item/M12-4mm-detection-5VDC-NPN-NO-LJ12A3-4-Z-BX-5V-cylinder-inductive-proximity-sensor-switch/32553311139.html?spm=2114.13010608.0.0.iDrnoz

    3D Printer Accessories V6 J-Head Hotend RepRap Extruder for 1.75mm Filament, Direct Feed or Bowden. w/ 0.4mm Nozzle, 12V fan, and 3ft PTFE Bowden Tube
    ALPTAhttp://a.co/9PxYSl4

    8.5″ x 8.5″ galvanized 28ga metal plate to place between the hotbed and glass plate. This ensures that the sensor is triggered properly. Without it you will need to either not use glass or you are going to be very close to the nozzle level. Ferrous metals are the best at triggering proximity sensors, that’s why I didn’t use aluminium.

    8.5″ x 8.5″ x 0.880″ glass plate. I prefer to print on glass.

    Extruder of your choice (e.g. find one on thingiverse)
    Process

    Prepare and install your material for your heat bed. Cut the galvanized plate with some metal shears to size. IMPORTANT: make sure the metal does not short out any contacts on the heated bed. You need to cut around those areas!.

    Get the glass plate from your a hardware store. They will cut it to size if you ask nicely. You need the corners angled to have room for the screw heads.

    Prepare and install the J hotend and proximity sensor with the extruder mount, retainer and duct from the HEVO project.

    Solder the 5V and Ground connections to the board. I chose to use add a connector for easy disconnect.

    Make a backup of the original settings. These were mine:
    15:07:46.286 : echo:Hardcoded Default Settings Loaded
    15:07:46.286 : echo:Steps per unit:
    15:07:46.287 : echo: M92 X78.74 Y78.74 Z2560.00 E105.00
    15:07:46.287 : echo:Maximum feedrates (mm/s):
    15:07:46.287 : echo: M203 X400.00 Y400.00 Z2.00 E45.00
    15:07:46.287 : echo:Maximum Acceleration (mm/s2):
    15:07:46.287 : echo: M201 X1400 Y1400 Z100 E80000
    15:07:46.287 : echo:Acceleration: S=acceleration, T=retract acceleration
    15:07:46.287 : echo: M204 S1400.00 T5000.00
    15:07:46.287 : echo:Advanced variables: S=Min feedrate (mm/s), T=Min travel feedrate (mm/s), B=minimum segment time (ms), X=maximum XY jerk (mm/s), Z=maximum Z jerk (mm/s), E=maximum E jerk (mm/s)
    15:07:46.287 : echo: M205 S0.00 T0.00 B20000 X13.50 Z0.30 E5.00
    15:07:46.287 : echo:Home offset (mm):
    15:07:46.287 : echo: M206 X0.00 Y0.00 Z0.00
    15:07:46.287 : echo:PID settings:
    15:07:46.287 : echo: M301 P19.86 I1.00 D98.93

    Upgrade your bootloader. Here is how to do it:

    Time to download, configure and install Marlin. Use the GEEETECH example in the examples folder as a base. I attached my Configuration.h file here for reference with auto leveling enabled: https://www.thingiverse.com/download:4494314 . Using this config will consume 94% of the memory. So there is hardly anything left for additional features.

    Last but not least make sure you adjust the z-axis in the LCD until you get the nozzle in the correct location (mine was -0.25). Then make sure you save your settings.
    *ANOTHER BENEFIT of UPGRADING YOUR FIRMWARE**
    The CTC is over-extruding (at least mine was). In Cura I had set the correction in the start script, but with the new firmware I changed the E stepper from 105 to 95 in the configuration.h, so no more start code fix needed!
  • Anet A8 Stock Bed Level Sensor Mount for Bowden Setup 3D Print Model

    Anet A8 Stock Bed Level Sensor Mount for Bowden Setup 3D Print Model

    Summary
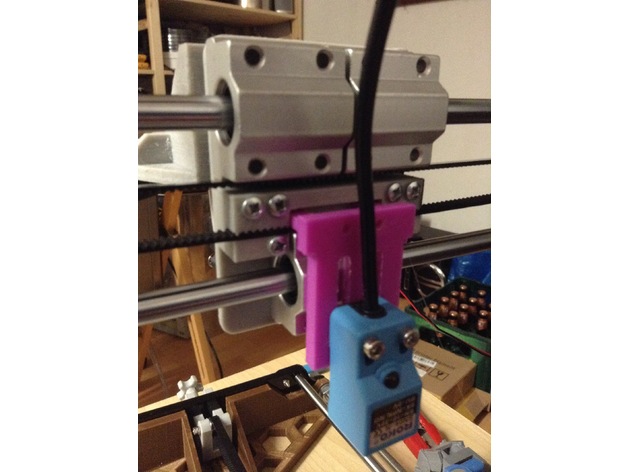
    Made for the original Anet A8 Auto Bed leveling Sensor to fit on these Beltholders: https://www.thingiverse.com/thing:1433295
    which i used to upgrade to this bowden setup: https://www.thingiverse.com/thing:2099577
    Works just like the original Anet one, but smaller. Uses the two screws that come with it and two screws to screw it to the belt holder.
    Happy Printing 😉
    Print Settings
    Rafts:
    Doesn’t Matter Supports:
    Doesn’t Matter Resolution:
    0,2 Infill:
    10%

  • 3030 bowden motor mount 3D Print Model

    3030 bowden motor mount 3D Print Model

    Summary
    A remix of Thingiverse part 2565427 but for 3030 aluminum extrusion.
    Added bracing and additional mounting holes for M6 bolts.
    Print Settings
    Printer:
    Doesn’t matter Rafts:
    No Supports:
    No Resolution:
    whatever cranks your handle (I used .16) Infill:
    again, whatever floats your boat (I used 20%)

  • Customizable anti-backlash bowden coupling clip 3D Print Model

    Customizable anti-backlash bowden coupling clip 3D Print Model

    Summary
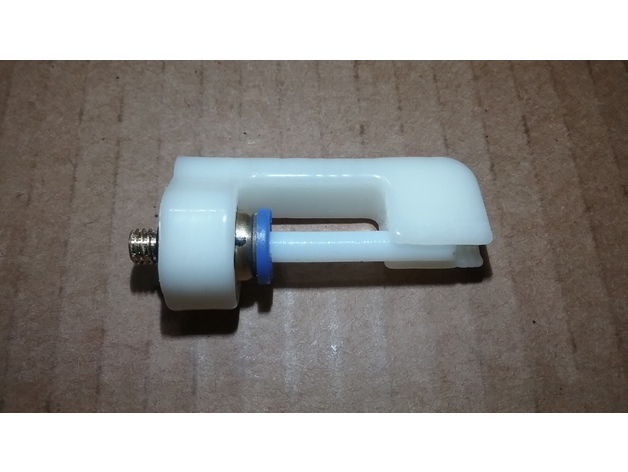
    There are many designs like that, the one I picked for source is just the most pretty I used, it’s not that it was of particular value in terms of inspiration. Problem is all these designs are either wrong size or ugly and never customizable so I thought I’d solve that problem once for myself (and share here while I’m at it).
    The dimensions of supplied stl is for all e3d couplings I have around, if you have different hardware, feel free to customize.
    Note: for some reason customizer refuses to open now, so I can’t tell if it works well, but you can either use prebuilt .stl or download .scad and customize. I’ll check it again later and will either adjust it or remove WIP.
    Print Settings
    Rafts:
    No Supports:
    No

  • Full Bowden suite Infitary M508 + Bltouch 3D Print Model

    Full Bowden suite Infitary M508 + Bltouch 3D Print Model

    Summary
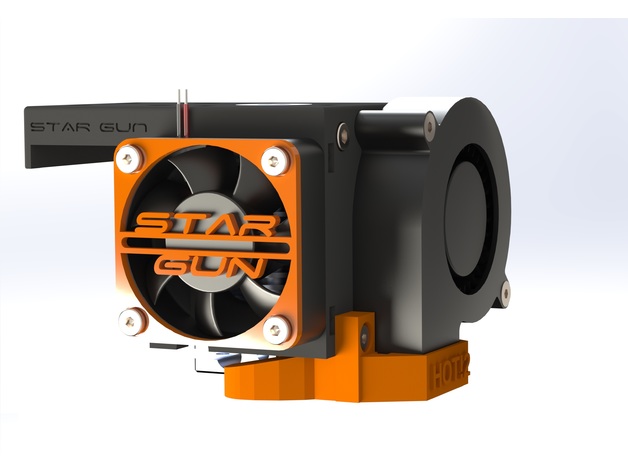
    This includes V6 E3D hotend mount, extruder mount and bltouch mount that has been calibrated for hotend height (depends on the hotend you bought, may need further customisation for bltouch mount)
    Requires redrilling block for X endstop to match the hotend holder (Used the Anet A8 upgrade by Nicolaferrara82)
    The extruder mount doesnt use screws, just sits comfortably between a 3 points on top of “left” (looking straight at it – See pictures) above Motherboard. Can be tightened in design, but I like that it isn’t that snug. You will put it under wing of Z axis top rod holder then slot in place.
    Print extuder mount with supports!

  • Anet Autolevel sensor mount(V6 hotend + Bowden) 3D Print Model

    Anet Autolevel sensor mount(V6 hotend + Bowden) 3D Print Model

    Summary
    I originally printed the first one. I really like the design. The only problem is that the sensor sits too low to use the v6 hotend with a bowden extrusion setup. The highest you can raise it on the original, you were stil about 4mm away from the print surface.
    So I chopped it a bit to make it higher, and gave it some more adjustment room.
    I have not tested it. I haven’t had a chance to print it yet as the printer is not quite together yet.

  • Hotend setup for custom router 3D Print Model

    Hotend setup for custom router 3D Print Model

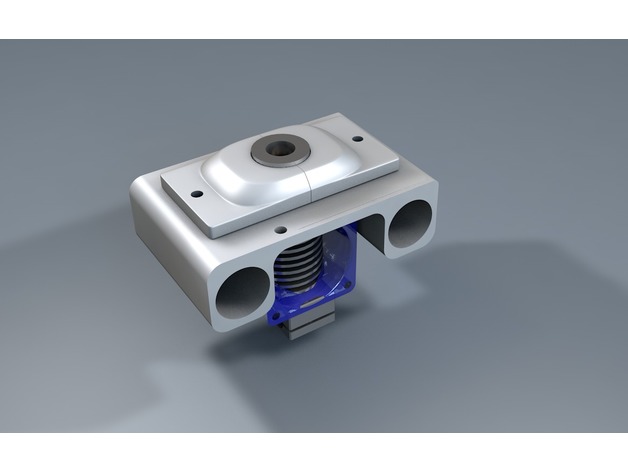
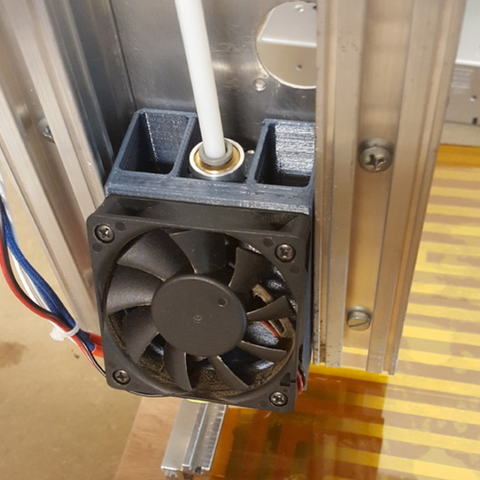
    This is a hotend setup for my custom router. The idea behind it is that the airflow can reach the cooling fins of the hotend without cooling the printed object. It’s ment for ABS & PET-G printing. Sorry PLAérs ;-).

  • Bowden tube strain relief used on extruder motor 1.75mm 3D Print Model

    Bowden tube strain relief used on extruder motor 1.75mm 3D Print Model

    Summary
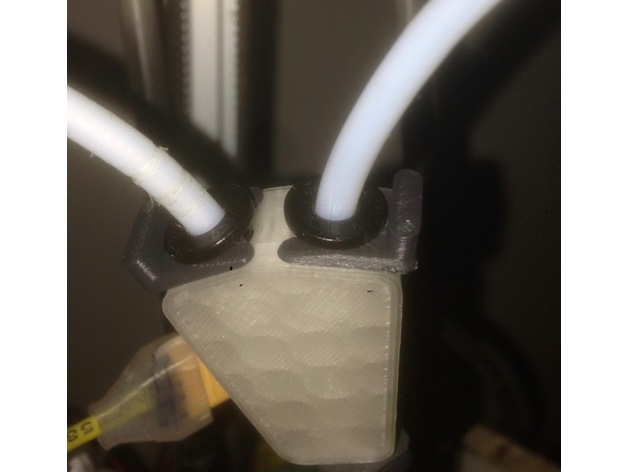
    I created this to relieve the strain on the bowden tube pneumatic connector on the extruder motor for 1.75mm filaments. It has been tested and is working great. This should pretty much fit all pneumatic connectors with 10mm diameters from face to face on the flat sides and can be used on the extruder motor or the effector end.
    Print Settings
    Printer:
    FLSUN Delta Supports:
    Yes Resolution:
    .2 mm Infill:
    30%