Model Features:1. High quality cleaned up Polygon model2. Proportionately scaled representation of original objects3. Mesh smooth function can be used to increase mesh resolution4. Model complete with Materials and Textures5. All colours and textures can be modified6. Materials included7. Originally modelled in Maya 20118. Model parts grouped for easy selection9. Properly named model parts for importing and scene management10. Can be directly opened in Maya softwareModel Specifications1. Vertex Count: 70682. Polygon Count: 14008Available File Formats1. .Mb2. .OBJ3. .FBXAvailable Texture Formats1. .PNG (1200 X 1200)2. .JPG (3072 X 3072)
Tag: Adjustable
-
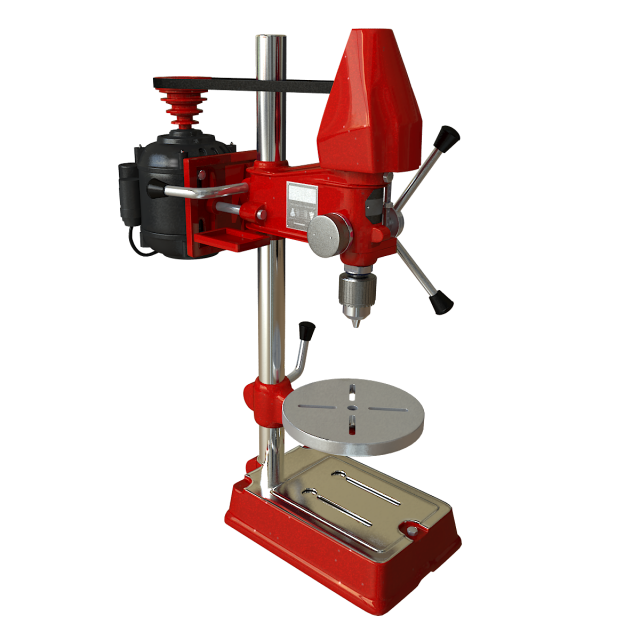
Bench Drill 3D Model
Model Features1. High quality cleaned up Polygon model2. Proportionately scaled representation of original objects3. Mesh smooth function can be used to increase mesh resolution4. Model complete with Materials and Textures5. All colours and textures can be modified6. Materials included7. Originally modelled in Maya 20118. Model parts grouped for easy selection9. Properly named model parts for importing and scene management10. Can be directly opened in Maya softwareModel Specifications1. Vertex Count: 955622. Polygon Count: 189391Available File Formats1. .Mb2. .OBJ3. .FBXAvailable Texture Formats1. .PNG (1200 X 1200)2. .JPG (3072 X 3072)
-
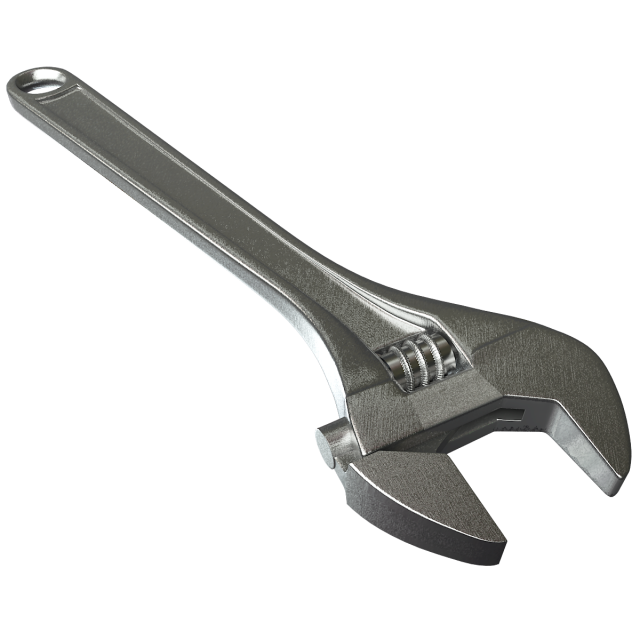
Adjustable Spanner 3D Model
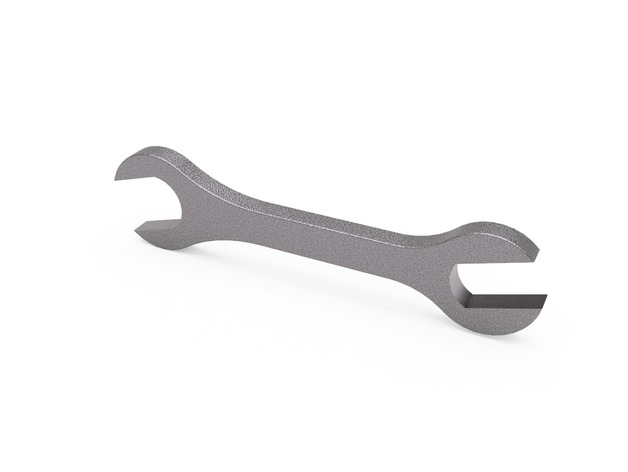
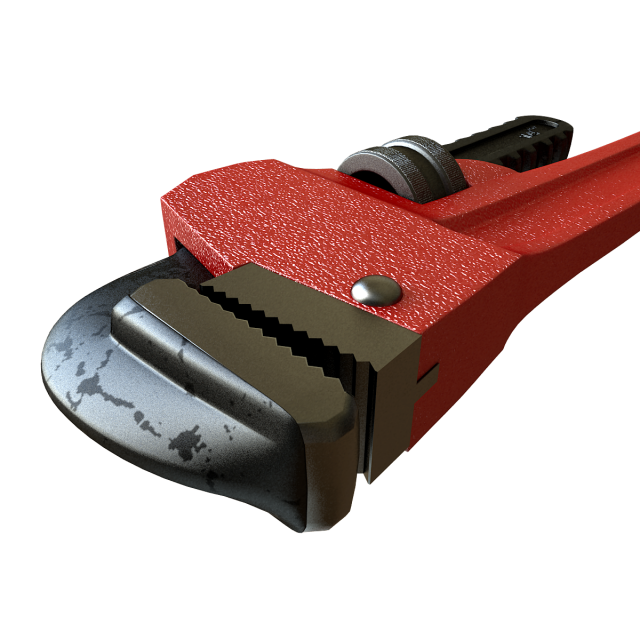
Adjustable Spanner / Adjustable wrenchModel of Adjustable Spanner. Proportionately scaled representation of original objects. Model length – 27.8 cm.Originally modelled in Maya 2011. Final images rendered with V-Ray.Model Features1. High quality cleaned up Polygon model2. Proportionately scaled representation of original objects3. Mesh smooth function can be used to increase mesh resolution4. Model complete with Materials5. All colours and textures can be modified6. Materials included7. Originally modelled in Maya 20118. Model parts grouped for easy selection9. Properly named model parts for importing and scene management10. Can be directly opened in Maya software.Model Specifications1. Polygon Count: 211322. Vertex Count: 21703Available File Formats1. .Mb2. .OBJ3. .FBX
-
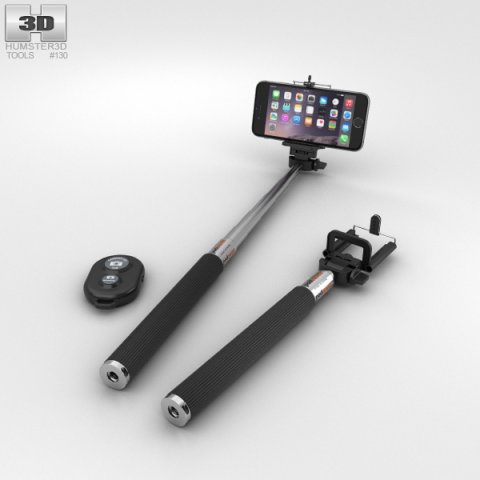
Selfie Stick 3D Model
The 3D model was created on real base. It’s created accurately, in real units of measurement, qualitatively and maximally close to the original.Model formats:- *.max (3ds Max 2008 scanline)- *.max (3ds Max 2008 vray)- *.fbx (Multi Format)- *.obj (Multi Format)- *.3ds (Multi Format)- *.mb (Maya 8.5)- *.lwo (Lightwave 6)- *.c4d (Cinema 4D 11)* renders Are made in 3ds Max 2008 using vray 1.5 (studio environment is not included in the set)If you need any other formats we are more than happy to make them for you.The model is provided combined, all main parts are presented as separate parts therefore materials of objects are easy to be modified or removed and standard parts are easy to be replaced. If you experience difficulties with separating standard parts we are more than happy to give you qualified assistance.We greatly appreciate you choosing our 3D models and hope they will be of use.We look forward to continuously dealing with you.Sincerely Yours,Hum3D Team
-
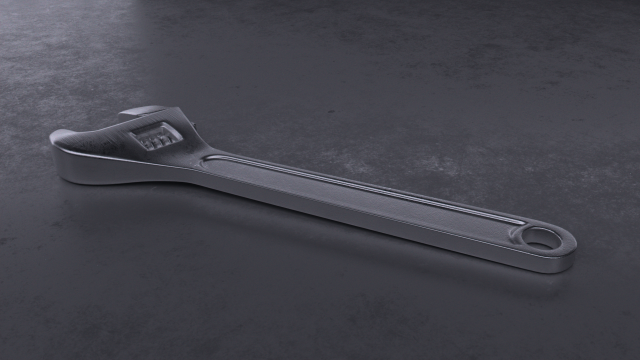
Adjustable wrench 3D Model
adjustable wrench 3d model. Primary made for subdivision though you may make use of it as low-polyDoes not contain render scene. Contains .fbx and textures : bump+gloss+reflection a
-
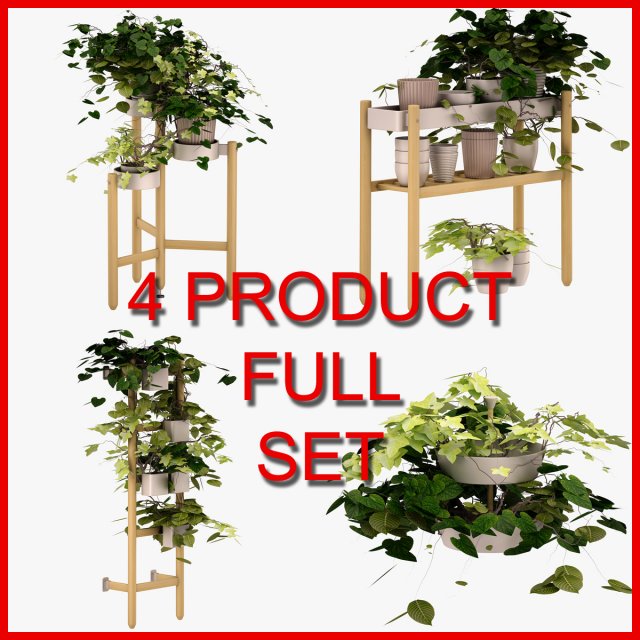
Flower Bed Set IKEA 3D Model
***4 FULL SET***Modelled : 3ds Max 2013Rendered : 3ds Max 2013 – Vray 2.30Files : .max (2010,2011,2012,2013)and texturesDISCOUNT !!!It’s not $ 159. Only $ 99 !!!(c) 3D_SB 2017
-
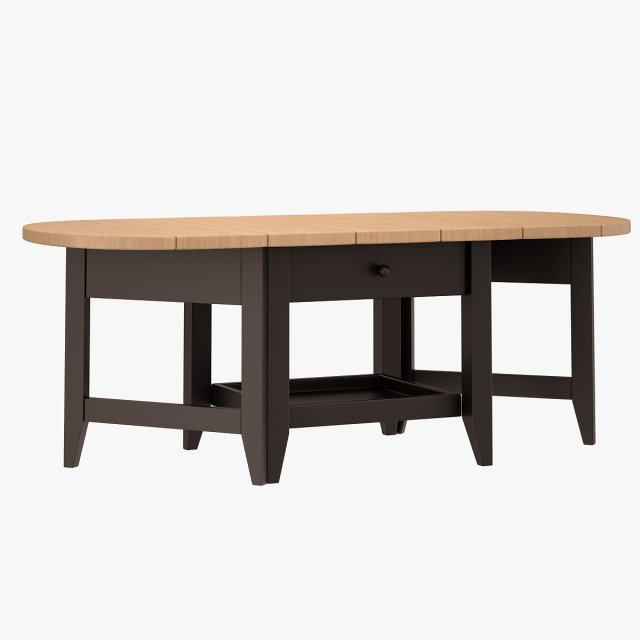
Ikea Arkelstorp Coffee Table 3D Model
Modelled : 3ds Max 2013Rendered : 3ds Max 2013 – Vray 2.30Files : .max (2010, 2011, 2012, 2013).fbx.obj.mtland textures(c) 3D_SB 2016
-
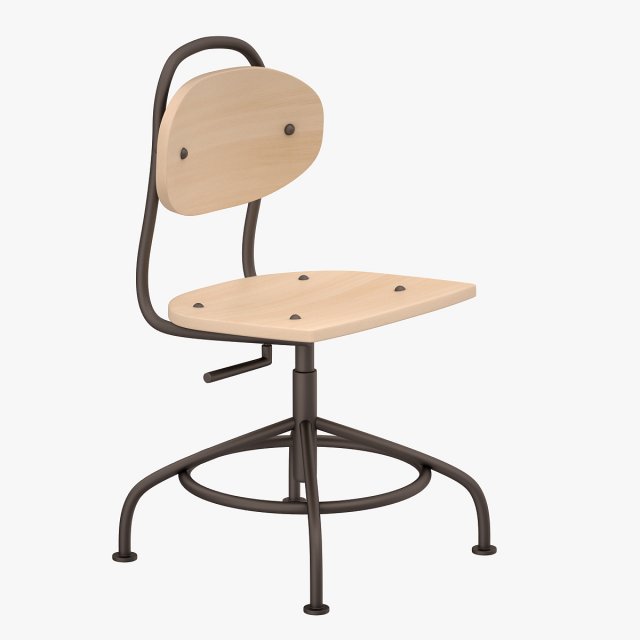
Ikea Kullaberg Chair 3D Model
Modelled : 3ds Max 2013Rendered : 3ds Max 2013 – Vray 2.30Files : .max (2010, 2011, 2012, 2013).fbx.obj.mtland textures(c) 3D_SB 2016
-
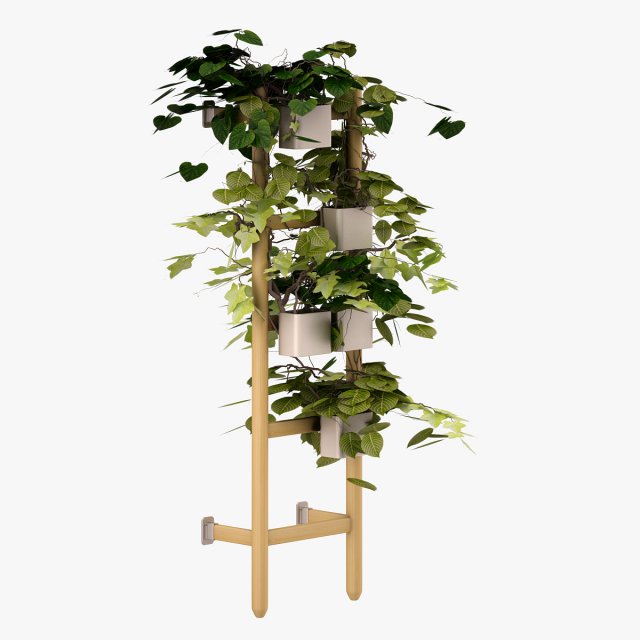
Ikea Satsumas Flower Bed 03 3D Model
Modelled : 3ds Max 2013Rendered : 3ds Max 2013 – Vray 2.30Files : .max (2010, 2011, 2012, 2013)and textures(c) 3D_SB 2016
-

Ikea Bittergurka Flower Bed 3D Model
Modelled : 3ds Max 2013Rendered : 3ds Max 2013 – Vray 2.30Files : .max (2010, 2011, 2012, 2013)and textures(c) 3D_SB 2016
-
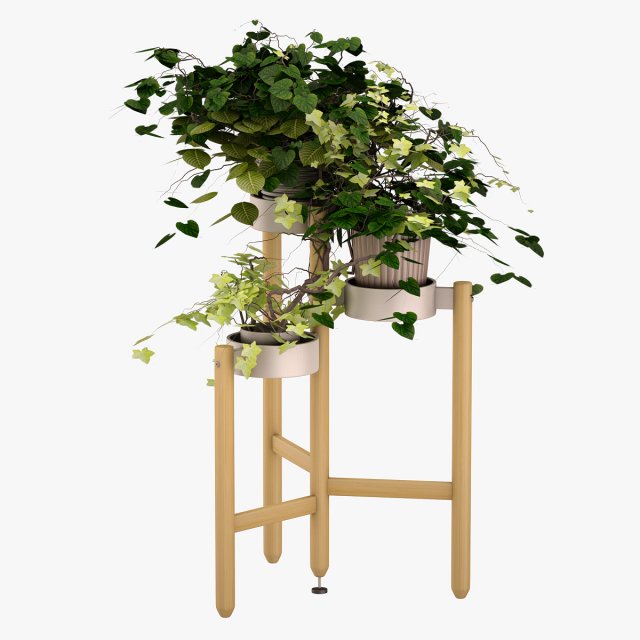
Ikea Satsumas Flower Bed 3D Model
Modelled : 3ds Max 2013Rendered : 3ds Max 2013 – Vray 2.30Files : .max (2010, 2011, 2012, 2013)and textures(c) 3D_SB 2016
-
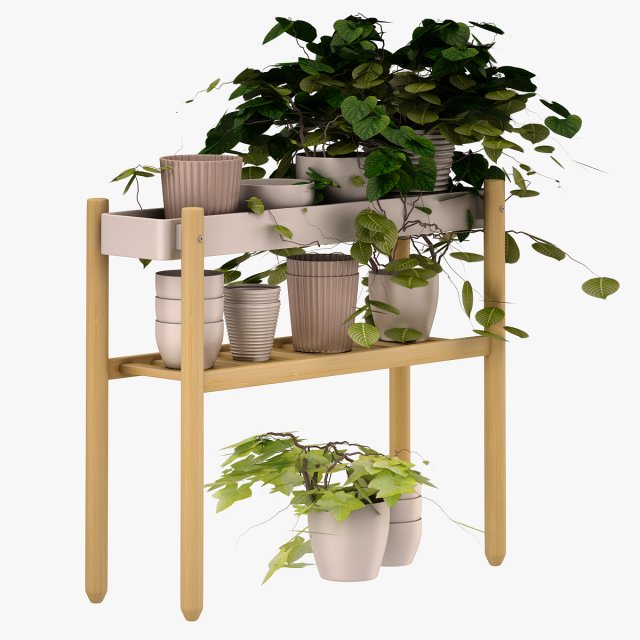
Ikea Satsumas Flower Bed 02 3D Model
Modelled : 3ds Max 2013Rendered : 3ds Max 2013 – Vray 2.30Files : .max (2010, 2011, 2012, 2013)and textures(c) 3D_SB 2016
-
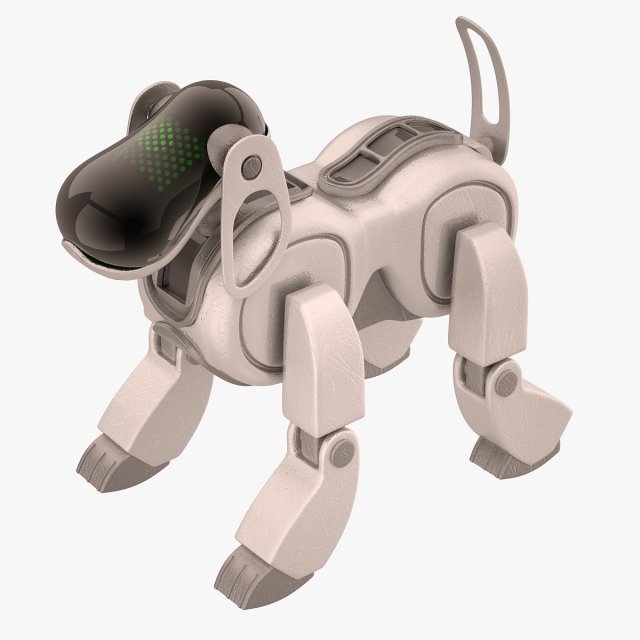
Sony Aibo Dog White Metallic 3D Model
Modelled : 3ds Max 2013Rendered : 3ds Max 2013 – Vray 2.30Files : .max (2010, 2011, 2012, 2013).fbx.obj.mtland Textures(c) 3D_SB 2016
-
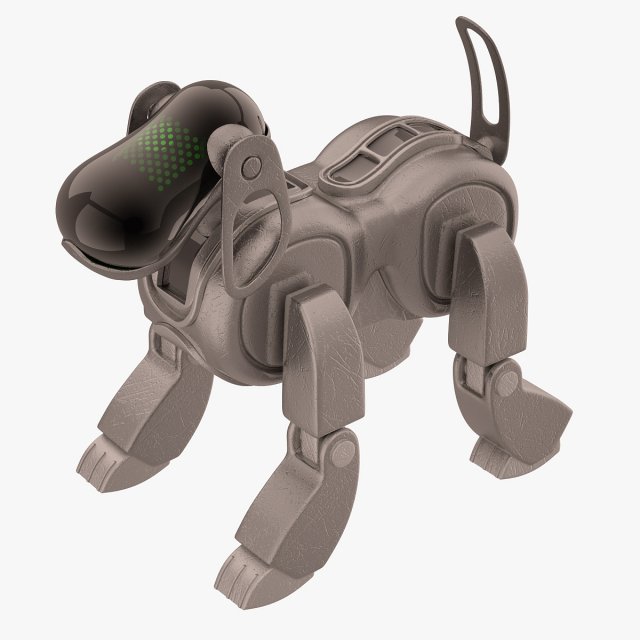
Sony Aibo Dog Black Metallic 3D Model
Modelled : 3ds Max 2013Rendered : 3ds Max 2013 – Vray 2.30Files : .max (2010, 2011, 2012, 2013).fbx.obj.mtland Textures(c) 3D_SB 2016
-
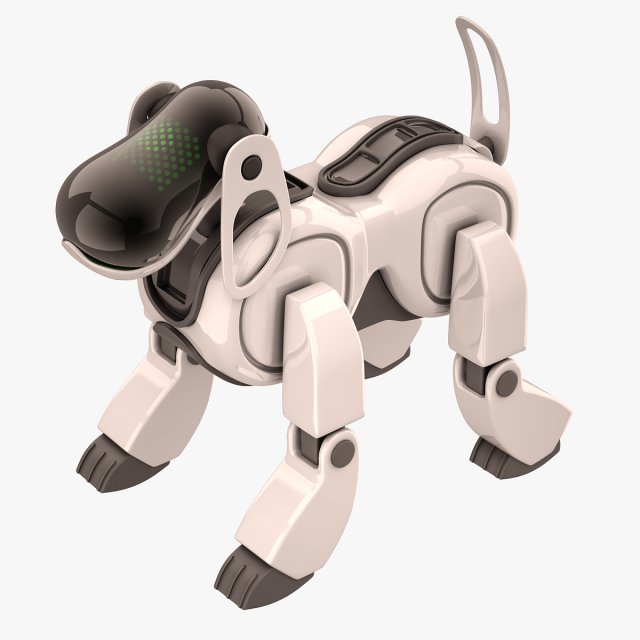
Sony Aibo Dog White 3D Model
Modelled : 3ds Max 2013Rendered : 3ds Max 2013 – Vray 2.30Files : .max (2010, 2011, 2012, 2013).fbx.obj.mtland Background Texture(c) 3D_SB 2016
-
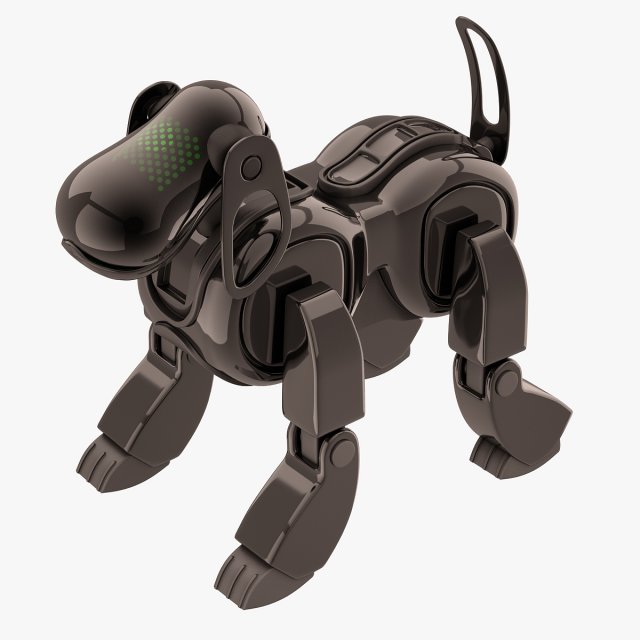
Sony Aibo Dog Black 3D Model
Modelled : 3ds Max 2013Rendered : 3ds Max 2013 – Vray 2.30Files : .max (2010, 2011, 2012, 2013).fbx.obj.mtland Background Texture(c) 3D_SB 2016
-
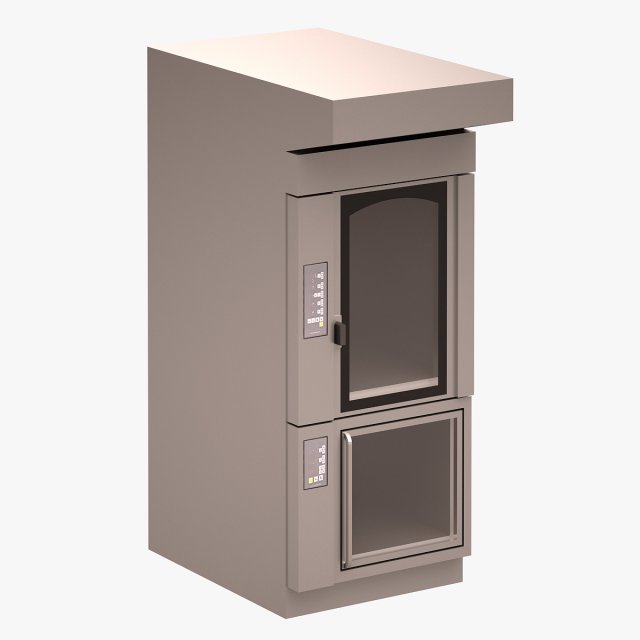
Bagel Bakery FIMAK 3D Model
Modelled : Autocad – 3ds Max 2013Rendered : 3ds Max 2013 – Vray 2.30Files : .max (2010, 2011, 2012, 2013).fbx.obj.mtland Textures(c) 3D_SB 2016
-
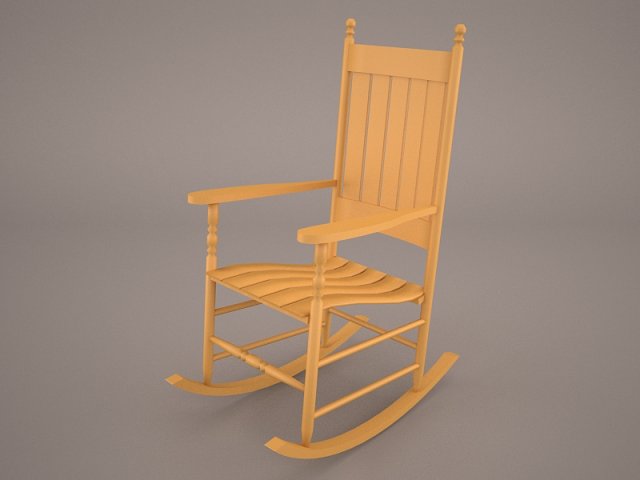
Rocking Chair Natural 3D Model
chair office furniture seat leather armchair interior design business style equipment decor sit work elegance luxury adjustable fixed funk
-
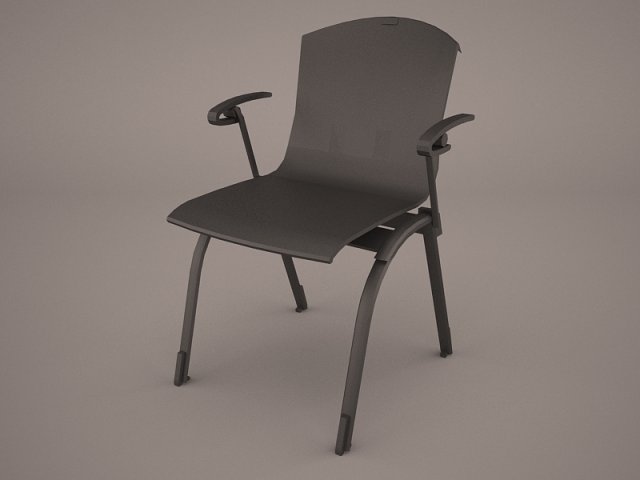
Office Chairs 3D Model
chair office furniture seat leather armchair interior design business style equipment decor sit work elegance luxury adjustable fixed funk
-
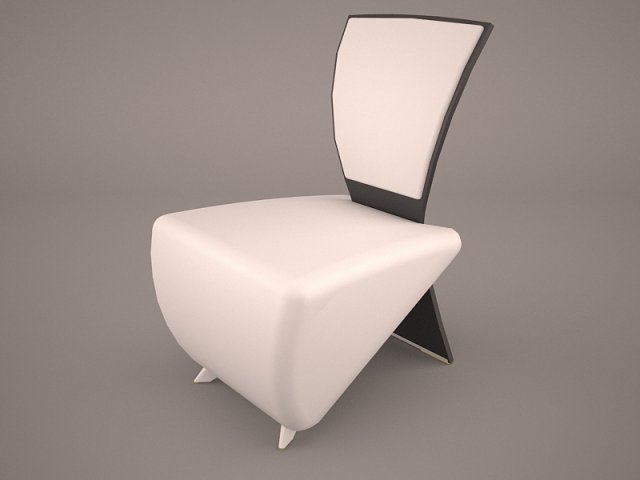
Office Chairs 3D Model
chair office furniture seat leather armchair interior design business style equipment decor sit work elegance luxury adjustable fixed funk
-
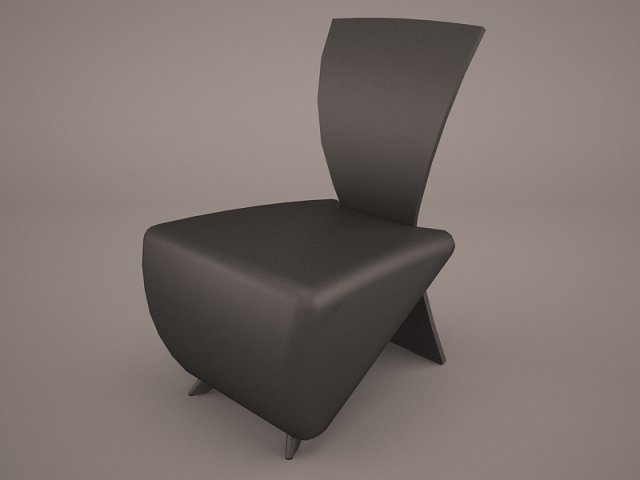
Office Chairs 3D Model
chair office furniture seat leather armchair interior design business style equipment decor sit work elegance luxury adjustable fixed funk
-
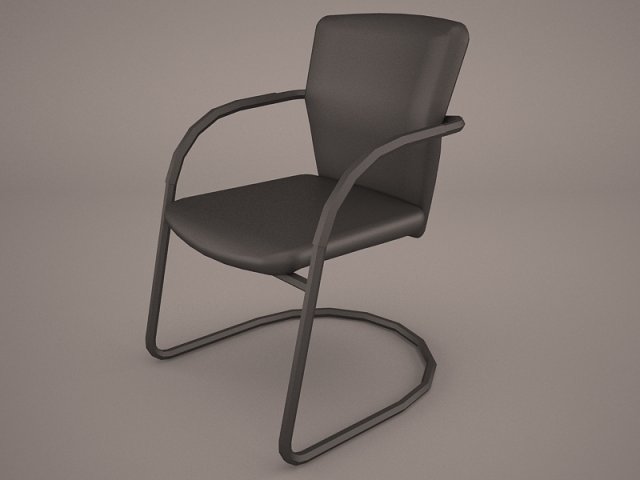
Office Chairs 3D Model
chair office furniture seat leather armchair interior design business style equipment decor sit work elegance luxury adjustable fixed funk
-
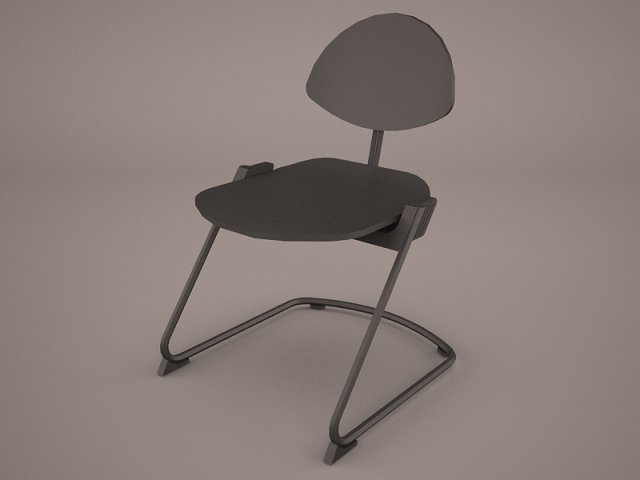
Office Chairs 3D Model
chair office furniture seat leather armchair interior design business style equipment decor sit work elegance luxury adjustable fixed funk
-
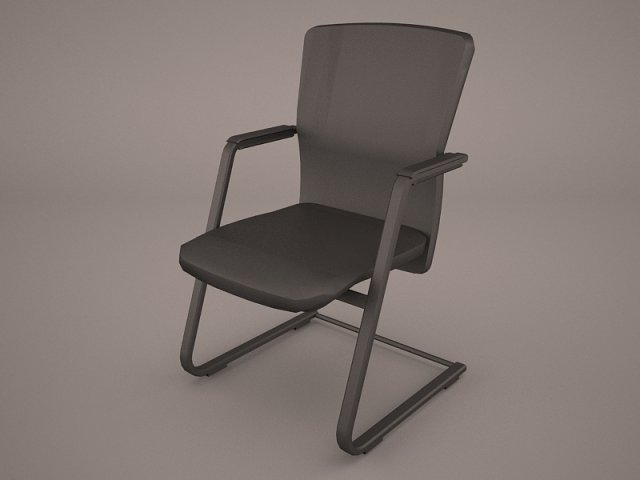
Office Chairs 3D Model
chair office furniture seat leather armchair interior design business style equipment decor sit work elegance luxury adjustable fixed funk
-
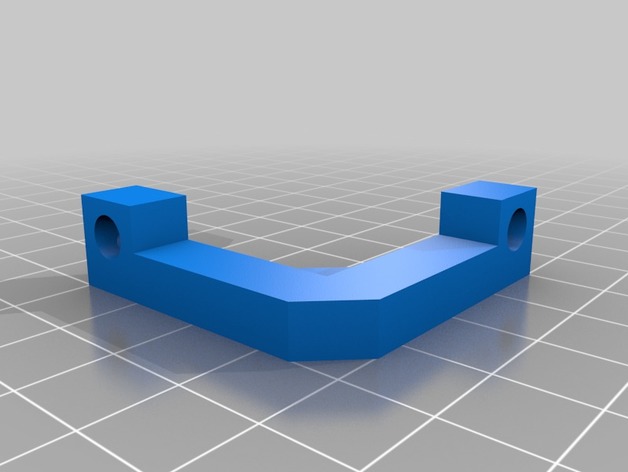
FT-5 Adjustable Glass Holder – remix (heat insets) 3D Print Model
Summary
Remix of the FolgerTech FT-5 Adjustable Glass Holder (https://www.thingiverse.com/thing:2260982) I didn’t have enough of the 3mm square nuts to make the other version, but I do have heat insets that work quite nicely. This version is essentially the same as the original, but a little taller, and configured for heat set inserts instead.
Best printed in ABS or some other heat-resistant material.
The inserts I used and designed for are on Amazon here:https://www.amazon.com/gp/product/B077CL322T
Print Settings
Printer:
FolgerTech FT-5 R2
Rafts:
No
Supports:
No
Resolution:
0.1
Infill:
30% -
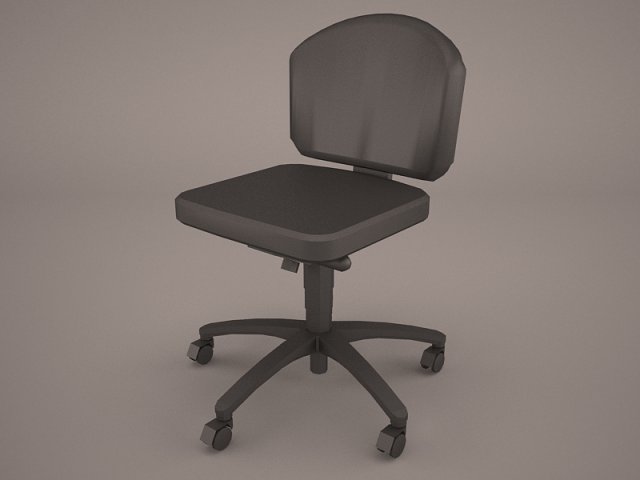
Office Chairs 3D Model
chair office furniture modern seat leather armchair interior design business style equipment decor sit work elegance luxury adjustable
-
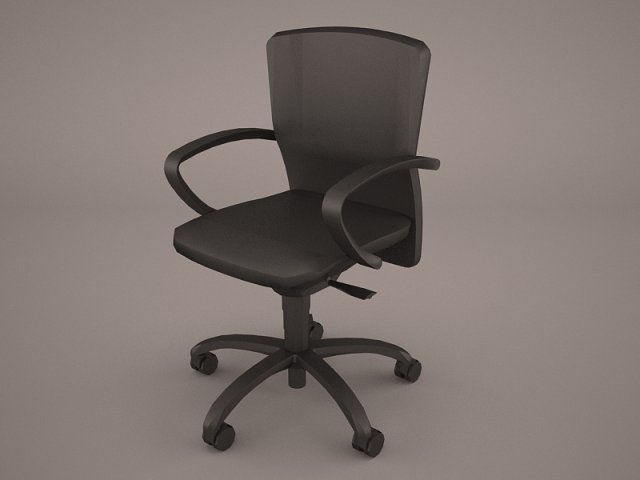
Office Chairs 3D Model
chair office furniture modern seat leather armchair interior design business style equipment decor sit work elegance luxury adjustable
-
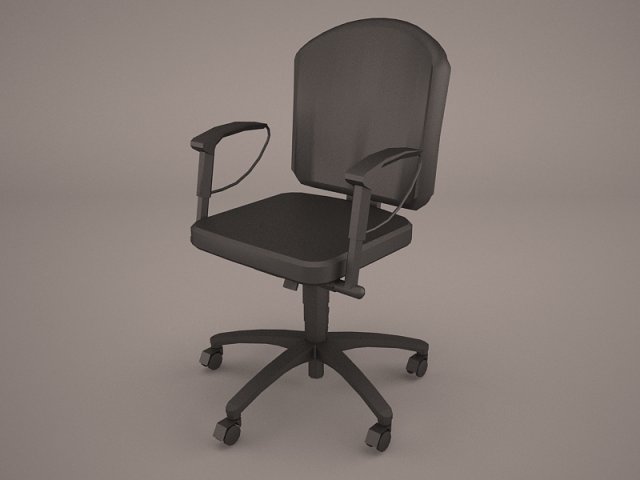
Office Chairs 3D Model
chair office furniture modern seat leather armchair interior design business style equipment decor sit work elegance luxury adjustable
-
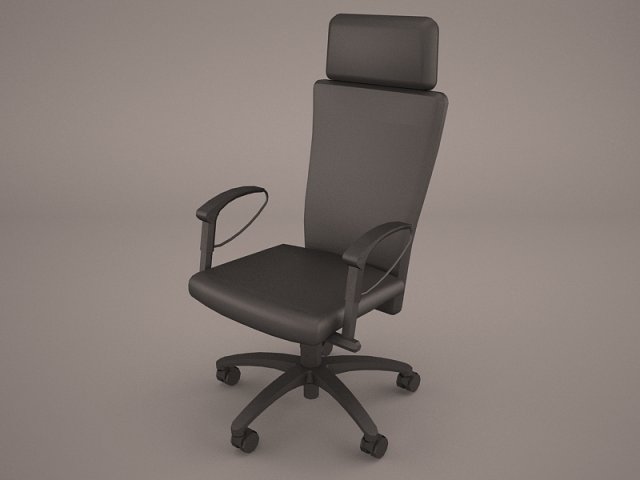
Office Chairs 3D Model
chair office furniture modern seat leather armchair interior design business style equipment decor sit work elegance luxury adjustable exec
-
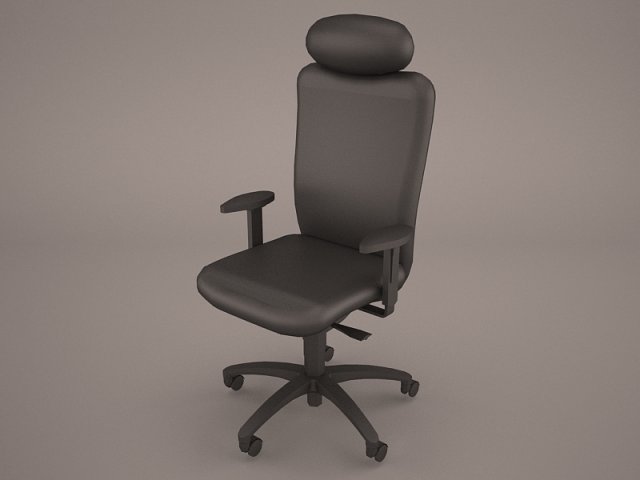
Office Chairs 3D Model
chair office furniture modern seat leather armchair interior design business style equipment decor sit work elegance luxury adjustable exec
-
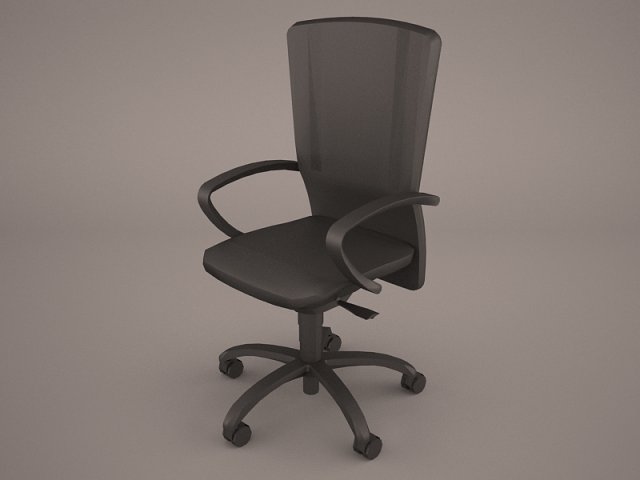
Office Chairs 3D Model
chair office furniture modern seat leather armchair interior design business style equipment decor sit work elegance luxury adjustable
-
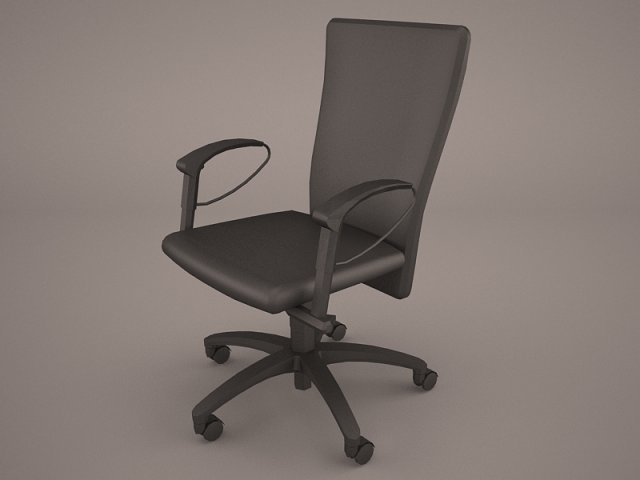
Office Chairs 3D Model
chair office furniture modern seat leather armchair interior design business style equipment decor sit work elegance luxury adjustable
-
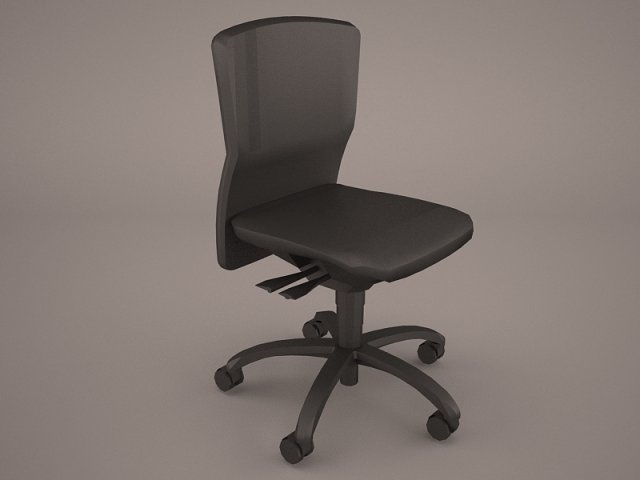
Office Chairs 3D Model
chair office furniture modern seat leather armchair interior design business style equipment decor sit work elegance luxury adjustable
-
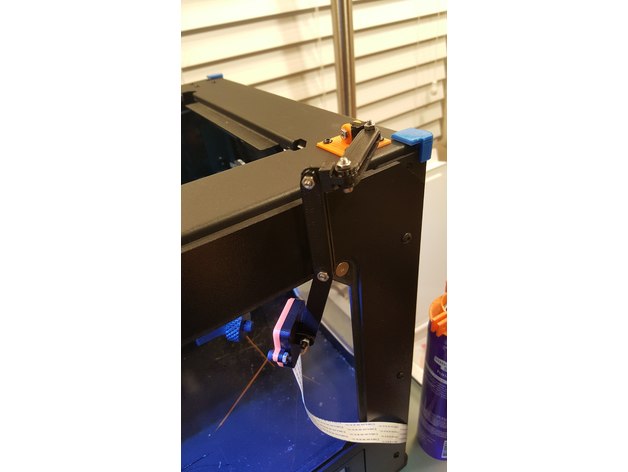
Adjustable Raspberry Pi camera mount for PowerSpec Ultra 3D Printer 3D Print Model
Summary
What you need:
I’ve included arm linkage at 40, 50, & 60mm lengths, but you really only need 6 of the 60mm lengths.
You should also print 2 of the arm_joint model.
That’s just to replicate the setup that I have, but it’s honestly very customizable. Print whatever you want!How to setup a streaming webcam with your Raspberry Pi:
https://pimylifeup.com/raspberry-pi-webcam-server/The different bases:
If you have the PowerSpec Ultra, I recommend printing the large base as it’ll allow you to perfectly connect the base to existing screws. You can still use the small base, It just connects at opposite corners and looks a little funny. I’m really just including it for anyone that might not have the PowerSpec Ultra since it may work better for them.
If you are using the large base, do not unscrew all 4 bolts at once! You don’t want to drop one of your axis arms down. Unscrew 3 of them, screw the base most of the way in on one corner, and then unscrew the forth bolt and swing the mount around to line up with the other holes.The different front cases:
I removed the pins out of the case for the v2 version of the camera because they seemed more likely to break than do anything useful. I haven’t modified the v1 version from the original that u/ReMake posted since I don’t have the v1 camera. Just wanted to put everything in one place for everyone else.Adjusting the camera:
If you have the v2 version of the camera, I would print this adjuster: https://www.thingiverse.com/thing:1574661
I recommend printing the taller socket style one as I was constantly hitting my M3 bolts using the wrench style one.
Print Settings
Printer Brand:
PowerSpec
Printer:
Ultra 3D
Rafts:
No
Supports:
Yes
Resolution:
0.32mm
Infill:
100% -
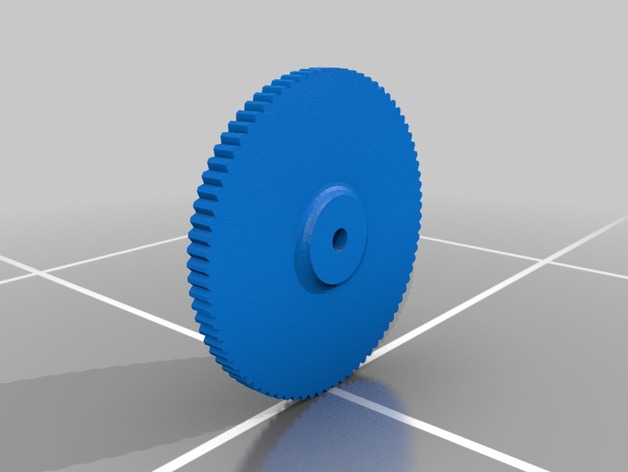
Adjustable 3d Printer Height Adjustment Wheel – M4 Nut 3D Print Model
Summary
Adjustable 3d Printer Height Adjustment Wheel for M4 Nut
How I Designed This
Used Inventor -
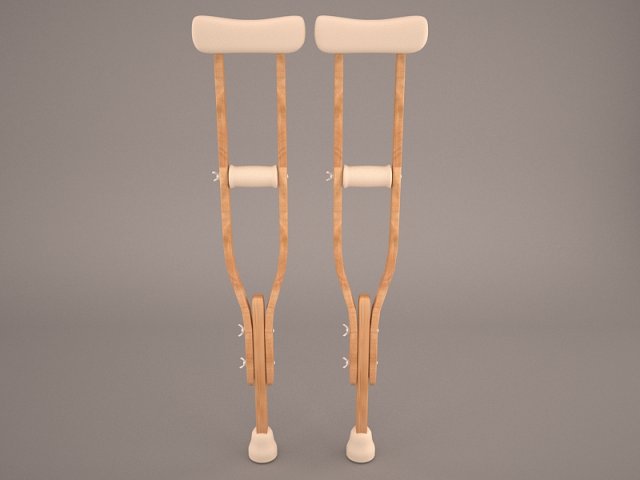
Crutches 3D Model
cane hospital care 3d adjustable Mobility Paddle Walker Crutches Walking frame rollator elderly medical disability equipment walk metal Axillary
-
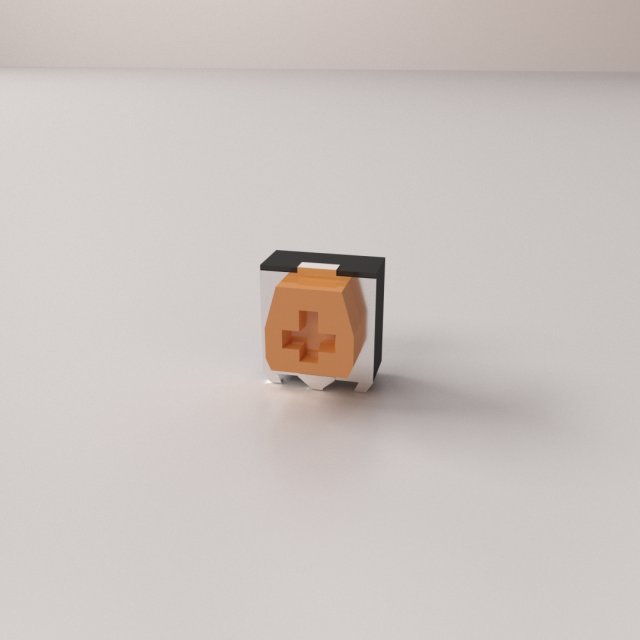
Trimpot 3D Model
TRIMPOT=================================- Modeled in Blender.- Preview image rendered using cycles.- All scene are included in .blend files.- Great for close up render.- All parts and materials are logically named.OTHER FORMATS=================- 3ds MAX- COLLADA (.dae)- Autodesk FBX- OBJ
-
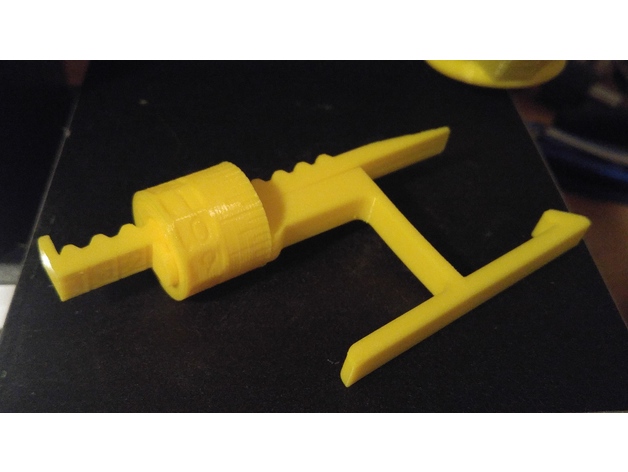
MPSM Fully Adjustable Z Spacer (MP Select Mini) 3D Print Model
Summary
Fully Adjustable Z Spacer
MP Select Mini
By Wiley Kyoto
This Z spacer is designed to give you continuous adjustment from 1mm to 5mm. If you want to switch between the stock bed and glass bed, you don’t have to adjust your print bed and then re-level it. If the beds already level, just adjust the spacer for the change in height to account for the glass thickness. Also If you change nozzles, the new one might be slightly longer or shorter, so just adjust the Z offset accordingly. I gave the Bracket a slight bend so it keeps constant pressure to hold it firmly in place.
My Print Setup:
PLA
210/60C
No Supports
0.175mm Layer Height
1.4mm Wall Thickness
1.05mm Top and Bottom Thickness
Orientation – Lay the AdjArm and Bracket flat on their sides. Put the AdjDial on one of the flat ends (I had numbers near the top).
Assembly:
Put the AdjDial on the Bracket, in the groove next to the indicator mark, with the numbers closest to the outside edge.
Insert the sloped edge of the AdjArm through the AdjDial, with the threads of the AdjArm facing away from the Bracket.
Keep pressure pushing the AdjArm into the AdjDial as you start to turn the AdjDial clockwise. Keeping in mind that the thread is reversed thread, such that turning the AdjDial clockwise will wind the AdjArm farther in.
Set the AdjDial to roughly the right spot (See Reading the Dial).
Make sure the head position of the printer is a good couple centimetres in the +Z direction, to prevent damage to the Z limit switch.
Insert the assembled spacer through the vertical slot in the back of the printer tower, snapping it into place on the Z Bearing Block(Black Plastic Block with metal rods running vertically through it), which you can see through the vertical slot. You should hear and feel a solid click as it snaps securely into place, pushing forward firmly on the top lever of the spacer should help it snap into place.
Make final adjustments the the AdjDial but homing the printer and checking the fit with a piece of paper under the nozzle.
Reading the Dial:
Note – the readings won’t have absolute accuracy as it depends on the exact placement of the Z Limit switch, but the relative accuracy should be great.
The AdjArm has 4 notches, with numbers 1 to 4 next to them. These represent whole mm steps.
The AdjDial has 40 notches, every 4 notches are numbered .0 through .9. These represent decimal mm steps. Each notch is a 0.025mm step.
The Bracket has one indicator notch which lines up with the notches on the AdjDial to indicate where to read the setting.
When the outside edge of the Bracket is lined up with the first notch(next to the 1) on the AdjArm and the .0 setting on the AdjDial is centred on the indicator notch, the spacer is set to 1.0mm.
When the AdjArm is all the way into the AdjDial, and the AdjDial is set to .0, the spacer is set to 5.0mm.
The spacer can be set less than 1mm but at some point (around 0.7mm on my printer) the limit switch will slip off the end of the spacer and effectively act as 0mm offset. -
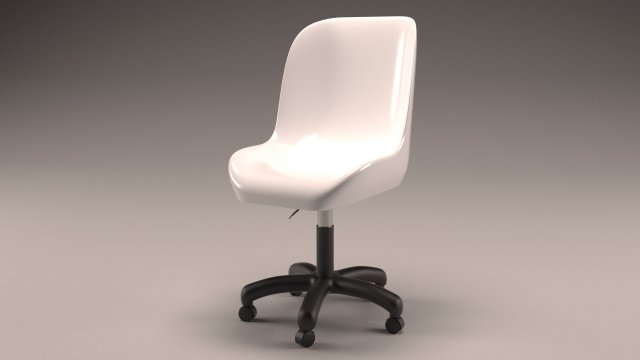
Office Chair 3D Model
Simplistic office chairStandard VrayMtlEverything is namedThe lighting Rig is not included.
-
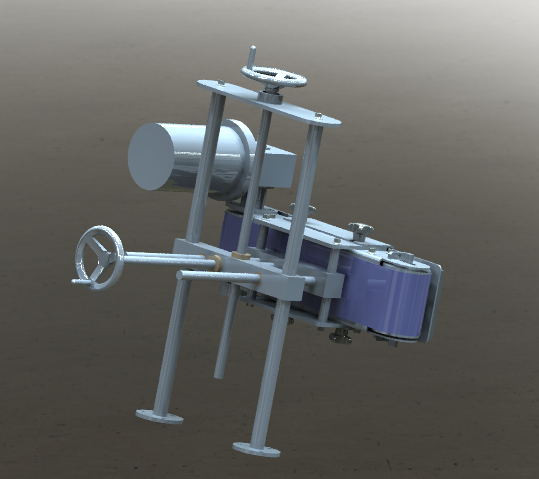
Fine-tuning conveyor 3D Model
Fine-tuning conveyor, such institutions as the typical use in assembly line lamination machine, conveying material ahead when entering the station design, positioning or transmitted through Angle adjustment, the model contains two functions, one is passive, a kind of to active transport, as long as the passive transport will be under active transport board can be disassembled, as positioning of assembly line material, the model is a good model this model into a step or iges universal model download, please reference!Also includes 3d original files, welcome to download!If you like,you can paypal for you to get this models or if you have any questions also you can email to me.
-
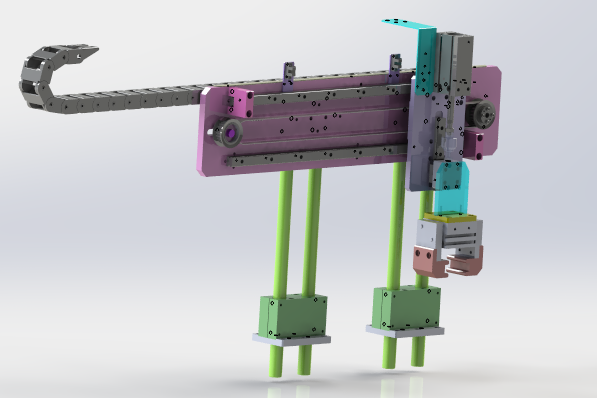
The adjustable clamping mechanism 3D Model
The adjustable clamping mechanism,it can be used to carry the x axis through the synchronous belt wheel, and the z-axis can be used for the upper and lower clamping material through the cylinder and the slide rail.At the same time, the z axis has mechanical adjustable height mechanism to eliminate the height difference of different product modulation.The whole organization is typical, can be used directly, welcome to study reference.This model is transformed into step and iges general model download, please refer to!Also includes 3d original files, welcome to download!if you like,you can paypal for you to get this models or if you have any questions also you can email to me.
-
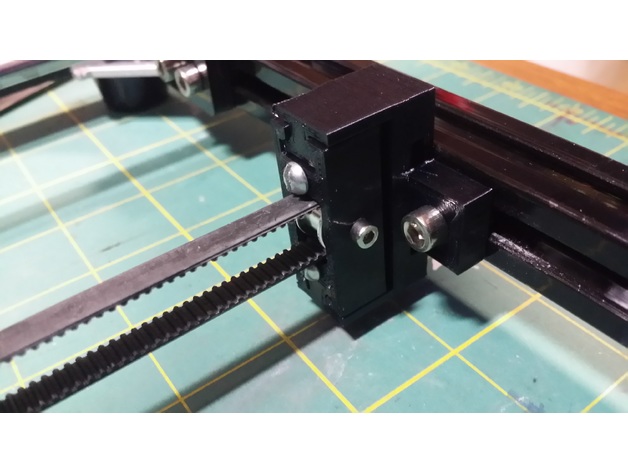
Adjustable Y Axis Tensioner 3D Print Model
Summary
I designed this adjustable tensioner bracket for my HICTOP 3DP-17 Y-Axis as the stock ‘pulley’ would not keep the belt on the bearing and would rub (and squeak) no matter how well aligned it was.
This design should also work with most 20X20 extruded aluminum frame printers.
I purchased the Timing Belt Idler Pulley from Amazon:https://www.amazon.com/gp/product/B01H3FNZ4M
To build, use either M3x25 or 6-32 X 1″ bolts for the adjustment screws.
I designed it for M3 bolts with M3 nuts in the nut traps but didn’t have any 25mm long so I just used some 6-32 machine screws I had laying around.
The idler pulley will need an M3 X 16 or longer bolt to hold it in.
Happy printing!
Print Settings
Printer Brand:
Prusa Printer:
Prusa Clone Rafts:
No Supports:
No Resolution:
.2mm Infill:
55%+ -
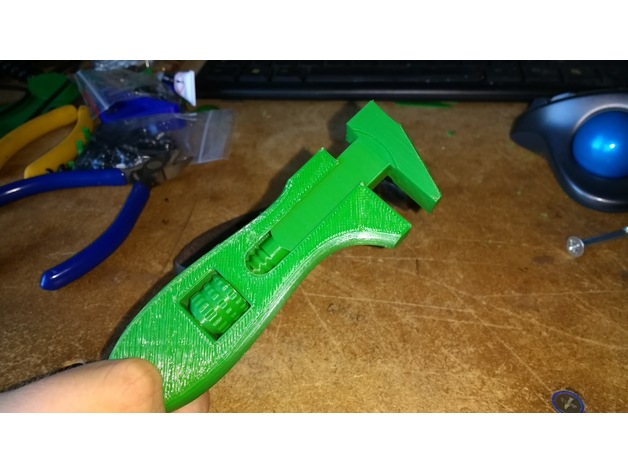
Useless (but cool) Adjustable Wrench/Spanner 3D Print Model
Summary
I recreated a neat little adjustable wrench I picked up from a car boot sale a while back. Just a fun little project and I thought someone might enjoy it.
There are two files for the clamp part of the wrench – one with a hole down the centre for a ~3in m5 wood screw to reinforce the threads, and one without.
If anyone wants to create their own custom threads in Fusion 360, check this out: https://knowledge.autodesk.com/support/fusion-360/troubleshooting/caas/sfdcarticles/sfdcarticles/Custom-Threads-in-Fusion-360.html
Print Settings
Printer:
Hypercube Rafts:
Doesn’t Matter Supports:
No Resolution:
0.16mm Infill:
20% Notes:
I actually forgot to toggle support material on the clamp part and it came out probably slightly better than the surface would have been with the supports removed -
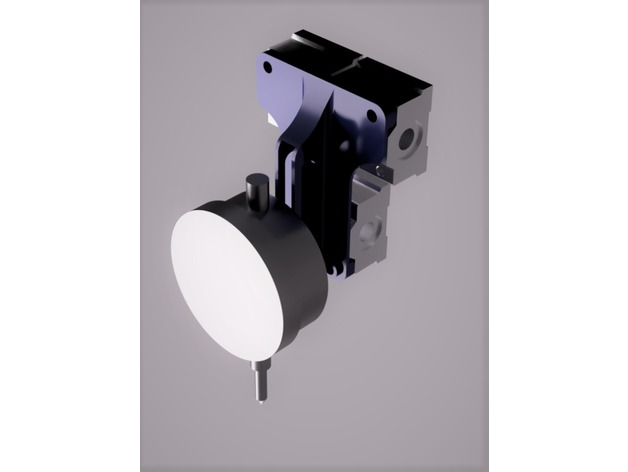
Anet A8 Dial Indicator Back Support Adjustable 3D Print Model
Summary
Warning:
You need to open M4 threads on the linear bearing blocks to use this part!
Description
I made this support to use my dial indicator on a practical way on my printer. I want to hold the dial indicator as close as the extruder center, and it’s hard to that because the whole extruder structure is a little bulky (fans, extruder motor, etc.) so I decided to fix the dial indicator on the back of the linear bearing blocks.
Material:
M4 tap
2-4 M4 bolts
1 M6 bolt and nut to fix the dial indicator
Print Settings
Printer Brand:
Prusa Printer:
Prusa Clone Rafts:
No Supports:
Yes Resolution:
0,16 Infill:
25% Notes:
You need supports if you print on horizontal position -
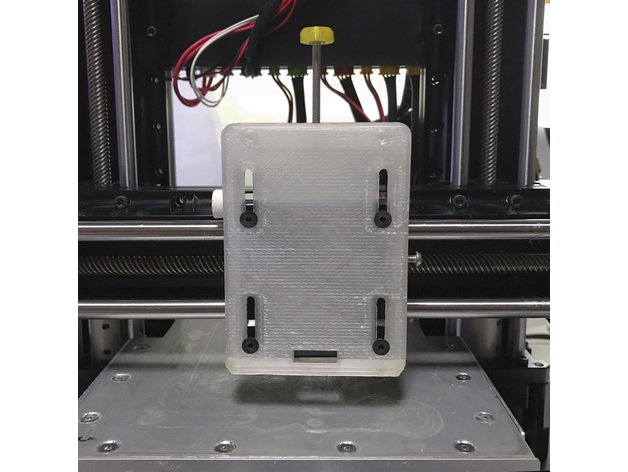
Extruder mounting Plate with adjustable height ver.2 3D Print Model
Summary
【 Slide-type Extruder mounting Plate with adjustable height / KODAMA TRINUS 】
先日作成した【Extruder mounting Plate with adjustable height】が強度的に弱くて、使用しているうちに変形してきたので各部を補強したバージョンを作りました。
オリジナルのExtruder mounting Plateをこれに変えれば、ホットエンドの高さ調整が一度で決まり、微調整も簡単に出来ます。
(ヒートベッドの水平の調整が完了している前提です)
ホットエンドをホームポジションからヒートベッドの真ん中に移動してから、紙を挟んで高さ調整用のネジで適度な摩擦になるように調整して側面の固定ネジを締めるだけで、ホットエンドの高さ調整が完了です。
【 別に用意するもの 】
プリントしたスライド式エクストルーダー用マウンター
M3の25~30mm以上のネジ×1
上側のネジ穴には、M3で25〜30mmのネジを使いエクストルーダーの高さを調整します。
M3の8~10mmのネジ×1
側面のネジ穴には、M3で8~10mmのネジを使います。
このネジはホットエンドとヒートベッドのクリアランス調整をした後、エクストルーダーを固定します。
(このネジの長さが長すぎたり、ネジの頭が大き過ぎるとエクストルーダーが右端に移動した時にスライダーのフレームに当たります。)
【 ホットエンドとヒートベッドのクリアランス調整の手順 】
1.まずヒートベッドの水平をしっかり調整します。
2.オリジナルのエクストルーダー用マウンターを外して、スライド式エクストルーダー用マウンターに取り替えます。
取り付けネジは元のネジ(4本)を使ってください。
この時、完全に固定せずにプレートがスムーズにスライドできる程度にネジを軽く締めます。
3.マウンターの2本の調整用ネジは仮止め程度に締めてください。
4.エクストルーダーを元のネジ(2本)を使ってスライド範囲の上端に取り付けて上部の高さ調整用のネジで落ちないように調整します。
(2のマウンターの取り付けネジが緩めでもエクストルーダーによって押えられるので外れることはありません)
5.エクストルーダーをホームポジションにセットしてから、ヒートベッドの真ん中付近に移動します。
6.適当な厚みの紙(コピー用紙等)をヒートベッドに置いて、上部の高さ調整用のネジを緩めてエクストルーダーを下げ、ホットエンドのノズルが紙の上に軽く乗るようにします。
7.ホットエンドのノズルとヒートベッドに挟んだ紙が適度な抵抗で動くように、上部の高さ調整のネジで高さを調整します。
8.マウンター横の固定ネジを締めて、紙を外したらクリアランスの調整は完了です。
最後に確認のため【 First Layer Calibration 100 x 100 x 0.1mm 】を印刷します。
綺麗に印刷できたら高さ調整は完了です。
詳しくはこちらの【 ブログ 】を参考にしてください。
【 印刷のパラメーター 】
printer:Kodama TRINUS 3DPRINTER
nozzle:0.4mm
layer height: 0.15mm
ExtruderTemp:225℃
HeatedBedTemp:105℃
PrintingSpeed:30mm/s
FillPattern:Rectilinear
Infill:100%
rafts:Yes
supports:Yes
Single outline corkscrew mode:No
filament : I use ABS 1.75mm
Print Settings
Printer:
KODAMA TRINUS3D Rafts:
Doesn’t Matter Supports:
Yes Resolution:
0.15 Infill:
100% Notes:
ガタが出ないように要所々のマージンが少ないので、削ったりの修正が必要かもしれません。 -
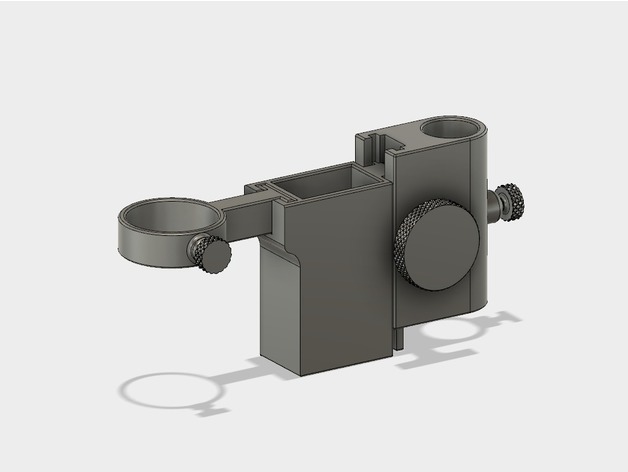
C-Mount Adjustable Microscope Stand 3D Print Model
Summary
I threw together this USB Microscope Stand for my 14MP C-Mount Microscope with 180X Lens I purchased off of eBay. I also own one of the cheaper $20 2MP USB microscopes I purchased off of eBay and I have included an adapter for in as well. I wanted to make the stand modular so the adapters are easily exchangeable and also new adapter for different applications can be made and used as well. All parts can be printed on a 200x200x200mm bed 3D Printer. If you own a printer that can go up to 300mm in height like my CR-10 then you can printer the 300mm tall rod instead and take advantage of an extra 100mm of adjust height. I also included a DIY LED ring light mount that can be used for different camera lenses as well.
As for the printing I used PLA with a layer height of 0.15mm, 3-Layer perimeter top and bottom layers and infills ranging from 5-15%
Build List:
Qty (1) – Microscope Stand Base 10% infill (20.76g)
Qty (1) – 30x200mm Rod 10% infill (48.80g)
Qty (1) – Main Housing 5% infill (73.27g)
Qty (1) – Gear Rack Housing 5% infill (85.21g)
Qty (1) – Right Height Adjustment Knob 15% infill (12.70g)
Qty (1) – Left Height Adjustment Knob 15% infill (9.47g)
Qty (1) – Right Adapter for C-Mount Lens 5% infill (19.37g)
Qty (1) – Height Adjustment Ring 10% infill (4.10g)
Qty (1) – M8x1.25 x 11 mm Length Screw for Threaded Stopper 15% infill (1.64g)
Qty (2) – M8x1.25 x 18 mm Length Screw for Threaded Stopper 15% infill (1.86g)
Total weight about 279.04 grams *your mileage may vary
Optional:
Qty (1) – 30x300mm Rod 10% infill (73.06g)
Qty (1) – 2MP USB Microscope Adapter 5% infill (6.19g)
Qty (1) – All 3D Printed Stand Base 200x200mm 5% infill (85.26g)
Qty (1) – All 3D Printed Stand Base 300x300mm 5% infill (174.55g)
Hardware:
Qty (4) – #8-32 x 1/2″ Machine Screws (If you only have Metric then you can drill out the 4 holes in the base to fit what you have.)
As for the 3D printed threads, they fit a little tight at first, but if you slowly work them in and out they wear in a little start to move smoothly, Printing threaded parts at 0.1mm layer height will be helpful (include parts with internal threads)
I used this for the LED ring light and I soldered a connect and used a 12VDC wall power supply:
https://www.aliexpress.com/item/B86-Hot-2Pcs-Bright-White-100mm-Angel-Eyes-33-SMD-LED-Ring-Car-Light/32777360207.html
Print Settings
Printer:
Creality CR-10 Rafts:
No Supports:
No Resolution:
0.2 Infill:
5-15% -
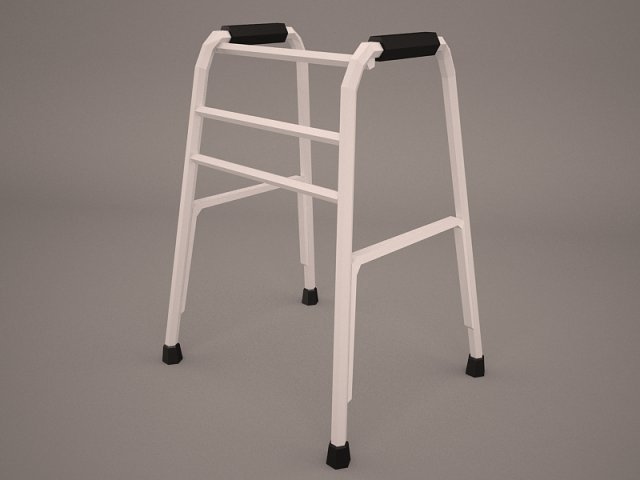
Walker 3D Model
Paddle Walker frame rollator elderly mobility medical assistance walking injury disability equipment adjustable hospital care support help vray
-
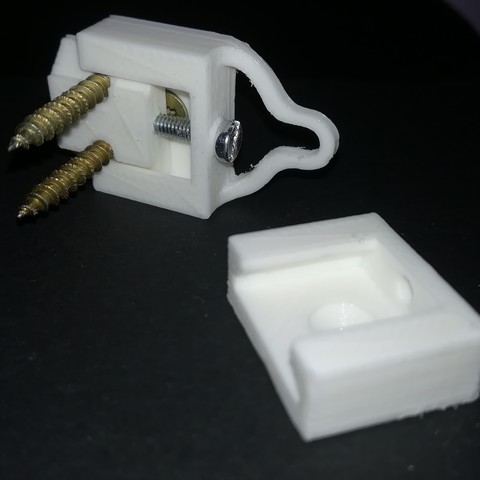
Light hook 3D Print Model
Hook style adjustable by a small screw of 2.5
the best is to tap but one can create the step by doing it with the screw itself.
3 pieces: 1 fixed on board eg 1 wall with hook the other without (invisible)
fixing screws 3mm max with tapered head of 90 ° angle (eg agglo screw)
object attention lightweight -
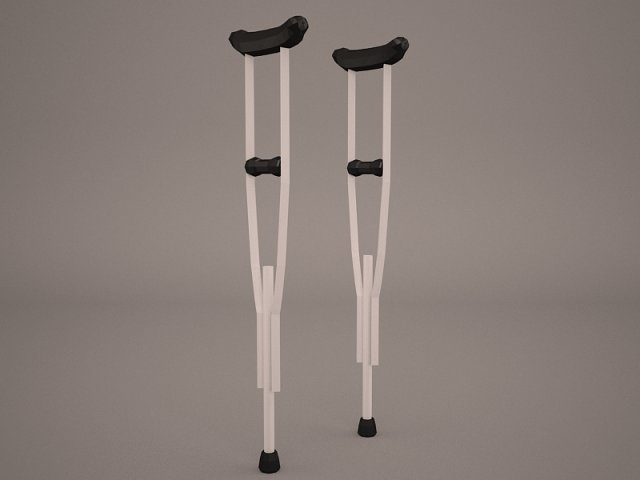
Crutches 3D Model
cane hospital care 3d adjustable Mobility Paddle Walker Crutches Walking frame rollator elderly medical disability equipment walk metal Axillary
-
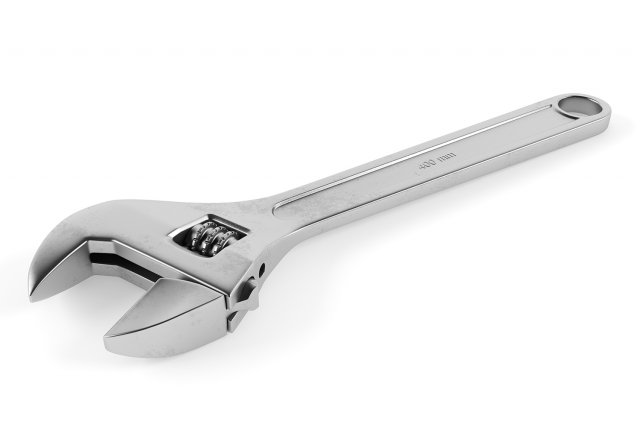
Adjustable Wrench 3D Model
Adjustable wrench model with realistic materials will add realism to your projects. Modeled and rendered in 3Ds Max 2014 with V-Ray.Hope you like it!Features:- Unit system is set to mm. Real-world scale- TurboSmooth is in the history in .max format- All textures and V-Ray materials are included in 3Ds Max 2014 and 2011 version files- Objects grouped for easy selection and logically named- No cleaning up is necessary [cameras, lights etc. are not included to the scene]- Centered at 0,0,0Polycounts:- No TurboSmooth: 7,682 faces and 7,472 vertices- With TurboSmooth: 223,168 faces and 111,590 verticesAlso by clicking on my username you can check out my other models.Thank you!
-
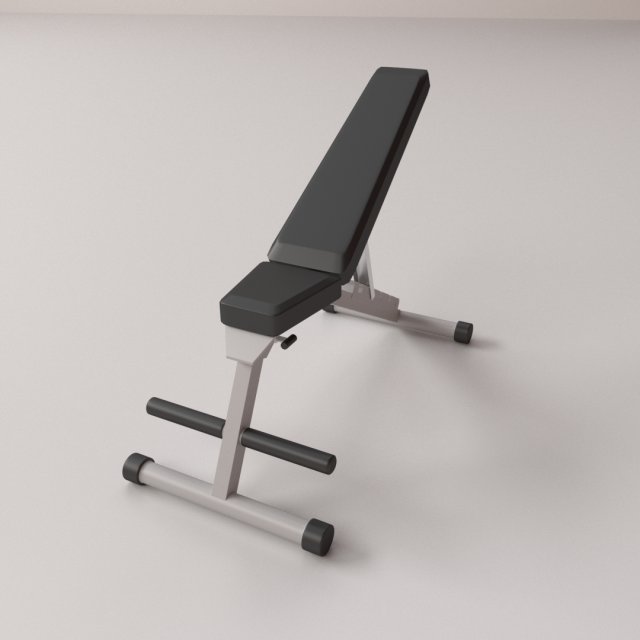
Exercise Bench 3D Model
EXERCISE BENCH=================================- Modeled in Blender.- Preview image rendered using cycles.- All scene are included in .blend files.- Poly count are before sub division- Great for close up render.- All parts and materials are logically named.OTHER FORMATS=================- 3ds MAX- COLLADA (.dae)- Autodesk FBX- OBJ
-
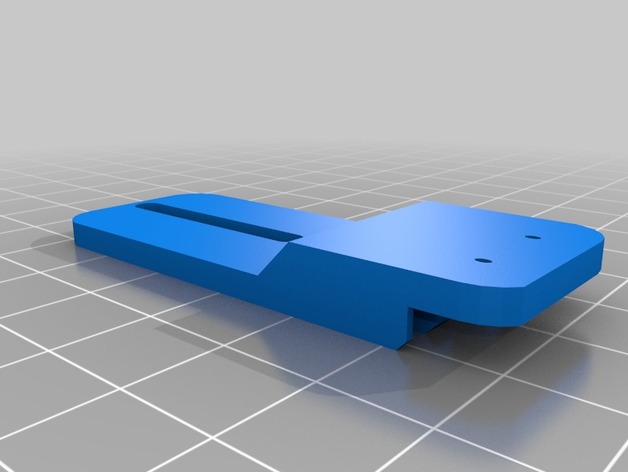
Adjustable endstop 3D Print Model
Summary
ok so I wanted to have an adjustable Z endstop for my tronxy X3 and seeing as how I couldn’t find one I liked and would really work with my X3 I went ahead and remixed one I found on here…. The third part of this I didn’t remix I have not printed any of this yet as my printers printing other items, But I’m hoping it will all work together to allow minor adjustments without any chance of messing things up.
Let me know if this works for you… I hope to be printing soon then mount it on the printer for test.
I forgot to rotate the mount for ease of printing so you’ll need to do that.
Print Settings
Printer:
tronxy X3 Notes:
normal printer settings should work good.
How I Designed This
this was fully done with tinkercad for ease and speed. -
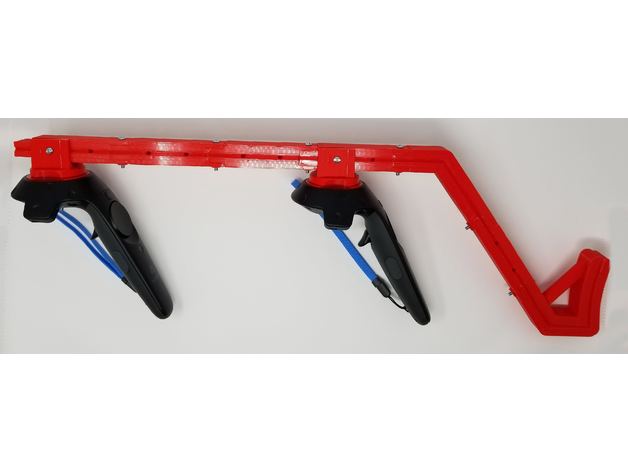
HTC Vive Gun Stock (magnetic, adjustable, easy print) 3D Print Model
Summary
While there are many existing variants of gun stocks available either for 3D printing, or purchase (on Etsy, eBay, etc.), I had some issues with the few ones I tried, thus I made my own version.
Is it better? How is it different from other designs?
There are few things I’d like to call out;
this design is easier to print – may not look as cool as a version made to resemble Picatinny rail, but the print time is significantly shorter, there’s no need to remove tricky supports, and the construction is very sturdy,
can be printed on small bed size – including Monoprice Select Mini! (which is what
I use 🙂 just make sure you rotate the longest pieces [rail, stock a, stock b] and decrease the brim size to 6 lines),
the stock is adjustable – the spacing between controllers, as well as controllers and arm support can be adjusted in 1.6″ – 2.4″ increments to make sure it fits you comfortable,
the shoulder support part is lower than the rail, which makes sure it doesn’t hit the headset during intense gaming sessions,
multiple sizes of magnets are supported – if you have some, chances are they may fit – and if not, you can either buy the ones I used, or leave me a message with the exact dimensions of your magnets (diameter, height) and I’ll make version for you 🙂 [absolute max would probably be around is 20mm x 10mm],
you can easily attach strap to have the accessory secured when not in use, or prevent it from falling when reloading in Onward while under fire 😉 Just guide the strap through one of the unused holes in the rail,
and, well, my design is tried 🙂 I printed out a number of versions, improving parts in between, making sure the tolerances are correct and everything fits properly and stays strong. Some of the other available designs that I tried had issues with tolerances and wouldn’t fit without manually trimming the parts after printing.
But you be the judge, and please let me know if you have any feedback 🙂
And most importantly, I hope you’ll have fun using it!
Parts to print:
2 copies (one for each controller): Controller – bottom
2 copies (one for each controller): Controller – top – select the variant for your magnet size
2 copies (one for each controller): Controller – mount – select the variant for your magnet size
5 copies: Rail
1 copy: Stock – A
1 copy: Stock – B
Required for assembly:
screw + nut, #8-32 x 1-1/2 in – quantity: 4
screw + nut, #8-32 x 1-1/4 in – quantity: 6
magnets – use neodymium, not ceramic disc (we need more strength than those can provide. Quantity depending on the size – see the “Controller – top” and “Controller – mount” part variants as reference (for a total of 12 or 14 magnets). The bigger the magnet (the stronger it is) – the better 🙂
Links to hardware (if you need to buy any):
screws: http://www.homedepot.com/p/Everbilt-8-32-Machine-Screw-Kit-800994/204331402
nuts and washers: http://www.homedepot.com/p/Everbilt-94-Piece-Stainless-Steel-Nut-and-Washer-Kit-803334/205949033
magnets:
http://www.homedepot.com/p/MASTER-MAGNETICS-0-7-in-Neodymium-Rare-Earth-Magnet-Discs-3-per-Pack-07047HD/202526369
http://www.homedepot.com/p/MASTER-MAGNETICS-1-2-in-Neodymium-Rare-Earth-Magnet-Discs-6-per-Pack-07046HD/202526367?keyword=neodymium+6+per+pack
if you head to Home Depot, you’ll find a selection of magnets in the aisle with machine screws and fasteners: http://imgur.com/QZAhJz9I recommend magnets: 0.472 x 0.118 inch (12 mm x 3 mm).
They’re available in Home Depot as well.
Hope you enjoy!
For other hobby projects, please visit my blog:http://www.BogdanBerg.com/
Print Settings
Printer:
Monoprice Select Mini Rafts:
No Supports:
Yes Resolution:
0.2mm – 0.3mm Infill:
20% Notes:
See provided screenshot for best printing orientation, and information on which pieces need support:http://imgur.com/4sP0OGc
Post-Printing
Gluing the magnets
To glue the magnets, you can either use Super Glue (cyanoacrylate), or epoxy. Make sure the surfaces are clean (no grease/oil from fingers) and additionally you can scorch the surface of magnets for better adhesion (i.e. with screwdriver).
Things to keep in mind:
Make sure the polarities are correct!
Really, I can’t stress this enough 🙂 Double and triple check before gluing. Also, use same polarities for mounts of both controllers, so they can be used interchangeably (this can be helpful if you need to swap them, for any reason).
Let the glue dry/cure fully – neodymium magnets are quite strong, and we don’t want them to pop out mid-game
And please refer to the photo of assembled stock for reference on how the pieces come to life together 🙂 Note that there’s one “Rail” piece between the “stock A” and “stock B” pieces. -
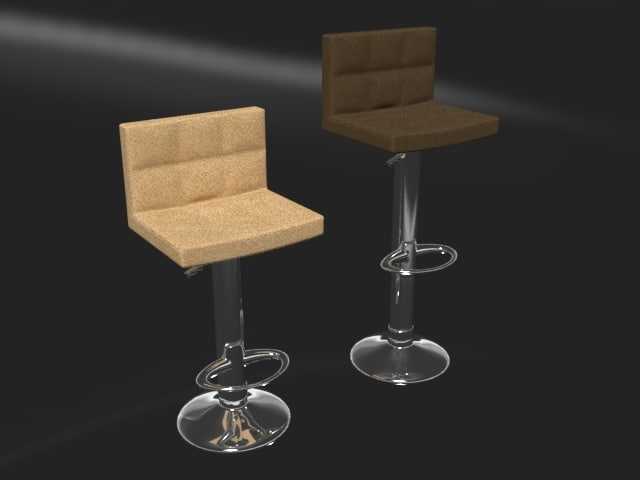
3D Bar Stool Leather High Back 3D Model
This is a an adjustable leather high-back bar stool. The object dummy’s allow the seat to go up and down, and it comes with two mental ray and two architectural textures. Contemporary Styled. Similar to the Verona High-Back Model. Dimensions are W:18′ / D:15′ / H: 41′ (Adjustable)
-
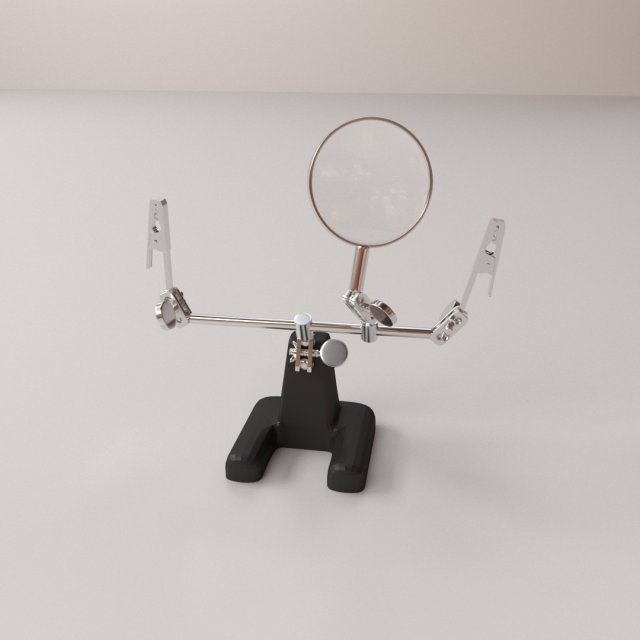
Helping Hand 3D Model
HELPING HAND=================================- Modeled in Blender.- Preview image rendered using cycles.- All scene are included in .blend files.- Poly count are before sub division- Great for close up render.- All parts and materials are logically named.OTHER FORMATS=================- 3ds MAX- COLLADA (.dae)- Autodesk FBX- OBJ
-
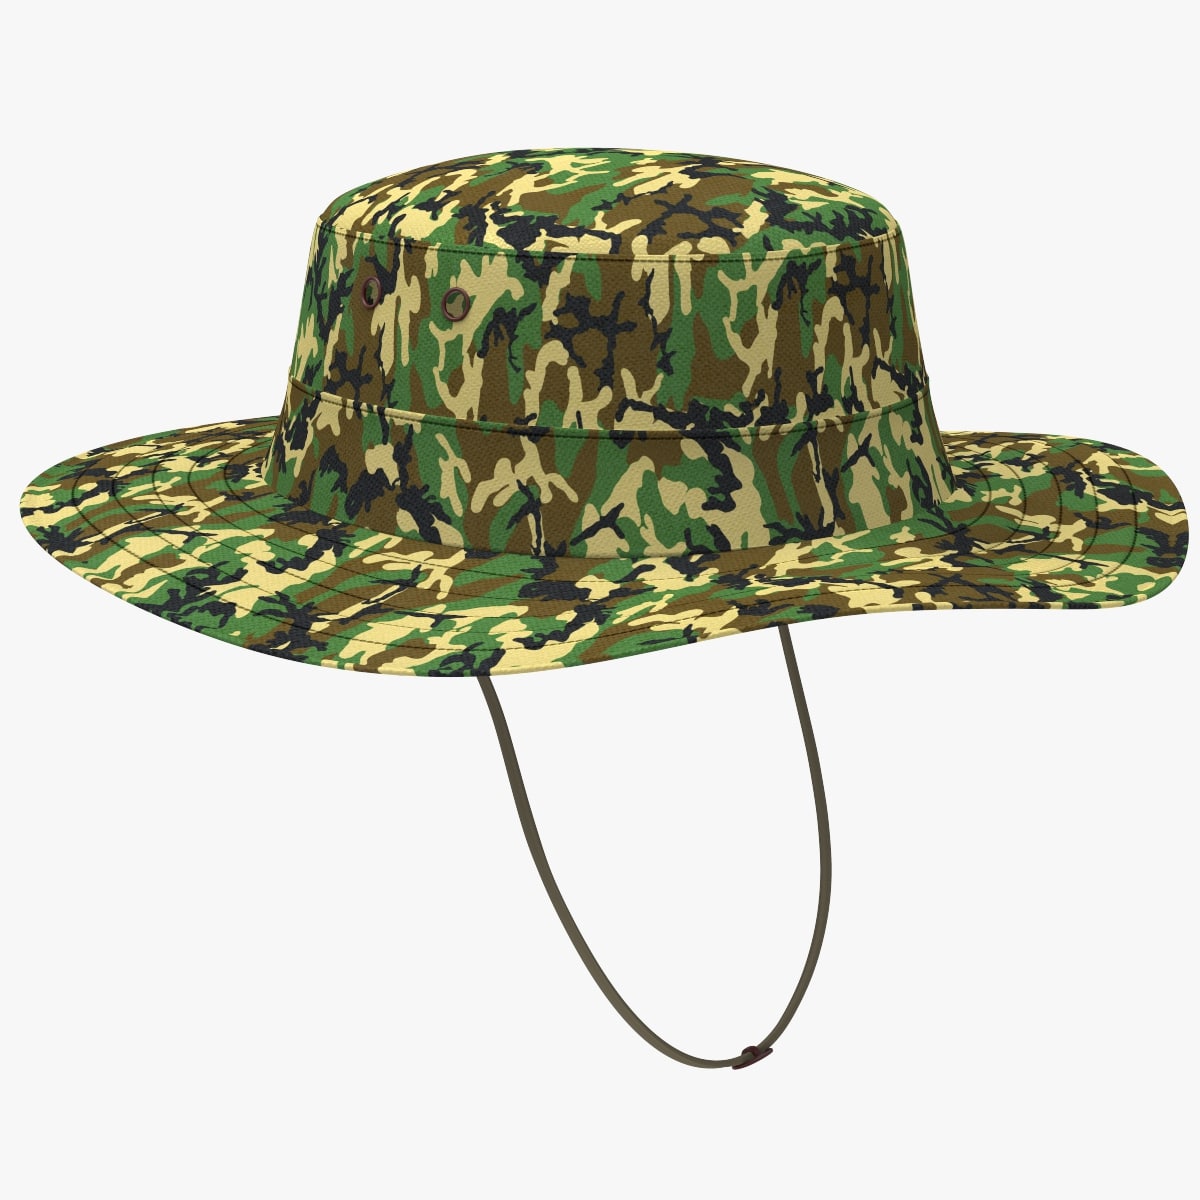
Military Boonie Hat 3D Model
‘ Military Boonie Hat ‘ is a full 3D model to add more details and realism to your projects. Detailed enough for close-up renders.*********************************Features:- Mostly Quads- Model resolutions are optimized for polygon efficiency(in 3DS MAX the meshsmooth function can be used to increase mesh resolution if necessary).- All colors can be easily modified. – No part-name confusion when importing several models into a scene. – No cleaning up necessary, just drop model into your scene and start rendering.- No special plugin needed to open scene.- HDRI background & light scene are not included*********************************File formats:- MAX- FBX (Multi Format)- OBJ (Multi Format)- Cinema 4D R17************************************Texture:-3 JPEG uv map(4096*4096)Available in ‘Accompanying Product Files’ section***************************************Hope you like it! Also check out my other models, just click on my user name to see complete gallery.Infos about my work:I work always my files with a lot of attention to details, good topology and optimizes polygons, I also bring a serious touch in the provided textures.I would like to thank every guys who bought my files, you motivate me to produce some more very nice 3d models.Newlc – 2017
-
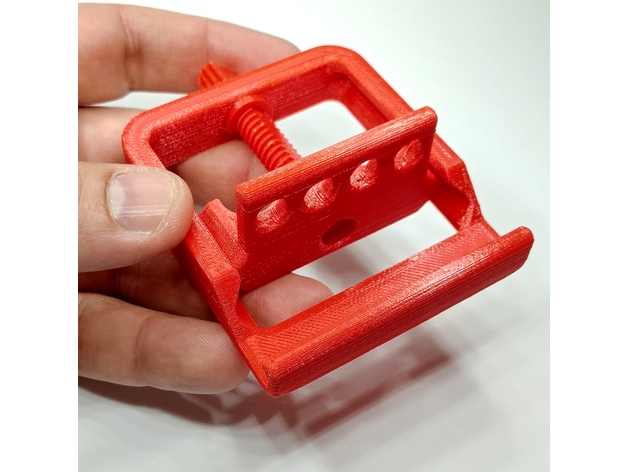
Adjustable Phone Stand (Fully Printable, No Supports) 3D Print Model
Summary
I designed this to be an adjustable smartphone stand that you can very finely adjust the viewing angle of your phone or small tablet.
To assemble:
Slide the screw all the way in to the stand.
Turn the screw until it is fully seated against the frame.
Install the snap ring over the smooth part of the screw, against the frame as depicted in the photos.
Note: This design can be scaled up to suit large tablets if you so choose.
Print Settings
Printer:
Hatchbox Alpha Rafts:
No Supports:
No Resolution:
0.25mm Infill:
20% Notes:
This does NOT require any supports or rafts. -

3D model Selfie Stick Monopod 3D Model
Selfie Stick Monopod is a high quality, photo real model that will enhance detail and realism to any of your rendering projects. The model has a fully textured, detailed design that allows for close-up renders, and was originally modeled in 3ds Max 2012 and rendered with V-Ray. Fidelity is optimal up to a 2k render. Renders have no postprocessing.Hope you like it!*********************************Features:- High quality polygonal model, correctly scaled for an accurate representation of the original object.- Models resolutions are optimized for polygon efficiency. (In 3ds Max, the Meshsmooth function can be used to increase mesh resolution if necessary.)- All colors can be easily modified.- Model is fully textured with all materials applied.- All textures and materials are included and mapped in every format.- 3ds Max models are grouped for easy selection, and objects are logically named for ease of scene management.- No part-name confusion when importing several models into a scene.- No cleaning up necessaryjust drop your models into the scene and start rendering.- No special plugin needed to open scene.- Model does not include any backgrounds or scenes used in preview images.- Units: cm*********************************File Formats:- 3ds Max 2012 V-Ray and standard materials scenes- OBJ (Multi Format)- 3DS (Multi Format)- Maya 2011- Cinema 4D R14- FBX (Multi Format)*********************************Textures Formats:- (3 .png) 4096 x 4096- (1 .psd) 4096 x 4096 (original PSD texture file with all layers)*********************************3d Molier International is a team of 3D artists with over a decade of experience in the field. The company participated in various projects allowing us to learn our clients needs. Every model we build goes through thorough Quality assessment both visual and technical to make sure the assets look realistic and the models are of the best quality, which you can tell by looking at the renders none of the has any postprocessing. On the top of that all the models come with complete UVs and optimized topology, which allows you in no time alter geo or the textures if needed.Also check out our other models, just click on our user name to see complete gallery. 3d_molier International 2017
-
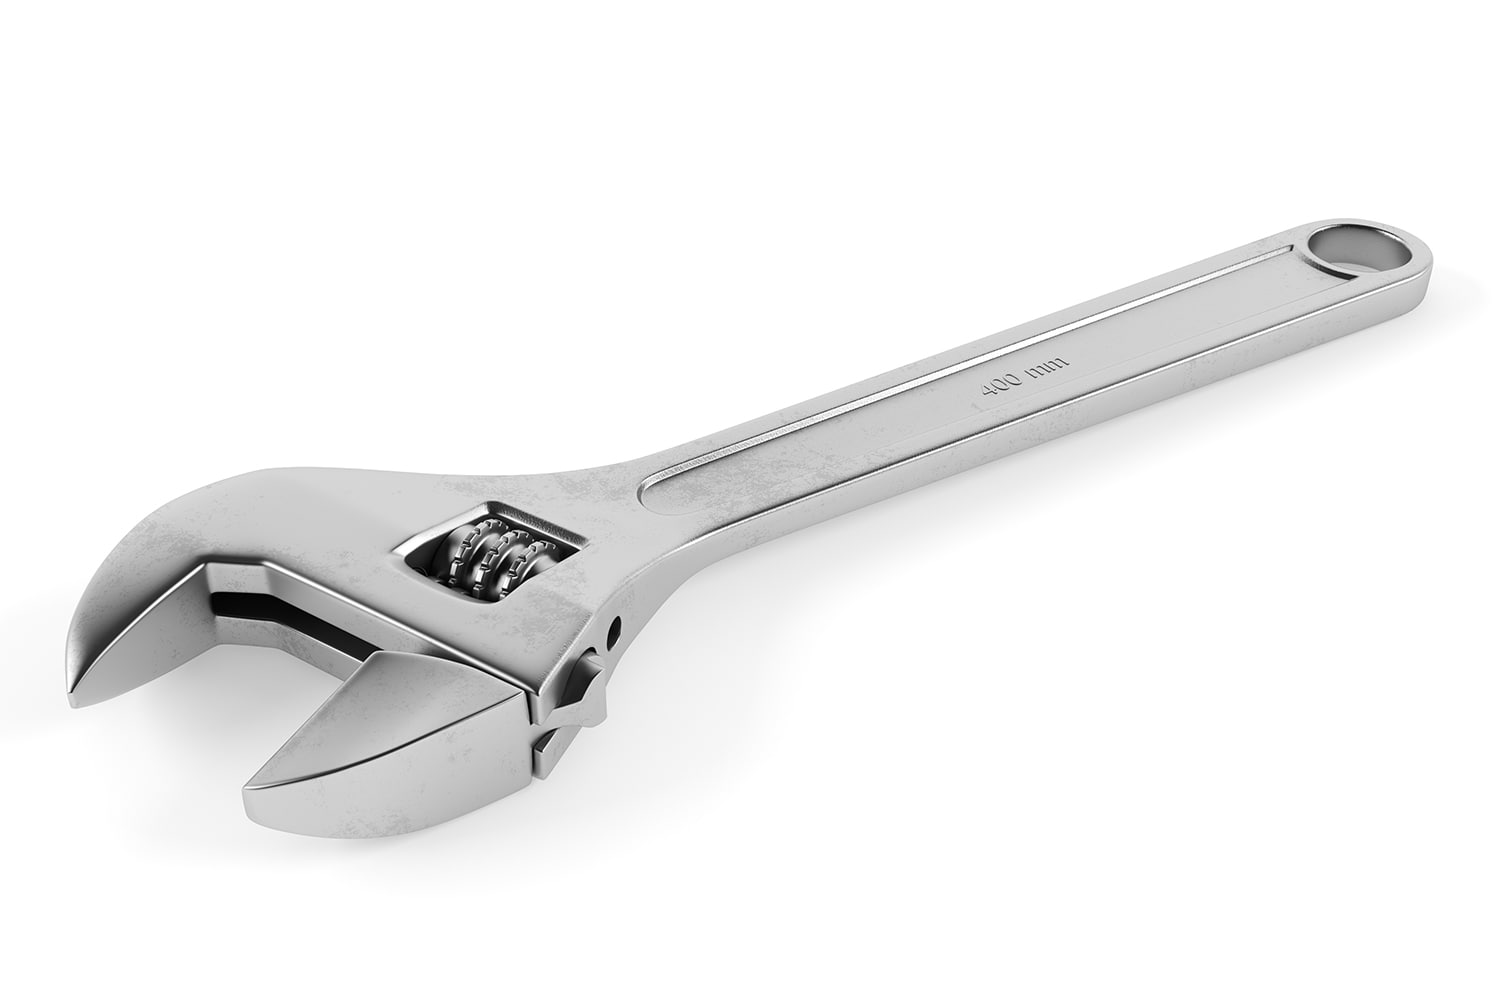
3D Adjustable Wrench model 3D Model
Adjustable wrench model with realistic materials will add realism to your projects. Modeled and rendered in 3Ds Max 2014 with V-Ray.Hope you like it!Features:- 3Ds Max 2014 and 2011 version files are included- Unit system is set to mm. Real-world scale- TurboSmooth is in the history in .max format- All textures and V-Ray materials are included in .max format- Objects grouped for easy selection and logically named- No cleaning up is necessary [cameras, lights etc. are not included to the scene]- Centered at 0,0,0Polycounts:- No TurboSmooth: 7,682 faces and 7,472 vertices- With TurboSmooth: 223,168 faces and 111,590 verticesAlso by clicking on my username you can check out my other models.Thank you!
-
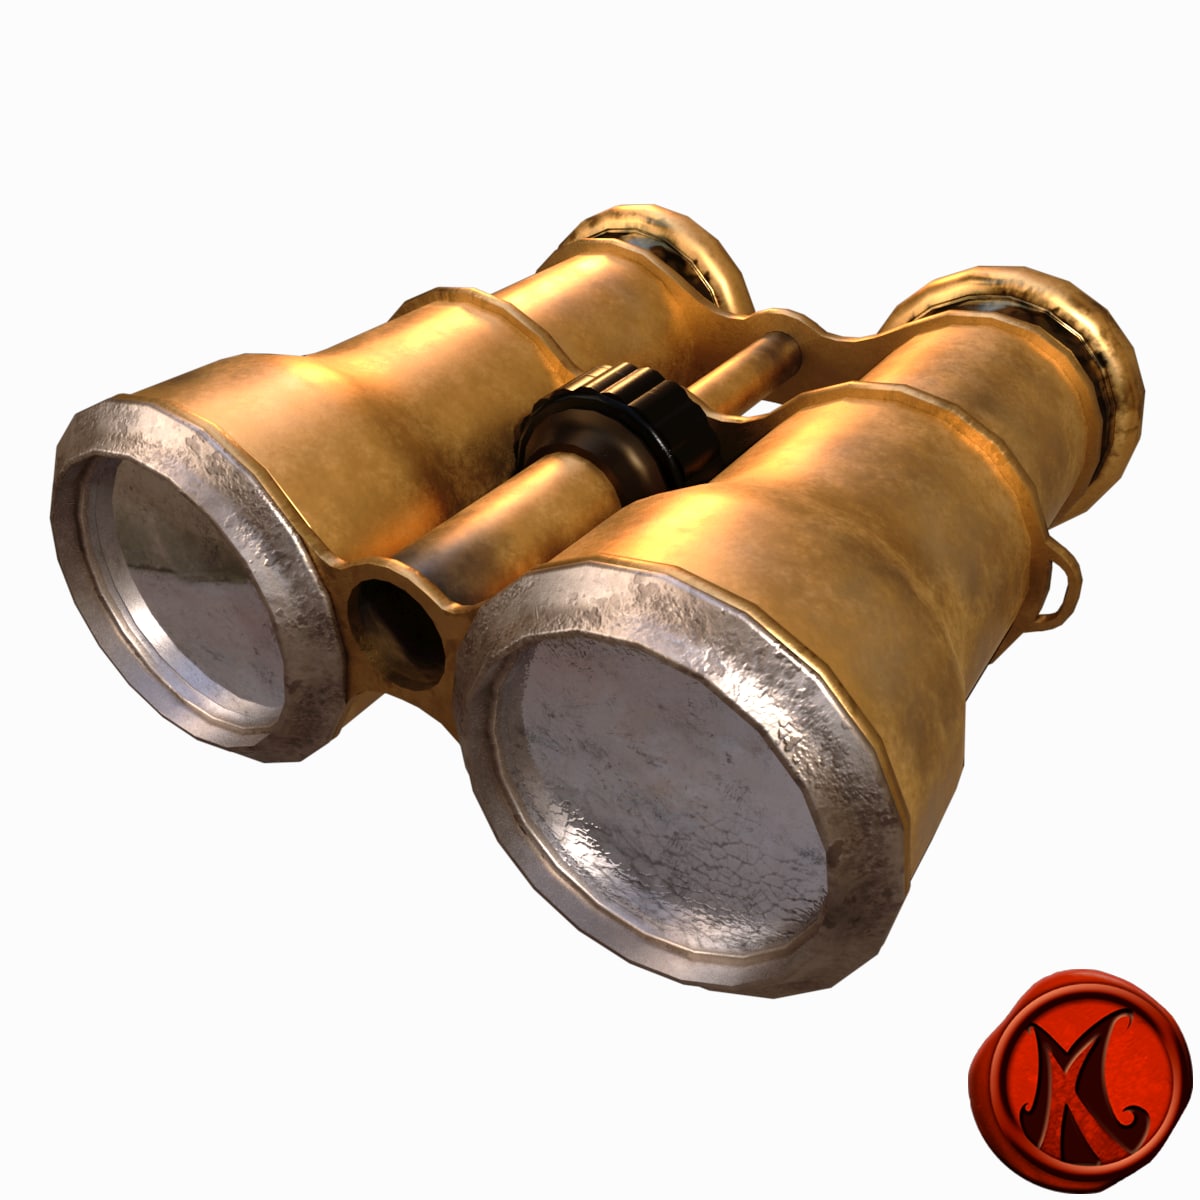
Brass Binoculars 3D Model
Modeled with named parts, materials, textures, objects and groups. Rendered in Maya 2017, Renderman 21IBL, disk lightDownloaded Product includes the following:- Binoculars- Lighting Setup- TexturesGeometry:Quads: 5018Tris: 9832Render settings:RendermanCamera: NormalLights: IBL, disk lightQuality: ProductionIntegrator: Path Tracer- 4 materials- 11 textures (4 base color, 4 normal map, 1 spec, 2 roughness)No over-lapping uvs, textured, rendered in renderman 21
-

Adjustable Wrench model 3D Model
-Modeled in 3ds Max 2016-Rendered using V-Ray 3.40.01Features:- The Object is correctly scaled and centered at the origin- Objects, Materials and Textures are properly named and logically grouped.- No N-GONS: Quads and Triangles only- Smooth function can be used to increase mesh resolution if necessary.- Max file contains geometry with Turbosmooth modifiers applied. – Units of measurement – centimeters.- Object dimensions: 26×7.5×1.6cm- Procedural texture and bitmap scratches 4000×4000 (normal, reflect) – All textures are included in archive- Ready to RENDER. HDRI map included (1500*750)- Clean UVs (Non-overlapping) File Formats:- 3ds Max 2016- 3ds Max 2013- FBX_2012- OBJ Number of polygonsSubdivision Level 0: Polys: 12 414Verts: 12 379Subdivision Level 1: Polys: 99 180Verts: 49 588Subdivision Level 2: Polys: 396 720Verts: 198 358
-

Wall Lights by Charlotte Perriand 3D Model
This is high poly lightRendered in vray.Stack not collapsed.Textures included.Model tested checkmate light program.3ds, fbx, obj files exported without meshsmooth modifier.No hidden objectsAll objects grouppedAll objects have materialsNo missing textures and texture paths clearedAll objects have 1:1 scaleModel have lights and cameras , just open max file andClick render and you have same image as preview.File have gamma 1.0Unit scale cm 1:1Model optimised for rendering in 3ds max and v-ray, in other programs may adjust materials and lighting, Wall Lights by Charlotte Perriandimpressive set of ‘CP-1’ wall lights by Charlotte Perriand. These sconces by Charlotte Perriand come from the ‘Arc 1600’ area of the Les Arcs ski resort by Le Corbusier. Charlotte Perriand worked with Le Corbusier for ten years. She worked as part of the Les Arcs design team including Roger Godino, Robert Blanc, Gaston Regairaz, Guy Rey-Millet, and Bernard Taillefer.CREATORCharlotte Perriand (Designer)OF THE PERIODMid-Century ModernDATE OF MANUFACTURE1960sPERIOD1960-1969MATERIALS AND TECHNIQUESPaintedSteelDIMENSIONS7 in.Hx5 in.Wx2.5 in.D18 cmHx13 cmWx6 cmD
-
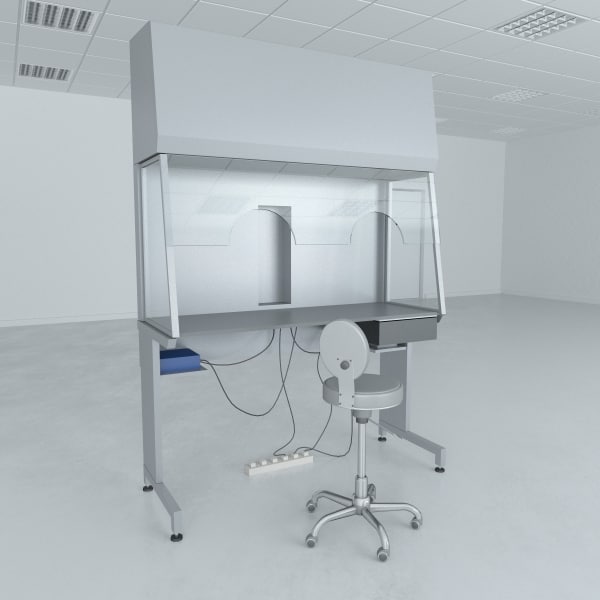
Lab Furniture (Biosafety Cabinet)_2 3D Model
Biosafety Cabinet for your lab project.-Model is really there, done carefully, according to the real dimensions.-scene for 3ds Max 2012 and V-Ray 2.0!!!In file only 3d model without interior!!!
-
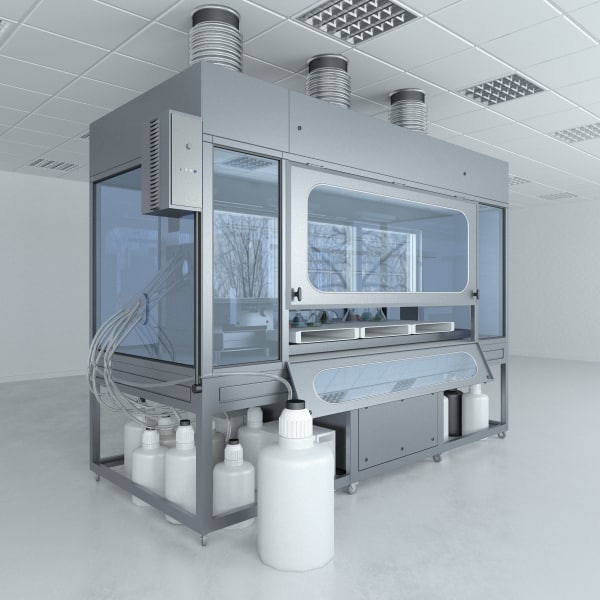
Lab Furniture Typical Set 7 3D Model
Lab furniture typical set for your lab project.-Model is really there, done carefully, according to the real dimensions.-scene for 3ds Max 2012 and V-Ray 2.0!!!In file only 3d model without interior!!!
-
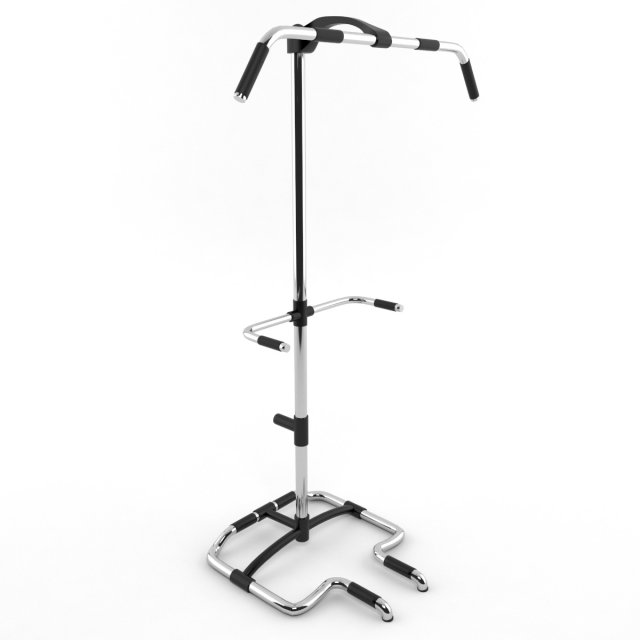
Bar work out 3D Model
Features:-High quality polygonal model, correctly scaled for an accurate representation of the original object.-Models resolutions are optimized for polygon efficiency. (In 3ds Max, turbosmoth can be used to increase mesh resolution if necessary.)-All colors can be easily modified.-3ds Max models are grouped for easy selection,-No part-name confusion when importing several models into a scene.-No cleaning up necessary just drop your models into the scene and start rendering.-No special plugin needed to open scene.-Model does not include any backgrounds or scenes used in preview images.*************************File Formats:- 3ds Max 2014 V-Ray- 3ds Max 2012 V-Ray- OBJ (Multi Format)- FBX (Multi Format)********************************Hope you like it!Also check out my other models,
-
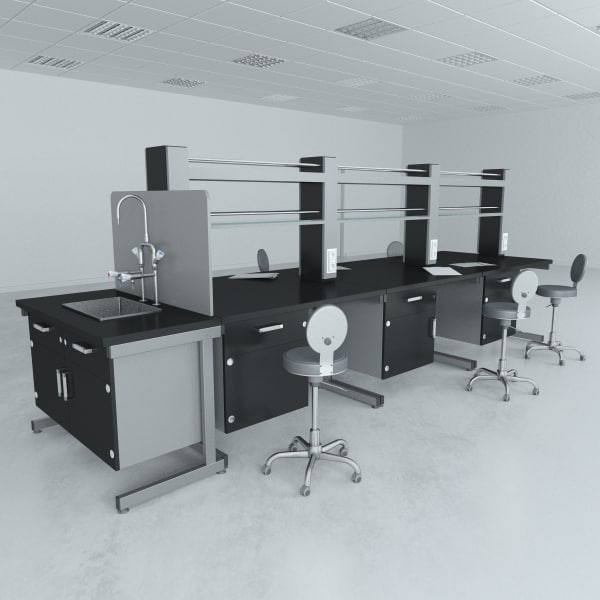
Lab Furniture Typical Set 6 model 3D Model
Lab furniture typical set for your lab project.-Model is really there, done carefully, according to the real dimensions.-scene for 3ds Max 2012 and V-Ray 2.0!!!In file only 3d model without interior!!!
-
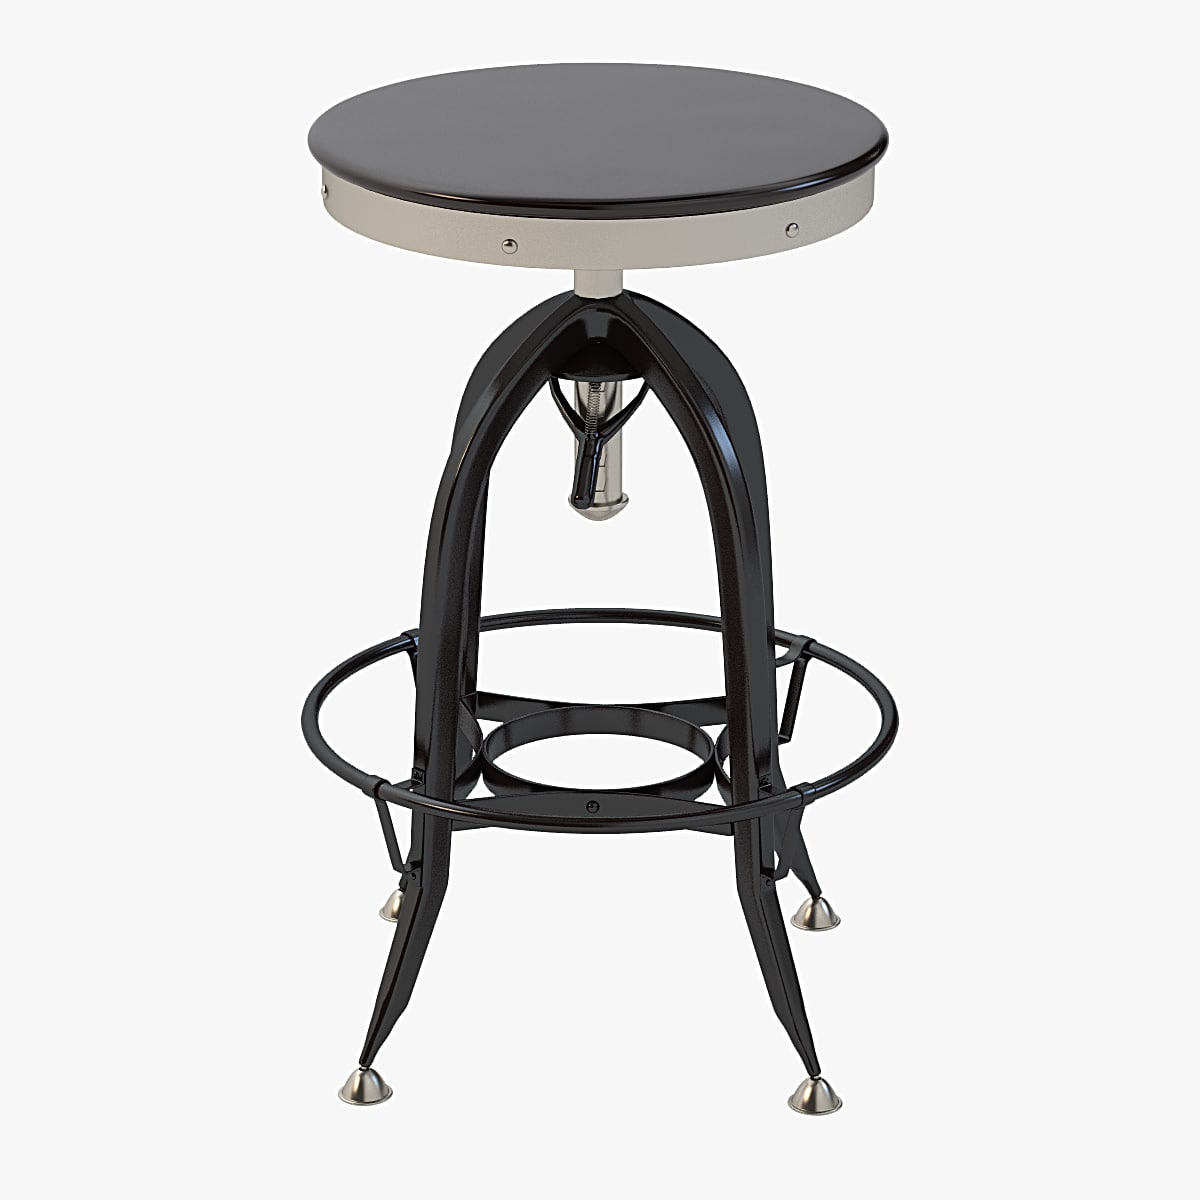
3D Photorealistic Detail Vintage Toledo Barstool 3D Model
About the model:- High quality polygonal model, correctly scaled for an accurate representation of the original object.- This model was constructed with utmost care and attention to detail, with clean edge flow. (please check wire frame images).- Materials are suitable for earlier versions of Vray.- Ready for closeup shots.- Model is built to real-world scale.- System unit setup used- centimeter.- The model includes light rig.- This model contains [63434] Polygon and [63544] Vertices with subdivision ‘ON’ (set to smoothed iterations)- Its ready to multiply subdivision reasonably.- Colors can be easily modified.- Different parts of the model are named properly. 3ds Max models are grouped for easy selection.- No part-name confusion when importing several models into a scene.- No cleaning up necessary. Just drop your models into the scene and start rendering.- No additional plugin is needed to open the model.—————————File Formats:- 3ds Max 2011 V-Ray scene (native application)- OBJ (works with most 3D applications, if you are not using Native application ) – FBX (works with almost all Autodesk 3D applications, if you are not using Native application )- 3DS (works with most 3D applications, if you are not using Native application ) —————————Rate to let others know about the quality!To check out my other models you just need to click on my user name.3dready
-
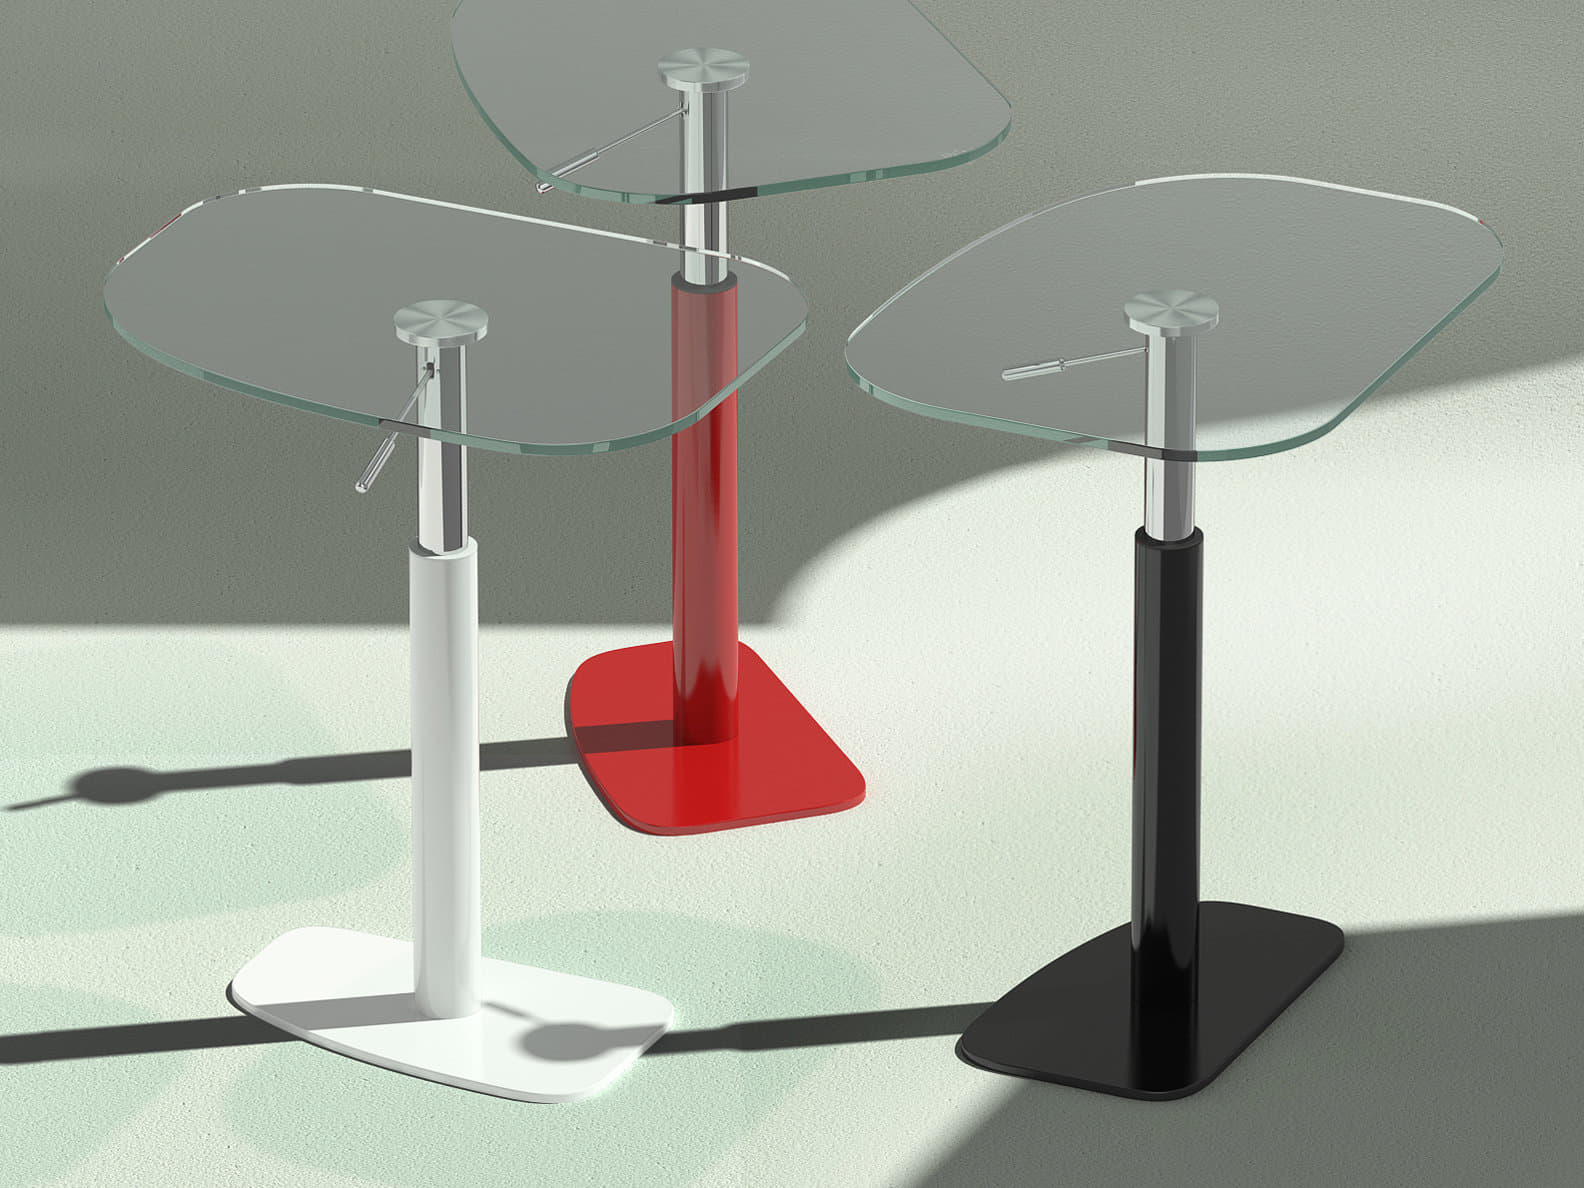
3D Piazza Free 3D Model
Piazza by Ligne Roset | 3d model produced by Design ConnectedThis 3d model is part of the highly acclaimed Design Connected collection featuring 6500+ carefully picked exclusive furnishings. Check out our full range of 3d models for more mid-century icons, contemporary classics and designer masterpieces.All Design Connected 3d models are originally created in 3ds Max and V-Ray renderer.Our in-house team of 3d artists handle all further remodelling, materials conversions and other adaptations to deliver best possible visual and technical quality of all the additional file formats and renderers we offer. Files units are centimeters and all models are accurately scaled to represent real-life object’s dimensions.Our models come as a single editable mesh or poly object (or as group for rigged models or where displace modifier has been used) properly named and positioned in the center of coordinate system. No lights, cameras and render/scene setup are included unless otherwise stated in the particular model’s description.AVAILABLE FILE FORMATS- Sketchup 8 or above – Autodesk 3ds Max 2011 or above– VRay– Mental Ray– Scanline- OBJ and FBX ADDITIONAL FILE FORMATS UPON REQUEST- Cinema4D R16 or above- ARCHICAD R16 or above- Autodesk 3ds – Abvent Artlantis – Rhinoceros – Autodesk DWG – Maya – Lightwave – Collada PRODUCT DESCRIPTIONBrand: Ligne Roset FranceDesigner: Michael KoenigDesign Connected ID: 6389BEFORE PURCHASEWe highly recommend that you download few of our FREE 3D MODELS and test if they work well with your 3d software before making a purchase.ABOUT THE IMAGERYPreviews rendered in 3dsMax using VRay. Please note that the studio scenes and light and environment settings are not included.SUPPORTIf you have any questions about how to use Design Connected 3d models, please contact us via Support.Thank you for purchasing Design Connected models!
-
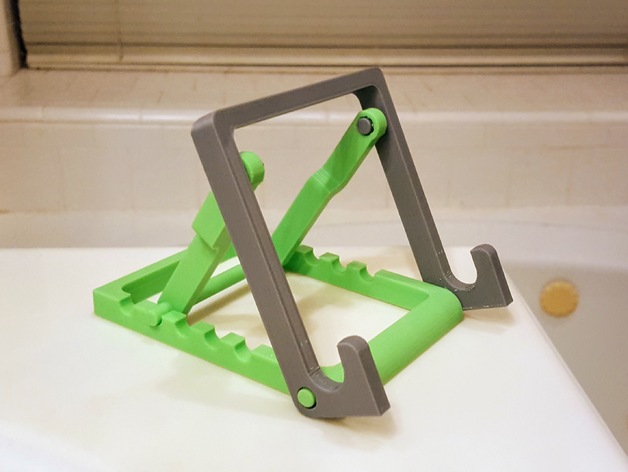
Adjustable tablet stand 3D Print Model
Summary
A remix with some small adjustments
Shortened the base to make it easier to print on smaller printers
Flattened the bulge on one side of the frame so that the piece sits flat on print bed
Shortened the hooks
Print Settings
Rafts:
No Supports:
Yes Resolution:
0.2mm Infill:
30% -
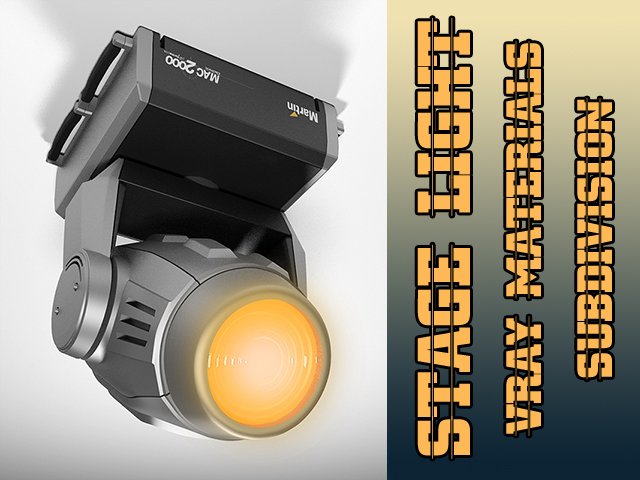
Martin Moving Head Stage Light 3D model 3D Model
Martin Moving Head Stage Light 3D model
Martin moving head stage light with vray materials. Obj included. -
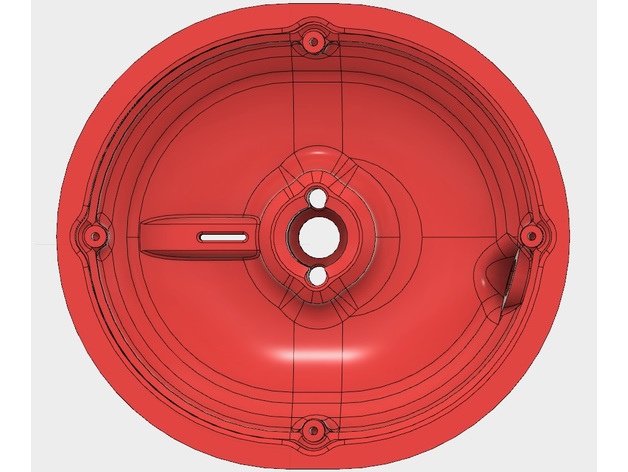
Open Alpha Headphones Bass Adjustable Ear Cups 3D Print Model
Summary
This is a remix of the Open Alpha headpones given to the diy community by MrSpeakers Dan Clark. He designed the original as a production product. Later on he gifted the design to the community. My remix replaces the vent holes on the original with an adjustable vent. Just thread an M3 set screw into the hole on top and adjust them as desired. This is basically the same as his Alpha Prime design. I would start with M3x12 it can totally seal the vent and also leave it completely open, though a little of the screw will be sticking out the top of the cups when the vent is totally open. If you want to go totally open or close to it maybe an M3x10 or M3x8 would be a better choice. The .iges file is included for editing and remixing.
Print Settings
Printer:
Custom Rafts:
Yes Supports:
Doesn’t Matter Resolution:
0.1mm Infill:
10% Notes:
You may need to make walls around the cups or use a raft/skirt to prevent curling. Experiment with wall thickness, infill pattern and density to see how well they isolate. Please report any comparisons in sonic properties that you discover if you print multiple patterns/densities.
How I Designed This
Autodesk Fusion 360 -
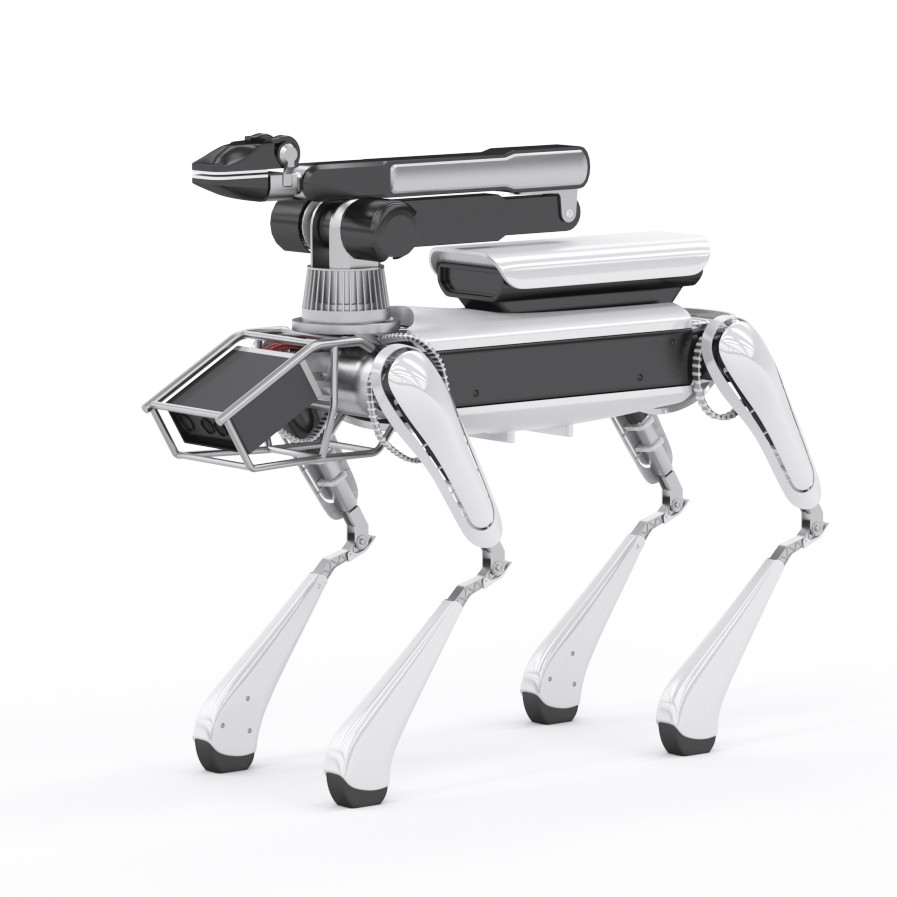
boston dynamics dog robot 3d model vray 3D Model
Boston Dynamics Robot Dog 3d model, vray 3dsmax, turbosmooth modifier not collapsed, ready for render and for animation.No plugins used
-
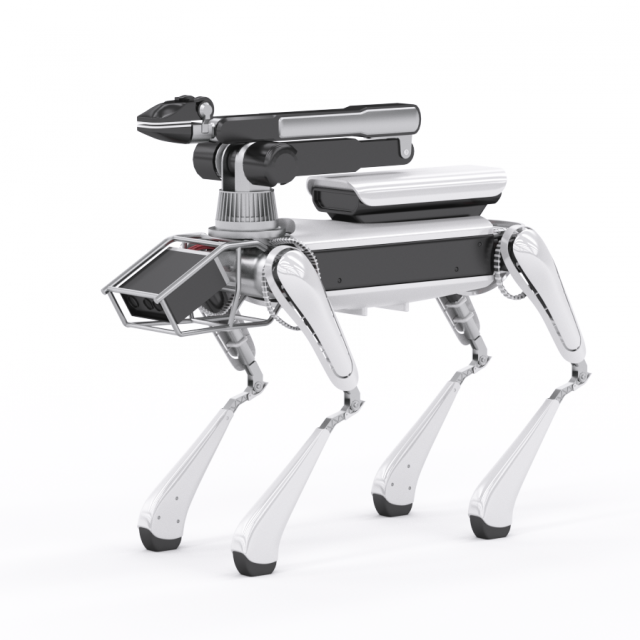
Boston dynamics dog robot 3d model vray 3D Model
Boston Dynamics Robot Dog 3d model, vray 3dsmax, turbosmooth modifier not collapsed, ready for render and for animation.
No plugins used -
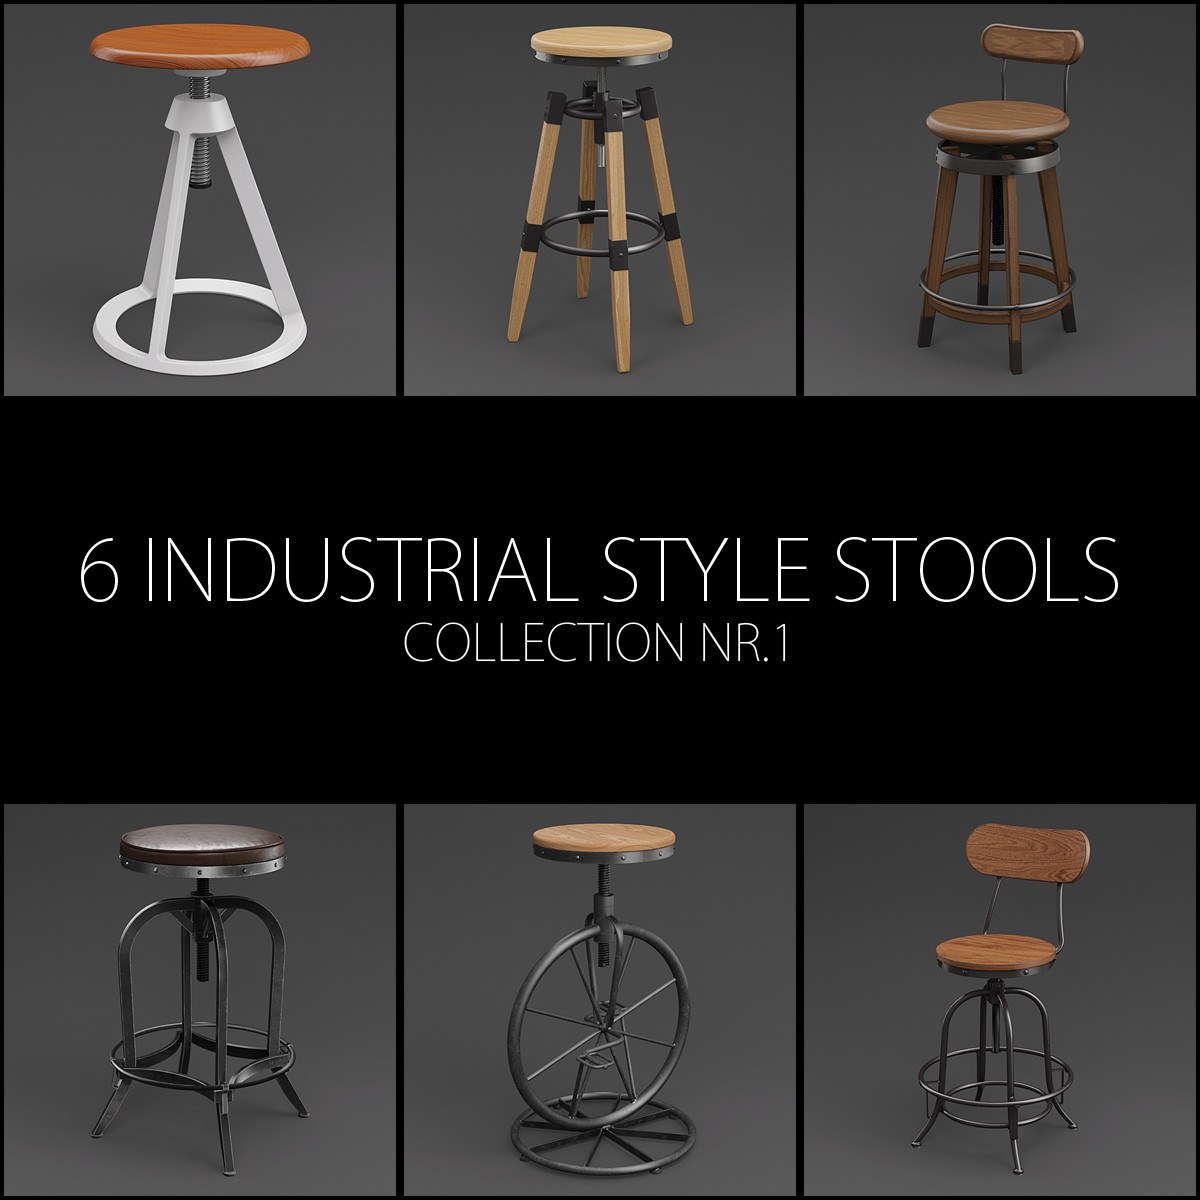
6 Adjustable Height Industrial Stools 01 3D Model
A collection of 6 realistic adjustable height industrial style stool 3D models.Real-world scale in centimeters.Total polygons and vertices:313728 polygons324373 vertices____________________Model specifications:Adjustable Height Industrial Stool 01:Individual product ID on TurboSquid – 1111341- 34017 polygons- 33853 vertices- model split into 2 objects- only basic flat color for the painted and metal/rubber/plastic partsAdjustable Height Industrial Stool 02:Individual product ID on TurboSquid – 1114248- 47657 polygons- 49735 vertices- model split into 2 objects- only basic flat color for the painted and metal partsAdjustable Height Industrial Stool 03:Individual product ID on TurboSquid – 1123115- 59141 polygons- 60012 vertices- model split into 2 objects- only basic flat color for the painted and metal partsAdjustable Height Industrial Stool 04:Individual product ID on TurboSquid – 1126767- 65322 polygons- 67910 vertices- model split into 2 objects- diffuse, normal and roughness maps includedAdjustable Height Industrial Stool 05:Individual product ID on TurboSquid – 1134550- 46647 polygons- 49387 vertices- model split into 2 objects- diffuse and roughness maps includedAdjustable Height Industrial Stool 06:Individual product ID on TurboSquid – 1155037- 60944 polygons- 63476 vertices- model split into 2 objects- two diffuse maps with different wood patterns____________________Textures included in the 3ds max 2011 ZIP archive only!All textures are 4096×4096 8bit PNG files.Materials – mental ray – used for preview renders are only available with 3dsmax 2011 file!Exported and tested in Deep Exploration.Render scene is not included!Thank YOU,Pumper
-
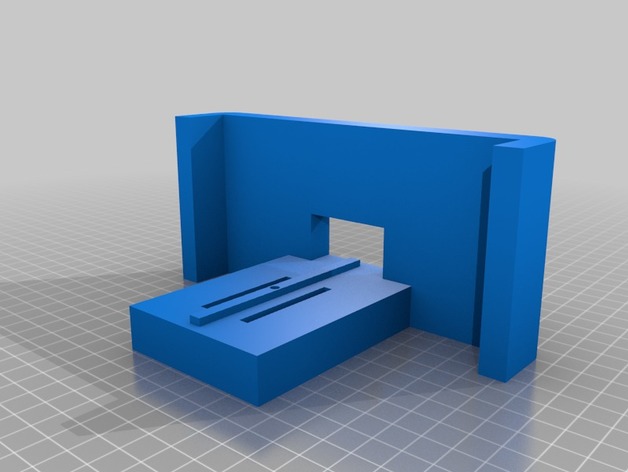
Adjustable Phone Stand
Summary
Hi this is my 2nd print. It might be a little bulky but I’ve used it myself and it works quite nicely. This one works best with phones that are about 14.5 cm in length. Any shorter is fine as well though I think it might wobble a little. Also a small bit of filing might be needed to fit some of the parts , nothing too complicated though
Main – This is the main body of the stand
Mount – This is the mount that is supposed to slide into the base of the main body
Pole ( Optional ) – This is actually really optional . I personally used something I got from a Lego set but this one works as well . I’ve not tried it yet but I bet you could cut a small part of the stick of a Chupa Chup Lollipop and use it as well .