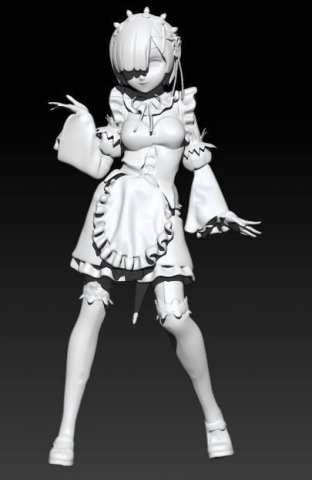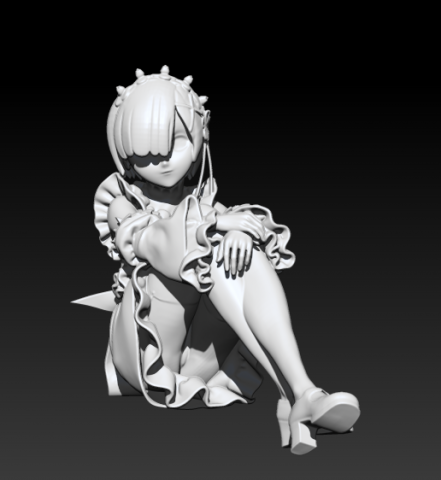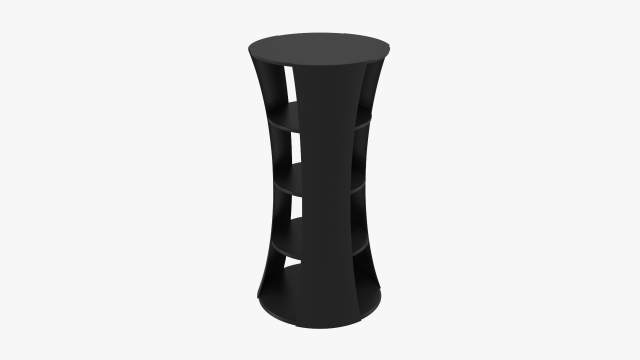
[===== General description =====]Geometry: Polygonal Quads/TrisSubdivision: AllowedPolygons: 7334Vertices: 7350Textures: YesMaterials: YesRigged: NoAnimated: NoUV Mapped: YesUnwrapped UVs: YesUVs non overlapping: YesLow-poly: YesReal life scale: YesLayer structure: YesHierarchy structure: YesGroups structure: NoTolerance: 0.00001cmOverlapping faces: 0Open edges:0Overlapping edges: 0Isolated vertices: 0Overlapping vertices: 0T-vertices: 94[===== Details description =====]All objects polygons and vertex count are less or equal to the specified value.All models are built in real life scale set to 100%, System Unit Scale is set to inches and Display Unit Scale is set to cm, pivots are centered on 0,0,0.All materials were created using V-Ray 3.30.05, a material library are present to make easiest to apply materials to imported objects.The OBJ and 3DS contains a default gray material, due to the nature of those formats, is possible that the mesh does not correspond to the expected, in some cases it can contain only triangles or without some hierarchy…._single_object and …_no_materials.max are in low mesh without the turbosmooth modifier applied.[===== Material =====]black_mtl (V-Ray)wireframe (V-Ray)background (V-Ray)
Tag: zero
-
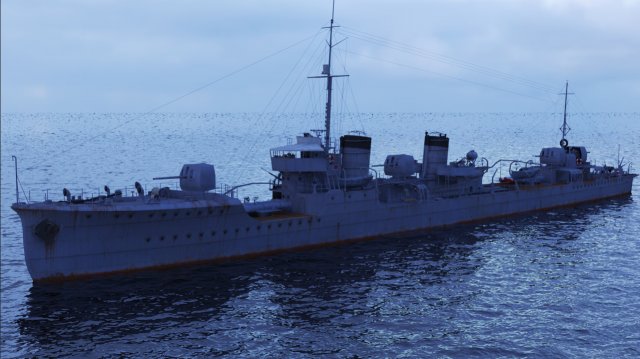
Japanese Mutsuki-class destroyer 3D Model
The Japanese destroyer Mutsuki (”January”) was the name ship of her class of twelve destroyers built for the Imperial Japanese Navy (IJN) during the 1920s. During the Pacific War, she participated in the Battle of Wake Island in December 1941 and the occupations of New Guinea and the Solomon Islands in early 1942. Mutsuki was one of the escorts for the invasion force during the Battle of the Coral Sea in May and then participated in the Guadalcanal Campaign later that year. The ship was sunk by American bombers during the Battle of the Eastern Solomons in August.Textures from 256×256 to 4096x4096Diffuse, Opacity.
-
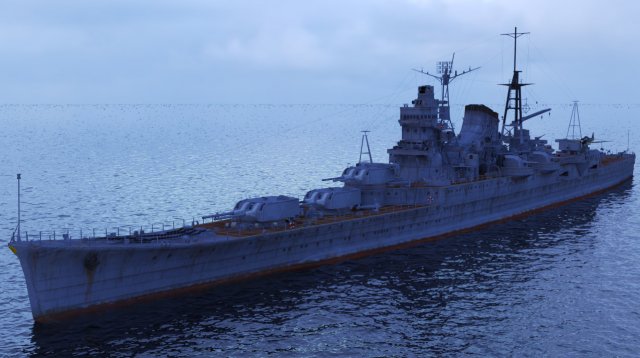
Japanese cruiser Mogami 3D Model
Mogami was the lead ship in the four-vessel Mogami class of heavy cruisers in the Imperial Japanese Navy. She was named after the Mogami River in Tohoku region of Japan. The Mogami-class ships were constructed as “light cruisers” (per the Washington Naval Treaty) with five triple 6.1-inch dual purpose guns. They were exceptionally large for light cruisers, and the barbettes for the main battery were designed for quick refitting with twin 8-inch guns. In 1937 all four ships were “converted” to heavy cruisers in this fashion. Mogami served in numerous combat engagements in World War II, until she was sunk at the Battle of Leyte Gulf in October 1944.Textures from 256×256 to 4096x4096Diffuse, Opacity.
-
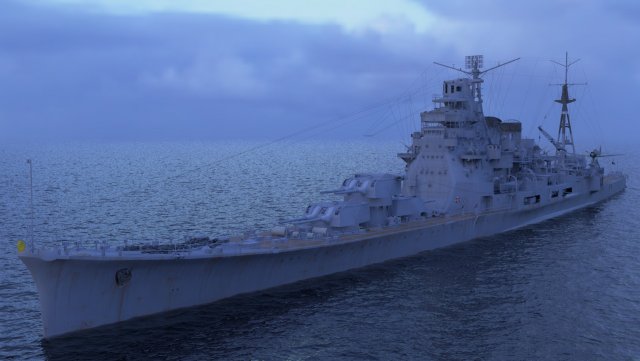
Cruiser Atago with Mitsubishi A6M2 Zero 3D Model
Atago was the second vessel in the Takao-class heavy cruisers, active in World War II with the Imperial Japanese Navy. These were among the largest and most modern cruisers in the Japanese fleet, designed with the intention to form the backbone of a multipurpose long-range strike force. Her sister ships were Takao, Maya and Chokai.Textures from 256×256 to 4096x4096Diffuse, Opacity.
-
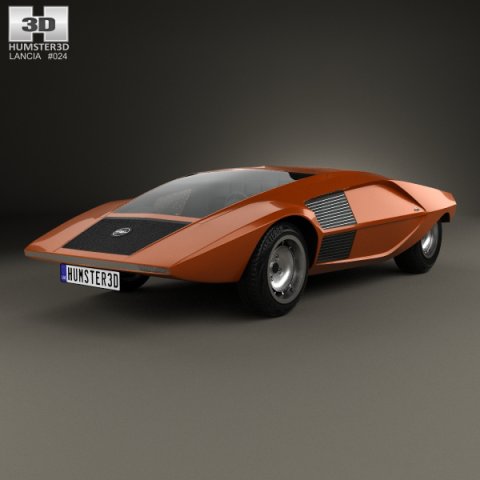
Lancia Stratos Zero 1970 3D Model
The 3D model was created on real car base. It’s created accurately, in real units of measurement, qualitatively and maximally close to the original.Model formats:- *.max (3ds Max 2008 scanline)- *.max (3ds Max 2008 vray)- *.fbx (Multi Format)- *.obj (Multi Format)- *.3ds (Multi Format)- *.mb (Maya 8.5)- *.lwo (Lightwave 6)- *.c4d (Cinema 4D 11)* tire’s texture is not included in the set.* renders Are made in 3ds Max 2008 using vray 1.5 (studio environment is not included in the set)If you need any other formats we are more than happy to make them for you.The model is provided combined, all main parts are presented as separate parts therefore materials of objects are easy to be modified or removed and standard parts are easy to be replaced. If you experience difficulties with separating standard parts we are more than happy to give you qualified assistance.We greatly appreciate you choosing our 3D models and hope they will be of use.We look forward to continuously dealing with you.Sincerely Yours,Hum3D Team
-
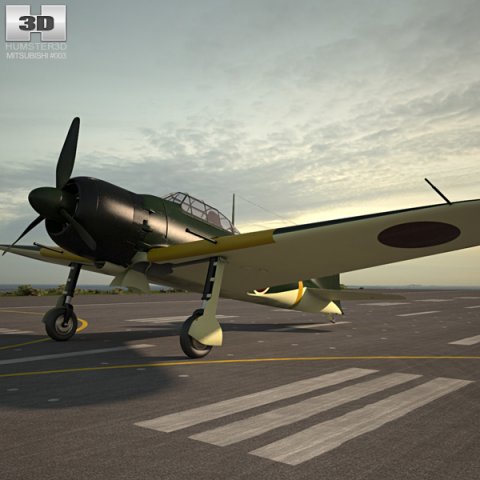
Mitsubishi A6M Zero 3D Model
The 3D model was created on real base. It’s created accurately, in real units of measurement, qualitatively and maximally close to the original.Model formats:- *.max (3ds Max 2008 scanline)- *.max (3ds Max 2008 vray)- *.fbx (Multi Format)- *.obj (Multi Format)- *.3ds (Multi Format)- *.mb (Maya 8.5)- *.lwo (Lightwave 6)- *.c4d (Cinema 4D 11)* renders Are made in 3ds Max 2008 using vray 1.5 (studio environment is not included in the set)If you need any other formats we are more than happy to make them for you.The model is provided combined, all main parts are presented as separate parts therefore materials of objects are easy to be modified or removed and standard parts are easy to be replaced. If you experience difficulties with separating standard parts we are more than happy to give you qualified assistance.We greatly appreciate you choosing our 3D models and hope they will be of use.We look forward to continuously dealing with you.Sincerely Yours,Hum3D Team
-
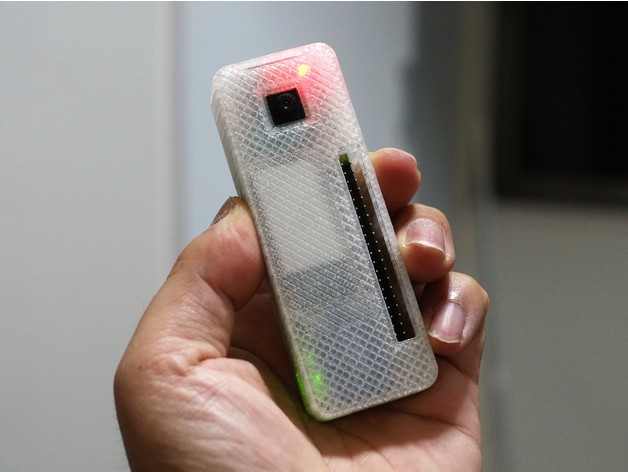
Pi Zero Cam 3D Print Model
Summary
batteru : https://amzn.to/2HlLKfH
Charger : https://amzn.to/2vAn2qi
Print Settings
Printer:
D-Bot CoreXY
Rafts:
Doesn’t Matter
Supports:
Doesn’t Matter
Resolution:
0.2mm
Infill:
25% -
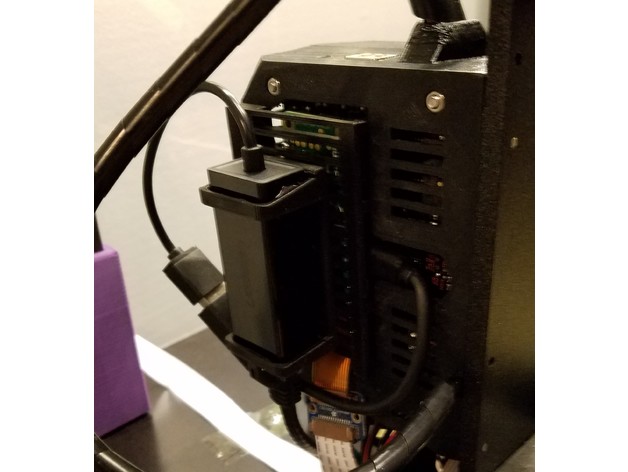
Extended RPi Zero W Einsy Door + Hub Mounts 3D Print Model
Summary
Milo5000’s Einsy case mod was great but I was having issues putting in my RPi with a heatsink mounted. The modded lid allows for a heatsink extending at least 4mm above the MK3 PI frame so around 7mm total in height for the heatsink. The additional space also allows for easier removal of the SD card with pliers or really precise fingers.
I have also included two different sizes for hub mounts. One fits a 26mm X 18mm X 61mm hub which I use for just ethernet connectivity. The larger one fits a 31mm X 21mm X 96mm hub which has 3 usb ports and an ethernet ports. -
Pi Zero W 3D Print Model
Summary
A lot of my robotics projects make use of the pi zero w (especially since my local MicroCenter sells them for <$5). I use this mock up for when I’m working with tight placement / clearances.
It’s made in openscad so many of the dimensions and tolerances are easily customized.
You can checkout some of my other projects on github.com/avirtuos -
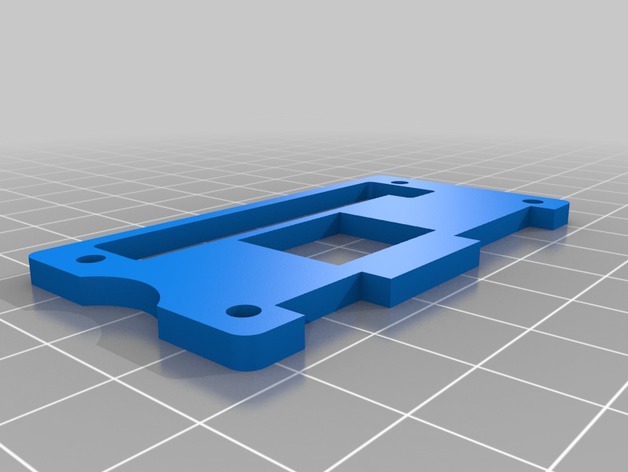
Simple raspberry pi zero case 3D Print Model
Summary
Simple raspberry pi zero case only needs 4 m2x10mm screws and 4 m2 nuts. -
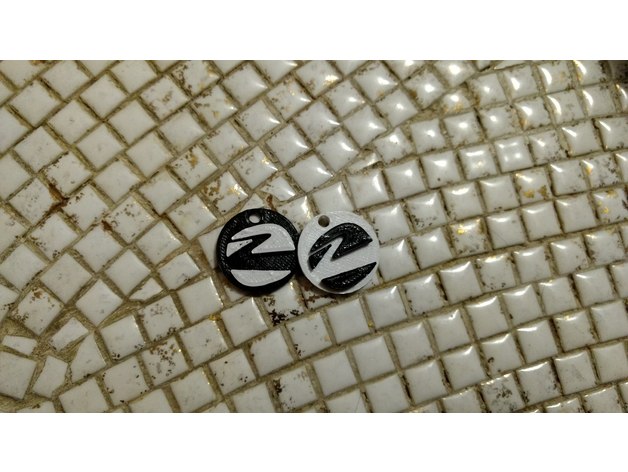
Zero Motorcycles Keychain 3D Print Model
Summary
This keychain is about the size of a quarter and prints in under 20 minutes! For all the Zero Motorcycle riders out there!
Print Settings
Printer Brand:
Robo 3D Printer:
R1 ABS + PLA Model Rafts:
Yes Supports:
No Notes:
Layer 14 is where I paused and changed filaments for the two-color print.
How I Designed This
This keychain was the first 3D design I ever made — in 2016!! I took an EPS copy of the logo and converted it to SVG, then brought it into Tinkercad. I made the quarter-sized circle, and layered the logo over it, then punched out the hole. This is version 2, I’ve cleaned up the underside a little so that it prints better. -
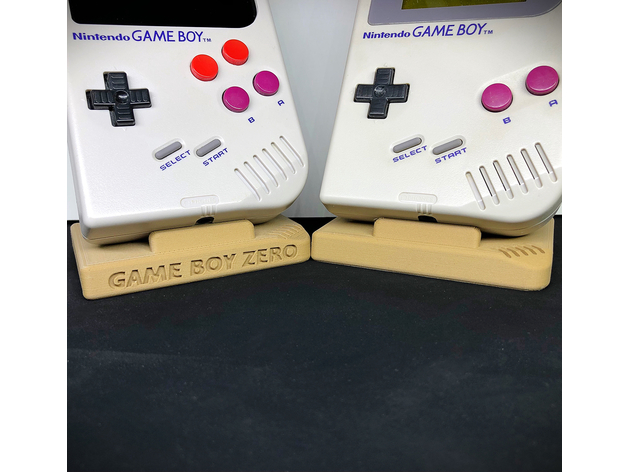
Game Boy Zero and Game Boy (DMG-01) Display Stands 3D Print Model
Summary
I made these for displaying my Game Boy (DMG-01) and Game Boy Zero collection. There are two versions: with and without “Game Boy Zero” text debossed on the front of it. Pretty happy with how it turned out!
You can purchase one printed in wood-fill PLA from here: http://market.sudomod.com/game-boy-display-stand/
For more Game Boy Zero and related stuff check out http://www.sudomod.com.
You can follow me on Instagram to see other things I’m working on: http://www.instagram.com/sudomod_wermy
Print Settings
Printer:
Raise3D N2 Rafts:
No Supports:
No Resolution:
0.15mm Infill:
15% Notes:
Woodfill PLA is my favorite material to use in printing these, but about anything should look nice. -
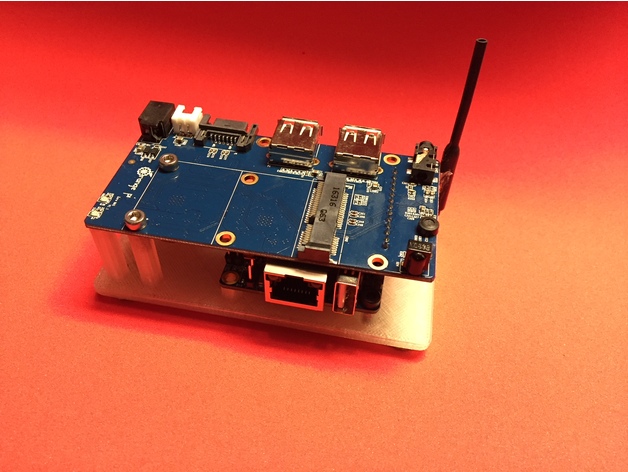
Orange Pi Zero NAS (minimal) 3D Print Model
Summary
A minimalistic open mount for the Orange Pi Zero NAS.
Print Settings
Printer Brand:
MakerBot Printer:
MakerBot Replicator 2 Rafts:
No Supports:
Doesn’t Matter Resolution:
.25 Infill:
10% -
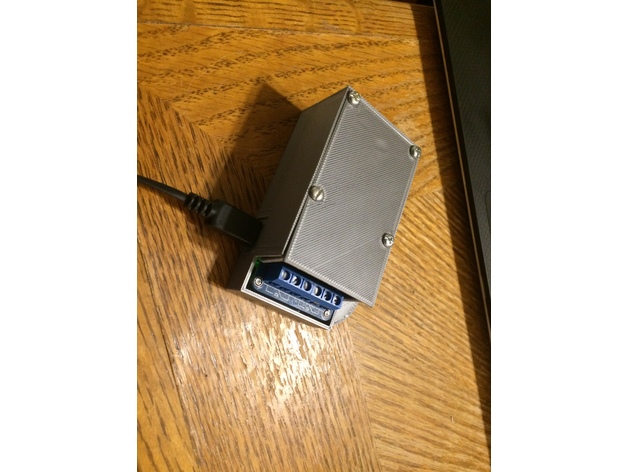
Pi Zero Dual Relay board Enclosure 3D Print Model
Summary
A dual channel relay enclosure for a wi-fi garage door opener.
It works with just about any model / make of garage door opener.
Note: The photos of the item “in use” are of a draft version (print settings below applied) where the lid wasn’t perfect, but I decided it was ‘good enough’. I have updated the design you see here to fix the fit and finish issues.
I started out with this instructable, detailing a rather old hardware setup using a dual channel relay board.
I didn’t much care for the PHP / Apache on Raspbian stack. I know other folks who have used this setup and had issues with SD card corruption.
So I ended up creating my own app in go to do the HTTP bits and handle the GPIO interaction.
Then I took it a step further and baked up a minimal Yocto Linux image with a read-only rootfs, to guard against the SD card corruption issue.
If you want to customize the linux image, you can read the docs in my bitbake layer.
Print Settings
Printer Brand:
Prusa Printer:
i3 MK2S Rafts:
No Supports:
No Resolution:
0.2 Infill:
20% Notes:
Layer Height: 0.2
First Layer Height: 0.2
Vertical shell perimeters: 2
Horizontal Shells:
Top: 3
Bottom: 3
Brim: 4mm -
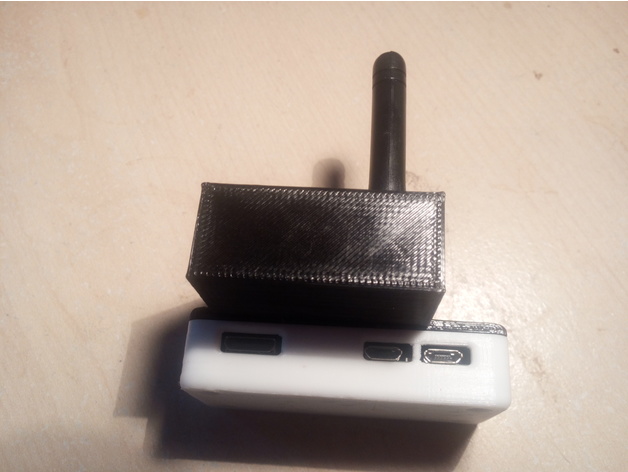
DV Mega Case for Raspberrypi Zero W 3D Print Model
Summary
I have a Raspberrypi Zero W running MMDVM through a DVMega and printed a case that I thought I would share.
It’s a bit tricky to print and it’s fiddly to connect the DVMega through the case to the raspberrypi, but once together it works great.
The bottom half is this
https://www.thingiverse.com/thing:1160140
I hope it works for you but it is a bit tricky as the shape is complex.
73’s -
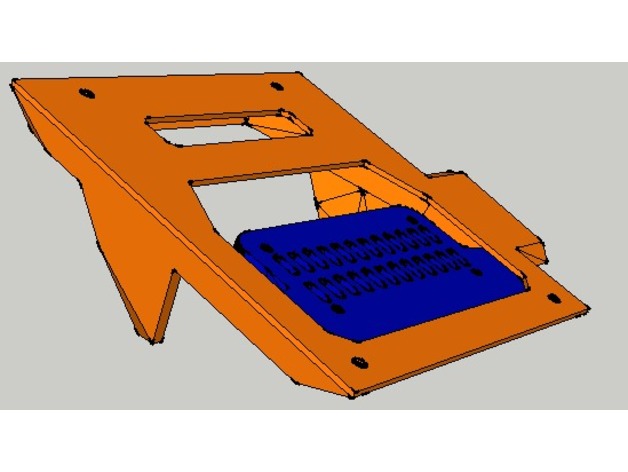
Octoprint discoeasy 200 pi zero W case 3D Print Model
Summary
Coque pour octoprint sur Raspberry Pi ZERO W sur discoeasy200 a fixer sous l’écran
photos a venir -
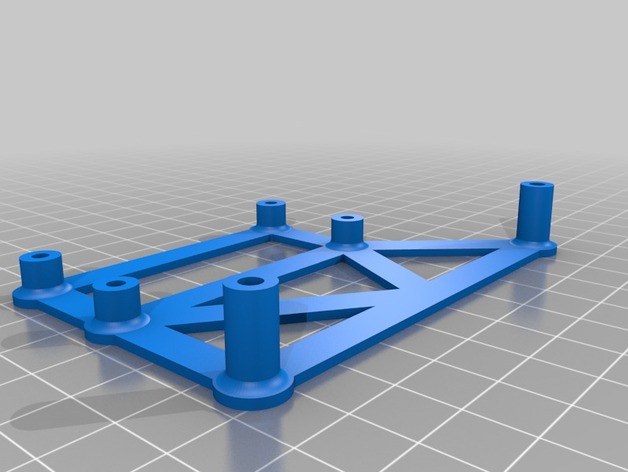
Raspberry Pi Zero (W) Mount Bracket for Anet A8 3D Print Model
Summary
Raspberry Pi Zero (W) Mount Bracket for Anet A8.
Remove the top two main board screws on the Anet A8 and replace the plastic distances with this mount bracket. Use four M3x8mm screws to secure the Raspberry Pi Zero to the mount bracket.
Print Settings
Printer:
Anet A8 Rafts:
Doesn’t Matter Supports:
Doesn’t Matter Resolution:
0.2mm Infill:
20% -
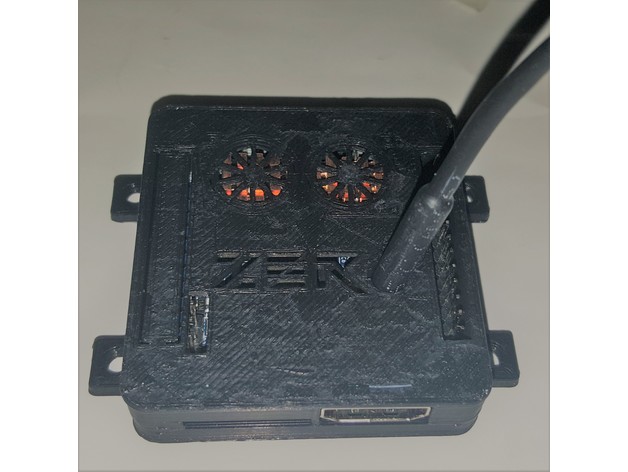
Orange Pi Zero Plus 2 H5 Case 3D Print Model
Summary
I have a new Orange Pi – Zero plus2 H5 (phew long name) and I needed a case. I remixed this from farrukh’s Orange Pi Zero Case
The model shows my limits as for lines where I added/subtracted etc. However it prints well enough. Any roughness on mine is from too much glue on my printbed
I use two copper heatsink’s to keep temps under control without a fan. This does work well. I added the little orange symbols for each heatsink to breathe and it has the awesome unanticipated affect of being orangish.
Enjoy!
Link to the Tinkercad project so you can make any changes: https://www.tinkercad.com/things/9jUPzX7pSR3-orange-pi-zero-plus2-h5-public -
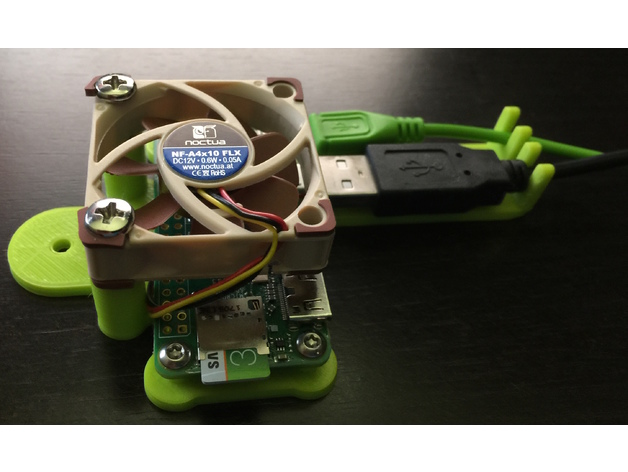
Raspberry Pi Zero wall mount bracket 3D Print Model
Summary
Due to a lack of space, I needed a way to mount raspberry pi zero on the wall. Hope you’ll find it useful for your project(s).
DC Fan dimensions: 40mm x 40mm. -
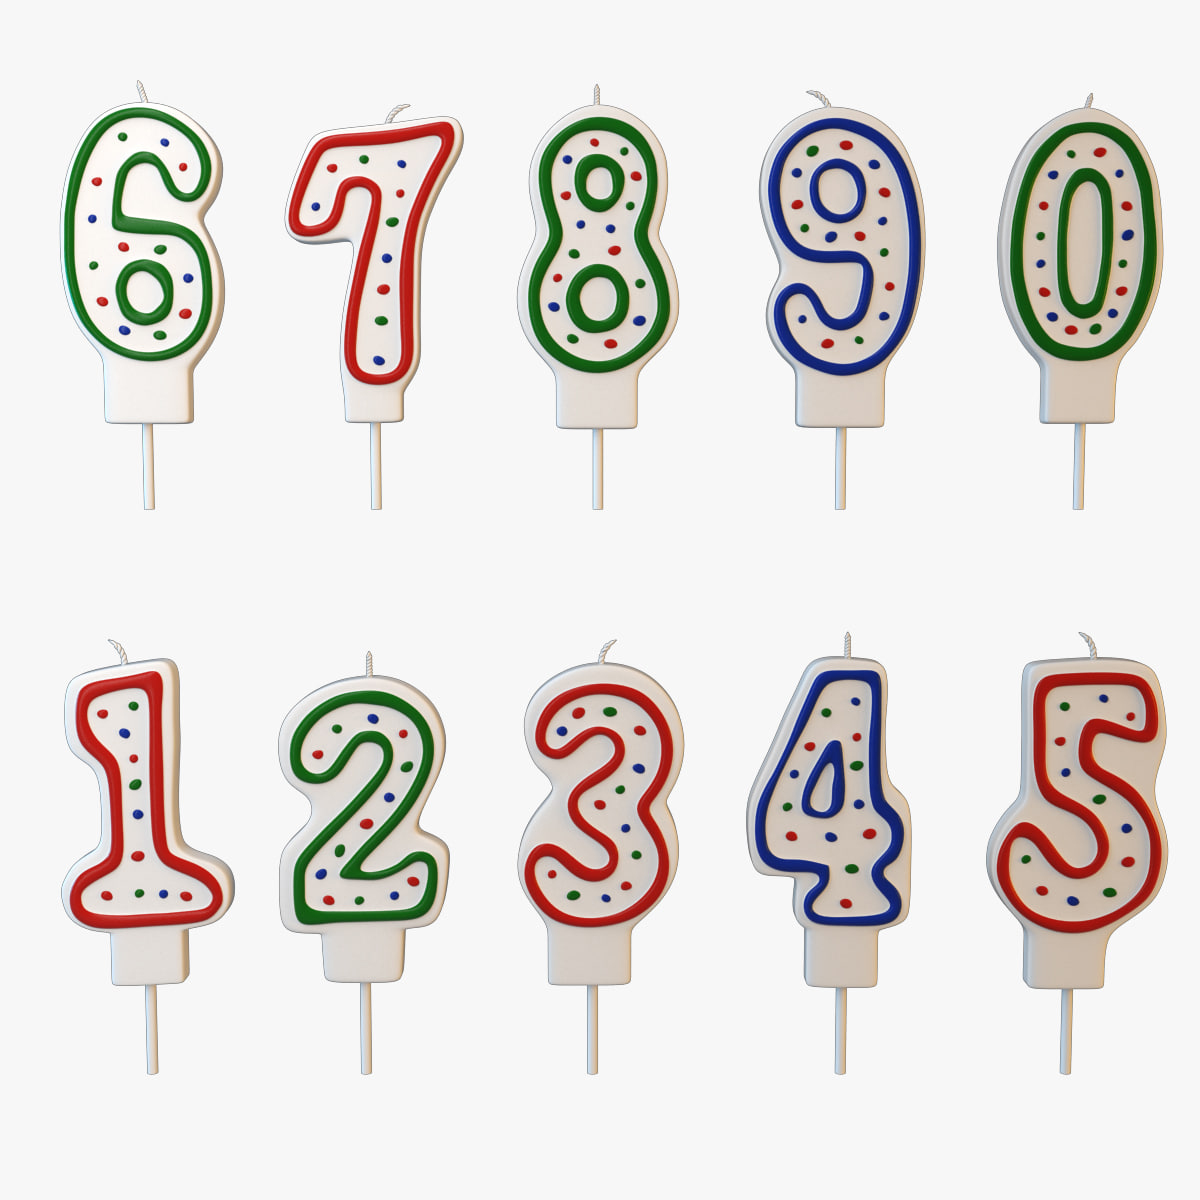
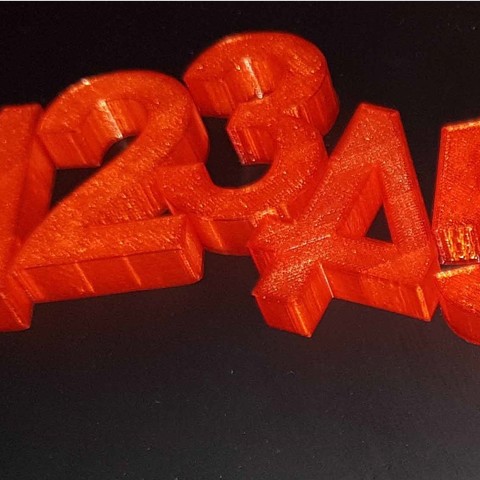
Number Candles Set 3D Model
High quality polygonal model, correctly scaled.All textures, studio and light included.Only quads.You can quickly change the colors of parts of models directly in the program.
-
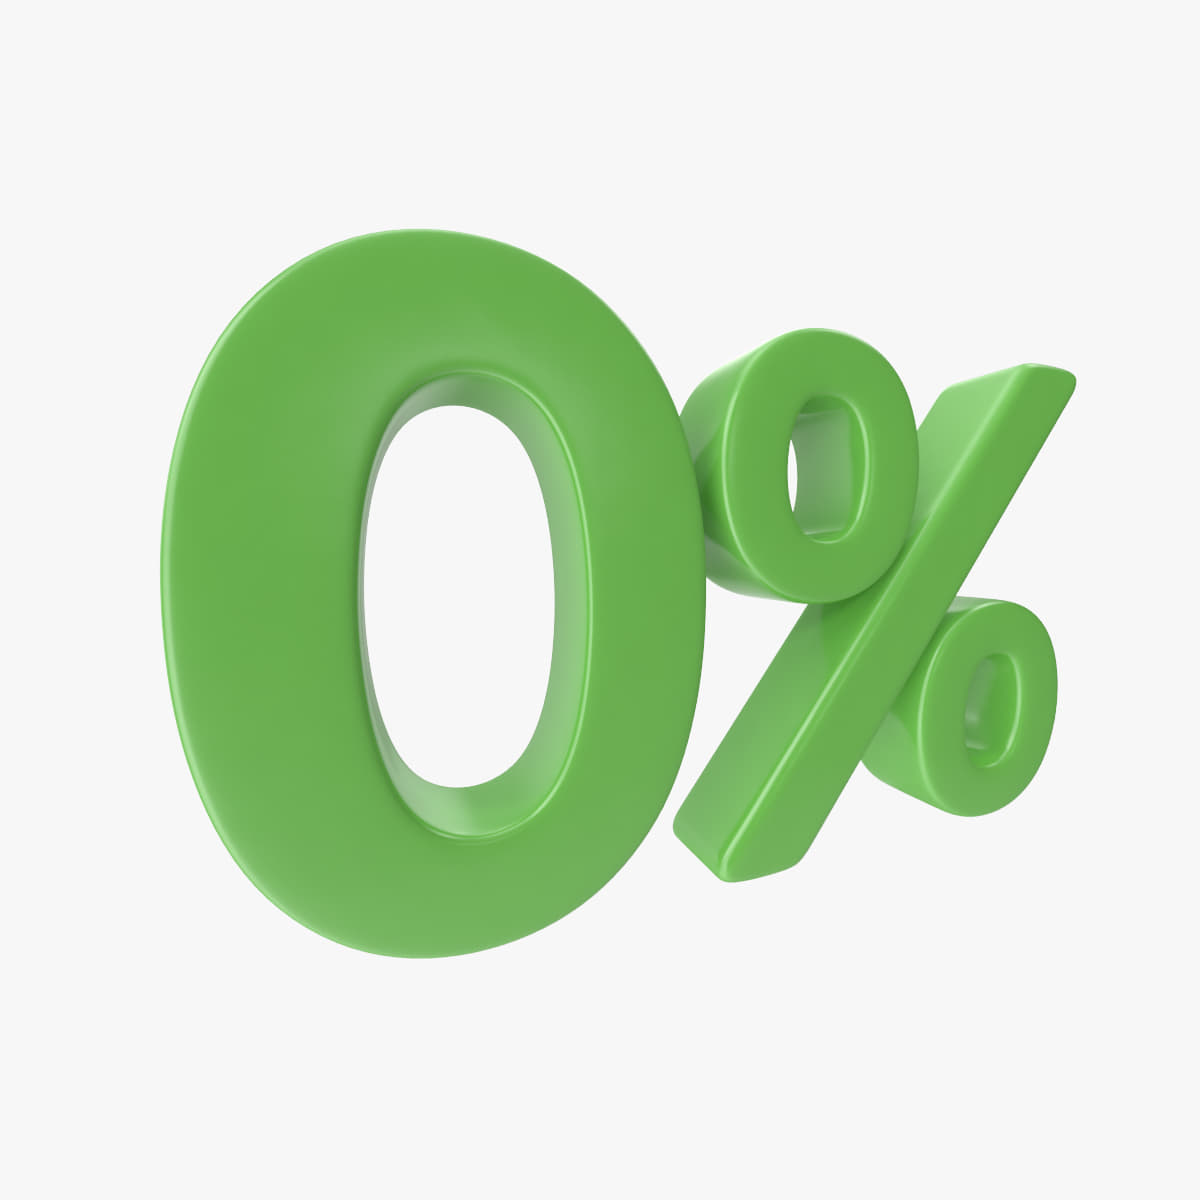
Green Zero Percent Sign 3D Model
This is a model of a Zero Percent SignOriginally created with 3ds Max 2015|| USAGE ||-This model is suitable for use in [broadcast, high-res film closeups, advertising, design visualization, forensic presentation, etc.]-1unit = 1 centimeter-This model is about 10 cm tall.|| SPECS ||-This model is only 1 object-This model contains 3864 polygons with Subdivision OFF -This model contains 61824 polygons with 2 level Subdivision-Includes V-ray material|| PRESENTATION IMAGES ||-Preview Images are rendered using V-ray 3.00.08.-This file includes information on lighting placement, exposure control and render settings.-Scene Lighting, Camera Setup made with Turbosquid’s Tool for 3Ds Max V-ray scene-Preview images rendered with 2 level Subdivision-If you dont like the spinner camera i also included the scene without animation (MAX_without_spinning.zip)|| TEXTURES ||No textures|| GENERAL ||Model is built to relative real-world scaleUnits used: Centimeters. Model is [10] centimeters tall.Scene objects are organized by layers / groups.FBX, OBJ format only contain geometry data without subdivision.
-
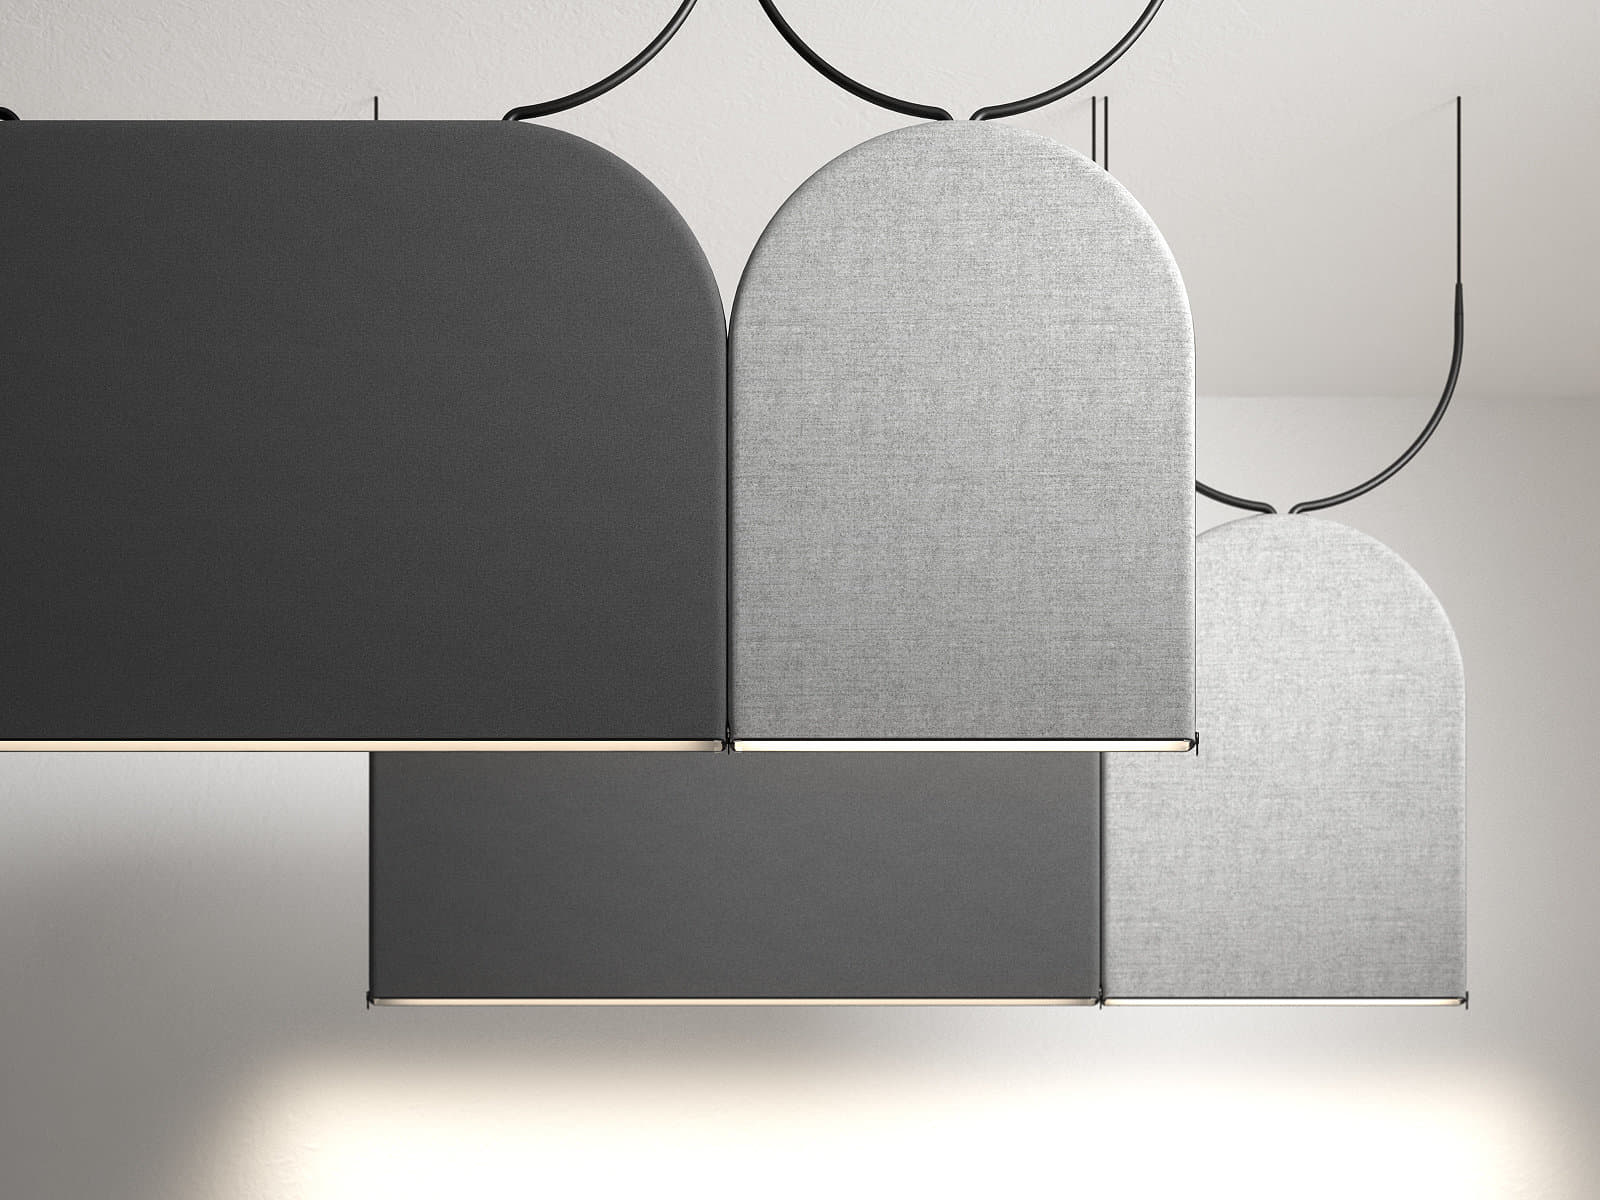
Block 80 3D Model
Block 80 by Zero Lighting | 3d model produced by Design ConnectedThis 3d model is part of the highly acclaimed Design Connected collection featuring 6500+ carefully picked exclusive furnishings. Check out our full range of 3d models for more mid-century icons, contemporary classics and designer masterpieces.All Design Connected 3d models are originally created in 3ds Max and V-Ray renderer.Our in-house team of 3d artists handle all further remodelling, materials conversions and other adaptations to deliver best possible visual and technical quality of all the additional file formats and renderers we offer. Files units are centimeters and all models are accurately scaled to represent real-life object’s dimensions.Our models come as a single editable mesh or poly object (or as group for rigged models or where displace modifier has been used) properly named and positioned in the center of coordinate system. No lights, cameras and render/scene setup are included unless otherwise stated in the particular model’s description.AVAILABLE FILE FORMATS- Sketchup 8 or above – Autodesk 3ds Max 2011 or above– VRay– Mental Ray– Scanline– Corona– Maxwell- OBJ and FBX – Cinema4D R16 or above– Adv. / Physical– V-Ray 1.9– V-Ray 3.4ADDITIONAL FILE FORMATS UPON REQUEST- ARCHICAD R16 or above- Autodesk 3ds – Abvent Artlantis – Rhinoceros – Autodesk DWG – Maya – Lightwave – Collada PRODUCT DESCRIPTIONBrand: Zero Lighting SwedenDesigner: Johanna Jacobson BackmanDesign Connected ID: 7766BEFORE PURCHASEWe highly recommend that you download few of our FREE 3D MODELS and test if they work well with your 3d software before making a purchase.ABOUT THE IMAGERYPreviews rendered in 3dsMax using VRay. Please note that the studio scenes and light and environment settings are not included.SUPPORTIf you have any questions about how to use Design Connected 3d models, please contact us via Support.Thank you for purchasing Design Connected models!
-
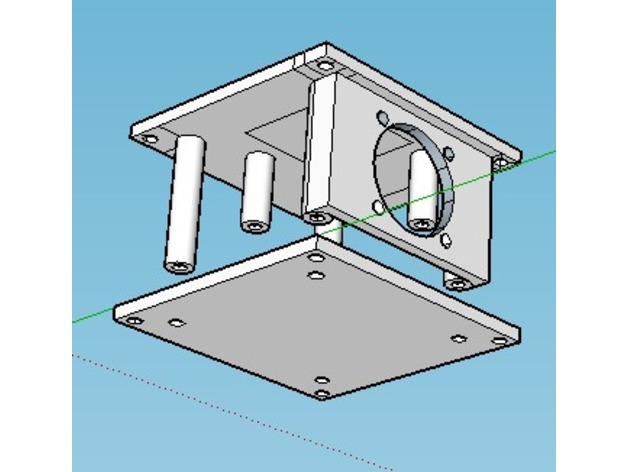
Orange Pi (OPi) Zero Minimalized Case 3D Print Model
Summary
Since Orange Pi Zeros have an overheating issue (mine does), I figured I’d make a minimalized ‘open air’ tall case with a 25mm 5v DC fan mount to blow directly at the core processor.
Notes:
I included the original Sketchup file with an outline (on the top and bottom) showing where I think an alternate location for another fan mount may be. This file also includes the measurements I used (after making the top portion) to make the bottom, just in case anyone wants to redo the bottom.
The design uses 3mm screws/bolts.
The holes on the ‘towers’ are deliberately undersized (a bit) to help create a good thread when attached to the top.
It can be bolted from the top or bottom – change the hole sizes if needed.
The fan mount is for a generic 25mm fan, but I specifically use the 2510S 5V DC fan attached to pins 4 and 6 (on the OPi Zero pinout). -
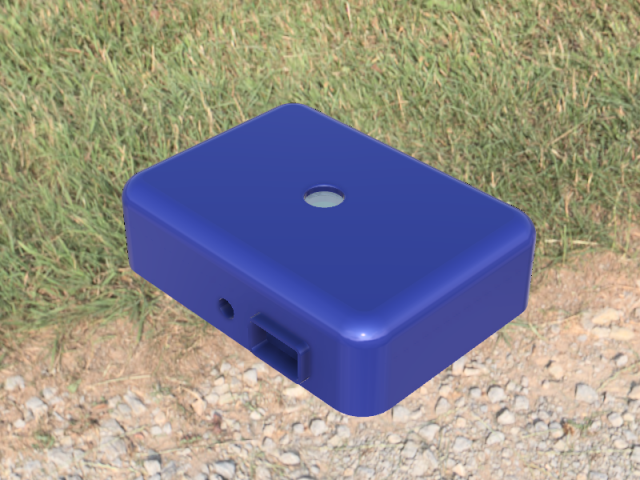
RainBerryZ Weatherproof Case-Raspberry Pi Zero W 3D Model
RainBerryZ is a compact case that holds Raspberry Pi Zero W and Pi Camera together in a single weatherproof case. It is weatherproof with O ring seals and can be mounted anywhere at any angle with swivel mount.
Small amount charged for each stream will be used to support the further product development costs. Thank you for all the feedbacks and appreciation of RainBerry.
Check the blog posts for assembly and part list.RainBerryZ and RainBerry3 Outdoor Cases for Raspberry Pi Camera
-
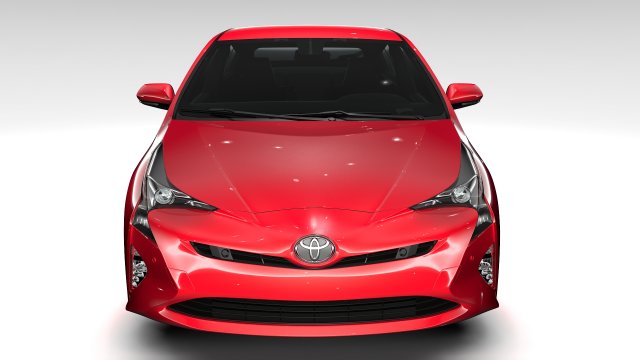
Toyota Prius Flying 2017 3D Model
Creator 3D Team model
————————————————————————————————–
Why choose our models?
+ Everything is ready to render. Just click the render button and you’ll get picture like im preview image!
+ Doesnt need any additional plugins;
+ High quality exterior and basic interior;
+ The model doesn’t need textures;
+ Suitable for close-up rendering;
+ All objects are intelligently separated and named;
+ All materials are correctly named;
+ You can easily change or aply new materials, color etc;
+ The model have good topology;
+ The model have real dimensions. Real world scaled. Set to origin(0,0,0 xyz axis);
+ Suitable for animation and high quality photorealistic visualization;
+ Rendering studio scene with all lighting, cameras, materials, environment setups is included;
+ HDR Maps are included;
—————————————————————————————————
Main features
Origanally created with Autodesk Maya 2016 SP6;
Rendered with Mental Ray 2016.0-3.13.1.10
Only Maya mb studio format contains mental ray materials, lightnin setup, environment.
Other Fbx, C4d, 3ds, Obj, 3dsmax, xsi,lwo come with default materials.
Default materials based on Phong shader.
Correct render might be required to change path to HDRI maps at your computer.
Use studio mb version for render like in preview image.
—————————————————————————————————
Thank you for buying this product. We look forward to continuously dealing with you.
Creator 3D team!!!