Summary
Another Dual DMOS holder for the bigger DMOS Version like this: https://www.amazon.de/gp/product/B0714JXQT7/
fits into existing holes
Tag: Yet
-
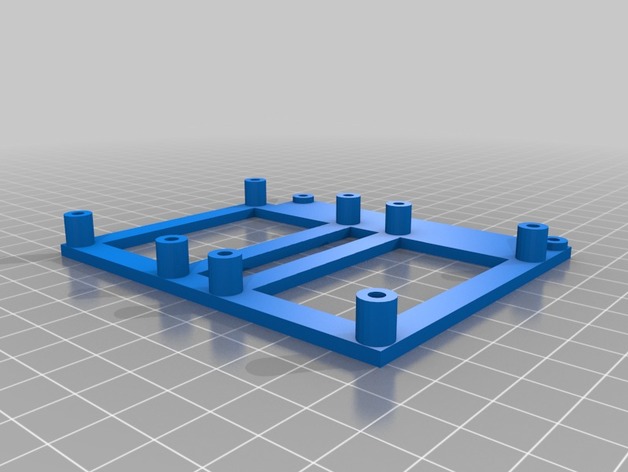
yet another Dual DMOS holder 3D Print Model
-
Yet another belt tensioner 3D Print Model
Summary
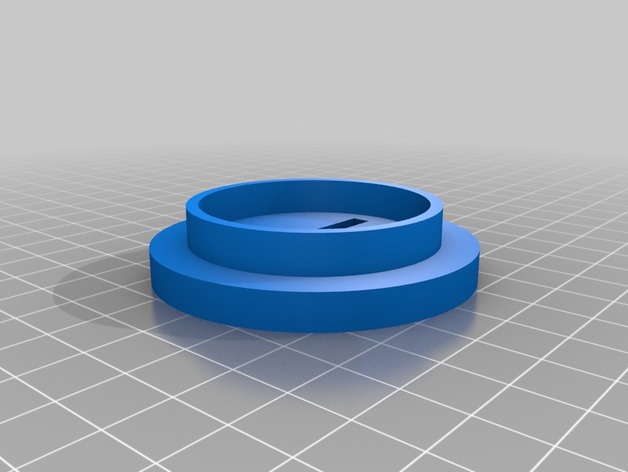
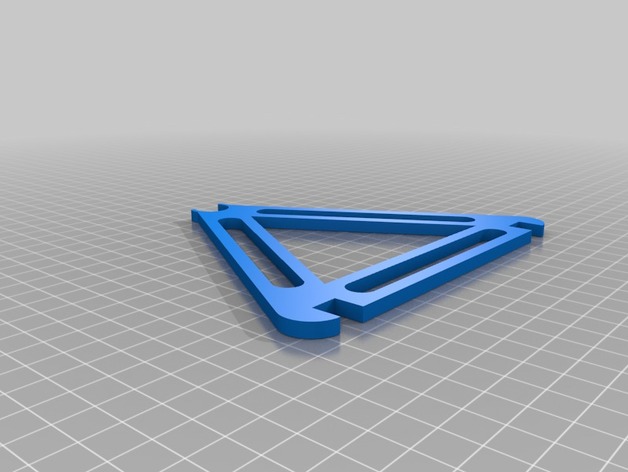
Belt tensioner.
It will accept up to a 7.5mm width belt.
You will also need a 3mm screw and nut.
I printed at .2 mm layer height and 100% infill.
1) Insert the nut in the recess inside the body.
2) Thread a nut from the otherside through the nut.
3) Put the tensioner inside the body.
4) Thread belt through assembly.
Make sure the tensioner doesn’t hit or interfere with anything.
5) Tighten screw to tighten belt.
I like them
This will way over tighten your belt if your not careful.
“THE BEER-WARE LICENSE” (Revision 42):https://www.thingiverse.com/kwg08/ wrote this file.
As long as you retain this notice you
can do whatever you want with this stuff (for non profit uses only.)
If we meet some day, and you think this stuff is worth it, you can buy me a beer in return. -
Snowman Bank (Not Tested Yet) 3D Print Model
Summary
I made this Christmas themed piggybank hope you like it. I’ll be making more of these. -
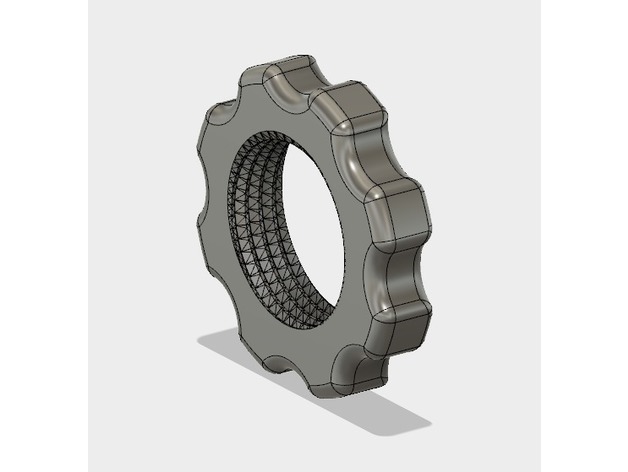
A larger nut for “fessyFOO’s Yet Another Belt Tensioner” 3D Print Model
Summary
The original nut was a little too small and its edges to sharp for my taste, so I redesigned the outer ring in fusion 360 and smoothed the edges with fillets. The larger outer diameter helps put more force with ease! -
The Dramatic Yet Fair(er) D6 3D Print Model
Summary
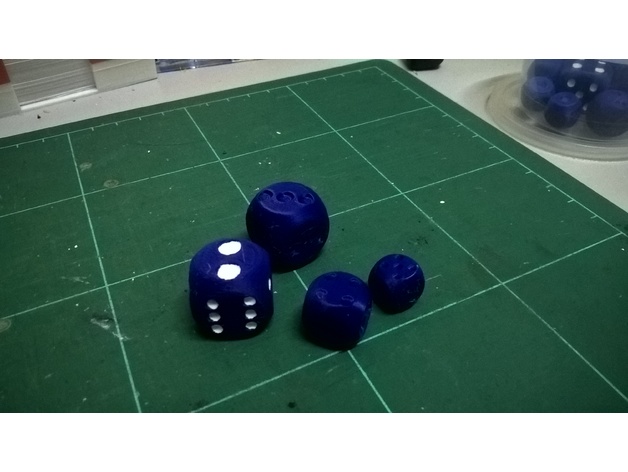
Similar to my D20 design, this is what I considered to be an ideal D6 with the following characteristics:
Rolls just the right amount even with the smallest amount of effort (even as close to none), to prevent cheats or just standard flukes
Show a hint of uncertainty before settling on a face, making it more exciting to witness the results of a roll
All pips indented in a way that they can be easily read even without painting them
Have the (almost) perfect weight distribution with the right amount of indentation and pip sizes
Has a better numeric distribution on the die so that whichever the edge or corner it traverse would have an equal chance of getting both high and low values (inspired via this Youtube video https://www.youtube.com/watch?v=pF8goco4ix0)
Requires no supports when printing using FDM printers (* may need minimal supports for larger prints)
You can get a preview of how the die behaves in my video here: https://youtu.be/_clKuOQilCs
There are two versions of the die included:
D6_fairer.stl – This is what I consider to be default but uses a non-standard number distribution to ensure that which ever corner/edge the dice traverse, you are likely to encounter a good spread of possible low and high values
D6_standard.stl – This would be your standard “opposite faces add up to 7” dice. Have included this version because there are some modern tabletop dice games that use this characteristic as a mechanic where you manipulate the dice to its opposite face.
The design is a 100mm die and can be resized to whatever you fancy. Personally recommend standard sizes of 12mm, 15mm, 20mm and 25mm.
Print Settings
Printer Brand:
Prusa Printer:
Prusa Mk2 Rafts:
Doesn’t Matter Supports:
No Resolution:
0.15mm Infill:
30% Notes:
At 25mm or smaller sizes, would recommend a 25% or 30% infill to make the die have a satisfying weight and sound.
Post-Printing
You might want to use a file to smooth out the round edge of the bottom (where the 1 pip face is at) and probably the top. Just so you get a smooth feel to the whole die.
How I Designed This
The die is designed in FreeCAD 0.17.
As much as I won’t be posting the original file as it took me a long time to tune every single measurement to make it perfect, the general idea of how it is done can be viewed in this video tutorial by another Youtuber 🙂 https://www.youtube.com/watch?v=uBKhBwSP_iM -
Yet another TDA7492P enclosure 3D Print Model
Summary
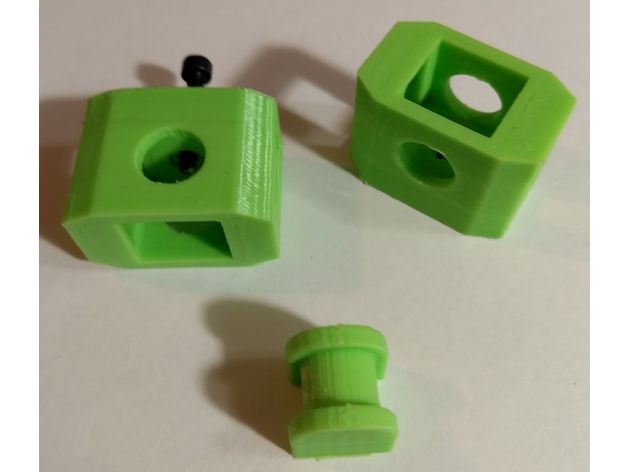
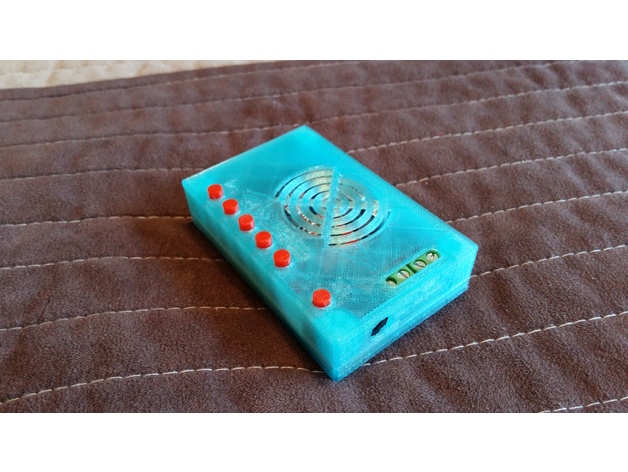
Enclosure of TDA7492P 25W + 25W bluetooth mini amplifier.
It stays together without screws or you can use M3X10 countersunk bolts for assembling.
Print Settings
Printer:
Tevo Tarantula Rafts:
Doesn’t Matter Supports:
No Resolution:
0.2 Infill:
30% Notes:
You need to print 5 pieces of long and 1 short button for power function. -
YASH – Yet another spool holder – metric version
Summary
Hi there,
first of all: This is not pure 3D printing – this needs a 15mm aluminium rod cut to the appropriate length.
You can print it quite fast and I really love the ease of use on it. If you´re swapping filament very very often stay tuned I´ll designing a version for this application too and add it here.
What to print for regular 1kg spools:
side 2 times
bar110 2 times (the 110 is also the lenght of 15mm aluminium tube you´ll need)
wheel 2 times (I´ll be adding a few spool diamters – If you need anything special let me know and I´ll provide those files too).
spacers as needed (assemble everything except the spacer to figure out how much you need or just print a few of each size and use them as you need them)
What to come (“work-in-progress”):
version for bigger spools (this means only longer bars and a longer rod).
Taller version If someone tells me that his spools are touching the ground.
AND: Imperial version – but since I don´t know what since aluminium tube you can source cheap in the US I´ll wait for your input on this issue.
Print Settings
Printer:
Prusa i3 mk2 Rafts:
No Supports:
No Resolution:
200 micron Infill:
10% Notes:
3 perimeters
3 top and bottom layers
10% rectilinear infill
You can crank up those values according to your needs but they work fine for me.