Summary
rieles y cremalleras a la lata
Tag: Y
-
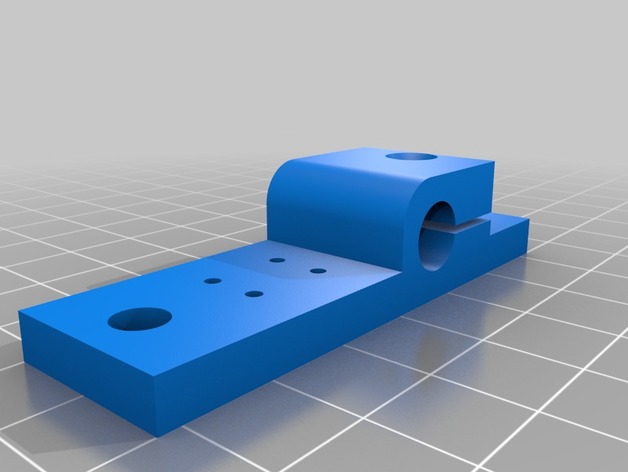
Y axis completely 3D Print Model
Summary
This is a complete construction of the Y axis on the 40×20 nut 5 A profile. The motor is a NEMA 17 with 22 mm flange, dimensions 42.3×42.3×39.2 mm, without shaft. The shaft is 22.6 mm long and has Ø 5 mm. The assembly mountet with M5x12mm screws 12 pieces, M3x12mm countersunk screws 4 pieces (motor mount), M3x24mm 1 piece and 2 self-tapping screws Ø2mm x10mm 2 pieces. The assembly of the motor must be carried out after mounting the mounting on the A-profile.
This is a very compact design that does not need any extra parts when using hot bed mount ANET and other 3D printers.
The idea of the development was, as economical as possible, to use the space and get by with a few parts. -
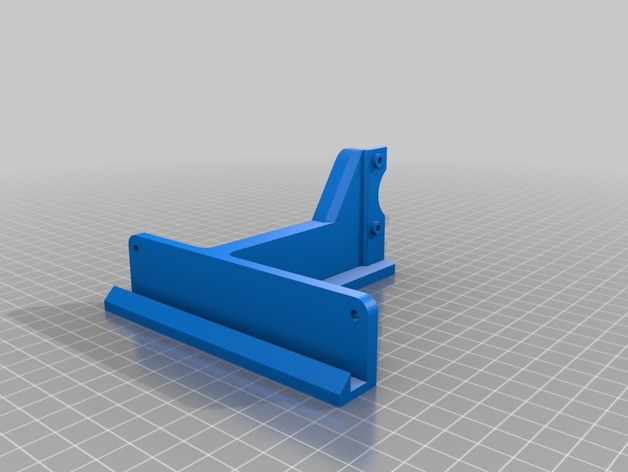
Y axis structural reinforcement 3D Print Model
Summary
Reinforcement well edited not like the other one that had sharp edges and ugly shapes.
You must need longer M3 screws to tight the motor or just edit the STL to match your preferences.
Print Settings
Printer:
anet a8 Rafts:
No Supports:
Yes Resolution:
0.2 Infill:
25% -
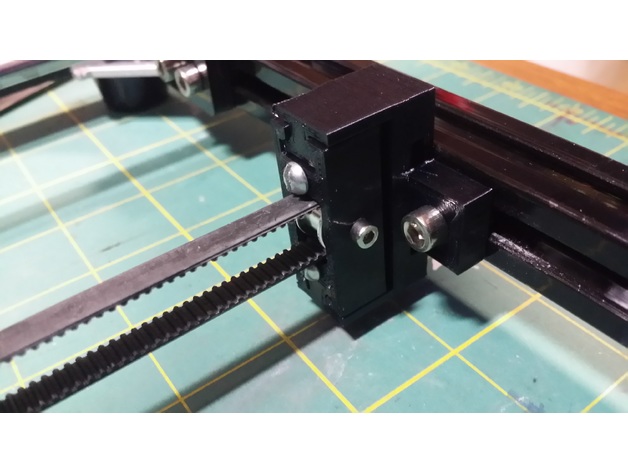
Adjustable Y Axis Tensioner 3D Print Model
Summary
I designed this adjustable tensioner bracket for my HICTOP 3DP-17 Y-Axis as the stock ‘pulley’ would not keep the belt on the bearing and would rub (and squeak) no matter how well aligned it was.
This design should also work with most 20X20 extruded aluminum frame printers.
I purchased the Timing Belt Idler Pulley from Amazon:https://www.amazon.com/gp/product/B01H3FNZ4M
To build, use either M3x25 or 6-32 X 1″ bolts for the adjustment screws.
I designed it for M3 bolts with M3 nuts in the nut traps but didn’t have any 25mm long so I just used some 6-32 machine screws I had laying around.
The idler pulley will need an M3 X 16 or longer bolt to hold it in.
Happy printing!
Print Settings
Printer Brand:
Prusa Printer:
Prusa Clone Rafts:
No Supports:
No Resolution:
.2mm Infill:
55%+ -
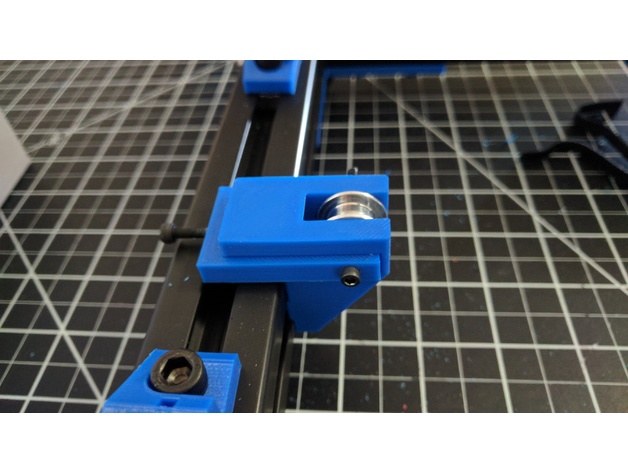
Prusa MK2 Haribo 3030 Y Belt Tensioner 3D Print Model
Summary
Adjustable Y Belt Tensioner for the Prusa MK2 Haribo 3030 Edition, I am sure that it will work for other 3030 setups as well. It uses an M2 screw with an M3 square nut that comes with the Prusa kits.
This is based on the original design on Github so I am not sure who to give credit to for the original design.
I place custom supports in the space where the square nut will sit using S3D, not sure if you can print without supports it give it a try.
Print Settings
Printer:
Prusa MK2 Rafts:
No Supports:
Yes Resolution:
.20 – .30 Infill:
20% -
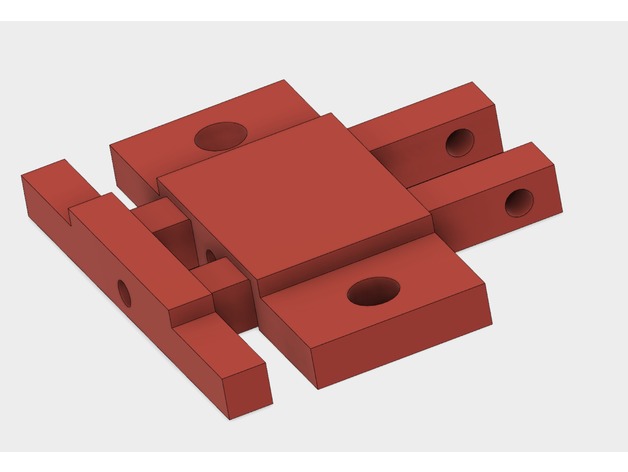
AM8 Lowered Y Tensioner Block 3D Print Model
Summary
This is a Y Tensioner block mod that lowers the tensioner by about 5MM. This was created in response to some people having belt aligment issues because there belt holder considerably lowers the belt position. This also strengthens the Y tensioner so that it can easily be printed horizontal without supports.
Note, I have not tested this. I do not need it for my printer. This is for people that do need it. Let me know if it needs to be changed. -
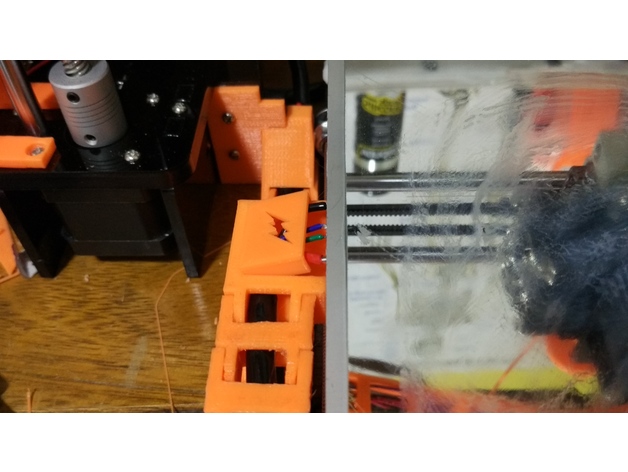
Tampa do cable chain do eixo y 3D Print Model
Summary
Peça para enfeitar o cable chain do eixo y. ela fica sobre o conector. -
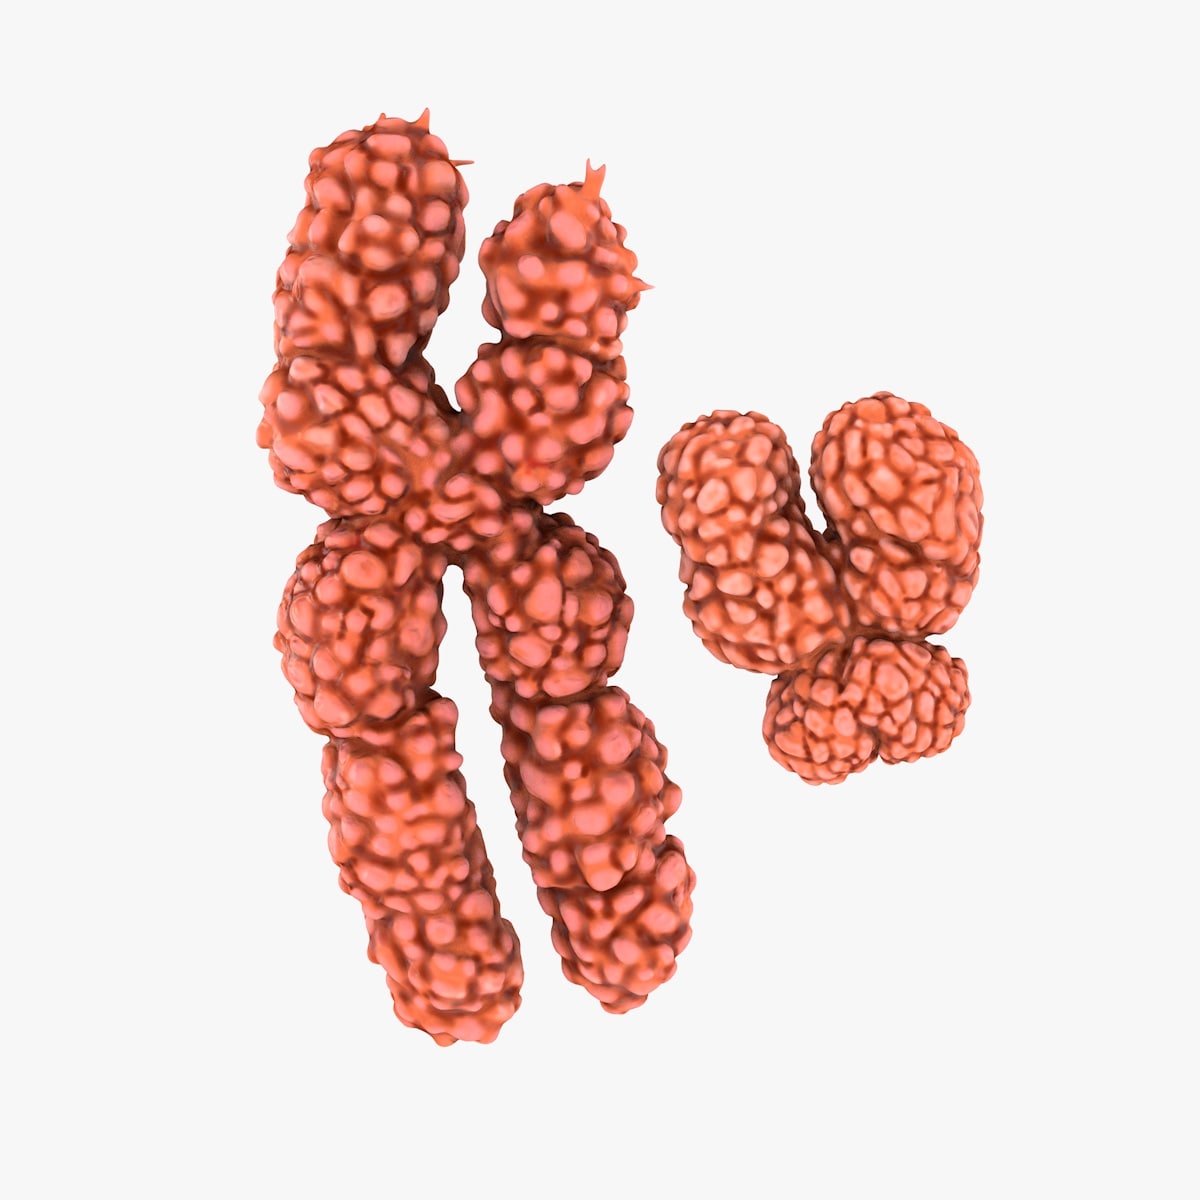
Chromosome 3D Model
Realistic high quality 3D models of X and Y Chromosome.>Scene Information- Scene include tow mesh objects (X and Y Chromosome);- The scene is prepared for Render; – Used Subdivision level 1;- All objects are organized and named descriptively;- No special plugin needed to open scene. >Geometry- Scene consist of tow polygonal objects made of quads and minimal triangle;- Total poly count without subdivision is: 33280;- Poly count with subdivision level 1(used on render) is: 166400.- Models include non-overlapping UV Maps.>Textures- Models has HD diffuse maps and model pf Cancer cell has normal map.- Totally there are 4 maps 4096×4096 in PNG format.
-
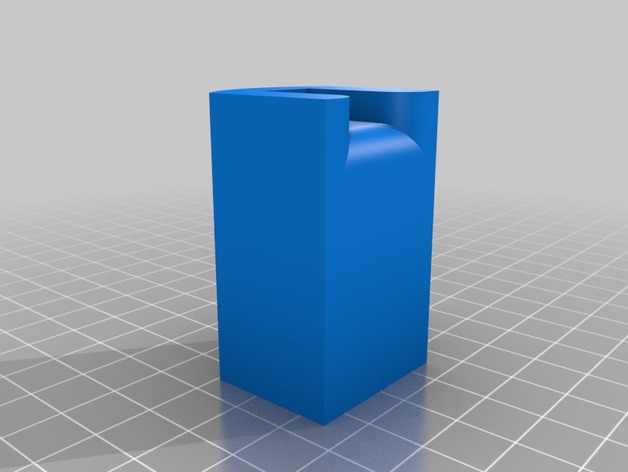
delta legs x y z 3D Print Model
Summary
It’s to remember what tower is what X Y Z
and Feet to X Y Z legs -
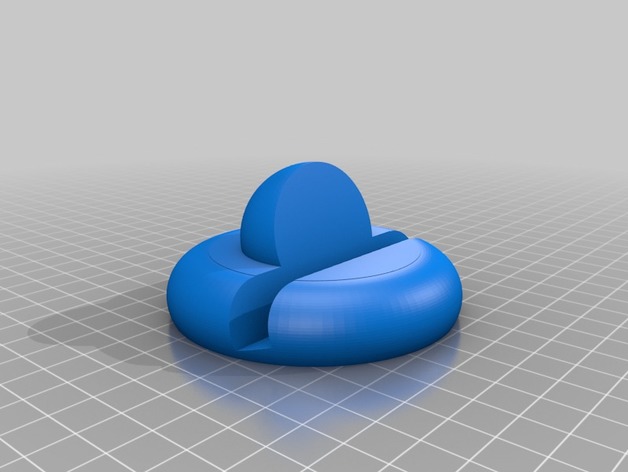
Base de escritorio moto g4 / g4 plus y otros celulares de hasta 9mm de espesor 3D Print Model
Summary
Desktop base for the moto g4 / moto g4 Plus and other cell phones up to 9mm thick.
Base de escritorio para el moto g4 / moto g4 más y otros celulares de hasta 9mm de espesor. -
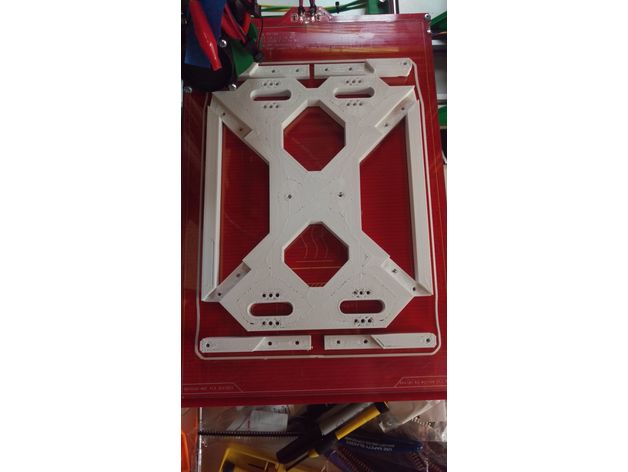
Prusa i3 MK2 Y carriage printable bed 3D Print Model
Summary
This is a fully printable Y carriage plate for mounting your heated bed. I adapted the Prusa i3 MK2 dxf file and modified it so that you can bolt on the arms in order to make this a fully printed part rather than having to rely on cutting one out of wood or having one laser cut or machined for you. It is 10mm thick, and the legs go in the slots only one direction each so that you cant mix them up and they use 3mm screws to bolt down. I printed mine with cubic infill to give it some additional rigidity, but it’s a very solid piece once it’s complete.
I adapted this version to use 4 lm8uu bearings instead of the 3 that are called for in the plans. However if you want to modify it back to a 3 bearing design, i’m including the sketchup file itself for your reference. I may improve this design by making it a little thinner so it’s lighter. it comes in at about 159 grams. You can print this on a standard 200mm square build plate.
I also added additional 3mm holes for extra zip ties or screws for the bearings. Some of you like to use blocks so I gave plenty of options to tie them all down however you see fit.
May come back and add some lm8uu bearing brackets in the future if there is interes.
Print Settings
Printer:
Wilson II reprap mjrice Rafts:
No Supports:
No Resolution:
.25 Infill:
30% Notes:
I printed this with .25mm layer height (since it’s a large unseen part, you dont need to do fine details on this) and a .5mm nozzle on my Wilson II printer. I used a top/bottom thickness of 1.5mm and a wall thickness of 2mm, but this is way overkill. you can use a 1mm thickness all around to speed up print time. as is, i printed it in about 8.5 hours.
Setting to 1mm wall/top/bottom thickness it drops to about 6.5 hour print at 60mm/sec.
Post-Printing
use 8x m3x12 cap head or pan screws with nuts on the other side to attach the legs to the body. Legs mate to their slots in only one direction flush and tight. -
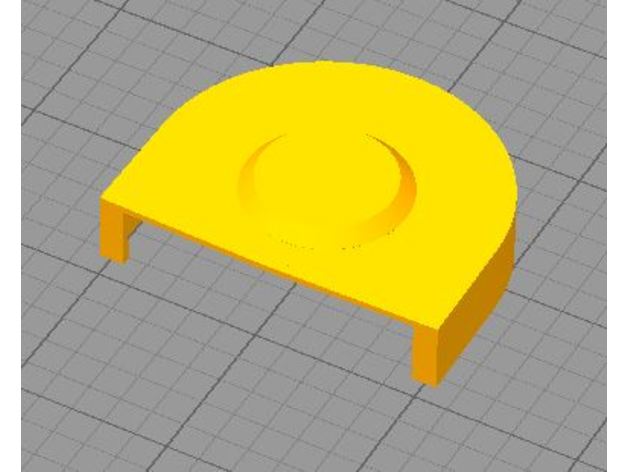
Wombot Front Y Axis cover
Summary
Wombot front Y axis cover, to fit over existing plastic cover, this cover prevent and dust from getting into bearing.