Modelled : 3ds Max 2018Rendered : 3ds Max 2018 – Corona 2Files : .fbxwithout texturesonly materials
Tag: Vat
-
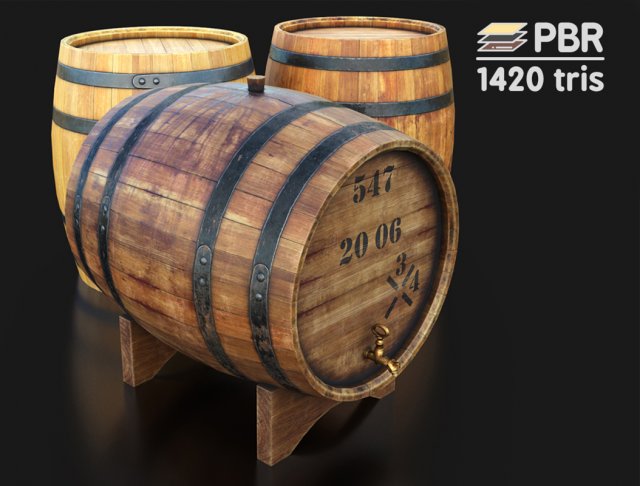
Wooden wine barrels 3D Model
Low-poly model of 3 similar wooden barrels: new, older and the oldest on the legs with bronze tan.New barrel has 764 TrianglesOlder barrel with bung has 810 TrianglesThe oldest barrels on legs and with bung, tan has 1420 TrianglesMaterials based on 4K PBR textures.The scene has millimeters units scale.Size: 1044 mm (Height), 894 mm (Width), 1068 mm (Length).
-
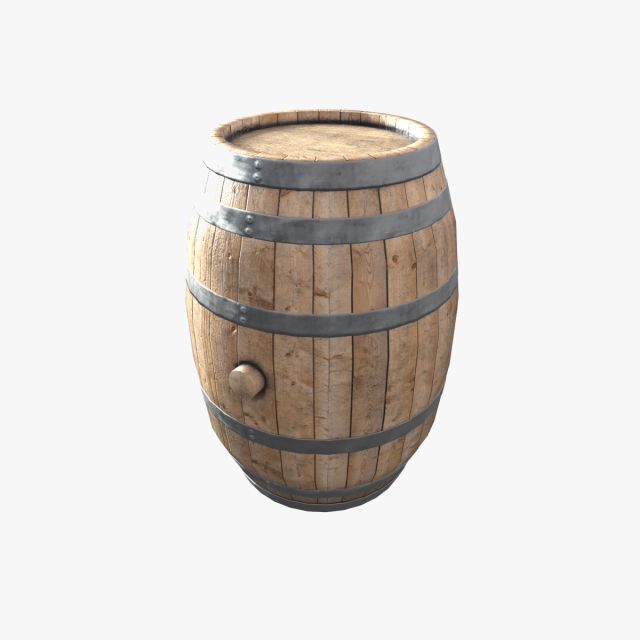
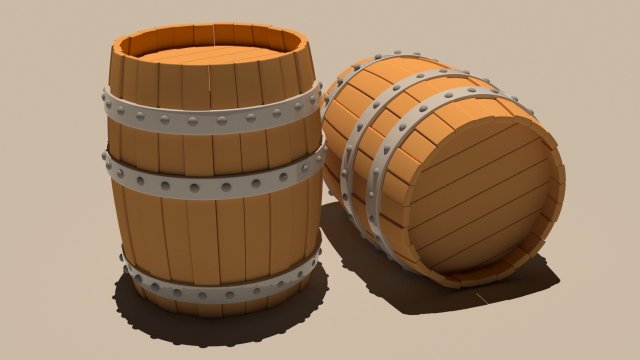
Wooden Barrel 3D Model
– Modeled in Blender- Fully textured- Preview image rendered using Iray- Model at world center and real scaleAll textures are 2048×2048 pngHope You like it.
-
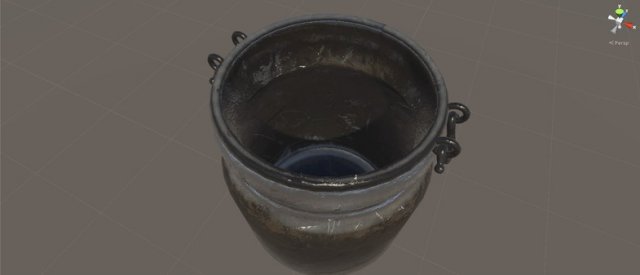
Phrozen Make Resin Vat 3D Print Model
Summary
Resin vats are expensive. So is FEP sheet. Resin vat screws are fragile. I found this out the hard way! Decided to create my own “disposable” resin vat that needs no screws, only ABS or “Raptor” PLA from MakerGeeks (http://bit.ly/2xS5wh3), epoxy resin, and some clear teflon (FEP) sheet (http://bit.ly/2xZe3y4). Use a filament that is strong, that’s why I recommend ABS or Raptor PLA, which can be annealed in the oven and actually becomes strong and more heat/chemical resistant than ABS or carbon filament! Anyway, using a thin bead of epoxy resin in the channel and on the bottom of the insert helps seal the build, and the pressure from the large vat screws on the printer combine to make this thing leak-free.
Print Settings
Printer:
Creality CR-10 Resolution:
.2mm Infill:
15% Notes:
Sliced and printed with gcode from Simplify3D. I like to use a brim of 1 layer and 3 outlines right next to the print. It gives you something to help you remove the insert when you test the fit!
Post-Printing
ANNEAL THE RAPTOR AND AN ABS CAVEAT!
If you use the Raptor PLA, make sure you anneal the parts in the oven following these instructions!Place piece on glass or ceramic or stone
Place a ceramic tile (or glass) over the piece to help prevent warping (if piece is flat on top)
Place item in a cold oven
Heat oven to 212F/100C
Set timer for 15 minutes
After 15 minutes, turn oven off – leave oven closed, leave piece in oven
Set timer for 45 minutes
After 45 minutes, remove ceramic or glass tile from the top of piece
Remove piece from oven (it should be pretty cool but not cold)
Item is still somewhat soft, so don’t drop itLet item cool completely (maybe another 30 minutes)
Item is ready for use!
IF YOU ARE PRINTING IN ABS, DO NOT “SMOOTH” IT WITH ANYTHING, OR YOU COULD RUIN THE FIT! -
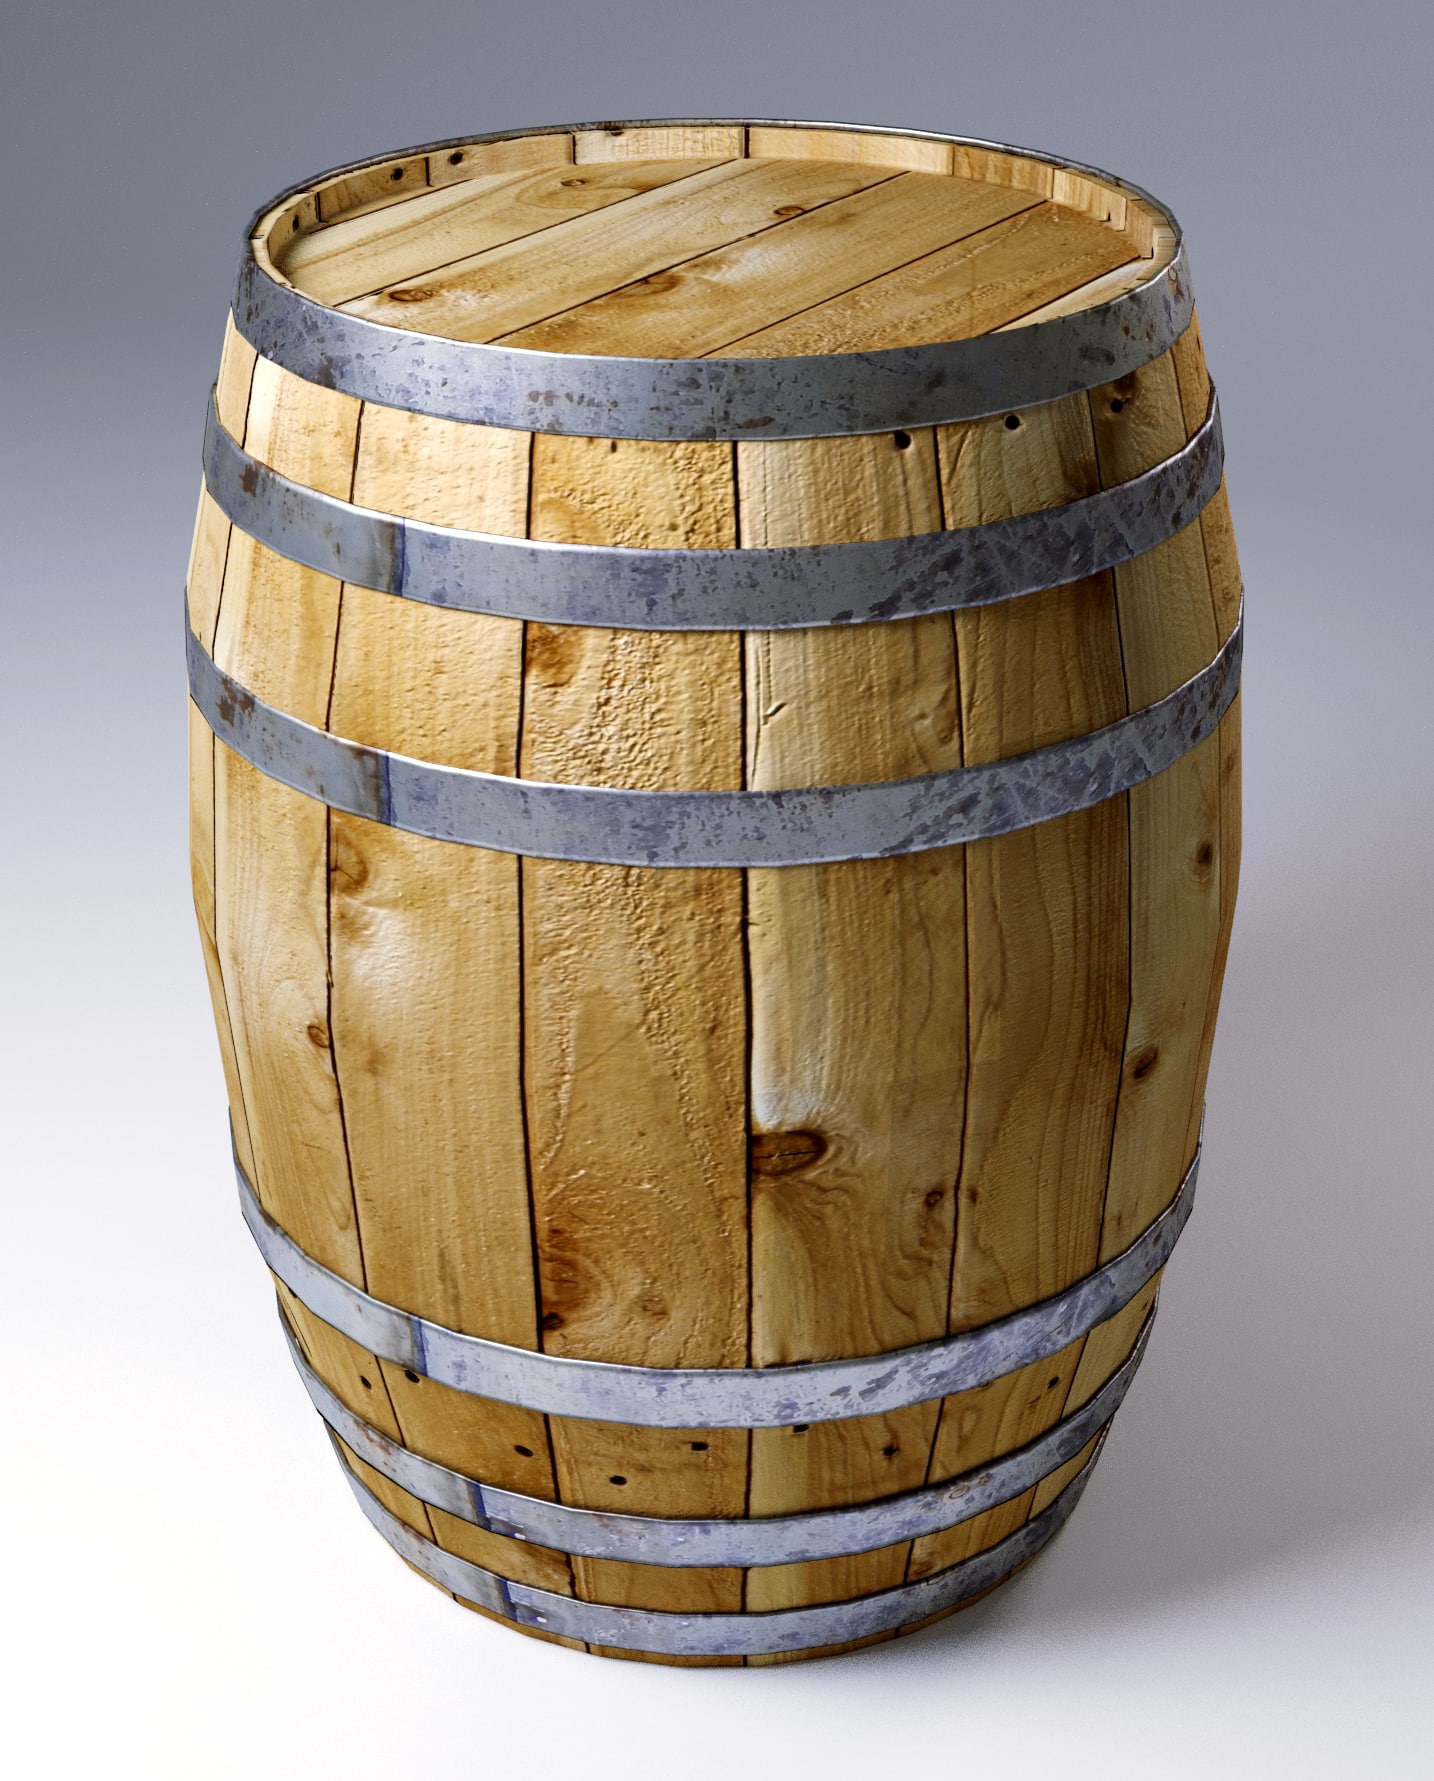
3D model Barrel Free 3D Model
This simple realistic textured and UV unwrapped barrel is good for any scene. Its a fairly simple design and textures are fully customisable. A low poly count keeps it minimal for larger renders and can reduce render times.
-
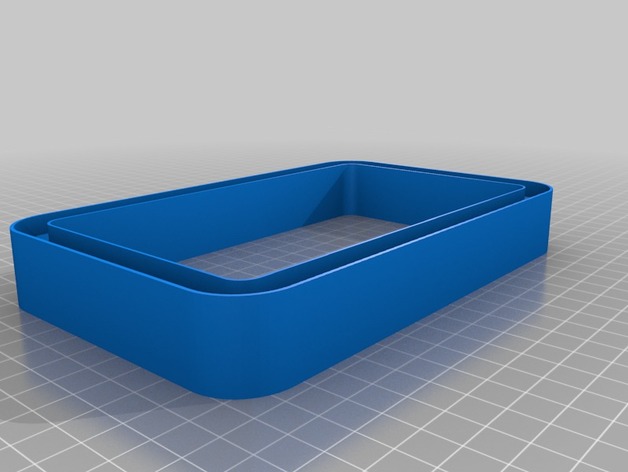
Wanhao Duplicator 7 Vat Covers 3D Print Model
Summary
This is a set of vat covers (top and bottom) for the stock Wanhao Duplicator 7 resin vat. I made these because it seemed easier than cleaning all the vat out so i could tinker with the printer.
there are two versions of the bottom plate, one with printed threads, and one with holes for M6x50 bolts. NOTE: i have not tested the bolts version for fit, on account of i don’t have any bolts but it prints okay
The printed thread version works, though definitely make sure your printer is up to scratch accuracy-wise.
Print Settings
Printer Brand:
Prusa Printer:
Prusa Mk2 Rafts:
No Supports:
Yes Resolution:
0.2 for the printed threads version, 0.3 otherwise Infill:
¯_(ツ)_/¯ Notes:
Again, the bottom plate with the holes for the bolts is untested so caveat printor.