Summary
Flexible upgrade
Tag: Upgrade
-
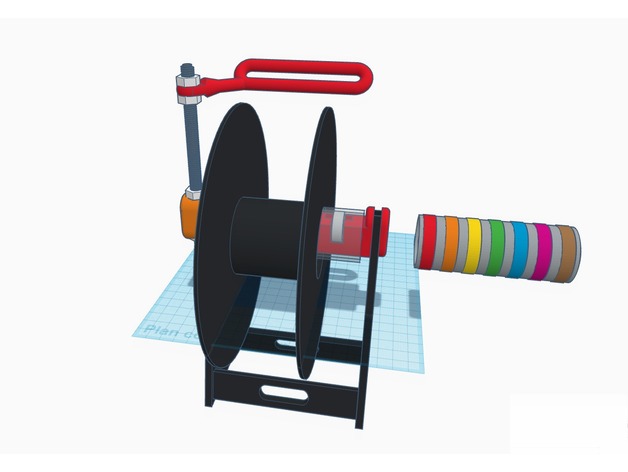
Ei9ht – Anet 8s Spool Holder upgrade 3D Print Model
Summary
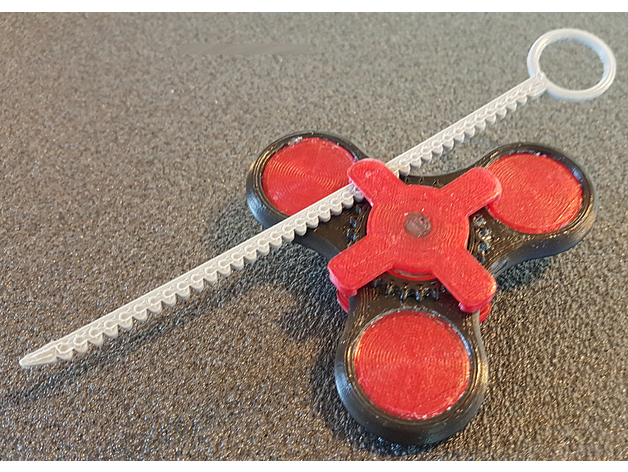
Marre des boulons et cônes à chaque changement de bobine !
Donc voila un upgrade du porte bobine fournit par Anet
Une fois monté le changement de bobine se fait en 8 secondes, aucun boulon rien, on passe le dispositif dans la bobine et on pose sur le porte bobine
Possibilité de mettre des élastiques sur le tube et les roulements
Le bras se compose de la tige fileté et des boulons d’origine
Tired of bolts and cones for every spool change!
So here is an upgrade of the spool holder provided by Anet
Once mounted the spool change is done in 8 seconds, no bolt or anything else, we just passes the device in the spool and we put it on the holder
Ability to put elastics on the tube and bearings
The arm consists of the original threaded rod and bolts -
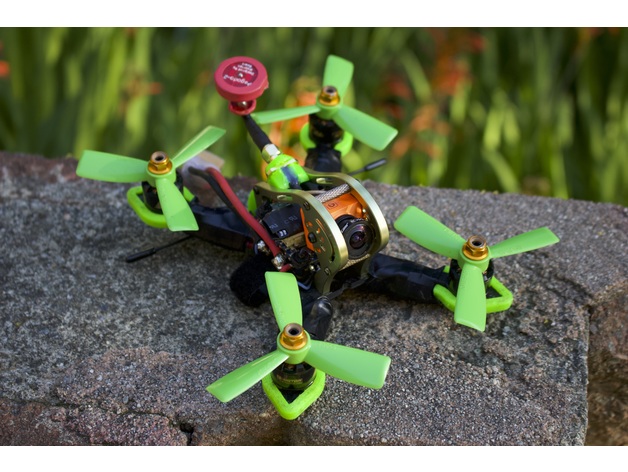
GEPRC Sparrow MX3 MSX3 Upgrade Kit 3D Print Model
Summary
Banana Science has once again developed and refined yet another mini quad upgrade kit. This time, you can protect your arms with simple TPU sleeves instead of bulky motor guards which not only save weight, but also make your build look significantly cleaner! Our new TBS Immortal T mount allows you to easily install a bulky immortal T on a tiny 3″ build without crude cable ties and electrical tape. Additionally, the stock Sparrow frame only allows you to mount a (RP)SMA connector if you use a 20x20mm FC stack since a 30.5×30.5mm doesn’t allow room for it to install near the rear. Now, the new extended (RP)SMA antenna mount which is optimised for the TBS Unify adapter cable allows you to securely mount a (RP)SMA antenna on top of your frame while using a bulky 30.5×30.5mm FC stack! If you’re looking to build a long range 3″, our easy to install mini GPS mount will allow you to tack on a small GPS to the top of your aluminium canopy. Both the (RP)SMA antenna mount, the TBS Immortal T antenna mount, and the mini GPS mount each simply pinch between your aluminium canopy when it is screwed together and remain securely fastened by the small CNC notches already in your frame.
Arm Protector Details
For people who like to mount ESCs on their arms or just don’t have room for a 4 in 1, we’ve designed arm protectors which are slightly shorter in length than the standard arm protectors to free up more mounting room on the arms.
Antenna Mounting Details
Since there is an ongoing debate on the proper mounting of the TBS Crossfire RX antenna, we’ve designed antenna mounting methods for both 90 degree and 180 degree configurations. Through our limited testing, mounting your crossfire RX antenna in a 180 degree configuration gives the best range overall range though creates two deadpoints at either end of the antenna. For best overall coverage at long ranges, a 90 degree mounting configuration is best. The Immortal T mount allows you to mount a standard Immortal T antenna at the rear of your quad for a 180 degree configuration and the most durability and strength. The (RP)SMA antenna mount allows you to attach two antenna tubes at roughly 80 degrees next to your 5.8ghz SMA connector. Note that these antenna tubes are prone to falling out unless glued with high temp hot glue. You can then install a crossfire micro RX antenna in the 45 degree tubes.
Print Settings
Printer:
Flashforge Creator Pro
Rafts:
No
Supports:
Yes
Resolution:
Use your defaults
Infill:
100%
Notes:
All parts were printed with 100% infill with 3 shells for maximum strength. If you’re trying to cut weight though, you can print the Immortal T mount and the GPS mount with 20% infill and 2 shells without sacrificing much strength. All parts were printed in Foxsmart TPU besides the soft mount pads which were printed in ultra flexible Ninjaflex TPU.
How I Designed This
Onshape
All parts were designed in a public Onshape document so you can easily make modifications and/or remixes! -
TEVO Tornado Ultrabase Upgrade Remix with cable strain relief 3D Print Model
Summary
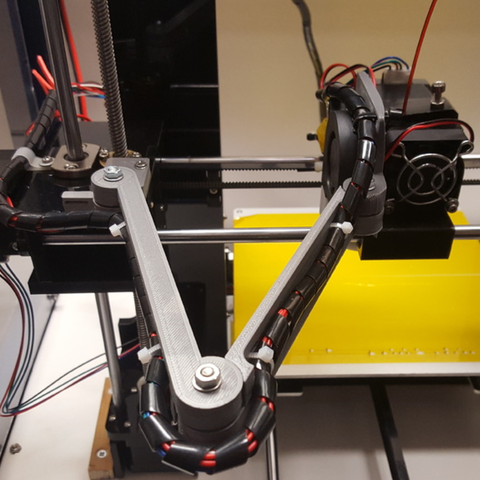
Clamps to attach Anycubic Ultrabase to the Tevo Tornado.
Added cable strain relief to the rear left part.
Remixed this https://www.thingiverse.com/thing:2782720 and this https://www.thingiverse.com/thing:2748197 things. -
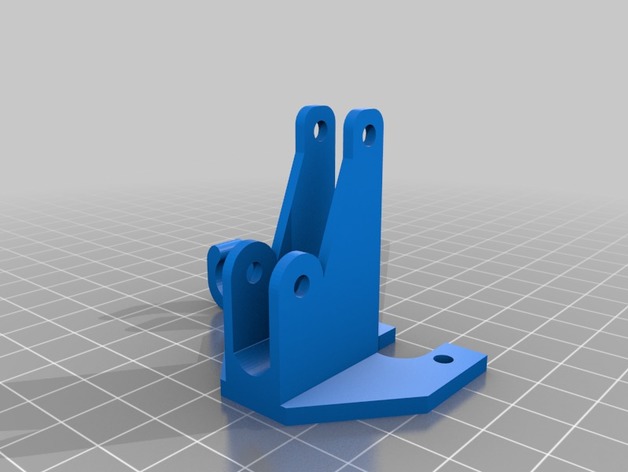
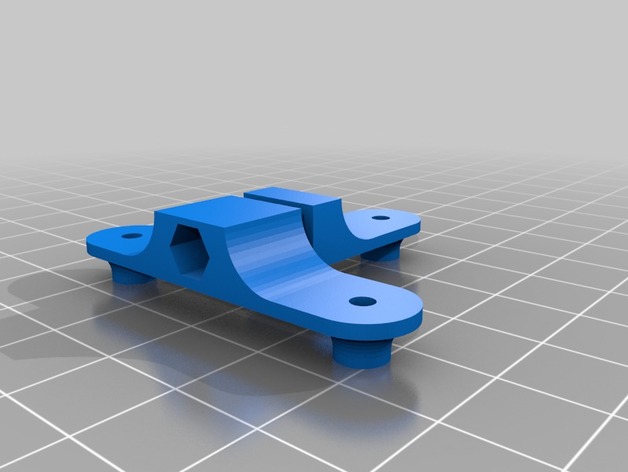
Left top corner for Tevo Tarantula upgrade 3D Print Model
Summary
I mixed it with the casual top left corner, if you want it for the right side too, just mirror it in your slicer 🙂
I did this beacuse when you add the top piece at the backside, you will lose about 3cm of build volume in your Z axies….
You can print it in this sice, it is a bit bigger than the orginal bracket, so it will fit easyer on your alluminium rods.
Print Settings
Printer:
Tevo Tarantula Rafts:
No Supports:
Yes Resolution:
0.2 Infill:
20 Notes:
I recomend to it print with support
Post-PrintingHow I Designed This
Mixed it in fusion 360 -
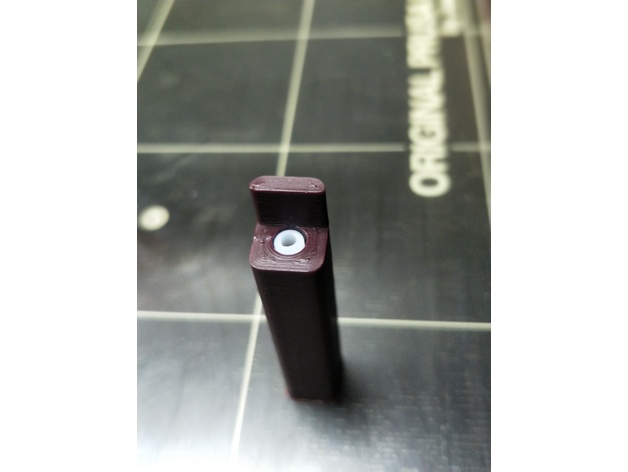
Prusa Multimaterial upgrade heatsink PTFE cutting jig – 41mm 3D Print Model
Summary
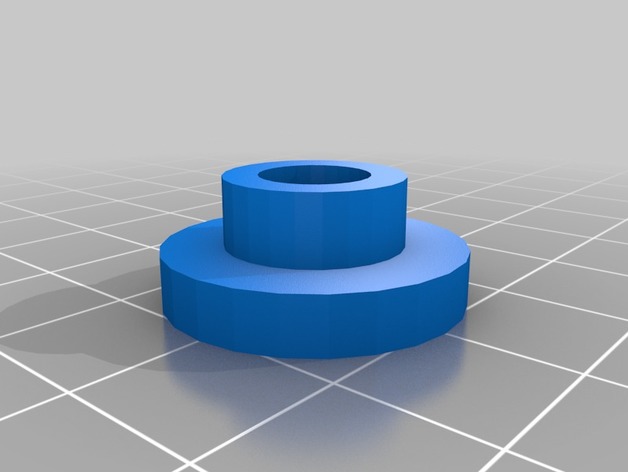
A very simple jig to enable precisely 41mm of 4mm OD PTFE tubing to be cut to insert into the top of the MMU heatsink. Insert tubing all the way into the hole and cut parallel and flush with the wall at the entrance point.
Please note that this is not the only step required with this tubing. It must also be reamed and chamfered (official specs here). Also note that the inside diameter of this tubing is specified as 1.85-1.9mm, which is not the same as you will find on generic PTFE tubing.
Print Settings
Printer:
Original Prusa I3 MK2 MMU Rafts:
Yes Supports:
No Resolution:
0.2mm Infill:
Doesn’t matter Notes:
Use a small brim and print vertically. I printed this with 4 perimeters. Insert tubing all the way to the end of the jig and wse a razor or utility knife blade and cut flush with vertical surface at entry point. -
Kossel 1515 puley carriage upgrade 3D Print Model
Summary
Your carriages are bending?
There’s a solution !
These parts stops the bending by tightening the wheel from both sides.
You’ll need a M3 screw (M3L20 is nice) and a Nylock nut.
Instructions:
Replace all the nuts on the screws.
You’ll need 3 washers to replace a nut, -
sim racing ssequential shifter upgrade 3D Print Model
Summary
sim racing DIY build . 3d prints to upgrade the sequential shifter -
Wanhao i3 120mm PSU Fan Upgrade for Undermount 3D Print Model
Summary
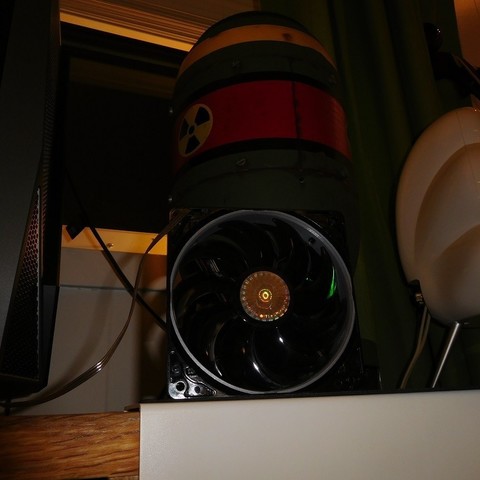
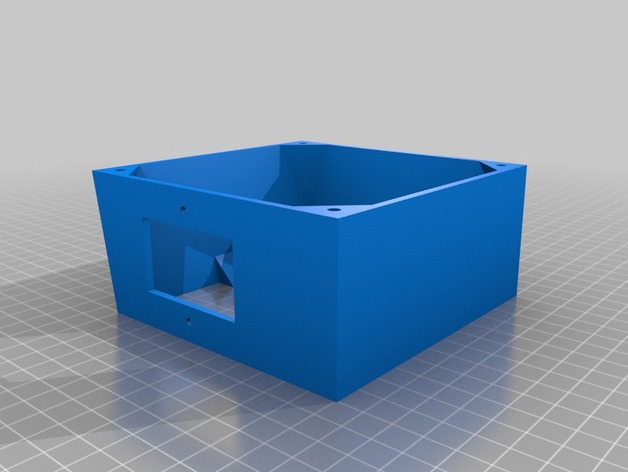
I needed a 120mm fan upgrade for my Maker Select v2, as the stock fan makes a terrible grinding noise every time I turn the printer on. But, none of the options worked for me, because I have mounted my control box under the table my printer is on! So I flattened the top and increased the angle on the bottom to accommodate the 120mm fan.
This is an extended back cover for the Wanhao Duplicator i3 PSU (also rebranded as Monoprice Maker Select, Balco 3D Printer, Cocoon Create). This model allows you to use a 120mm fan instead of the noisy tiny internal one. The new fan will be mounted outside of the power supply, but it will be much more silent. It adds about 10mm of extra length to the bottom.
I don’t know if other versions of the printer have a different arrangement for the screw holes. This was designed for a v2.1 (v2 should be the same). Check compatibility for v1 and rebranded versions before printing.
The stock screws won’t work for this part. Use M3x8mm or longer to attach the cover to your PSU case. Screw holes aren’t countersunk (just counterbored), so choose screws with a flat top.
Print Settings
Printer Brand:
Wanhao Printer:
Wanhao Duplicator i3 V2 Rafts:
Doesn’t Matter Supports:
Yes Resolution:
0.2mm Infill:
10% Notes:
It should be aligned with the PSU screw holes facing the build plate, already. Enable supports for the IEC connector/power switch plate and wiring loom slot.
It’s not a must, but I recommend using 3 shells/solid perimeters for the holes where the fan mounts on, so when threading the screws the plastic doesn’t break.
Post-Printing
Installation guide
Unplug the power cord from the wall socket and from the printer. Safety first!
Unscrew the 4 black screws that hold the sheet metal back cover in place. Save them if you plan to reinstall the stock cover in the future (they are too short to work with this mod).
The cable loom going from the control box to the printer goes through a cut in the back plate and is held by a zip tie. Cut that zip tie to free the loom from the plate.
Disconnect the spade connectors going to the IEC power socket + switch combo. Notice the wire colors and location to reinstall them later in the correct position. Take a picture if necessary.
Disconnect the small fan from the power supply.
Unscrew the fasteners holding the socket/switch in place. You should be able to lift it off the plate (use a flat screwdriver as leverage if you need so to get it out).
Position the back cover and align it with the screw holes tapped in the case of the control box. Make sure the wire loom goes through the U-shaped cut-out provided.
Use M3x8mm or longer to attach the plate to the metal case.
Take the wires that were attached to the IEC connector/switch and guide them through the rectangular cutout provided (located on the top or sides, depending on the model you have printed). Re-attach the wires to the switch and screw it in back. You can reuse the stock screws that came with it (be gentle when doing this, you’re threading into plastic).
Take your 120mm fan and use the +12v and GND wires to connect it to the psu. If your fan has a molex connector (3 or 4 pin) you should be able to just plug the cable in to the existing connector you left coming from the power supply.
You may want to use some electrical tape or a drop of hot glue to secure the connection.
Align the fan with the mounting holes of the printed cover. Use M4x40mm screws or self-tappers of similar length to secure the fan to the cover. Make sure to tidy all the cables up inside so they don’t catch on the fan blades.
Enjoy your silent printer!
Extra
I recommend the addition of a fan grill to protect your fingers from the spinning blades. It is one of the drawbacks of having the fan exposed instead of inside the case. Be careful! -
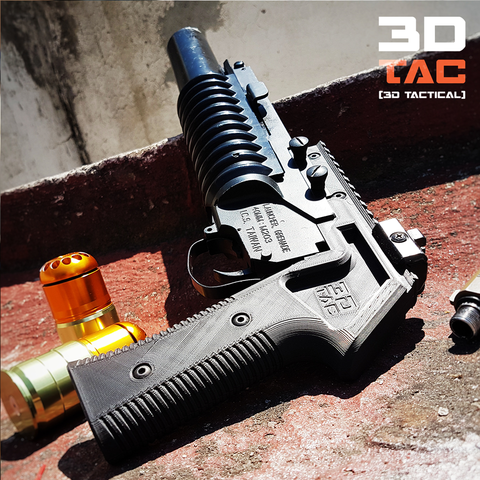
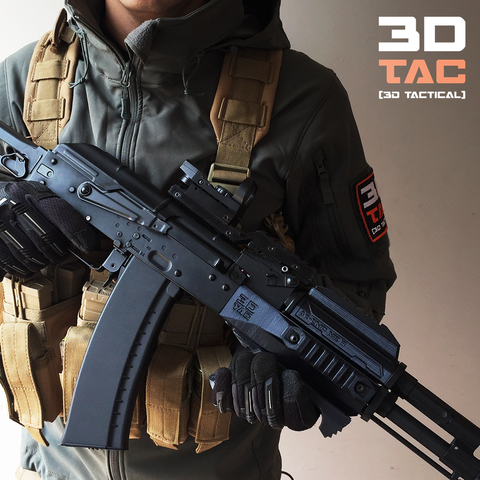
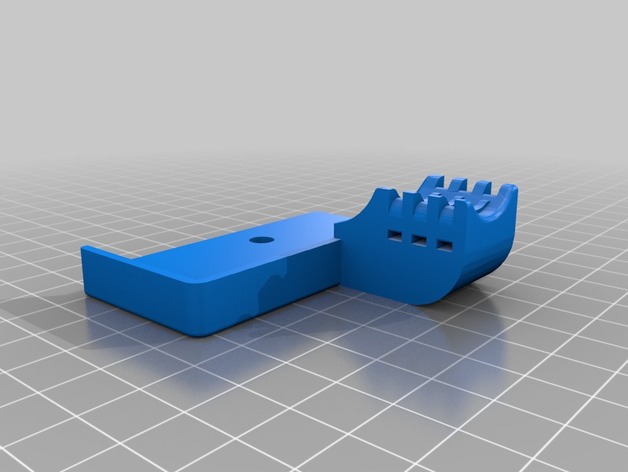
3DTAC / Airsoft M203 (railed) Grip 3D Print Model
-Would you like to print and sell this parts in your country?
– How about having access to several 3DTAC files at once?
– Need expert advice on how to print them?
– Click here: Check our Pateron and find out more: https://www.patreon.com/3DNG -
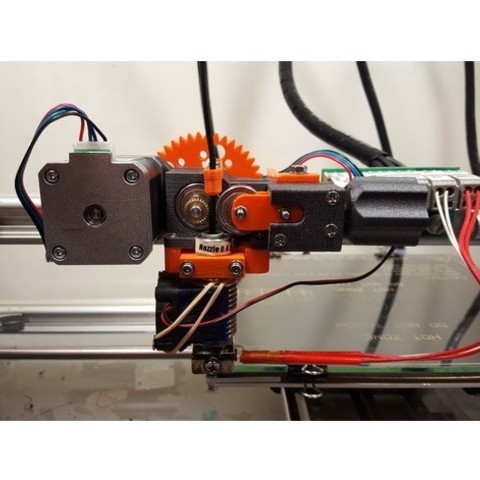
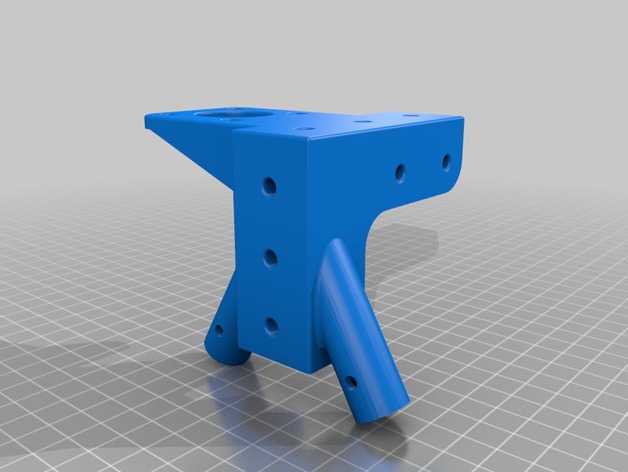
Anet A6 J-Hotend mod 3D Print Model
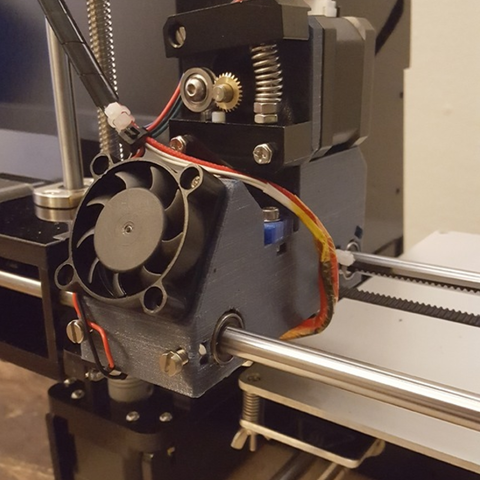
I wanted to mount a chines J-hotend to a A6 Anet printer, but for that i had to make a new X wagen.
The dimentions for the cooling fins/parts are: diameter 22,25mm X 26mm. -

Weapon Mods 3D model 3D Model
Detailed low poly model. Clear topology, only tris and quadsMesh, material and textures named properlyCollection include 7 models:Sniper Sight, Tactical Sight, 2 types of Collimator Sight, Flashlight, Laser Sight, SilencerPivot in centerRotation = 0.0.0, Scale = 1.1.1No excess objects in sceneFile formats:.Blend(native).OBJ.FBX.3DSSniper Sight – 1528 polys, 2k texture, PBR Shader(diffuse, specular, glossiness, normal map)Tactical Sight – 1242 polys, 2k texture, PBR Shader(diffuse, specular, glossiness, normal map)Red Dot Sight – 623 polys, 2k texture, PBR Shader(diffuse, specular, glossiness, normal map)Collimator Sight – 404 polys, 2k texture, PBR Shader(diffuse, specular, glossiness, normal map)Flashlight- 478 polys, 2k texture, PBR Shader(diffuse, specular, glossiness, normal map)Laser Sight – 756 polys, 2k texture, PBR Shader(diffuse, specular, glossiness, normal map)Silencer – 336 polys, 2k texture, PBR Shader(diffuse, specular, glossiness, normal map)Can be used in all current game engines such a Unity 3d, CryEngine 5, Unreal Engine 4 etc.Rendered in MarmosetGame Ready
-
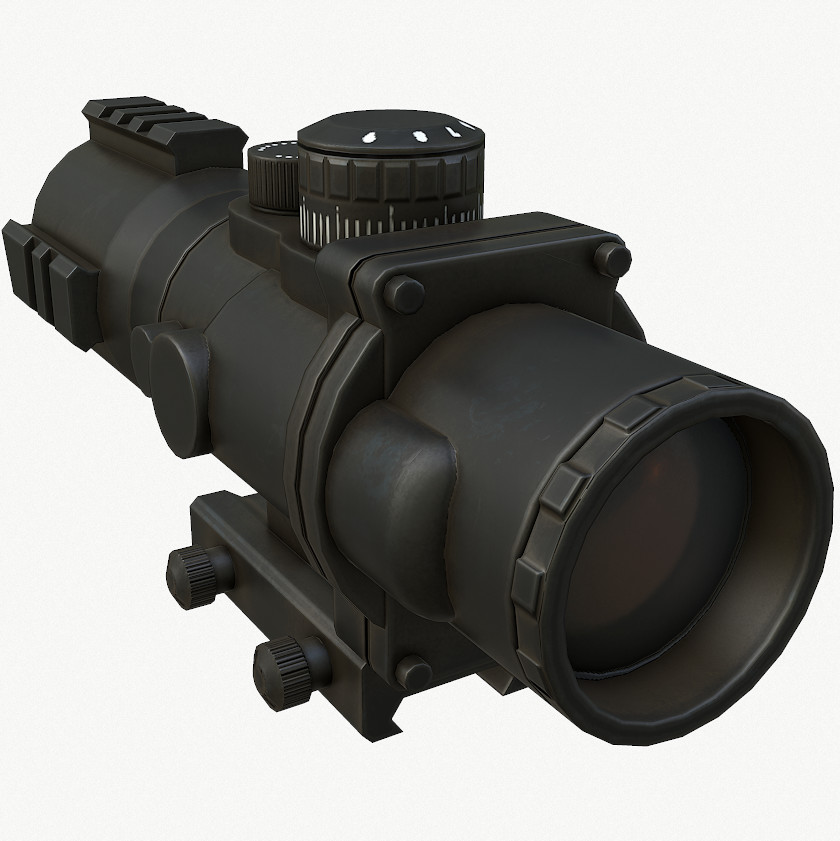
Tactical Scope 3D Model
Detailed low poly model. Clear topology, only tris and quadsMesh, material and textures named properlyPivot in centerRotation = 0.0.0, Scale = 1.1.1No excess objects in sceneFile formats:.Blend(native).OBJ.FBX.3DS2k texture, PBR Shader(diffuse, specular, glossiness, normal map)Can be used in all current game engines such a Unity 3d, CryEngine 5, Unreal Engine 4 etc.Rendered in MarmosetGame Ready
-

Sniper Scope
Detailed low poly model. Clear topology, only tris and quadsMesh, material and textures named properlyPivot in centerRotation = 0.0.0, Scale = 1.1.1No excess objects in sceneFile formats:.Blend(native).OBJ.FBX.3DS2k texture, PBR Shader(diffuse, specular, glossiness, normal map)Can be used in all current game engines such a Unity 3d, CryEngine 5, Unreal Engine 4 etc.Rendered in MarmosetGame Ready
-
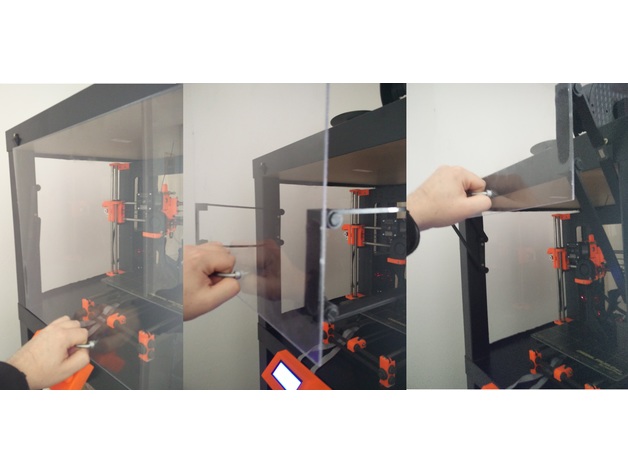
Top-Door-Opener Ikea Lack Enclosure Upgrade
Summary
This will allow you to open and close a door topside for your enclosure.