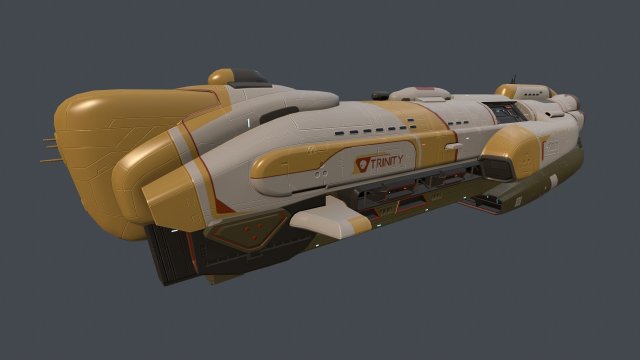
Trinity Ship is low-poly 3d model ready for Virtual Reality (VR), Augmented Reality (AR), games and other real-time apps.Detailed Description Info:Model: Starship EnterpriseMedia Type: 3D ModelGeometry: Quads/TrisPolygon Count: 41817 (Inculded 4 Lods)Vertice Count: 25443 (Inculded 4 Lods)Originally modeled in Autodesk Maya 2015. Final images rendered with Keyshot.The Autodesk Maya zip file contains Keyshot and standard materials scenes.Features:- High-quality polygonal model – correctly scaled accurate representation of the original objects.- Model resolutions are optimized for polygon efficiency.- All colors can be easily modified.- Model is fully textured with all materials applied.- All textures and materials are included and mapped in every format.- Autodesk Maya models grouped for easy selection & objects are logically named for ease of scene management.- No namespace issues when importing several models into a scene.- No cleaning up necessary, just drop model into your scene and start rendering.- No special plugin needed to open scene.PBR Textures formats:- Diffuse Map- Normal Map- AO Map- Specular Map- Color Map- Gloss Map- Emissive Map- Cavity MapResolution of textures is:- 2048 x 2048- 1024 x 1024- 256 x 256
Tag: trinity
-
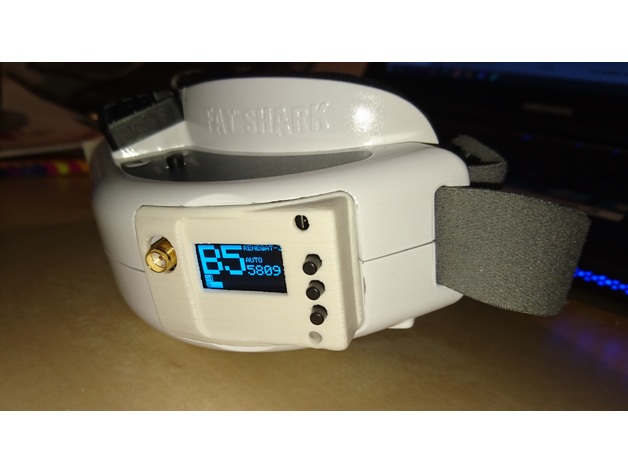
Quanum HB5808 Fatshark Dominator Doors (Trinity compatible) 3D Print Model
Summary
Remixed from LaForge V2 Fatshark Doors by musicsurf, to fit the Quanum hb5808 diversity.
Make shure to check the pictures for printing orientation.
The snapping hooks are modified, as the original design would not fit my goggles to well (at least with my printer). You will definatly have to trim them with a knife to make them fit (expecially the inner ones of the right door), as they are intenionally to large, in order to acomplish a good fit after trimming.
Loosening the screws on the bottom for the goggles will make installing the doors much easyer and prevent the hooks from breaking.
To controll the module, I dismantled some long tactile pushbuttons and very carefully(!!!!!) gued the pins to the module buttons with some CA glue. (read the disclaimer before you do this!)
The additional hole in the right door can be threaded for a m3 bolt to create an optional mountingpoint for antennas.
I used some double-sided foamtape to mount the right module into the door.
disclaimer:
You do this modification at your own risk. I won’t be held responsible for
what I have written here. This is what I did and it worked for me but, it
may not work for you.
Print Settings
Printer:
Turnigy Fabrikator Rafts:
Yes Supports:
Yes Resolution:
0.1 -
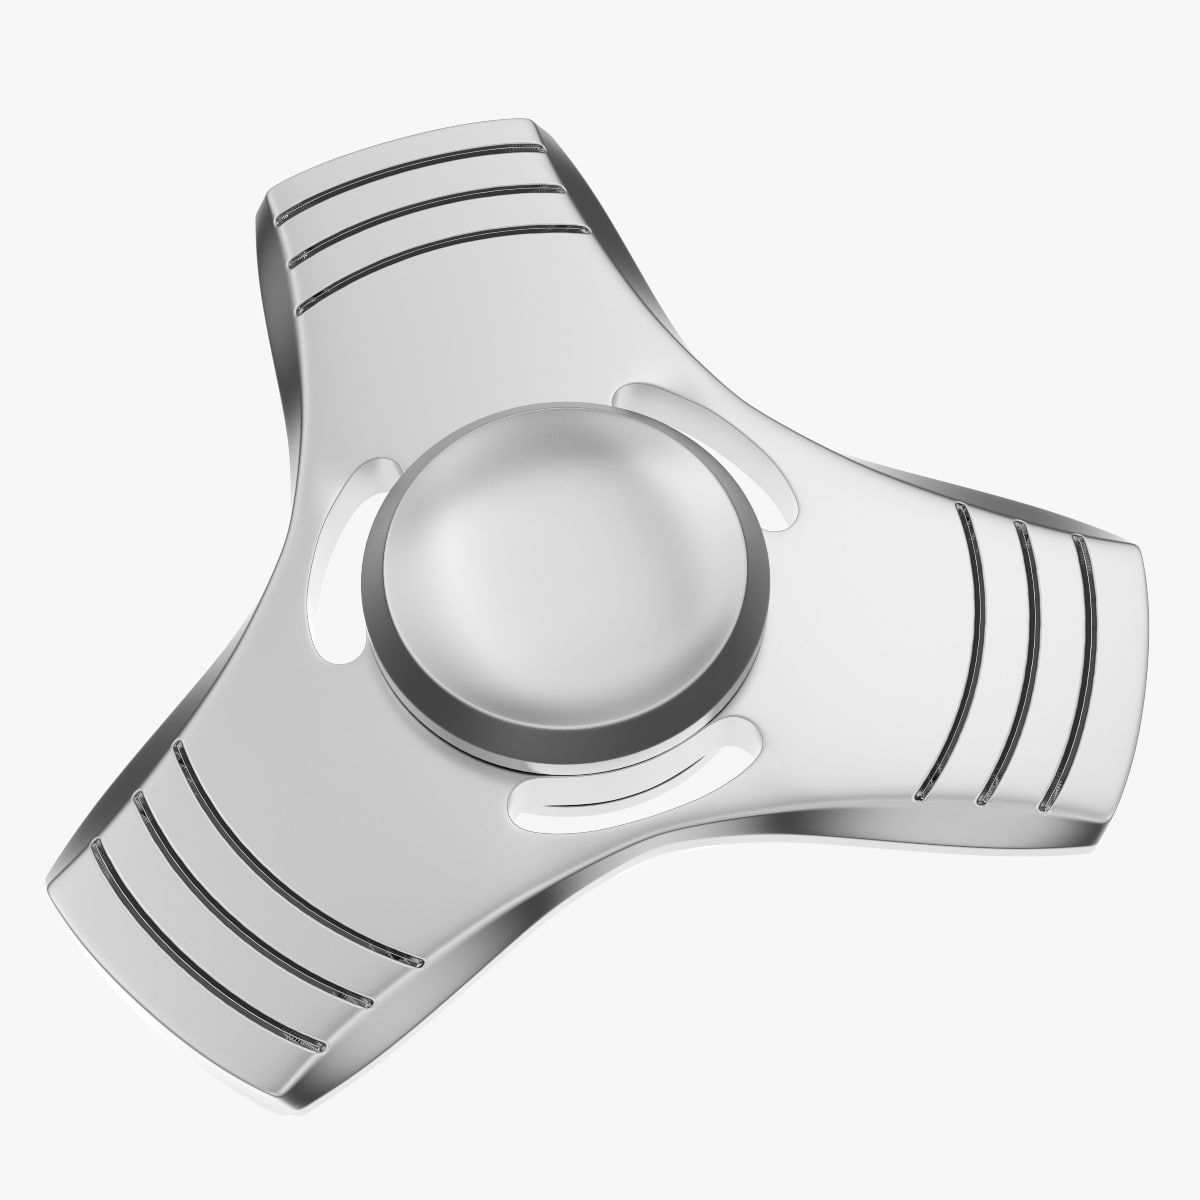
3D Spinner Trinity Tri Wing 3D Model
‘Spinner Trinity Tri Wing’ is a high & accurate model to add more details and realism to your projects. Detailed enough for close-up renders. *********************************Features:- Separated in 2 objects- Model resolutions are optimized for polygon efficiency(in 3DS MAX the meshsmooth function can be used to increase mesh resolution if necessary).- All colors can be easily modified. – No part-name confusion when importing several models into a scene. – No cleaning up necessary, just drop model into your scene and start rendering.- No special plugin needed to open scene.- HDRI background i used is not included*********************************File formats:- Max- FBX (Multi Format)- OBJ (Multi Format)- Cinema 4D R17************************************Texture:-1 JPEG bump map (4096*4096)Available in ‘Accompanying Product Files’ section**************************************Hope you like it! Also check out my other models, just click on my user name to see complete gallery.Infos about my work:I work always my files with a lot of attention to details, good topology and optimizes polygons, I also bring a serious touch in the provided textures.I would like to thank every guys who bought my files, you motivate me to produce some more very nice 3d models.Newlc – 2017