design of my authory.multiple formats:highpoly: 3dm, igslowpoly: 3ds,obj,fbxenjoy!
Tag: tribute
-

Mazda Tribute 2007 3D Model
The 3D model was created on real car base. It’s created accurately, in real units of measurement, qualitatively and maximally close to the original.Model formats:- *.max (3ds Max 2008 scanline)- *.max (3ds Max 2008 vray)- *.fbx (Multi Format)- *.obj (Multi Format)- *.3ds (Multi Format)- *.mb (Maya 8.5)- *.lwo (Lightwave 6)- *.c4d (Cinema 4D 11)* tire’s texture is not included in the set.* renders Are made in 3ds Max 2008 using vray 1.5 (studio environment is not included in the set)If you need any other formats we are more than happy to make them for you.The model is provided combined, all main parts are presented as separate parts therefore materials of objects are easy to be modified or removed and standard parts are easy to be replaced. If you experience difficulties with separating standard parts we are more than happy to give you qualified assistance.We greatly appreciate you choosing our 3D models and hope they will be of use.We look forward to continuously dealing with you.Sincerely Yours,Hum3D Team
-
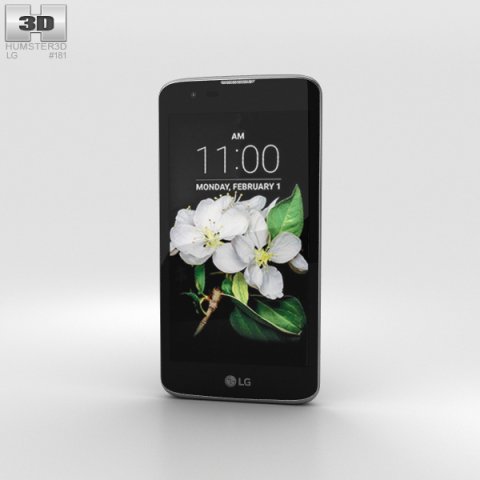
LG K7 Black 3D Model
The 3D model was created on real car base. It’s created accurately, in real units of measurement, qualitatively and maximally close to the original.Model formats:- *.max (3ds Max 2008 scanline)- *.max (3ds Max 2008 vray)- *.fbx (Multi Format)- *.obj (Multi Format)- *.3ds (Multi Format)- *.mb (Maya 8.5)- *.lwo (Lightwave 6)- *.c4d (Cinema 4D 11)* tire’s texture is not included in the set.* renders Are made in 3ds Max 2008 using vray 1.5 (studio environment is not included in the set)If you need any other formats we are more than happy to make them for you.The model is provided combined, all main parts are presented as separate parts therefore materials of objects are easy to be modified or removed and standard parts are easy to be replaced. If you experience difficulties with separating standard parts we are more than happy to give you qualified assistance.We greatly appreciate you choosing our 3D models and hope they will be of use.We look forward to continuously dealing with you.Sincerely Yours,Hum3D Team
-
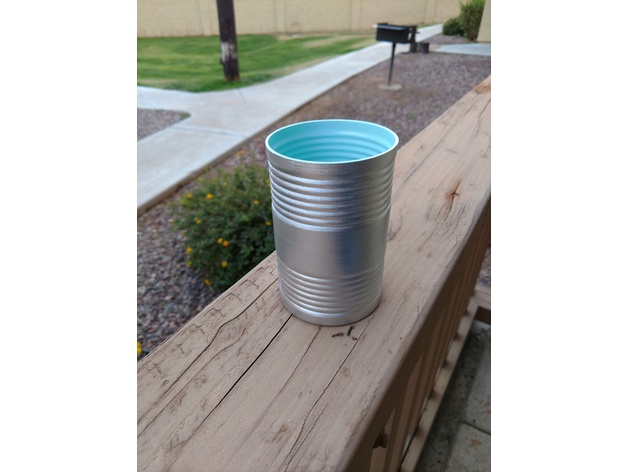
Tribute to Tiffanys pen holder 3D Print Model
Summary
This was created as a gag gift for some people in the office. It was supposed to resemble the $1000 Tiffany’s sterling silver pen holder.
Best results can be achieved by using primer filler and wet sanding a few times, then painting the model with sterling silver spray paint
The inside of the “can” was painted with Rust-Oleum 284678, Gloss Light Turquoise
Print Settings
Printer:
D-Bot / Anet A8
Rafts:
Doesn’t Matter
Supports:
No
Resolution:
.2mm
Infill:
Doesn’t matter
Notes:
Might want to print the first layer slow to get the best resolution on the text. -
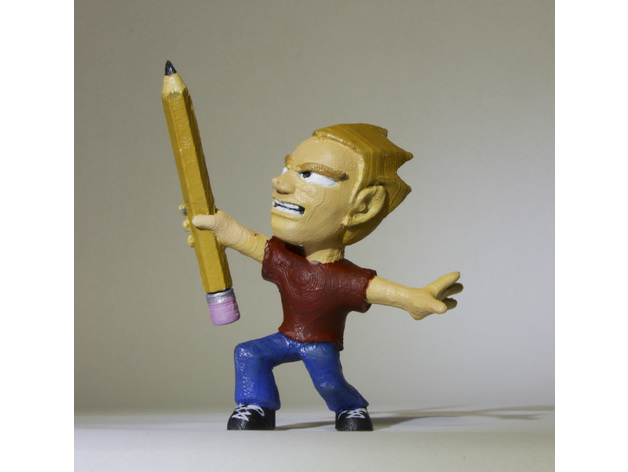
Action Jazza – tribute sculpture 3D Print Model
Summary
The famous australian illustrator/YouTuber, Jazza, posted a video in which he created 3D self-portrait with a 3D pen.https://youtu.be/a0seK8fAWnY
I made my own version of that statue as a 3D printable model,
but unlike Jazza’s version, mine actually stands up. 😛
Print Settings
Infill:
Solid Notes:
The support material can get tricky on this one.
If you have dissolvable support material with a dual-extruder printer, then you’re in luck. Just use Jazza_033_No_Supports.stl
I had use Jazza_33_big_supports.stl , in which I sculpted my own supports AND turned support material on. The custom supports constrain the places that point down, like the fingers. The auto-generated support material holds the big parts, like the backs of his shirt and head. Layer height should be relatively low to preserve detail. I chose 0.15mm . Afterwards, I used a dremel with a carving bit to remove the thick columns and produce/reveal the shapes of the the tips of the hair, the back of the shoes, and the back of the fingers, and the base of the pencil. The eraser fits on separately. You may need glue to hold it in place. I used SOLID INFILL so that when I carved into the columns, there were no hollow parts exposed.
Post-Printing
I used standard acrylic paint to produce the colors. I recommend painting one color at a time, allowing it to dry in between. Be careful where you put your hands as you turn the piece! It is easy to track paint from one place to another with gloves on accident. You can find more detailed an meticulous guides to model painting elsewhere online.