
Rating: 0.00, Vote(s): 0
Tag: Thunderbird
-
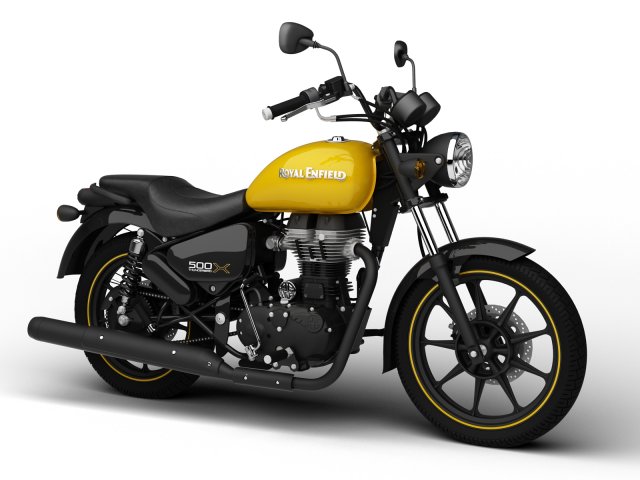
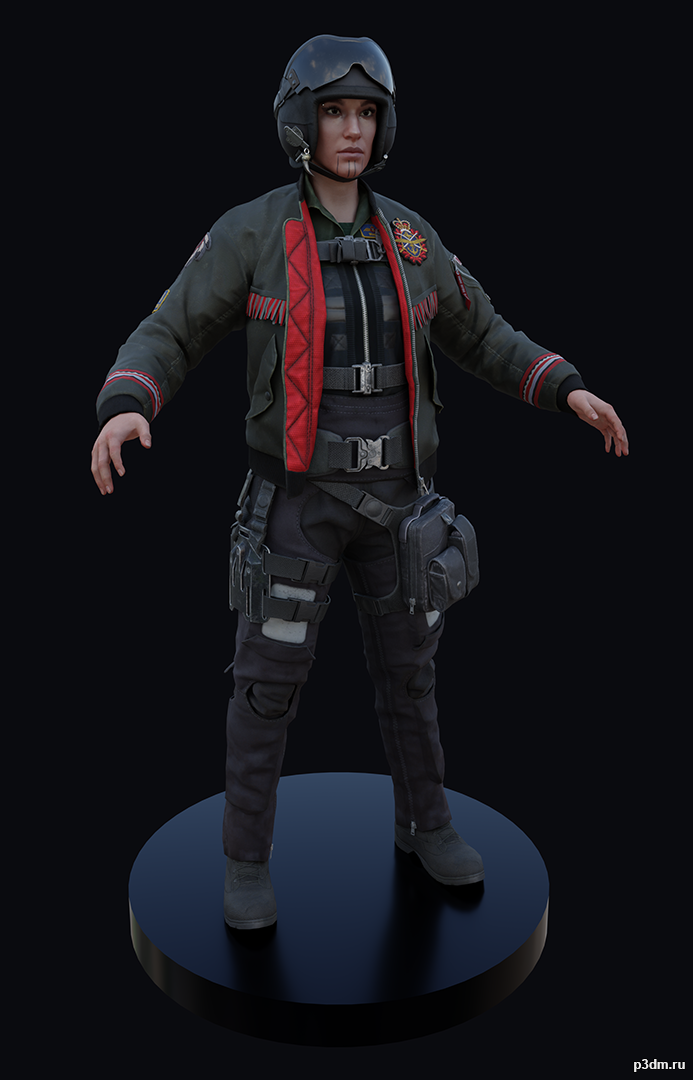
Royal Enfield Thunderbird 500X 2018 3D Model
Royal Enfield Thunderbird 500X 2018Render Scene included!- Made in 3DS Max 2010. Compatible with 2010 and later versions.- The scene is set in millimeters, and the motorcycle is scaled correctly.- All objects in the scene are named properly for their easy identification.- All necessary texture bitmaps are included (speedometer, bodywork, etc.).- Very detailed; enough for close-up renders. See preview images.- Subdividable.Formats included:.MAX 2012 (Default scanline).MAX 2012 (VRay 2.0).MAX 2012 Render Scene (VRay 2.0).3DS.C4D R13.OBJ.FBX.DXFEnjoy!
-
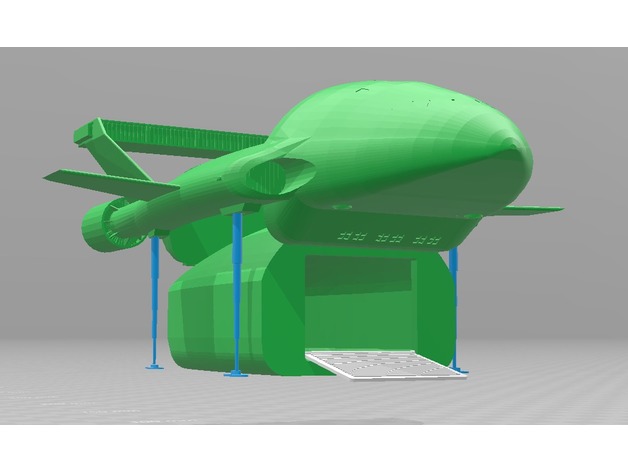
Thunderbird 2 and Pod 3D Print Model
Summary
This model is an updated version of my TB2 Pod (https://www.thingiverse.com/thing:1395981). This new version, however, does not use components from the (wonderful!) Thunderbird 2 model by Len Hickman; instead, it is a remix of my latest improvements to the one-piece model by Tobz. I split the model up for easier printing.
Note: the legs shown in the screenshots are not included in this “work-in-progress” release. These may be included in a future release.
Should print without support or raft. -
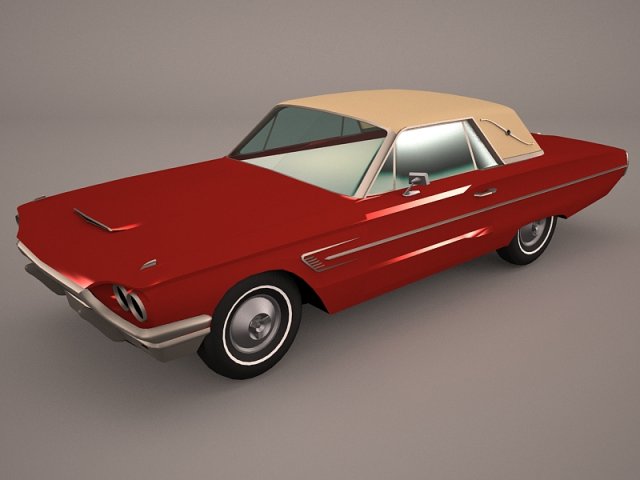
Ford Thunderbird 1956 3D Model
Ford Thunderbird 1955 1956 1957 sport style retro antique vintage classic oldtimer usa cabrio convertible roadster coupe hardtop
-
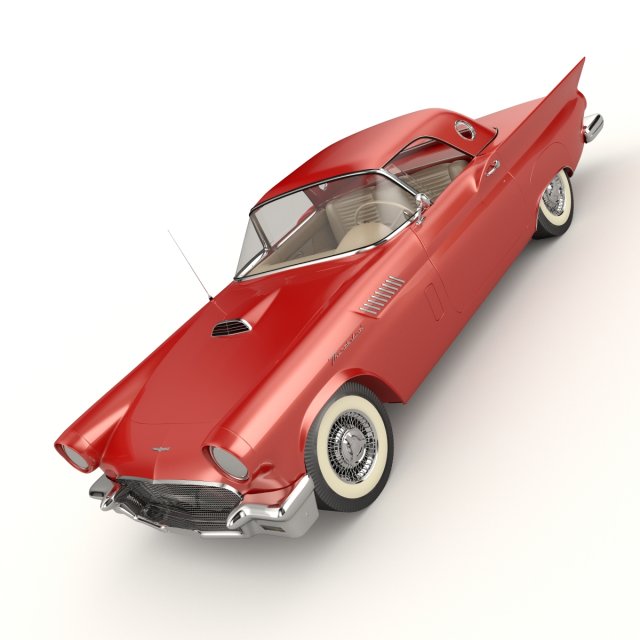
Ford Thunderbird 1957 3D Model
High resolution, fully detailed and textured Ford Thunderbird 1957. Comes with detailed textures.Originally modelled in 3ds max 2016. Final images rendered with Vray.*********************************Features:- High quality polygonal model – correctly scaled accurate representation of the original objects.- All colors can be easily modified.- Model is fully textured with all materials applied.- No cleaning up necessary, just drop your models into the scene and start rendering.- No special plugin needed to open scene.*********************************File formats:- 3ds Max 2016(Contains also vray materials scenes)- 3ds Max 2013(Contains also vray materials scenes)-fbx-obj+mtl*********************************
-
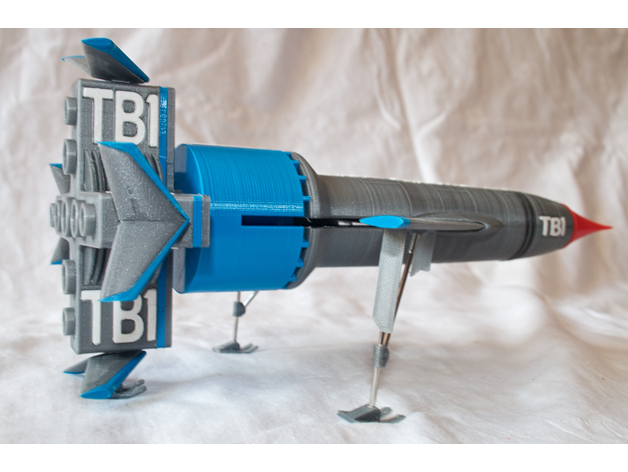
Thunderbird 1 3D Print Model
Summary
First two requests:
1) Please print this.
2) Then take a picture and create a “Make” to show us all how well it worked.
Thanks. 🙂
This design is very much inspired by Len Hickman’s excellent Thunderbird 2 and 3 models, both of which I enjoyed printing and building.
https://www.thingiverse.com/thing:440767https://www.thingiverse.com/thing:406777
There was no similar multi-part model of TB1 that had the detail that I wanted, and my painting skills are such that I like everything to print in the right colour, so I created my own.
It prints in over 80 parts, but a lot of these are letters, so don’t get worried!
Part
Colour
Support
Brim
Print
Notes
Body
Silver
No
No
1Body_Clips
Black
No
No
1Body_HText
White
No
No
1Body_VText
White
No
No
1Body_Thruster
Silver
No
No
1Engine_Bottom
Silver
No
No
1Engine_Blue
Sky Blue
No
No
1Engine_Discs
Silver
No
No
1Engine_IntakePlug
Black
No
No
8Engine_Intake
Silver
No
No
1Engine_Text
White
No
No
2FuelDrum
Sky Blue
No
No
1FuelDrum_Text
White
No
No
1Nose
Red
No
No
1
Lots of cooling near tip.
Winglet_Trim
Sky Blue
No
Yes?
4
Cooling and print a few at once.
Winglet
Silver
No
Yes?
4(*)
May get away without brim.
Winglet_Whole
Silver
No
Yes?
4!
Use if winglet+trim too fiddly.
Winglet_Inc_Gear
Silver
No
Yes?
1(*)
For rear landing leg.
Wings
Silver
Yes!
Yes
1(*)
Sky Blue for 1st 5.2mm.
Wings_Inc_Gear
Silver
Yes!
Yes
1(*)
Sky Blue for 1st 5.2mm.
Covers
Silver
No
No
1(*)Covers_Inc_Gear
Silver
No
No
1(*)Gear_Mounts
Silver
No
No?
2(*)
Small but I did without brim
Skid
Silver
No
No
3(*)Stand_Cloud
White?
No
No
1Stand_Base
Black
No
No
1Stand_Text
White
No
No
1See next section regards (*) items.
Gear and Stand
You have a few options regards whether to print landing gear and use stand.
1) No gear, no stand
Print 4x “Winglet” all without “Inc Gear” and ditto 1x”Wings”.
Print “Body_Thruster” to fit into stand hole.
The wings can be moved between launch and horizontal flight modes, and you need to use your throat, lips and tongue to make the right noises as you switch.
2) Might want gear later
Print 3x”Winglet” and 1x”Winglet_Inc_Gear”. The one with the gear hole goes at the bottom!
Print 1x”Wings_Inc_Gear”
Print 1x”Covers” as these can be fixed into the cutouts under the wings with double-sided tape.
Decide for yourself regards using stand or printing “Body_Thruster”.
3) Want gear and stand!
Print winglets and wings as per option (2) above.
Print 1x”Covers_Inc_Gear”, 2x “Gear_Mounts”, and 3x”Skids”
Assemble gear using 2mm bicycle spoke as shown in picture. Long section of spoke is 58mm and short 48mm, but this is rough. Threaded end of spoke goes into short mount. This mount and the covers are then fixed to the cut out in the wing as shown. You’ll also need a very short length of spoke to attach the rear foot to the winglet. Adding more infill to engine and fueldrum also helps balance as it does tend to be nose heavy.
Pretty much all printed parts will need chasing out with a 2mm drill, and the gear is fiddly and delicate so use the stand!
Feedback
All feedback welcome, as are better designs for the exhaust cloud. Or maybe someone with great painting skills can make it look more like hot rocket exhaust and less like shaving foam!
Print Settings
Printer Brand:
Wanhao Printer:
Wanhao Duplicator i3 Plus Rafts:
No Supports:
Yes Resolution:
0.2 Infill:
10% to 20% variable Notes:
Everything prints oriented as shown.
I’m not big on brims, and pretty much never use rafts, but you know your printer.
I didn’t use a brim on anything other than the wings, but I’ve noted some other parts where you may want to consider it. I only used supports on the wings and am not sure it was required.
Up the resolution to 0.12mm (or 0.1mm) anywhere you think the quality will benefit, such as on the text and the nose. Print small parts such as the trims, clips, as winglets as many up as you can (I did them all at once) to prevent the nozzle over heating them. I also used 0.12mm on these parts.
The wings require a filament swap from sky blue to silver at about the 5.2mm mark. Adjust this if you use a raft.
I used Cura’s “infill steps” to have 10% in most of the insides rising to 20% just below top layers. Maybe set higher for the fuel drum and engine as this will help with balance as it’s otherwise rather nose heavy.
Post-Printing
Assembly
Parts should just need simple clean up and supports removing.
I’ve provided clearance for the letters and numbers, so they should just press fit, but may need a needle file taking to the edges. Note the side of the letters that was against the print bed goes bottom down in the model. Also note the letters are contoured on the top, so match thicker parts to deeper holes. Keeping the sets of “TB” and “TB1” separate in small boxes helps. Also note that “Thunderbird” has two Rs and two Ds in it and they need to go into the right holes!
Some parts have 1.8mm holes to push filament into – clean then out with a 1.75mm drill (yes, buy one!) or a 1.5mm hex key if the filament won’t fit. This holds things together as you assemble and check fit, and it then provides location during glueing. I use a methylene chloride plastic weld and it works very well.
The two halves of the winglets glue together and then the trims glue on top. The fixing tab will then maybe just need a file before pressing into the engine bottom, and once it’s fitting well, remove and refit with glue. I was worried about this part of the design but it works well. If you struggle, print the “whole” part but you’ll have to paint on the blue trim.
The wings just wiggle into place. If you can’t get them in, file the pivots, but don’t overdo it!
As the stand plugs into the hole that the belly VTOL thruster slots into, don’t glue this into place.
Winglet halves glued together and trims glued on top.
How I Designed This
I measured everything from some blueprints found via google and wrote OpenSCAD code to create all the required parts. Let’s just say that I learned a lot as I progressed!
I used a lot of sources (referenced in code) but particularly the excellent scratch built TB1 by David Sisson.
http://www.davidsissonmodels.co.uk/thunderbird1.htm
I’ve included notes on working with the code at the top of the TB1.scad file.