Summary
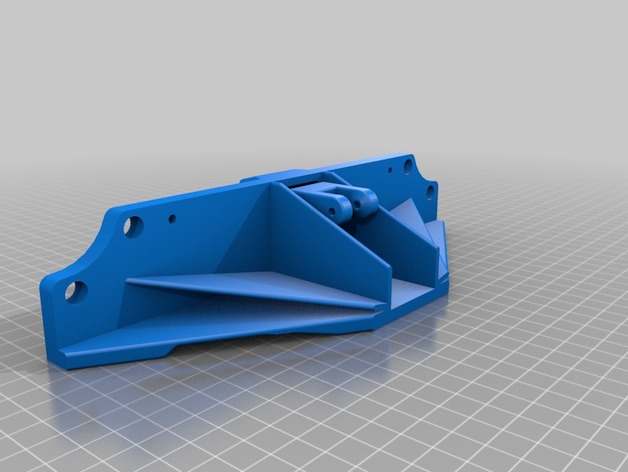
ANET A8 BELT TENSIONER and BRACE Y-Axis
We added this one so people in the community could provide feedback. When we finalize the model we will publish the final version.
The nut traps are very tight. Position the nuts in front of the traps and then use the 12mm screws to draw them in.
When the belt is taught – thread lock can be added to the nut/bolt to secure it in place.
Parts List
1 – Idler Pully 16 Tooth M3 Bore (Purchase Here)
1 – M5 x 12mm Bolt (Purchase Here)
1 – M5 Nut (Purchase Here)
1- M3 x 25mm screw
1 – M3 Lock Nut (Purchase Here)
4 Feet – GT2 Timing Belt (Purchase Here)
Digital Sqrt is an open source company and we strive to make all of our files available to all. The STEP and STL files are in the Thing Files folder.
Change Log:
3/14/2018 – Upload Files for comment by the comunity
Tag: Tensioner
-
Anet A8 Belt Tensioner and Brace Y-Axis 3D Print Model
-
Prusa Steel X axis with tensioner and 8mm leadscrew support 3D Print Model
Summary
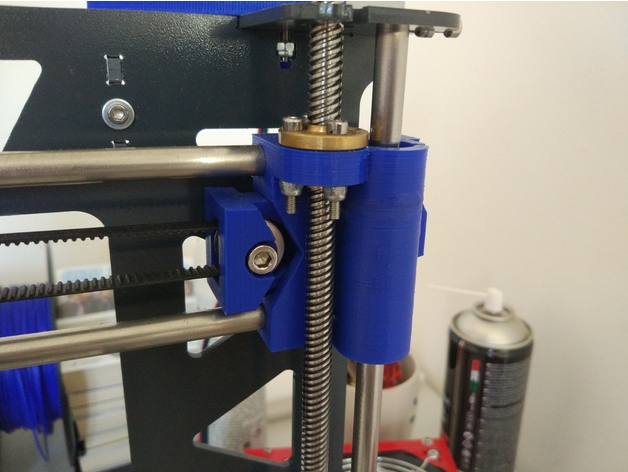
This X axis for the Prusa steel frame features a convenient single screw belt tensioner and supports 8mm leadscrews.
You need some M3 screws and nuts to mount the leadscrew nuts in place, a M4 screw and nut for the tensioner and a M5 screw and nut for the toothed idler, I use a cheap aliexpress toothed idler with a M5 bore.
Prints without supports.
Print Settings
Printer Brand:
Prusa Printer:
Prusa Steel Rafts:
Doesn’t Matter Supports:
No Resolution:
0.3-0.25 Infill:
25-30% -
Yet another belt tensioner 3D Print Model
Summary
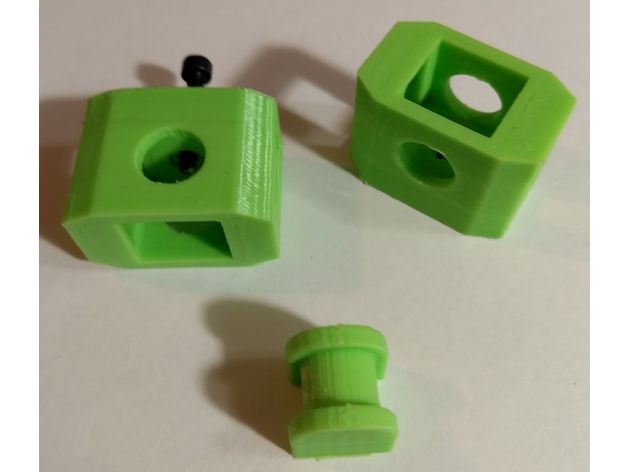
Belt tensioner.
It will accept up to a 7.5mm width belt.
You will also need a 3mm screw and nut.
I printed at .2 mm layer height and 100% infill.
1) Insert the nut in the recess inside the body.
2) Thread a nut from the otherside through the nut.
3) Put the tensioner inside the body.
4) Thread belt through assembly.
Make sure the tensioner doesn’t hit or interfere with anything.
5) Tighten screw to tighten belt.
I like them
This will way over tighten your belt if your not careful.
“THE BEER-WARE LICENSE” (Revision 42):https://www.thingiverse.com/kwg08/ wrote this file.
As long as you retain this notice you
can do whatever you want with this stuff (for non profit uses only.)
If we meet some day, and you think this stuff is worth it, you can buy me a beer in return. -
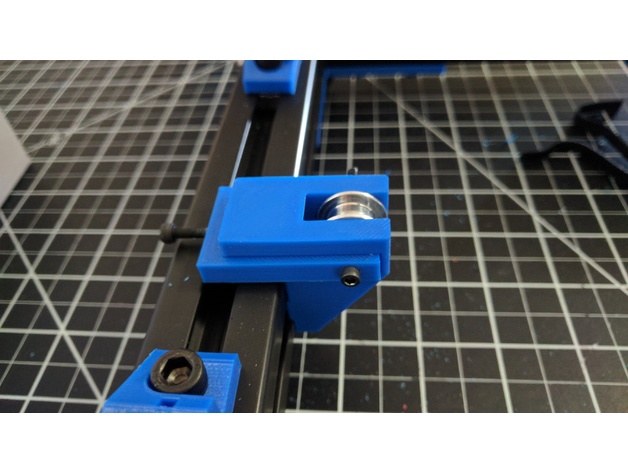
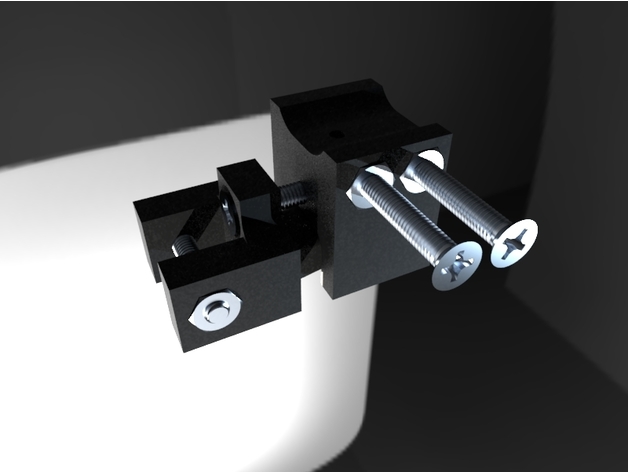
Adjustable Y Axis Tensioner 3D Print Model
Summary
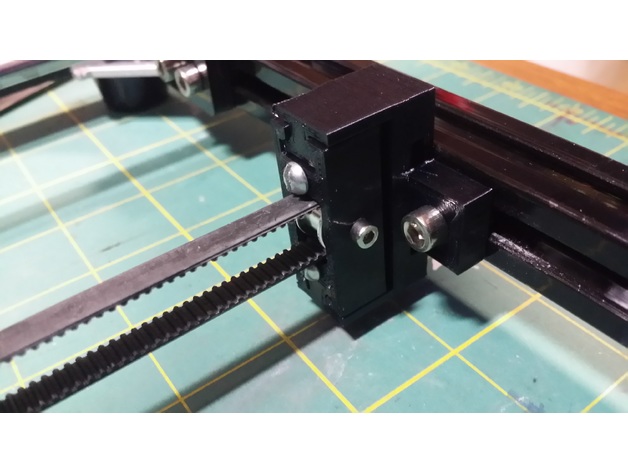
I designed this adjustable tensioner bracket for my HICTOP 3DP-17 Y-Axis as the stock ‘pulley’ would not keep the belt on the bearing and would rub (and squeak) no matter how well aligned it was.
This design should also work with most 20X20 extruded aluminum frame printers.
I purchased the Timing Belt Idler Pulley from Amazon:https://www.amazon.com/gp/product/B01H3FNZ4M
To build, use either M3x25 or 6-32 X 1″ bolts for the adjustment screws.
I designed it for M3 bolts with M3 nuts in the nut traps but didn’t have any 25mm long so I just used some 6-32 machine screws I had laying around.
The idler pulley will need an M3 X 16 or longer bolt to hold it in.
Happy printing!
Print Settings
Printer Brand:
Prusa Printer:
Prusa Clone Rafts:
No Supports:
No Resolution:
.2mm Infill:
55%+ -
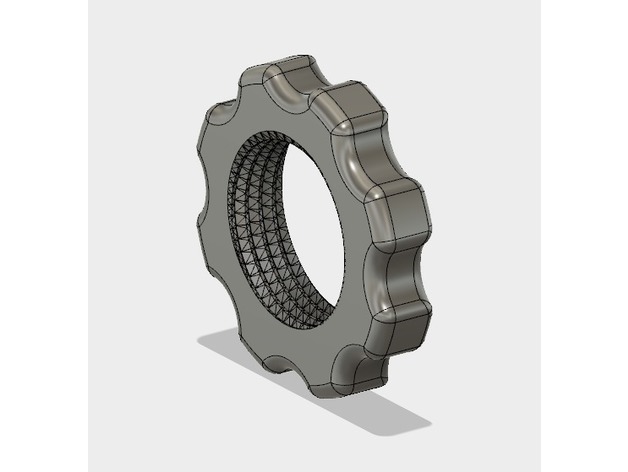
A larger nut for “fessyFOO’s Yet Another Belt Tensioner” 3D Print Model
Summary
The original nut was a little too small and its edges to sharp for my taste, so I redesigned the outer ring in fusion 360 and smoothed the edges with fillets. The larger outer diameter helps put more force with ease! -

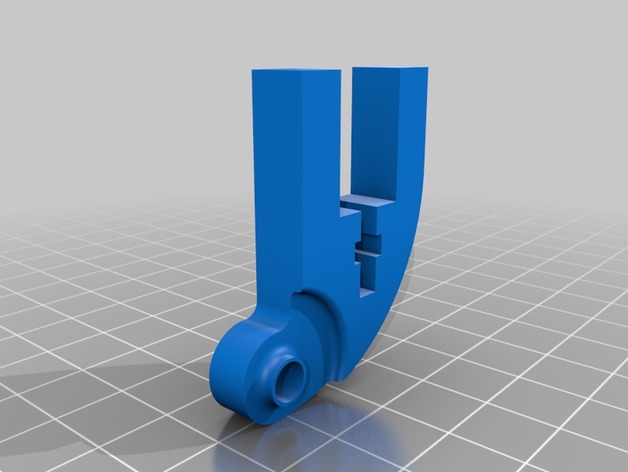
X-axis tensioner for use with toothed idler. 3D Print Model
Summary
I recently released a x tensioner for use with my own x axis parts. This version is based upon the same design but with a few modifications to suit a stock x axis on the Anet A8 (The version with ABS printed x axis sides though it may work with the injection moulded parts too!)
This is oriented as intended for printing with supports built in. You will need to cut away the supports on the underside of the two prongs, the supports inside the central rectangular hole and most (not all) of the cylinder in the center.
You should ideally leave an equal amount of the central cylinder on either side such that the idler wheel is barely able to move from side to side but can rotate freely when mounted.
My first print of this is not ideal as I had set the bed level incorrectly and had a belt tension problem at the time. I will be reprinting.
Print Settings
Printer:
Anet A8 Rafts:
No Supports:
No Resolution:
0.4mm nozzle and 0.32mm layer (0.2 would also be fine!) Infill:
50% but you can probably get away with a bit less
Post-Printing
Supports will need to be removed from the model after printing and before fitting. You will also need 3 sets of m3 screw and nut to hold the idler in place and fit to the top and bottom of the part to allow you to adjust the screws to tweak the tension in the x axis belt.
How I Designed This
A few modifications on a previous OpenSCAD design used in my version of the x axis idler and motor mounts. Slightly thicker walls to accomodate recesses for nut and screw head on the idler hole, thinner prongs due to available space and slightly increased gap for the idler to be mounted. -
Anet A8 Y-Axis belt tensioner with Ø3mm and Ø5mm hole Zahnriemenspanner Umlenkung Y-Achse 3D Print Model
Summary
Neue Umlenkung für den Anet A8, zum Spannen des Zahnriemens, für Zahnriemenscheiben mit Ø5mm Bohrung oder Ø3mm Bohrung. Das zweite Teil muss gespiegelt gedruckt werden.
Attention: The second part must be printed mirrored. -
Prusa MK2 Haribo 3030 Y Belt Tensioner 3D Print Model
Summary
Adjustable Y Belt Tensioner for the Prusa MK2 Haribo 3030 Edition, I am sure that it will work for other 3030 setups as well. It uses an M2 screw with an M3 square nut that comes with the Prusa kits.
This is based on the original design on Github so I am not sure who to give credit to for the original design.
I place custom supports in the space where the square nut will sit using S3D, not sure if you can print without supports it give it a try.
Print Settings
Printer:
Prusa MK2 Rafts:
No Supports:
Yes Resolution:
.20 – .30 Infill:
20% -
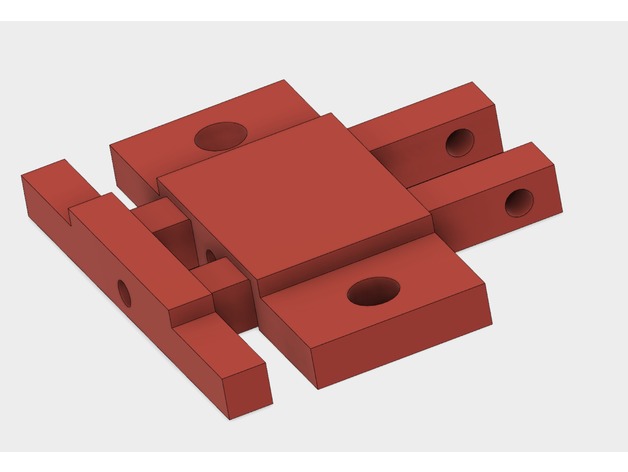
AM8 Lowered Y Tensioner Block 3D Print Model
Summary
This is a Y Tensioner block mod that lowers the tensioner by about 5MM. This was created in response to some people having belt aligment issues because there belt holder considerably lowers the belt position. This also strengthens the Y tensioner so that it can easily be printed horizontal without supports.
Note, I have not tested this. I do not need it for my printer. This is for people that do need it. Let me know if it needs to be changed. -
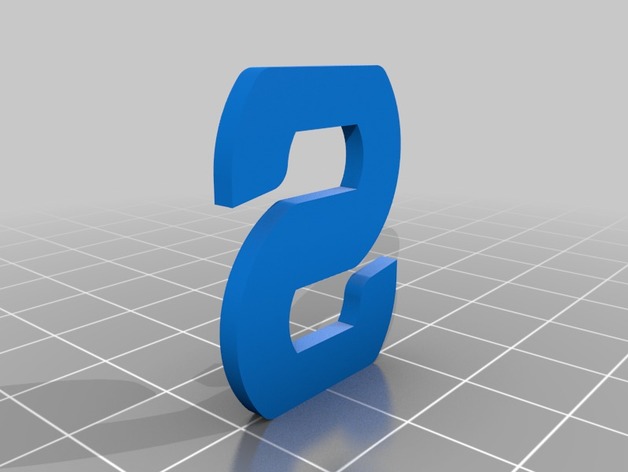
Simple ‘S’-shaped belt tensioner 3D Print Model
Summary
For any question ask me 😉
Print Settings
Printer:
aluminum prusa i3 Rafts:
No Supports:
No Resolution:
from 0.1 to 0.2 Infill:
100% -
X-Axis Tensioner (Prusa) 3D Print Model
Summary
A belt tensioner for the x-axis of my Prusa clone. The improvement it provides can be seen here. Assembly requires M3 nuts and screws (I used extra parts from my printer).
Print Settings
Printer Brand:
Prusa Printer:
Prusa Clone Rafts:
Yes Supports:
No Resolution:
.1 mm