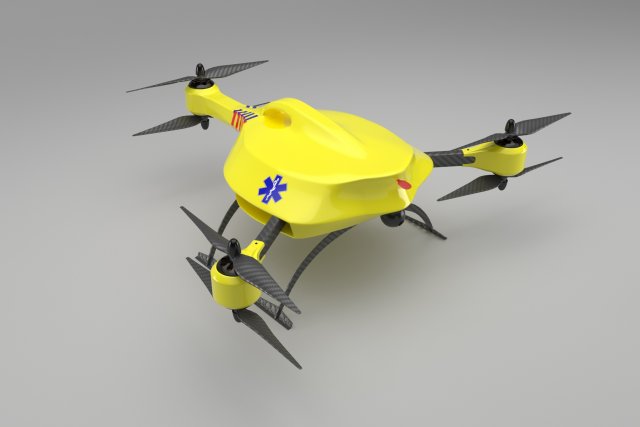
Ambulance FPV DroneA High polygon count 3D model of a Ambulance FPV Drone , designed for use with in 3ds max with corona renderer.Poly-count: 149 069Vertex-count: 130 089This package contains following items:- One 3ds max file setup with corona renderer 2 plug-in (you need the plug-in in order to use this file properly)- One 3ds max file setup with Vray 3.6 plug-in (you need the plug-in in order to use this file properly)- One FBX file for import of the 3D models in all major 3D packages (no shaders).- One OBJ file for import of the 3D models in all major 3D packages (also no shaders).- One .3ds file for import of the 3D models in all major 3D packages (also no shaders).- High resolution Texture up to 8196 x 8196 px.Notes :- Preview images rendered in corona renderer 2, no color correction and no post production.- For best results, this model is recommended for use(render) on computers with at least 08 gigabytes of RAM.- Object is centered at (0,0,0).(!) Attention- the model is not rigged- the model is not suitable for 3D print- the scene setup / lighting / environments from the preview renders(rendered with Corona) are not included- the meshes are not suitable for subdivision, but this should not be necessary since they are already optimized for closeup beauty shots- it is an artistic representation of the subject, it is not 100% technically accurate, but still highly detailedFeel free to ask additional questions should you have any, (click the Author name on the left to enter his profile and then use the green contact button on the right to get to him).Thanks, and as usual, have fun!
Tag: shock
-
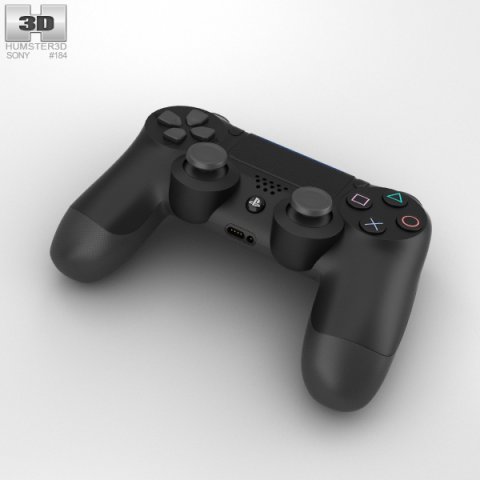
Sony DualShock 4 Wireless Controller 3D Model
The 3D model was created on real base. It’s created accurately, in real units of measurement, qualitatively and maximally close to the original.Model formats:- *.max (3ds Max 2008 scanline)- *.max (3ds Max 2008 vray)- *.fbx (Multi Format)- *.obj (Multi Format)- *.3ds (Multi Format)- *.mb (Maya 8.5)- *.lwo (Lightwave 6)- *.c4d (Cinema 4D 11)* renders Are made in 3ds Max 2008 using vray 1.5 (studio environment is not included in the set)If you need any other formats we are more than happy to make them for you.The model is provided combined, all main parts are presented as separate parts therefore materials of objects are easy to be modified or removed and standard parts are easy to be replaced. If you experience difficulties with separating standard parts we are more than happy to give you qualified assistance.We greatly appreciate you choosing our 3D models and hope they will be of use.We look forward to continuously dealing with you.Sincerely Yours,Hum3D Team
-
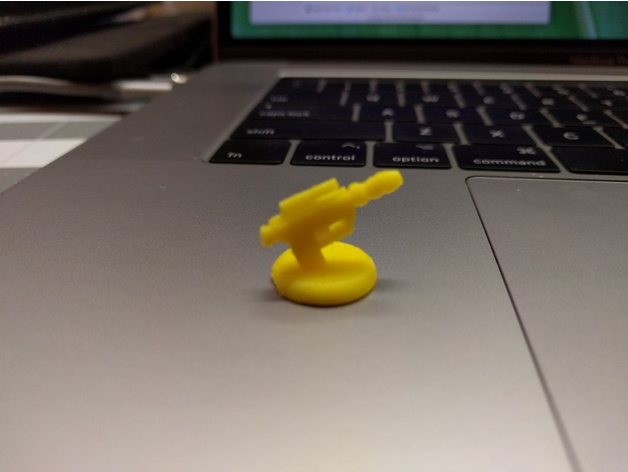
Twilight Imperium Shock Troop 3D Print Model
Summary
Shock troop for Twilight Imperium adapted for fused filament fabrication printers. See print settings for details.
Print Settings
Printer Brand:
PowerSpec
Printer:
Duplicator I3 PLUS
Rafts:
Yes
Supports:
Yes
Resolution:
0.1mm
Infill:
100%
Notes:
Supports from build plate only with 40deg support overhang (Cura) -
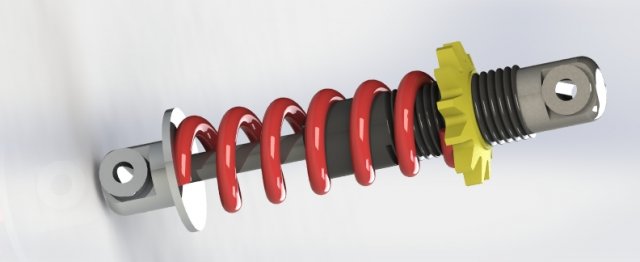
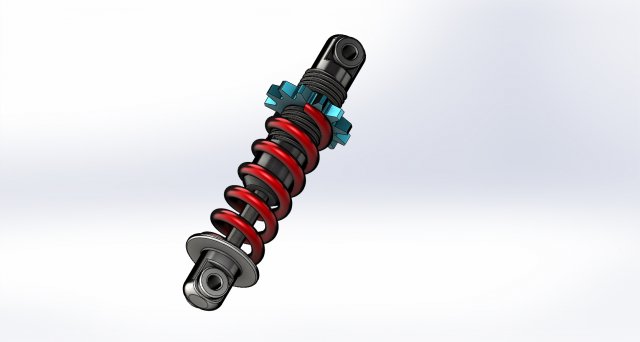
Motor Cycle Shock Absorber 3D Model
Coilover shock absorbers are usually a kind of twin-tube gas charged shock absorber inside the helical road spring. They are common on motorcycle and scooter rear suspensions, and widely used on front and rear suspensions in motorcycle and cars.
-
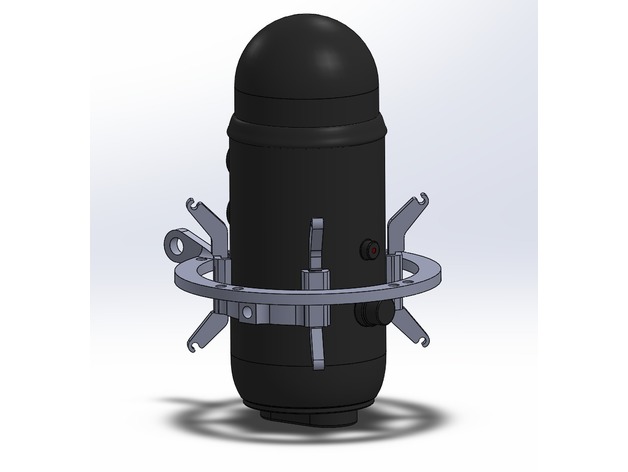
Blue Microphones Yeti Shock Mount 3D Print Model
Summary
This is a shock mount I designed for my Blue Yeti microphone. It requires 1/8″ bungee cord for assembly, approximately 1-2M if you want to be safe. Using dabs of hot glue when assembling the arms to the clamps would help with assembly.
NO EXTRA HARDWARE IS REQUIRED. The thumbscrews that are included with the Blue Yeti can be used to mount the clamps to the microphone body, as designed. You don’t need to purchase hardware, just bungee cord.
A mic adapter can be taken off of most mic holders (check model for exact tab width to be sure it’ll fit) if not, those mic holders usually come with boom arms from Amazon. Super easy to get ahold of, especially if you need a boom arm as well.
Print Settings
Printer:
Maker Select Mini V1 Rafts:
Yes Supports:
No Resolution:
0.1mm Infill:
80-100 -
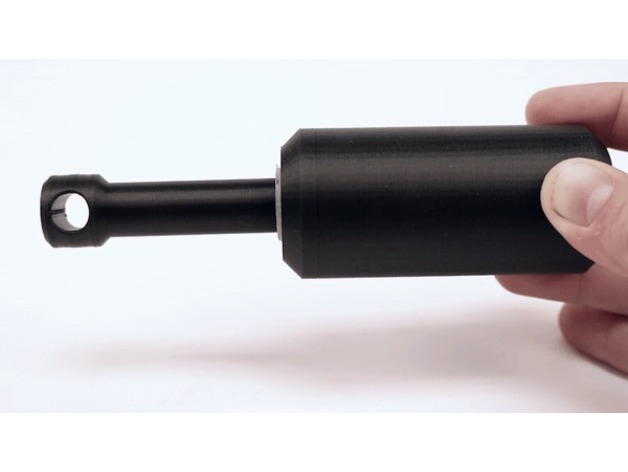
shock absorber 3D Print Model
Summary
This design was created by Markforged. To read the original full article follow this link: https://markforged.com/blog/part-of-the-week-3d-printed-shock-absorber/
This 3D-printed part shows that a lot of designs can be simplified when printed with a 3D-printer.
Print Settings
Printer:
Mark X7 and Mark Two Rafts:
Doesn’t Matter Supports:
No Resolution:
0.05 / 0.1 Infill:
50% Trinangular Notes:
The shock absorber was printed with Onyx and 0.05 layer height. It is important, that the support structure is disabled! The sleeve and bushing were printed with Nylon (to reduce the friction) and 0.1 layer height. -
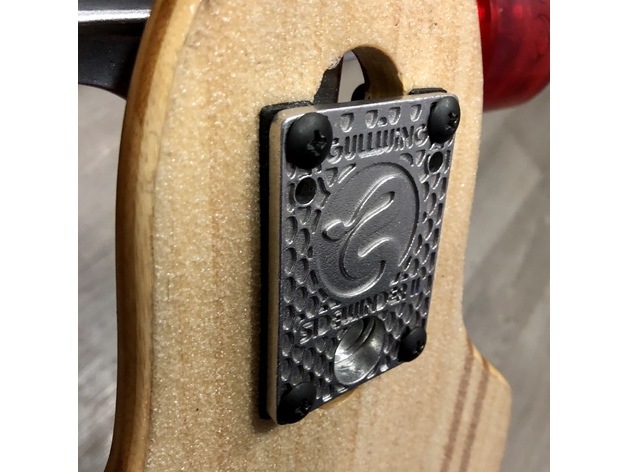
Drop through longboard risers / shock absorbers 3D Print Model
Summary
Designed these to add some shock absorption to my longboard with TPU risers and reduce the teeth-rattling feeling I had going over cobblestones. These fit standard drop-through trucks and match the hole pattern for mounting. They’re 2mm tall which allowed me to fit them without getting longer screws for the truck mounts, use the scale z command if you’d like them thicker/thinner.
These were printed with Ninjaflex Semiflex on Ultimaker 2+ with 100% infill
Print Settings
Printer Brand:
Ultimaker Printer:
Ultimaker 2 Rafts:
No Supports:
No Resolution:
0.1 Infill:
100 Notes:
Ninjaflex Semiflex prints well slowed down to 20-40mm/s and retraction off.
Post-Printing
Cleanup
Cuticle trimmers work great for removing TPU blobs stuck to the printed surfaces.
How I Designed This
Designed in Fusion 360, feel free to download and edit: http://a360.co/2AewbDs -
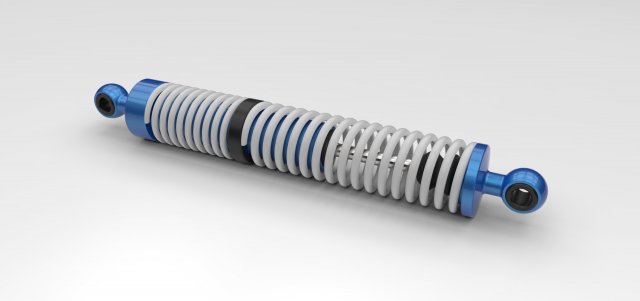
Shock absorber 3D Model
Model dimensions:- length – 749 mm- diameter – 100 mmDesigned in Solid Works 2012, rendered in Keyshot 5.0.99.
-
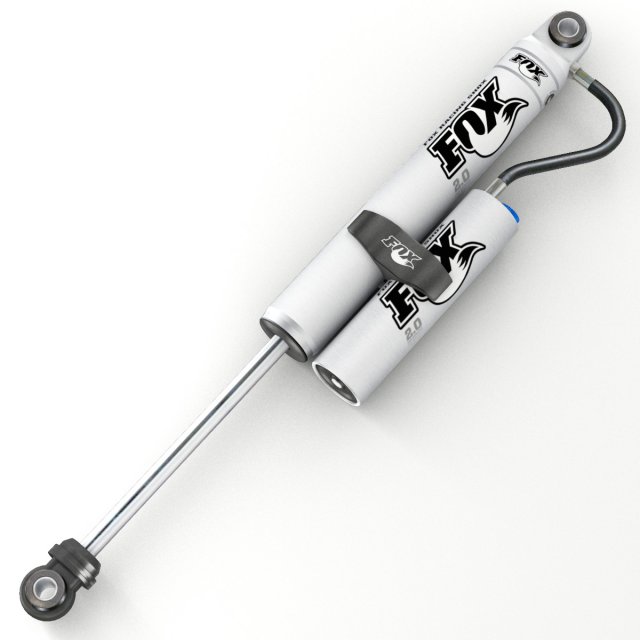
Off Road Performance Suspension Shock 1 3D Model
Off Road Performance Suspension Shock 1The model was created with 3DS Max 2014, there are also Cinema 4D, Blender and Maya files with textures.SPECIFICATIONS:The main model has 2.708 polygons and there is a low poly version with 621 polygons, both contain 3 elements:- Shock- Reservoir- ClampElements are logically named and grouped so they can be separeted to adjust to your needs.The model contains quads and tris (no N-gons).Other files included: 3DS, OBJ and FBX.PRESENTATION:Renders were made with Mental Ray and have no post processing.Product is ready to render out of the box (3DS Max only).Lights and cameras are not included.MATERIALS AND TEXTURES:A Standard material is used to contain a TGA texture with 1024 x 1024 resolution.USAGE:This model is suitable for use in games, virtual reality, augmented reality, broadcast, design visualization, forensic presentation, technical demonstrations, etc.
-
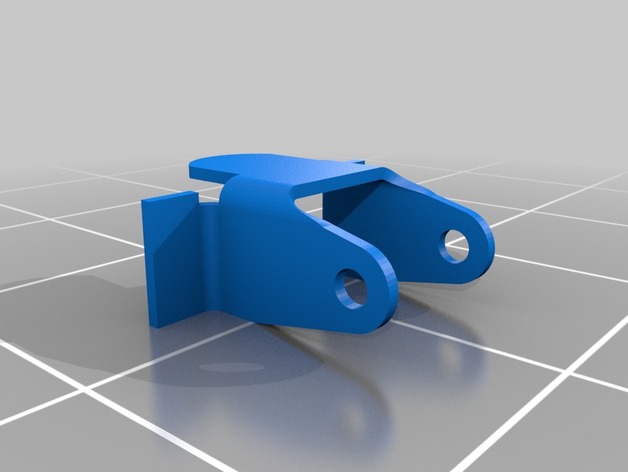
steering shock bracket 3D Print Model
Summary
custom design steering shock bracket for 97 ram 1500 4×4 -
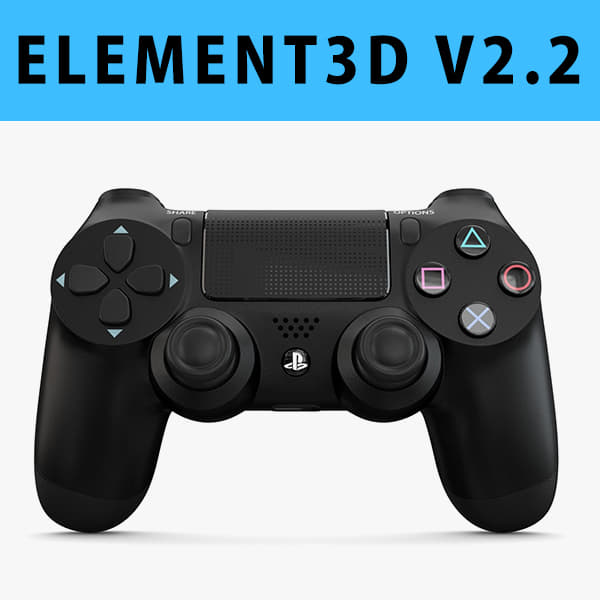
3D model E3D – Sony PlayStation PS4 PRO Controller 3D Model
This pack:Element 3D V2.2 ( All colors )models preset easy to use- 1 file OBJ High poly- 1 file OBJ standard- 1 file C4D R12 standard render- 1 file 3ds max 2012 standard material- E3D file full materials set up like previewsHow to use it?1. Open After Effects CC 2014 ( or higher) and create new composition ( You need Element3D V2.2 to use )2. Create new Solid layer and add Element effect. ( Effect/Video Copilot/ Element )3. Click Scene Setup4. Click on IMPORT inside Element3D scene setup5. Choose my .e3d preset for the model and press Open.If you dont see the model do not forget to right click on the model name and press Replace model then select the .obj model file in the respective models folder.
-
E3D – Sony PlayStation PS4 PRO Controller 3D Model
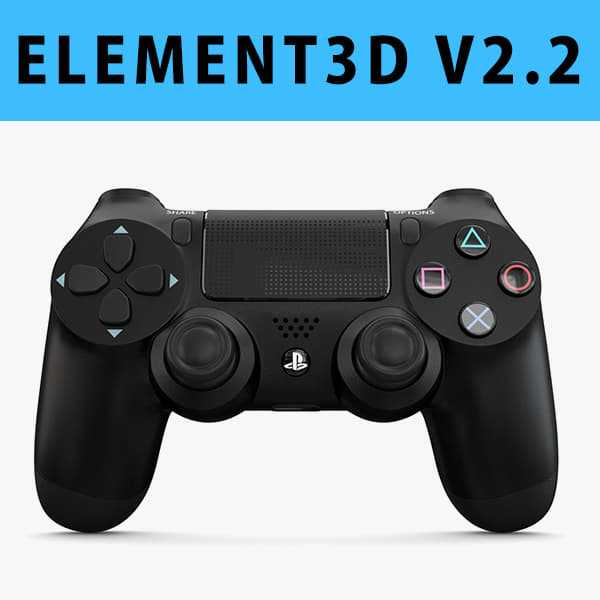
This pack:Element 3D V2.2 ( All colors )models preset easy to use- 1 file OBJ High poly- 1 file OBJ standard- 1 file C4D R12 standard render- 1 file 3ds max 2012 standard material- E3D file full materials set up like previewsHow to use it?1. Open After Effects CC 2014 ( or higher) and create new composition ( You need Element3D V2.2 to use )2. Create new Solid layer and add Element effect. ( Effect/Video Copilot/ Element )3. Click Scene Setup4. Click on IMPORT inside Element3D scene setup5. Choose my .e3d preset for the model and press Open.If you dont see the model do not forget to right click on the model name and press Replace model then select the .obj model file in the respective models folder.
-
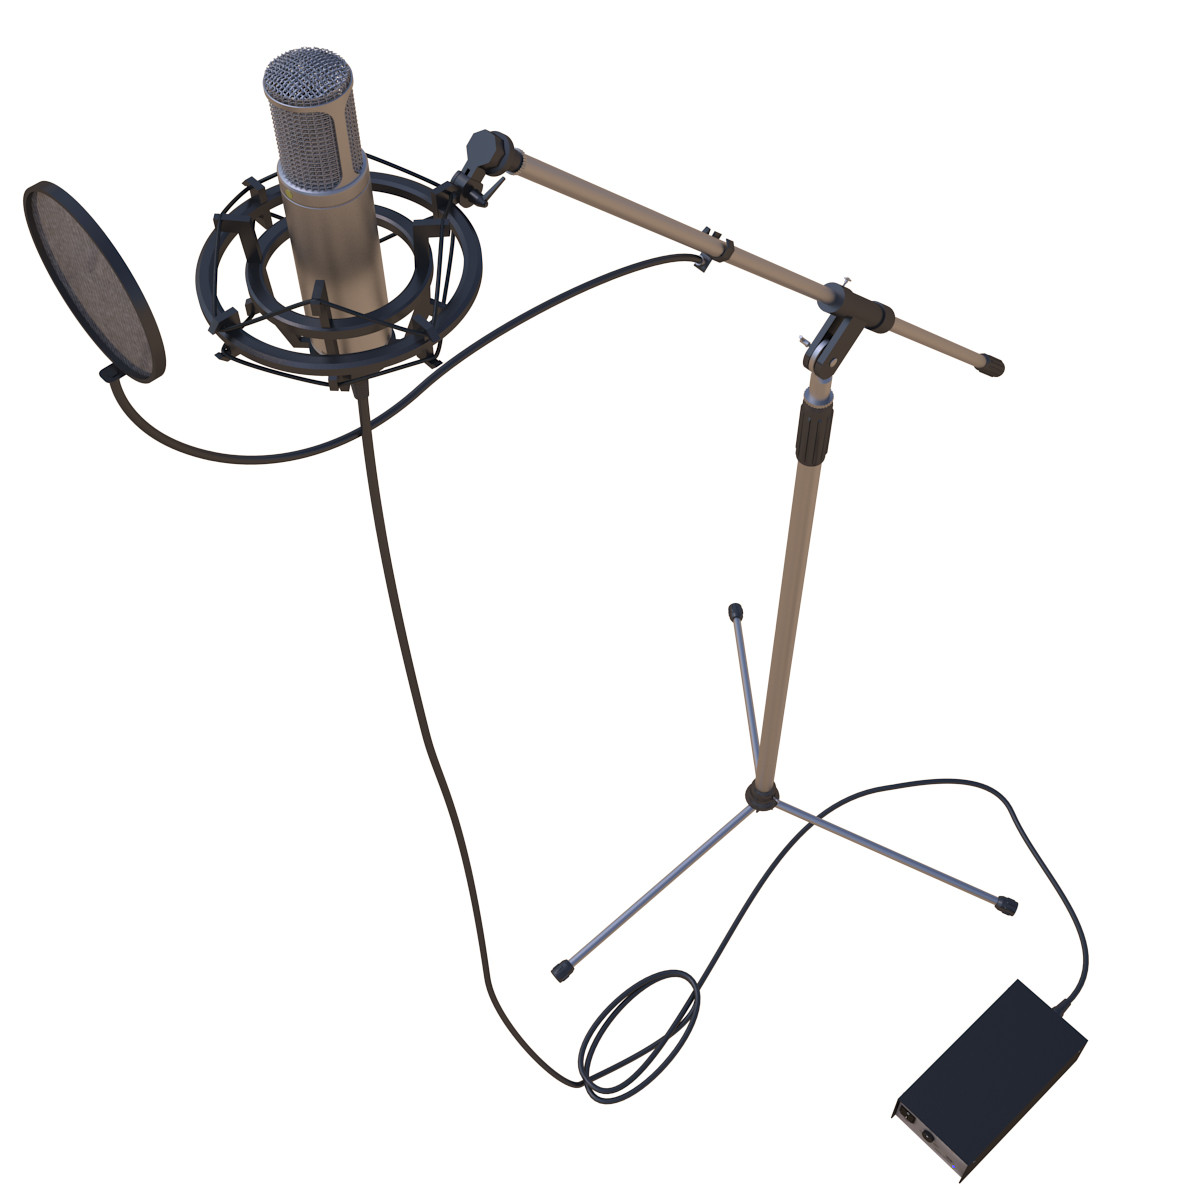
Condenser Microphone Rode K2 3D Model
Rode K2 studio condenser microphone is used for dubbing. This model has got all detailed of the model. The project includes textures, materials and lights. It is ideal for close-up.
-
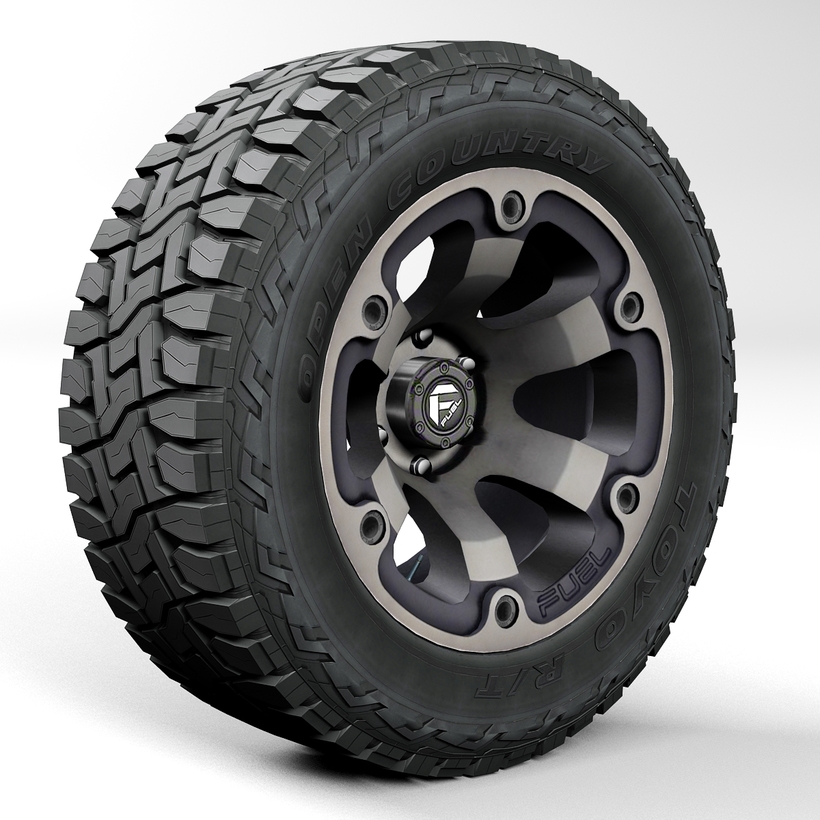
Off Road wheel and tire 2 3D Model
Free File Conversions: Need this 3d model in another format? please Contact Support to verify we can provide the format you need.