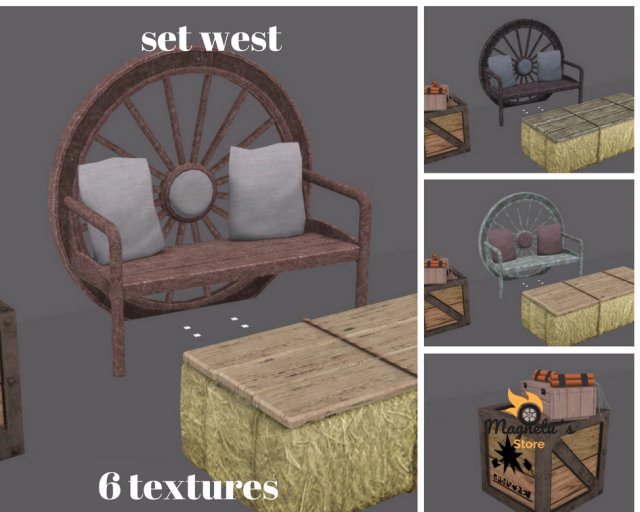
Welcome to Shop☜☸️☞☜☸️☞☜☸️☞☜☸️☞☜☸️☞***** leaving a review of the product. That will help us to improve things forward and will be much apreciated *****———————————————————————-100% Mesheach piece 1 LIPack Include:- Texturs sample (Diffuse/Color)㋡ Thank you for choosing my creation. ㋡
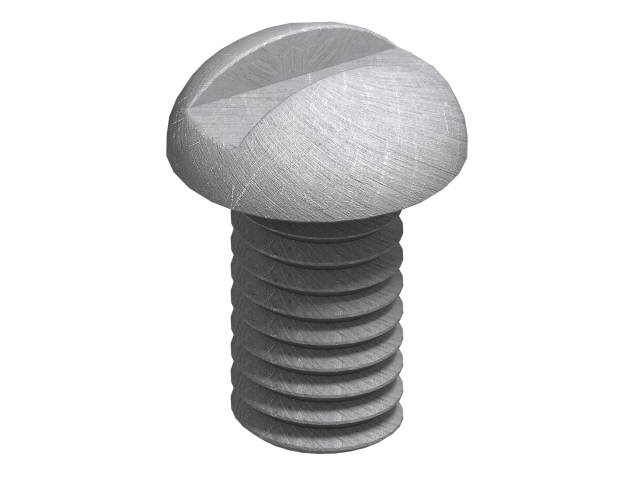
Tag: screws
-
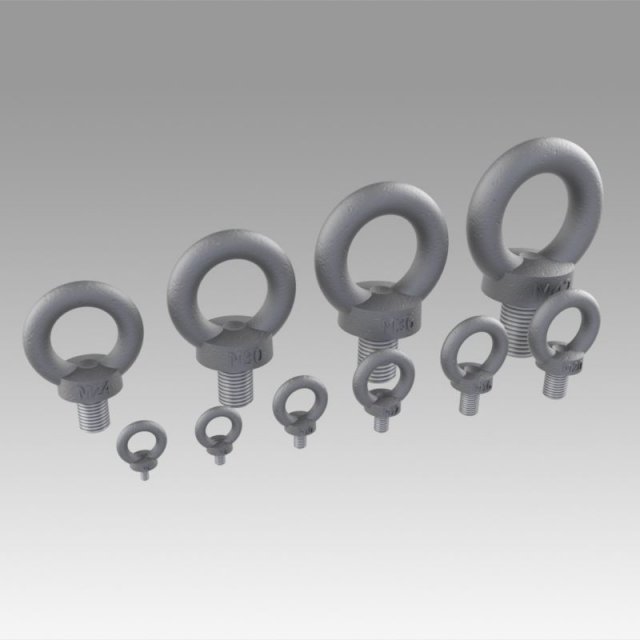
Eyebolt set 3D Model
eyebolt set 3D model************************The object is modeled in the environment Autodesk Inventor 2018.To create a photo renderer, use Inventor Studio.************************The model contains the most popular formats************************The model contains the most popular formats. Each file was checked for opening and full content by the model.Thank you for coming to see this model. Also pay attention to other models by clicking on the name of the account in the right corner.
-
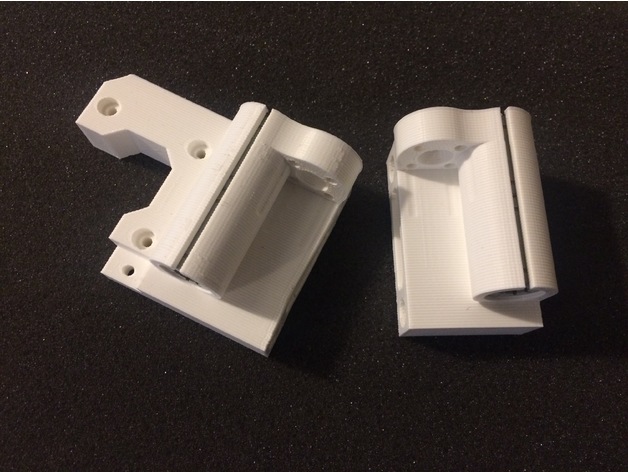
P3Steel X axis for Lead Screws 3D Print Model
Summary
I made this based on the Toolson design for the p3Steel. It will allow the use of a 8mm Lead Screw.
Print Settings
Printer Brand:
Prusa
Rafts:
No
Supports:
No
Resolution:
.2
Infill:
60% -
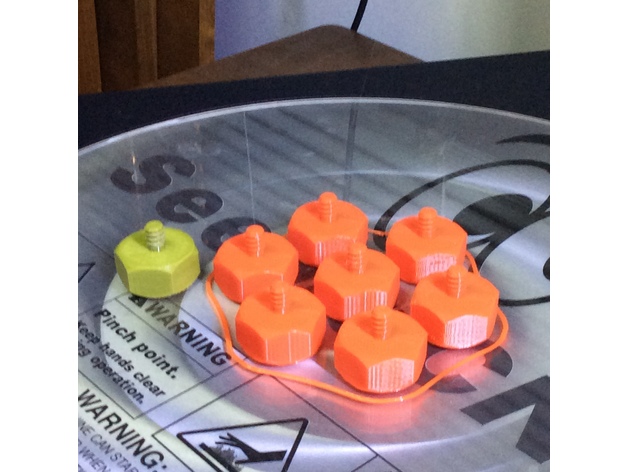
Seemecnc Artemis Box Screws 3D Print Model
Summary
Removable bolts (screws) for the “shiny new” and “industrial strength” Artemis printer. I used the “Nut Job” program and adjusted the parameters as needed. This is the third print on this printer and it is beyond expectations. The following are parameters for Mikes “nut job” scad file.
/ [Bolt and Rod Options] /
//Head type – Hex, Socket Cap, Button Socket Cap or Countersunk Socket Cap (ignored for Rod)
head_type = “hex”;//[hex,socket,button,countersunk]
//Drive type – Socket, Phillips, Slot (ignored for Hex head type and Rod)
drive_type = “socket”;//[socket,phillips,slot]
//Distance between flats for the hex head or diameter for socket or button head (ignored for Rod)
head_diameter = 25;
//Height of the head (ignored for Rod)
head_height = 12;
//Diameter of drive type (ignored for Hex head and Rod)
drive_diameter = 5;
//Width of slot aperture for phillips or slot drive types
slot_width = 1;
//Depth of slot aperture for slot drive type
slot_depth = 4;
//Surface texture (socket head only)
texture = “exclude”;//[include,exclude]
//Outer diameter of the thread
thread_outer_diameter = 6.75;
//Thread step or Pitch (2mm works well for most applications ref. ISO262: M3=0.5,M4=0.7,M5=0.8,M6=1,M8=1.25,M10=1.5)
thread_step = 1.8;
//Step shape degrees (45 degrees is optimised for most printers ref. ISO262: 30 degrees)
step_shape_degrees = 45;
//Length of the threaded section
thread_length = 7;
//Countersink in both ends
countersink = 2;
//Length of the non-threaded section
non_thread_length = 1.8;
//Diameter for the non-threaded section (-1: Same as inner diameter of the thread, 0: Same as outer diameter of the thread, value: The given value)
non_thread_diameter = 5.75; -
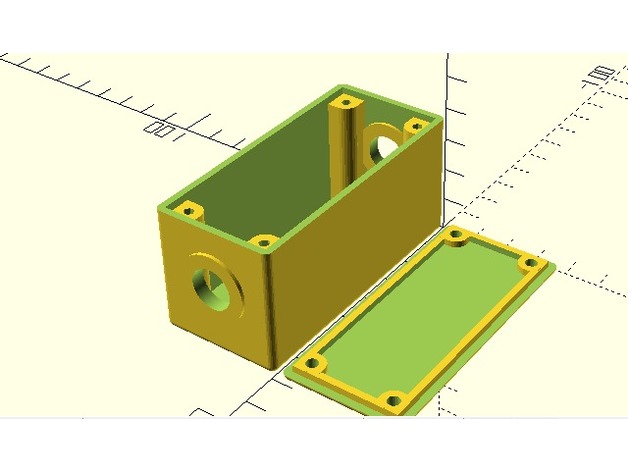
Customizable Project Box With Lid Screws and 2 Holes 3D Print Model
Summary
I added a couple holes in each end. I was going to put some barrel jacks in them. Go ahead and put whatever you want into those holes.
Print Settings
Printer Brand:
Prusa Printer:
i3 MK2S Rafts:
No Supports:
No Infill:
100 Notes:
ABS @ 230
bed at 80
100% infill
print speed 60
How I Designed This -
Phillips Head Screw 3D Model
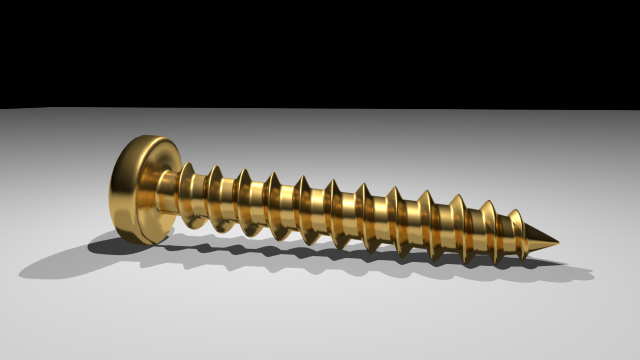
Phillips Head Screw 3D modelA Phillips Head ScewCreated and modeled by Avi SchiffmannAvailable in FBX, OBJ, and DAEAll files tested and opened in the latest version of Maya(2018)Smoothed, no problems, and very clean. Not textured or UV mapped.I hope you enjoy! Make sure to check out my future models 🙂
-
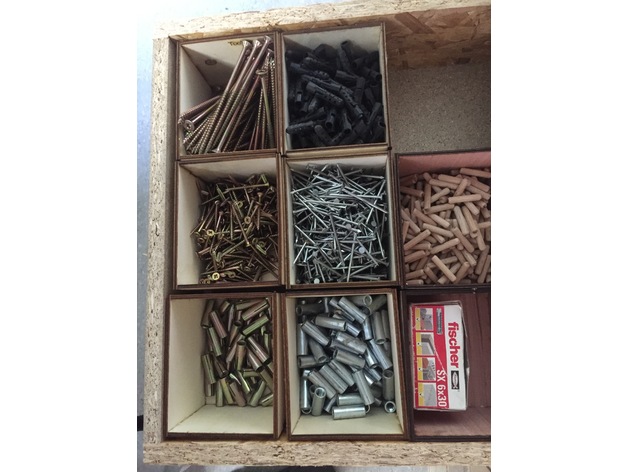
Toolbox ( for Screws ) 3D Print Model
Summary
Toolbox for my Screws and other small things ( L x B x H, 120mm x 100mm x 90mm )
How I Designed This
China 60W CO2 Laser, Speed 15mm/s, Laserpower 65%, 4mm poplar plywood -

3D model Plastic Storage Bin With Self-tapping Screws 3D Model
Plastic Storage Bin With Self-tapping Screws*********************************Features:* High quality polygonal model, correctly scaled for an accurate representation* Substance Designer used* Substance Painter used* Unfold3D used* High Quality textures in PNG format* All objects have proper pivot points locations* Objects are grouped for easy selection & logically named* Non-overlapping UV’s are applied where it is necessary* High quality V-Ray Materials* Studio setup is included* Unique HDRI map is included* Units used centimeters* Real model size* All renders without postproduction* CheckMate Pro Model*********************************File Formats:* .MAX (3ds Max 2012 V-Ray and standard materials scenes)* .3DS (Multi Format)* .OBJ (Multi Format)* .FBX (Multi Format)* .MAT (Material libraries)* Every model has been checked with the appropriate software*********************************Textures Formats:* 4096*4096* 12 PNG* 1 PSD (Photoshop format width layers & logically named for easy redactions)********************************** Warning: Depending on which software package you are using, the exchange formats (.obj, .3ds and .fbx) may not match the preview images exactly. Due to the nature of these formats, there may be some textures that have to be loaded by hand and possibly triangulated geometry********************************** Hope you like it!* Also check out my other models, just click on my user name to see complete gallery.*********************************
-
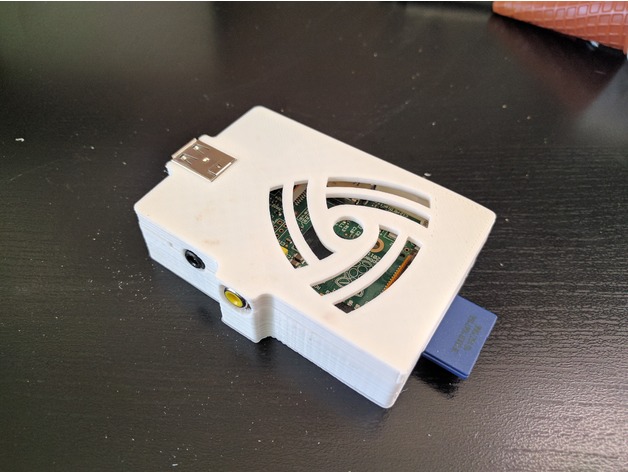
Raspberry Pi 1B Case – no screws 3D Print Model
Summary
Remixed from 0110-M-P’s excellent original design. I was going for style more than functionality, and removed the addtional port openings and screw holes. It’s designed to snap together, but probably isn’t sturdy enough to just toss in a bag and still stay connected.
Second photo shows a comparison between 0110-M-P’s original design on the left, and my remix on the right.
TinkerCAD links, in case anyone wants to see my atrocious editing job (might be useful for extracting the “logo” for your own design):
Top: https://www.tinkercad.com/things/9NS4N4xiAHE
Bottom: https://www.tinkercad.com/things/9ZxpVprNRZ3
Print Settings
Printer Brand:
SeeMeCNC Printer:
Rostock MAX v2 Rafts:
No Supports:
No Resolution:
.1 Infill:
20%