Enjoy & Happy 3D printing…http://realbigsale.com/3dprinters.html
Tag: resin
-

Resin Printer Torture Test 3D Print Model
Summary
This is a very thorough resin printer torture test that will test free standing and embedded features as well as overhangs. This print will give a very good understanding of the printing limitations of your printer/printer settings. Let me know what you think in the comments! -
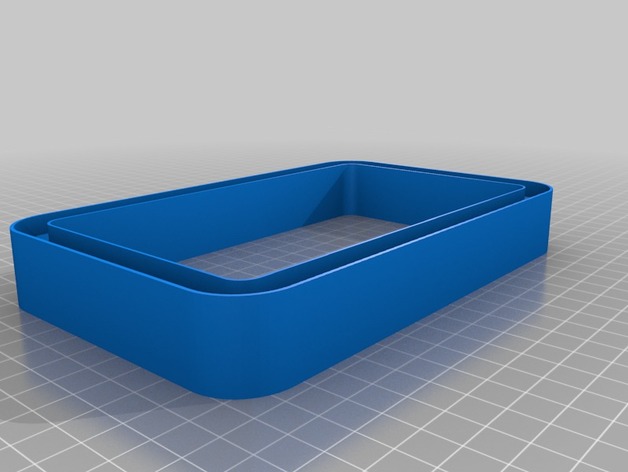
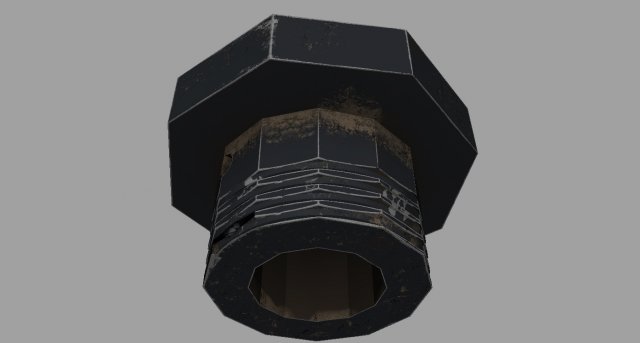
Phrozen Make Resin Vat 3D Print Model
Summary
Resin vats are expensive. So is FEP sheet. Resin vat screws are fragile. I found this out the hard way! Decided to create my own “disposable” resin vat that needs no screws, only ABS or “Raptor” PLA from MakerGeeks (http://bit.ly/2xS5wh3), epoxy resin, and some clear teflon (FEP) sheet (http://bit.ly/2xZe3y4). Use a filament that is strong, that’s why I recommend ABS or Raptor PLA, which can be annealed in the oven and actually becomes strong and more heat/chemical resistant than ABS or carbon filament! Anyway, using a thin bead of epoxy resin in the channel and on the bottom of the insert helps seal the build, and the pressure from the large vat screws on the printer combine to make this thing leak-free.
Print Settings
Printer:
Creality CR-10 Resolution:
.2mm Infill:
15% Notes:
Sliced and printed with gcode from Simplify3D. I like to use a brim of 1 layer and 3 outlines right next to the print. It gives you something to help you remove the insert when you test the fit!
Post-Printing
ANNEAL THE RAPTOR AND AN ABS CAVEAT!
If you use the Raptor PLA, make sure you anneal the parts in the oven following these instructions!Place piece on glass or ceramic or stone
Place a ceramic tile (or glass) over the piece to help prevent warping (if piece is flat on top)
Place item in a cold oven
Heat oven to 212F/100C
Set timer for 15 minutes
After 15 minutes, turn oven off – leave oven closed, leave piece in oven
Set timer for 45 minutes
After 45 minutes, remove ceramic or glass tile from the top of piece
Remove piece from oven (it should be pretty cool but not cold)
Item is still somewhat soft, so don’t drop itLet item cool completely (maybe another 30 minutes)
Item is ready for use!
IF YOU ARE PRINTING IN ABS, DO NOT “SMOOTH” IT WITH ANYTHING, OR YOU COULD RUIN THE FIT! -
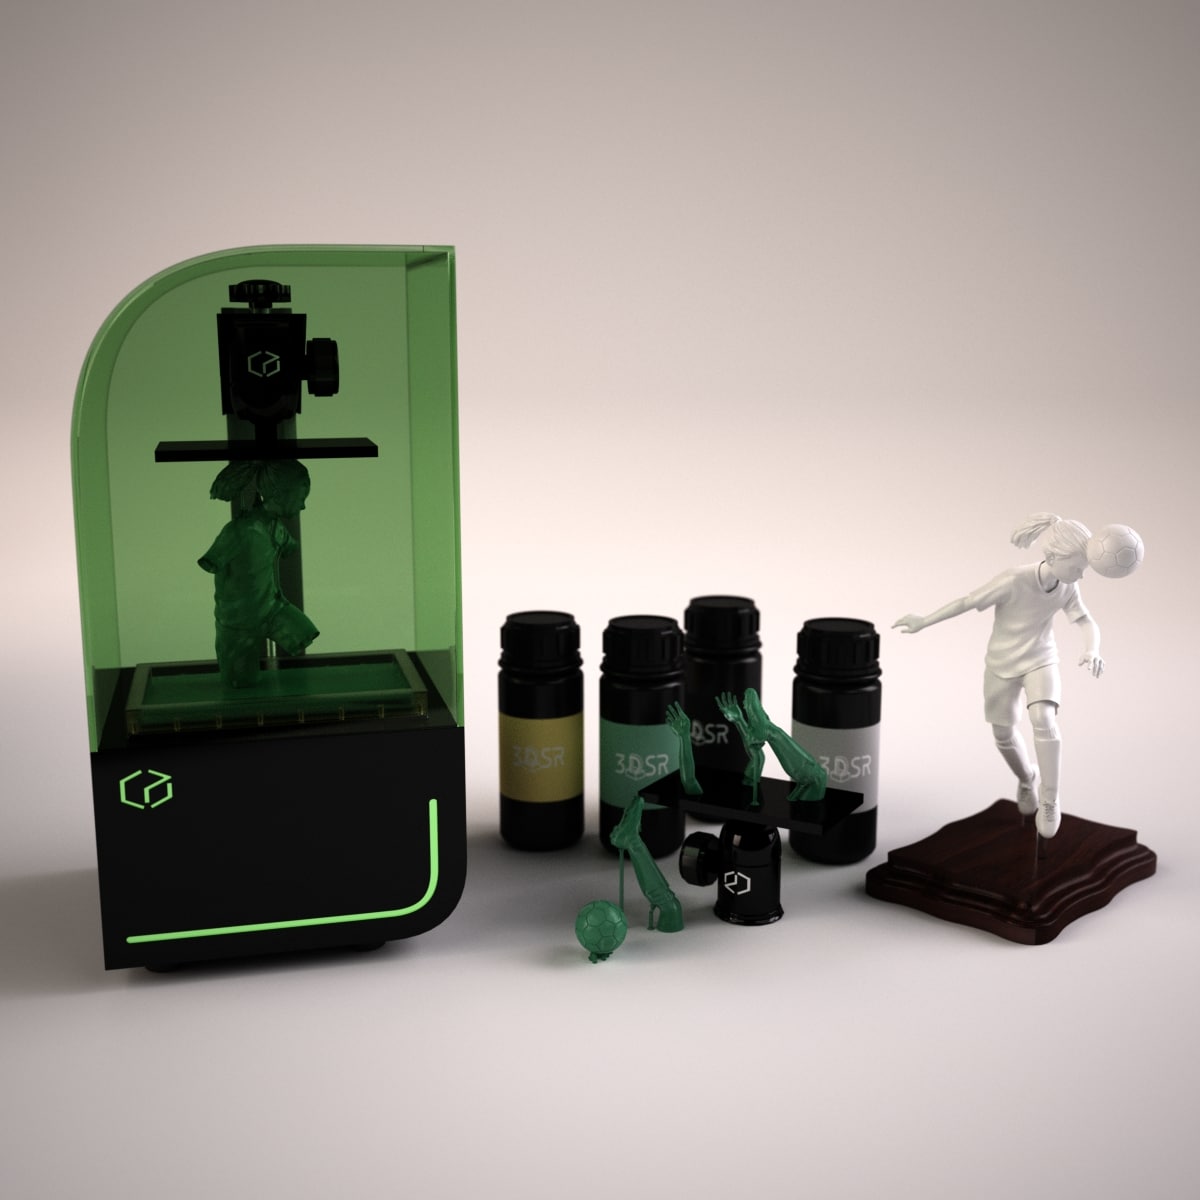
3D Printer – Resin – Soccer Sculpture 3D model 3D Model
This is a high quality 3D Model of a new Resin SLA 3D Printer. It is a very clean 3D Model and comes with my quality iRay Render Setup.I have been selling 3D Models online since 2000. You can be assured that this is a top quality 3D Asset ready for renders and presentations.Since I am using the iRay renderer with 3DSMax 2016 I have included the iRay Material that is also available on the NVidia website. All textures used in the scene files have also been included.I am also including my Girl 3D Soccer Sculpture in with this package. It is a very detailed model that I have actually used to create 3D printed trophies.Also included are FBX and OBJ files of the core 3D Models. You will need to apply your own materials with the FBX and OBJ’s so that you can use them with your own renderer and software packages.Available formats: – 3ds max 2016 (iRay) and above (.max) – Autodesk FBX – Wavefront OBJPolygon Counts: – GirlSculpture – 729,531 Polygons – 730,071 verts – Kudo3DPrinter – 60,444 Polygons – 62,888 verts – Resin Bottle – 2,282 Polygons – 2,340 verts -GirlSculpture3DPrinted – 964,912 Polygons – 486,124 verts