Summary
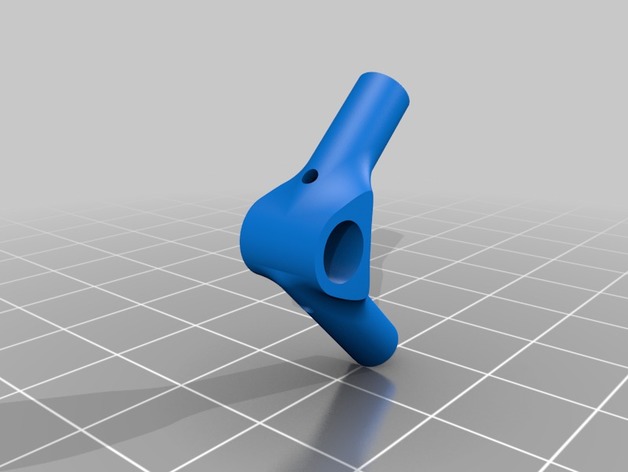
This is a replacement clip for my Citroen C4 (2007) Coupe cable sleeve at the boot.
Since there was a problem with the cables (they would brake every now and then and cause shortcuts) removing the cable sometimes results in braking this little piece that is essential to hold the cable sleeve (FYI: my mechanic broke it and had it super glued, so after a while the whole sleeve would come off!).
It’s a replacement part that you cannot find anywhere (or no one would sell it to me!), so I had to print one.
The Citroen order code for this is : 96308075.80.
You will need to print 2 of those since one locks to each other (the locking is not great but a little bit of super glue to each other gets the job done).
Enjoy! 🙂
Print Settings
Printer:
Anet A8
Rafts:
No
Supports:
Yes
Resolution:
0.1
Infill:
100%
Notes:
It’s best to print it in nylon, ABS or PETG. PLA will be too fragile (brakes when sliding in the opening) and since in warm climates the temperature of the roof/ trunk can reach high temperatures I would recommend a much stronger/temperature proof filament.
Use supports if you want it printed as it is (on the side) I have noticed that printing it like this would result in being stronger when bending the flaps. However, if you rotate it you can print it without supports.
Tag: rear
-
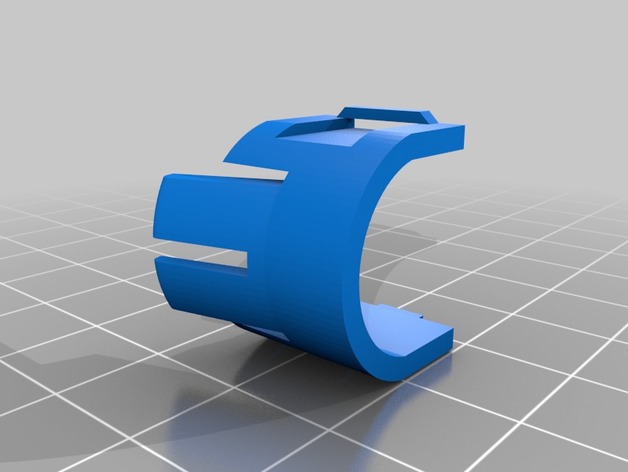
Citroen, Peugeot rear cable sleeve clip 3D Print Model
-
KTM Rear Frame Plug Fender Mount 3D Print Model
Summary
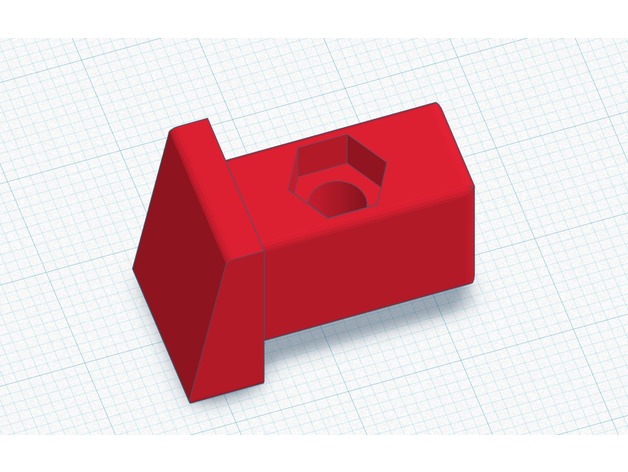
The rear fender on KTM XC, EXC, and XC-W is fastened to the rear of the frame with 2 screws. The tubes on the frame are rectangular and have a plastic plug in the end with a threaded barrel for an M5 screw to go into. My dealer cannot get this part, and I cannot find it online anywhere. This is a perfect replacement for it. It may work on other KTM motorcycles/dirt bikes as well, but I don’t have others to test it on. This one definitely works on the 2013 XC-W. Please let others know in the comments if it works on others.
You will need an M5 metric nut to press into the hex cutout in the plug using a pliers, I picked up the nuts at Home Depot. You should use a stainless one if possible for durability, but any standard M5 nut should work.
Make sure you print with supports and 100% fill.
Print Settings
Printer:
MP Select Mini v2
Rafts:
Doesn’t Matter
Supports:
Yes
Resolution:
.13125
Infill:
100
Notes:
Walls – 1.4mm
Top/Bottom – 1mm
No Coasting
Post-Printing
Remove the supports and clean up the edges with a razor blade or knife.
Press an M5 nut into the hex cutout with a pliers. Use stainless for durability. The edges of the part may need a bit of sanding/filing to fit in the frame, it’s meant to fit tight. You can tap it in with a mallet pretty easily.
How I Designed This
TinkerCAD and 1.5 beers. -
Scalextric chassis with transverse motor rear wheel drive 3D Print Model
Summary
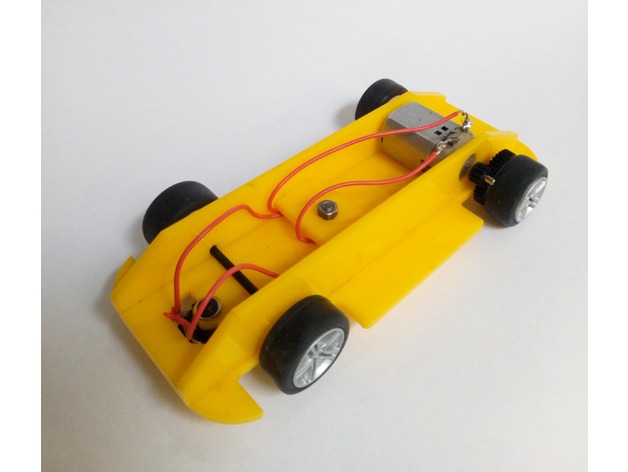
scalextric chassis using the alternative gears to produce a transverse motor position. This set up will allow for shorter chassis to be built if required but you are set on the width.Standards
NGSS
Overview and Background
trying out some simpler versions of the 90 deg drive system for a year 7/8 club and came up with this.
Lesson Plan and Activity
no lesson plan included
Materials Needed
acrylic
4mm bolt
scalextric parts pack -
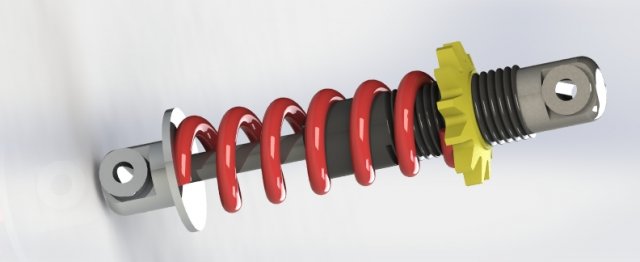
Motor Cycle Shock Absorber 3D Model
Coilover shock absorbers are usually a kind of twin-tube gas charged shock absorber inside the helical road spring. They are common on motorcycle and scooter rear suspensions, and widely used on front and rear suspensions in motorcycle and cars.
-
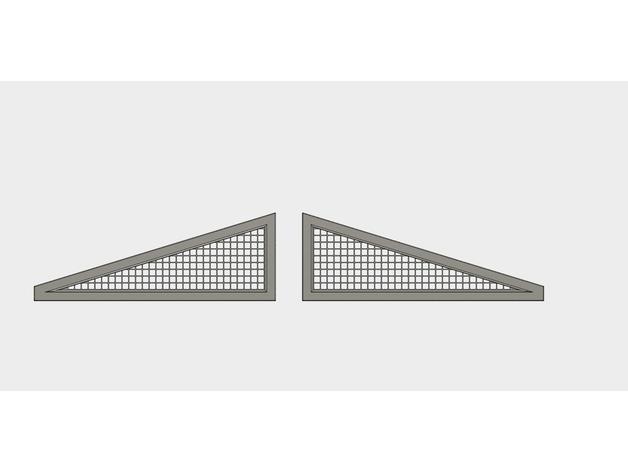
TRX-4 Tactical Rear Triangle Window Grill 3D Print Model
Summary
Leave me a comments if you like its. -
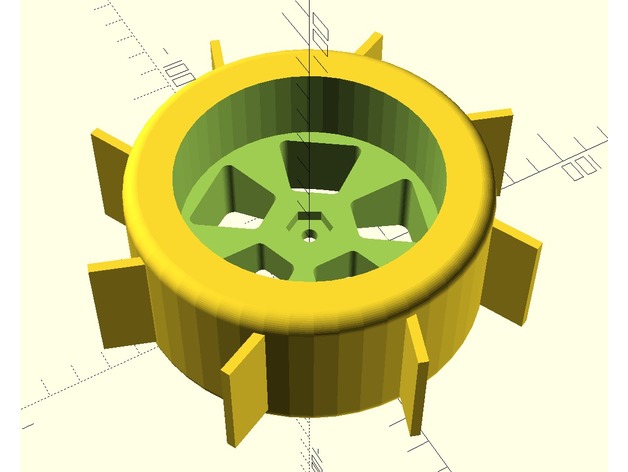
Snow Wheels for R/C Buggy – Rear 3D Print Model
Summary
After making wheels I hoped would be suitable for hard/bare ice on a frozen lake, it snowed, and there was no more bare ice, so I made these “snow” paddle wheels (which would probably work okay in sand too). Customize and enjoy!
Front wheels for a 2WD that would complement these: https://www.thingiverse.com/thing:2760889
Note: These probably should be printed in ABS or PET-G to avoid melting if you’re planning to use them in hot sand.
Note: To make a matching wheel, just mirror this one in the slicer. -
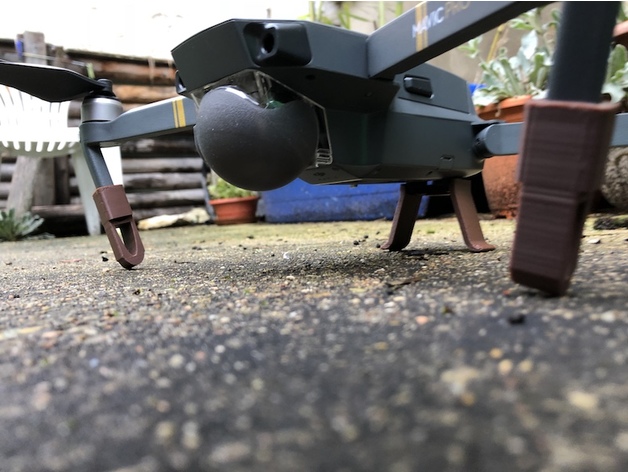
DJI Mavic Pro Foot L R and Rear Foot 3D Print Model
Summary
Foot extension for the drone DJI Mavic Pro.
No difference between right foot and left => front
and the back foot really easy to install…
Take off, landing by hand available on :https://cults3d.com/fr/modèle-3d/gadget/take-off-landing-by-hand-dji-mavic-pro
Print Settings
Printer Brand:
FlashForge Printer:
Creator Pro Rafts:
No Supports:
No Resolution:
0.18 -
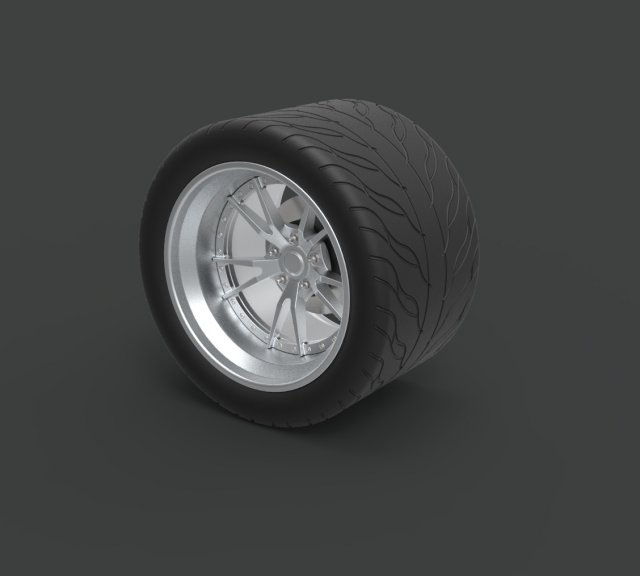
Rear wheel from Ice Charger 3D Model
Model dimensions:- diameter – 720 mm- width – 460 mmDesigned in Solid Works 2012, rendered in Keyshot 5.0.99.
-
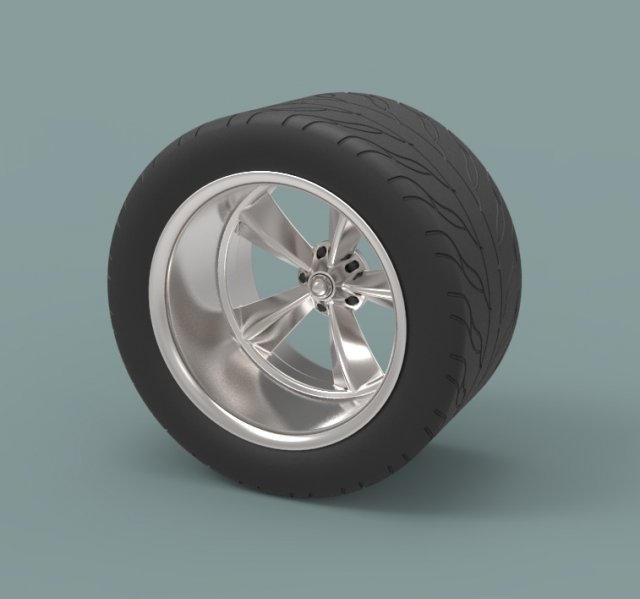
Rear sport wheel 3D Model
Model dimensions:- diameter – 790 mm- width – 435 mmDesigned in Solid Works 2012, rendered in Keyshot 5.0.99.
-
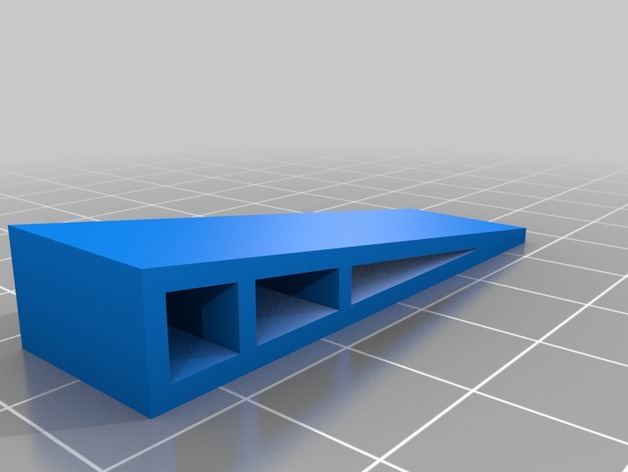
FT Cub Rear Wing Support 3D Print Model
Summary
Upgrade part for the Flite Test Simple Cub RC airplane
When built to the plans the back of the wing that sits on the fuselage does not have a lot of support. The force that the rubber bands exert on the wing can fold the back part of the wing and mess up the wing angle. Two of these supports attached to the wing in that problem area will correct the problem.
I printed two supports with PLA, roughed up the surfaces to glue with sandpaper, and then hot glued the supports in place.
The position of the supports is a few millimeters in from the edge of the fuselage with the wing mounted to leave a bit of space for some rubber band protectors.
I also smear a thin layer of hot glue over the area of the wing that contacts the fuselage to better hold it in place so it doesn’t slide around. This includes the surface of the supports.
Print Settings
Printer Brand:
Wanhao Printer:
Wanhao Duplicator i3 V2 Rafts:
No Supports:
No Resolution:
0.2mm Infill:
100% -
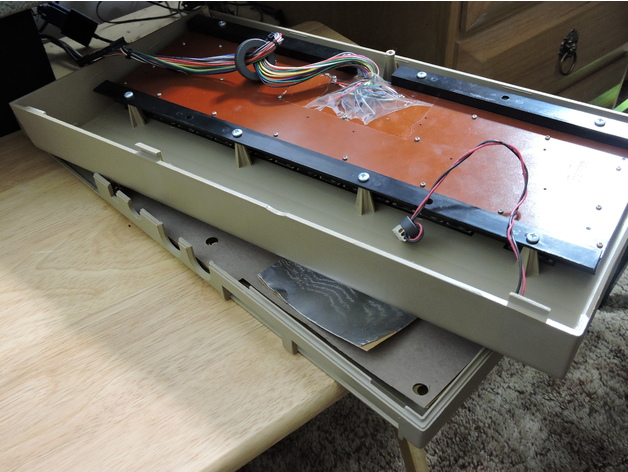
Commodore 64 Rear Case Hinge Tabs 3D Print Model
Summary
Replacement tab / hinge for repairing the rear upper section of a Commodore 64 “breadbin” style case.
Print Settings
Printer:
Monoprice Maker Select Rafts:
Doesn’t Matter Supports:
No Resolution:
.2 Infill:
100%
Post-Printing
If you are printing the tabs using PLA, you might want to use an epoxy to stick these to your case. They don’t seem to stick very well when clamped to the case and fastened with Super Glue. I took a Dremel and sanded down the broken tabs so they were even with the rest of the lip of the case, then fastened these over the broken section. -
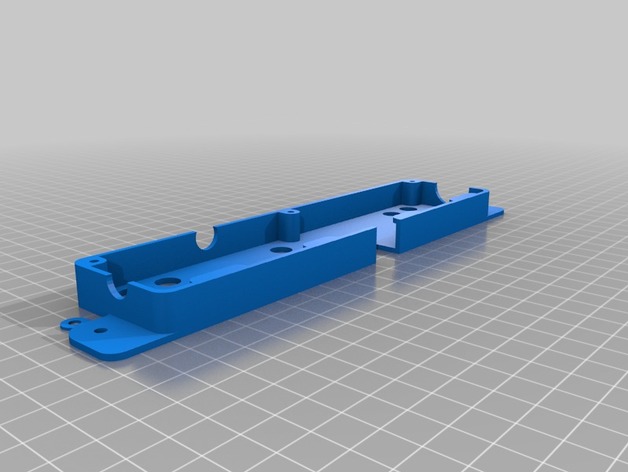
Monoprice (slight remix) Maker Select V2 Rear Cable Conduit 3D Print Model
Summary
This is the same as the version posted by inches, but I added a small name plate and changed the Wanhao lettering to the Monoprice logo on the cover plate. the base is exactly the same file, i just added it here so people wouldn’t have to pull from both thing files. Now those of us with the monoprice clone can accessorize in style. -
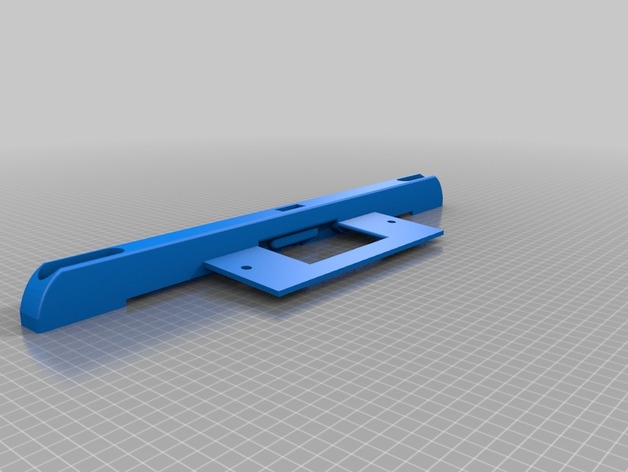
Triple Rear ALP Holder 4% angle up 3D Print Model
Summary
This is a holder for the ALP. It is 18″ at its widest point and is made to fit the latest (2014-2017) silverados.
This is made to mount behind the License plate. The plate on the silverado is angled 4 degrees down so I have angled the heads 4 degrees up to compensate for this.
This is just a concept. i have not actually printed this yet as i am writing this message. -
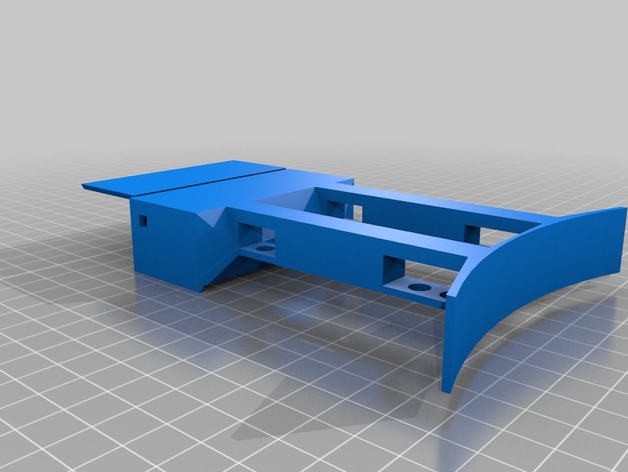
Skateboard rear light 3D Print Model
Summary
Rear light for my Mindless Daily Grande.
Utilizes:
2x10cm red LED strip,
1×18650 battery,
1xTP4056 charger,
1xMT3608 step up,
1xbi-stable 8mm button.
Assembly is intuitive, as is soldering,
Will require four 2mm longer M5 bolts to connect with trucks.
Still work in early beta stage.
Print Settings
Printer:
TEVO Tarantula Rafts:
Doesn’t Matter Supports:
Yes Resolution:
0.2 Infill:
20% (still testing) -
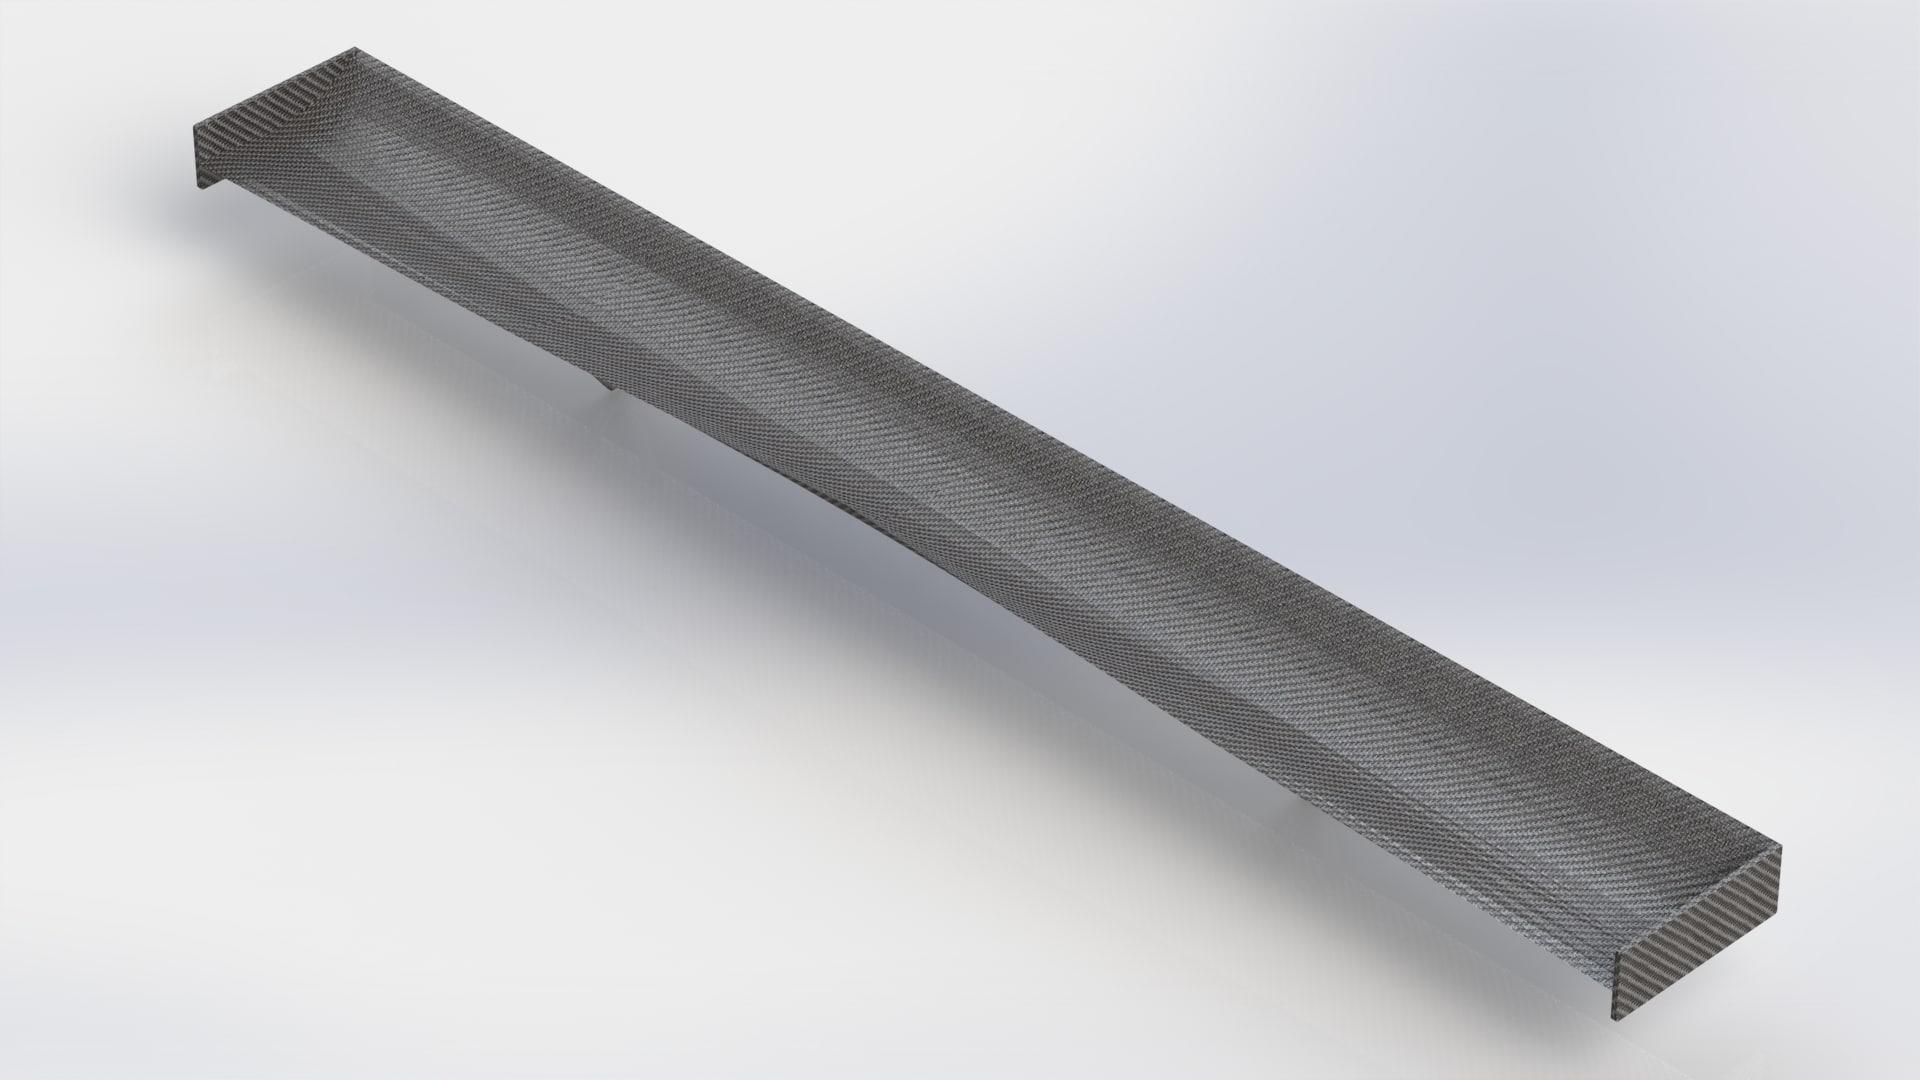
Chevrolet Corvette C6.R Rear Wing 3D model 3D Model
This is model of a Chevrolet Corvette C6.R Rear Wing, as seen in the GT1, GT2 and World Endurance Championship races, including Le Mans 24 Hours. Modelled within Solidworks 2015, updated and rendered within Solidworks 2016. Up to 1657 polygons and 1076 vertices. Photos include PhotoView 360 and RealView Graphics.Feel free to use this model how you desire. Suitable for 3D renderings for visualizations, simulation, real-time scenes, CAD/CFD work, etc. File formats provided:- 3mf- cgr (CATIA Graphics)- IGES- OBJ- ply- SLDPRT (Solidworks Part)- STLBest of luck using this model in your projects!Kind Regards,Greaney123
-
BLTouch/3DTouch rear sensor mount 3D Print Model
Summary
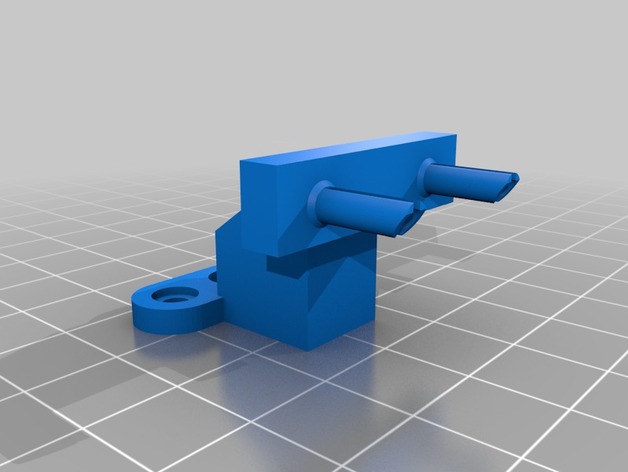
This is a remix of https://www.thingiverse.com/thing:2219963 to allow mounting a BLTouch sensor on the rear bearing of an Anet A8. I’ve included the customizer to allow the height
and many other features to be custom set for any printer . The “Measured Height” parameter is used to calculate the correct height with the 8.3mm offset to the nozzle. You simply need to move the print nozzle so that it touches the bed then measure the distance of top mount screw hole (on the rear lower bearing) to the bed. Enter this in the “measured height” field and create. The mount also includes side clearance to allow it to work on new Anet A8’s. Please note that for this mount, you need a mount to bed distance of at least 52mm or it won’t work.
Stock carriage settings:
define X_PROBE_OFFSET_FROM_EXTRUDER 20
define Y_PROBE_OFFSET_FROM_EXTRUDER 61
define FRONT_PROBE_BED_POSITION 61 -
Simple rear axle for DIY RC crawlers/truck 3D Print Model
Summary
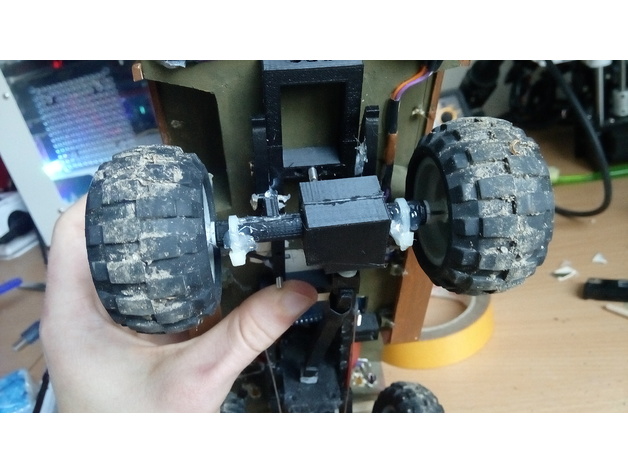
Simple rear axle for DIY RC crawlers/trucks. I use Lego rods and two lego little 12 teeth gears. full width: 70mm. you need to print two of this parts: one normal and another mirrored. For build it you just use zip ties or some glue. Bearings not needed.
Print Settings
Printer:
Anet A8 Rafts:
No Supports:
No Resolution:
0.2 or less Infill:
100% -
Dosch 3D – Car Details 2015 3D Model
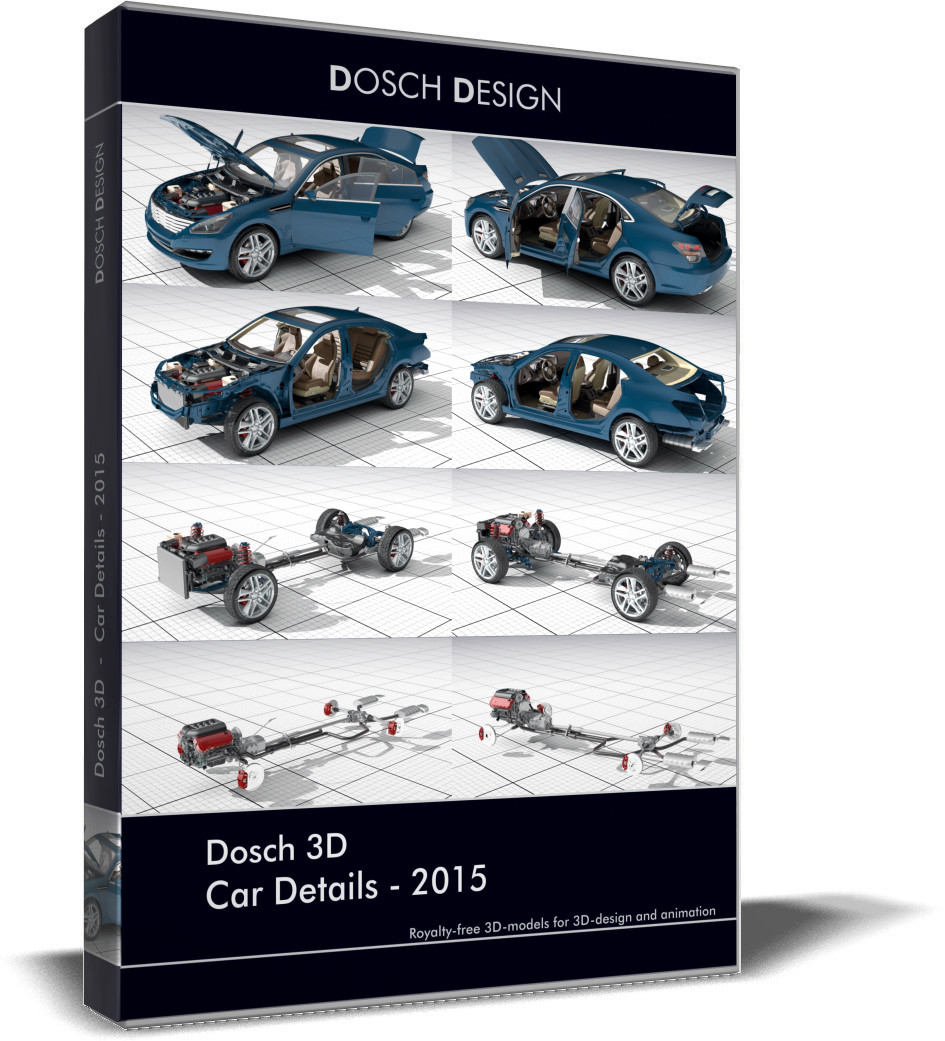
This product DOSCH 3D: Car Details 2015 contains a 3D-model with all critical parts and systems found in a non-branded sedan car. It is ideal for depictions of driving-related processes, interior and safety functions, as well as a multitude of technical details.