Summary
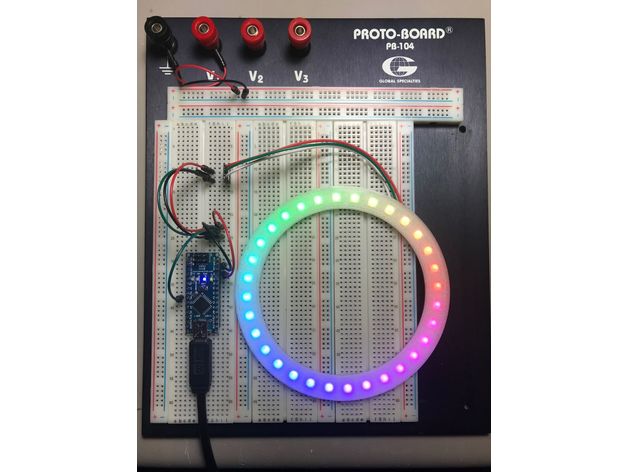
Want a special NeoPixel ring, but cannot get right size or they do not have your favorite RGBWW chip? Create your own!
……………………
This customizable NeoPixel ring consists of holder, which is used as a jig to assemble individual NeoPixel breakout boards (like these https://www.amazon.com/gp/product/B01K4HCVDC) and also as a case to hold chips together and protect them from damage. Second part is a an optional cover, which can completely enclose ring in plastic and can be glued together with the holder.
Using this principle, you can create more complex custom shapes, but that’s beyond this simple guide.
……………………
For soldering individual chips breakout boards together I recommend using thin tinned copper wire (not stranded) and thin soldering tip. It looks daunting at first but with all boards aligned and soldering with one piece of continuous wire goes really quickly and you can get it done under 10 minutes. Then use thin (midget) cutting pliers to cut wires between data (middle) pads on each board. Attached pictures should help to explain the whole process (good observer can see I also cut wire between + and – pads which is totally unnecessary, I just got carried away …)
……………………
Ring is designed in OpenSCAD for extrusion width 0.5 mm and layer height 0.2 mm. I strongly recommend to regenerate STL files for different values because of very thin walls. 100% infill recommended, no supports required. Print with clear filament (tested with PETG).
……………………
Source file is included. If you remix, please also share your source file.
Print Settings
Printer Brand:
FlashForge Printer:
Creator Pro Rafts:
No Supports:
No Resolution:
0.2 mm Infill:
100% Notes:
Extrusion width 0.5 mm.
Tag: Neopixel
-
Customizable NeoPixel Ring 3D Print Model
-
Neopixel Lithophane Frame 3D Print Model
Summary
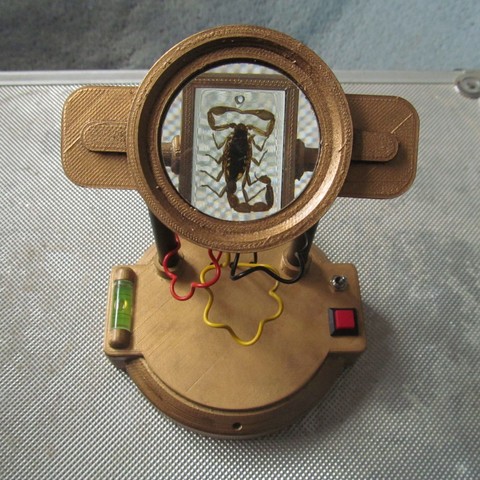
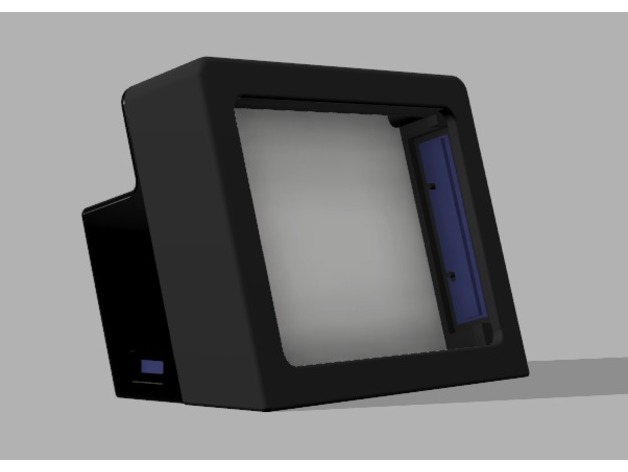
This is a lithophane frame backlighted with 2×8 Neopixel sticks controlled by a Adafruit Trinket 3.3v.
It is designed for a 100x75x3 mm Lithophane with 5mm border.
It is powered from a 1100mAh battery and rechargeable via USB. It has an on/off switch and a potentiometer to go through different colors.
You can grab de Trinket code and schematic from GitHub.
Print Settings
Printer:
Tevo Tarantula Rafts:
No Supports:
No Resolution:
0.1 Infill:
20% Notes:
Print the frame in every color you want.
The reflector may be printed in glossy white.
The difusser for battery leds may be printed in clear PLA -
24 LED Neopixel Glasses for Arduino nano 3D Print Model
Summary
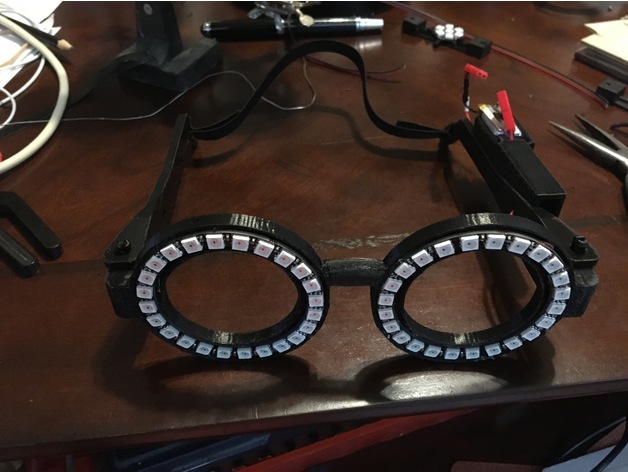
This is a remix of 4 existing files in order to make a pair of self contained Neopixel glasses using two 24 LED Neopixel rings, and an Arduino Nano processor.
I tried to hide the wiring inside the frames as much as possible, the bridge between the two rings is hollow for that purpose. Unfortunately one side is heavy, so I added an elastic to the back to keep the glasses on securely.
If you decide to use a different processor, you can mirror the left arm and add what you need instead of trying to remove the box on the right arm used to house the Arduino Nano.
Needed to build:
3D printed parts, – Print one -Glasses new, one left arm, one right arm, and 2 pins
2x 24 LED Neopixel rings- by Adafruit or on Ebay
1 foot – 3 conductor ribbon cable
1/8 inch drill – to clean out the holes in the arm for the arduino wires
3/16 inch drill – to clean out the holes for the arm pins
7.2v LI battery, or a battery of your choice that will run the processor and LEDs (I used 2 3.7v 180mah batteries in series)
connector for the battery
Nailfile emery board – to sand the edges that will be close to the face, and to round the pins so they are easier to move.
soldering iron
hot glue gun
Arduino Nano with no pins.
You will also need to program the Arduino Nano with the code. You will need the Adafruit_NeoPixel library. I reduced the brightness in the code so that you don’t burn out the Arduino 5v regulator. They are still bright enough. Solder the tx wire to pin D3.
The code is from Adafruit.
Credit: Glasses frame:
Harry Potter Glasses – with hinges
by sivar2311, published May 26, 2013
Arduino holder:
Arduino Nano Mount
by tjbn, published May 22, 2017
Pins:
Pin Connectors V3
by emmett, published Nov 5, 2012
Print Settings
Printer:
Anet A8 Supports:
Yes Resolution:
0.15 Infill:
35% Notes:
I used support only when touching the buildplate for the Glasses rings, This makes it easier to use the holes for the arms
The arms need support everywhere. I| use ZigZag, 5mm support line distance. -
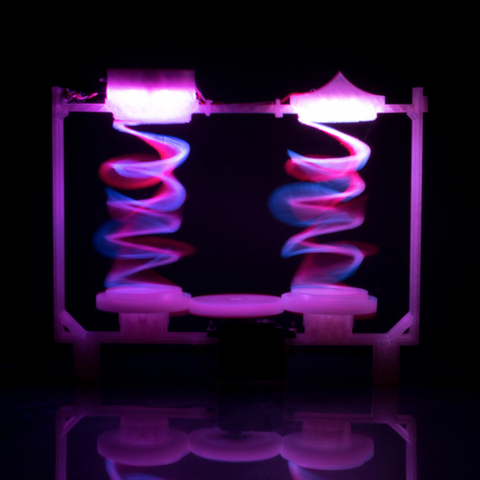
Dancing Springs 3D Print Model
I designed this with Fusion 360. Learn Fusion 360 with my online video courses at https://www.desktopmakes.com/
-
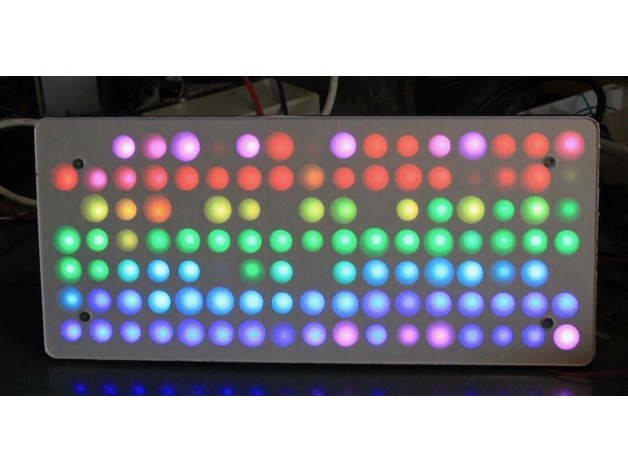
Irregular Neopixel matrix 3D Print Model
Summary
Irregular Neopixel matrix constructed from lasercut 4mm MDF, 2mm perspex, paper and 60 pixels/m Neopixel strip. Parametric Openscad design.
Controlled by an Arduino Micro using the Adafruit Neomatrix / Neopixel libraries.