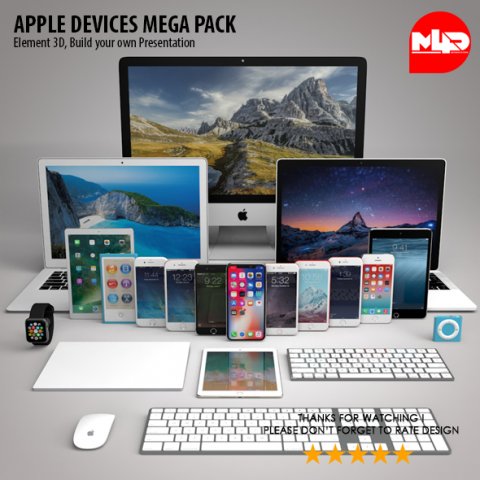
Pleasant color combination and scale scene attracts attention. Quick and easy customization allows you to use at all stages project. In any objects where needed style.Project features: The scene consists 21 different Apple Devices. The basic format of C4D (MAXON Cinema 4D) but also includes E3D (Element 3D), 3Ds, OBJ, FBX and Max Format, Texture, Materials included, Very easy to use ? just one click for edit project! Optimization scene supporting to render even on older computers File ZIP Size 1.37 GB. All Layers are grouped and sorted Completely set up rendering Modular structure No Plugins Required Support and update project Customization.Models :- IMac- IPad Air2, IPad Mini 4, IPad Pro- IPhone X, 8, 8 Plus, 7, 7 Plus, 6s, 6 Plus, 5s- IPod Nano 7, Ipod Shuffle- MacBook Air, Mac Book Pro New- Magic Keyboard with Numeric Keypad, Magic Keyboard- Magic Mouse 2- Magic Trackpad 2- Watch Series 2
Tag: nano
-
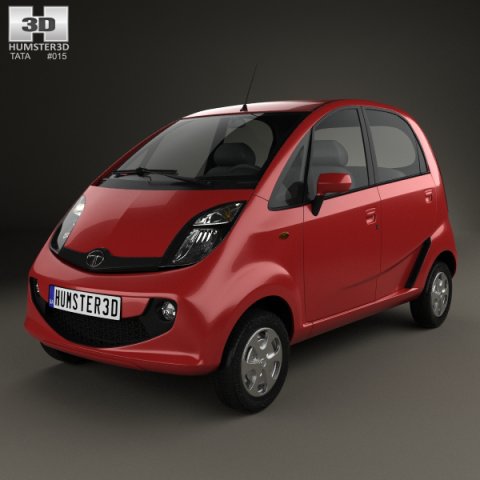
Tata Nano GenX 2015 3D Model
The 3D model was created on real car base. It’s created accurately, in real units of measurement, qualitatively and maximally close to the original.Model formats:- *.max (3ds Max 2008 scanline)- *.max (3ds Max 2008 vray)- *.fbx (Multi Format)- *.obj (Multi Format)- *.3ds (Multi Format)- *.mb (Maya 8.5)- *.lwo (Lightwave 6)- *.c4d (Cinema 4D 11)* tire’s texture is not included in the set.* renders Are made in 3ds Max 2008 using vray 1.5 (studio environment is not included in the set)If you need any other formats we are more than happy to make them for you.The model is provided combined, all main parts are presented as separate parts therefore materials of objects are easy to be modified or removed and standard parts are easy to be replaced. If you experience difficulties with separating standard parts we are more than happy to give you qualified assistance.We greatly appreciate you choosing our 3D models and hope they will be of use.We look forward to continuously dealing with you.Sincerely Yours,Hum3D Team
-
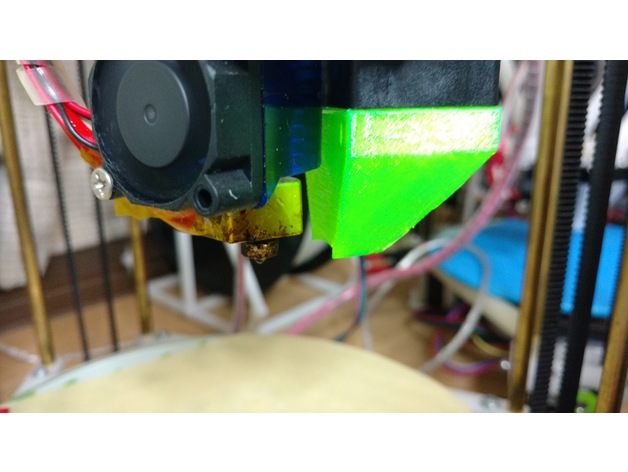
Rostock Nano Basic Cooler 3D Print Model
Summary
This is a Rostock Nano’s 30mm fan Cooler.
For easy make easy remix.
Fixed fan :M3x20mm x2
Fixed plathome M3×15mm ×1 With Nut
Print Settings
Printer:
Rostock Nano
Rafts:
No
Supports:
No
Resolution:
0.2mm
Infill:
40% -
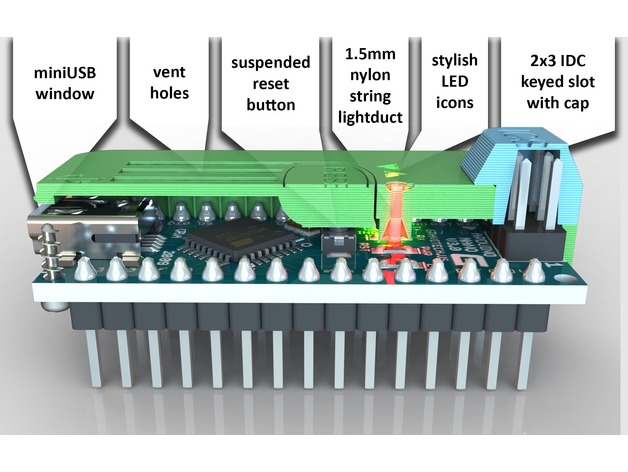
Arduino nano case 3D Print Model
Summary
I designed this Arduino nano case according to:
FDM 3D printable
Integrated suspended reset button
2×3 IDC keyed compatible slot for icsp connector
ICSP connector cap
Cool LED icons
1.5mm translucent nylon string used as lightduct
Side ribs for easy application uninstall
1.8mm self-taping screws ultimately fixes board
Vent holes
Print Settings
Notes:
Print both parts top-down 0.2mm layer (with 0.3mm 1st layer).
Use skirt and brim.
Cap may request supports adding.
Post-Printing
Better use solvent (acetone) bath (with ABS) -
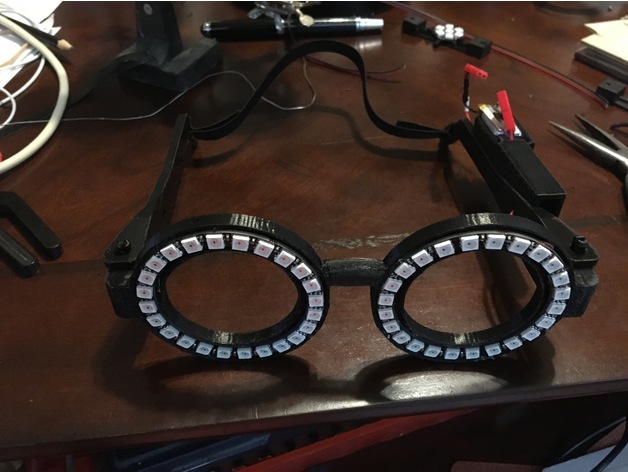
24 LED Neopixel Glasses for Arduino nano 3D Print Model
Summary
This is a remix of 4 existing files in order to make a pair of self contained Neopixel glasses using two 24 LED Neopixel rings, and an Arduino Nano processor.
I tried to hide the wiring inside the frames as much as possible, the bridge between the two rings is hollow for that purpose. Unfortunately one side is heavy, so I added an elastic to the back to keep the glasses on securely.
If you decide to use a different processor, you can mirror the left arm and add what you need instead of trying to remove the box on the right arm used to house the Arduino Nano.
Needed to build:
3D printed parts, – Print one -Glasses new, one left arm, one right arm, and 2 pins
2x 24 LED Neopixel rings- by Adafruit or on Ebay
1 foot – 3 conductor ribbon cable
1/8 inch drill – to clean out the holes in the arm for the arduino wires
3/16 inch drill – to clean out the holes for the arm pins
7.2v LI battery, or a battery of your choice that will run the processor and LEDs (I used 2 3.7v 180mah batteries in series)
connector for the battery
Nailfile emery board – to sand the edges that will be close to the face, and to round the pins so they are easier to move.
soldering iron
hot glue gun
Arduino Nano with no pins.
You will also need to program the Arduino Nano with the code. You will need the Adafruit_NeoPixel library. I reduced the brightness in the code so that you don’t burn out the Arduino 5v regulator. They are still bright enough. Solder the tx wire to pin D3.
The code is from Adafruit.
Credit: Glasses frame:
Harry Potter Glasses – with hinges
by sivar2311, published May 26, 2013
Arduino holder:
Arduino Nano Mount
by tjbn, published May 22, 2017
Pins:
Pin Connectors V3
by emmett, published Nov 5, 2012
Print Settings
Printer:
Anet A8 Supports:
Yes Resolution:
0.15 Infill:
35% Notes:
I used support only when touching the buildplate for the Glasses rings, This makes it easier to use the holes for the arms
The arms need support everywhere. I| use ZigZag, 5mm support line distance. -
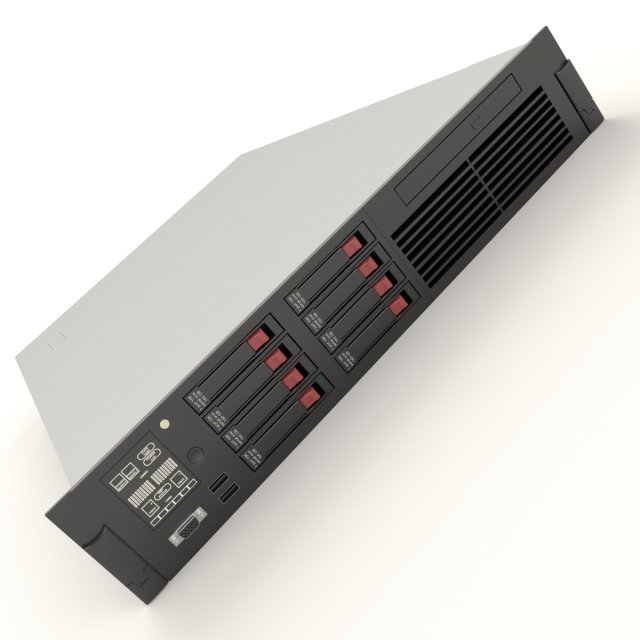
HP Server 3D Model
High resolution, fully detailed and textured HP Server. Comes with detailed textures.Originally modelled in 3ds max 2016. Final images rendered with Vray.*********************************Features:- High quality polygonal model – correctly scaled accurate representation of the original objects.- All colors can be easily modified.- Model is fully textured with all materials applied.- No cleaning up necessary, just drop your models into the scene and start rendering.- No special plugin needed to open scene.*********************************File formats:- 3ds Max 2016(Contains also vray materials scenes)- 3ds Max 2013(Contains also vray materials scenes)-fbx-obj+mtl*********************************
-
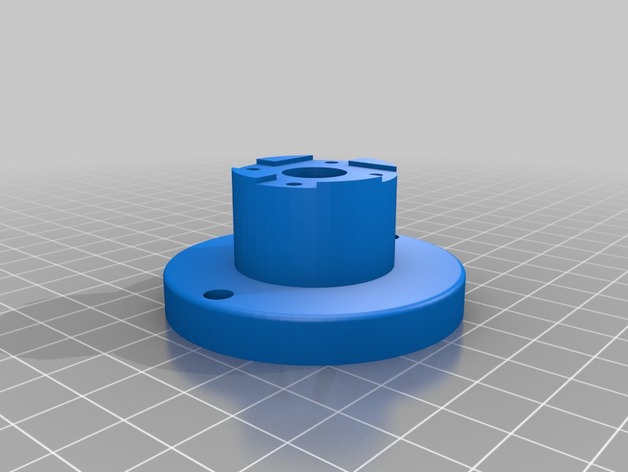
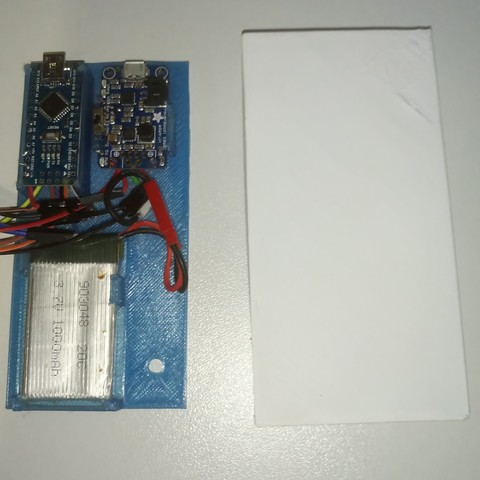
PIECES POUR AEP avec arduino nano (HOME-MADE) 3D Print Model
Summary
Quelques pièces pour fabriquer un allumage électronique programmable pour Véhicules anciens (A allumeur, et rupteur)