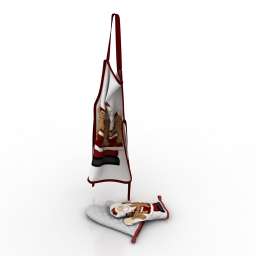
Additional Info: Apron and mittens clothes N080722 – 3D model (*.gsm+*.obj+*.3ds) for interior 3d visualization.
Tag: Mittens
-
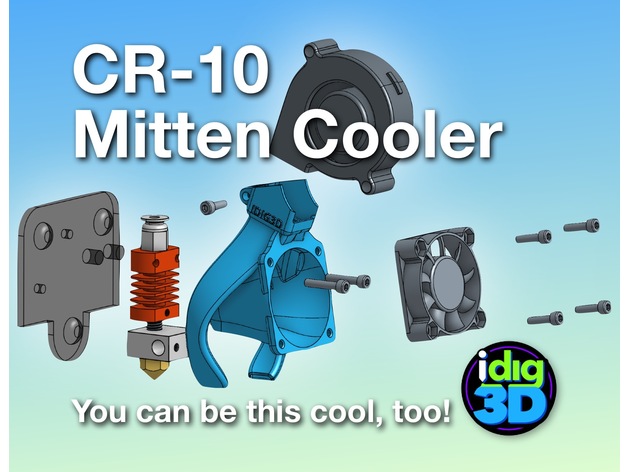
CR-10 / Tronxy Mittens Cooler 3D Print Model
Summary
Let’s keep it cool!
My take on a better cooler for the CR-10 Tronxy X1/3 type hotend. The stock CR-10 set up can cool the heater block too much if you don’t have it wrapped. The parts doesn’t cool all sides well. My Tronxy X3 didn’t have a parts cooler and the heater block couldn’t get temps over 205C.
I tried a couple other popular coolers but did not fit my original parts blower or just not that efficient.
So the Mittens Cooler evolved. Printed in PETG, it weighs 12 grams. Has a bit fo a twist for a little vortex of air.
Needs a few things: a 5015 blower/fan, a few screws, a bit of rewiring, and a bit of tenacity.
WARINING: It works for me. Your results may vary wildly.
If this helps you, a tip would be nice. At least a like and show your makes.
I’ve gone through dozens and dozens of printed revisions to get to this version. Help keep me in plastic. Thanks!
Please note, this is not compatible with the auto-leveling sensor. Send me one and I’ll try to make one fit.
Print Settings
Printer:
Creality CR-10
Rafts:
No
Supports:
No
Resolution:
0.2mm
Infill:
15%
Notes:
Printed with a 10mm brim. My CR-10 took about 2 hours to print.
2 perimeters/shells, 5 top and 4 bottom layers.
I printed in PLA to get started then switch to better temperature-resistance PETG.
Has a built-in support piece (square patch) that should snap out easily. If not, you may have a bit of over-extrusion.
Post-Printing
Clean up
Break out the square support. Careful using hobby knife, trim away the brim and any stray printed strands.Check the parts blower outlets and clean up as needed.
WARNING: Use at your own risk. I’ve tested this best I can at this time and works great for me. Your results may vary greatly.
Gather parts
existing 40mm fan
M3x12 or possible 10s (2-4) — for mounting fan to Mittens Cooler (should be able to reuse existing screws)
5015 blower/fan (needs to be wired–splice and solder or add a connector)
M3x8 screw — for holding 5015 fan/blower
M3x16 screw (2) — for attaching Mitten Cooler and block to mount (should be able to reuse existing screwsDisassembly
Disassemble the hot end removing the housing screws and the fan mounting screws.
Wire in the new 5015 fan.blower paying attention to red and black wiring.
Save the screws since some can be reused.Assembly
The screws should thread themselves into the Mitten Cooler. If they are super tight, you may be over-extruding. Ream the holes bit and try fitting the screws again.
make sure the printer is off
snap the hot end in the back of the Mitten Cooler with the heater wiring to the left
line up the mounting holes to the top two holes on the finned cooling block
push through the M3x16 screws
check to make sure the parts cooling outlets are above the nozzle opening
carefully line up to the mount
tighten screws — if there is an resistance, make sure the screws are aligned properly
insert the 5015 fan/blower
insert the Mx8 screw in the top hole
tighten screw to snuggle hold the 5015 fan/blower
screw in the 40mm fan using M3x12/16. Can get by with just two screws. Snug but not too tight or you could warp the fan adding more noise
check clearance on everything and the give it a go