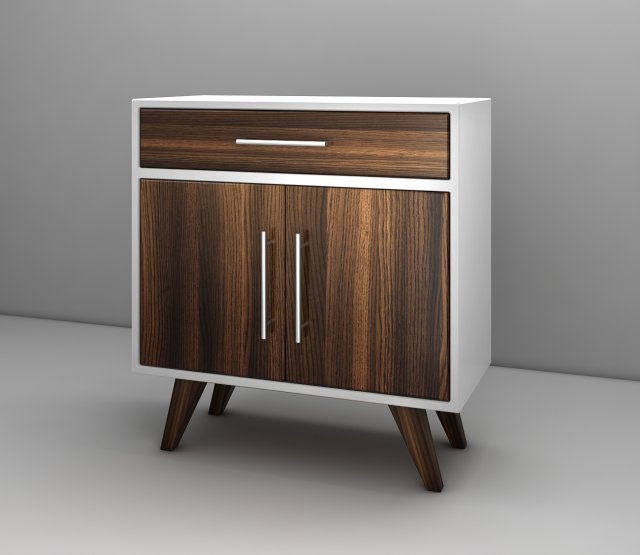
Mid Century Modern Coffee CabinetMapped with Vray materialsDimension : W750*D350*H800mmFiles included in zip : 3d max 2013+2014 , obj file , wood textureFeel free to contact me if you have any questions.Thank you so much !
Tag: midcentury
-
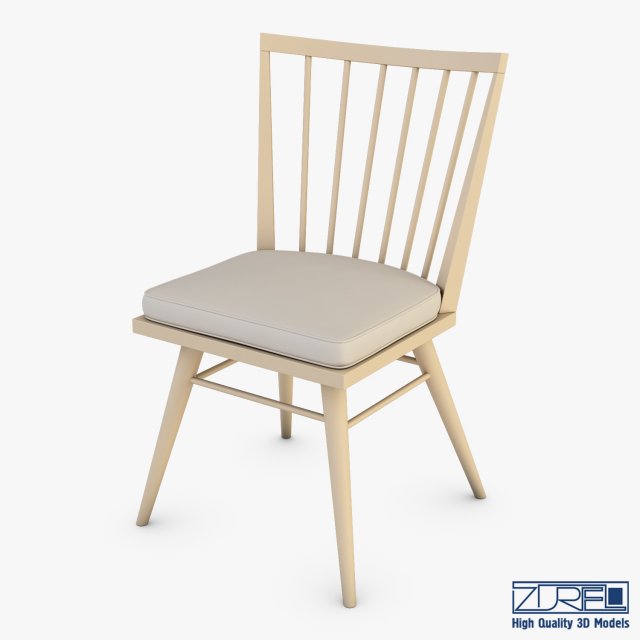
Midcentury modern chair ensemble 3D Model
High quality model ‘Midcentury modern chair ensemble’ specially for your projects.Quality and accurate modeling, allows you to use model in any projects. Elaborated all small details, make the model more realistic, allowing you to use a model in high-resolution renderers (close-up), as well as for creating videos, or video advertising or use in the film industry.Multi/Sub-Object with standard materials are assigned to models.The model is created in Autodesk 3ds Max 2010, rendered with Vray 2.20.02.Please don’t forget to rate the model, for us it is very important :)3D model available in these formats: 3ds Max 2010 (.max), Autodesk FBX 2006 (.fbx), OBJ (.obj)Scene Statistic below:-Subdivision ON:Polys: 43 600Tris: 87 096Edges: 87 556Verts: 43 966-Subdivision OFF:Polys: 7 372Tris: 14 592Edges: 14 824Verts: 7 462- Scale of all details (100,100,100)- Model has real-world scale and is centered at 0,0,0- All pivots in place- No cleaning up necessary, just drop your models into the scene and start renderingPlease don’t forget to rate the model, for us it is very important :)© Leonid Naku [Zurel] 2017
-
“Trudeau” sawhorse-style midcentury modern side table 3D Print Model
Summary
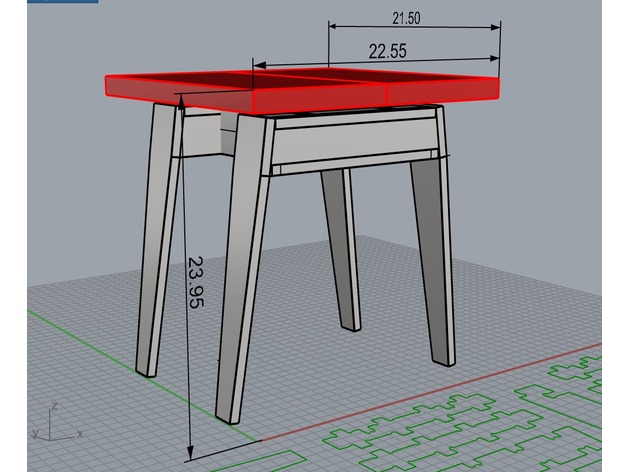
The Trudeau table is a small side table designed to sit between two chairs. The materials required are about about half a sheet of 3/4″ plywood, plus two larger pieces of wood for the top (or make your own top from plywood or another material).
The joints are cut with 0.02″ clearance on all sides. In practice, this means they are snug, but you can slot them together by hand. They are intended to be sanded flush and glued in place (the legs are attached with finishing nails and glue). There is no cutting profile for the top included in the design (it’s just the crosspieces and legs). I used a pair of pieces of reclaimed 2×12″ Douglas fir (about 19″ long) for the top of my table, but you’re supposed to choose a piece of wood that’s meaningful to you. You attach the top with long wood screws.
There are two toolpaths in the included VCarve file: one which cuts a collection of circles at 0.1″ deep to mark where to put hold-down screws and one to make the profile cuts for the pieces. In the picture of the plywood in the cnc machine above, you can see the circles for the screws. The weight of the plywood was sufficient to hold things in place for the screw-locating circles (at least for me).
I used a 1/4″ upcut end mill (Onsrud 65-025). This worked nicely– though the top edges were a little fuzzy, they cleaned up instantly with a little sandpaper.
Since the table was going outdoors, I finished it with Watco Teak Oil, which makes a nice water-resistant finish. The plywood wasn’t exterior-grade, but I’m not too worried– for the past five years, the side table has been a cardboard laser printer box with a blanket on it! (I’ll update in a year or two to note how everything performed in practice.)
The files included are ordered sort-of-logically:
1) If you use VCarve, I’ve included the whole project laid out as a .crv file. Note that my 3/4″ plywood was actually 0.78″ according to my calipers, so the cut depth is 0.78. You should check your material and reset this before exporting toolpaths.
2) If you use another CAM program, I’ve included just the cutting vectors as dwg and dxf files (exported from Rhino). You’ll have to work out hold-down yourself, as this doesn’t include the screw-locating circles.
3) If you want to alter the basic design, I’ve included the original Rhino file, which has a 3d model of the table as well as the cutting paths.
I’ve also included some conversions to 3d modeling files in case you want to 3d print a scale model of the table (note: the tabletop is not attached in the model), or remix this for another use.