Summary
Put the bolts into the oven and press them in the printed parts for a good fit.
Tag: leveling
-
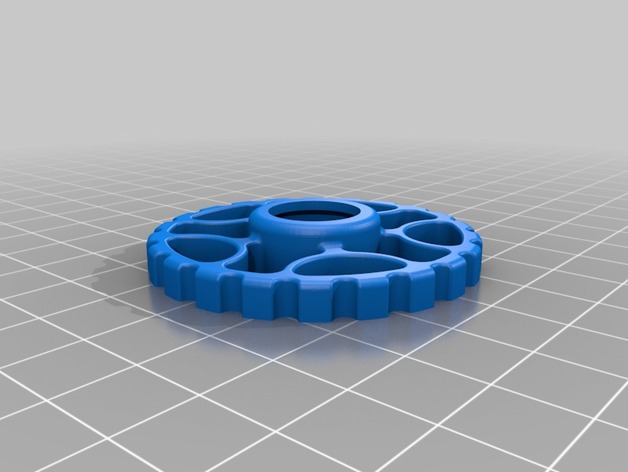
Tevo Leveling Rim 3D Print Model
-
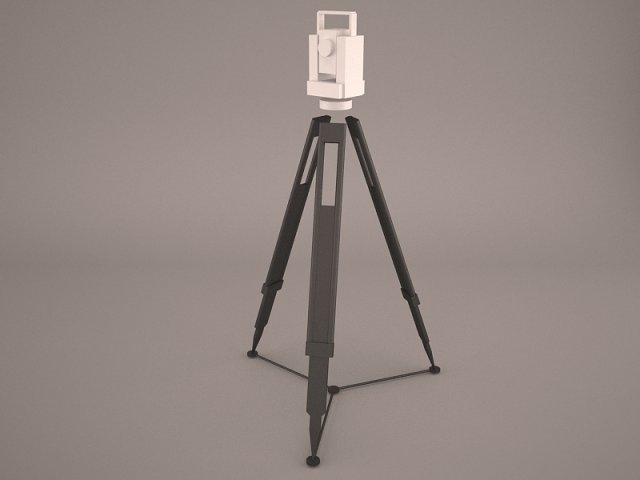
LEICA TC 407 Sprinter 150 and levelling rod 3D Model
Leica Total station TC 407 Digital level Sprinter 150 250 Leveling rod geodesy tool theodolite tachymeter high quality building site dimension
-
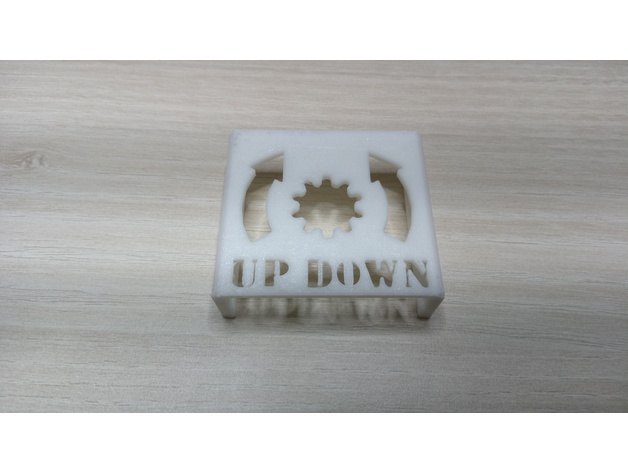
Bed leveling reminder for CR-10, CR-10 mini etc (2040 aluminium) 3D Print Model
Summary
I changed the direction of the arrows.. 🙂
I made this model in sketchup and also uploaded the .skp file so you can edit it. Maybe some resize is necessary.
Print Settings
Printer:
CR-10 mini Rafts:
No Supports:
No Resolution:
0.2 Infill:
20% -

CR-10S Locking Bed Leveling Knob 3D Print Model
Summary
Inspired by orcusomega’s “Locking CR10/S4/S5 Bed Leveling Knob” (https://www.thingiverse.com/thing:2462249). This is a knob that you can insert an M4 lock nut into. The hole for the screw is not fully open. After printing there is a .4mm layer that you need to cut with a utility knife before use. No supports are necessary.
Quote from orcusomega’s notes:
“Requires a total of 8 M4 nylon locknuts. Remove the stock leveling wheels, and use one of the locknuts to keep the screw in place on the hot bed (being the nut all the way to the top,. making the screw stay in place without the need to hold the top with a screwdriver). Then replace the springs. Insert the remaining M4 locknuts into the wheels and thread them on – wala!” -
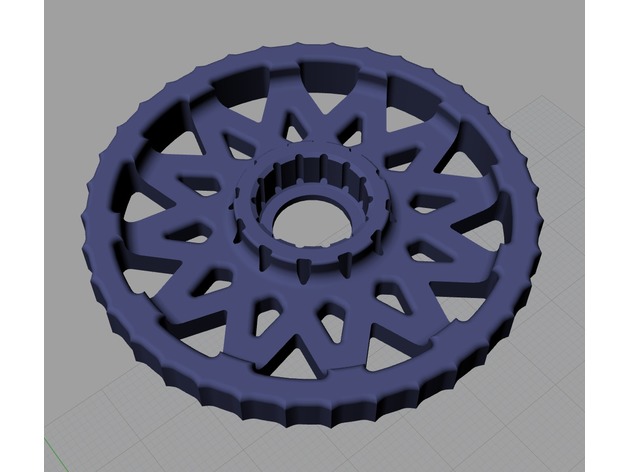
TEVO TORNADO KNOB LEVELING. 3D Print Model
Summary
Tevo tornado knob leveling.
55mm diameter
5mm height.
it fits just perfect! -
Remix Creality CR-10 Bed Leveling Indicator V3 3D Print Model
Summary
remix of CallJoe’s Creality CR-10 Bed Leveling Indicator V2 as it would not go over my air cooling exhaust.
Print Settings
Printer Brand:
FlashForge Printer:
Creator Pro Rafts:
No Supports:
Yes Resolution:
0.18 Infill:
20% Notes:
I added some extra manual supports in S3D to make sure I had no issues and printed on my FFCP as I’m still working out the bed leveling on the CR-10 and my gauge hasn’t arrived yet 🙂
How I Designed This
just used Tinkercad to remove the right hand side -
Trinus Display Stand for Kodama Leveling Bed 3D Print Model
Summary
Trinus touch screen stand for leveling bed.
You may need 2 pcs of 3mm x 12mm Metric Flat Head Socket Screw. -
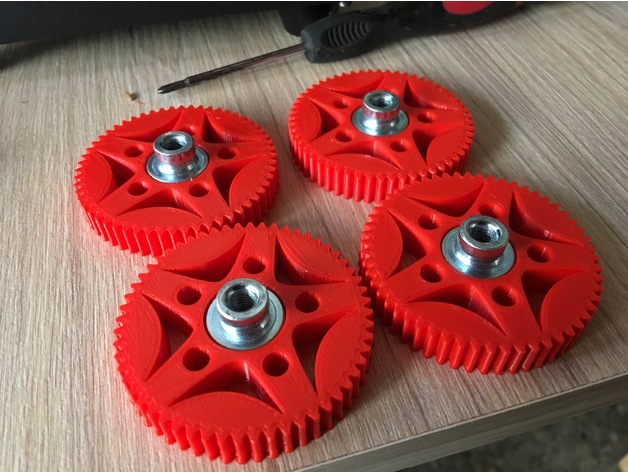
CR-10 Leveling knob attachment 3D Print Model
Summary
Hi everyone, I just made leveling knob attachment for CR-10 which name is LOTUS. Because I didn’t like the old thing at Thingiverse. It looks like some kind of wooden wheels of 15C.
Anyway, I don’t own CR-10 yet. lol
How I Designed This -

Digital caliper holder for 3D printer bed leveling 3D Print Model
Summary
This tool is designed to hold digital caliper for bed leveling. I made it to avoid constant pain with bed leveling which involves eye-balling and playing with Feeler Gauges.
Intended use algorithm:
1) Level bed manually — make sure you heated the bed first (temperature will temper readings). Make sure to heat your printer but not caliper.
2) Measure distance above each leveling knob
3) Next time you need to level a bed just use this tool to adjust knobs
Parts:
It assumes use of magnets to attach to rails and ensure there will be no fidgeting: “Magnets 6x3mm”
I used a caliper like this “Clockwise Tools DIGR-0105 Electronic Digital Indicator Gage Gauge Inch/Metric Conversion 0-1 Inch/25.4 mm with Back Lug Auto Off”
Post-Printing
It’s recommended to glue digital caliper to holder to make sure readings will be consistent. -
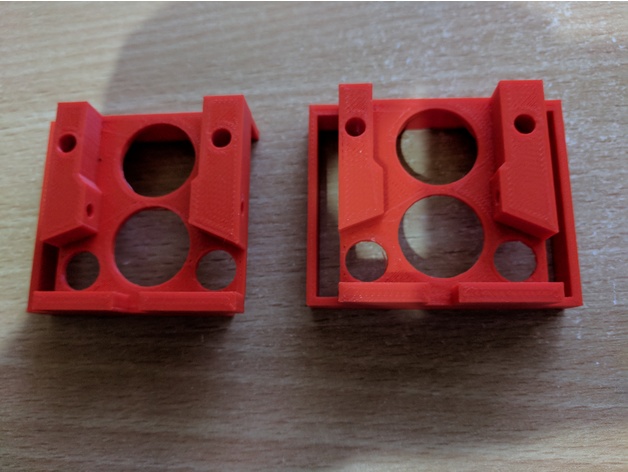
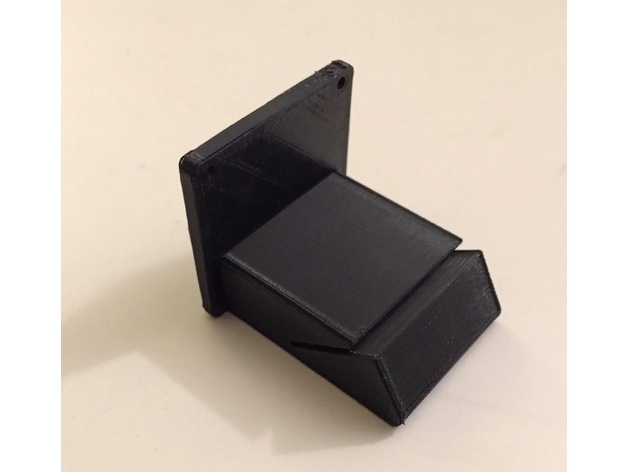
Anet A8 adjustment for Y-axis and printer leveling 3D Print Model
Summary
I’ve had the problem the floor on which the table for the printer stood wasn’t leveled. Which led to corners at the z-axis which haven’t had 90°. The same happened at the y-axis, because the threaded bars are bent.
If you just have a problem with a bend y-axis:Parts List:
Wooden board
10x screws for wood 3×12
1x M3x30
2x washer for M3
1x nut for M3
Angle profile length ~240mm
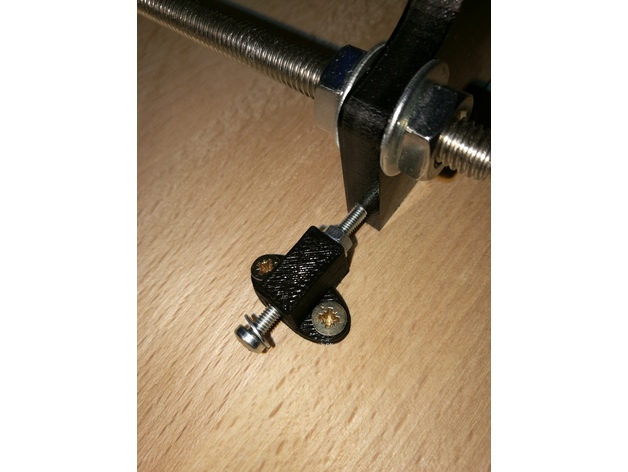
First cut the angle profile in two parts of ~62mm length and two parts of ~50mm length.
Drill in every part two holes and screw the ~62mm parts at the front of the housings and the ~50mm parts at the sides.
Print the STL, put the M3 screw with the washers and the nut in the small hole and screw it onto the wooden board near the side of the frontplate of the y-axis. Use the M3 screw to adjust the y-axis.
If you also have problems that your printer isn’t levelled perfect horizontally:
Parts List:
4x screwable case legs
Drill 4 holes in the corners of the wooden board by following the manual of the case legs. Use a water bubble to level the board.
Print Settings
Printer:
Anet A8 Rafts:
No Supports:
No Resolution:
0.2 Infill:
100%