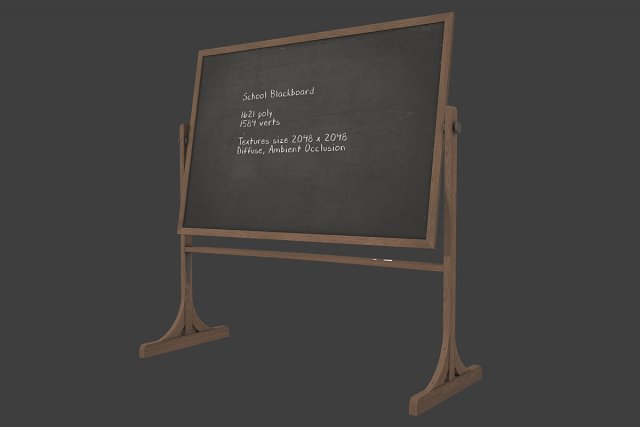
School Blackboard low-poly 3d model ready for Virtual Reality (VR), Augmented Reality (AR), games and other real-time apps.- Ready for Unity3d and other game engines.- Real world size.- blackBoard (diffuse, ambient occlusion) – 2048×2048;
Tag: lesson
-
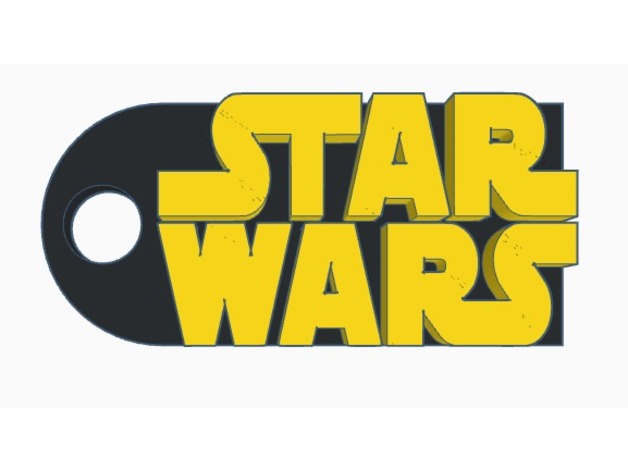
Star Wars Keychain | Tinkercad Import Lesson 3D Print Model
Summary
A Thingiverse search for “star wars keychain” brings up a couple results but they have some small flaws (too flimsy, hole not positioned well, etc.) I’m trying to fix those issues with this simple design. The keychain looks best printed in multiple colors (If your printer allows pauses, switch out the filament color once it starts printing the logo.) May the 4th be with you!Overview and Background
Originally this was just a quick, fun little project for Star Wars day. However, I then realized that many students may not know about the Import feature of Tinkercad, and it could make a great learning experience. This lesson assumes students have been introduced to the basics of Tinkercad. The focus of this lesson is to:
a) learn to vectorize images
b) use the Tinkercad Import feature
c) design a keychain around their chosen artwork
I’ll be using the Star Wars logo as an example, however, students may use any clip art or logo of their choosing.
Lesson Plan and Activity
Step 1: Choose an Image
Do a quick google image search for whatever you’re going to include on your keychain. Usually a logo or clipart is best, so try including those words in your search. For more precise results, try using the “tools” tab to search for transparent images, and large ones with a high resolution. Then choose and download your image as a .jpg or .png.
Search for your imageSet to
Here’s the logo I chose
Step 2: Vectorize
Now you’ll take your downloaded .jpg or .png and convert it to a vector image (.svg.), since a vector is the only type of image file Tinkercad can accept. There are a number of free online vectorizers you can use, but my favorite is https://www.vectorizer.io/ and that’s what I tend to use. It has fairly good instructions and is relatively intuitive, so just follow their directions and you should be just fine. Download your converted image as an .svg. Step 3: Import Logo to Tinkercad
Go to https://www.tinkercad.com/ (if you’ve never used Tinkercad, watch this video first: https://www.youtube.com/watch?v=KCaenAGeK_Q It is a bit outdated, so sorry!), open a workspace, and name it. Click the “Import” button.
Import button
This will open a window, asking you to choose a file. Select your .svg you created before. Then change your dimensions to something reasonable, such as 20 mm. Your logo should now be imported.
Logo imported!
Step 4: Design the Keychain
Personally, I like to work in inches, so click “edit grid” and convert to inches.
Insert a ruler somewhere into your workspace. Now we can rescale our logo to inches. I suggest making it .2″ thick, and then scaling so that you keep approximately the same ratio for the sides, but no dimension is more than 2″. For the Star Wars logo, 1.75″ by .75″ seemed best. Now we can go on to build the keychain itself.
Scaling Logo
Step 5: Designing the Keychain
Of course, there are many ways to go about this, but here is the one I used. Insert a rectangle the size of your logo, but .1″ high. Then insert a cylinder, also .1″ high, with the diameter of the shorter side of your rectangle. Place the rectangle so the it is “inside” the circle, and cuts the circle in half. Then group these 2 shapes.
Base keychain: only 2 shapes!
Now put in a hole. Insert a cylinder with a diameter of .25″ and .1″ high. Place it in the rounded edge you just created and group to form a hole. (Snap grid helps with this!)
Step 6: Add the Logo
Finally, you can drag your logo back in and center it on your base keychain. Once again, group, and you’re all finished! You just created a custom keychain with your very own image! High five!
All finished!
Materials Needed
Software
Tinkercad
Slicer/Host software of your choice Physical
3d printer
Keyrings
Black and Yellow filament (preferable)
Skills Learned
Tinkercad
Tinkercad Import
Image Conversion
Duration of Lesson
30 minutes- 1 HourFurther Learning
Dual Color Printing
Teach the students how to pause a print and switch out the filament using g-code commands in slic3r! https://www.youtube.com/watch?v=sk1aP6MQEhc Negative Image
Instead of having the image extruded out of a thin keychain, try making the base keychain .2″ thick and an 1/8″ larger in the other directions. Change the logo to a hole, .1″ thick and .1″ raised from the plane. Center it in the base keychain and group!
Negative Extrude
Conclusion
I hope this guide was helpful! I had a blast making it and poured a bunch of time into it, so please support me by liking it, and upload your own designs as remixes. Thanks for checking it out, and happy Star Wars day! -
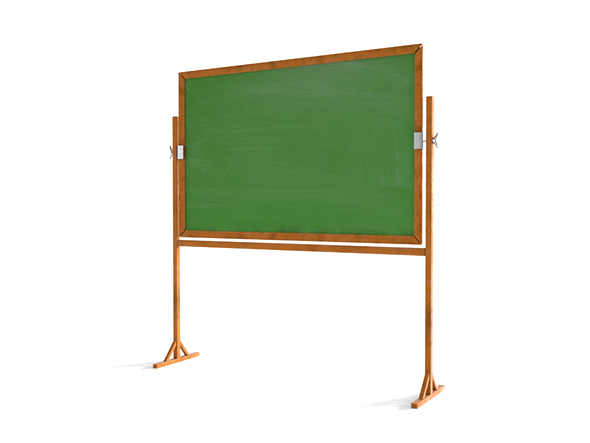
Chalkboard 3D Model
3D Model of Chalkboard. This is midpoly model with minimal polygon,
clean geometry, nice surface flow and ready to subdivide.