Tag: Indicator
-
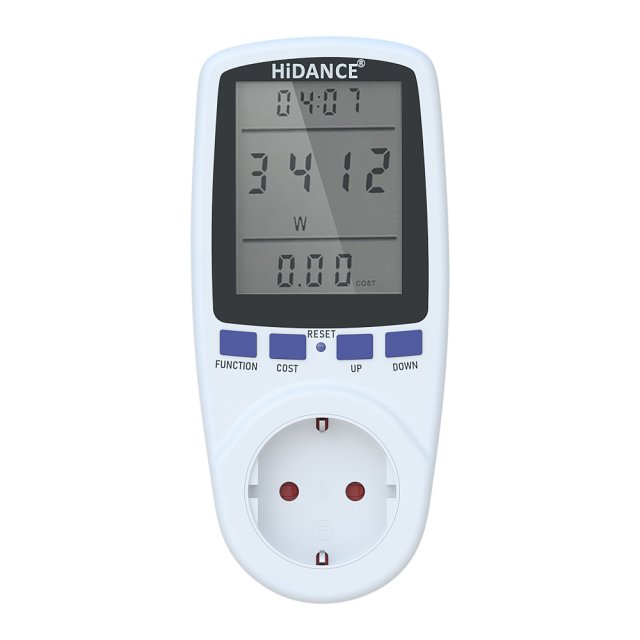
Voltmeter HiDANCE 3D Model
Highly detailed model of voltmeter Hi DANCE. The model is made in Rhinoceros 3d 5. Render scene is set up in 3ds max 2017 and Corona renderer. Number of polygons 166918. You can export from Rhino with fewer polygons. There are formats 3D max 2017, 2016, 2014, 3dm, lwo, obj, stl, 3ds, fbx and texture.
-
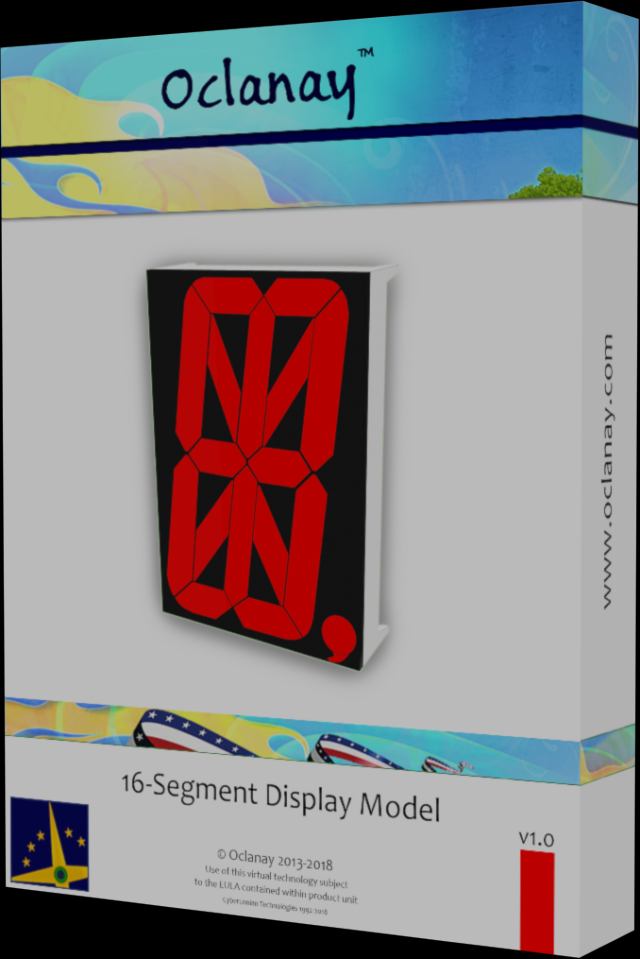
Sixteen Segment Display Model Free 3D Model
A 16-segment display, complete with individual LED polygons, housing packaging and electrical pins accurately recreates real-life seven segment display packages. This product includes base textures along with their PSD (Photoshop) image counterparts for ease of manipulation. It may be imported into popular modelling tools such as 3DS, Maya or Blender or may be used directly in popular gaming engines that support the FBX file format.The package may be edited in programs such as 3D Studio Max and exported as an FBX file to other programs or gaming engines as required by the user. The parts are well named to allow programmatic interaction from third party components that may switch on and off emissive LEDs or driven by other programmatic means. It is not necessary however to use any programming to use this product.
-
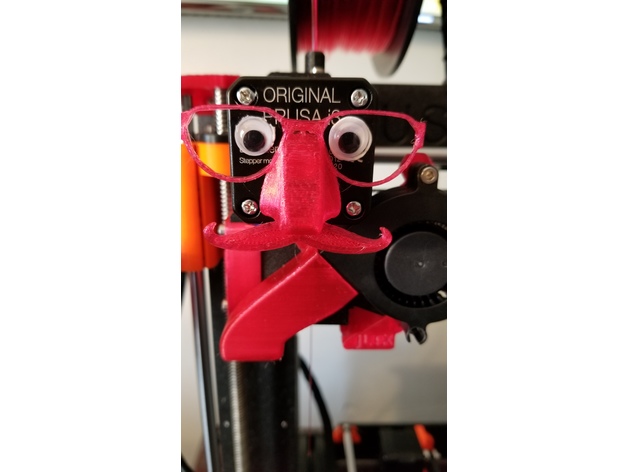
Novelty Glasses Mustache Extruder Indicator 3D Print Model
Summary
Just a funny Extruder Indicator i had to do up after adding the eyes lol
https://youtu.be/InjhvkvRYXw
Print Settings
Printer Brand:
Prusa
Printer:
i3 MK3
Rafts:
Doesn’t Matter
Supports:
Yes
Resolution:
.2
Infill:
30
Notes:
Just secure an 6-8MM magnet to the post and let’er spin -
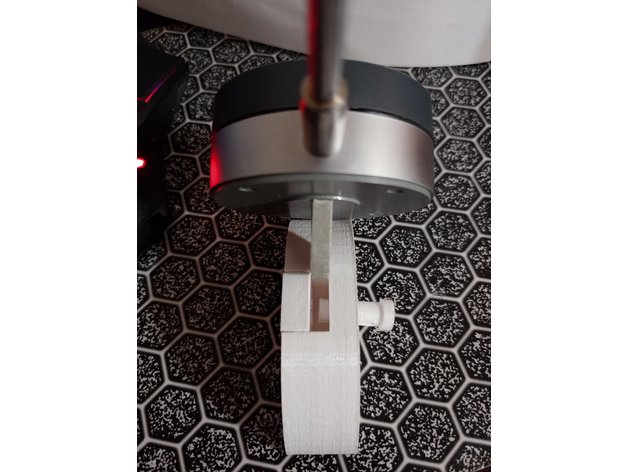
Dial Indicator X Axis Mount 3D Print Model
Summary
This is a mount I made to hold a dial indicator on my X-Axis of my Maker Select v2 (Wanhao Duplicator i3 V2) rails to check my bed for true. The part is held in place by a mix of tension and the magnets inserted into the holes in the back.
The magnets are the round “Buckyball” brand magnets, but any of their variants or even cylindrical magnets will work. Mine were measured and the holes sized to about 95% of that, so they are tight, but you should be just fine to use some sort of adhesive to hold in any type of magnet you want. One of the things that worked out well was I made the holes deeper than the diameter of the magnets, so they sit about .5 mm below the surface and never touch the rails.
The dial indicator is an ‘eoteck’ brand I found on Amazon and was oddly enough reviewed about a month later by AvE on YouTube (if you are a fan). It’s plenty accurate for 3D printing. I did verify this by buying a Mitutoyo gauge block and testing my calipers, then my calipers against my dial indicator.
Overall accuracy is such that I discovered my build plate was bowed a bit and has since been replaced. I don’t use this much, but when I did it was an incredible lifesaver.
The second piece by itself it due to me not accounting for the space needed between parts. I just sliced the parts out of the main body, but when assembling the hole was misaligned. This part should rectify that. I did end up using a very thin strip of masking tape to make the fit super tight to eliminate wiggle.
Thanks, and happy printing!
Print Settings
Printer Brand:
Wanhao
Printer:
Wanhao Duplicator i3 V2
Rafts:
No
Supports:
No
Resolution:
.2mm
Infill:
25%
Notes:
Should not need any supports when printing. Overhang droop in magnet holes is great for retention. The holes are about 95% the size of the magnets, so the tight is very snug. The pin will be tight at first but should loosen up.
The extra part is due to not accounting for the pieces being exact slices off the main body, and fitting together so well that the hole lines up. The “insert” was added to compensate for this. Included both files so you can modify either as needed. -
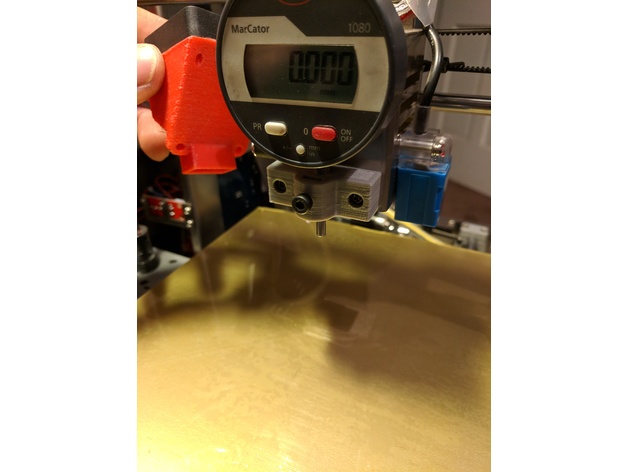
Mount for dial indicator on Zonestar P802QA 3D Print Model
Summary
This is a mount for the newer Zonestar P802QA with the fan shroud. Just remove the 2 M3 screws from the shroud and install the mount there for bed leveling. You might need two M3x20 and a M4 screw and nut -
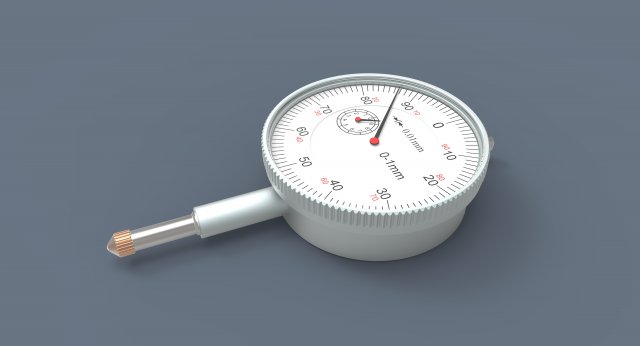
Dial indicator 3D Model
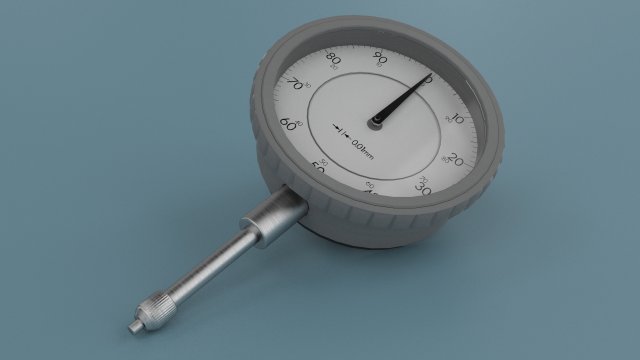
Dial indicator is instrument used to accurately measure small distances.Designed in SolidWorks 2012, rendered in KeyShot 4.
-
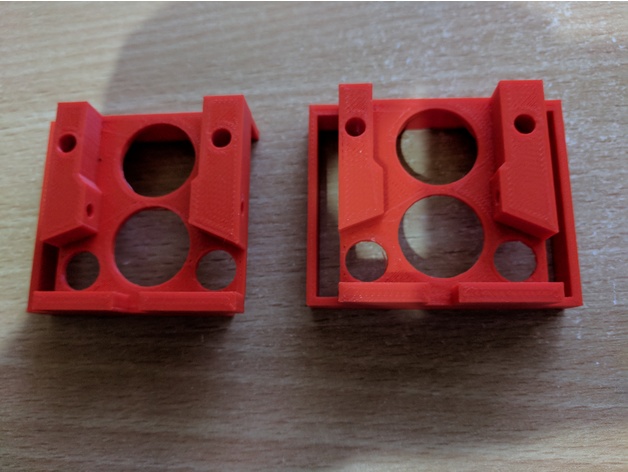
Remix Creality CR-10 Bed Leveling Indicator V3 3D Print Model
Summary
remix of CallJoe’s Creality CR-10 Bed Leveling Indicator V2 as it would not go over my air cooling exhaust.
Print Settings
Printer Brand:
FlashForge Printer:
Creator Pro Rafts:
No Supports:
Yes Resolution:
0.18 Infill:
20% Notes:
I added some extra manual supports in S3D to make sure I had no issues and printed on my FFCP as I’m still working out the bed leveling on the CR-10 and my gauge hasn’t arrived yet 🙂
How I Designed This
just used Tinkercad to remove the right hand side -
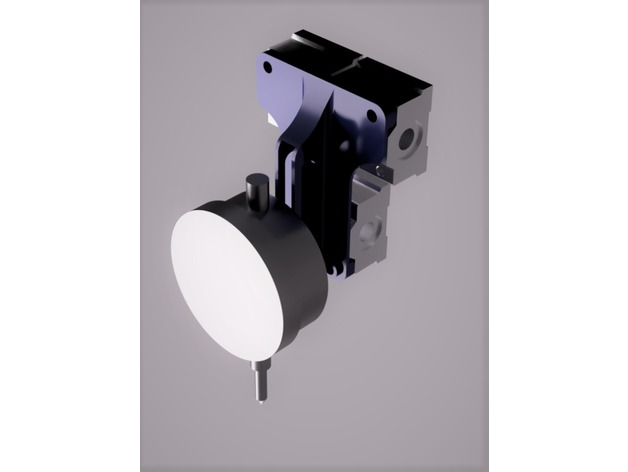
Anet A8 Dial Indicator Back Support Adjustable 3D Print Model
Summary
Warning:
You need to open M4 threads on the linear bearing blocks to use this part!
Description
I made this support to use my dial indicator on a practical way on my printer. I want to hold the dial indicator as close as the extruder center, and it’s hard to that because the whole extruder structure is a little bulky (fans, extruder motor, etc.) so I decided to fix the dial indicator on the back of the linear bearing blocks.
Material:
M4 tap
2-4 M4 bolts
1 M6 bolt and nut to fix the dial indicator
Print Settings
Printer Brand:
Prusa Printer:
Prusa Clone Rafts:
No Supports:
Yes Resolution:
0,16 Infill:
25% Notes:
You need supports if you print on horizontal position -
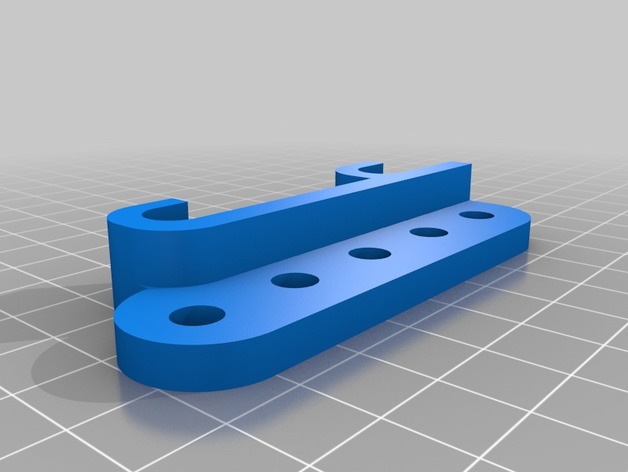
Dial Indicator Mount for Prusa i3 3D Print Model
Summary
Could not find a good Dial indicator mount for Prusa i3 that would mach the one I bought from Amazon, so i created my own version. Apparently different models have different probe length. -
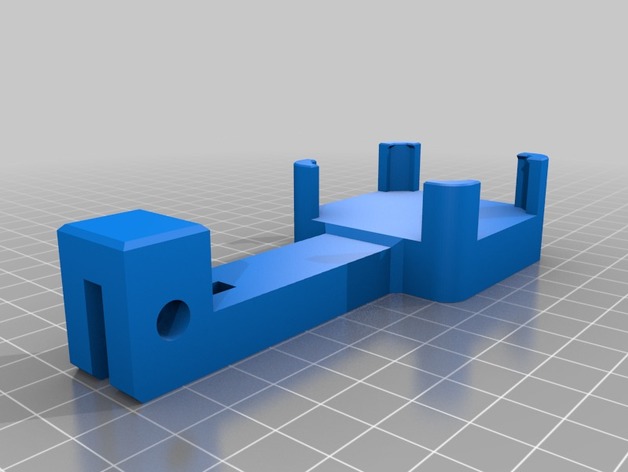
Dial Indicator Mount Prusa MK2 – modified 3D Print Model
Summary
some modification on the original design by slayer1551:https://www.thingiverse.com/thing:2308978
I liked the original design idea, but wanted it to be a bit different, namely:
turn the dial to face the front (!!)
center the hanging beam (which for some reason was offset)
reduce the hanging beam length – saving material, printing time and reducing torque on the print head
added some chamfer on the protruding tabs and on one side below for easier extraction from PEI print area
Print Settings
Printer Brand:
Prusa Printer:
Prusa Mk2 Rafts:
No Supports:
No Resolution:
0.2 Infill:
15% Notes:
you can probably print with even lower infill
Post-Printing
1 M6 bolt to secure the dial to the holder -
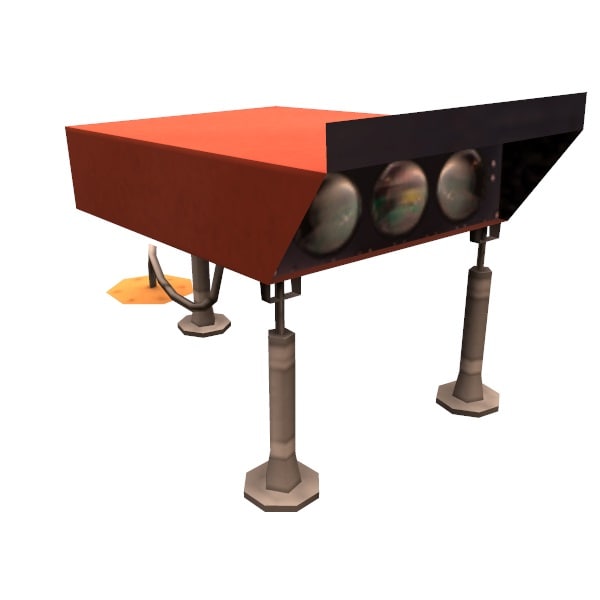
Precision approach path indicator PAPI 3D Model
This product is intended for game/flight simulators/real time/background use. This model is not intended for subdivision.This is a high quality, low poly asset originally modeled in 3DS Max 2016. The main renders and wireframes were done in Marmoset Toolbag 3.Polygons are all quads or tris, no n-gonsModel unwrapped manually to make most efficient use of the UV spaceModel scaled to approximate real world size (meters)Model centered at the originTested in Marmoset Toolbag 3No special plug-ins needed to use this product.obj and .fbx versions exported from 3ds Max 2016Textures:128×128 diffuseTexture in .tga formatModel texture path are stripped
-
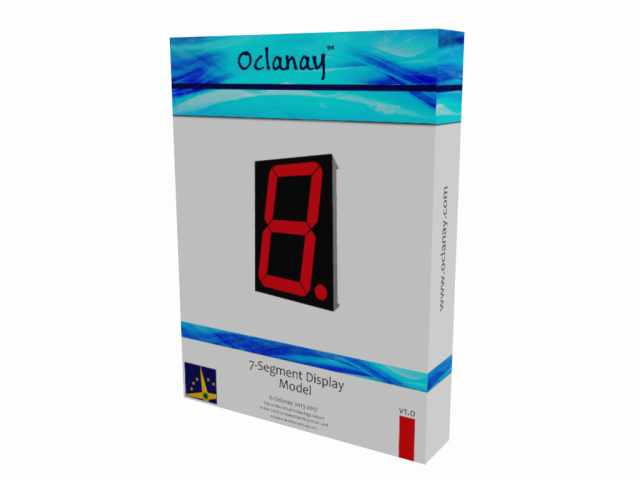
Seven Segment Display 3D Model
A 7-segment display, complete with individual LED polygons, housing packaging and electrical pins accurately recreates real-life seven segment display packages. This product includes base textures along with their PSD (Photoshop) image counterparts for ease of manipulation. It may be imported into popular modelling tools such as 3DS, Maya or Blender or may be used directly in popular gaming engines that support the FBX file format.The package may be edited in programs such as 3D Studio Max and exported as an FBX file to other programs or gaming engines as required by the user. The parts are well named to allow programmatic interaction from third party components that may switch on and off emissive LEDs or driven by other programmatic means. It is not necessary however to use any programming to use this product.
-
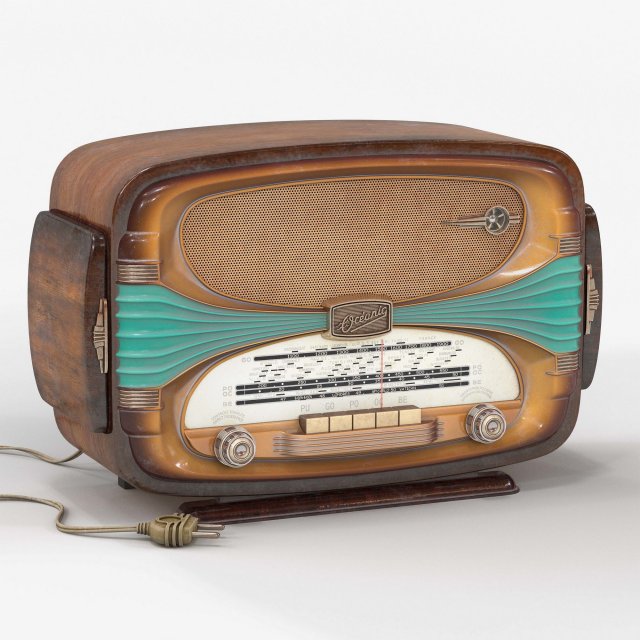
Tabletop radio Oceanic Surcouf 3D Model
The French tabletop radio Surcouf by Ocanic (Paris) in 1955, named after Robert Surkuf.Highly realistic and detailed 3D model.Originally modeled in 3ds Max and rendered with Corona.Clean, quad-only topology – ready for subdivision. Relevant parts are carefully UV-mapped.Model is ready to render, just put it into your scene.The model is also available in .obj, .3ds and .fbx file formats. Textures may need to be reapplied in the software of your choice to work.Polygons: 75574Vertices: 75222Model Parts: 21Notes:Polycount is for subdivision level 0.Scene contains only the model with materials – no cameras, lights etc.
-

Dosch 3D – Car Details 2015 3D Model
This product DOSCH 3D: Car Details 2015 contains a 3D-model with all critical parts and systems found in a non-branded sedan car. It is ideal for depictions of driving-related processes, interior and safety functions, as well as a multitude of technical details.
-
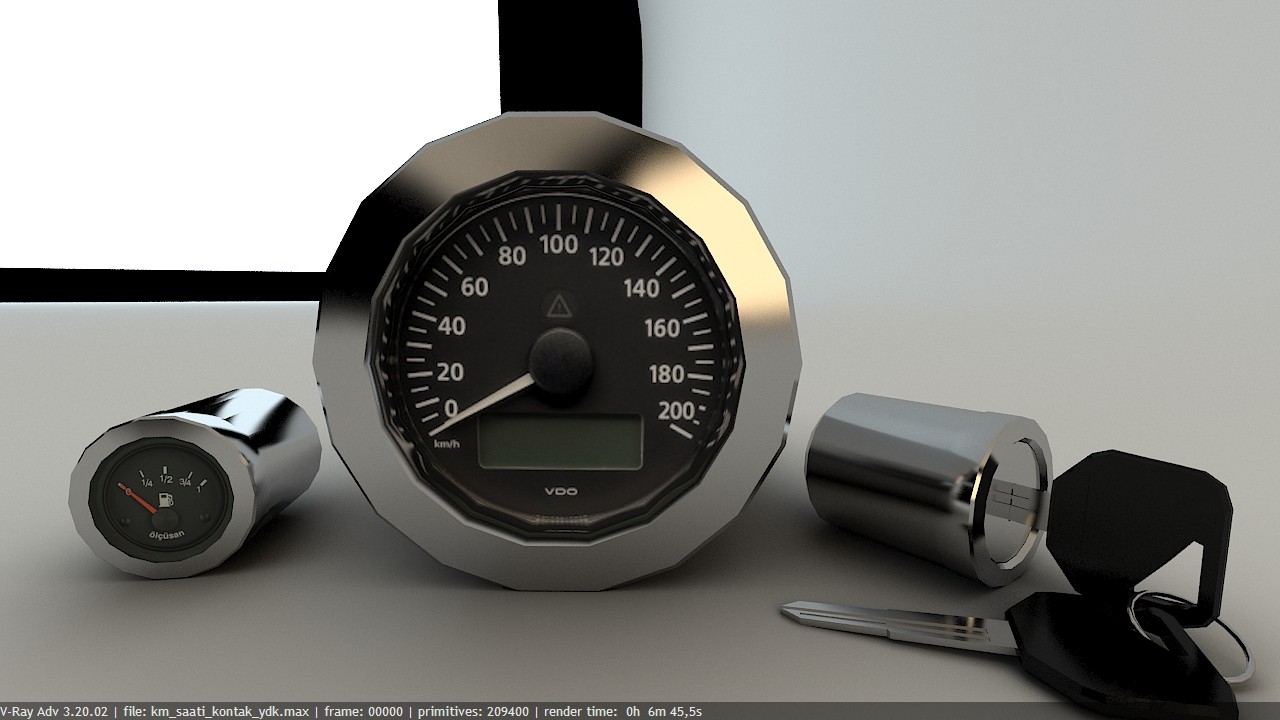
Km indicator 3D Model
– Motorbike displays and ignition key- Petrol indicator- km indicator- ignition key3d max 2016v-ray 3.20poly : 12020vert : 6237
-
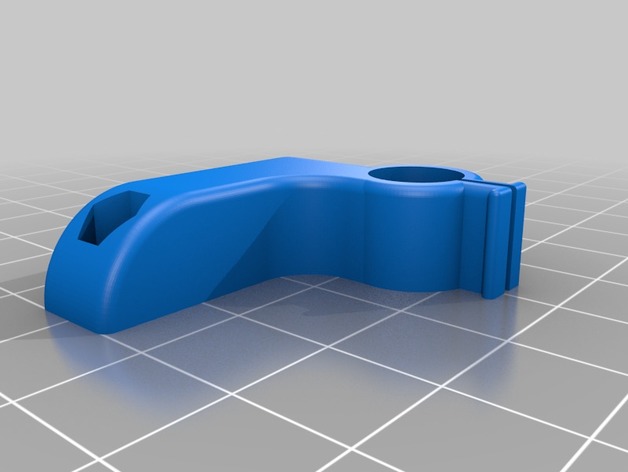
Maker Select V2.1 fan mount for Dial Indicator
Summary
Made a copy of the Dial Indicator clamp to fit my Maker Select V2.1 but offsetting the dial indicator to line up with the extruder. M3 nuts and M3 bolts longer than the original fan bolts necessary.