Summary
46 Teeth. GT2 with 2mm spacing. Designed for a 608 Bearing.
Some designs available have a chamfer, some designs available have two parts that press together. I could not find a design that had both so I made one.
Includes a spacer so that it will not rub on a frame if applicable.
Tag: Idler
-
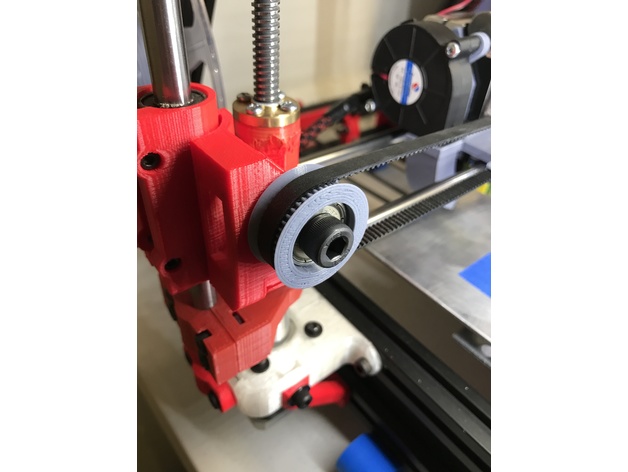
GT2 Idler Pully with chamfered edge 3D Print Model
-
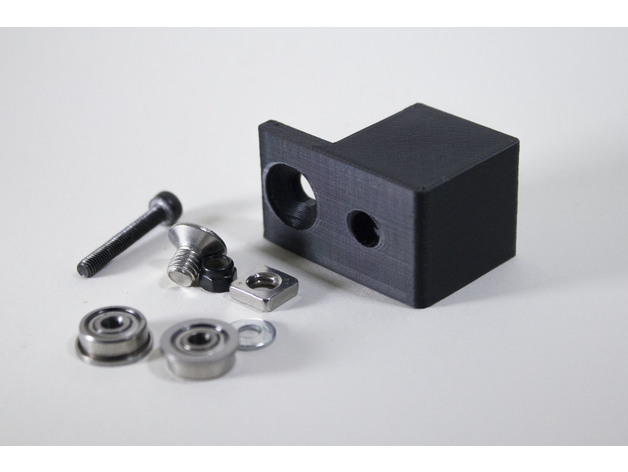
Tronxy X3 Belt Idler 3D Print Model
Summary
Replacement X and Y axis belt idlers for the Tronxy X3.
Needs:
-1 M5x8 flat head screw
-1 M5 square or T-nut
-1 M3x20 hex socket screw and nut (nylock)
-1 M3 washer
-2 F623ZZ bearings – banggood° – Gearbest°
Tronxy X3° from GearBest°
12% off coupon from geabest : GBTE
Part of my Tronxy X3 upgrades collection
° affiliate -
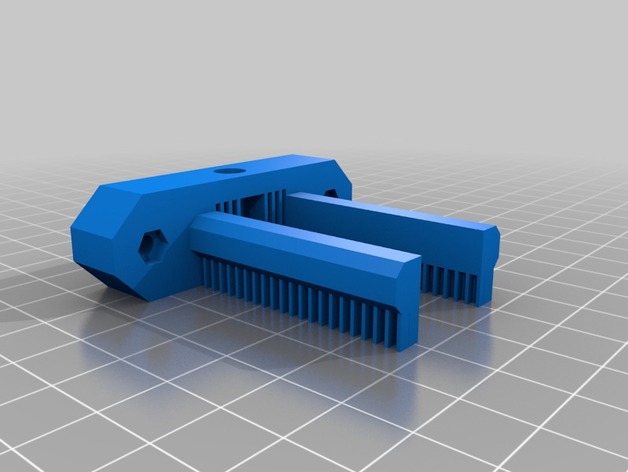
X-axis tensioner for use with toothed idler. 3D Print Model
Summary
I recently released a x tensioner for use with my own x axis parts. This version is based upon the same design but with a few modifications to suit a stock x axis on the Anet A8 (The version with ABS printed x axis sides though it may work with the injection moulded parts too!)
This is oriented as intended for printing with supports built in. You will need to cut away the supports on the underside of the two prongs, the supports inside the central rectangular hole and most (not all) of the cylinder in the center.
You should ideally leave an equal amount of the central cylinder on either side such that the idler wheel is barely able to move from side to side but can rotate freely when mounted.
My first print of this is not ideal as I had set the bed level incorrectly and had a belt tension problem at the time. I will be reprinting.
Print Settings
Printer:
Anet A8 Rafts:
No Supports:
No Resolution:
0.4mm nozzle and 0.32mm layer (0.2 would also be fine!) Infill:
50% but you can probably get away with a bit less
Post-Printing
Supports will need to be removed from the model after printing and before fitting. You will also need 3 sets of m3 screw and nut to hold the idler in place and fit to the top and bottom of the part to allow you to adjust the screws to tweak the tension in the x axis belt.
How I Designed This
A few modifications on a previous OpenSCAD design used in my version of the x axis idler and motor mounts. Slightly thicker walls to accomodate recesses for nut and screw head on the idler hole, thinner prongs due to available space and slightly increased gap for the idler to be mounted. -
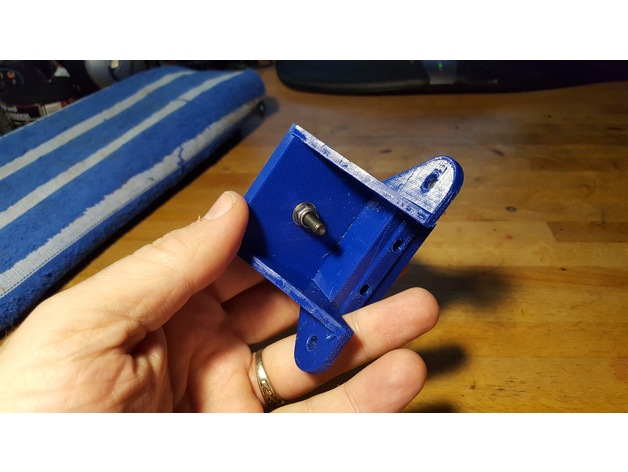
idler pulley mount for M5 bolt hole, mounts on 2020 or larger v-slot 3D Print Model
Summary
This is a simple mount for attaching to a 2020 or 2040 v-slot rail, to hold a single 5mm bore idler pulley. I needed this for my installation of a 3-leadscrew Z axis system on my D-bot.
It’s useful to help take up the slack if a belt is a little longer than needed, or to change the direction of the belt, or whatever.
A much smaller and more compact mount could be designed to hold a single 5mm bore pulley, but I just started with the Z axis bearing mount assembly that I’d remixed as part of my bearing assembly for 3 leadscrew setups.
The following thing has a photo that includes this bearing mount as part of my installed 3-leadscrew Z axis.https://www.thingiverse.com/thing:2401504
The Z axis bearing mount in that thing is a remix of the original Z axis stepper motor mount. I typically include sources in my things, but in this case I don’t have any sources. I edited the original D-bot stepper mount in Tinkercad to produce the version I used in my 3-screw bearing assemblies. For this 5mm bore pulley mount I simply filled in the hole that held the flanged bearing, filled in the screw holes, and then added a single 5mm diameter hole in the center of the mount surface.
In my case, a single M5 washer and a 7mm high aluminum spacer raised the pulley up to the same height as my other geared pulleys used in the 3-leadscrew Z axis system. Whatever spacing you need you can either fulfill by finding an appropriate spacer, stack of washers, printed spacer, or whatever.
I printed this in PETG at 260/70 C with a .4mm nozzle onto PEI. I used 98% infill to make it nice and solid. You can print this with whatever settings work with whatever filament you choose on your printer, but I’d recommend it be printed solid, since this pulley may be under considerable sideways strain if it’s being used to take up slack in a fairly tight belt. -
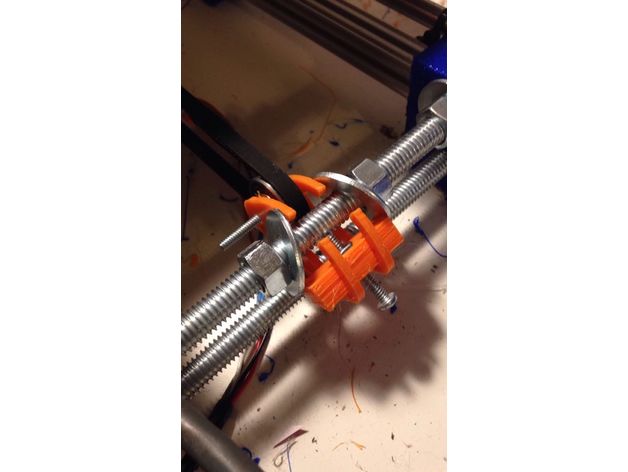
Idler no remove 3D Print Model
Summary
This is a remix of https://www.thingiverse.com/thing:461824 but with holes in the side part so that you can install it without having to remove the y-axis frame and take it all apart. Instead just tilt them to the side, slip them in, and then screw it all together!