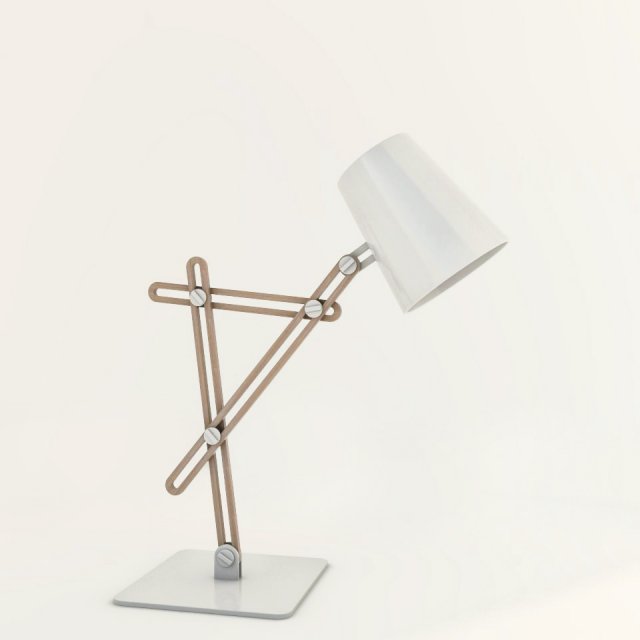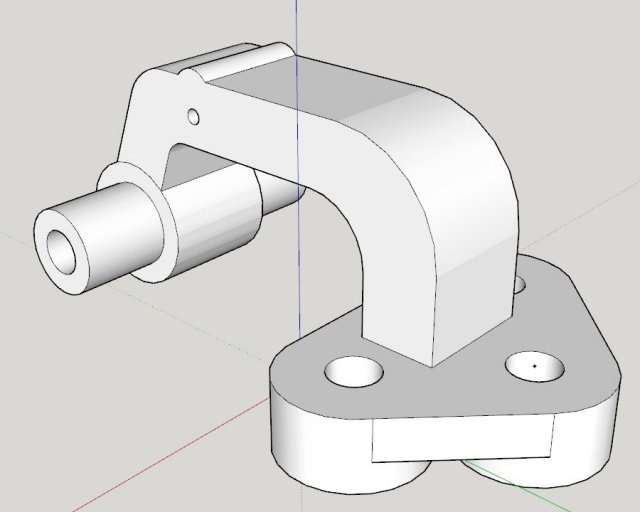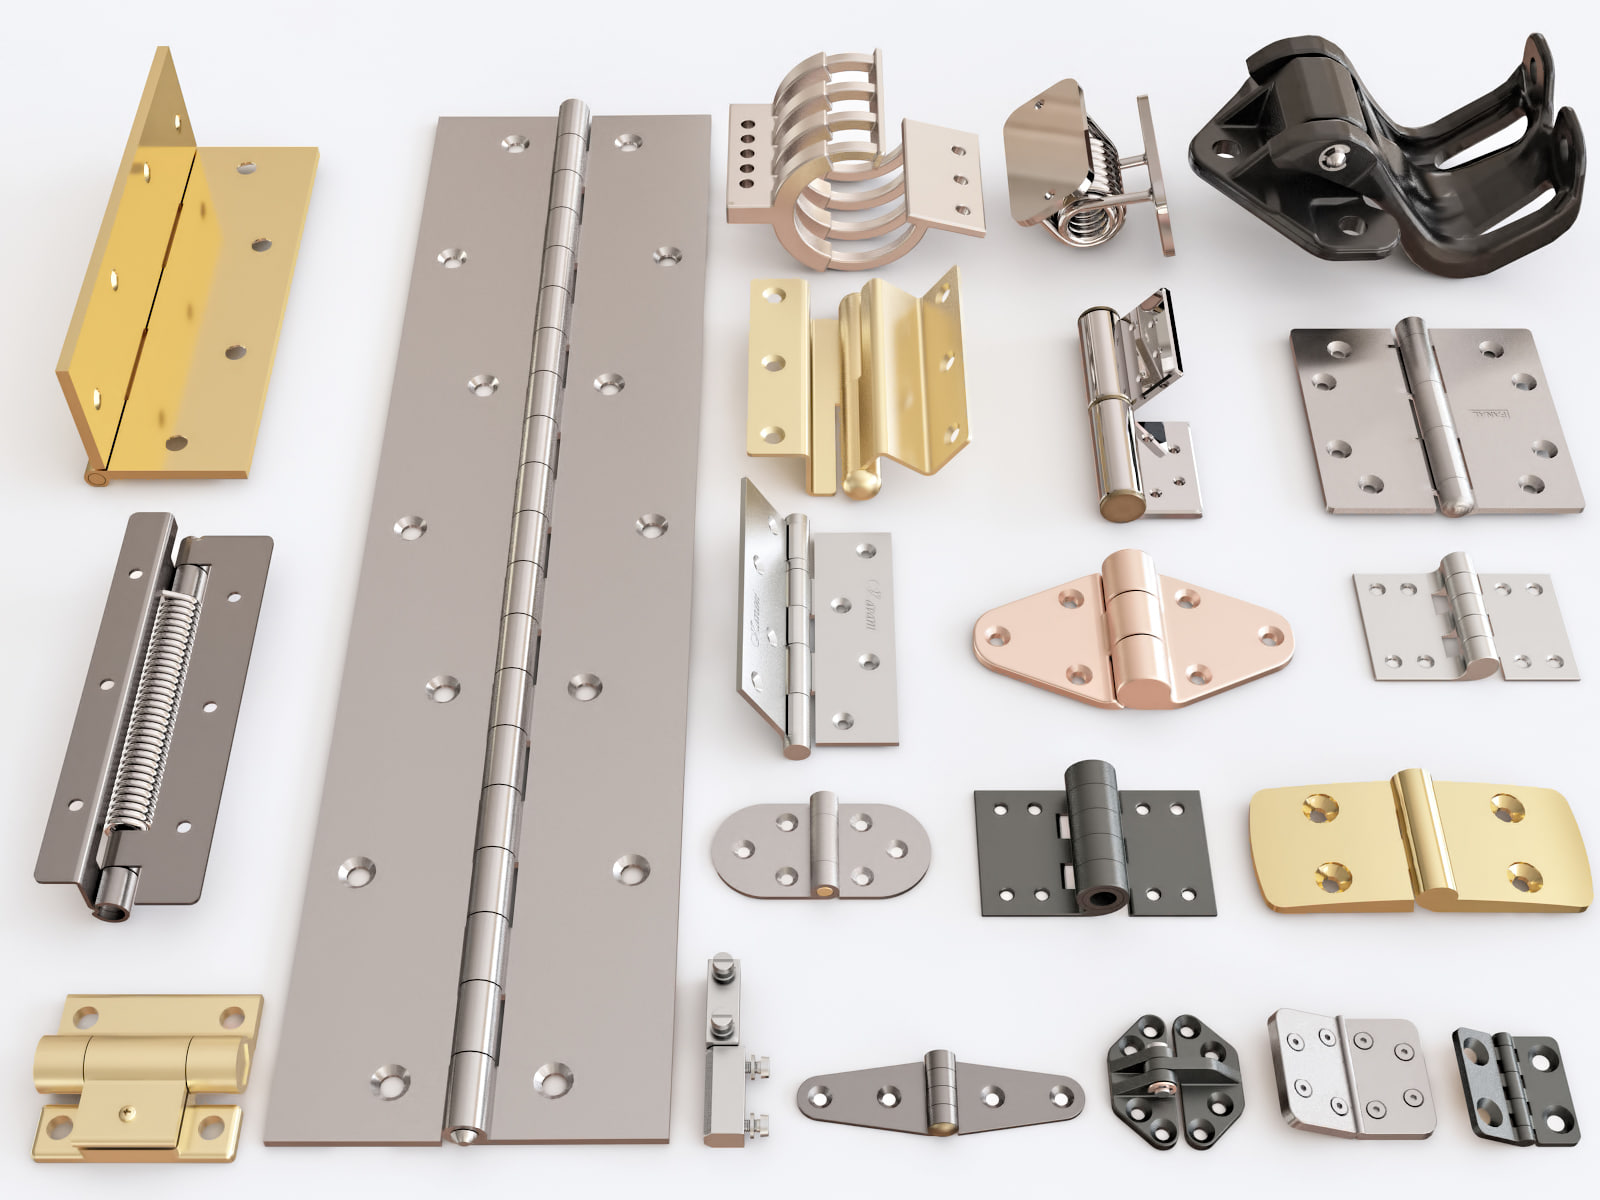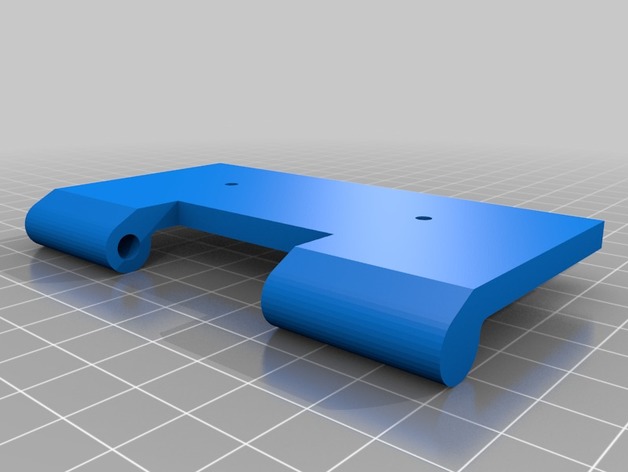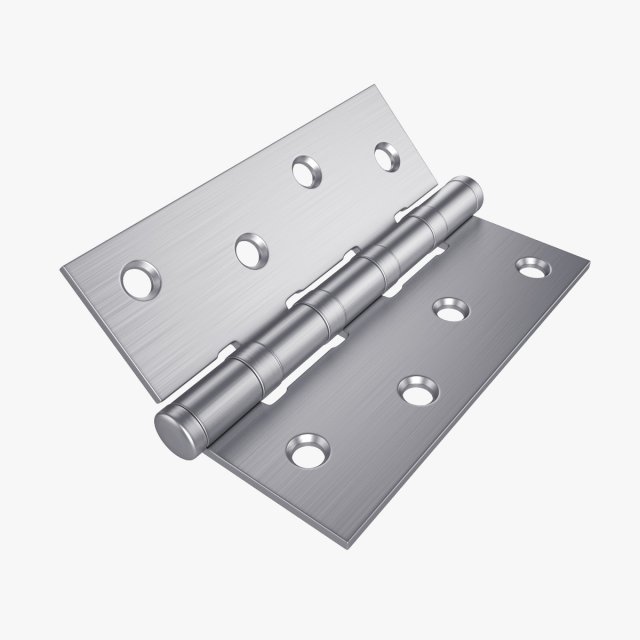
3D model of door hingeTurboSmooth modifier can be used to increase mesh resolution if necessaryPreview rendered with V-RayFile Formats: 3ds Max 2012, FBX, OBJReal-world scale, units – millimetersLighting is not included
Tag: Hinge
-
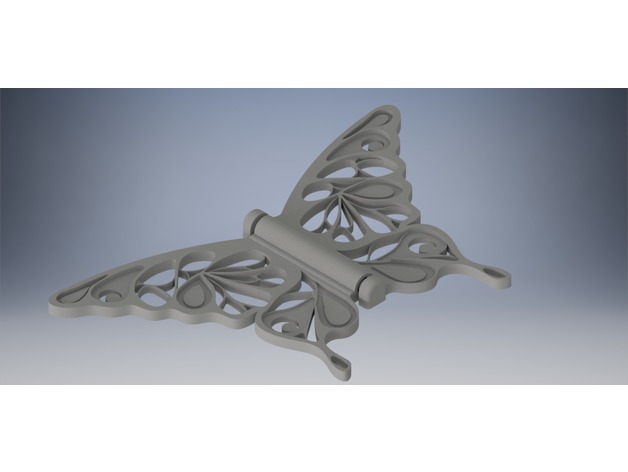
Ornate Hinge Butterfly – Swallowtail 3D Print Model
Summary
This is a re-imagined concept of a hinge butterfly, designed to resemble a swallowtail butterfly. I have included 3 different versions with varying amount of holes. These butterflies make excellent decoration when glued into position.
Print Settings
Printer:
Kodama Trinus
Rafts:
Yes
Supports:
No
Infill:
None
Notes:
Super Simple to Print
How I Designed This
I designed this using Autodesk Inventor, and made a very simple hinge from which the butterfly was created. -
Laser cut living hinge box 3D Print Model
Summary
Introduction
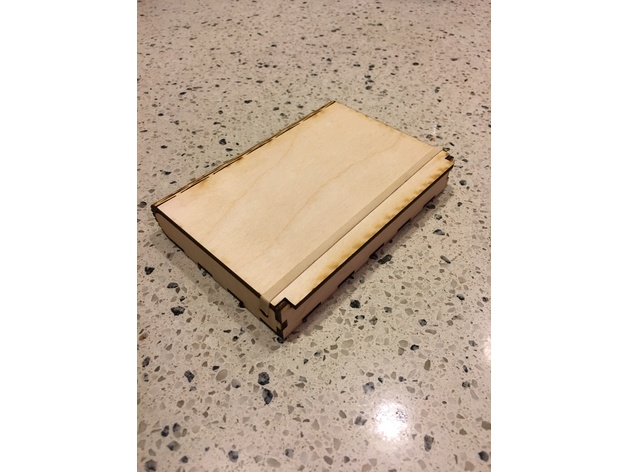
I remixed this design to extend the lip of the lid to give you something to grab onto.
For now, I’m just using a rubber band for closure.
Materials
1/8″ plywood (I used Baltic birch)
Special instructions
Try to cut the hinge in the direction of the grain, so it’s easier to bend.
Use a damp (not dripping) paper towel to wet the hinge area. This will allow the hinge to bend without breaking. Use a rubber band to hold the hinge closed while damp to allow the wood to retain this position.
Glue and assemble, then clamp as needed.
Location and device
Cut at HackPGH on a WKLaser LC6090. -
Anet A8 Fan Hinge V2 3D Print Model
Summary
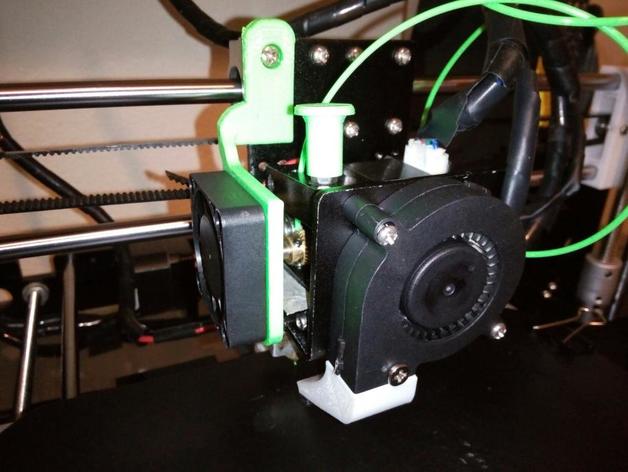
A remix of a Mod for easily accessing the extruder gear.
Print Settings
Printer:
Anet A8 Rafts:
No Supports:
Yes Resolution:
0.3mm Infill:
100% Notes:
Print with fan plate facing down and arm getting vertical supports. (Same as shown in the Cura screenshot.)
Post-Printing
Post-Printing
Remove the support material holding the hinge arm and inside the screw hole. Get a long M4 screw (not sure how long mine is, whatever screw you use in your existing fan hinge configuration should work). Remove the top left screw holding onto the top left linear bearing and install the mod there. Optionally, remove the screw under the top left-most screw for a smoother hinge.
How I Designed This
Design
I simply took bartoaster’s awesome Anet A8 fan hinge (https://www.thingiverse.com/thing:2380825) and beefed it up in 123D Design. I then cleaned it up in Blender. -
Interior Door 3D Model
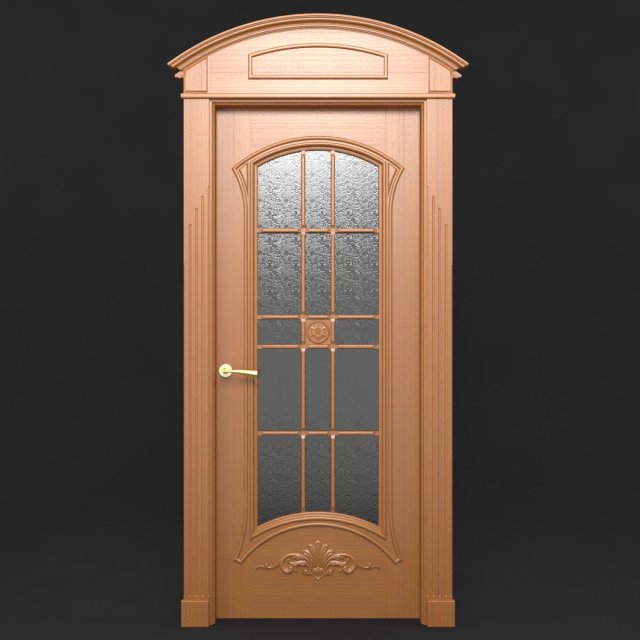
This interior door is a high quality model that will enhance detail and realism to any of your architecture rendering projects. The door has a fully textured, detailed design that allows for close-up renders, and was originally modelled in 3ds Max 2016 and rendered with V-Ray.****************************Features:- Doorway 2100mm * 900mm- Door leaf : 2064mm * 834mm- Frame wide: 100mm- Pivot point is aligned- Includes 5 glass textures- High quality polygonal model, correctly scaled for an accurate representation of the original object.- Model is fully textured with all materials applied.- All textures and materials are included and mapped.- 3ds Max models are grouped for easy selection, and objects are logically named for ease of scene management.- No part-name confusion when importing several models into a scene.- No cleaning up necessary just drop your models into the scene and start rendering.- No special plugin needed to open scene.- Model does not include any backgrounds or scenes used in preview images.- Model is not intended for subdivision!****************************UVS:Uv’s without overlaping.All parts are aligned and allow you to edit easyly the texture or draw some right lines without aliasing !No stretching in this uv layout !****************************File Formats:- 3ds Max 2016 V-Ray and standard materials scenes****************************Warning: Depending on which software package you are using, the exchange formats (.obj, .3ds, .fbx, .dae or .dxf) may not match the preview images exactly. Due to the nature of these formats, there may be some textures that have to be loaded by hand and possibly triangulated geometry.****************************Textures Formats:Glass Texture – PNG (1000 * 1000)Wood Texture – JPEG (3340 * 3340)
-
Door Handle 3D Model
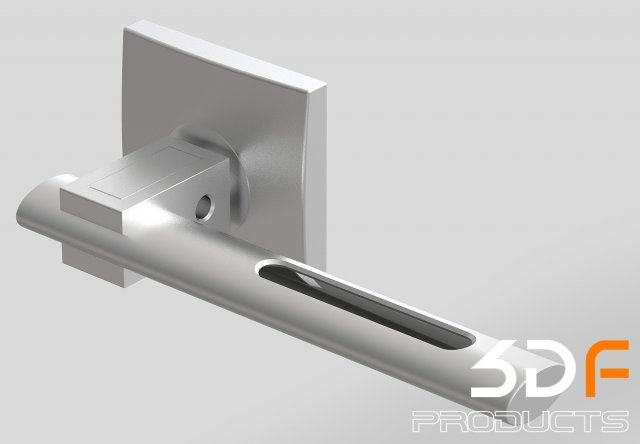
WELCOME TO 3DFORMATIONSYou are guaranteed precision component assembly with clean mesh and product lines for HIGH AND LOW POLY based model DATA.FULL SETUP READY TO RENDER FOR: (KEYSHOT) USERS ONLY.YOUR DOWNLOAD FILE INCLUDESX1 3DSX1 IGESX1 OBJX1 3DMX1 BIP KEYSHOT + MATERIAL MAPS + ENVRIOMENT MAPIMPORTANT: SETUP ROOT PATHS TO ALL MAPS (INCLUDED) FOR CORRECT KEYSHOT (RENDER) SETUP.PLEASE CHECK OUT MY OTHER MODELSCLICK ON MY USER NAME (3DFORMATIONS) AT THE TOP OF THIS PAGEFOR MORE INFORMATION GOOGLE (KEYSHOTS) ITS FAST EASY TO USE FOR STUNNING RESULTS
-
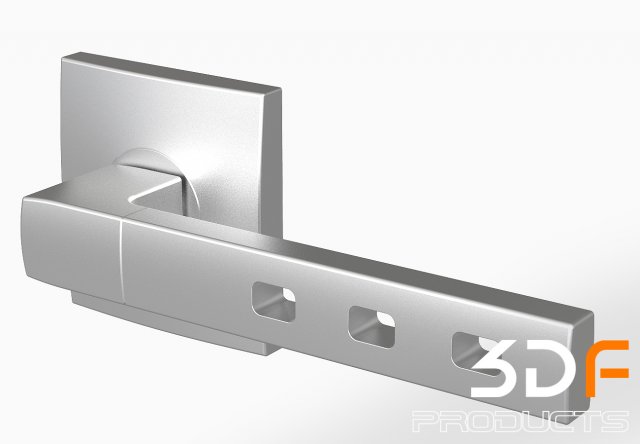
Door Handle 3D Model
WELCOME TO 3DFORMATIONSYou are guaranteed precision component assembly with clean mesh and product lines for HIGH AND LOW POLY based model DATA.FULL SETUP READY TO RENDER FOR: (KEYSHOT) USERS ONLY.YOUR DOWNLOAD FILE INCLUDESX1 3DSX1 IGESX1 OBJX1 3DMX1 BIP KEYSHOT + MATERIAL MAPS + ENVRIOMENT MAPIMPORTANT: SETUP ROOT PATHS TO ALL MAPS (INCLUDED) FOR CORRECT KEYSHOT (RENDER) SETUP.PLEASE CHECK OUT MY OTHER MODELSCLICK ON MY USER NAME (3DFORMATIONS) AT THE TOP OF THIS PAGEFOR MORE INFORMATION GOOGLE (KEYSHOTS) ITS FAST EASY TO USE FOR STUNNING RESULTS
-
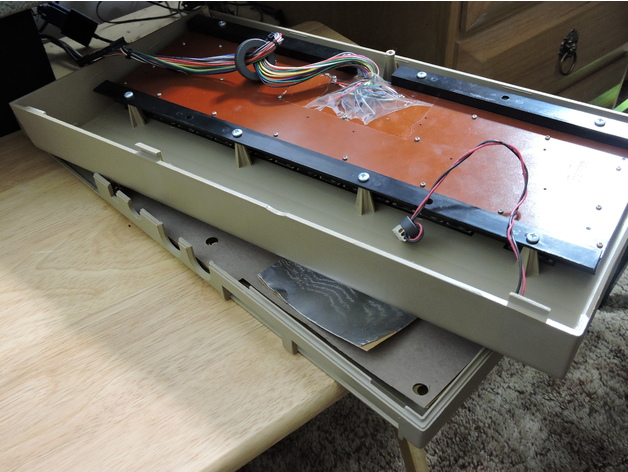
Commodore 64 Rear Case Hinge Tabs 3D Print Model
Summary
Replacement tab / hinge for repairing the rear upper section of a Commodore 64 “breadbin” style case.
Print Settings
Printer:
Monoprice Maker Select Rafts:
Doesn’t Matter Supports:
No Resolution:
.2 Infill:
100%
Post-Printing
If you are printing the tabs using PLA, you might want to use an epoxy to stick these to your case. They don’t seem to stick very well when clamped to the case and fastened with Super Glue. I took a Dremel and sanded down the broken tabs so they were even with the rest of the lip of the case, then fastened these over the broken section. -
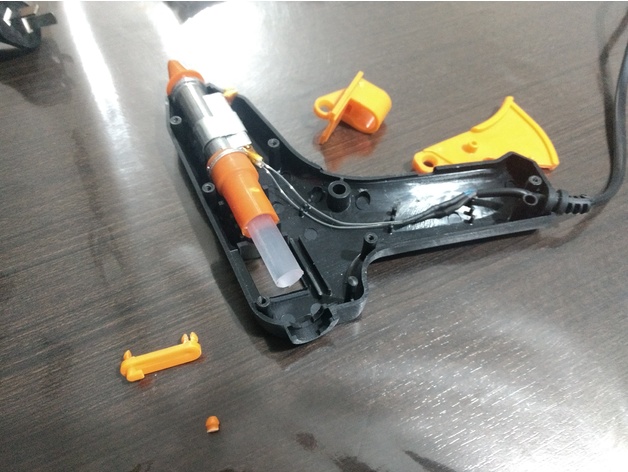
Articulacion Pistola de Pegamento (Glue Gun Trigger Hinge) 3D Print Model
Summary
Articulacion del gatillo de la Pistola de Adhesivo. -
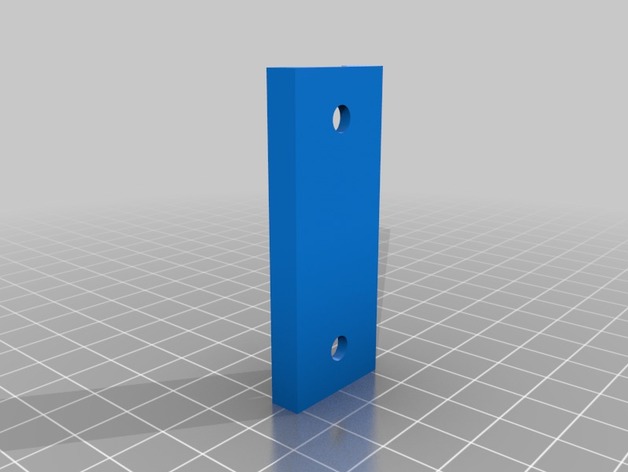
Bimini Hinge Saddle 3D Print Model
Summary
This saddle sits between some boat bimini brackets/hinges and the top edge of the side windshield. It allows an interface between the flat bottom of the bracket/hinge with the curved surface of the windshield. I made this to replace a damaged one from my early 90s Sea Ray. It may fit other models. -
Door Hinge Straight Pin 3D Print Model
Summary
A storm door had failed due faulty parts that help the hinges to the door frame. The faulty parts were hard to find. Instead of buying a whole new storm door, they were 3D printed. The door is now in working order!
More details on the story and process can be found here:https:[email protected]_techem/3d-printing-saved-a-storm-doors-life-24e50143ad08
Essentially, the print is a straight cylinder object. A total of three hinges needed two of these prints each, making for six total prints. The build is thick enough so they will not slip out of position. A pair of pliers are needed for installing the door hinge “straight pins”.
Updates to the print to come (if the 3D prints fail).
Post-Printing
Necessary Modifications to Build
Layer Height: 0.20mm (instead of 10mm)
Infill: 15% (instead of 10%)
Number of Shells: 3 (instead of 2)
The changed settings above reflect a much stronger print. Necessary for holding a heavy door’s hinges in place to the door frame. The stock parts were a material material.
The rest of the settings were left alone.
How I Designed This
Medium Post with Detailed Steps Taken
https:[email protected]_techem/3d-printing-saved-a-storm-doors-life-24e50143ad08 -

Wanhao door hinge 3D Print Model
Summary
Wanhao removable door hinge
That door made me a little angry some times so I made this hinge that I can just remove the door when its in the way.
Has magic inside that holds the door open when its open. I didn’t make it that way, it just happened.
Could do with tightening where it clips together, but it seems to work fine how it is. -

Hollow Metal Door Embossed Doors Collection model 3D Model
Collection of 3 Hollow Metal Embossed Doors (Each model also sold separately)-Each individual model is in a zip file with other exported formatsFormats Include: .max, .3ds, .obj, .fbx-Hollow Metal Door-025: Polygons: 12,719, Vertices: 14,644: Embossed Doors w. 6 Panels-Hollow Metal Door-026: Polygons: 11,100, Vertices: 13,027- Embossed Doors w. 2 Panels-Hollow Metal Door-027: Polygons: 11,792, Vertices: 14,605-Embossed Doors w. 4 Panels-Doors Include everything shown in renderings including door closer-Modeled to Scale and Dimensions: 3′-0′ x 7′-0′, Can easily be adjusted for different size.-Modeled in 3ds Max 2015 and rendered in Vray.-Door and Frame Colors can easily be changed-Door Edges on Embossed Panel have a vrayedges material to make the lines pop more-All objects grouped for easy scene movement-Model Placed at 0,0,0 axis-Doors can be opened, open group, and pivot point for rotation are the hinges. If pivot point gets reset it can be readjusted by going to:Hierarchy—Affect Pivot Point—Use move command to move pivot to center of Hinges-To rotate door and door closer: Open Group, Select Door and rotate to desired location, open door group and you will have to rotate ‘Door Closer-0XXA’ & Door Closer-0XXB’ to a position where they meet in the center, pivot is already set to their rotation location.Enjoy!
-
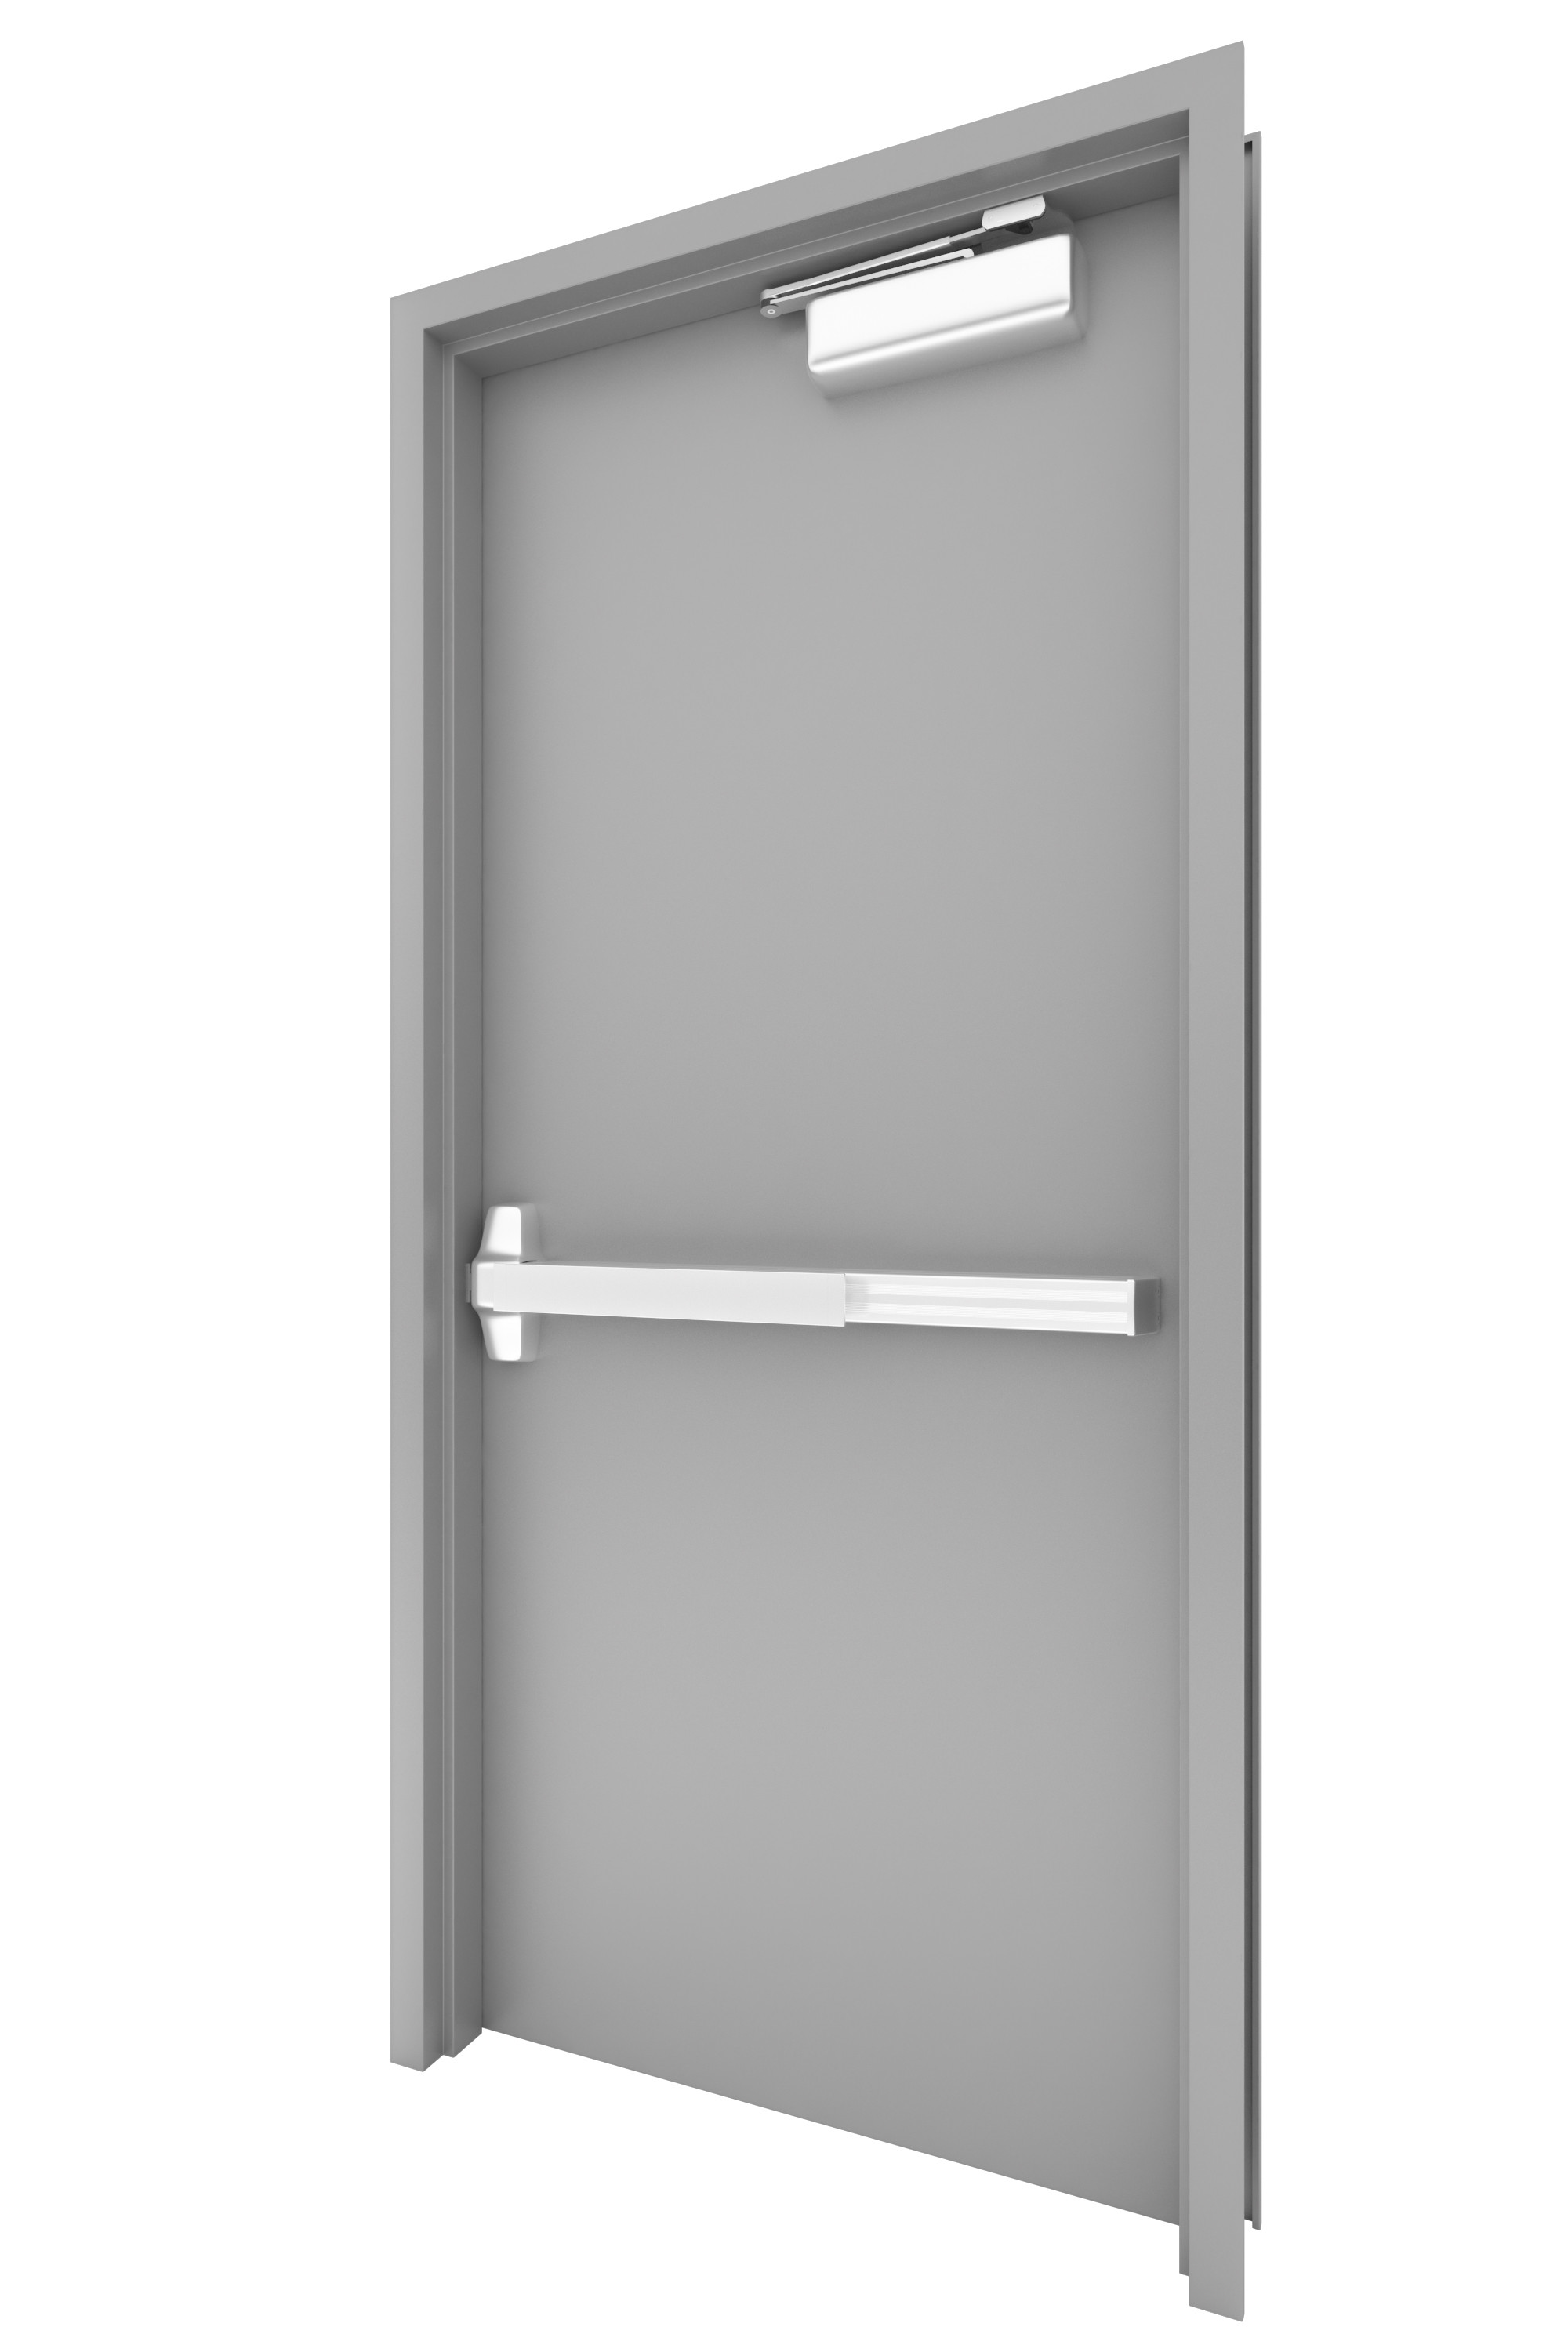
Hollow Metal Door-030 model 3D Model
Hollow Metal Door W. Door Closer. & Panic Exit Device (Push Bar)High Detail ModelDoors Can be opened.-Door and Frame Color Can easily be changedDoor Includes Door Closer, Strike Plate, Hinges, Hollow Metal Door Frame, Panic BarModeled to Scale and Dimensions: 3′-0′ x 7′-0′, Can easily be adjusted for different size.-Modeled in 3ds Max 2015 and rendered in Vray.-All objects grouped for easy scene movement-Model Placed at 0,0,0 axis-Doors can be opened, open group, and pivot point for rotation are the hinges. If pivot point gets reset it can be readjusted by going to:Hierarchy—Affect Pivot Point—Use move command to move pivot to center of Hinges-To rotate door and door closer: Open Group, Select Door and rotate to desired location, open door group and you will have to rotate ‘Door Closer-0XXA’ & Door Closer-0XXB’ to a position where they meet in the center, pivot is already set to their rotation location.Enjoy!
-
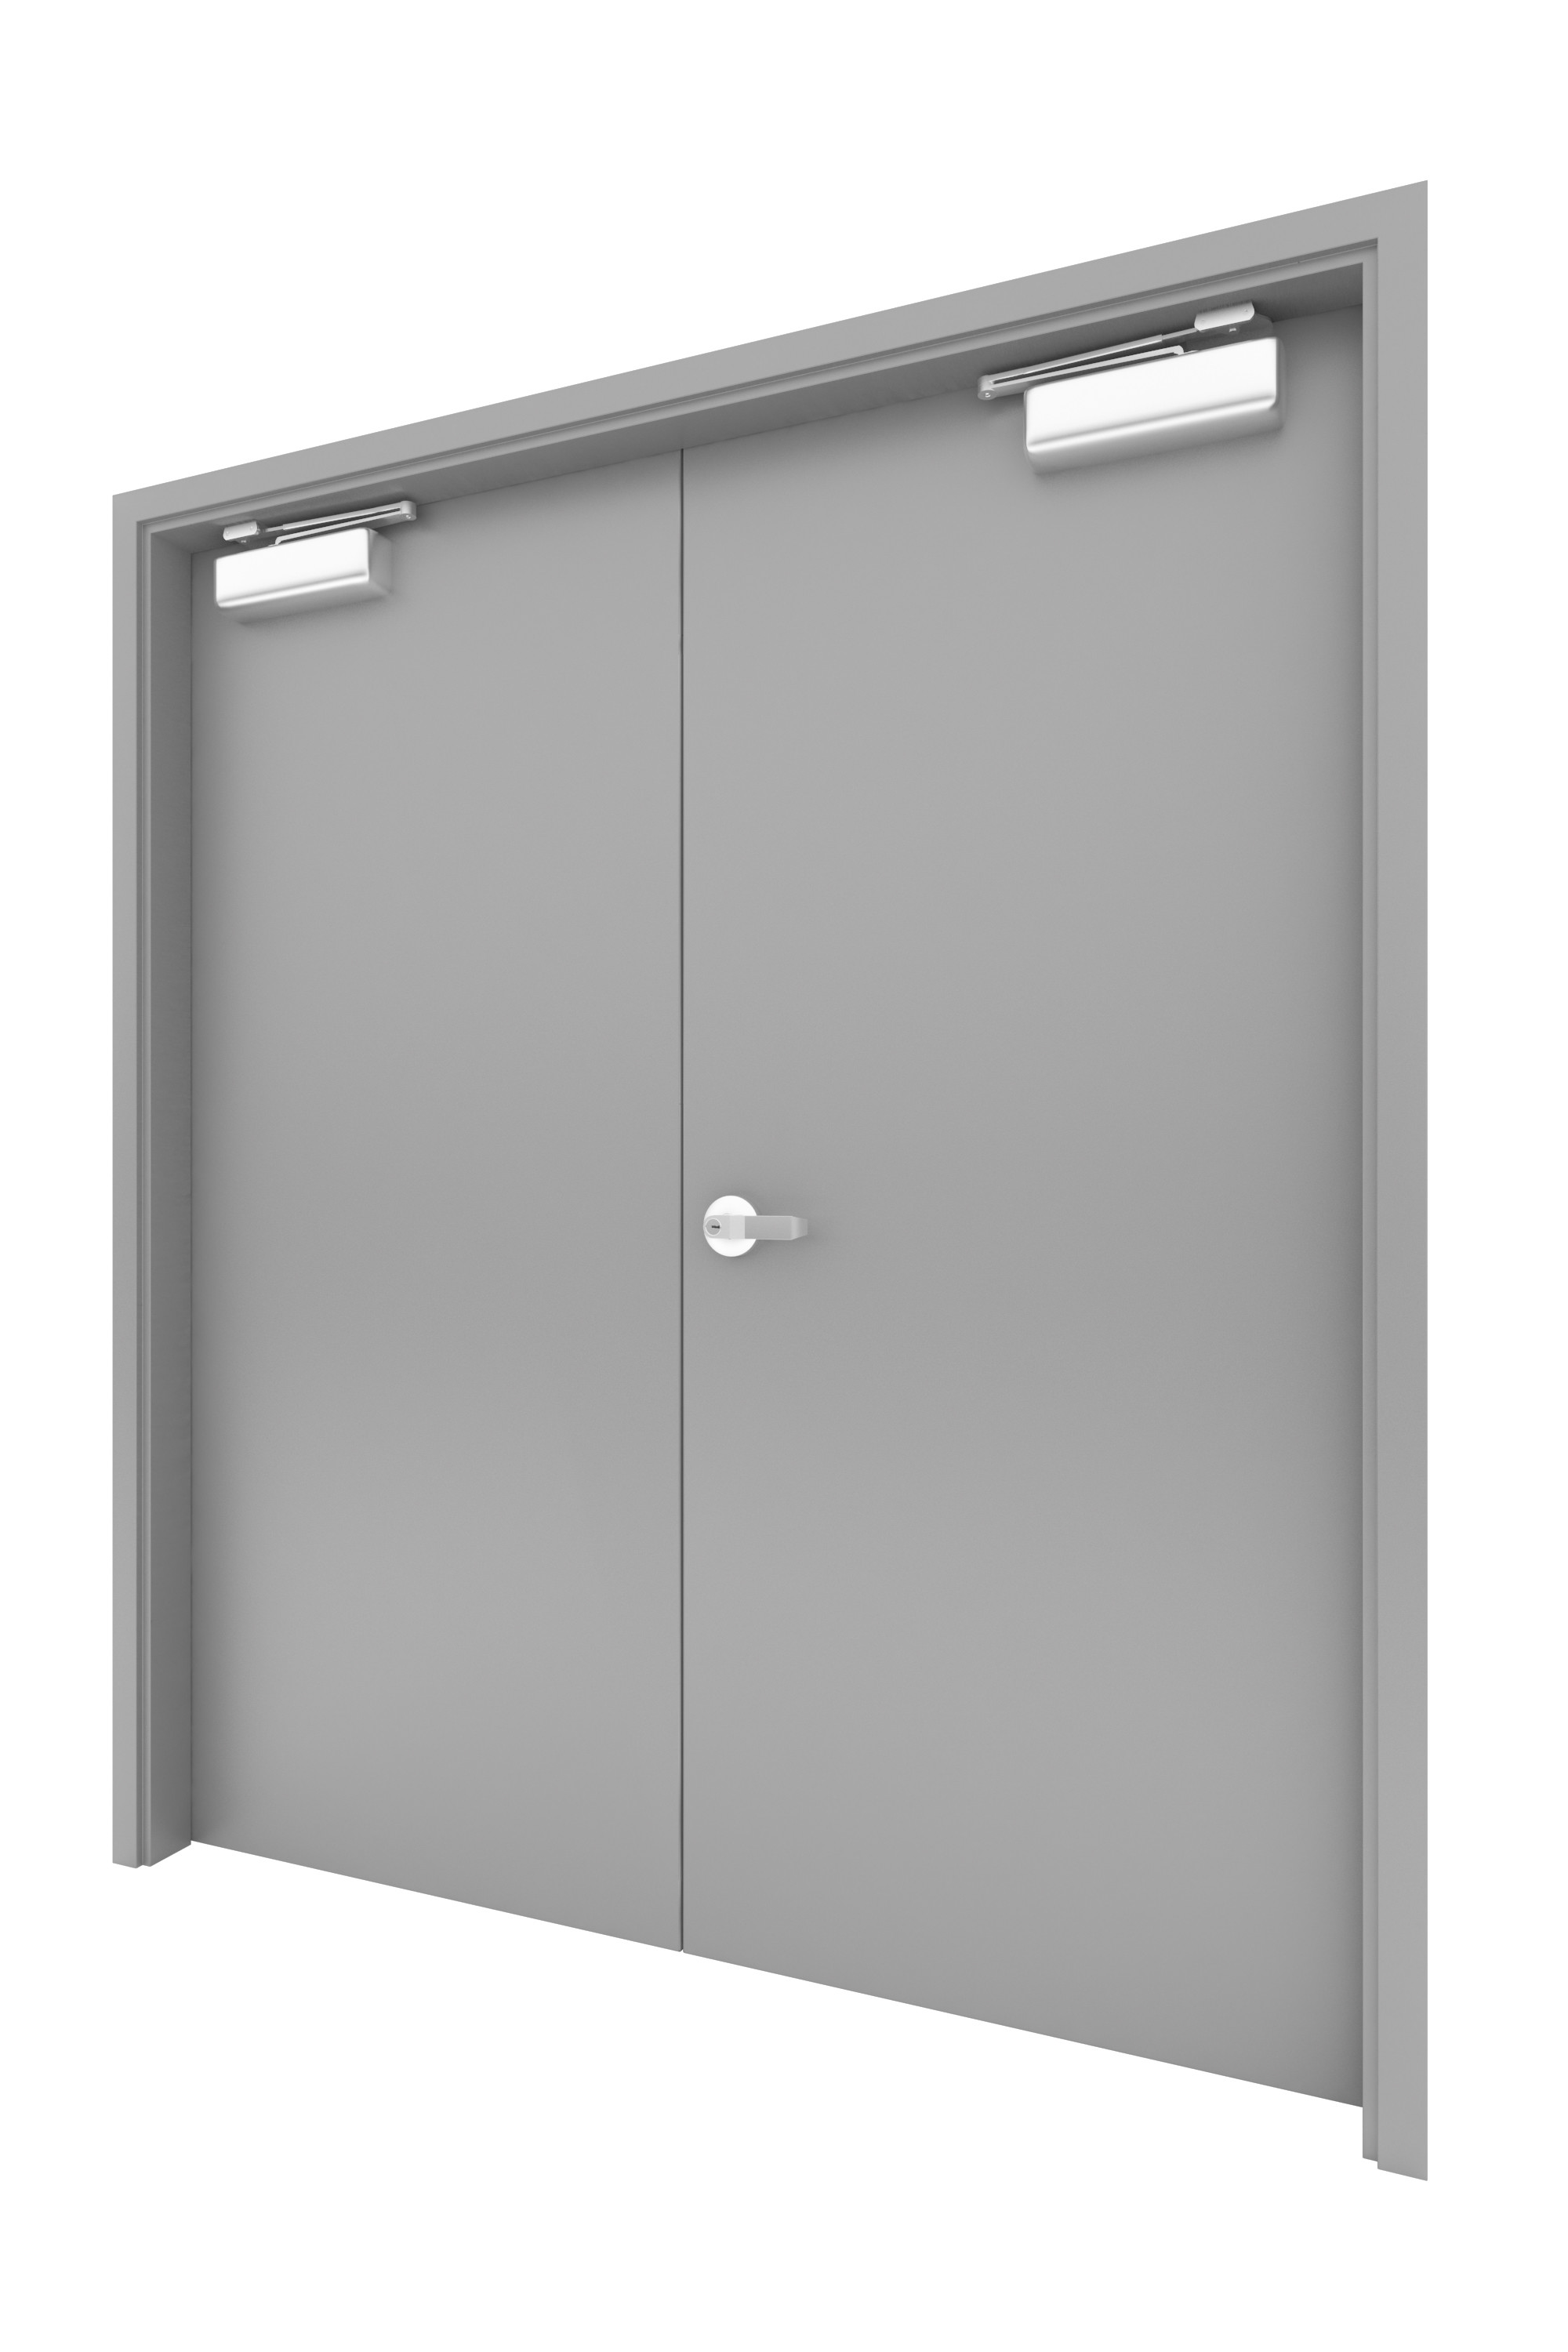
Hollow Metal Double Door Collection-001 3D model 3D Model
Collection of 5 Hollow Metal Double Doors (Each model also sold separately)-Each individual model is in a zip file with other exported formats-Hollow Metal Door-003: Polygons: 12,876, Vertices: 12,970: Door Handle w. Flush Bolts-Hollow Metal Door-004: Polygons: 10,397, Vertices: 15,353- Push Plate and Pull Handles-Hollow Metal Door-005: Polygons: 34,867, Vertices: 39,447-Push Bar w. Vertical Rod -Hollow Metal Door-006: Polygons: 23,312, Vertices: 27,767-Push Bar w. Mullion-Hollow Metal Door-007: Polygons: 16,277, Vertices: 20,662-Push Bar w. Strike -Doors Include everything shown in renderings-Modeled to Scale and Dimensions: 6′-0′ x 7′-0′, (2 3′-0′ Doors) Can easily be adjusted for different size.-Modeled in 3ds Max 2015 and rendered in Vray.-Door and Frame Colors can easily be changed-All objects grouped for easy scene movement-Model Placed at 0,0,0 axis-Doors can be opened, open group, and pivot point for rotation are the hinges. If pivot point gets reset it can be readjusted by going to:Hierarchy—Affect Pivot Point—Use move command to move pivot to center of Hinges-To rotate door and door closer: Open Group, Select Door and rotate to desired location, open door group and you will have to rotate ‘Door Closer-0XXA’ & Door Closer-0XXB’ to a position where they meet in the center, pivot is already set to their rotation location.Enjoy!
-
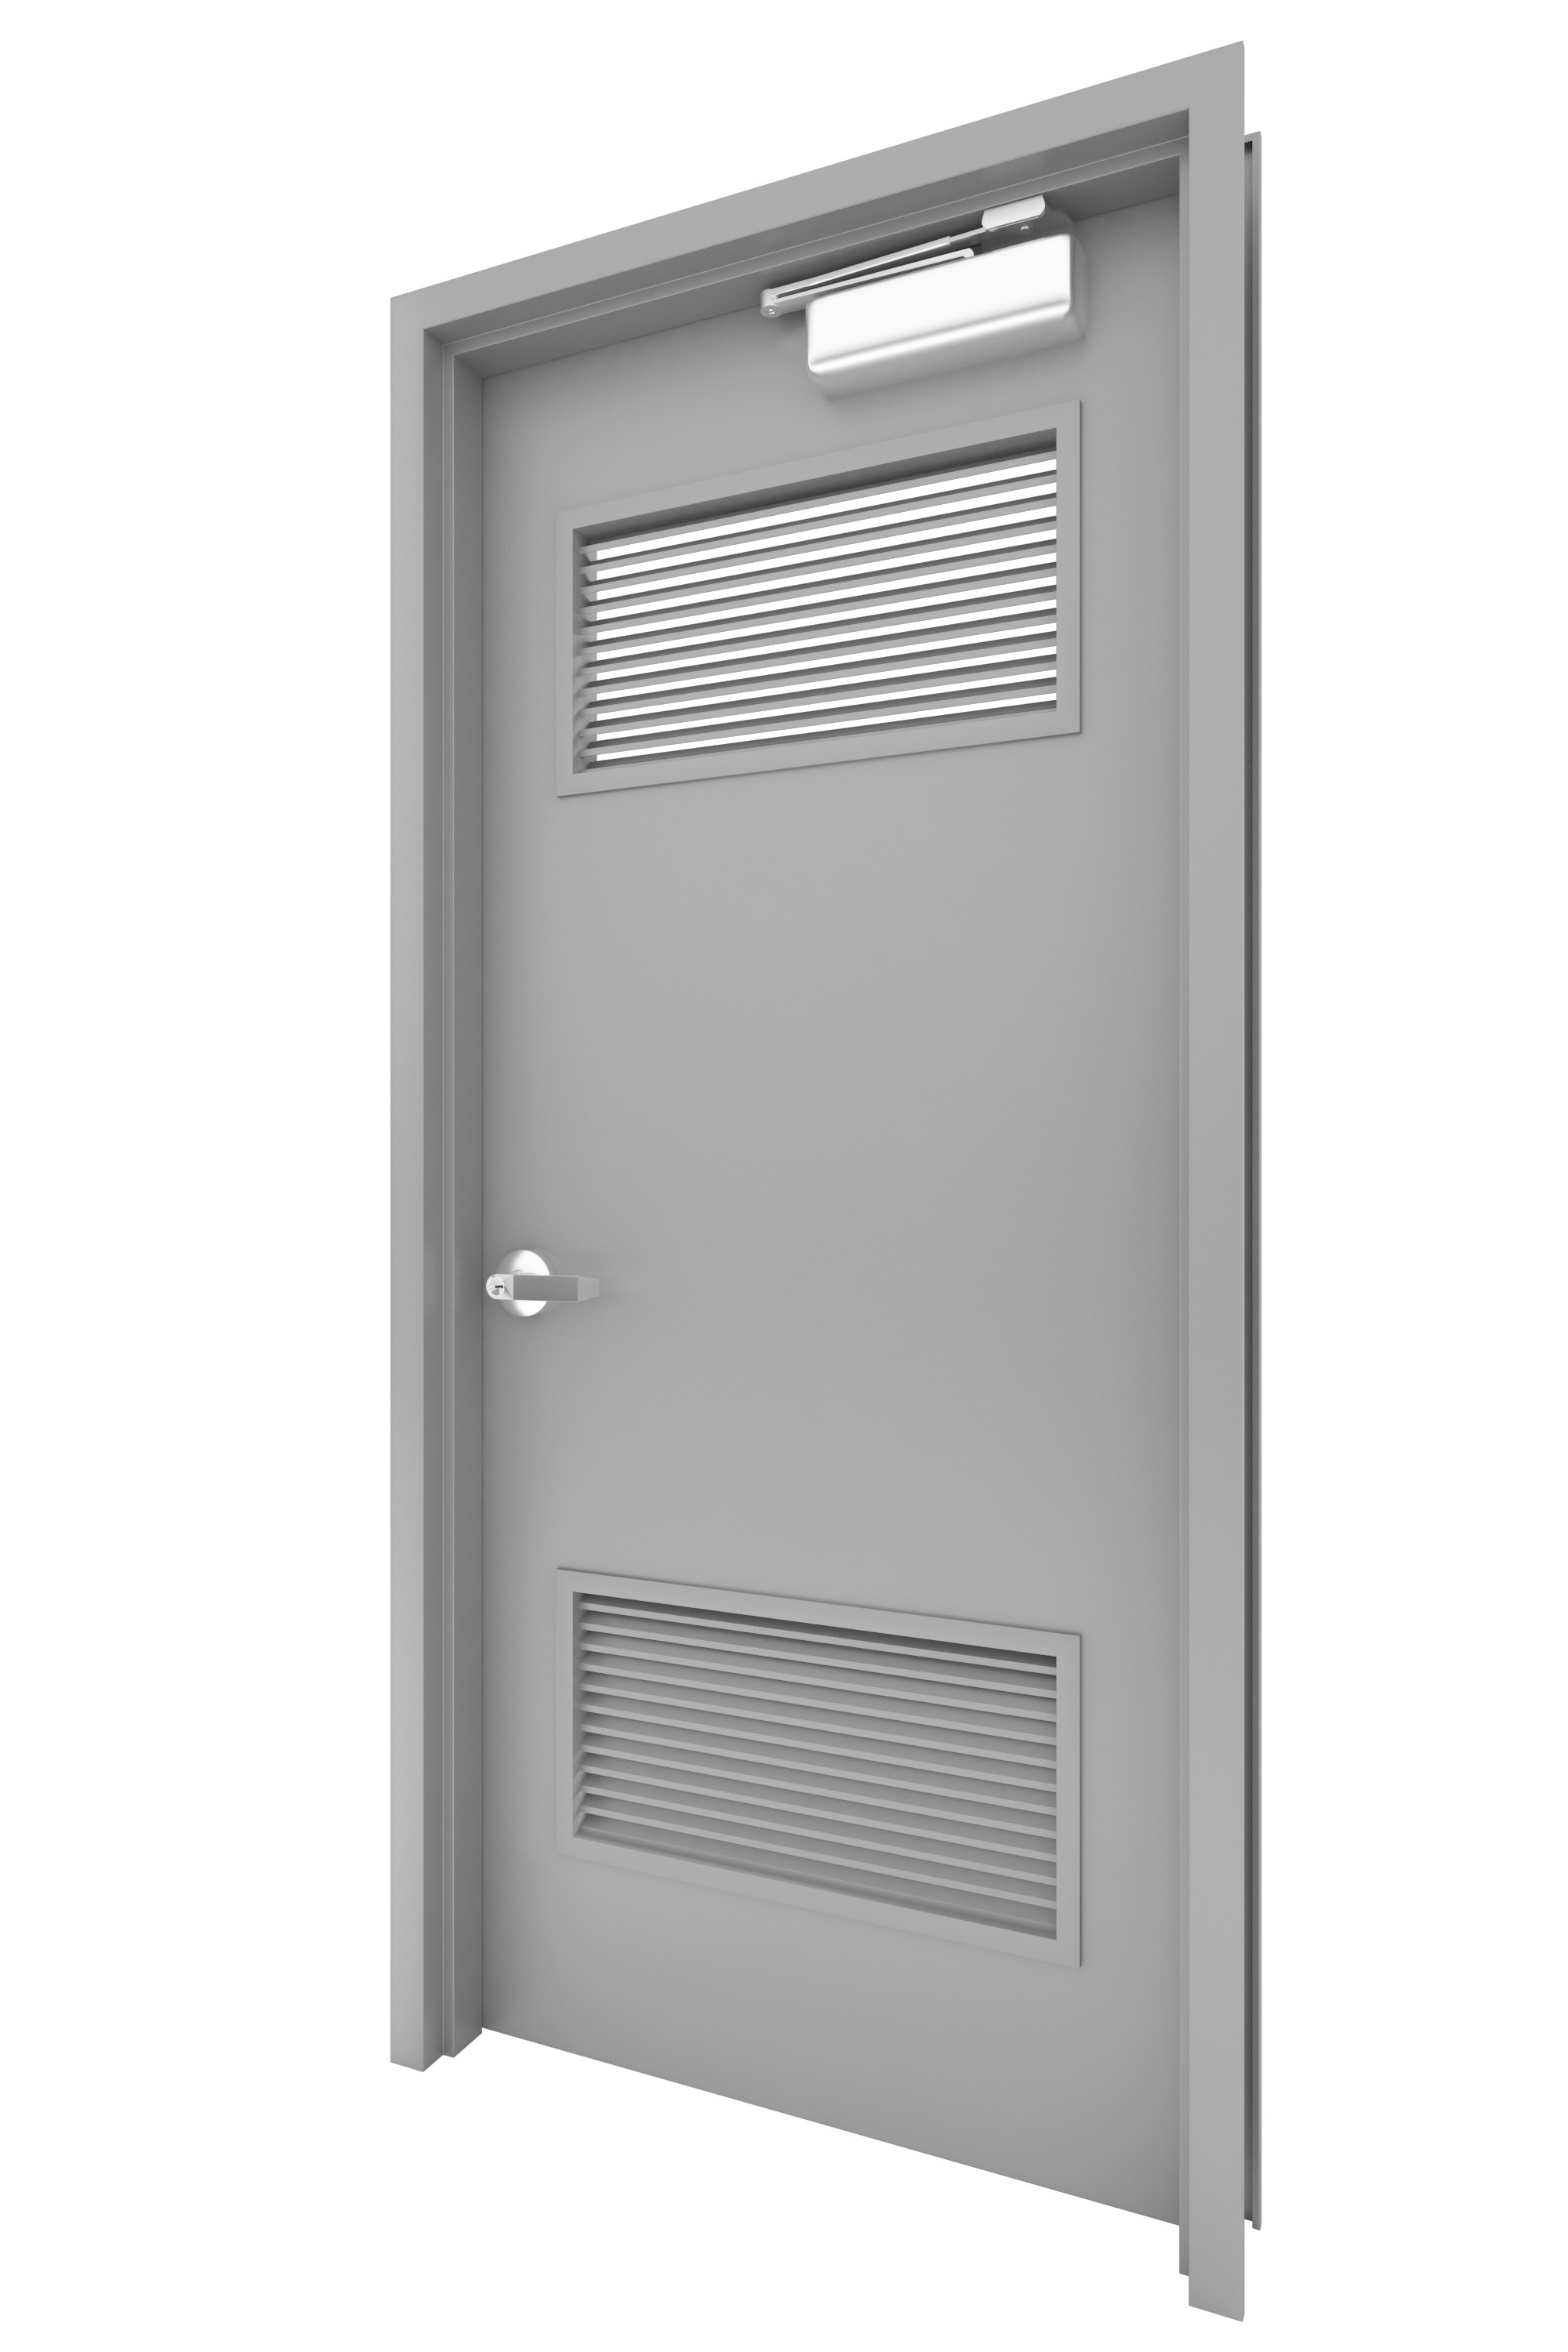
Hollow Metal Door-024 3D Model
Hollow Metal Door W. Door Closer. &Double Y Louver (Outboard Louver Frame) Top and BottomHigh Detail ModelDoors Can be opened.Door Includes Door Closer, Knob, Strike Plate, Hinges, Hollow Metal Door Frame, Louver -Modeled to Scale and Dimensions: 3′-0′ x 7′-0′-Modeled in 3ds Max 2015 and rendered in Vray.-All objects grouped for easy scene movement-Model Placed at 0,0,0 axis-Doors can be opened, open group, and pivot point for rotation are the hinges. If pivot point gets reset it can be readjusted by going to:Hierarchy—Affect Pivot Point—Use move command to move pivot to center of Hinges-To rotate door and door closer: Open Group, Select Door and rotate to desired location, open door group and you will have to rotate ‘Door Closer-0XXA’ & Door Closer-0XXB’ to a position where they meet in the center, pivot is already set to their rotation location.Enjoy!
-
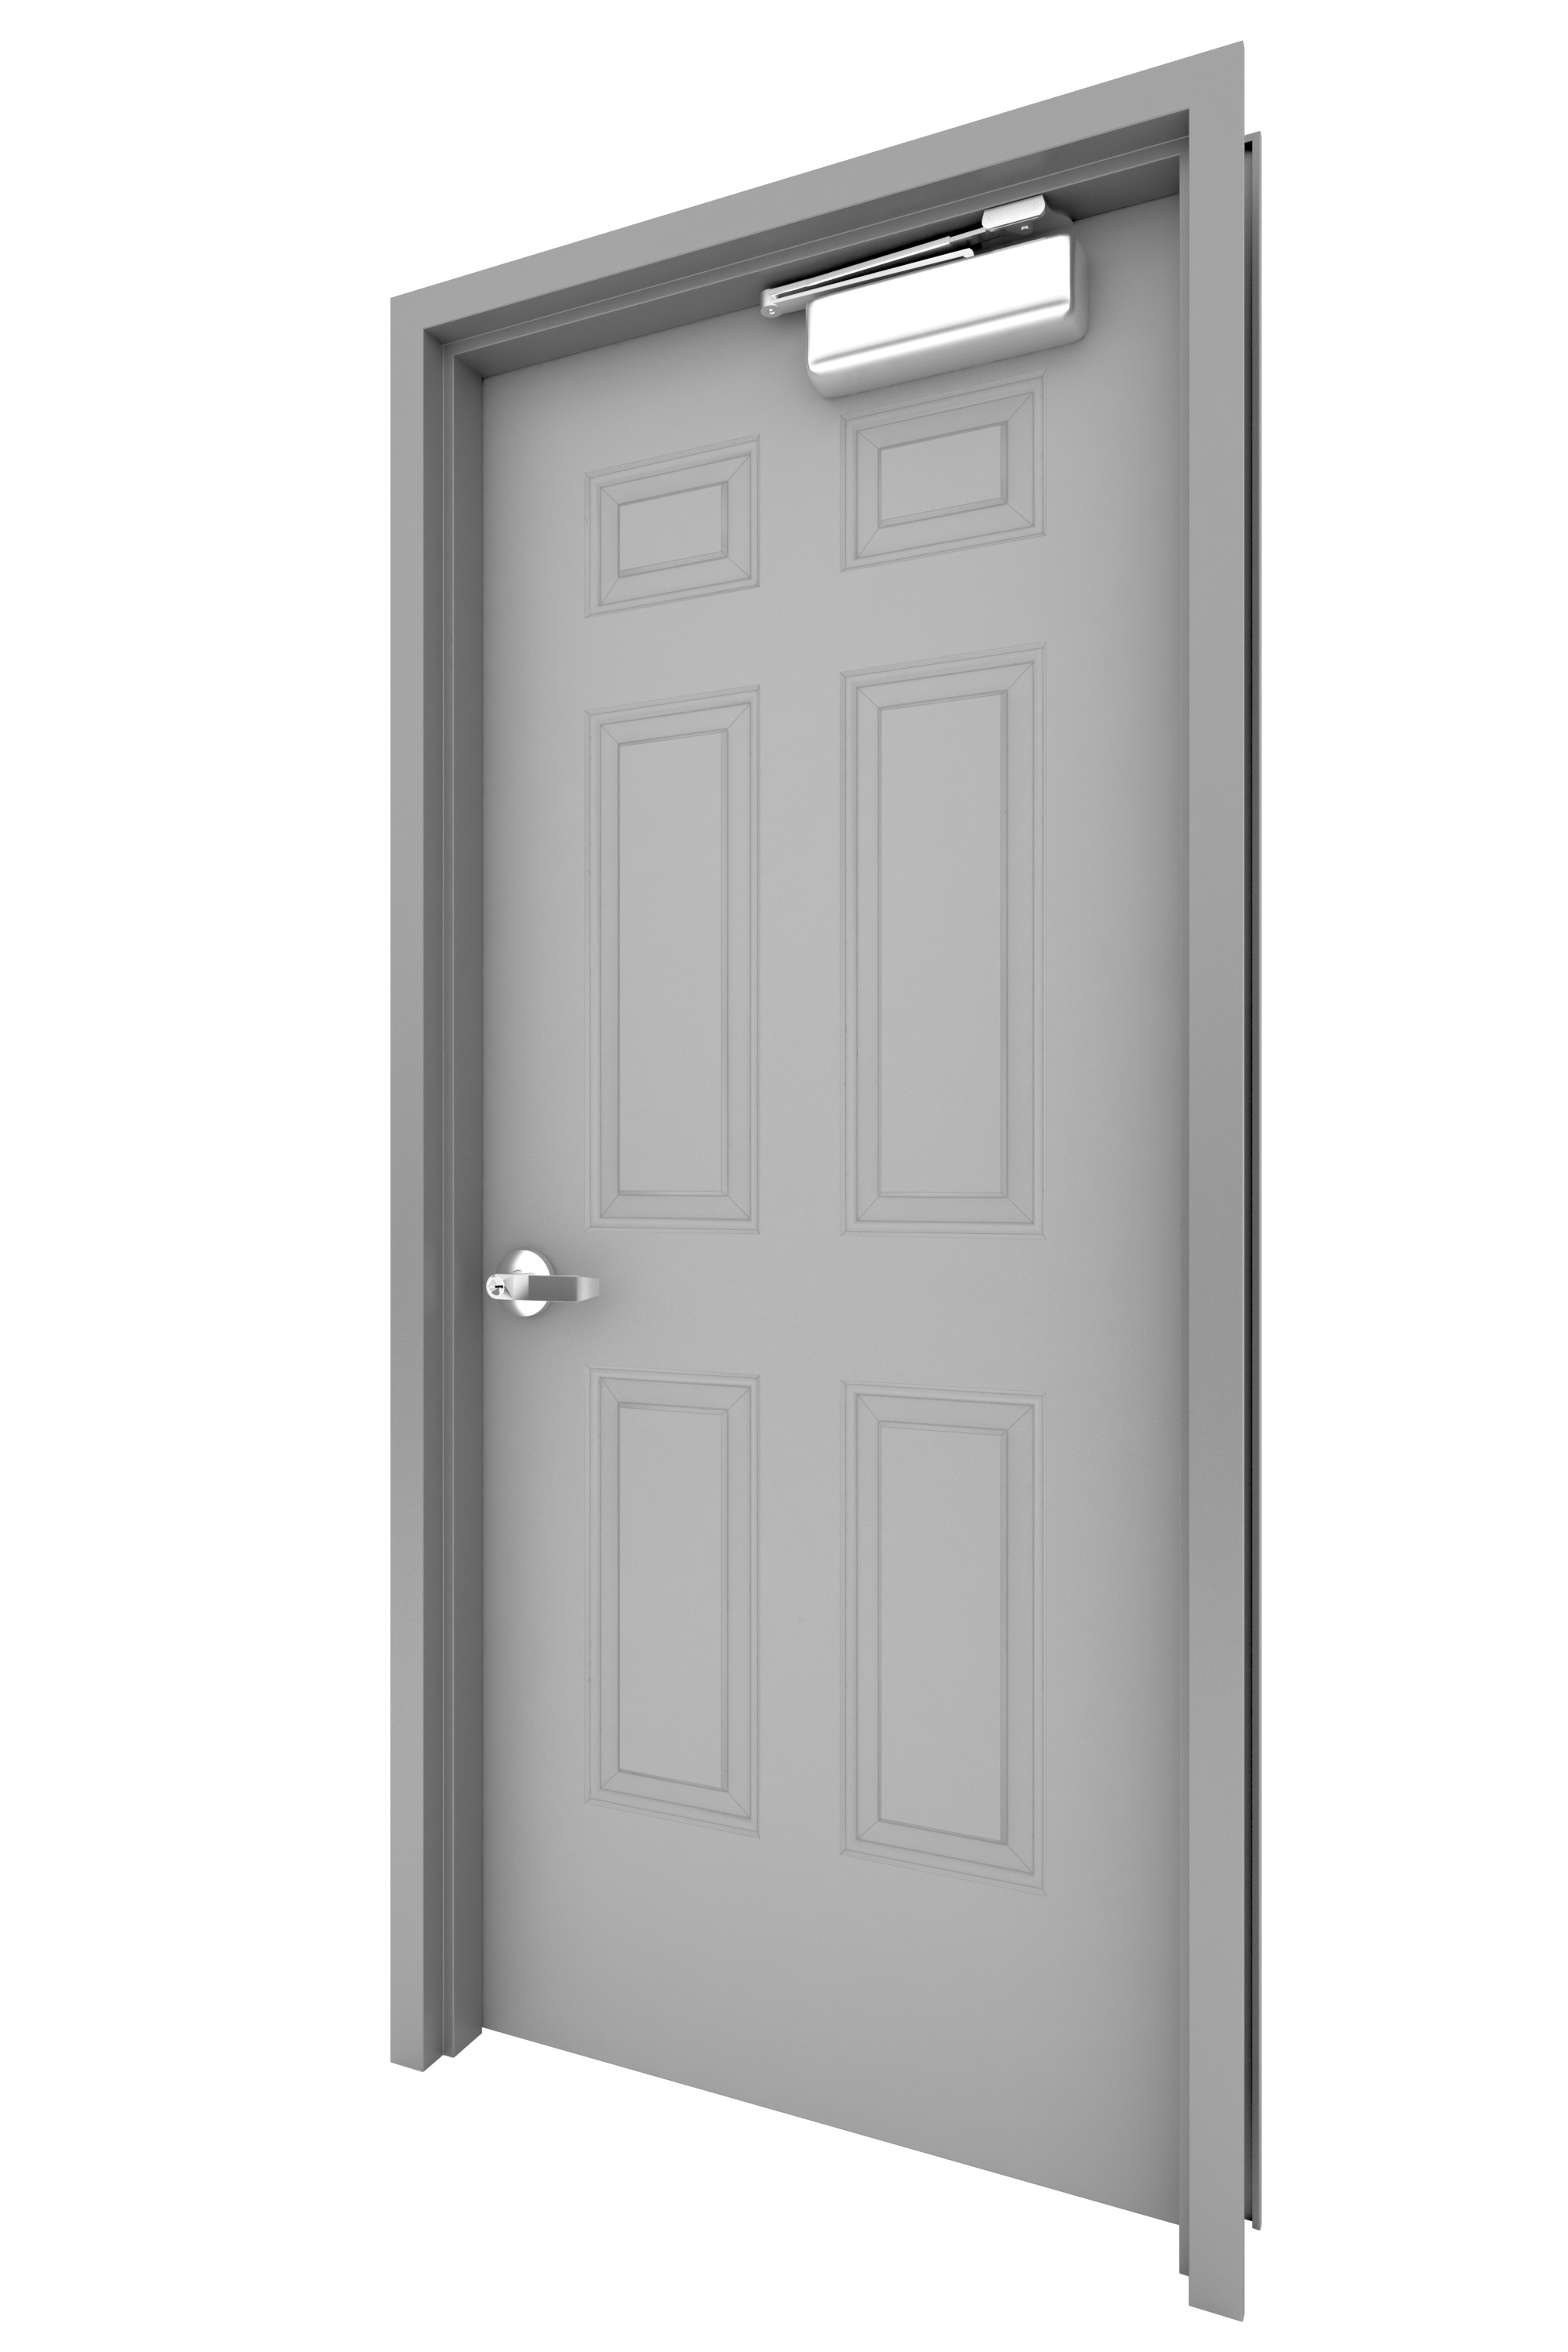
Hollow Metal Door-025 3D Model
Embossed 6 Panel Hollow Metal Door W. Door Closer.High Detail ModelDoors Can be opened.Door Includes Door Closer, Knob, Strike Plate, Hinges, Hollow Metal Door Frame-Modeled to Scale and Dimensions: 3′-0′ x 7′-0′-Modeled in 3ds Max 2015 and rendered in Vray.-All objects grouped for easy scene movement-Model Placed at 0,0,0 axis-Doors can be opened, open group, and pivot point for rotation are the hinges. If pivot point gets reset it can be readjusted by going to:Hierarchy—Affect Pivot Point—Use move command to move pivot to center of Hinges-To rotate door and door closer: Open Group, Select Door and rotate to desired location, open door group and you will have to rotate ‘Door Closer-0XXA’ & Door Closer-0XXB’ to a position where they meet in the center, pivot is already set to their rotation location.Enjoy!
-
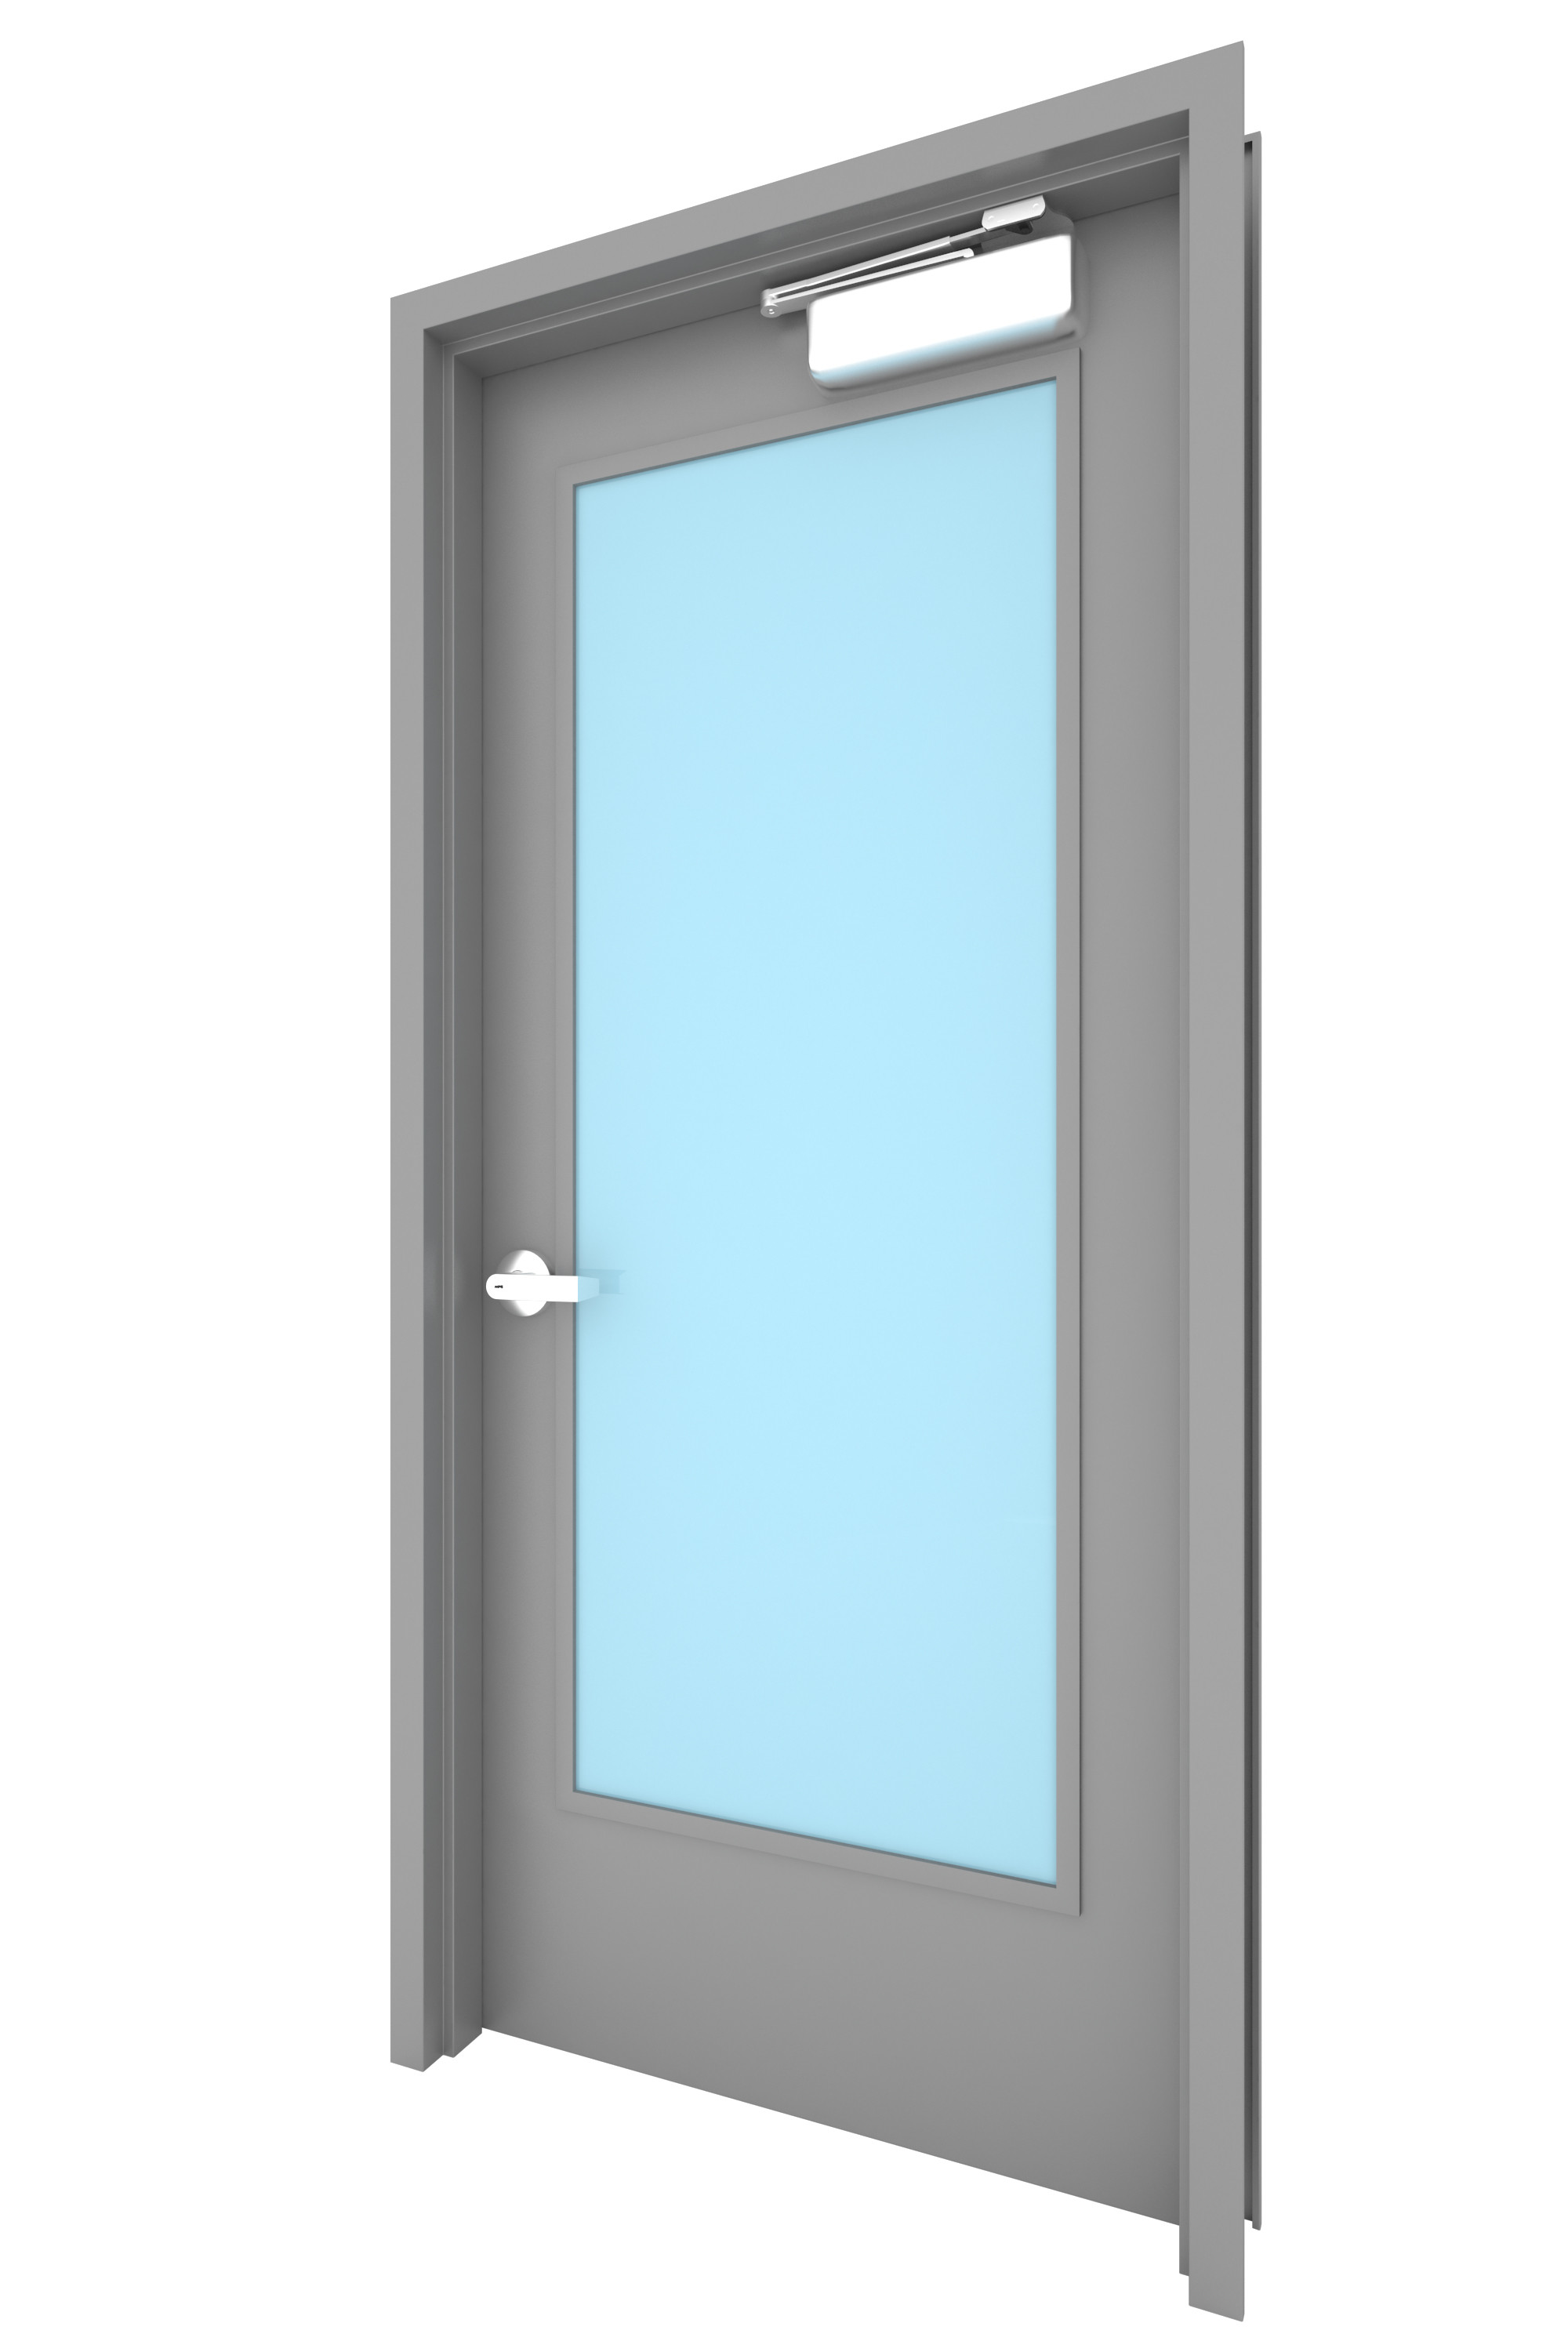
Hollow Metal Door-016 3D model 3D Model
Hollow Metal Door W. Door Closer. & Glass Vision Lite 24×64 (Outboard Glass Frame) High Detail ModelDoors Can be opened.Door Includes Door Closer, Knob, Strike Plate, Hinges, Hollow Metal Door Frame, Glass Vision Lite-Modeled to Scale and Dimensions: 3′-0′ x 7′-0′, 24′ x 64′ Glass -Modeled in 3ds Max 2015 and rendered in Vray.-All objects grouped for easy scene movement-Model Placed at 0,0,0 axis-Doors can be opened, open group, and pivot point for rotation are the hinges. If pivot point gets reset it can be readjusted by going to:Hierarchy—Affect Pivot Point—Use move command to move pivot to center of Hinges-To rotate door and door closer: Open Group, Select Door and rotate to desired location, open door group and you will have to rotate ‘Door Closer-0XXA’ & Door Closer-0XXB’ to a position where they meet in the center, pivot is already set to their rotation location.Enjoy!
-
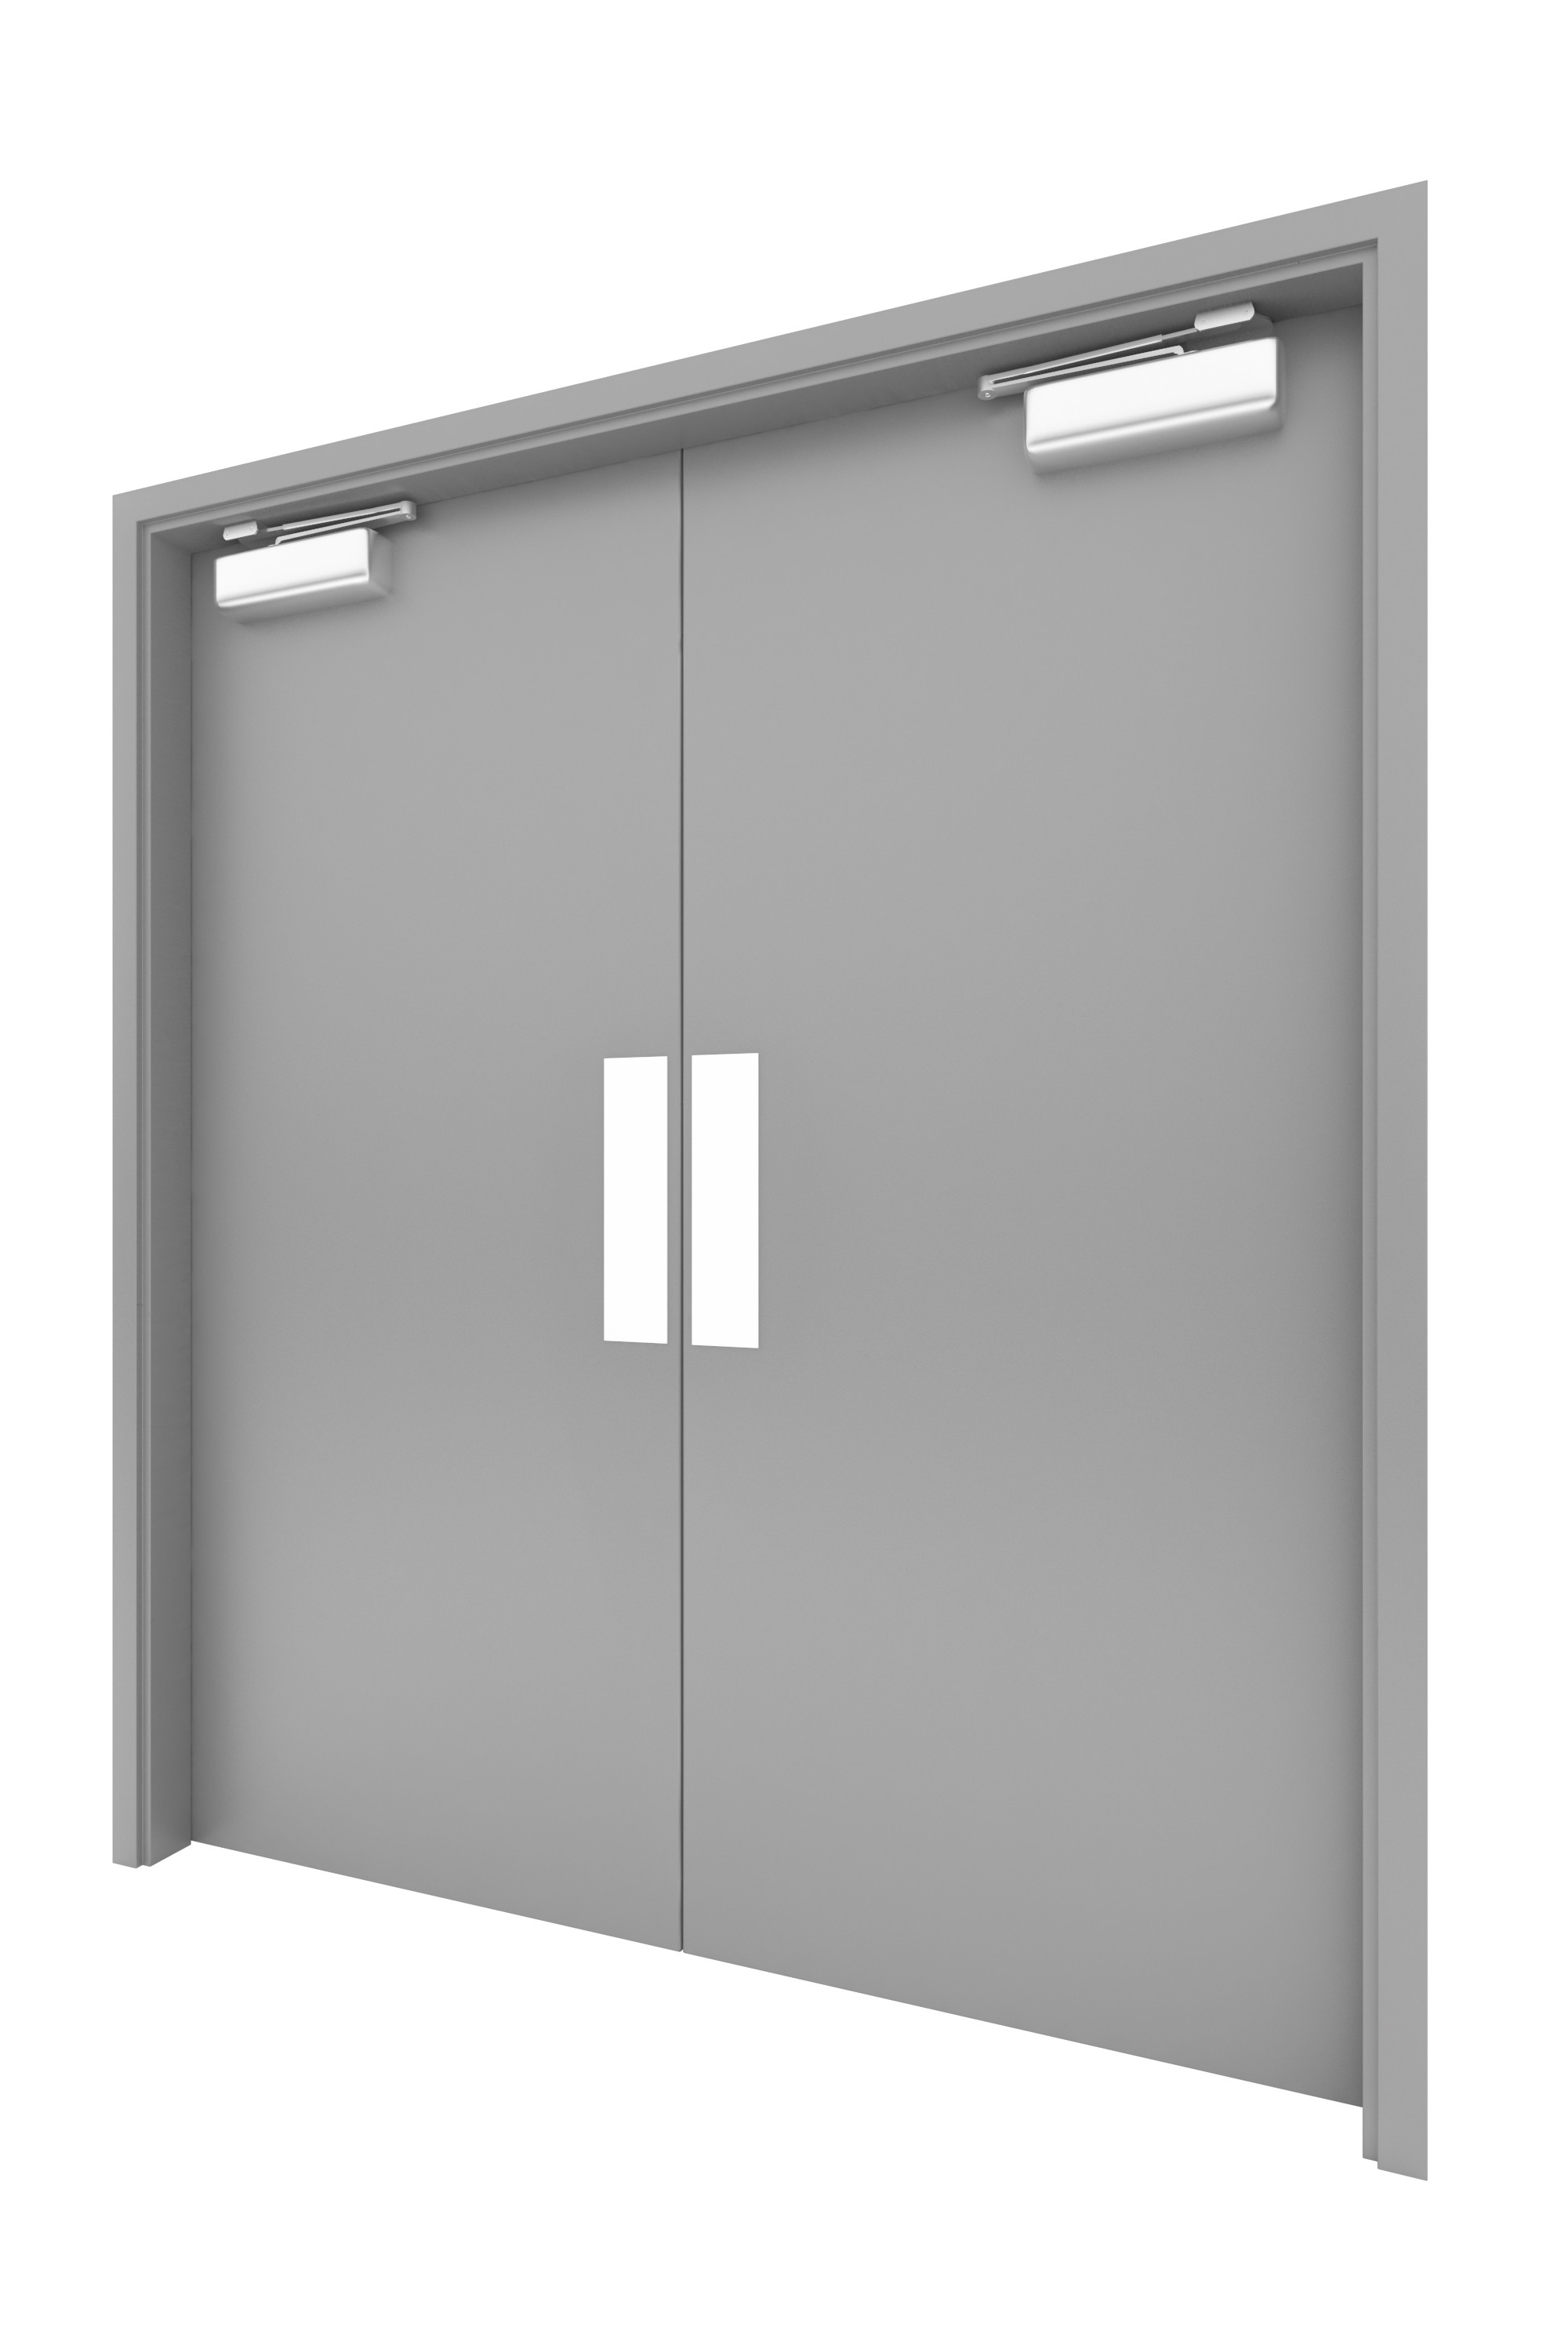
3D Hollow Metal Door-004 3D Model
Double Hollow Metal Door W. Door Closer, push plate, pull handle.High Detail ModelDoors Can be opened.Door Includes Door Closer, Knob, Strike Plate, Hinges, push plate, pull handles, Hollow Metal Door FrameModeled to Scale and Dimensions: 6′-0′ x 7′-0′, (2 3′-0′ Doors) Can easily be adjusted for different size.-Modeled in 3ds Max 2015 and rendered in Vray.-All objects grouped for easy scene movement-Model Placed at 0,0,0 axis-Doors can be opened, open group, and pivot point for rotation are the hinges. If pivot point gets reset it can be readjusted by going to:Hierarchy—Affect Pivot Point—Use move command to move pivot to center of Hinges-To rotate door and door closer: Open Group, Select Door and rotate to desired location, open door group and you will have to rotate ‘Door Closer-0XXA’ & Door Closer-0XXB’ to a position where they meet in the center, pivot is already set to their rotation location.Enjoy!
-
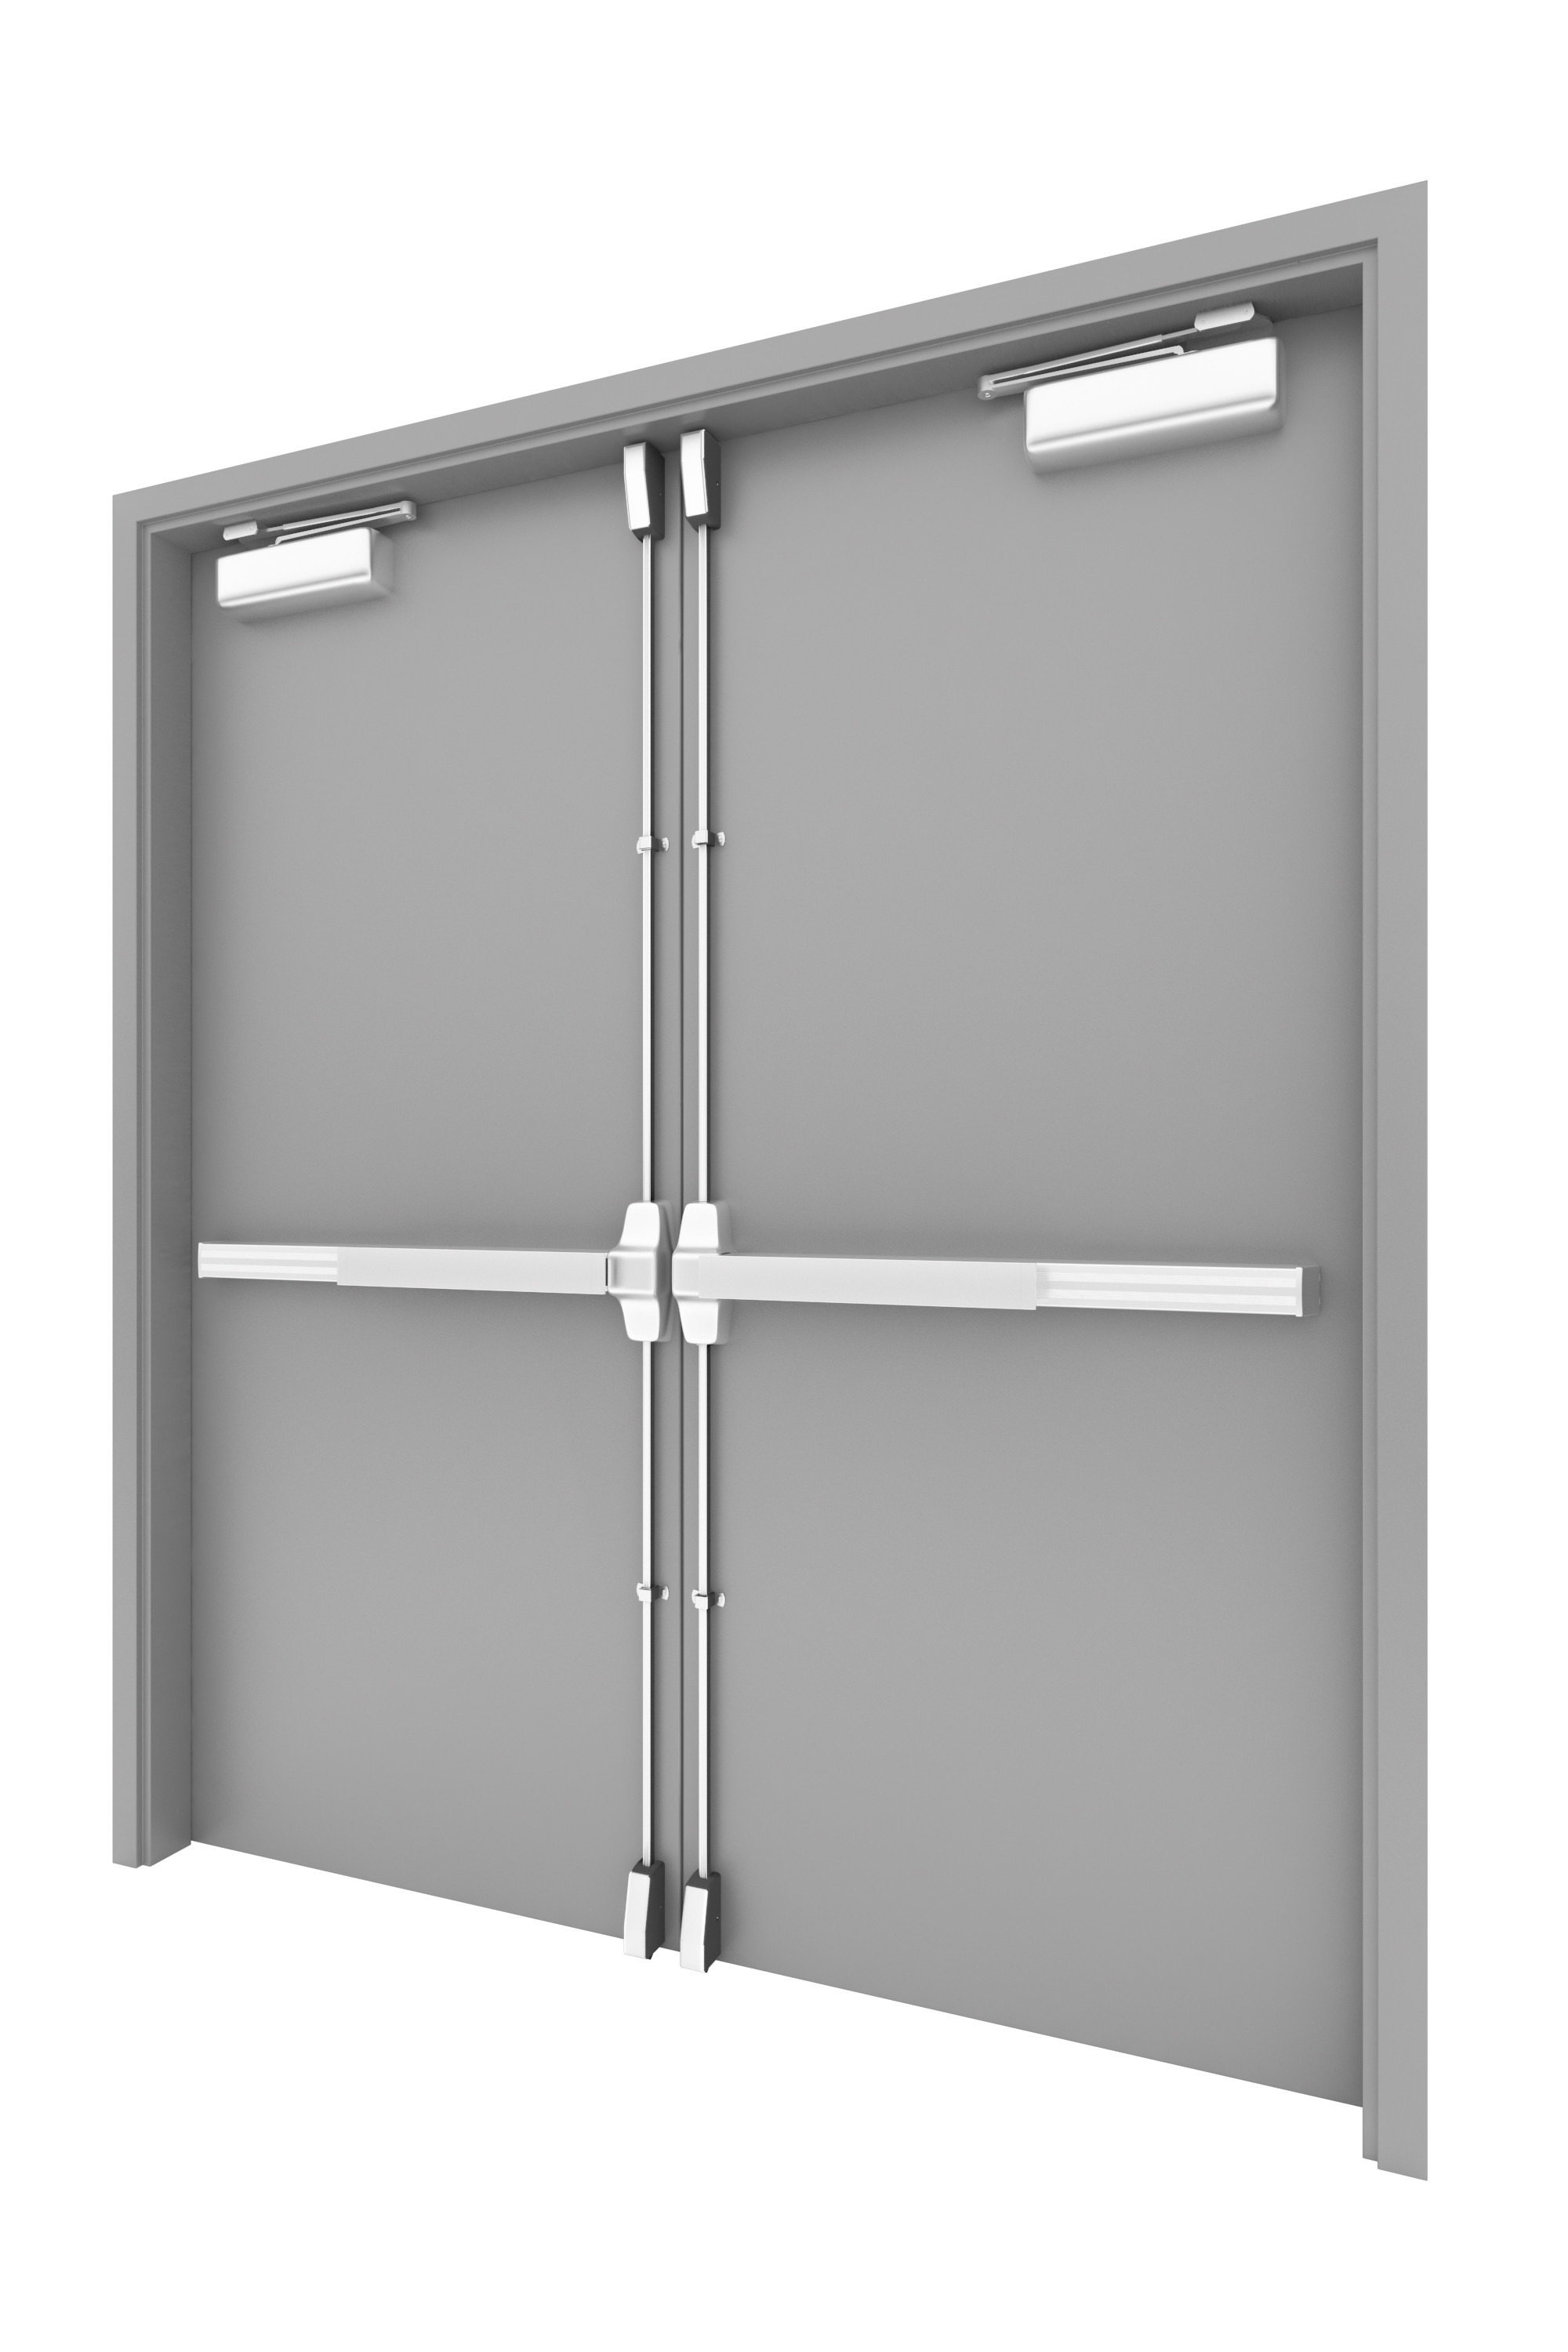
Hollow Metal Door-005 3D Model
Double Hollow Metal Door W. Door Closer & Vertical Rod Panic Exit Device (Push Bar)High Detail ModelDoors Can be opened.Door Includes Door Closer, Hinges, Hollow Metal Door Frame, Door Closer, Modeled to Scale and Dimensions: 6′-0′ x 7′-0′, (2 3′-0′ Doors) Can easily be adjusted for different size.-Modeled in 3ds Max 2015 and rendered in Vray.-All objects grouped for easy scene movement-Model Placed at 0,0,0 axis-Doors can be opened, open group, and pivot point for rotation are the hinges. If pivot point gets reset it can be readjusted by going to:Hierarchy—Affect Pivot Point—Use move command to move pivot to center of Hinges-To rotate door and door closer: Open Group, Select Door and rotate to desired location, open door group and you will have to rotate ‘Door Closer-0XXA’ & Door Closer-0XXB’ to a position where they meet in the center, pivot is already set to their rotation location.Enjoy!
-
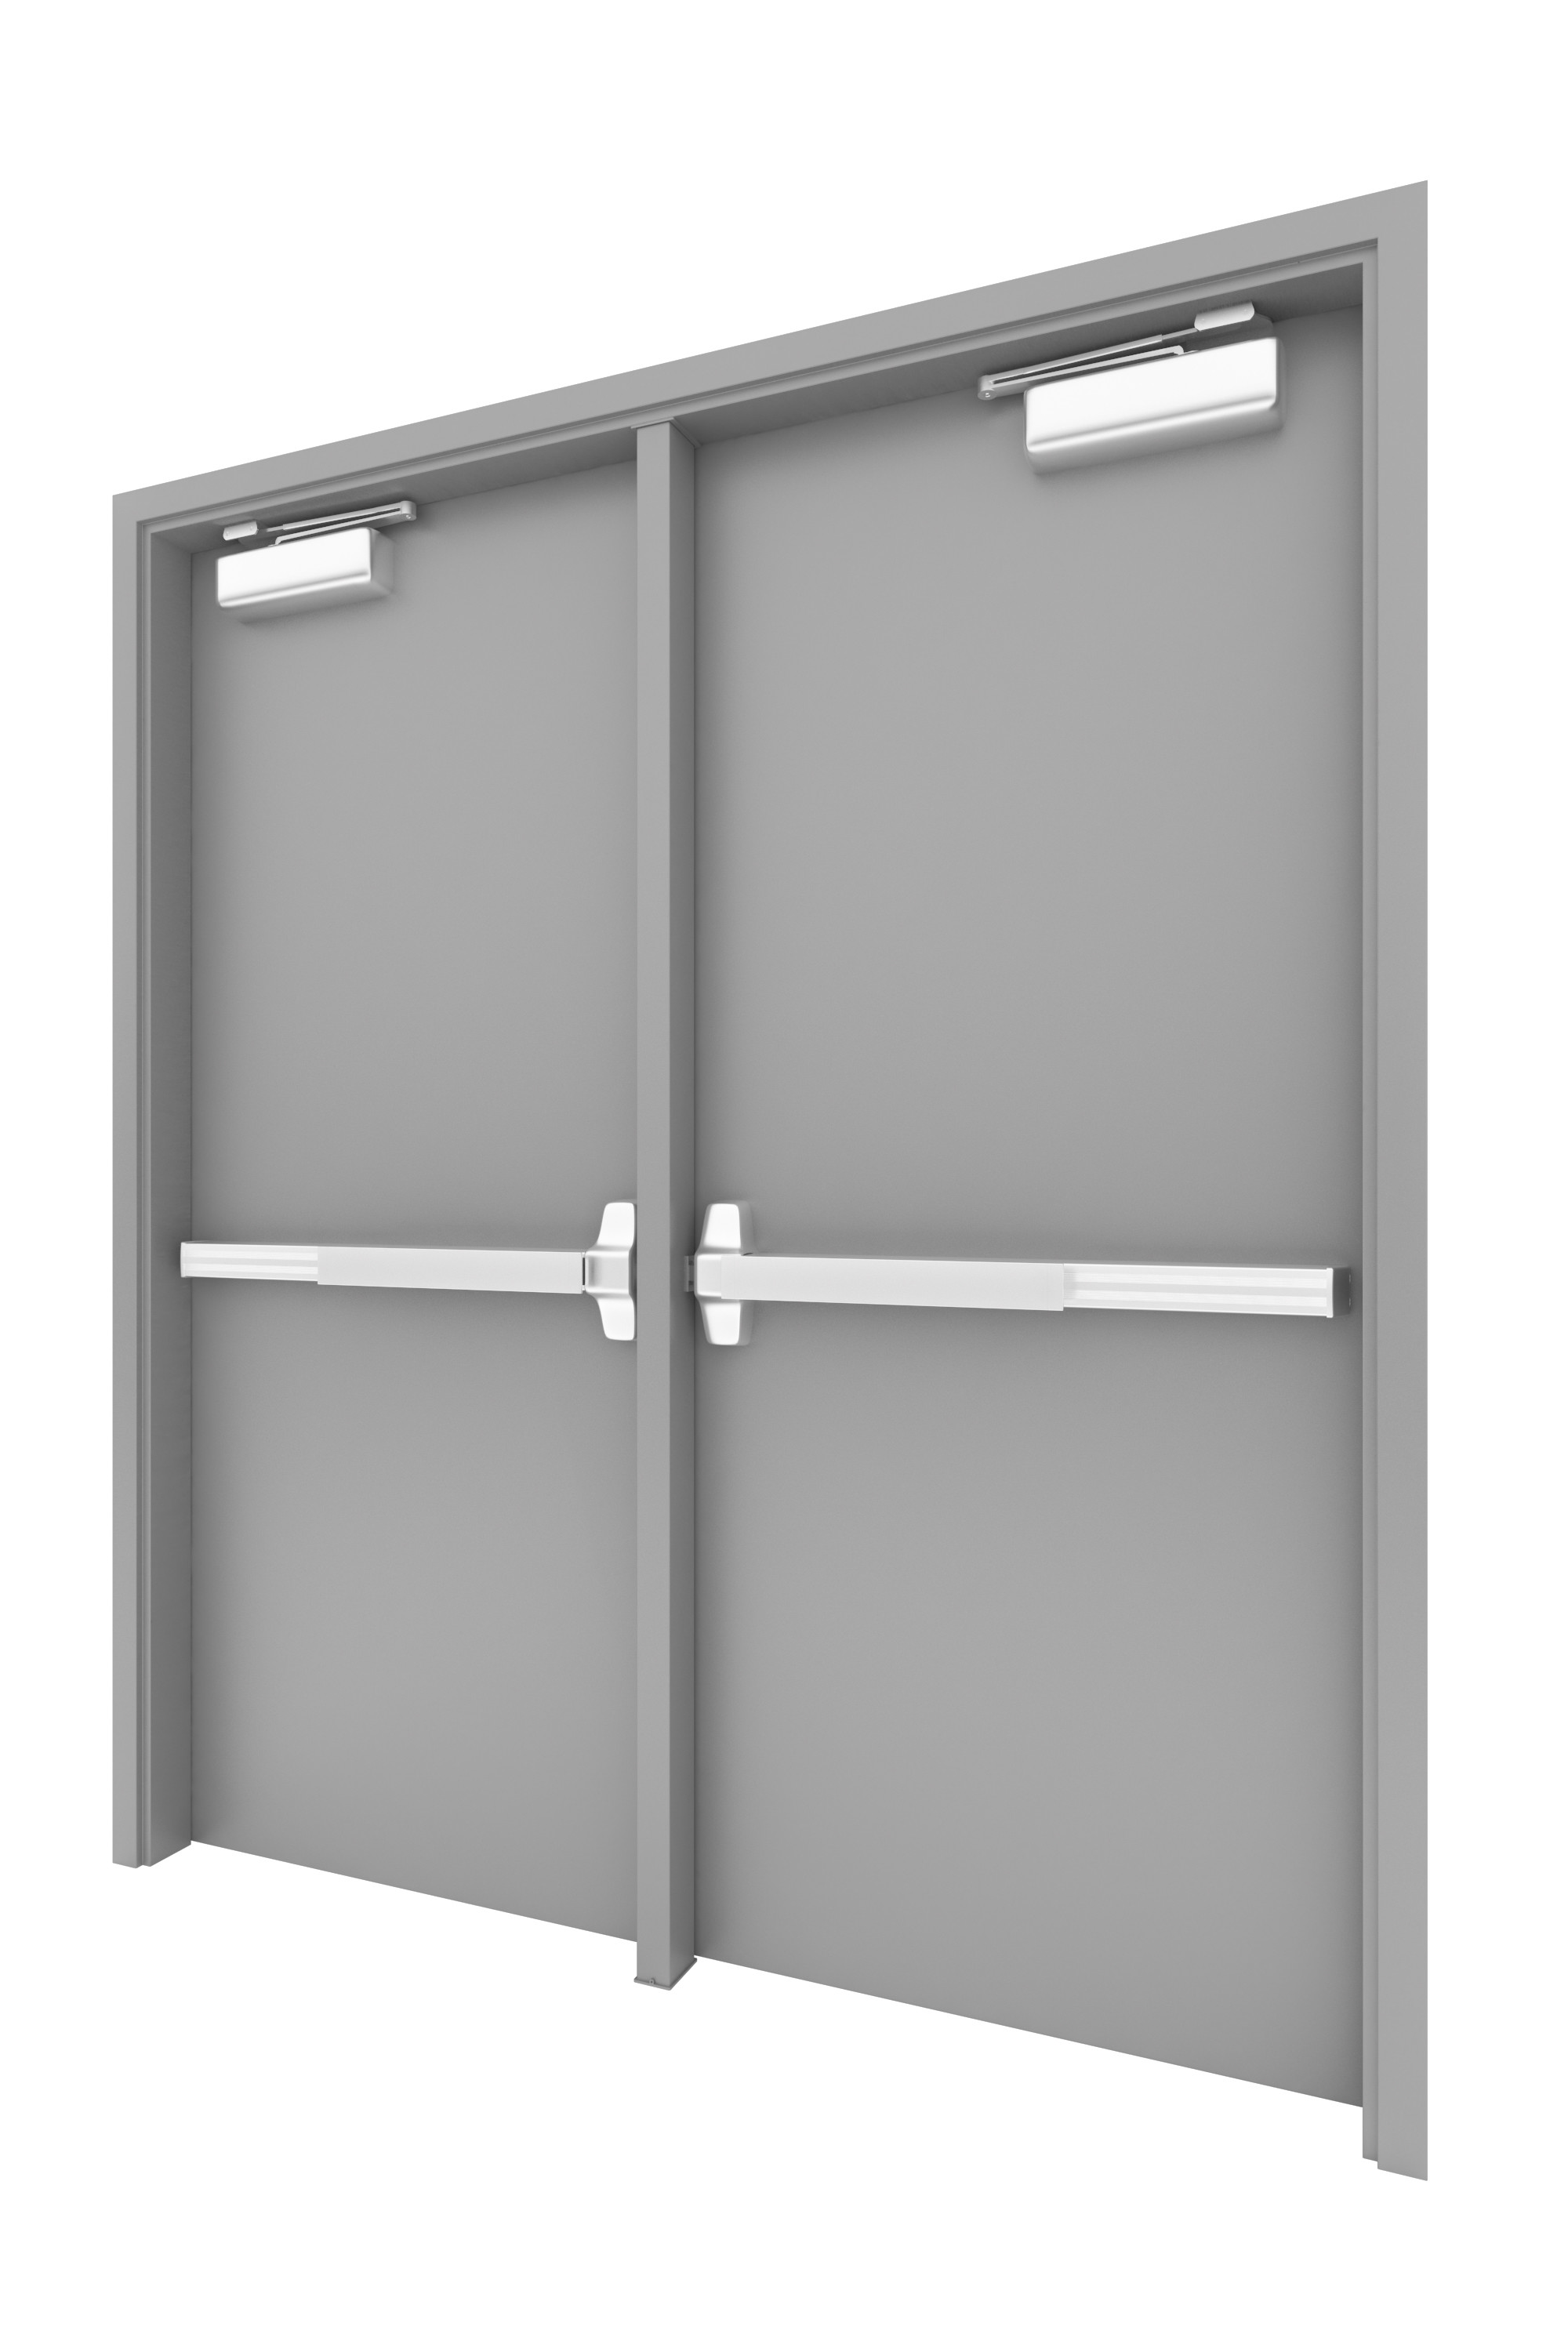
Hollow Metal Door-006 3D Model
door, hardware, hollow, metal, handle, closer, screw, strike, plate, hinge, trim, frame, entrance, double, entry, home, commercial, push, pull, plate
-
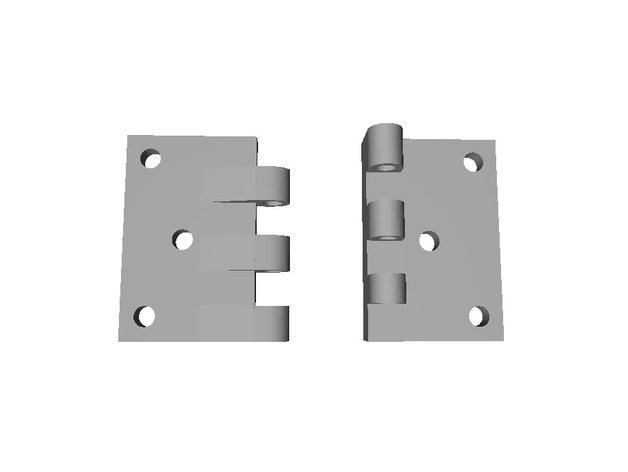
Hinge for different heights 3D Print Model
Summary
I made this hinge, cause I had two different layer heights to connect.