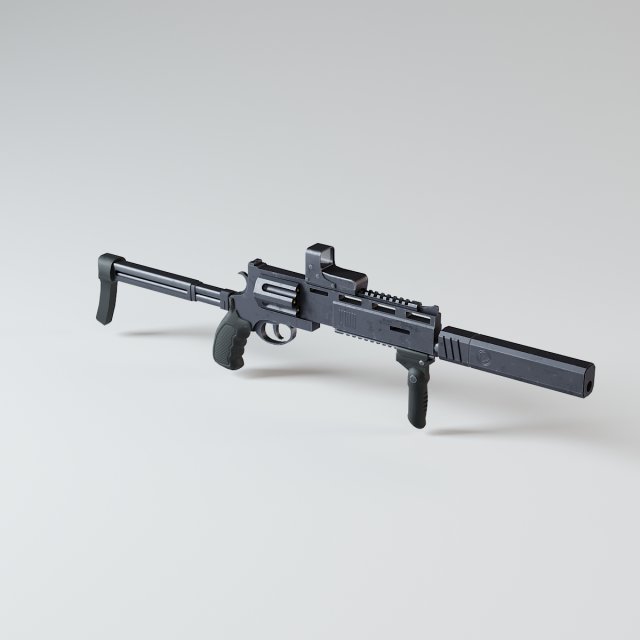
-No any third party plug-in used-No extra elements included with model-Lights and cameras are not included with model-HDRI map doesn’t included with modelMax Corona scene includes:-8 Object(s)-42 PNG textures at 4096×4096. All textures are PBR.Matlib archive includes:-2 sets of textures,2048×2048 PNG,512×512 PNG – for each scene. All textures are PBR.All objects are real-world scale.All scenes in “cm”.All priview images are rendered with Marmoset Renderer.
Tag: Height
-
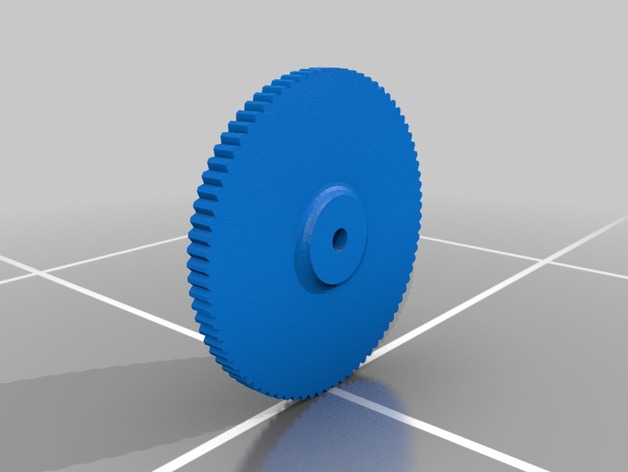
Adjustable 3d Printer Height Adjustment Wheel – M4 Nut 3D Print Model
Summary
Adjustable 3d Printer Height Adjustment Wheel for M4 Nut
How I Designed This
Used Inventor -
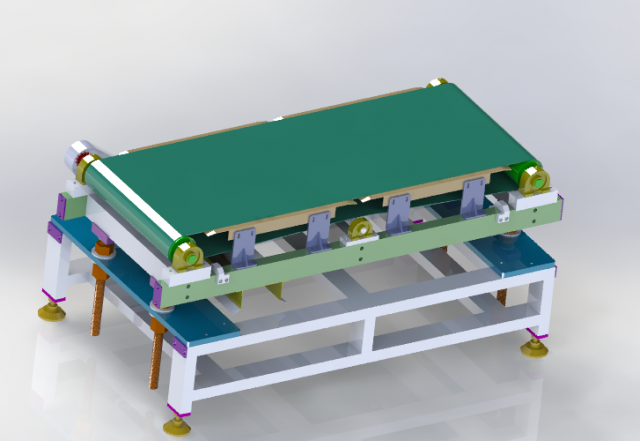
Height adjustable conveyor 3D Model
Height adjustable conveyor, the assembly line by four elevation height of fine-tuning, to teach high level required to use in some scenarios can be called body USES the chain wheel drive, belt transmission The transmission line can be directly in the production, this model is a good model mechanism into step or iges universal model download, please reference!Also includes 3d original files, welcome to download!if you like,you can paypal for you to get this models or if you have any questions also you can email to me.
-
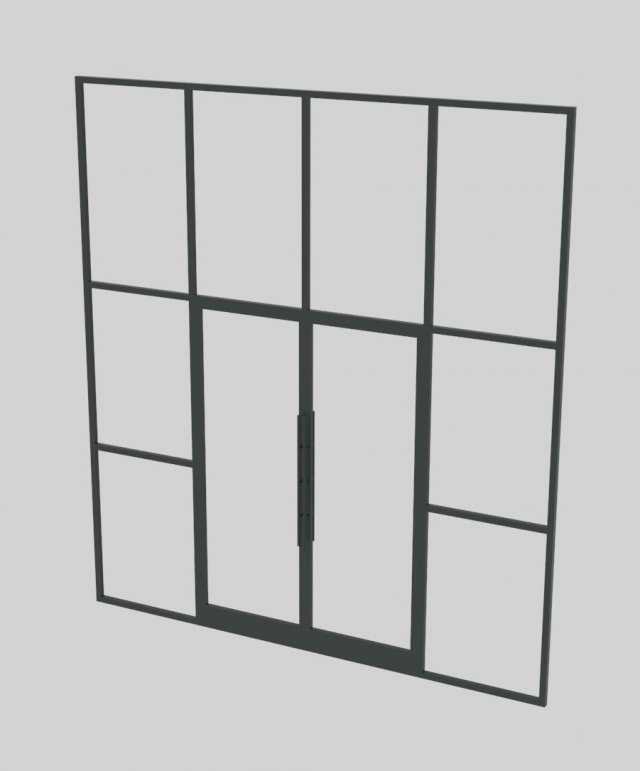
Storefront door with window full height commercial architecture Free 3D Model
Storefront door with window full height commercial architecture
-
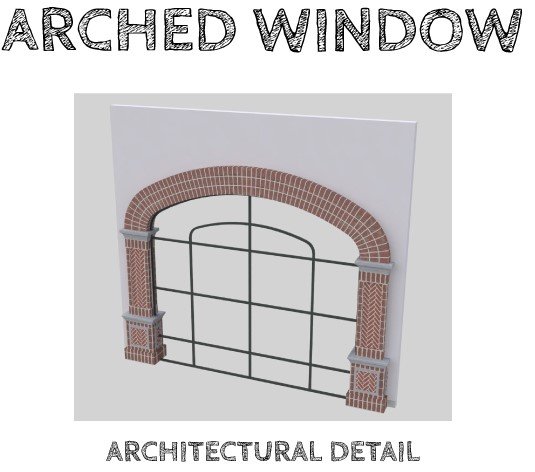
Arched window full height with decorative brick surround Free 3D Model
Arched window full height with decorative brick surround
-
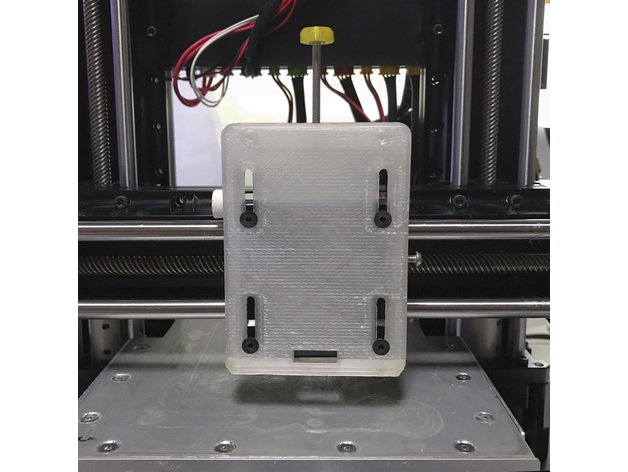
Extruder mounting Plate with adjustable height ver.2 3D Print Model
Summary
【 Slide-type Extruder mounting Plate with adjustable height / KODAMA TRINUS 】
先日作成した【Extruder mounting Plate with adjustable height】が強度的に弱くて、使用しているうちに変形してきたので各部を補強したバージョンを作りました。
オリジナルのExtruder mounting Plateをこれに変えれば、ホットエンドの高さ調整が一度で決まり、微調整も簡単に出来ます。
(ヒートベッドの水平の調整が完了している前提です)
ホットエンドをホームポジションからヒートベッドの真ん中に移動してから、紙を挟んで高さ調整用のネジで適度な摩擦になるように調整して側面の固定ネジを締めるだけで、ホットエンドの高さ調整が完了です。
【 別に用意するもの 】
プリントしたスライド式エクストルーダー用マウンター
M3の25~30mm以上のネジ×1
上側のネジ穴には、M3で25〜30mmのネジを使いエクストルーダーの高さを調整します。
M3の8~10mmのネジ×1
側面のネジ穴には、M3で8~10mmのネジを使います。
このネジはホットエンドとヒートベッドのクリアランス調整をした後、エクストルーダーを固定します。
(このネジの長さが長すぎたり、ネジの頭が大き過ぎるとエクストルーダーが右端に移動した時にスライダーのフレームに当たります。)
【 ホットエンドとヒートベッドのクリアランス調整の手順 】
1.まずヒートベッドの水平をしっかり調整します。
2.オリジナルのエクストルーダー用マウンターを外して、スライド式エクストルーダー用マウンターに取り替えます。
取り付けネジは元のネジ(4本)を使ってください。
この時、完全に固定せずにプレートがスムーズにスライドできる程度にネジを軽く締めます。
3.マウンターの2本の調整用ネジは仮止め程度に締めてください。
4.エクストルーダーを元のネジ(2本)を使ってスライド範囲の上端に取り付けて上部の高さ調整用のネジで落ちないように調整します。
(2のマウンターの取り付けネジが緩めでもエクストルーダーによって押えられるので外れることはありません)
5.エクストルーダーをホームポジションにセットしてから、ヒートベッドの真ん中付近に移動します。
6.適当な厚みの紙(コピー用紙等)をヒートベッドに置いて、上部の高さ調整用のネジを緩めてエクストルーダーを下げ、ホットエンドのノズルが紙の上に軽く乗るようにします。
7.ホットエンドのノズルとヒートベッドに挟んだ紙が適度な抵抗で動くように、上部の高さ調整のネジで高さを調整します。
8.マウンター横の固定ネジを締めて、紙を外したらクリアランスの調整は完了です。
最後に確認のため【 First Layer Calibration 100 x 100 x 0.1mm 】を印刷します。
綺麗に印刷できたら高さ調整は完了です。
詳しくはこちらの【 ブログ 】を参考にしてください。
【 印刷のパラメーター 】
printer:Kodama TRINUS 3DPRINTER
nozzle:0.4mm
layer height: 0.15mm
ExtruderTemp:225℃
HeatedBedTemp:105℃
PrintingSpeed:30mm/s
FillPattern:Rectilinear
Infill:100%
rafts:Yes
supports:Yes
Single outline corkscrew mode:No
filament : I use ABS 1.75mm
Print Settings
Printer:
KODAMA TRINUS3D Rafts:
Doesn’t Matter Supports:
Yes Resolution:
0.15 Infill:
100% Notes:
ガタが出ないように要所々のマージンが少ないので、削ったりの修正が必要かもしれません。 -
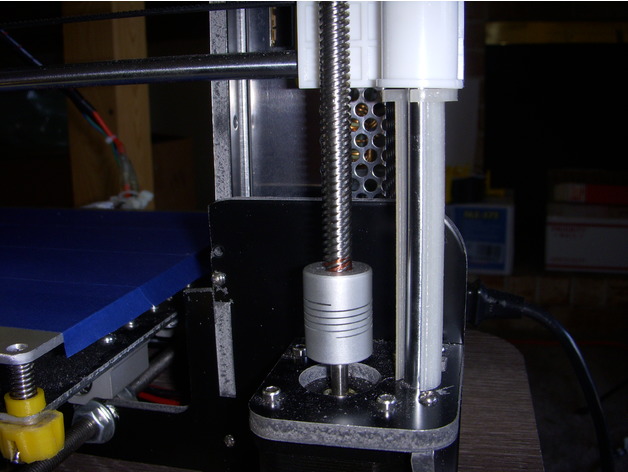
Anet A8 Z Axis Height Gauge 3D Print Model
Summary
A quick design of a thing used to help set and check the Z axis height. I rotated the object 90 degress so that the large diameter is at the bottom of the print I then multiplied it by 1 to print 2 each. -
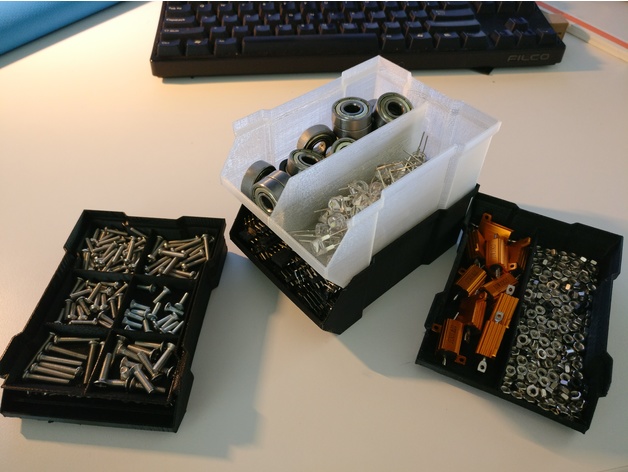
Stackable Box V4 full / half height with split variants + trays with various splits 3D Print Model
Summary
A set of Stackable BOX components I found most useful. Everything is redrawn from scratch.
Included STLs:
regular box
regular box with divider
half height box, properly edited (not just a scaled down version of the regular size
half height box with divider
tray
tray divided to half
tray divided into 4
tray divided into 6
One box fits exactly 4 trays, I tend to use half height boxes with 2 trays for really small parts.
Everything is printable without supports, 0.2 – 0.3 mm layer height is recommended, with 0.4 mm nozzle.
I opted to redraw everything as the original design had issues I realised when I imported the STL and tried to edit it – it had inaccuracies, non perfectly parallel faces, and minor glitches that made much more difficult to add the dividers that I needed than it should be. It’s still 100% compatible with the original one, and stacks nicely with those as well.
Enjoy!
How I Designed This -
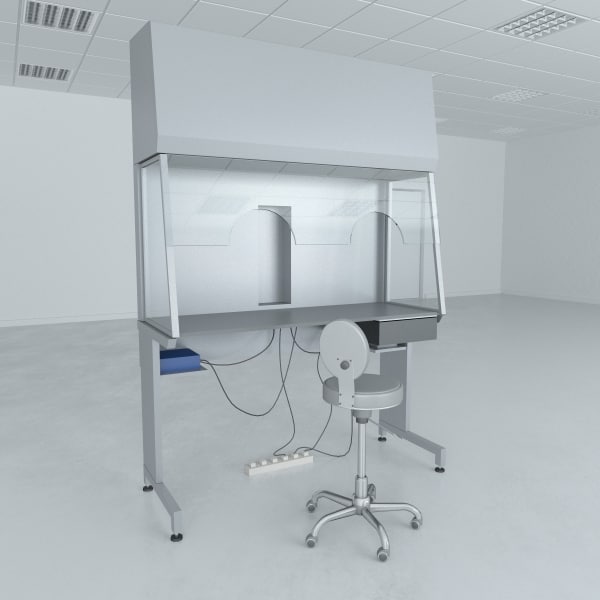
Lab Furniture (Biosafety Cabinet)_2 3D Model
Biosafety Cabinet for your lab project.-Model is really there, done carefully, according to the real dimensions.-scene for 3ds Max 2012 and V-Ray 2.0!!!In file only 3d model without interior!!!
-
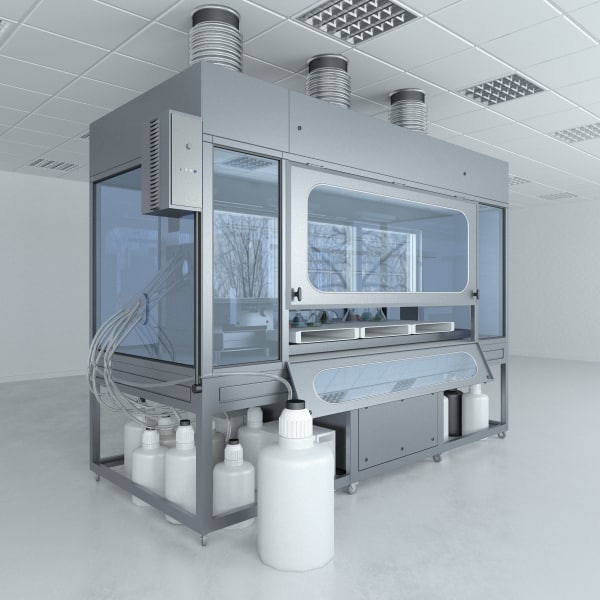
Lab Furniture Typical Set 7 3D Model
Lab furniture typical set for your lab project.-Model is really there, done carefully, according to the real dimensions.-scene for 3ds Max 2012 and V-Ray 2.0!!!In file only 3d model without interior!!!
-
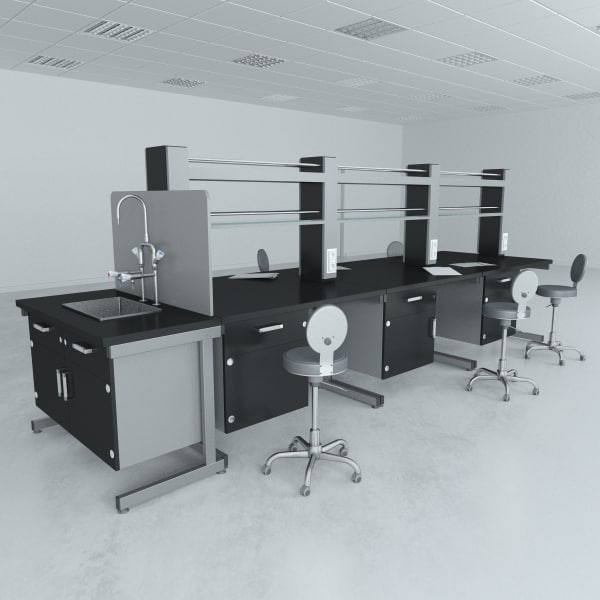
Lab Furniture Typical Set 6 model 3D Model
Lab furniture typical set for your lab project.-Model is really there, done carefully, according to the real dimensions.-scene for 3ds Max 2012 and V-Ray 2.0!!!In file only 3d model without interior!!!
-
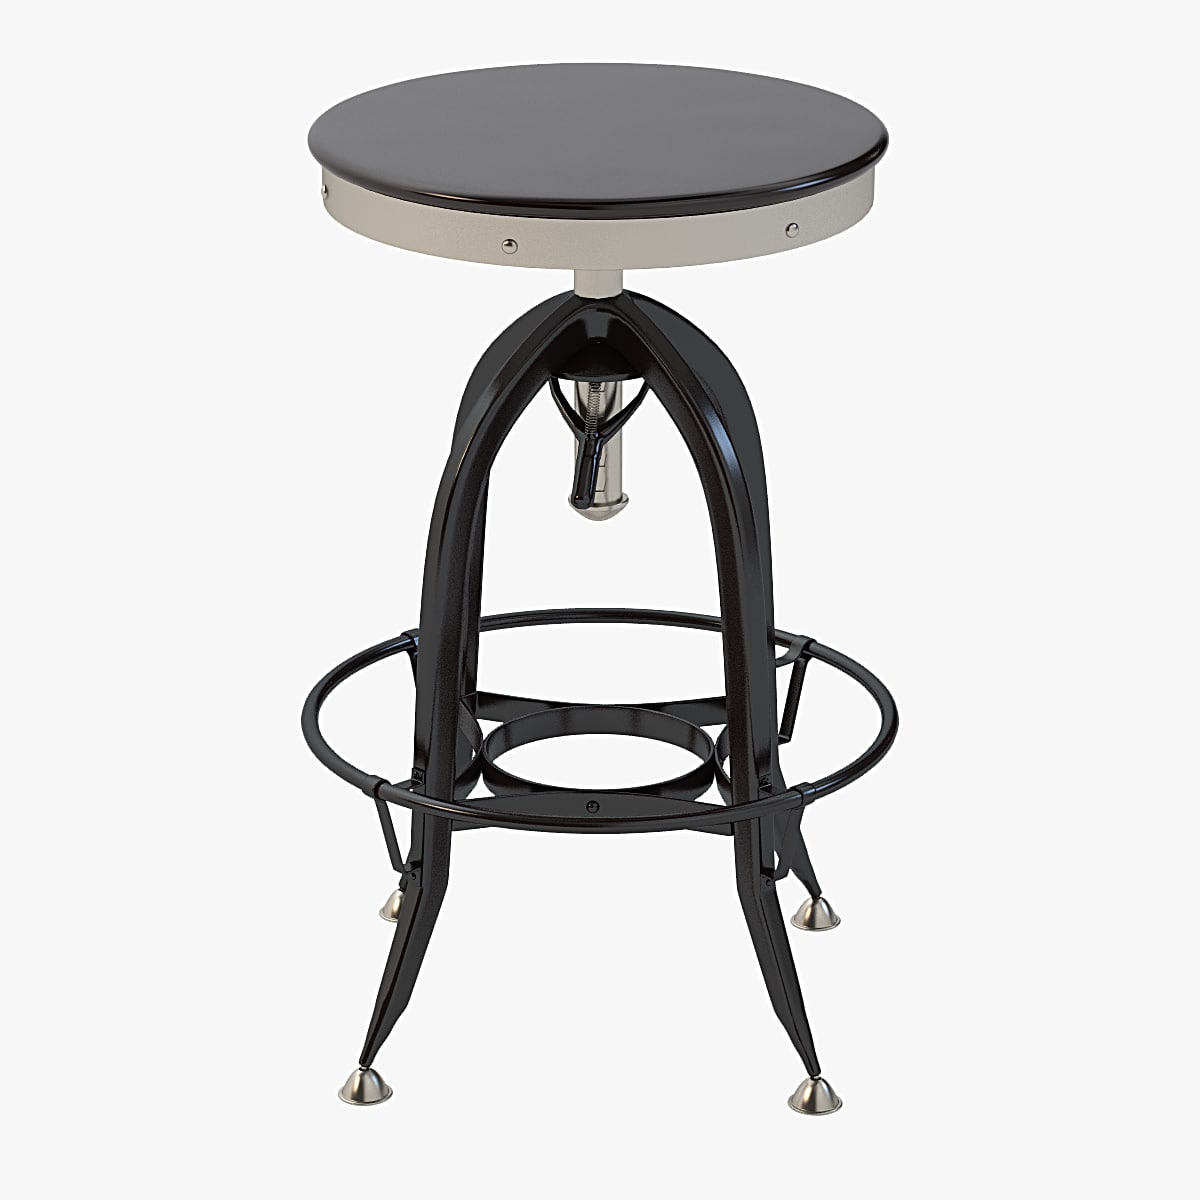
3D Photorealistic Detail Vintage Toledo Barstool 3D Model
About the model:- High quality polygonal model, correctly scaled for an accurate representation of the original object.- This model was constructed with utmost care and attention to detail, with clean edge flow. (please check wire frame images).- Materials are suitable for earlier versions of Vray.- Ready for closeup shots.- Model is built to real-world scale.- System unit setup used- centimeter.- The model includes light rig.- This model contains [63434] Polygon and [63544] Vertices with subdivision ‘ON’ (set to smoothed iterations)- Its ready to multiply subdivision reasonably.- Colors can be easily modified.- Different parts of the model are named properly. 3ds Max models are grouped for easy selection.- No part-name confusion when importing several models into a scene.- No cleaning up necessary. Just drop your models into the scene and start rendering.- No additional plugin is needed to open the model.—————————File Formats:- 3ds Max 2011 V-Ray scene (native application)- OBJ (works with most 3D applications, if you are not using Native application ) – FBX (works with almost all Autodesk 3D applications, if you are not using Native application )- 3DS (works with most 3D applications, if you are not using Native application ) —————————Rate to let others know about the quality!To check out my other models you just need to click on my user name.3dready
-
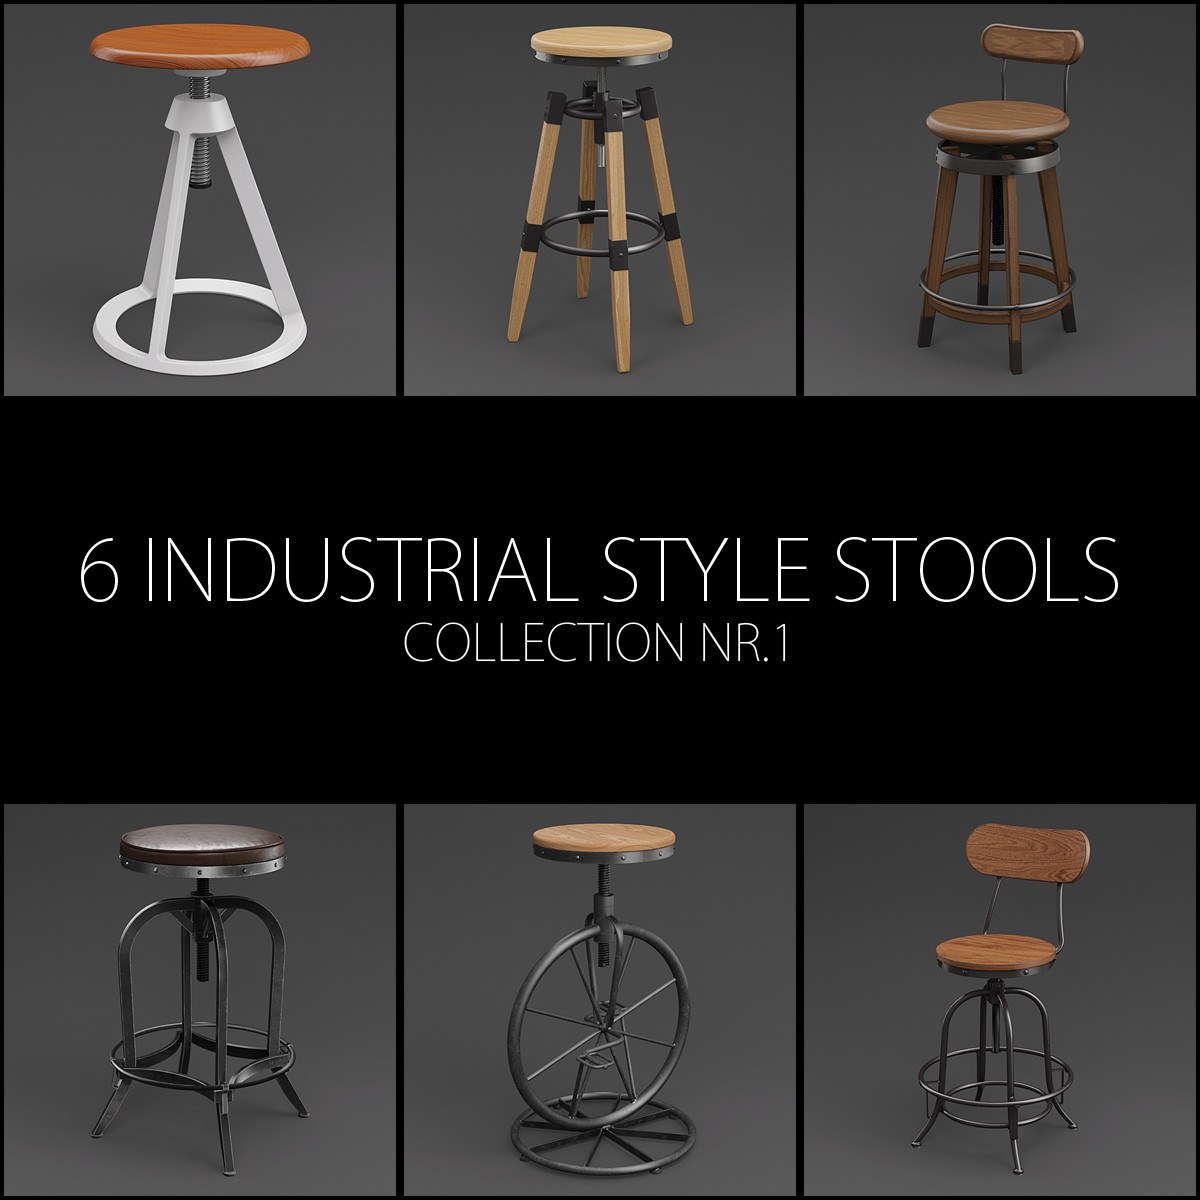
6 Adjustable Height Industrial Stools 01 3D Model
A collection of 6 realistic adjustable height industrial style stool 3D models.Real-world scale in centimeters.Total polygons and vertices:313728 polygons324373 vertices____________________Model specifications:Adjustable Height Industrial Stool 01:Individual product ID on TurboSquid – 1111341- 34017 polygons- 33853 vertices- model split into 2 objects- only basic flat color for the painted and metal/rubber/plastic partsAdjustable Height Industrial Stool 02:Individual product ID on TurboSquid – 1114248- 47657 polygons- 49735 vertices- model split into 2 objects- only basic flat color for the painted and metal partsAdjustable Height Industrial Stool 03:Individual product ID on TurboSquid – 1123115- 59141 polygons- 60012 vertices- model split into 2 objects- only basic flat color for the painted and metal partsAdjustable Height Industrial Stool 04:Individual product ID on TurboSquid – 1126767- 65322 polygons- 67910 vertices- model split into 2 objects- diffuse, normal and roughness maps includedAdjustable Height Industrial Stool 05:Individual product ID on TurboSquid – 1134550- 46647 polygons- 49387 vertices- model split into 2 objects- diffuse and roughness maps includedAdjustable Height Industrial Stool 06:Individual product ID on TurboSquid – 1155037- 60944 polygons- 63476 vertices- model split into 2 objects- two diffuse maps with different wood patterns____________________Textures included in the 3ds max 2011 ZIP archive only!All textures are 4096×4096 8bit PNG files.Materials – mental ray – used for preview renders are only available with 3dsmax 2011 file!Exported and tested in Deep Exploration.Render scene is not included!Thank YOU,Pumper
-
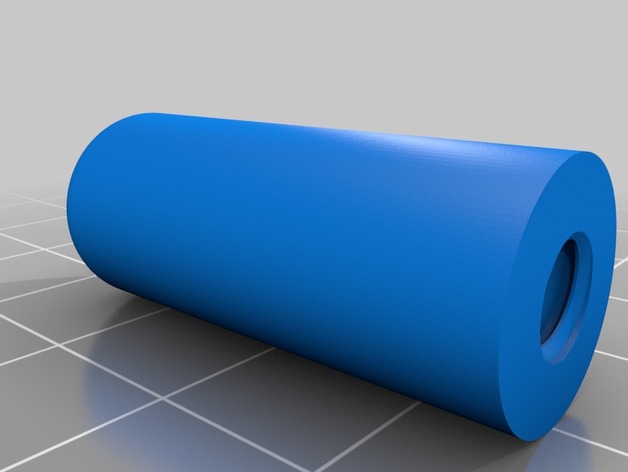
Cub Cadet Deck Height Adjustment Button
Summary
Designed for my Cub Cadet HDS 2155 on which the deck height button had long been broken. Its a simple cylinder with a chamfer(.125″ if I remember correctly) on the top and 1/4-20 threads .75″ deep. This was modeled in Fusion 360.
Print Settings
Printer Brand:
Prusa Printer:
Prusa Clone Rafts:
No Supports:
No Resolution:
.12 Infill:
100%