Tag: handheld
-
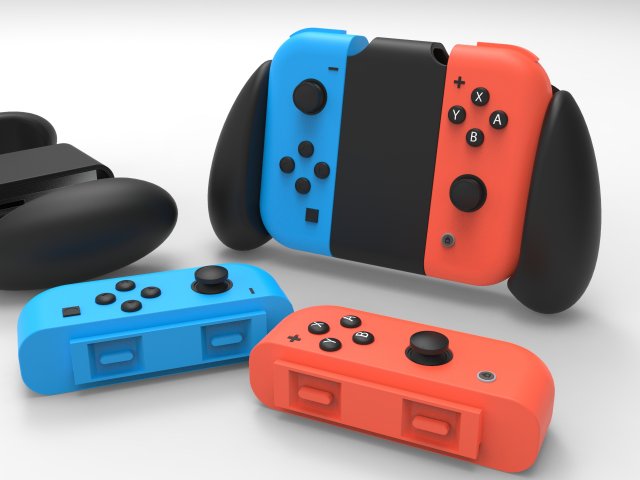
Nintendo Switch 3D Model
Nintendo Switch I modeled in Solidworks, it has 33 parts, multicolor plastic all pieces are attachable with a slid rod and buttons on the inside of controllers.
-
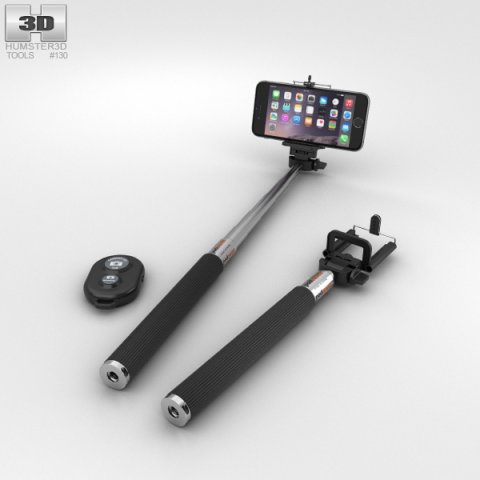
Selfie Stick 3D Model
The 3D model was created on real base. It’s created accurately, in real units of measurement, qualitatively and maximally close to the original.Model formats:- *.max (3ds Max 2008 scanline)- *.max (3ds Max 2008 vray)- *.fbx (Multi Format)- *.obj (Multi Format)- *.3ds (Multi Format)- *.mb (Maya 8.5)- *.lwo (Lightwave 6)- *.c4d (Cinema 4D 11)* renders Are made in 3ds Max 2008 using vray 1.5 (studio environment is not included in the set)If you need any other formats we are more than happy to make them for you.The model is provided combined, all main parts are presented as separate parts therefore materials of objects are easy to be modified or removed and standard parts are easy to be replaced. If you experience difficulties with separating standard parts we are more than happy to give you qualified assistance.We greatly appreciate you choosing our 3D models and hope they will be of use.We look forward to continuously dealing with you.Sincerely Yours,Hum3D Team
-
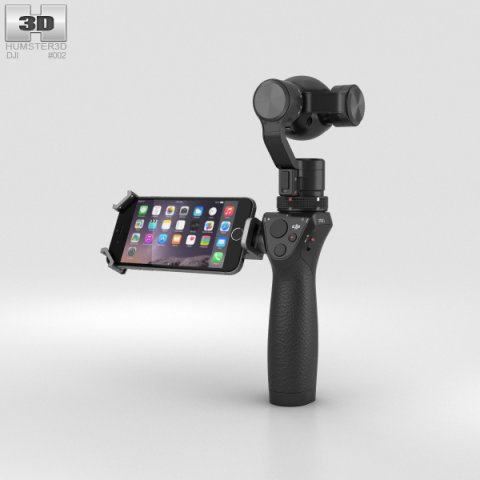
DJI Osmo Camera 3D Model
The 3D model was created on real base. It’s created accurately, in real units of measurement, qualitatively and maximally close to the original.Model formats:- *.max (3ds Max 2008 scanline)- *.max (3ds Max 2008 vray)- *.fbx (Multi Format)- *.obj (Multi Format)- *.3ds (Multi Format)- *.mb (Maya 8.5)- *.lwo (Lightwave 6)- *.c4d (Cinema 4D 11)* renders Are made in 3ds Max 2008 using vray 1.5 (studio environment is not included in the set)If you need any other formats we are more than happy to make them for you.The model is provided combined, all main parts are presented as separate parts therefore materials of objects are easy to be modified or removed and standard parts are easy to be replaced. If you experience difficulties with separating standard parts we are more than happy to give you qualified assistance.We greatly appreciate you choosing our 3D models and hope they will be of use.We look forward to continuously dealing with you.Sincerely Yours,Hum3D Team
-
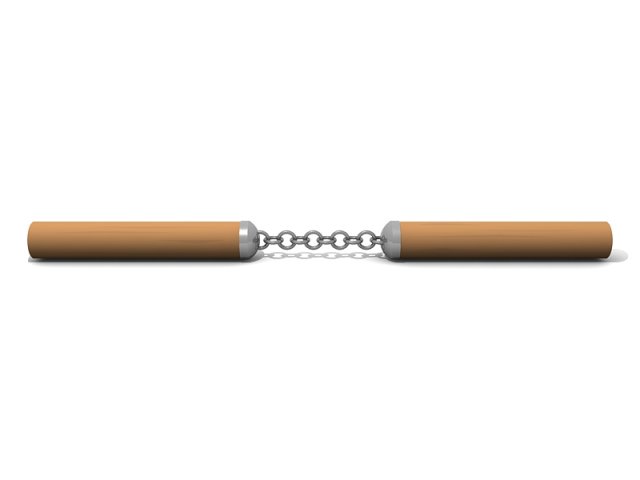
Simple Nunchucks 3D Model
Simple, almost cartoon-like nunchucks with a custom wooden map for the handles, and a nice chrome finish on the metal.
-
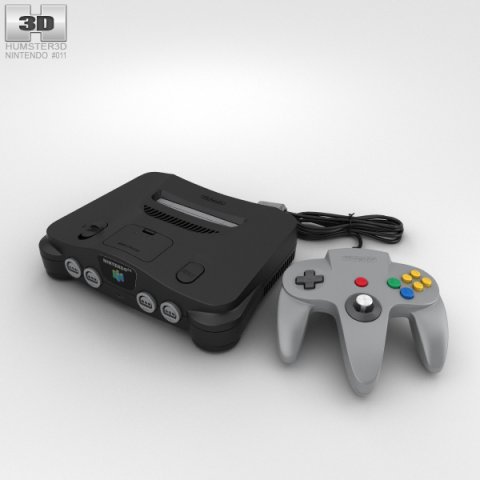
Nintendo 64 3D Model
The 3D model was created on real base. It’s created accurately, in real units of measurement, qualitatively and maximally close to the original.Model formats:- *.max (3ds Max 2008 scanline)- *.max (3ds Max 2008 vray)- *.fbx (Multi Format)- *.obj (Multi Format)- *.3ds (Multi Format)- *.mb (Maya 8.5)- *.lwo (Lightwave 6)- *.c4d (Cinema 4D 11)* renders Are made in 3ds Max 2008 using vray 1.5 (studio environment is not included in the set)If you need any other formats we are more than happy to make them for you.The model is provided combined, all main parts are presented as separate parts therefore materials of objects are easy to be modified or removed and standard parts are easy to be replaced. If you experience difficulties with separating standard parts we are more than happy to give you qualified assistance.We greatly appreciate you choosing our 3D models and hope they will be of use.We look forward to continuously dealing with you.Sincerely Yours,Hum3D Team
-
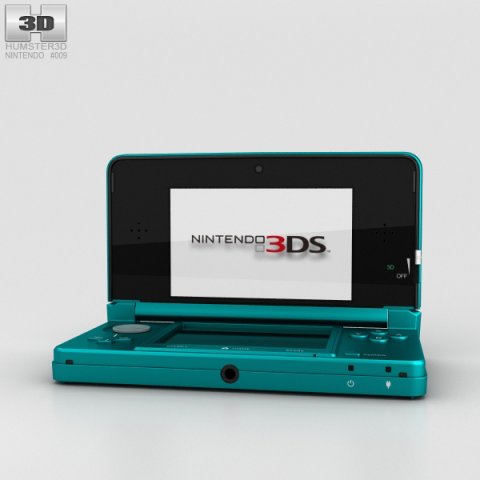
Nintendo 3DS 3D Model
The 3D model was created on real base. It’s created accurately, in real units of measurement, qualitatively and maximally close to the original.Model formats:- *.max (3ds Max 2008 scanline)- *.max (3ds Max 2008 vray)- *.fbx (Multi Format)- *.obj (Multi Format)- *.3ds (Multi Format)- *.mb (Maya 8.5)- *.lwo (Lightwave 6)- *.c4d (Cinema 4D 11)* renders Are made in 3ds Max 2008 using vray 1.5 (studio environment is not included in the set)If you need any other formats we are more than happy to make them for you.The model is provided combined, all main parts are presented as separate parts therefore materials of objects are easy to be modified or removed and standard parts are easy to be replaced. If you experience difficulties with separating standard parts we are more than happy to give you qualified assistance.We greatly appreciate you choosing our 3D models and hope they will be of use.We look forward to continuously dealing with you.Sincerely Yours,Hum3D Team
-
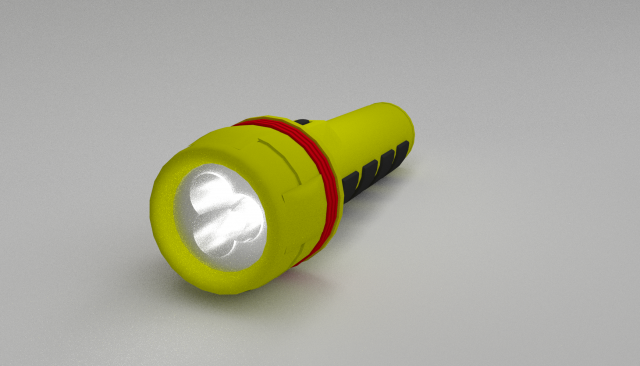
Flashlight 3D Model
-Flashlight for your scene or game-Model has been created in Blender 2.79-Render cycles-Low Poly Model in folder-4 material-4028 vertices-4112 poly3ds, obj, fbx, blend files
-
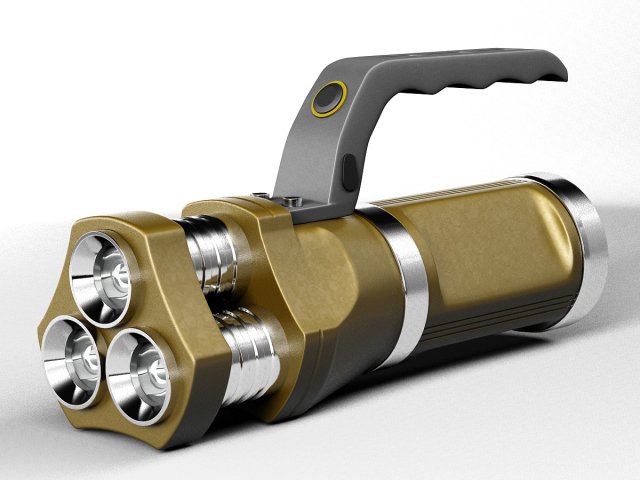
LED Flashlight 3D Model
This is a realistic 3d model LED Flashlight.Models use the correct topology. You can see it on the model render with a grid.In this model, textures are not applied.These models can be used for presentations, different scenes.Unpack the format that you need, and run it in a 3D editor.I hope you enjoy my work.
-
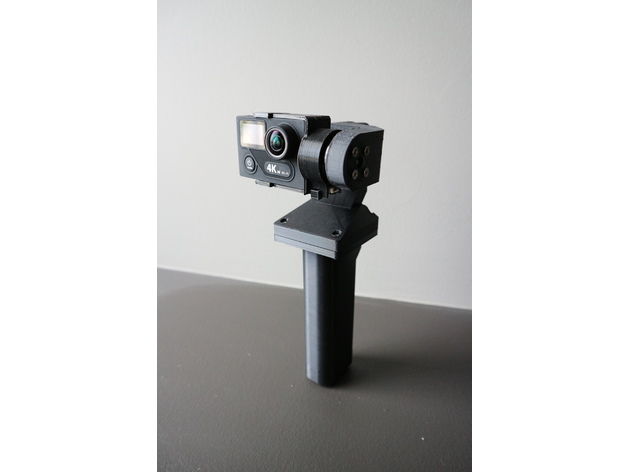
YAPM Handheld Brushless Gimbal 3D Print Model
Summary
Yet Another Poor Man’s Handheld Brushless Gimbal
Ever since I got the Mavic pro i haven’t been using my home built drones for aerial photography anymore. So I figure I’ll turn my cheap chinese 2 axis brushless gimbal into a handheld one so i can use it when i go traveling.
I’ve looked at the other designs on thingiverse but i didn’t like that they all left wires hanging about in the open. No offence to the other designers… I wanted one that would look much cleaner and travel better without having to worry about wires snagging on stuff. So I set out to design my own.
I designed this to be used with an EKEN H8 Plus and action cam with the same body format as Gopro Hero 3.
This design makes use of contact adhesive to glue the parts together and requires soldering and basic electronics skills. Some filing and fitting of the parts may be required. Do not attempt if you have a problem with any of the above.
Print Settings
Printer Brand:
Prusa
Printer:
i3 MK3
Rafts:
No
Supports:
Yes
Resolution:
.20
Notes:
Infill doesn’t matter as most of the parts are “thin wall” so most slicers would automatically do 100% fill anyways.
I printed this in PLA and the parts fit quite nicely. Where it’s too tight i used a file or sand paper to open it up a little. if printing in ABS it will shrink and make it too tight for the motors to move freely, so scale it up appropriately. I haven’t printed this in ABS so i can’t say how much to scale up.
Post-Printing
0. Required parts
Printed parts
No name chinese 2 axis gimbal like this one https://goo.gl/GvutmB
Mini rocker switch like this one https://goo.gl/tPpHTY
RC radio battery like this one https://goo.gl/znMdYC
JST connectors like these https://goo.gl/r9qnca
4 M3 x 14mm bolts and nuts, i recommend just getting a box of assorted ones like these https://goo.gl/eiZ4qW
Heat shrink tubing to fit over the legs on the power switch
Contact adhesive to glue PLA parts together
1. Disassemble the aluminium gimbal
Disassemble the aluminium 2 axis gimbal.
Remove all the header pins and the JST power connector on the control board.
I chose to eliminate header pins to make it more compact, the motor wires will need to be direct soldered to the pads during assembly. Make note of which wire connects where if necessary.
2. Remove support material
Remove support material from the parts. The support material inside the wire ways is a pain to remove; some spit grit and good ol’ elbow grease may be needed here.
It may be possible to print the motor arms without supports, but that will depend on your particular printer’s abilities with overhangs. i opted to go through the work of removing support just to make sure everything comes out right.
Take this time to ream out all the bolt holes with a drill bit.
3. Glue parts together
Apply contact adhesive to flat flared part of the part named “handle” and glue it to the flat side of the part named “bottom case”. Try to get the back edge to line up and left right centered on the bottom case. I measured the distance on each side and marked the position by scoring with an exacto blade to help me position the handle.
Take the part named “top case” and the part named “roll motor”. Use a file and an exacto blade to get the mating surfaces free of residual support material and as flat as possible. Apply contact adhesive to the indent in the top case around the opening and glue the “roll motor” part to the top case.
Take the parts collectively named “camera mount” and glue the two larger parts together. refer to the pictures to see how it’s supposed to go together.
The little “M” shaped clip is to hold the IMU sensor in place and will be needed during assembly.
Set aside and allow adhesive to cure.
4. Mounting the motors
Take the IMU sensor liberated from the aluminium gimbal and disconnect the cable on both ends. Feed the cable through the wireway in the part named “pitch motor”.
Take one of the brushless motor that was liberated from your aluminium gimbal, feed the motor wires through the part named “pitch motor” from the opening with the 4 hole bolt pattern and mount the motor with the 4 M3 screws that came with the original gimbal. You may choose to use other bolts, but be careful not to choose ones that are too long as it will damage the motor windings.
The parts was designed such that where the wires comes out of the motor points directly down the wireway. There is a gap between the motor and the edge of the opening on the inside face of the arm to accommodate free movement of the IMU sensor cable.
Now take the “pitch motor” assembly and feed the motor and IMU sensor wire through the gap between where the other motor goes on the “roll motor” part and then down the wireway and through the opening in the top case.
Take the other brushless motor and feed the motor wire down through the wireway the same as the other wires and mount the motor onto the part named “roll motor”. Also mount the pitch motor assembly to the roll motor.
Rotate the assembly throughout its range to ensure there is enough free play such that the wires are not strained from the movement. I used tweezers to reach in and pull some wire back into the wireways so that there’s some slack to allow for free movement.
5. Wiring it up
At this time the control board should be relieved of its header pins and power connector.
Solder a JST female connector to the mini rocker switch in series on the negative (black) side of the wire. Put some heat shrink tubing over the legs on the switch to give it some protection. Now feed the wires coming from the switch through the switch opening on the handle and snap the switch into place. bring the wires to be soldered onto the control board up through the bottom case opening and solder them to the control board.
Observe correct polarity as there is no diode protection on these boards. A mistake here could let out the magic smoke and render the board defunct.
Now take the top case/roll motor/pitch motor assembly. There should be 3 sets of wires dangling down from the top case wireway opening as follows
IMU sensor cable
Roll motor wires
Pitch motor wires
Cut the connectors off the motor wires, strip the wires and solder onto the corresponding solder pads on the control board as noted in step one during disassembly.
6. Affix the IMU sensor, camera mount
Place the IMU sensor into the slot on the camera mount and install the “M” shaped clip. The IMU sensor should be affixed into place. Run the IMU sensor cable along the space around the motor and connect to the IMU sensor. Mount the camera mount onto the pitch motor with the 3 screws that came with the original gimbal.
Rotate the camera mount assembly 180 degrees and ensure there is enough slack in the IMU sensor cable to allow for free movement.
Connect the other end of the IMU sensor cable to the control board.
7. Apply power and test
As i didn’t design an opening to allow for USB connection for PID tuning, at this point i recommend connecting the battery and testing before final assembly.
Just like tuning the gimbal on a drone, the action cam should be installed in the camera mount for weight balance.
8. Case closed
Use 4 M3 x 14mm bolts and nuts to assemble the top case and bottom case assembly together with the control board in between. The top case was designed with enough space to hide all the wires inside without pinching them, but do be careful not to pinch any in between the bolt posts.
Now the gimbal should be ready for action. Connect the battery and shove it up the handle, shove the extra wires and connects from the battery in the free space around the battery. Snap in the pommel cap. The positioning tabs on the cap may need to be filed down a bit for an easier fit.
Enjoy. -
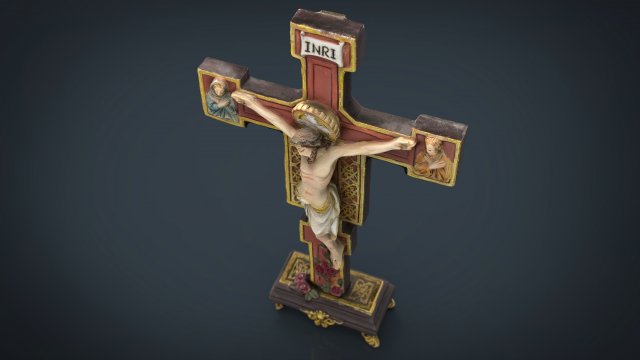
Crucifix 3D Model
3D HD Model of Crucifixhttps://vimeo.com/251838857Files in Winrar Archives.Native format is Autodesk Maya 2008Located in Scene XYZ=0,0,0.:::Formats:::..obj / Located in Scene in XYZ=0,0,0.fbx 2006 / Located in Scene in XYZ=0,0,0.mb Maya 2008 and up / Located in Scene in XYZ=0,0,0.max 3ds max 2011 / Located in Scene in XYZ=0,0,01 MATERIAL FOR ALL MESH.:::Textures::::.X3 – 8192×8192 / .jpg-Color-Normal map-Bump.:::BONUS (INCLUIDE & FREE):::.Low Poly model incluide with textures / (3800 FACES)(.mb .obj .fbx .Max)
-
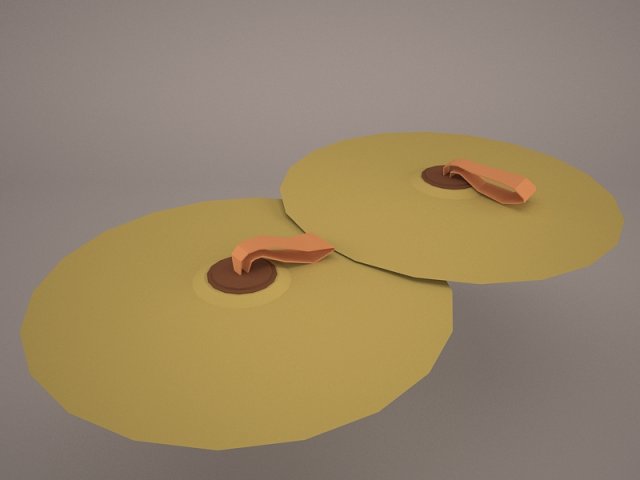
Cymbals 3D Model
Cymbals music zildjian percussive band hand handheld instrument disc orchestra ensemble marching cymbal clash crash
-
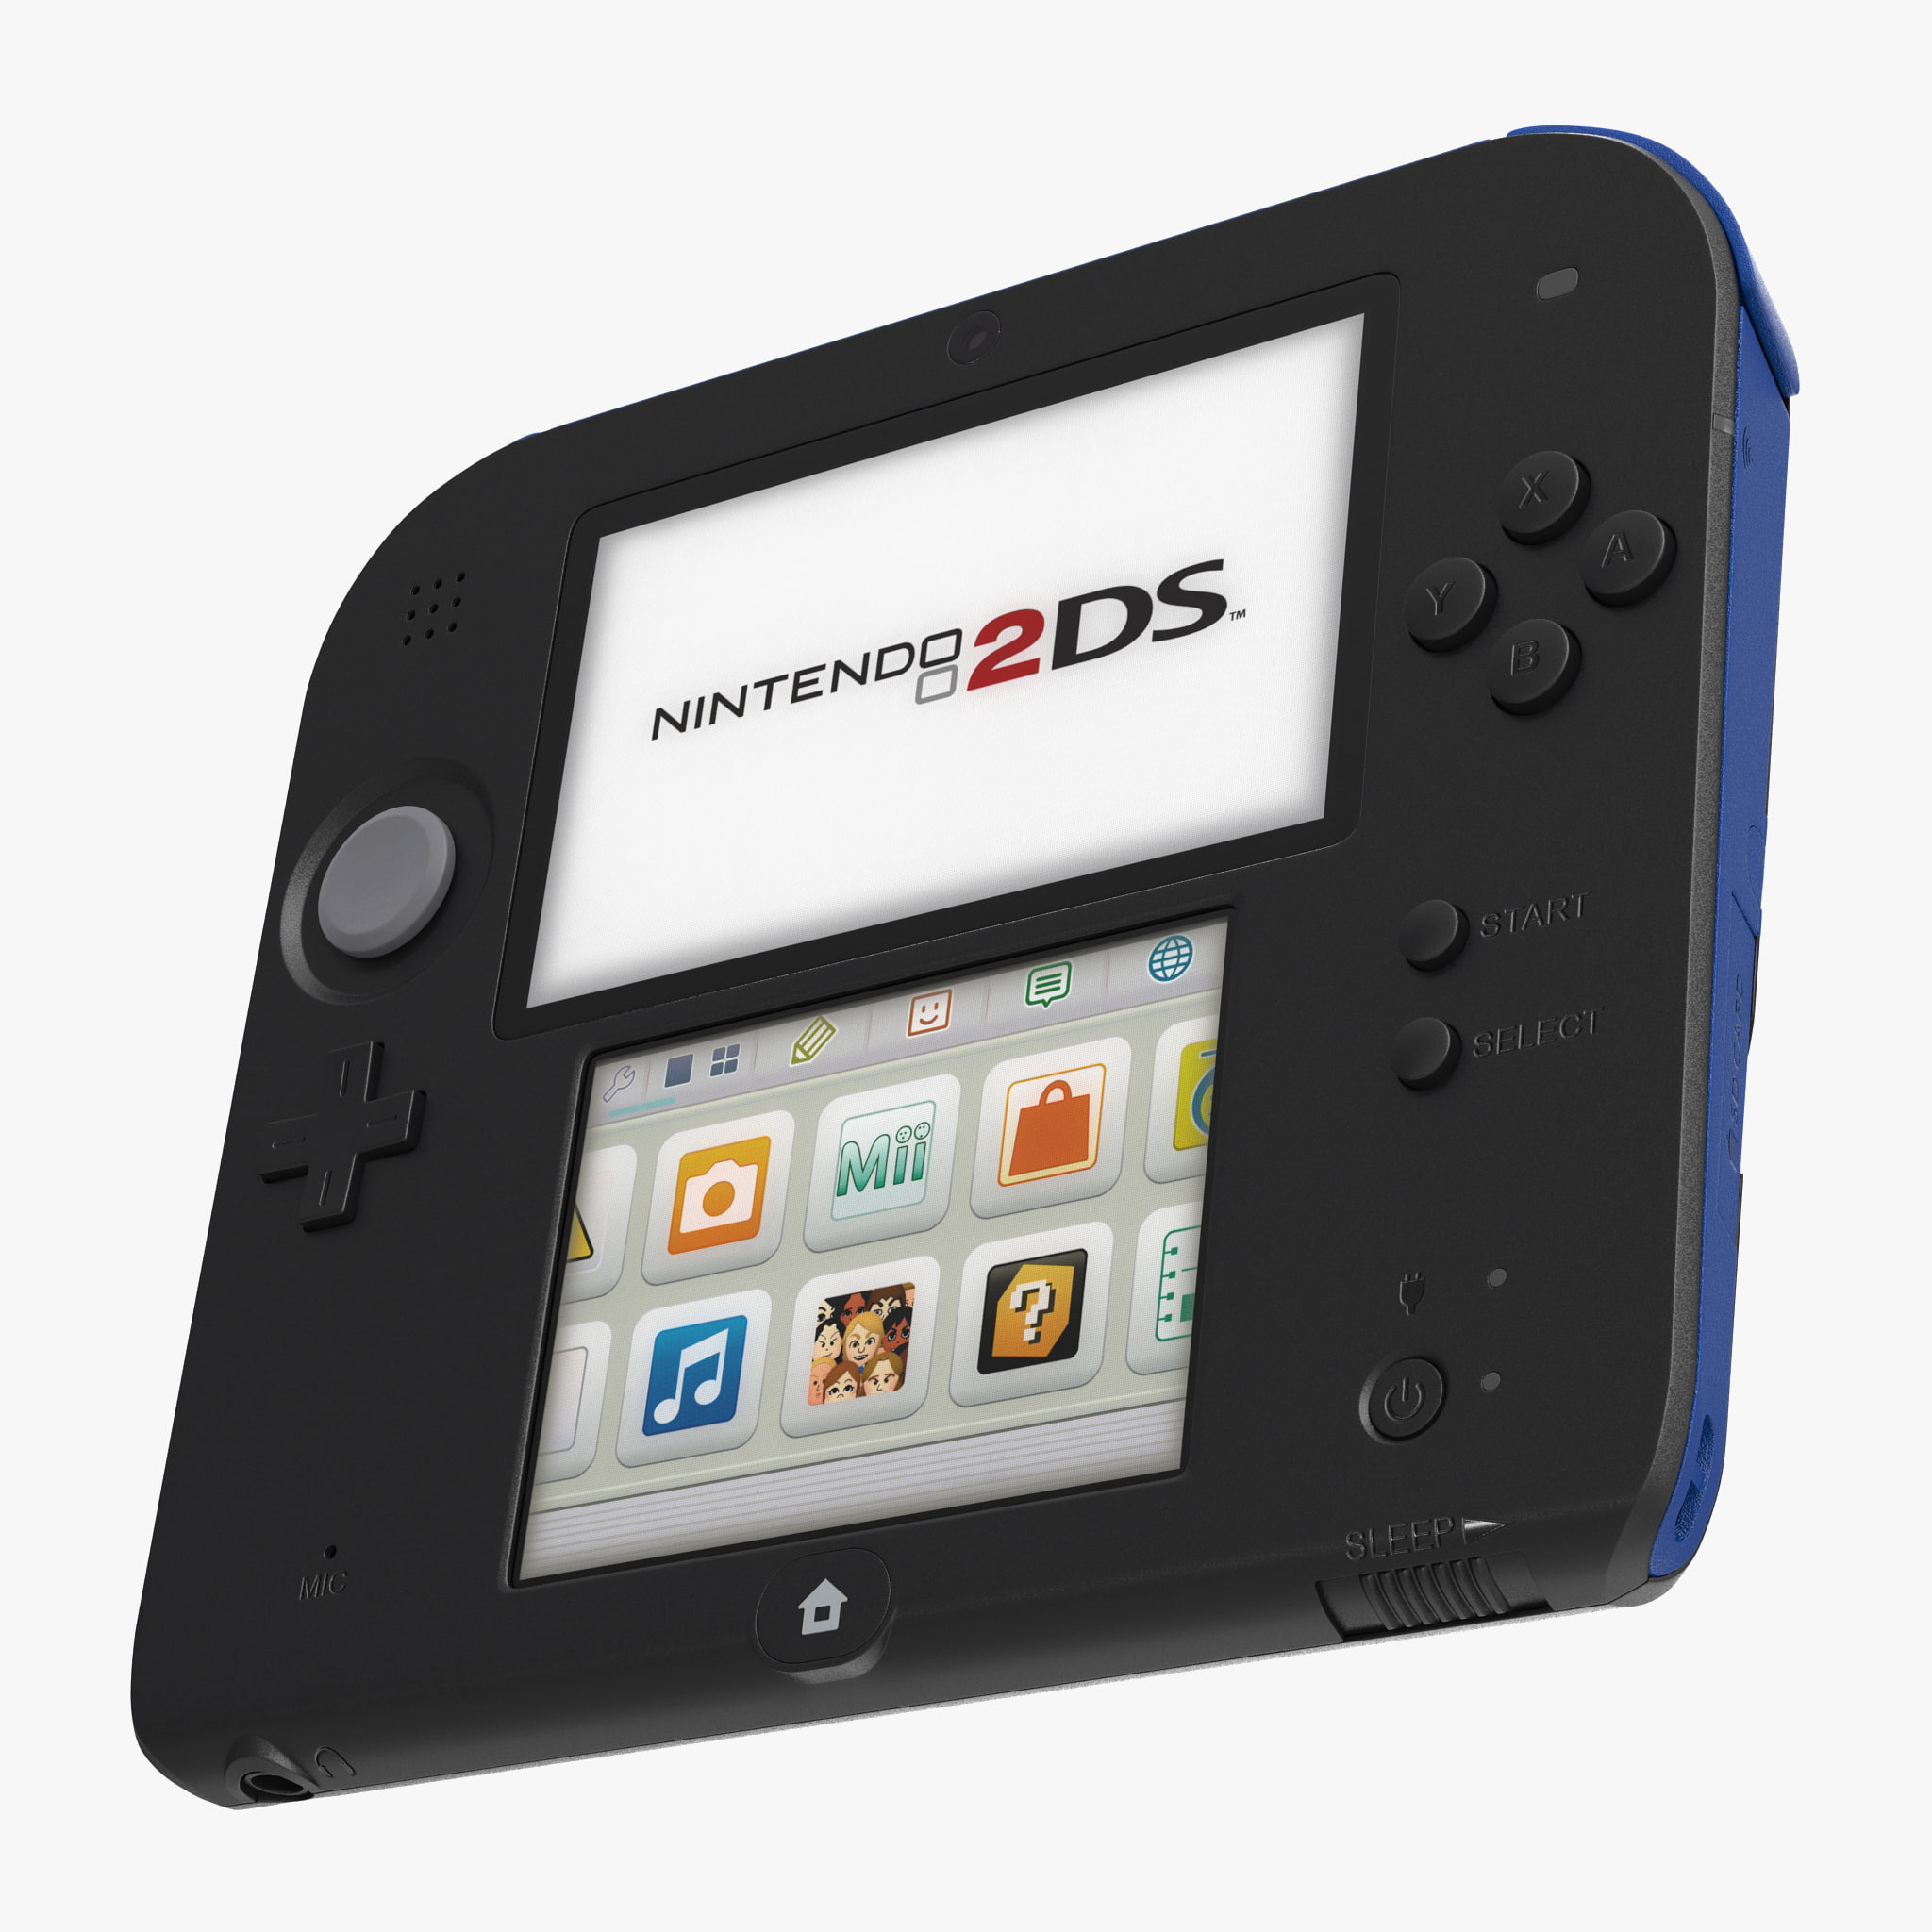
Nintendo 2DS Handheld Game Console 3D Model
Nintendo 2DS Handheld Game Console is a high quality, photo real model that will enhance detail and realism to any of your rendering projects. The model has a fully textured, detailed design that allows for close-up renders, and was originally modeled in 3ds Max 2012 and rendered with V-Ray. Renders have no postprocessing.Hope you like it!*********************************Features:- High quality polygonal model, correctly scaled for an accurate representation of the original object.- Models resolutions are optimized for polygon efficiency. (In 3ds Max, the Meshsmooth function can be used to increase mesh resolution if necessary.)- All colors can be easily modified.- Model is fully textured with all materials applied.- All textures and materials are included and mapped in every format.- 3ds Max models are grouped for easy selection, and objects are logically named for ease of scene management.- No part-name confusion when importing several models into a scene.- No cleaning up necessaryjust drop your models into the scene and start rendering.- No special plugin needed to open scene.- Model does not include any backgrounds or scenes used in preview images.- Units: cm*********************************File Formats:- 3ds Max 2012 V-Ray and standard materials scenes- OBJ (Multi Format)- 3DS (Multi Format)- Maya 2011- Cinema 4D R14- FBX (Multi Format)*********************************Textures Formats:- (9 .png) 4096 x 4096- (4 .png) 2048 x 2048- (4 .png) 1024 x 1024*********************************3d Molier International is a team of 3D artists with over a decade of experience in the field. The company participated in various projects allowing us to learn our clients needs. Every model we build goes through thorough Quality assessment both visual and technical to make sure the assets look realistic and the models are of the best quality, which you can tell by looking at the renders none of the has any postprocessing. On the top of that all the models come with complete UVs and optimized topology, which allows you in no time alter geo or the textures if needed.Also check out our other models, just click on our user name to see complete gallery. 3d_molier International 2017
-
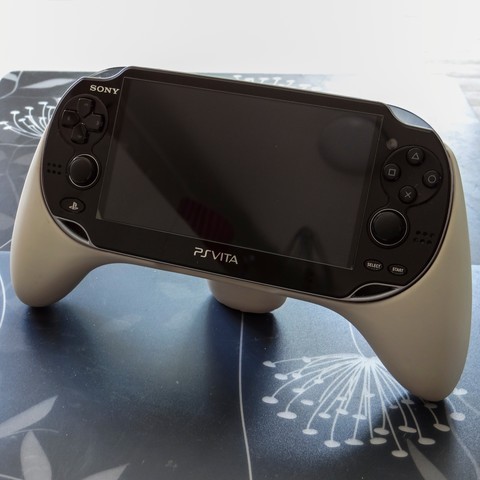
Ergonomic Grip For Ps-Vita V2 (PCH-1000) 3D Print Model
This is a complete from-scratch-redesign of my ergonomic grip for the Vita and whilst the function and intent remains the same, it is a vast improvement in pretty much every conceivable way.
-
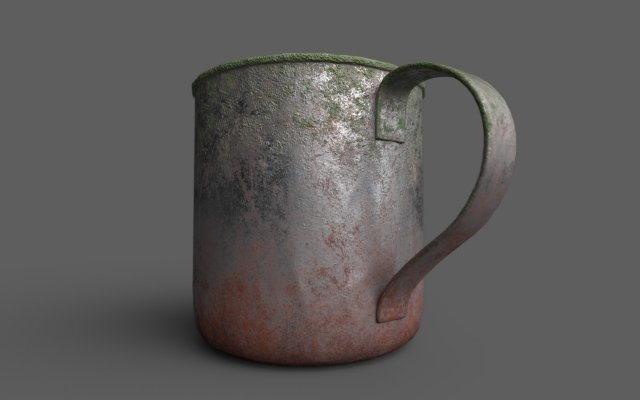
Tin Cup – Rusted 3D Model
A very old tin cup that has been left outside, rusting and moss covered with a dash of dirt inside.- 2K Unity 5 texture maps: Albedo, Metallic Smoothness, Normal- 2K Unreal Packed: Base Color, Occlusion/Roughness/Metallic, Normal- 2K Arnold: Base Color, Height, Metalness, Roughness, Normal- 2K PBR renderer: Base Color, Height, Metallic, Roughness, Normal- Low Resolution FBX and OBJ- High Resolution FBX and OBJPlease feel free to message me with questions or requests.The featured images were rendered using IRay in Substance Painter and the model was created using Maya 2017
-
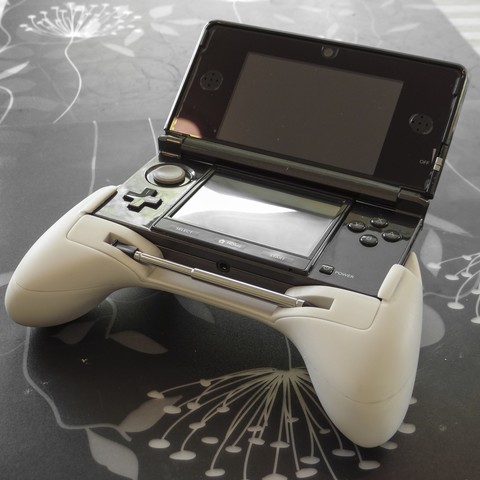
Ergonomic Grip For 3DS v2 (original 3ds) 3D Print Model
Whilst I don’t have any personal interest in altering the grip for other versions of the 3DS/DS, it’s not out of the question if there’s enough interest, so do let me know.
-
Iron Key 3D Model
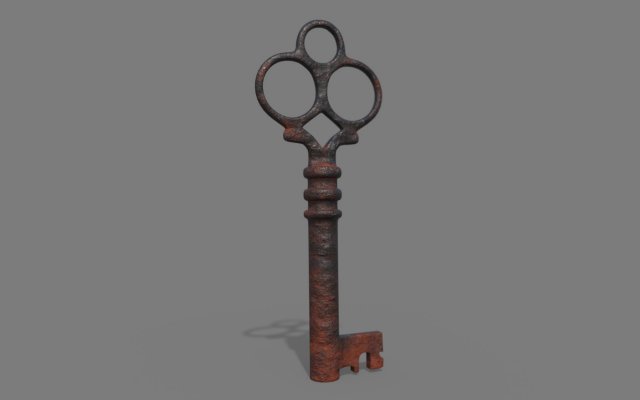
Old rusty iron key.Includes- 2K Unity 5 texture maps: Albedo, Metallic Smoothness, Normal- 2K Unreal Packed: Base Color, Occlusion/Roughness/Metallic, Normal- 2K Arnold: Base Color, Height, Metalness, Roughness, Normal- 2K PBR renderer: Base Color, Height, Metallic, Roughness, Normal- Low Resolution FBX and OBJ- High Resolution FBX and OBJThe featured images were rendered using IRay in Substance Painter and the model was created using Maya 2017.
-
Flashlight 3D Model
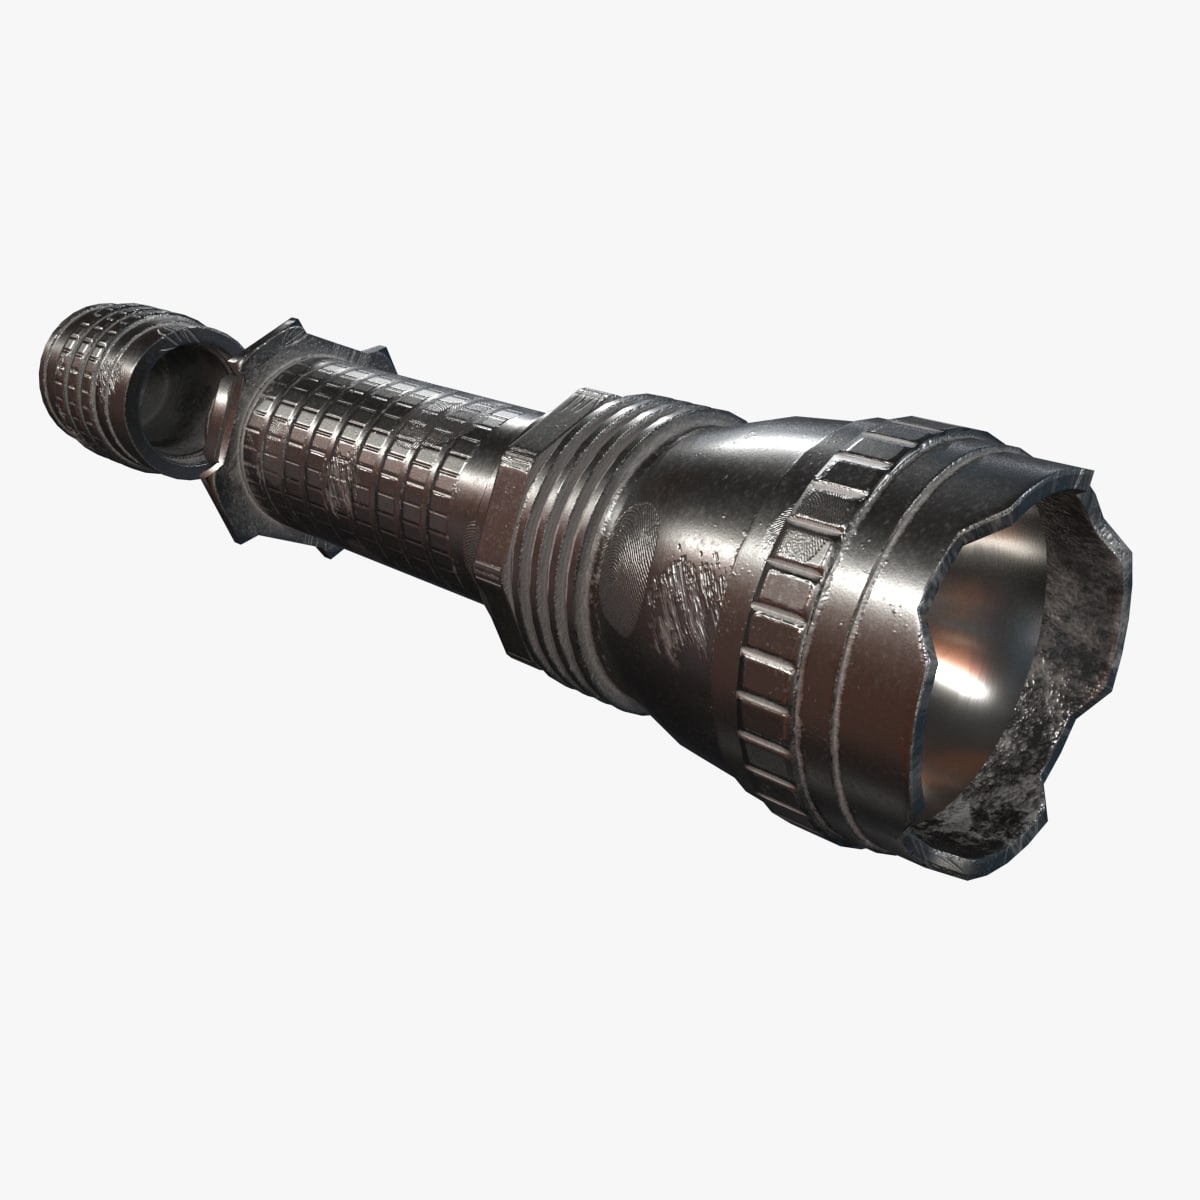
Realistic Low-Poly Flashlight with Battaries with PBR Textures.Materials and textures included.Textures:for 3Ds Max & Blender:2 Texture Sets – Batteries (2048px) and Flashlight (4096px):- Base Color EXR- Metallic EXR- Roughness EXR- Normal (DirectX) EXR- Normal (OpenGL) EXR- Height EXR- Opacity EXR+ HDRI Mapfor Unity:2 Texture Sets – Batteries (1024px) and Flashlight (2048px):- Albedo/Opacity BMP- AO BMP- Metallic/Smoothness BMP- Normal BMPBlender 2.78 Materials with SimplePBR shader.Blender 2.79 Materials with Principled BSDF shader.Unity Package Includes Prefabs.
-
Handheld Portable Radio 3D Model
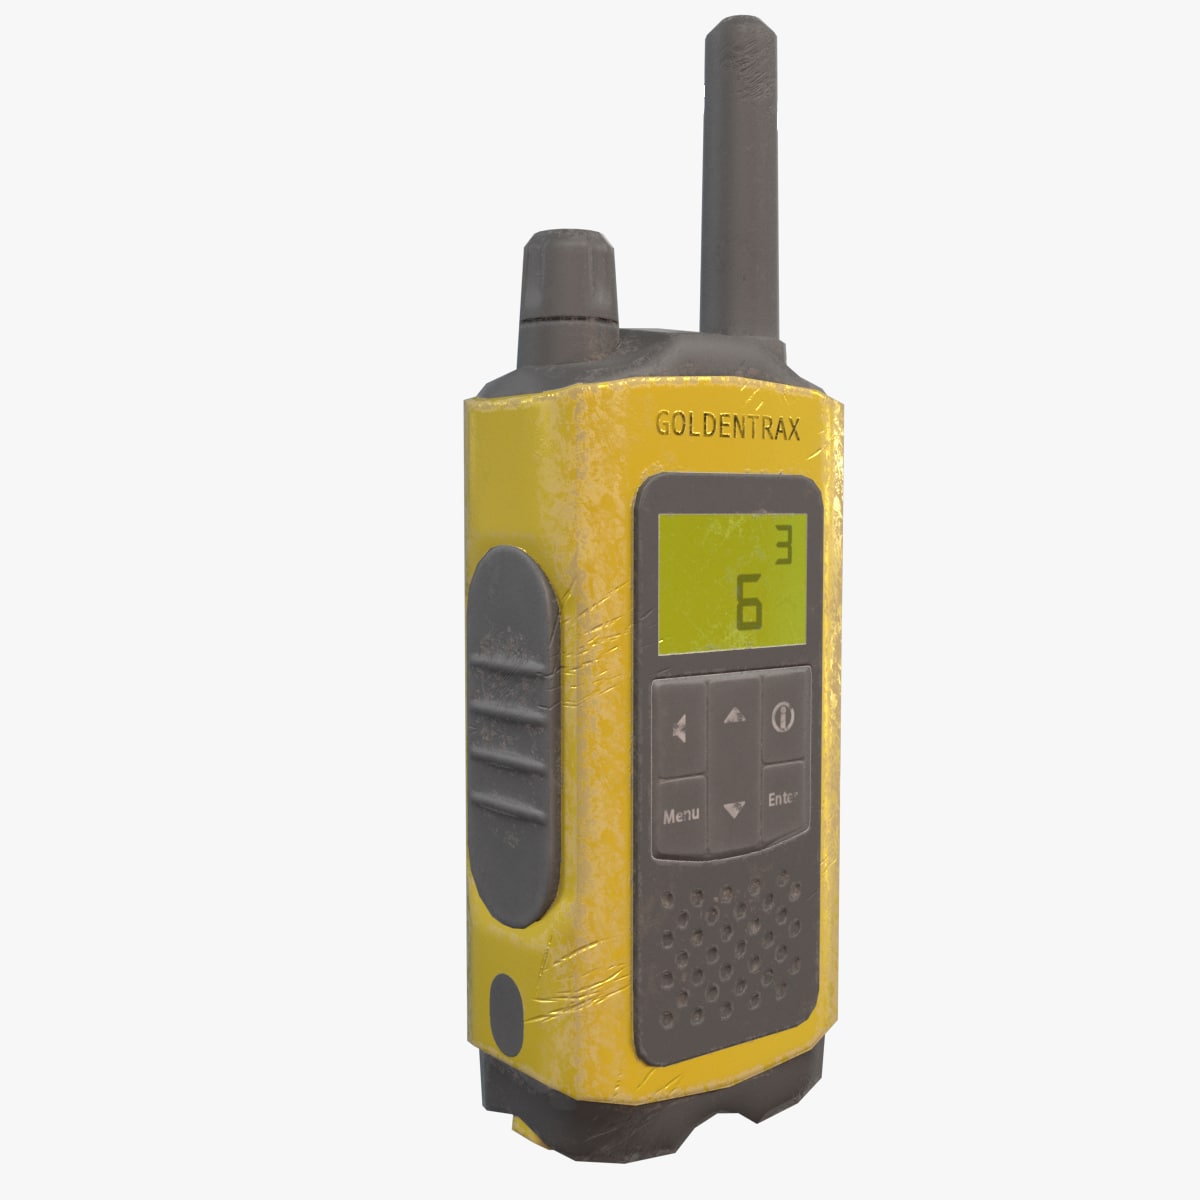
Materials and textures included.Textures:for 3Ds Max & Blender:- Base Color EXR 4096x4096px- Metallic EXR 4096x4096px- Roughness EXR 4096x4096px- Normal (DirectX) EXR 4096x4096px- Normal (OpenGL) EXR 4096x4096px- Height EXR 4096x4096px- Opacity EXR 4096x4096px+ HDRI Mapfor Unity:- Albedo/Opacity BMP 2048x2048px- AO BMP 2048x2048px- Metallic/Smoothness BMP 2048x2048px- Normal BMP 2048x2048pxBlender 2.78 Material with SimplePBR shader.Blender 2.79 Material with Principled BSDF shader.Unity Package Includes Prefab.
-
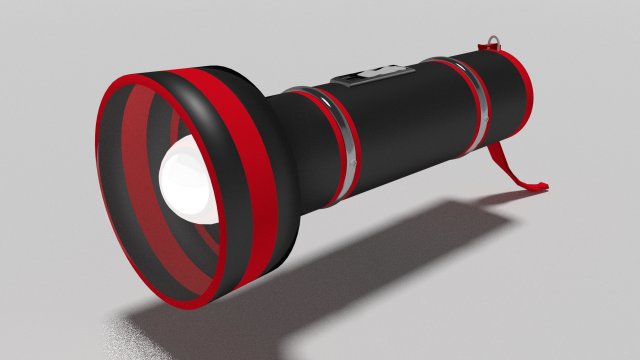
USB Flash Drive N Light 3D Model
Simple Flashlight + FlashDrive = USB Flash Drive N Light
USB Flash Drive N Light available in:
1.(.blend)
2.(.3ds)
3.(.fbx)
4.(.obj)
Note: It have capability to store 100 Terabyte data 😀 -
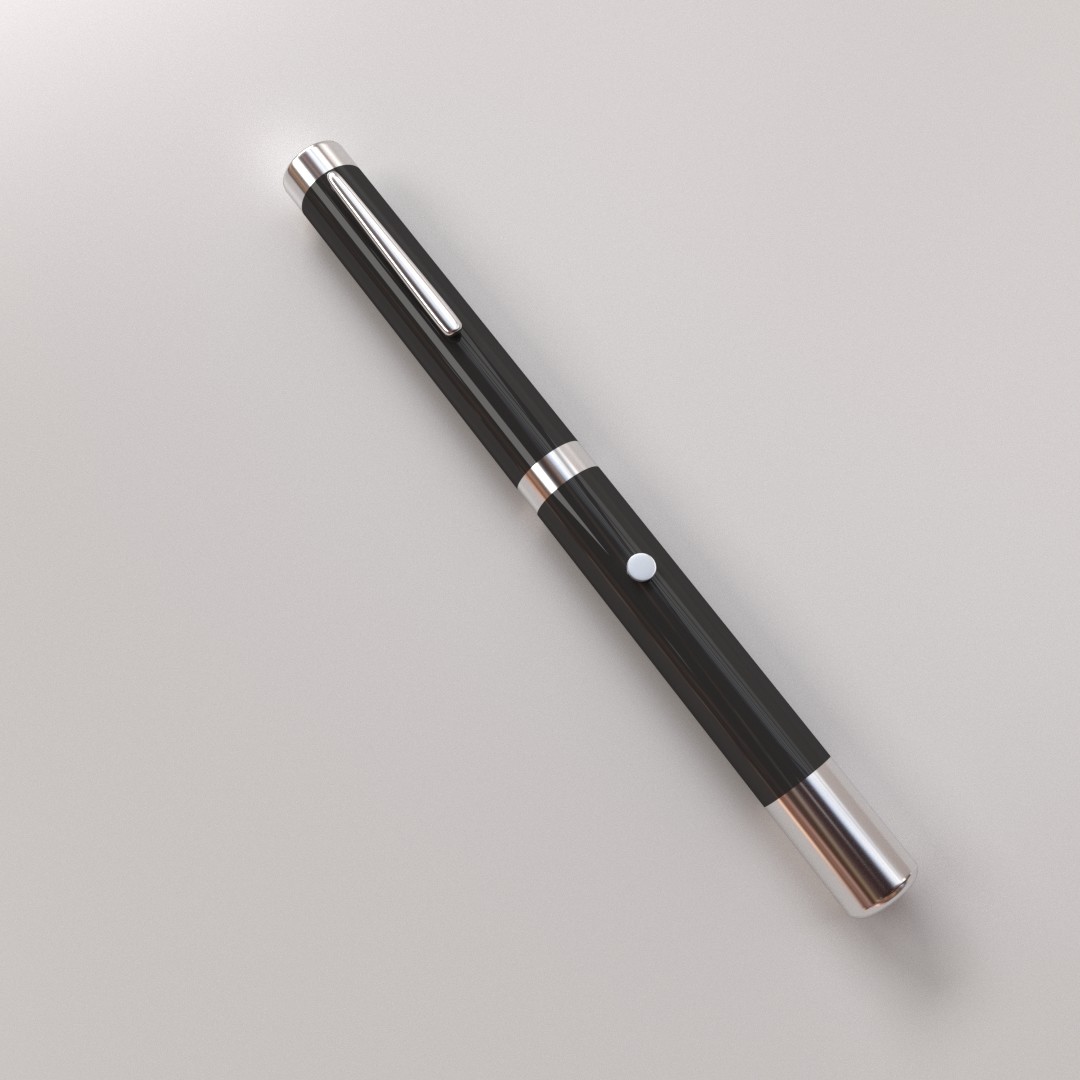
3D Laser Pointer
LASER POINTER===============================- Modeled in Blender.- Preview image rendered using cycles.- All scene are included in .blend files.- Poly count are before sub division- Great for close up render.- All parts and materials are logically named.OTHER FORMATS=================- 3ds MAX- COLLADA (.dae)- Autodesk FBX
-
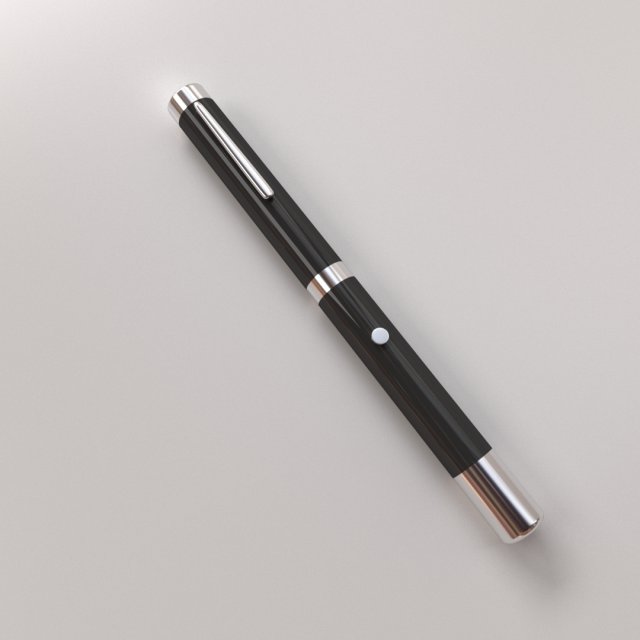
Laser Pointer 3D Model
LASER POINTER
===============================
– Modeled in Blender.
– Preview image rendered using cycles.
– All scene are included in .blend files.
– Poly count are before sub division
– Great for close up render.
– All parts and materials are logically named.
OTHER FORMATS
=================
– 3ds MAX
– COLLADA (.dae)
– Autodesk FBX