Summary
STL file from CREALITY 3D for the Ender 3 PSU.
They emailed me the file for a replacement PSU I will be getting.
Tag: Ender
-
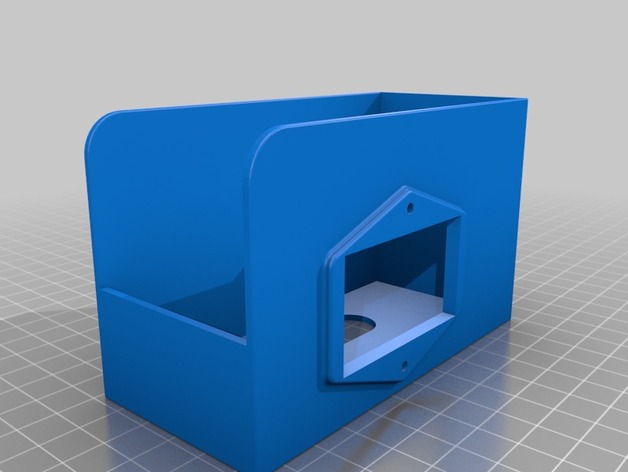
Ender 3 PSU Cover from CREALITY 3D 3D Print Model
-
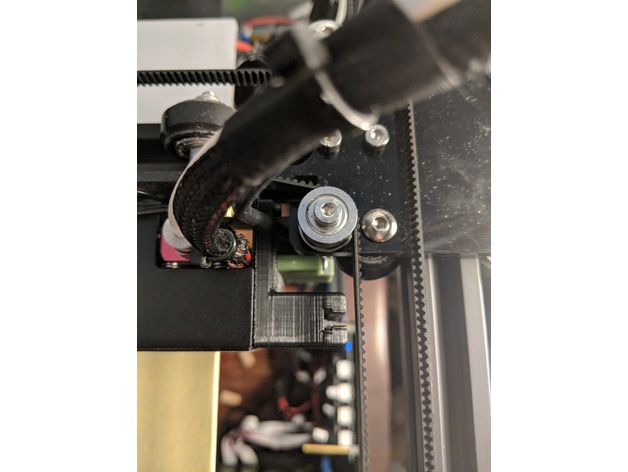
Creality Ender 4 Laser & Bed Leveling Sensor Mount 3D Print Model
Summary
I wasnt happy with the magnetic mounting for the laser on the ender 4, so i designed this to quickly mount and remove the laser when wanting to engrave stuff, without getting in the way of anything and allowing the bed leveling sensor to mount in the same spot. the holes for the mounting should be fixed, originally they were too small. please let me know if they are still too small.
when you get the ender 4 you should have a bunch of extra hardware. use the same type of screws that you used to mount the leveling sensor to mount the laser, by removing all the magnets from the laser and using the 2 center holes and screwing in the screws all the way.
you should now be able to slide the laser into the mount whenever you want to use the laser, and slide it out when done.
Print Settings
Printer Brand:
Creality
Printer:
Ender 4
Rafts:
No
Supports:
No
Resolution:
.2
Infill:
10%
Notes:
200C extruder
45c bed -
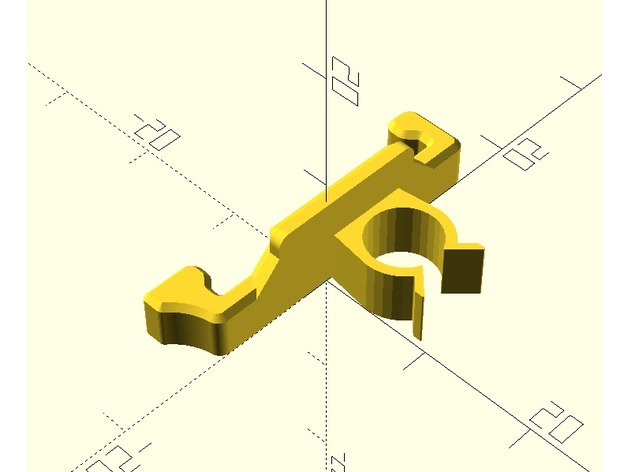
lock with wire clip for Creality Ender 2 wire chain 3D Print Model
Summary
I remixed the lock of the Ender Cable Chain by ninne (https://www.thingiverse.com/thing:2498801) with the clamp of the bowden wire clips by Evanrude (https://www.thingiverse.com/thing:2328449) to attach the hot bed cable to the chain. It prevents the hot bed calbe from scrubbing the chain and the power cable. -
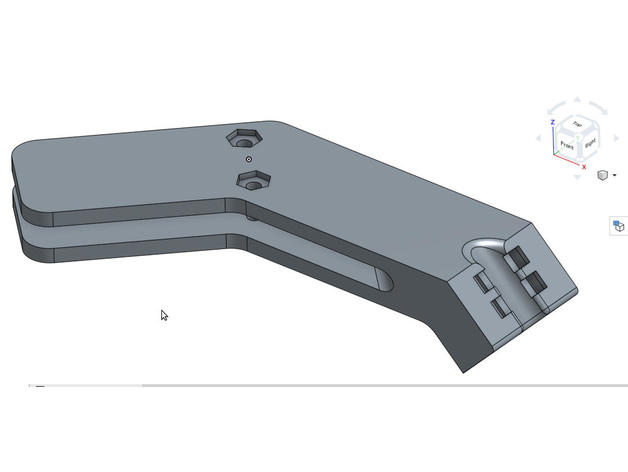
Creality Ender 4 strain relief 3D Print Model
Summary
I wanted a strain relief bracket which didn’t interfere with the bed levelling screws – instead, one that clamped the bed carriage would be ideal using m3 hardware
The one I made is v1. This is version 2, featuring an angle to avoid screws contacting the bed, nut retainer insets and slightly narrowed. I reduced the diameter of the cable channel to get a tighter cinch with the cable ties.
To complete, use two m3 10mm or 12mm bolts and nuts to clamp the carriage, and two small cable ties, just push them through.
Print Settings
Printer:
Creality Ender 4 Rafts:
No Supports:
Doesn’t Matter Resolution:
0.32mm Infill:
20 Notes:
To print, rotate onto its side, it shouldn’t need supports though a brim may help. If using PLA, print it slightly hotter than normal (PLA+ settings) to increase interlayer bonding. Printed 215-220 deg C to increase strength.
Infill doesn’t really matter, 3 perimeters / 1.2mm wall is what I used, it’s more than enough.
How I Designed This
Designed in Onshape from scratch, if you want to edit it the link is here:https://cad.onshape.com/documents/2d61c918ed37344b6f5f4652/w/5cc150713efcf0918f92af5e/e/7c914fb3f0feff55238d9b94 -
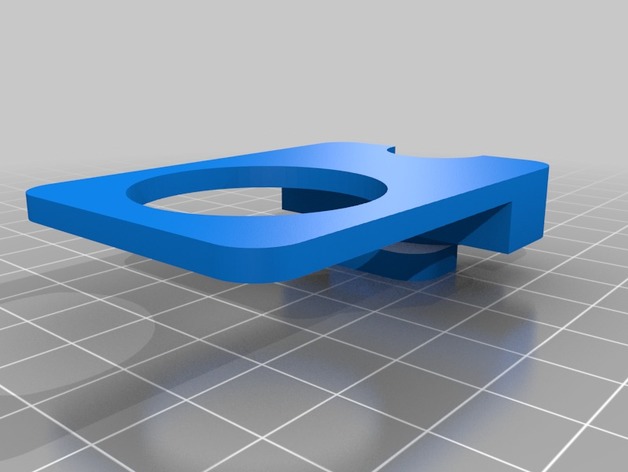
Ender 2 Spool Holder 3D Print Model
Summary
Ender 2 spool holder modification to make the printer smaller in z-height. You have to put it into the original spool holder ring and screw the tube onto it. Place it so that the spool is in front of the printer.
With this holder Ender 2 fits perfectly in Ikeas’s Lixhult. http://www.ikea.com/us/en/catalog/products/50328670/
This is my first own creation made with onshape.
Onshape link:https://cad.onshape.com/documents/641bbbc473dd174fe3b61717/w/a251211e59489ef57147337c/e/7e90d25bdd5e6cee71dc52af