Summary
Just made these to hold my LED strip (2 rows, one above the other) And they snap into the V-Rail.
Print Settings
Rafts:
No
Supports:
No
Resolution:
0.3
Infill:
100%
Notes:
Nothing special, suggest a skirt to prevent the drooling of the little nubs. But up to the individual.
Tag: D-BOT
-
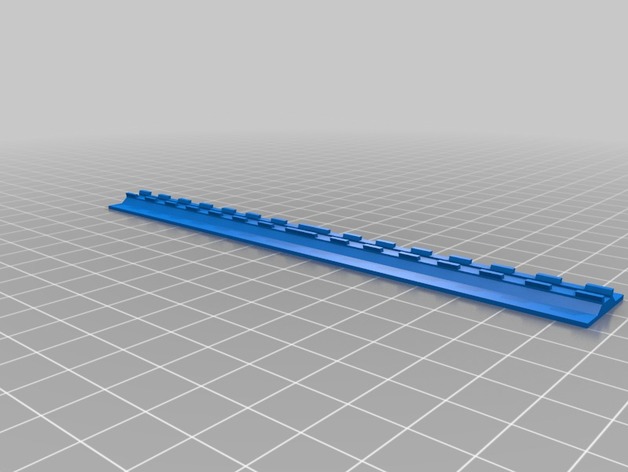
LED Flat Plate for V-Slot Rail D-Bot 3D Print Model
-
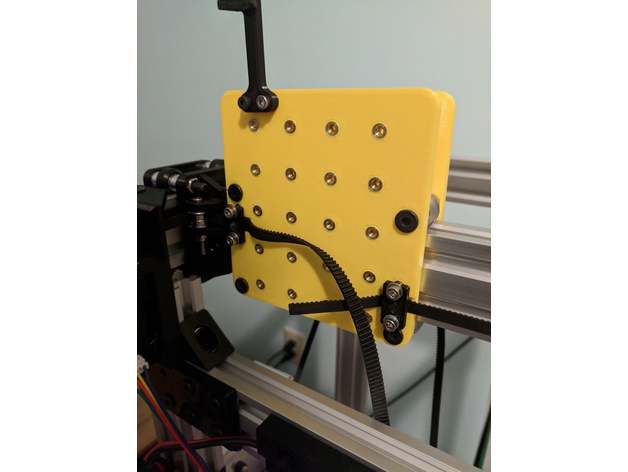
c-bot / d-bot multi-purpose x carriage 3D Print Model
Summary
The main idea behind this plate is to allow me flexibility in what tool I put on the x-carriage, where I put fans and other sensors etc. I’m planning to create a few parts which are based on this plate.
At present I’m just printing this plate twice and using for both sides. Technically over-kill but you never know ( quad extruder anyone? )
To use this plate you will need heat-set inserts. Either from Lulzbot or McMaster. I have set the spacing to be 20mm center to center and they should be just the right size to take these inserts. The lulzbot guys did a nice write-up demonstrating how to put them in.
You will also need the following:
4 x mini-v wheel kits ( either delrin or polycarb )
4 x 6mm spacers
4 x 6mm eccentric spacers
4 x M5 45mm
4 nylock nuts ( or regular and thread lock )
For each plate, 26 heat-set inserts ( see above for link options )
I’m still messing around with the extruder mounts. The titan large diameter gear screws around with the spacing so it sticks out kinda far which could make the hotend subject to moving during rapid transitions.
Also note, this is a work in progress. I’ve assembled it and done movement tests but have not used it for anything serious. Any thoughts or ideas on improvements or changes would be welcome. I plan to make a laser engraver mount and going to try a cnc mill later.
The c-bot you see in the photos is a small form factor so I can iterate on this kind of stuff without taking my main printer down so the plate looks huge 😉
Print Settings
Printer:
c-bot Rafts:
No Supports:
No Resolution:
.2mm Infill:
20-50% Notes:
Using kisslicer I use 3.25 perimeters. At 20% infill and the perimeters this plate feels plenty stiff using PETG. Use your best judgment there.
No overhangs or nut captures so no supports are necessary -
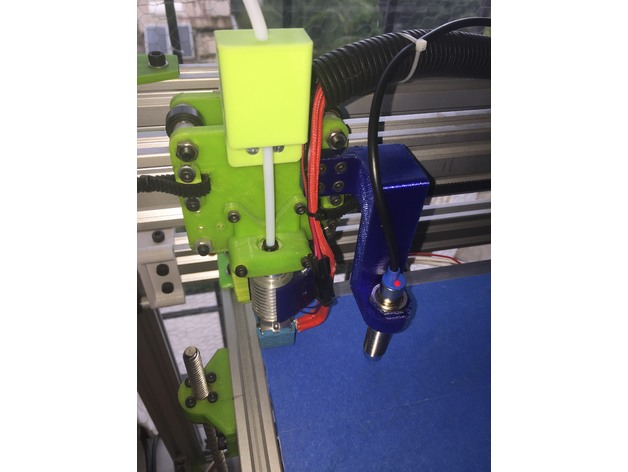
Induction sensor mount for the D-Bot Core XY 3D Print Model
Summary
An induction sensor mount for auto bed leveling on the D-Bot. I tweaked my printer for almost 6 months before realizing I needed this. After this, first layers are flawless and overall print quality has also improved.
Print Settings
Printer:
D-Bot Core XY Rafts:
Doesn’t Matter Supports:
Yes Resolution:
0.2mm Infill:
50%+ Notes:
Print with either ABS or PETG. -
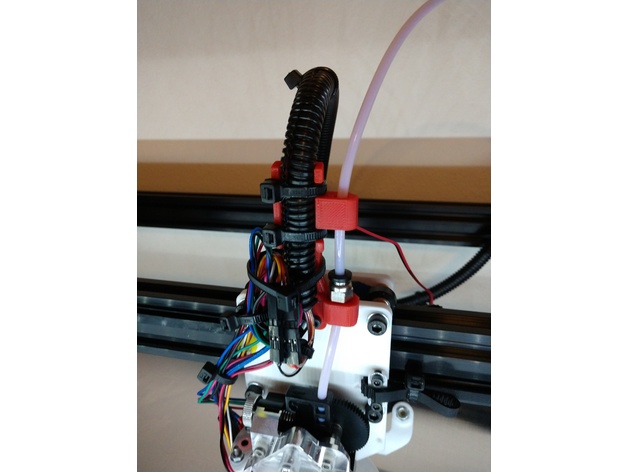
d-bot Titan Aero print carriage tube holder 3D Print Model
Summary
I made this tube holder to work with the d-bot print carriage for the Titan Aero, which is found at the following link:https://www.thingiverse.com/thing:2253498
This was done so I had a holder for my ptfe tube, and my wiring. I wanted it beefed up a bit, and added some channels for zip ties to make it more secure. -
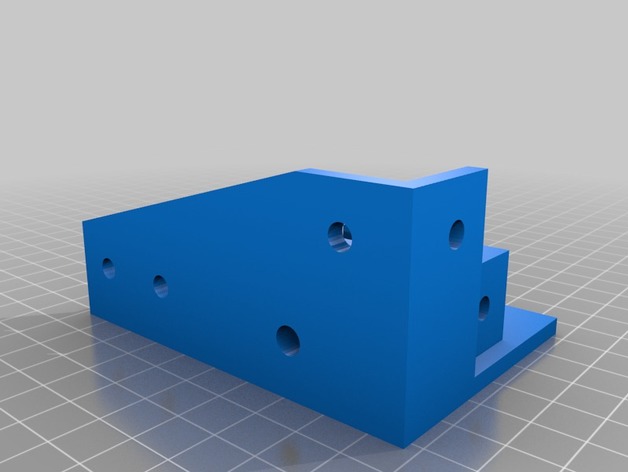
D-BOT – ALUMINUM CORNERS – MGN12H 3D Print Model
Summary
Do not print at this time. Still working on files.
Decided to redo the C-Bot/D-Bot files as I wanted to sturdy the frame with aluminum corner pieces. This allows room for the aluminum pieces to hold the frame together while the motor and idler ends are attached to the frame, hopefully keeping the printed pieces from strain. It gets to 120 degrees where I’m at and I planned on moving this around from time to time, so I wanted to build it as sturdy as possible. At the moment, all pieces are cut from misumi with the standard D-Bot build dimensions and a 2020 piece instead of a 2040 for the x gantry.