Summary
STL file from CREALITY 3D for the Ender 3 PSU.
They emailed me the file for a replacement PSU I will be getting.
Tag: Creality
-
Ender 3 PSU Cover from CREALITY 3D 3D Print Model
-
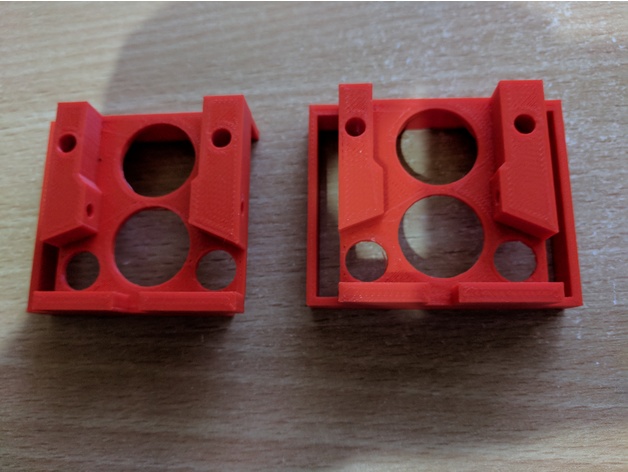
Creality Ender 4 Laser & Bed Leveling Sensor Mount 3D Print Model
Summary
I wasnt happy with the magnetic mounting for the laser on the ender 4, so i designed this to quickly mount and remove the laser when wanting to engrave stuff, without getting in the way of anything and allowing the bed leveling sensor to mount in the same spot. the holes for the mounting should be fixed, originally they were too small. please let me know if they are still too small.
when you get the ender 4 you should have a bunch of extra hardware. use the same type of screws that you used to mount the leveling sensor to mount the laser, by removing all the magnets from the laser and using the 2 center holes and screwing in the screws all the way.
you should now be able to slide the laser into the mount whenever you want to use the laser, and slide it out when done.
Print Settings
Printer Brand:
Creality
Printer:
Ender 4
Rafts:
No
Supports:
No
Resolution:
.2
Infill:
10%
Notes:
200C extruder
45c bed -

Creality 3D CR-10S End Cap 3D Print Model
Summary
This replaces the end cap on CR-10S and CR-10. I designed this to be able to add custom colored end caps to my CR-10S. This was also designed as proof of concept for a stable mounting point for a camera, sensors or other things that need mounting. I will upload variants of this with an arm to hold a camera or a light securely to the gantry.
Print Settings
Printer Brand:
Creality
Printer:
CR-10S
Rafts:
Doesn’t Matter
Supports:
Doesn’t Matter
Resolution:
0.2 mm
Infill:
20%
Notes:
Print at what ever resolution you wish and infill you wish. The part prints fast and strong. This printed part stood up to repeated insertions and removal. -
Tevo Tornado – Creality CR-10 Lights (low cost) 3D Print Model
Summary
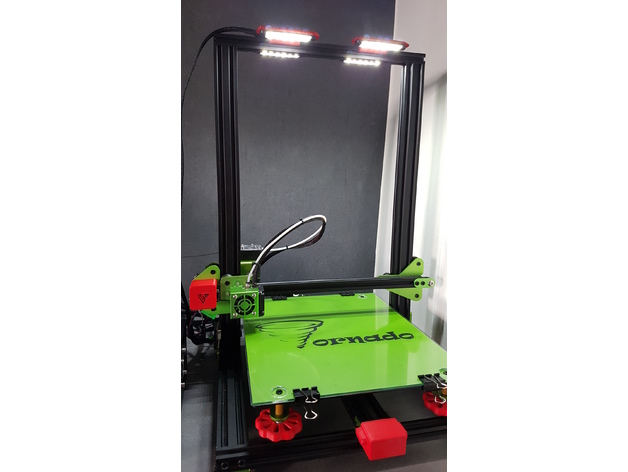
Système de Leds à petit prix pour l’éclairage de votre Tevo Tornado ou Creality CR-10 :
Vous avez besoin de (Il existe une version 12 et 24volt) : http://www.ebay.fr/itm/10-x-24V-24-Volts-BLANC-6-LED-FEUX-DE-GABARIT-CAMION-CARAVANE-SHASSIS-REMORQUES/322314654417
Pour pouvoir installer la pièce dans le rail de la Tevo Tornado, vous devez retirer les vis du rail coté droit. Exercez une légère flexion de la pièce support et tout en tenant la flexion faites la glisser lentement dans le rail, puis relâcher.Vous pouvez ajouter un vis M3-M5 munie d’un T-nut.
Les leds sont branchées en parallèle (12-24v) directement sur l’alimentation (24v pas 110-220v)
Pour que la pièce soit solide, je conseille 90% d’infill.
Low cost led lights in 12-24 v.
You need in (12 or 24v): http://www.ebay.fr/itm/10-x-24V-24-Volts-BLANC-6-LED-FEUX-DE-GABARIT-CAMION-CARAVANE-SHASSIS-REMORQUES/322314654417
To be able to install the part in the TT rail, you must remove the screws from the rail on the right side. Exercise a slight bending of the support piece and while holding the flexion slowly slide it into the rail and then release. You can add a M3-M5 screw fitted with a T-nut.
The leds are connected in parallel (12-24v) directly on the power supply (24v not 110-220v)
For the piece to be solid, I advise 90% infill.
Print Settings
Printer Brand:
TEVO
Printer:
Tornado
Rafts:
No
Supports:
Yes
Resolution:
0.2
Infill:
90 -
lock with wire clip for Creality Ender 2 wire chain 3D Print Model
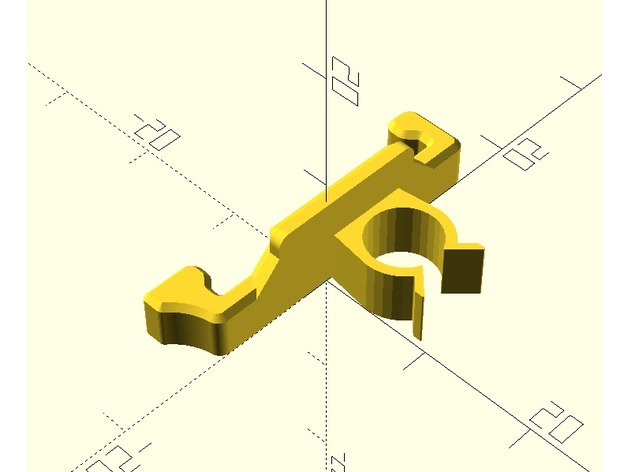
Summary
I remixed the lock of the Ender Cable Chain by ninne (https://www.thingiverse.com/thing:2498801) with the clamp of the bowden wire clips by Evanrude (https://www.thingiverse.com/thing:2328449) to attach the hot bed cable to the chain. It prevents the hot bed calbe from scrubbing the chain and the power cable. -

Creality Cr-10 Toolbox 3D Print Model
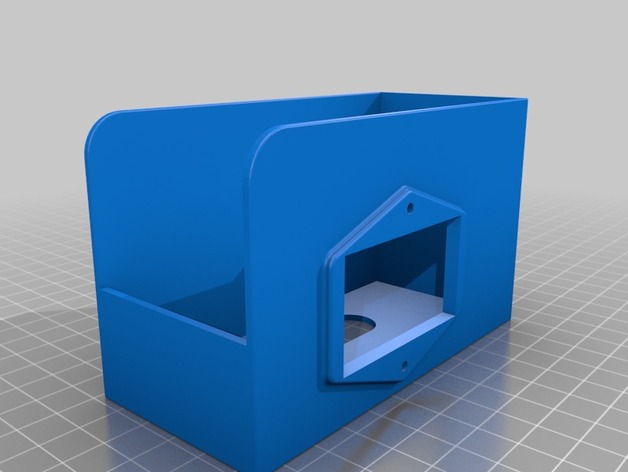
Summary
This is a toolbox that also acts as a base for the Creality Cr-10 control box. It keeps the electronics box high so it is better ventilated from the bottom fan. Due to its size I made it in two pieces and glue them together with superglue (I used medium CA). It is my first design in sketchup, feel free to remix.
Print Settings
Printer:
Creality Cr-10 Rafts:
No Supports:
No Resolution:
0.4 Infill:
20% -
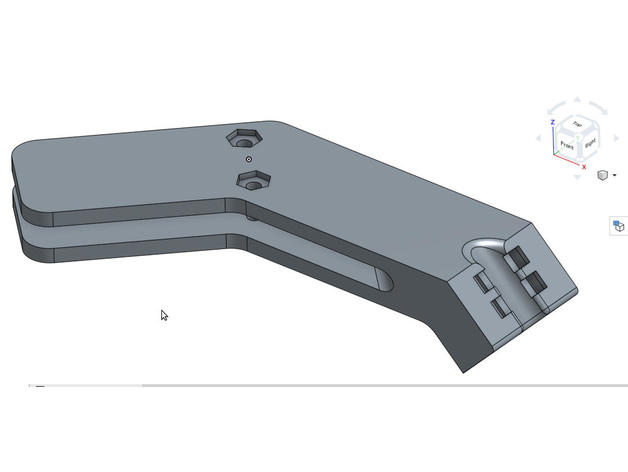
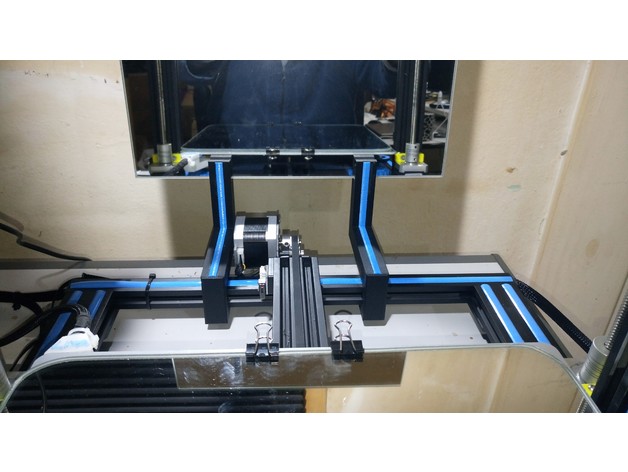
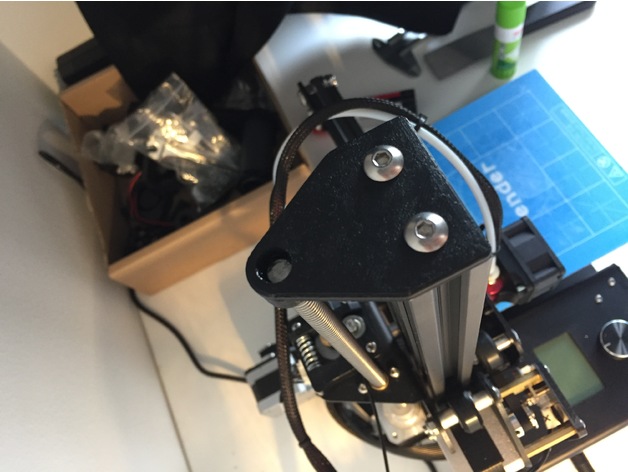
Creality Ender 4 strain relief 3D Print Model
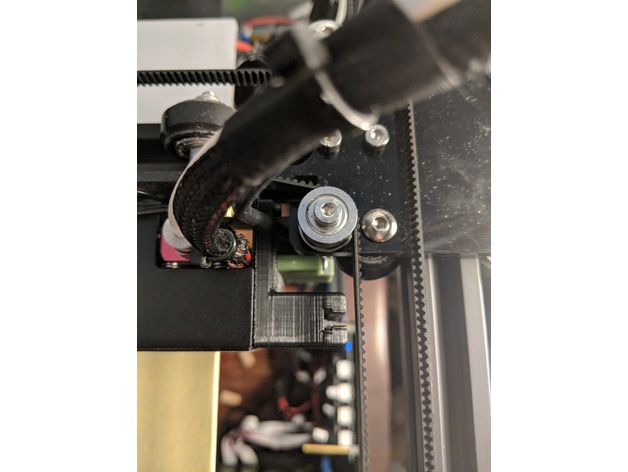
Summary
I wanted a strain relief bracket which didn’t interfere with the bed levelling screws – instead, one that clamped the bed carriage would be ideal using m3 hardware
The one I made is v1. This is version 2, featuring an angle to avoid screws contacting the bed, nut retainer insets and slightly narrowed. I reduced the diameter of the cable channel to get a tighter cinch with the cable ties.
To complete, use two m3 10mm or 12mm bolts and nuts to clamp the carriage, and two small cable ties, just push them through.
Print Settings
Printer:
Creality Ender 4 Rafts:
No Supports:
Doesn’t Matter Resolution:
0.32mm Infill:
20 Notes:
To print, rotate onto its side, it shouldn’t need supports though a brim may help. If using PLA, print it slightly hotter than normal (PLA+ settings) to increase interlayer bonding. Printed 215-220 deg C to increase strength.
Infill doesn’t really matter, 3 perimeters / 1.2mm wall is what I used, it’s more than enough.
How I Designed This
Designed in Onshape from scratch, if you want to edit it the link is here:https://cad.onshape.com/documents/2d61c918ed37344b6f5f4652/w/5cc150713efcf0918f92af5e/e/7c914fb3f0feff55238d9b94 -

Creality CR-10S Control Box Fan Holder 60mm for NOCTUA NF-A6x25 3D Print Model
Summary
Creality CR-10S Control Box Fan Holder 60mm for NOCTUA NF-A6x25
Remove the right thing of the OEM Fan Holder carefully to install this part.
Print Settings
Printer:
CR-10S Rafts:
Doesn’t Matter Supports:
Yes Resolution:
0.15mm Infill:
40% -
Remix Creality CR-10 Bed Leveling Indicator V3 3D Print Model
Summary
remix of CallJoe’s Creality CR-10 Bed Leveling Indicator V2 as it would not go over my air cooling exhaust.
Print Settings
Printer Brand:
FlashForge Printer:
Creator Pro Rafts:
No Supports:
Yes Resolution:
0.18 Infill:
20% Notes:
I added some extra manual supports in S3D to make sure I had no issues and printed on my FFCP as I’m still working out the bed leveling on the CR-10 and my gauge hasn’t arrived yet 🙂
How I Designed This
just used Tinkercad to remove the right hand side -
Creality CR-10 stylish back mirror holder 3D Print Model
Summary
Holders for a mirror of about the bed size on the back of the printer to see what it’s being printed from the back side.
Each holder have a sliding fit that clamps the 20 x 20 mm aluminum profile from the printer’s base frame, and another clamp to hold a 4 to 6 mm thick mirror standing up, matching the printer style, leaving enough clearance for the bed to travel backwards and for printed leveling wheels underneath it.
The first STL is the holder that should be printed twice. The second STL is a set of four bands to be optionally printed on the same color from the printer’s original rubber ornaments, to glue against the holder to improve the printer style matching.
Print Settings
Printer:
Creality CR-10 S3 Rafts:
No Supports:
No Resolution:
0.3 Infill:
20% Notes:
Given the holder’s austere smooth surface, it looks fine even if you increase the layer height.I used 0.3 mm height, and 0.2 for the ornamental bands.
If you print the optional bands, glue them against the holder’s grooves, they should fit perfectly inside them.Why?
I felt really stupid after buying a 30 x 30 cm mirror, when finding out that being that the printing surface, the bed was actually bigger, leaving me with an extra mirror after buying another one of the bed size: 31 x 31 cm. I don’t know you, if you did the same of if you just bought an extra mirror on purpose (as I now can tell people I did!), for the practical purpose of improve your viewing of the piece being printed.
Hence, here it is: a holder to prove that extra mirror worth every penny. -
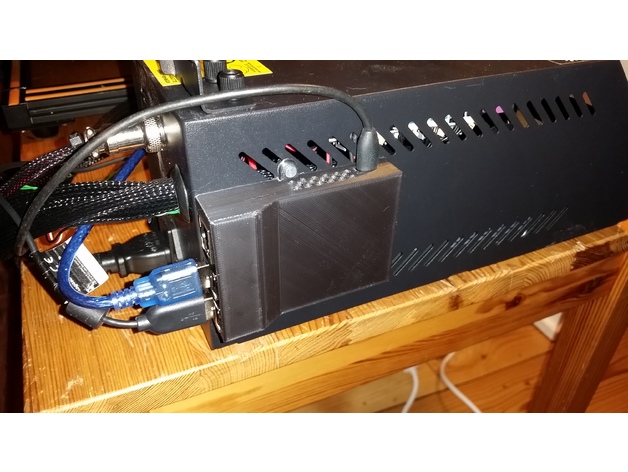
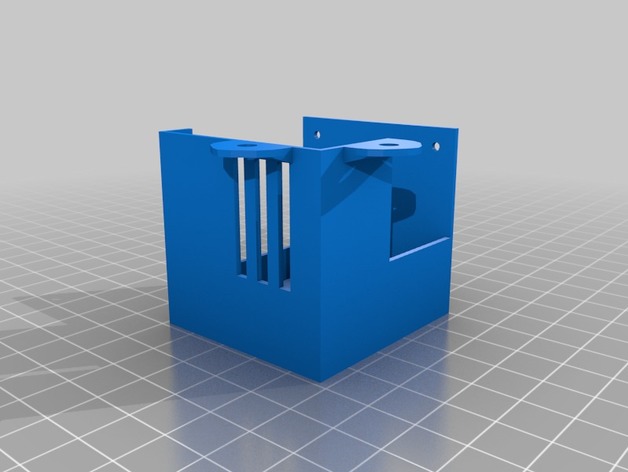
Enclosure for Raspberry Pi 3 and Creality CR-10 3D Print Model
Summary
This is an enclosure that is fastened with screws throw the grid at the side of the controller box. Therefore it is specifically made for the Creality CR-10 but will of course fit at other places when one want the box to be permanently attached to something.
The board is fastened by melting those pins like a rivet. -
Creality Ender-2 Z-axis stabilizer mount v2 3D Print Model
Summary
New version.
This is a Z-axis leadscrew stabilizer for Creality Ender-2.
Print, drill out the main hole with a 8-9mm drill bit, it might be a good idea to use some grease as well when installing it. Before you tighten the screws, move the Z axis to the top to position the stabilizer correctly.
Print Settings
Printer:
Ender-2 Rafts:
No Supports:
No Resolution:
.15 Infill:
100% Notes:
Use either 100% infill or lower infill and thick walls, I used 25% infill and 1.6mm walls -
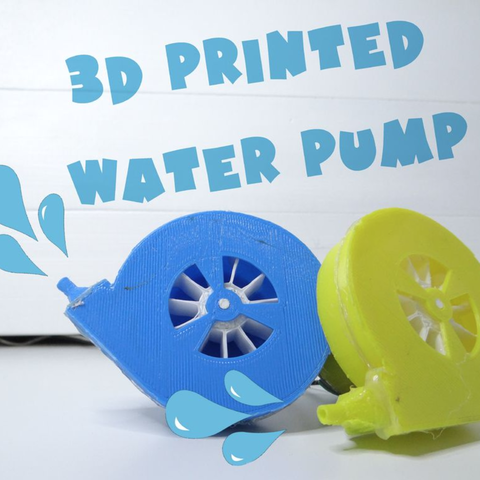
Water pump 3D Print Model
Working 3D printed pump very simple to make, just 3 parts. More info here:https://www.instructables.com/id/3D-Printed-Water-Pump/https://www.youtube.com/watch?v=qX5YHNfzSao
My Facebook: https://www.facebook.com/Nikodem-Bartnik-1891157704439330/ -
Creality CR-10 Fan Mount by SmilingImpact 3D Print Model
Summary
Virtually the same basic fan mount that shipped with the printer just not as electrically conductive!
Created with blender.
Print Settings
Supports:
Yes Notes:
It will need supports for the outer two screw tabs.