Summary
These pillars (or technically, bridge piers) have been designed and printed because my son got an amazing new toy from Ravensburger: GraviTrax marble run. And of course, during the holidays, we needed more piers to get the marble run built the way we wanted.. we needed.
So here they are: Extra piers to support the original GraviTrax hexagonal base plates.
Optimized for printing time, not for beautiful design. Needed them desperately!
Print Settings
Printer:
Anet3d A8-B Rafts:
No Supports:
No Resolution:
0.2 Notes:
Print with big end down! (Use/play with big end at top)
I print them with the Cura settings:
PLA
Wall line count = 3
Top/bottom count = 3
First layer:
0.3mm height at 200% line width
210°C
30mm/s
Remaining layers:
0.2mm height, 0.4mm width (=nozzle diameter)
190°C
60mm/s print speed, except:
outer walls: 30mm/s
Post-Printing
Play. Maybe some sanding could be required to smoothen the foot (small end) not to brak the original GraviTrax cardboard “play ground”
How I Designed This
First real thingi with Fusion 360
As a hobbyist, I downloaded Fusion 360 some time ago and applied for the educational/hobbyist 1-year license. But then almost did nothing with it.
Ravensburger’s GraviTrax cried for home made parts, and so I started drafting something like the original pier plates, only 3 times as high. Printed an eternity. We needed more, and faster, so I started a new one only applying plasitc where absolutely needed.
Here you are!
Tag: compatible
-
GraviTrax compatible piers 3D Print Model
-
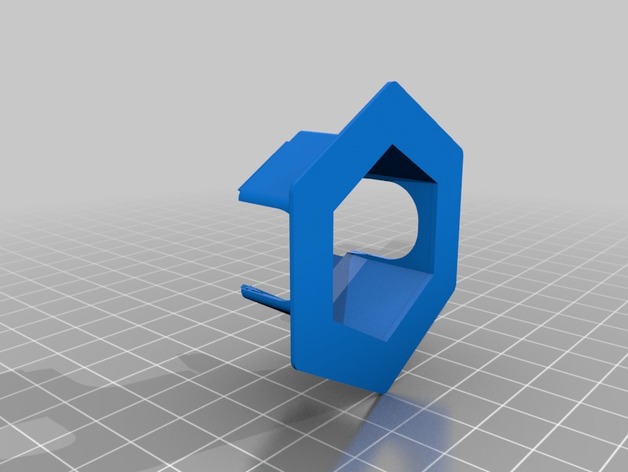
Quanum HB5808 Fatshark Dominator Doors (Trinity compatible) 3D Print Model
Summary
Remixed from LaForge V2 Fatshark Doors by musicsurf, to fit the Quanum hb5808 diversity.
Make shure to check the pictures for printing orientation.
The snapping hooks are modified, as the original design would not fit my goggles to well (at least with my printer). You will definatly have to trim them with a knife to make them fit (expecially the inner ones of the right door), as they are intenionally to large, in order to acomplish a good fit after trimming.
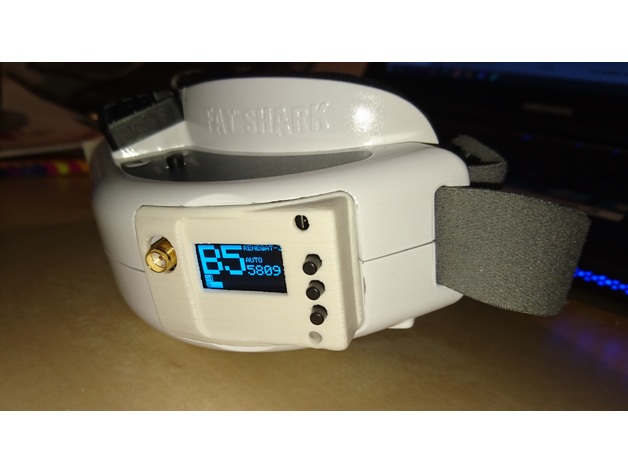
Loosening the screws on the bottom for the goggles will make installing the doors much easyer and prevent the hooks from breaking.
To controll the module, I dismantled some long tactile pushbuttons and very carefully(!!!!!) gued the pins to the module buttons with some CA glue. (read the disclaimer before you do this!)
The additional hole in the right door can be threaded for a m3 bolt to create an optional mountingpoint for antennas.
I used some double-sided foamtape to mount the right module into the door.
disclaimer:
You do this modification at your own risk. I won’t be held responsible for
what I have written here. This is what I did and it worked for me but, it
may not work for you.
Print Settings
Printer:
Turnigy Fabrikator Rafts:
Yes Supports:
Yes Resolution:
0.1 -
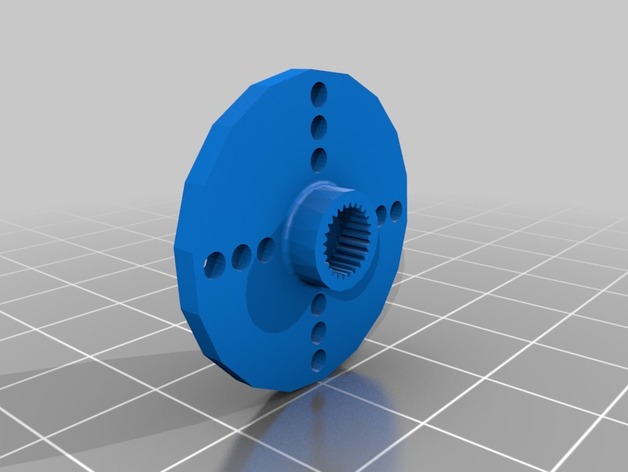
Servo Horn Compatible with Futaba 3F or Hitec H25T 3D Print Model
Summary
My hobby projects often find me needing a servo horn that I don’t have. I wanted to model a horn with the correct splines to fit the standard size servos that I typically use. This Thing includes the model for a round servo horn with splines that are compatible with either Futaba 3F or Hitec H25T spline servos (this covers most newer standard size servos).
The horn is a tight fit and you may need to slightly scale the model to account for your printer’s particularities.
The DesignSpark Mechanical source model is provided. This allows you to make a custom servo horn.
Print Settings
Printer:
Malyan M150 Rafts:
No Supports:
No Resolution:
0.2 Infill:
25% Notes:
Material: PLA
Slicer: Kisslicer v1.5 -
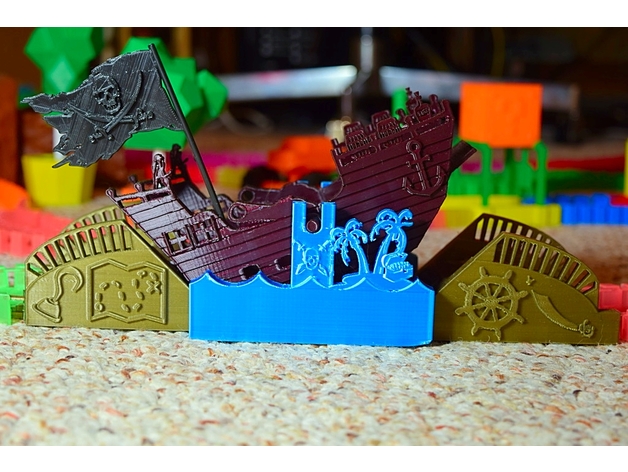
Pirate Ship Seesaw for Magic Tracks, Neo Tracks, and everything compatible 3D Print Model
Summary
All parts were printed in the position I uploaded them in.
I printed the ship in two parts due to having a small print bed. I included a single print ship file for those with a larger bed.
I printed one flag which provides sufficient weight to make the seesaw return to the original position after each car passes through. I included an optional second flag for the opposite side. I have not tested to see if this is too much weight for the seesaw to function normally.
Supports are required for all parts, but very little is necessary.
Works with Magic Tracks, Neo Tracks, and anything else compatible with these.
Print Settings
Printer:
Monoprice Select Mini Rafts:
Doesn’t Matter Supports:
Yes Infill:
10-15 -
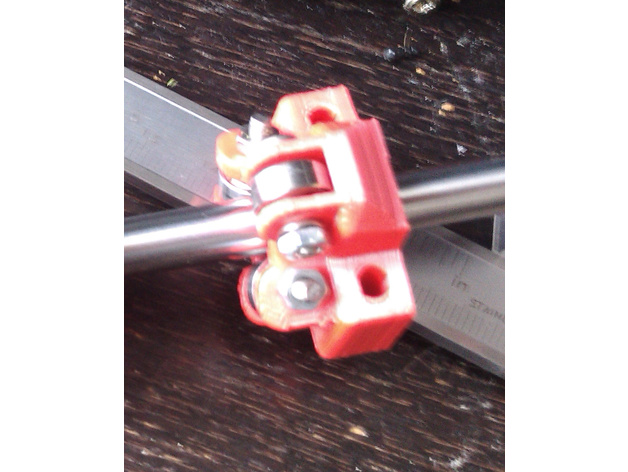
Linear bearing compatible with sme8op but with 623 bearings 3D Print Model
Summary
This is the replacement for my prusa i3 linear bearings. The ones I had originally were verry bad and loose. Now it works flawlessly.
I attached the bearings using m3 screws, but it should be possible to mount it with original m4 screws (but I am not sure, please be warned).