Summary
CR-10S Hinged Filament Sensor Mount (Front Plug)https://www.thingiverse.com/thing:2791872
CR-10S Hinged Filament Sensor Mount (Bottom Plug)https://www.thingiverse.com/thing:2826099
Lets be honest. The filament runout sensor is a great addition to the Creality CR-10S, but the factory slide-on mount that Creality supplies sucks. I download and printed several other designs from here and just wasn’t happy with the alignment or functionally of them, so I designed my own.
I wanted the filament to be feed straight thru with enough room inbetween to manage any kinks or wobbles in the filament with your hands. I also wanted a better way to reduce friction thru it when near Z=0 and Z = 200+ as the filament is drug thru the horizontal position of the sensor first which is dependent on the way you install the roll (over the top or under). Thats when putting a hinge inbetween seemed like the perfect solution as I run a TUSH spool holder with the extruder feed off the bottom of the spool. I designed this Hinged Filament Sensor Mount so it can be bolted onto the Z-axis brass lead screw nut using factory hardware, then the mount is stabilized to the Z column roller mount right at the hinge. I also designed it so you could run the sensor fully enclosed or with the printed cap to keep crud out. You will need (2) M3X20 screws with (2) M3 hex nuts. Hinge is printed in place.
Please note that after printing you will need to carefully twist the built-in support material off in the same direction as the pivoting hinge. If you use flush cutter on the support material, you may end up splitting the mount in half. The hinge for this design requires a M3 x 30mm LG screw and a M3 Nut as I couldn’t model it assemblied without alot of wasted support material.
The sensor I designed this around can be purchased here:https://macewen3d.com/products/cr-10-cr-10-s4-and-s5-replacement-endstop-limit-switch
Which is the same as the factory Creality CR-10S filament runout sensor or Axis stop sensors. My machine actually came with a spare, which made designing/refining it pretty easy.
Some people didn’t like my previous version of this mount since the plug for the sensor was in front, so I remixed it so the plug is now facing downward.
Tag: bottom
-
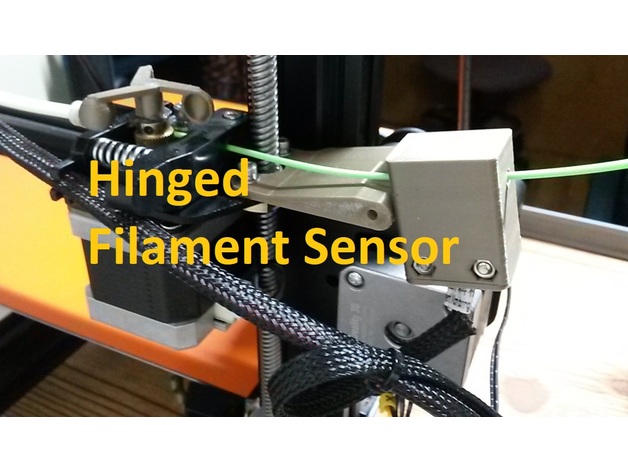
CR-10S Hinged Filament Sensor Mount (Bottom Plug) 3D Print Model
-
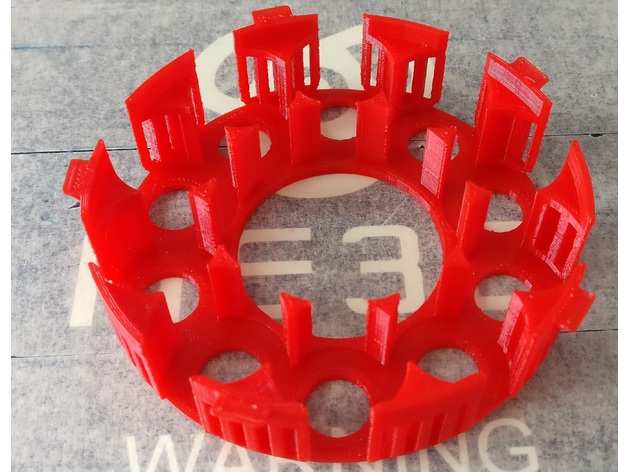
Betrayal at House on the Hill Token Organizer Bottom (lite) 3D Print Model
Summary
I removed some materials from the original version. Still seems pretty tough. Printed using 0.3mm resolution. -
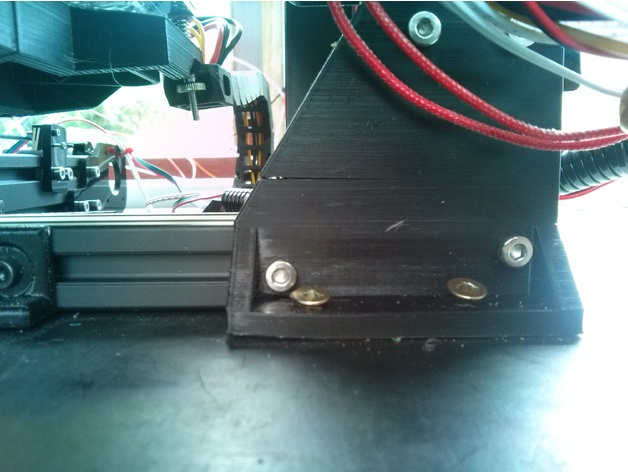
Tevo Tarantula Bottom Right Bracket 3D Print Model
Summary
Simple z axis strengthening bracket for bottom right hand corner
Print Settings
Printer Brand:
Prusa Printer:
i3 MK2 MMU Rafts:
No Supports:
No Resolution:
0.2 Infill:
25% -
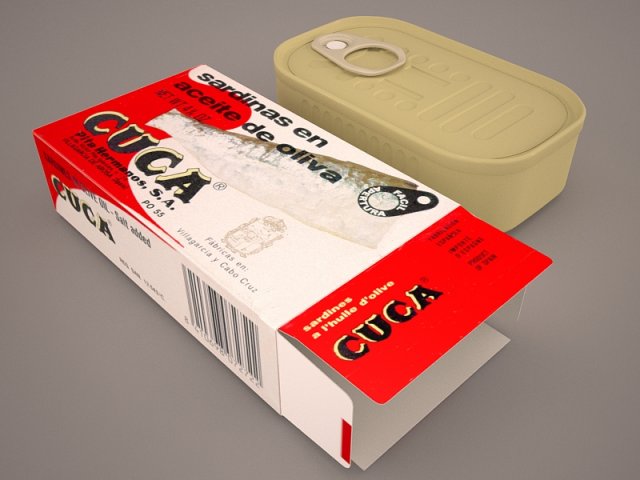
Tuna Tin 3D Model
tuna tin cuca can food rim shiny conserve bottom storage metal aluminum container seafood cooked eat tunafish
-
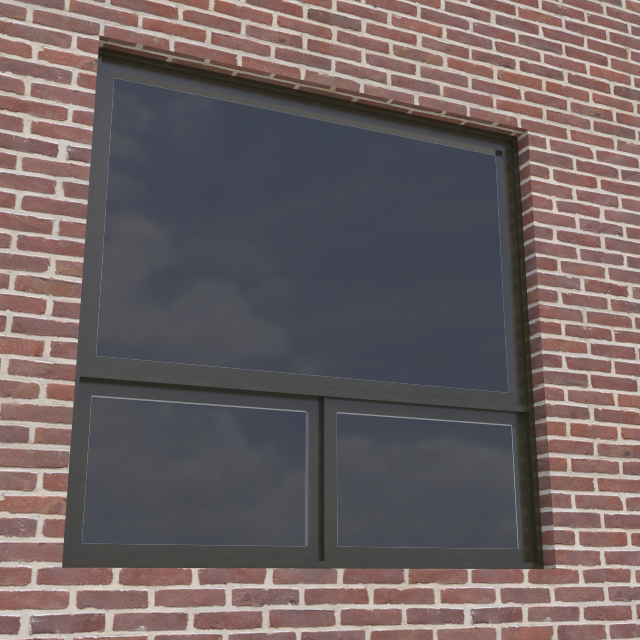
Modern architectural window fixed with bottom sliders 3D Model
Modern architectural window fixed with bottom sliders
-
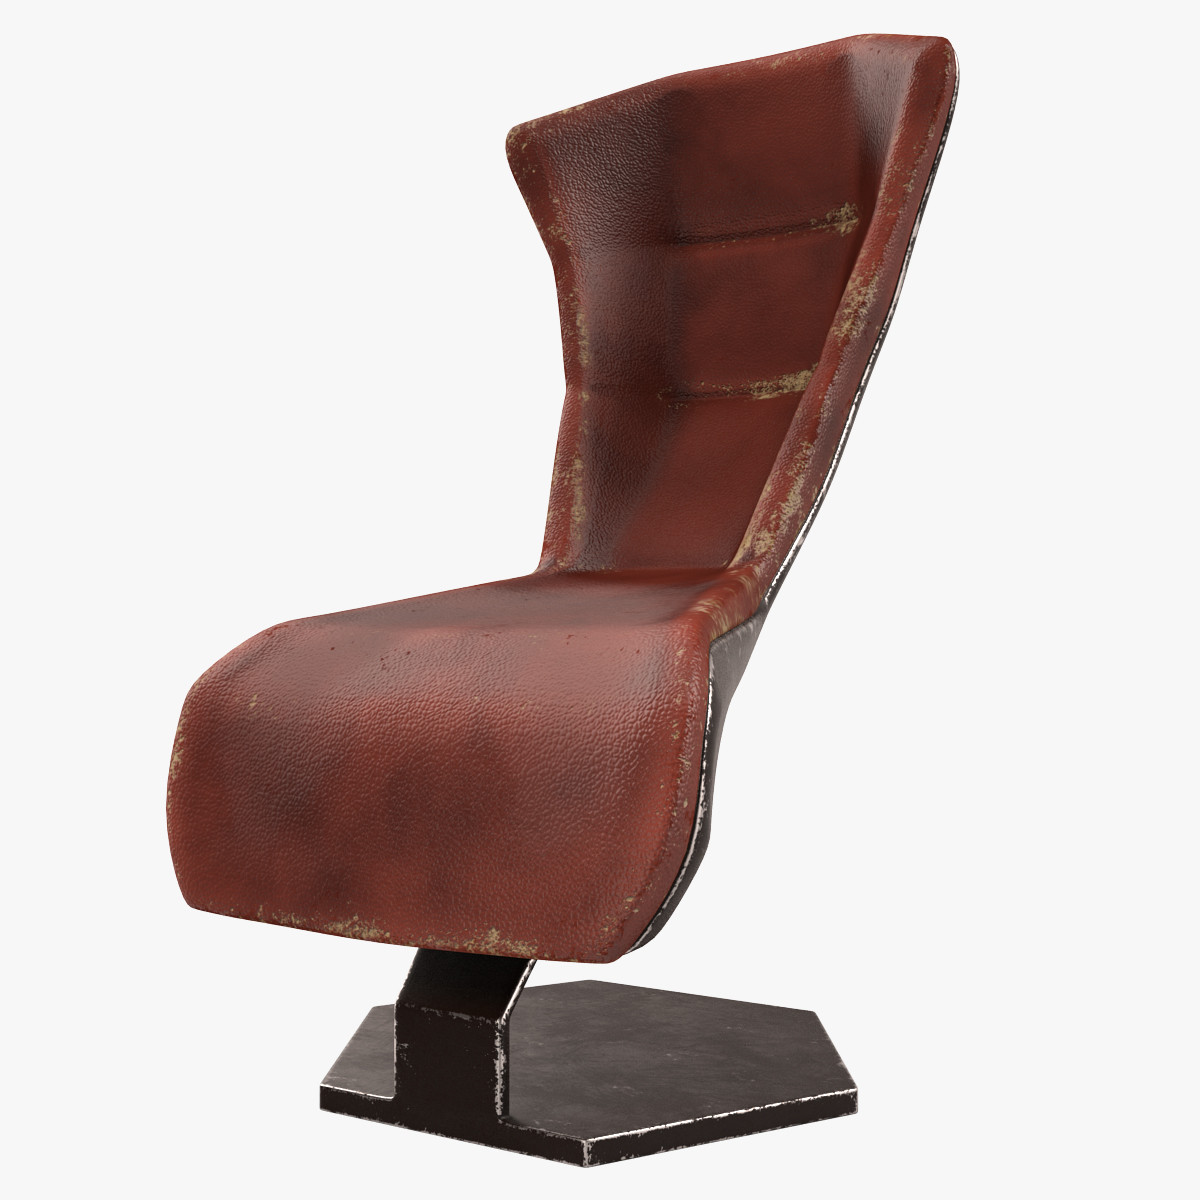
Sci-Fi Armchair 3D Model
Sci-Fi Armchair*********************************Features:* High quality polygonal model, correctly scaled for an accurate representation* Substance Designer used* Substance Painter used* Unfold3D used* High Quality textures in PNG format* All objects have proper pivot points locations* Objects are grouped for easy selection & logically named* Non-overlapping UV’s are applied where it is necessary* High quality V-Ray Materials* Studio setup is included*********************************File Formats:* .MAX (3ds Max 2012 V-Ray and standard materials scenes)* .MAX (3ds Max 2010 V-Ray and standard materials scenes)* .3DS (Multi Format)* .OBJ (Multi Format)* .FBX (Multi Format)* .MAT (Material libraries)* Every model has been checked with the appropriate software*********************************Textures Formats:* 4096*4096* 10 PNG* 1 PSD (Photoshop format width layers & logically named for easy redactions)********************************** Warning: Depending on which software package you are using, the exchange formats (.obj, .3ds and .fbx) may not match the preview images exactly. Due to the nature of these formats, there may be some textures that have to be loaded by hand and possibly triangulated geometry********************************** Hope you like it!* Also check out my other models, just click on my user name to see complete gallery.*********************************
-
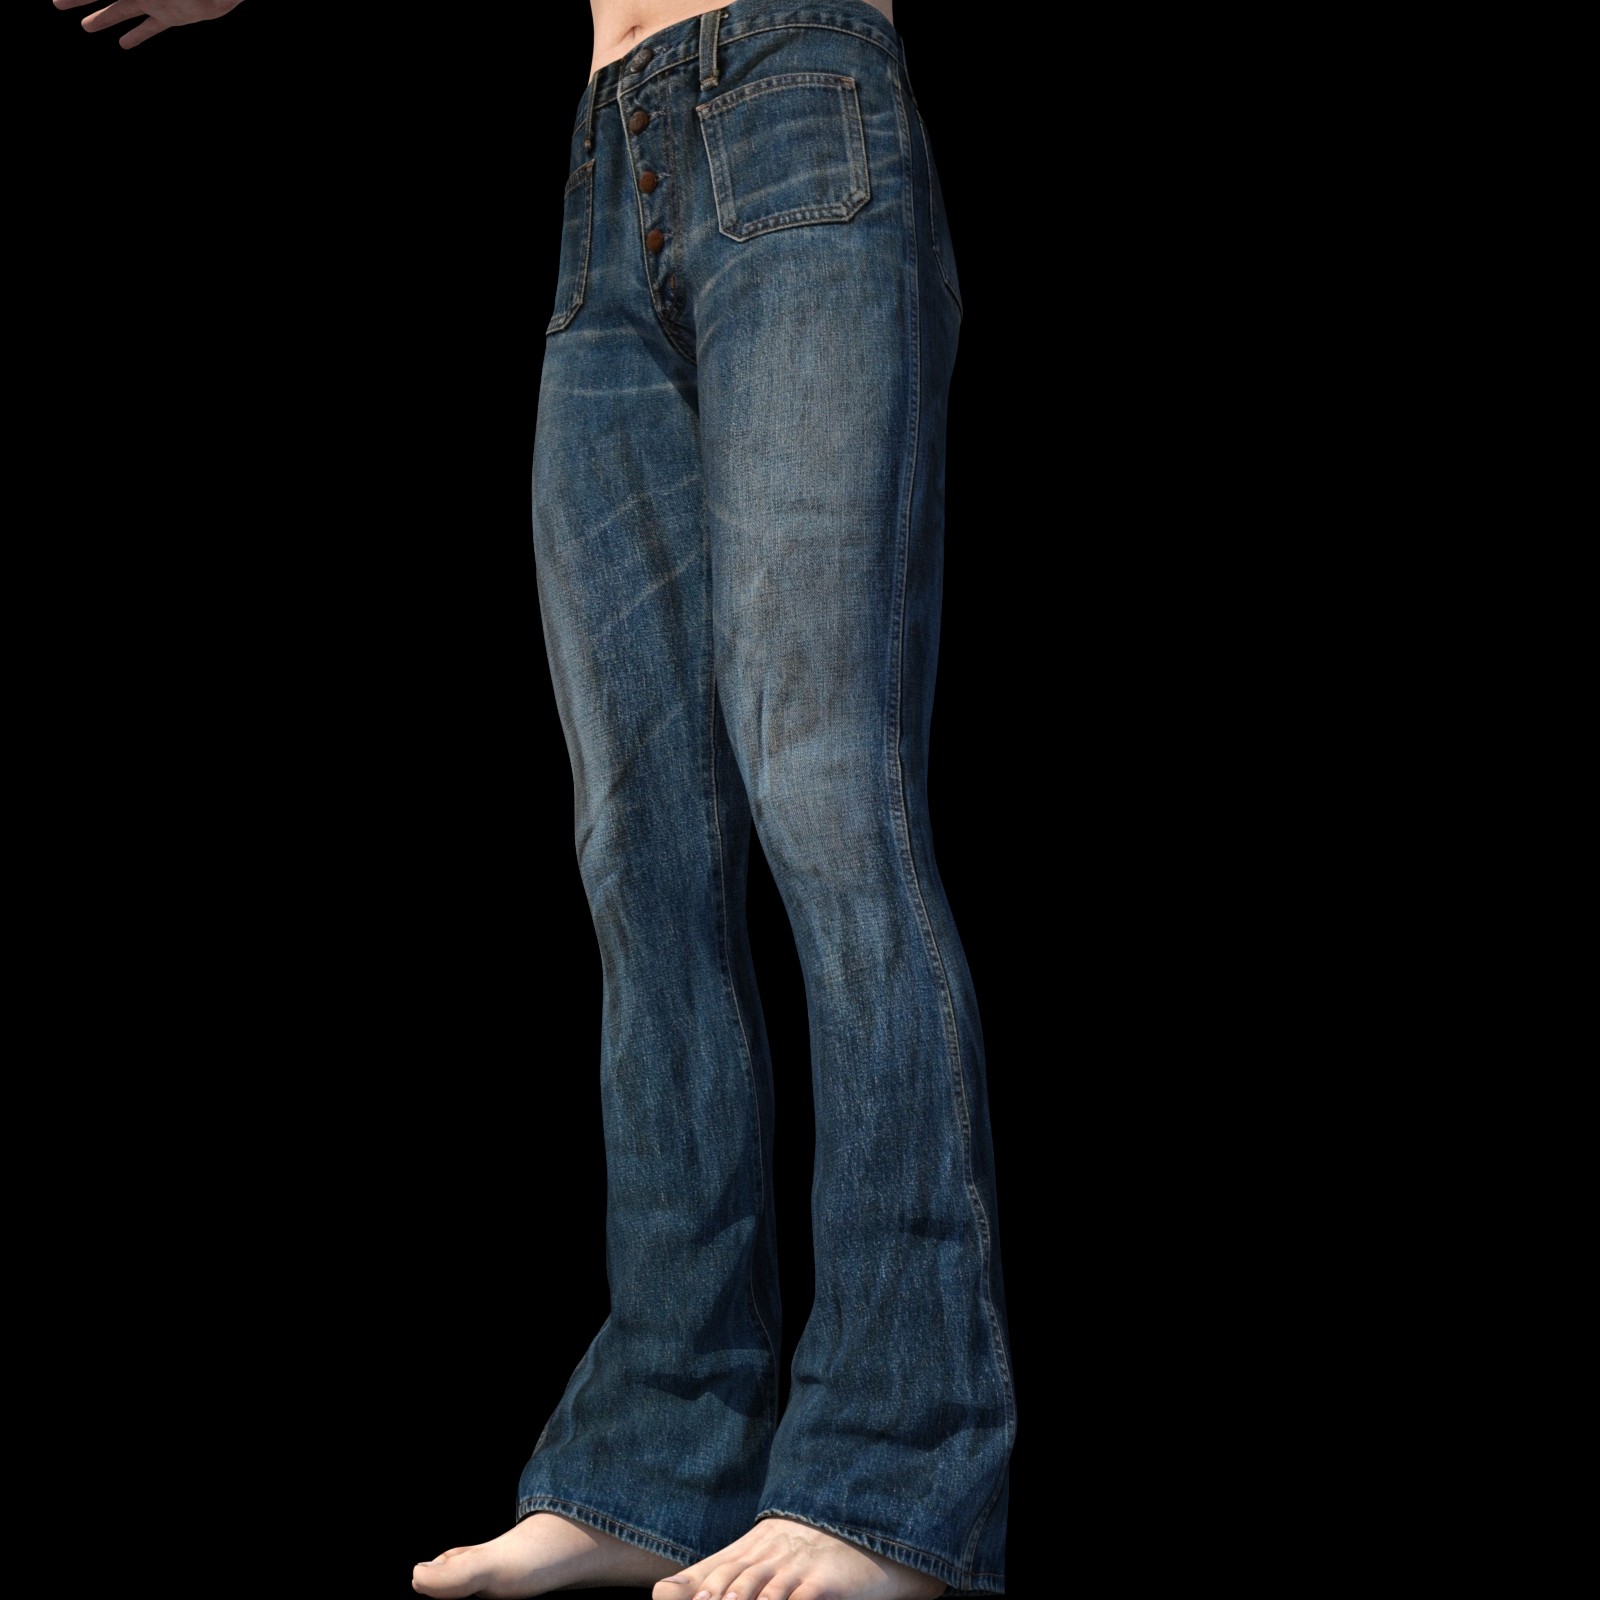
Photogenic Jeans for Genesis 2 Male 3D Model
Photo-realistic low poly jeans for Daz3d genesis 2 male.- No isolated vertices, no overlapping vertices or faces.- Diffuse (6000×6000) Normal (6000×6000), and Bump(6000×6000) maps included.//////////////////////////////////////////////////////////Required softwareDaz Studio 4.9Required ProductsGenesis 2 Male Starter Essentials by DAZ3D You can get them freely at DAZ3D web site.//////////////////////////////////////////////////////////Installation instructions1. After downloading this product, unzip to a new folder using program of your choice. 2. Open the ‘Texture’ folder in the unzipped file and copy the ‘CasualJeans646’ folder to ‘My Daz 3D Library/Runtime/Textures’.In windows, the location of this folder isC:UsersPublicDocumentsMy DAZ 3D LibraryRuntimeTextures3. Open the ‘Clothing’ folder in the unziped file and copy the ‘CasualJeans646’ folder to – My Daz 3D Library/People/Genesis 2 Male/ClothingIn windows, the location of this folder isC:UsersPublicDocumentsMy DAZ 3D LibraryPeopleGenesis 2 MaleClothingFinding the product inside Daz Studio:1. Open the Content Library2. Inside Content Library navigate to – Daz Studio Formats/My Daz 3D Library/People/Genesis 2 Male/Clothing/CasualJeans646/BJ82bj823D includes materials for 3Delight and bj82IRAY includes materials for NVIDIA Iray.//////////////////////////////////////////////////////////Using the morphsSelect the jeans in your Scene view and go to Parameters. All morphs are located under ‘Morphs’.//////////////////////////////////////////////////////////List of MorphsFit-looseFit-TightFold-CrotchFold-Popliteal-LFold-Popliteal-RGenitalBulge-1GenitalBulge-2GenitalBulge-3RollUp-LRollUp-RSagging1Sagging2Shortenb0Ex