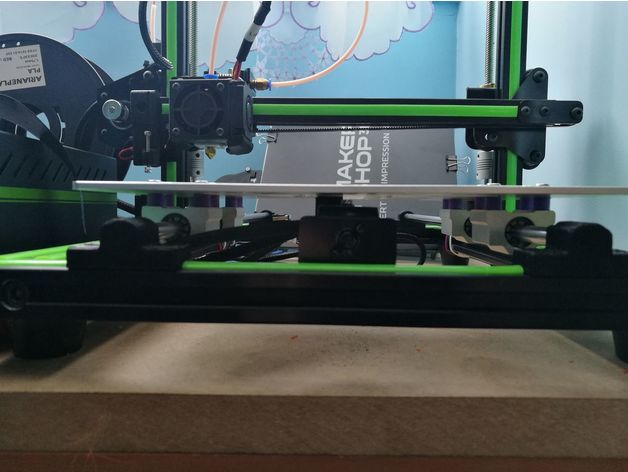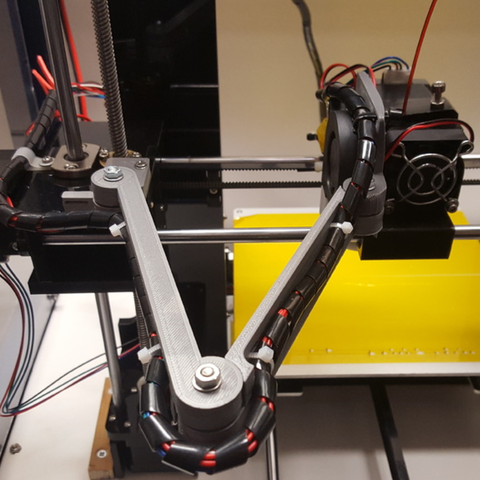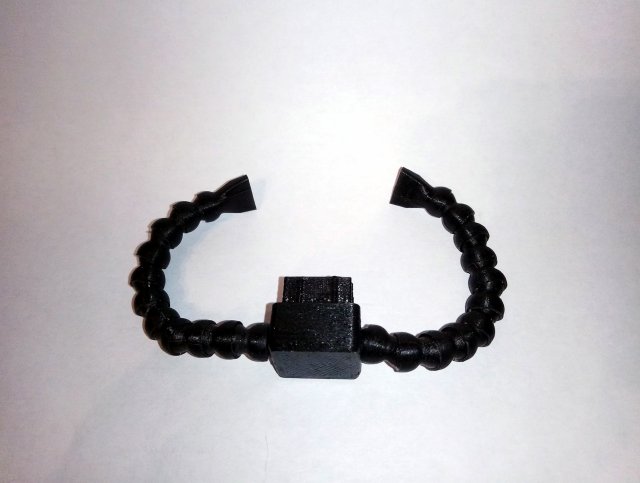
This is universal snail Fan duct with spherical ball and socket joint. Print one of the housings with one, two or three holes.Printing detailsFilament: Pet-GSpherical ball and socket joint:Nozzle diameter 0.6 mmLayer height 0.1 mmSpiral Vase Mode !Housing:Nozzle diameter 0.6 or 0.4 mmLayer height 0.1 or 0.2
Tag: Anet
-
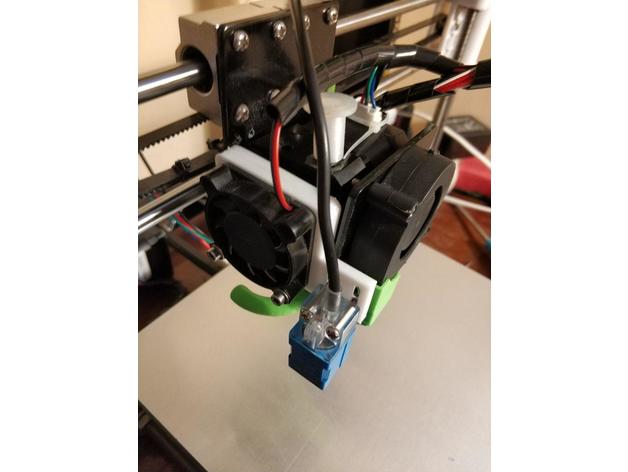
tronxy xy-08n sensor stable mount to Anet A8 3D Print Model
Summary
tronxy xy-08n sensor stable mount
Print Settings
Printer:
Anet A8
Rafts:
No
Supports:
No
Resolution:
0.2
Infill:
100 -
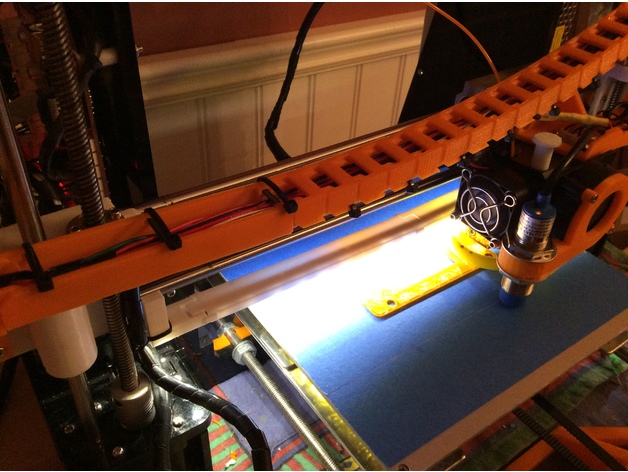
Anet A8 LED strip mount under X axis clip on remix 3D Print Model
Summary
This remix was remixed in Tinkercad to remove the screws. Assembly is the same, but instead of using screws, you just snap fit the brackets on. No screws needed!
😀 -
Anet A8 Universal Spool Roller 3D Print Model
Summary
I was a bit annoyed at how wobbly the original spool holder of the anet a8 was. i had a few 608 bearings around and decided to put them to use.
you will need 4 608 bearings and print the model twice.
This is a modification to the original holder.
Print Settings
Printer:
Anet A8
Rafts:
No
Supports:
No
Resolution:
0.2
Infill:
40% for extra strength -
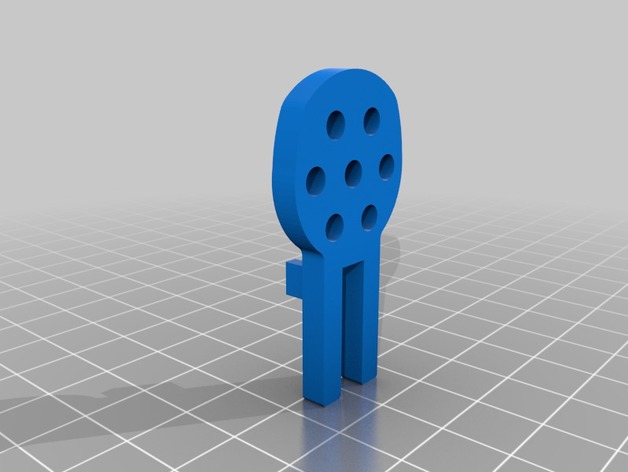
ANET A8 Small Filament Holder 3D Print Model
Summary
The project is a filament holder that attaches to the existing ANET A8 filament holder.
This was inspired by filamentry’s excellent design, TUSH The Ultimate Spool Holder, at https://www.thingiverse.com/thing:2047554, where the filament spool rests on 608 bearings. However the print time for the TUSH was a little longer than I wanted (I’m impatient). Therefore, taking the idea of a bearing filament holder, this design slims it down to just the essentials. It assumes you already have the filament holder provided with the ANET A8. These small holders simply slide onto the existing ANET A8 holder.
The file contains the design for half a holder. You will need two ‘halves’ for each ‘corner’ of the spool, and since there are four corners you’ll need to print eight ‘halves’ total. Glue two halves together with a 608ZZ bearing in between to make one holder. Make four holders total.
I based the design off of my own measurements of the 608ZZ bearings, ANET A8 spool holder, and the spool of filament in my possession. I know there have been some tolerance tweaks to theTUSH, but I haven’t cross-checked the measurements in this design with the TUSH…so your mileage may vary.
If you have the time, print a TUSH. If you’re in a hurry and already have the ANET A8 spool holder, perhaps this is the holder you seek.
Print Settings
Printer Brand:
Prusa
Printer:
Prusa Clone
Rafts:
No
Supports:
No
Resolution:
0.1mm
Infill:
20 %
Notes:
Although the thumbnail depicts the part standing up, I printing it lying flat.
Printed on an out of the box ANET A8, using Cura as the slicer.
Materiel: PLA
Extruder temp: 190 degrees
Bed temp: 50 degrees. Using glass and AquaNet on top of the heated bed
Print Speed: 50 mm/sec print speed. 100% flow rate
Fan Speed: 100%
Print Time: approx 40 minutes for one, about 1hr+15min to print a pair at the same time
Post-PrintingFilament on top of filament holders
half of a holder
half of the holder with 608ZZ bearing inserted
How I Designed This
designed using Fusion 360 -
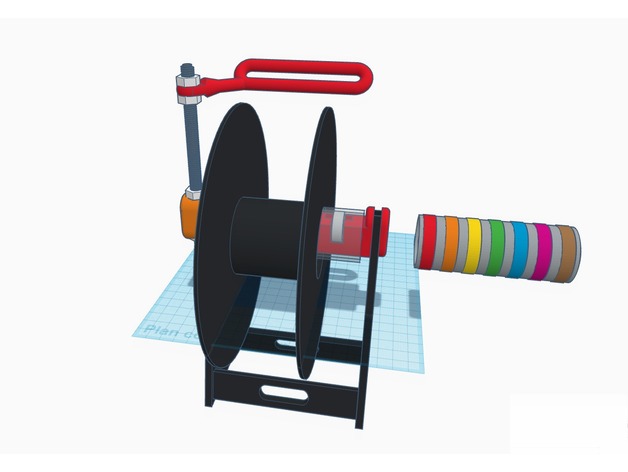
Ei9ht – Anet 8s Spool Holder upgrade 3D Print Model
Summary
Marre des boulons et cônes à chaque changement de bobine !
Donc voila un upgrade du porte bobine fournit par Anet
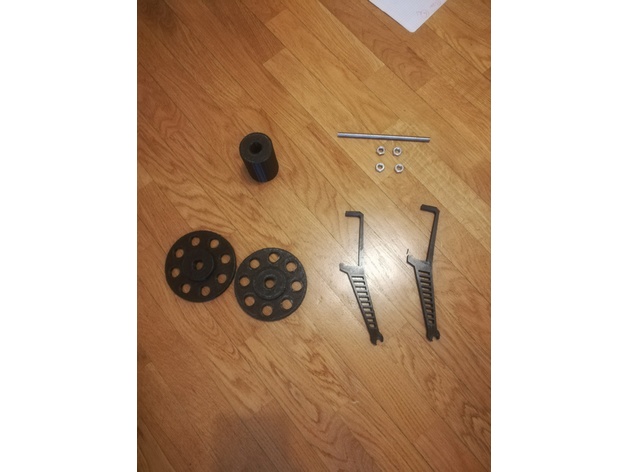
Une fois monté le changement de bobine se fait en 8 secondes, aucun boulon rien, on passe le dispositif dans la bobine et on pose sur le porte bobine
Possibilité de mettre des élastiques sur le tube et les roulements
Le bras se compose de la tige fileté et des boulons d’origine
Tired of bolts and cones for every spool change!
So here is an upgrade of the spool holder provided by Anet
Once mounted the spool change is done in 8 seconds, no bolt or anything else, we just passes the device in the spool and we put it on the holder
Ability to put elastics on the tube and bearings
The arm consists of the original threaded rod and bolts -
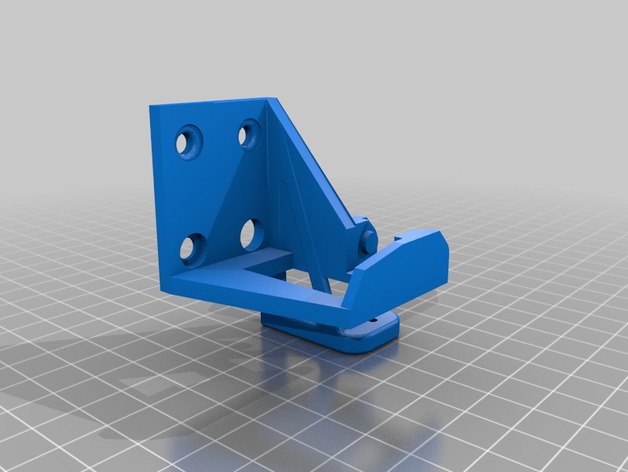
Anet A8 Extruder chain and BL touch mount 3D Print Model
Summary
Combined https://www.thingiverse.com/thing:2354864 and https://www.thingiverse.com/thing:2773637 so you can have a chain and the mount at the same time. -
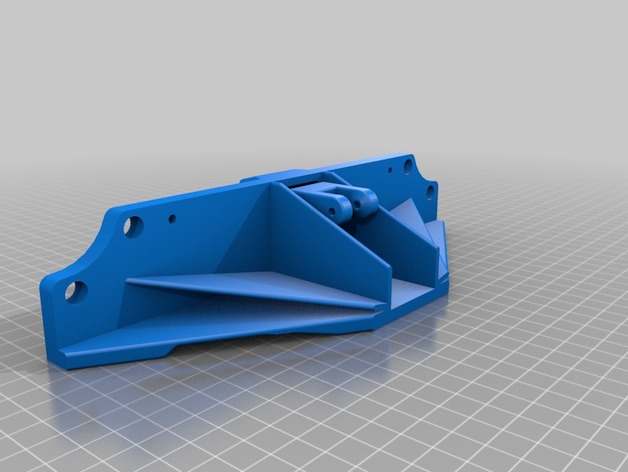
Anet A8 Belt Tensioner and Brace Y-Axis 3D Print Model
Summary
ANET A8 BELT TENSIONER and BRACE Y-Axis
We added this one so people in the community could provide feedback. When we finalize the model we will publish the final version.
The nut traps are very tight. Position the nuts in front of the traps and then use the 12mm screws to draw them in.
When the belt is taught – thread lock can be added to the nut/bolt to secure it in place.
Parts List
1 – Idler Pully 16 Tooth M3 Bore (Purchase Here)
1 – M5 x 12mm Bolt (Purchase Here)
1 – M5 Nut (Purchase Here)
1- M3 x 25mm screw
1 – M3 Lock Nut (Purchase Here)
4 Feet – GT2 Timing Belt (Purchase Here)
Digital Sqrt is an open source company and we strive to make all of our files available to all. The STEP and STL files are in the Thing Files folder.
Change Log:
3/14/2018 – Upload Files for comment by the comunity -
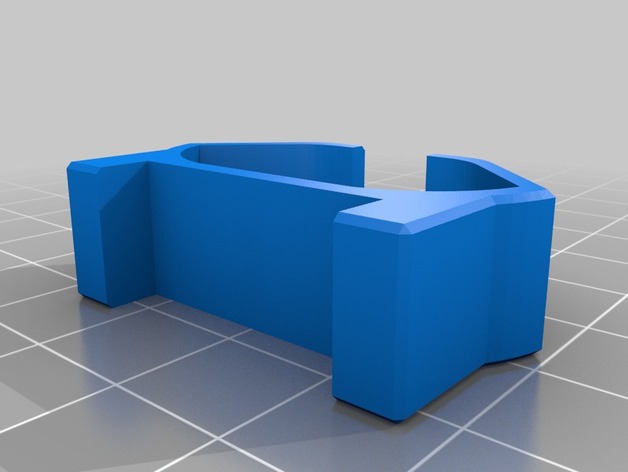
Anet A8 simple-fast damper to use with front frame brace 3D Print Model
Summary
I remixed MarcoCammozzo’s Anet A8 simple-fast damper so it can fit it in my front frame brace by Leo_N https://www.thingiverse.com/thing:1857991
Print Settings
Printer:
Anet A8
Rafts:
Doesn’t Matter
Supports:
Doesn’t Matter
Resolution:
0.2
Infill:
30%Overview and Background
-
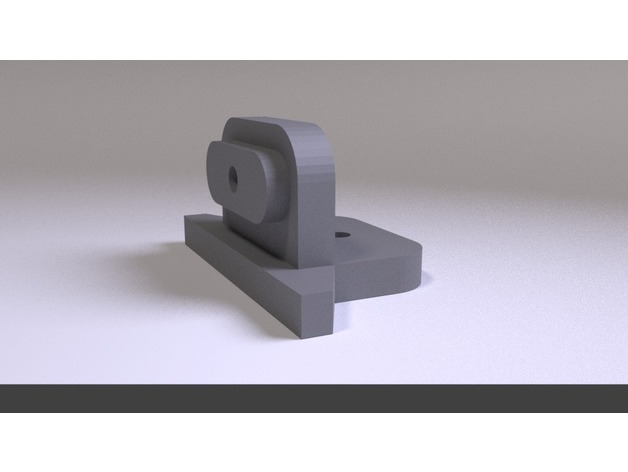
Anet Filament Spool Rack Bracket A8 / A2 3D Print Model
Summary
This bracket is designed for the Anet filament rack. The oval extrusion on the side of the bracket will fit snugly inside the oval cutout on the standard Anet filament rack. This was designed to mount on top of the Anet A2, however could be used for a wall or other type of mounting.
Print Settings
Printer Brand:
Prusa Printer:
Prusa Clone Rafts:
Doesn’t Matter Supports:
Yes Resolution:
.2 Infill:
28% or higher Notes:
1.6mm wall thickness -
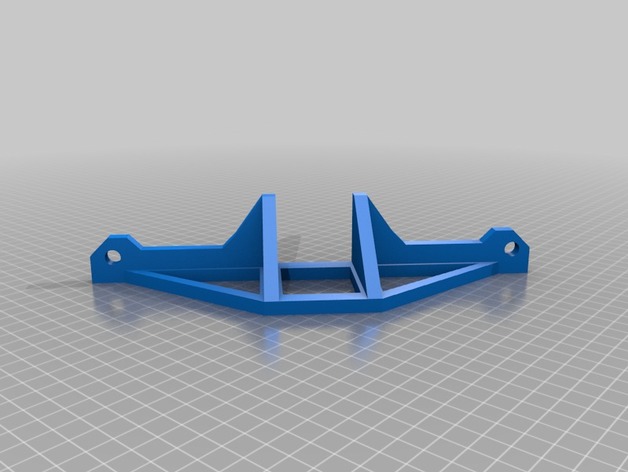
Anet A8 Front Brace – Lower Bolt Holes 3D Print Model
Summary
I needed a front brace for my A8. All the models that I found here didn’t fit. For some reason the holes for the bolts were too high for my machine. So I made a design with the center of the bolt holes lowered to at about 14mm above the bottom.
How I Designed This
Designed in TinkerCAD. -
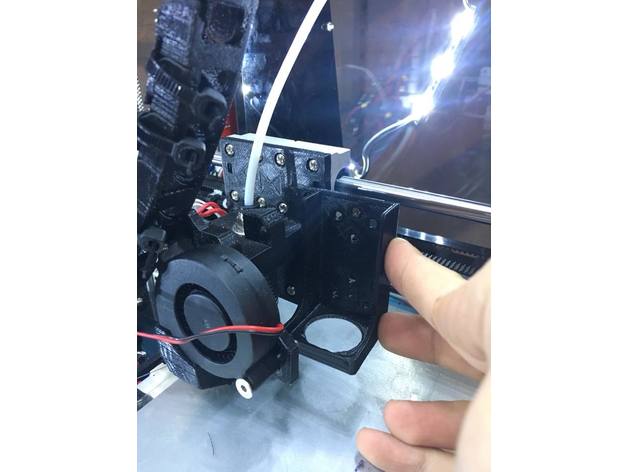
Anet A8 Laser bracket / Mount (Fits to E3D bracket) IN PROGRESS 3D Print Model
Summary
Anet A8 Laser bracket / Mount (Fits to E3D bracket) IN PROGRESS
I bought an laser to mount on my Anet a8.
But than i would need to take of my hotend, and recalibrate it every time.
Therefor i designed this bracket which i can mount next to my E3D V6.
I made this one for my 2.5W laser. -
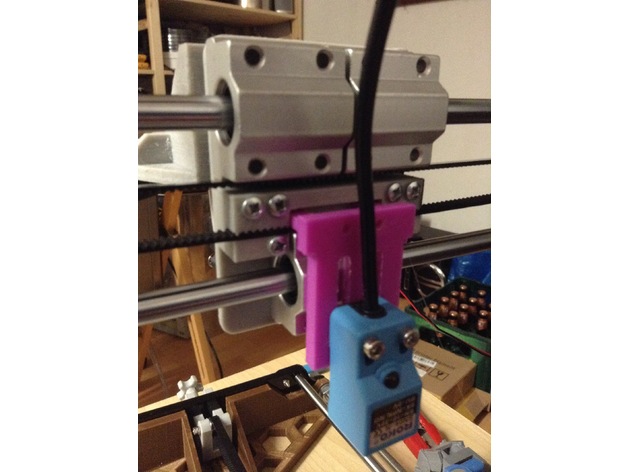
Anet A8 Stock Bed Level Sensor Mount for Bowden Setup 3D Print Model
Summary
Made for the original Anet A8 Auto Bed leveling Sensor to fit on these Beltholders: https://www.thingiverse.com/thing:1433295
which i used to upgrade to this bowden setup: https://www.thingiverse.com/thing:2099577
Works just like the original Anet one, but smaller. Uses the two screws that come with it and two screws to screw it to the belt holder.
Happy Printing 😉
Print Settings
Rafts:
Doesn’t Matter Supports:
Doesn’t Matter Resolution:
0,2 Infill:
10% -
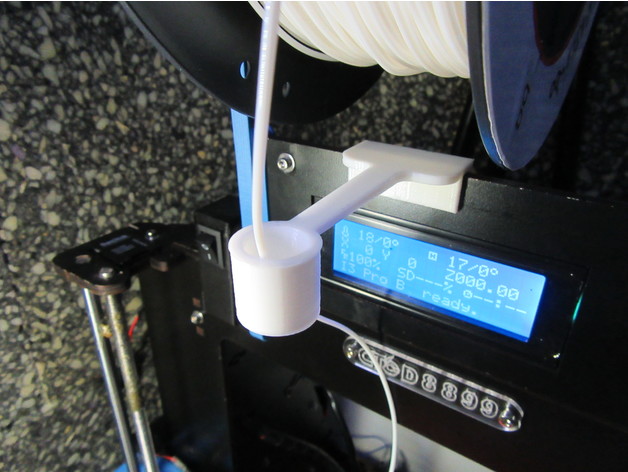
Filament guide for Prusa Anet Geetech CTC printers 3D Print Model
Summary
This is my version of filament guide based on this one:https://www.thingiverse.com/thing:1240326
A larger pipe will keep more straight the filament at the end of the reel, when the loops are smaller.
Suitable for printers:
Prusa
Anet
Geetech
CTC printers
…and many models with a frame 5mm width.
Feel free to adapt the files to your needs.
Thank you so much for you comments, like, download and collecting!
Print Settings
Printer Brand:
Prusa Printer:
Prusa Clone Rafts:
No Supports:
No Resolution:
0,2 Infill:
100% Notes:
For better results, use cooling fan. -
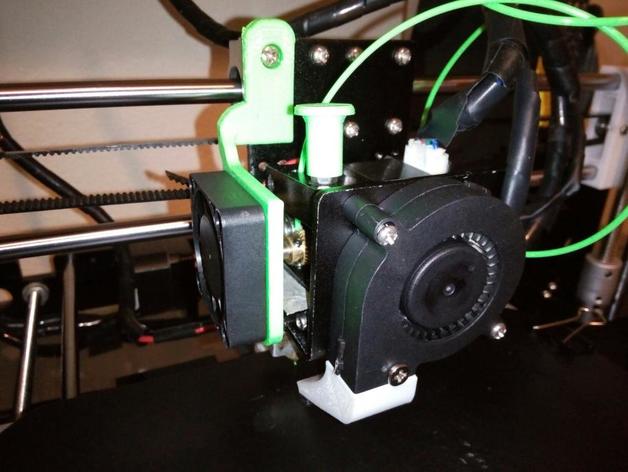
Anet A8 Fan Hinge V2 3D Print Model
Summary
A remix of a Mod for easily accessing the extruder gear.
Print Settings
Printer:
Anet A8 Rafts:
No Supports:
Yes Resolution:
0.3mm Infill:
100% Notes:
Print with fan plate facing down and arm getting vertical supports. (Same as shown in the Cura screenshot.)
Post-Printing
Post-Printing
Remove the support material holding the hinge arm and inside the screw hole. Get a long M4 screw (not sure how long mine is, whatever screw you use in your existing fan hinge configuration should work). Remove the top left screw holding onto the top left linear bearing and install the mod there. Optionally, remove the screw under the top left-most screw for a smoother hinge.
How I Designed This
Design
I simply took bartoaster’s awesome Anet A8 fan hinge (https://www.thingiverse.com/thing:2380825) and beefed it up in 123D Design. I then cleaned it up in Blender. -
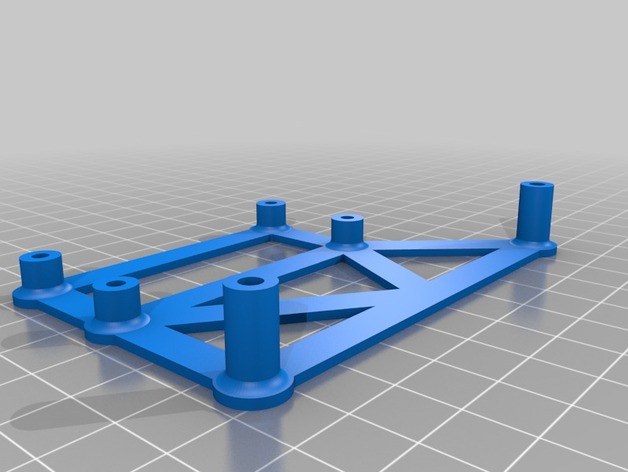
Raspberry Pi Zero (W) Mount Bracket for Anet A8 3D Print Model
Summary
Raspberry Pi Zero (W) Mount Bracket for Anet A8.
Remove the top two main board screws on the Anet A8 and replace the plastic distances with this mount bracket. Use four M3x8mm screws to secure the Raspberry Pi Zero to the mount bracket.
Print Settings
Printer:
Anet A8 Rafts:
Doesn’t Matter Supports:
Doesn’t Matter Resolution:
0.2mm Infill:
20% -
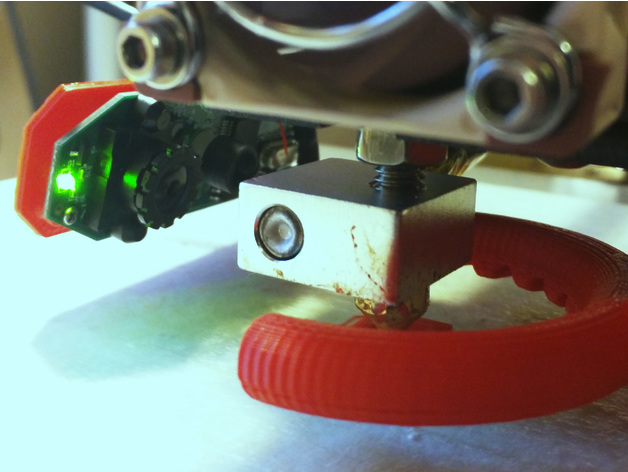
Anet A8 – Logitech C310 Webcam Nozzle Mount 3D Print Model
Summary
This is a small bracket for mounting a Logitech C310 webcam to the print head of your Anet A8 so that you can monitor the print nozzle. Since it simply inserts into the bearing this might work on other printers with similar design. But I cannot guarantee that.
Here is a youtube video showing it in action. As you can see it can make a pretty detailed image of how your nozzle is performing.
Also, this is designed for a fairly stock Anet A8 and it just barely clears the frame and other parts while homed. If you’ve made major modifications to your A8 this might not work and you might have to alter the stl file.
As you can see from the photos you’ll have to remove the casing of the webcam and get to the bare electronics. This can be tricky for the inexperienced. There is a wire soldered to the board that has to be un-soldered and re-soldered. If you break your webcam it’s not my fault, obviously.
Important note: There is a dab of glue on the side of the main lens that holds it at a certain focus distance. You’ll have to remove that dab of glue with a small pick of some kind. After that you can screw the main lens in and out to change the focus distance. Here is a video showing that.https://www.youtube.com/watch?v=v-gYgBeiOVI
Print Settings
Printer:
Anet A8 Rafts:
No Supports:
No Resolution:
0.2 mm Infill:
100% -
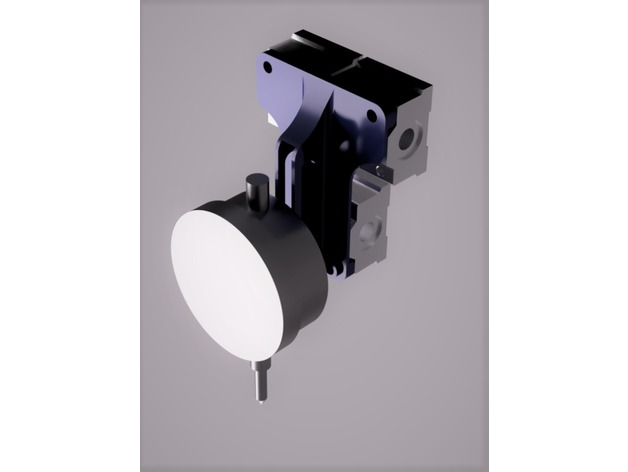
Anet A8 Dial Indicator Back Support Adjustable 3D Print Model
Summary
Warning:
You need to open M4 threads on the linear bearing blocks to use this part!
Description
I made this support to use my dial indicator on a practical way on my printer. I want to hold the dial indicator as close as the extruder center, and it’s hard to that because the whole extruder structure is a little bulky (fans, extruder motor, etc.) so I decided to fix the dial indicator on the back of the linear bearing blocks.
Material:
M4 tap
2-4 M4 bolts
1 M6 bolt and nut to fix the dial indicator
Print Settings
Printer Brand:
Prusa Printer:
Prusa Clone Rafts:
No Supports:
Yes Resolution:
0,16 Infill:
25% Notes:
You need supports if you print on horizontal position -
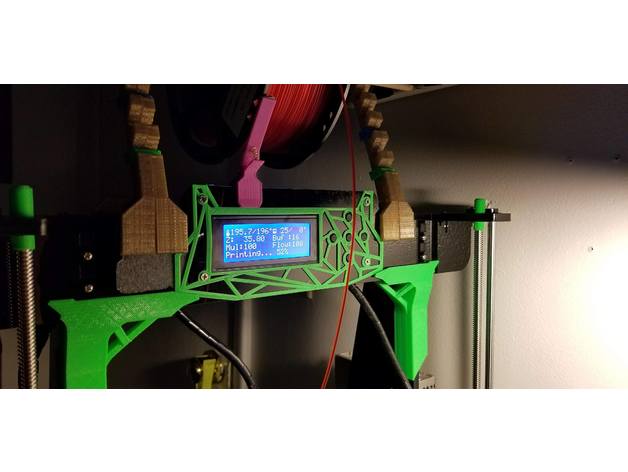
Anet A8 Geometric Face 3D Print Model
Summary
Made to fit with the T-braces and top-mount spool brake I designed. All the holes line up pretty well, just little modification to fit the top, left, and right buttons. I’ll eventually fix and update the files. -
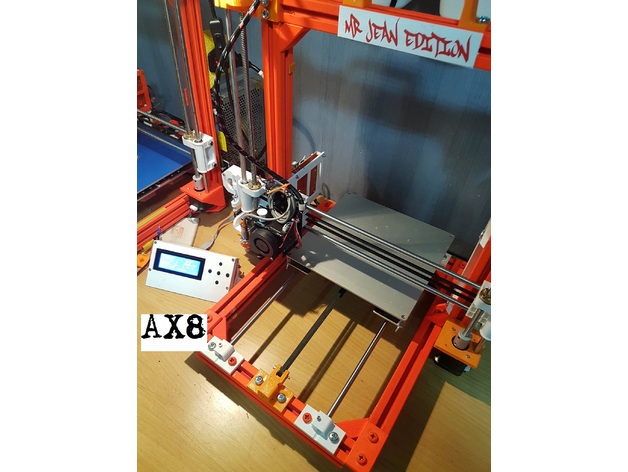
AX8 Anet a8 frame ( AM8 remix ) 3D Print Model
Summary
Just a 3030 anet a8 🙂 , is a AM8 remix so all credit go:
To pheneeny for https://www.thingiverse.com/thing:2263216 ( many parts )
To EclipseDS for https://www.thingiverse.com/thing:2374402 ( Z rod )
to Leo_N for https://www.thingiverse.com/thing:2360242/#files ( fan and sensor )
to jbrandonferg for https://www.thingiverse.com/thing:2127743/#files ( x belt tentions)
to GaryK47 for https://www.thingiverse.com/thing:2367376/#files ( cable holder )
to runtimejack for https://www.thingiverse.com/thing:2380794 ( psu mount )
LCD mount u get here https://www.thingiverse.com/thing:2005640
like i said before , i remixed somes parts and adapted them to 3030 , works perfekt , i just use screws from local store , m6 10 and m6 nuts , printed brackets and works like a dream, i used to put a screwdeiver on the side of the nut when i screw it , i dindt buy any special screw/nuts , i am not pro on this so please if u can make some upgrades just do it <3
Thx
Mr Jean
Print Settings
Rafts:
Doesn’t Matter Supports:
Doesn’t Matter -
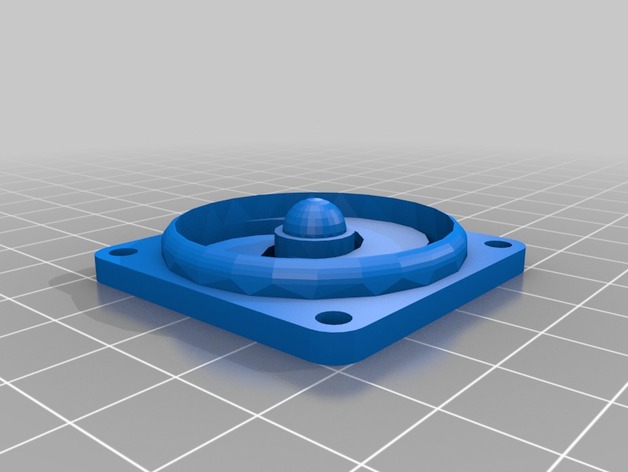
40mm fan cover for anet a8 3D Print Model
Summary
40mm fan cover designed to fit in place of the metal one on the anet a8 -
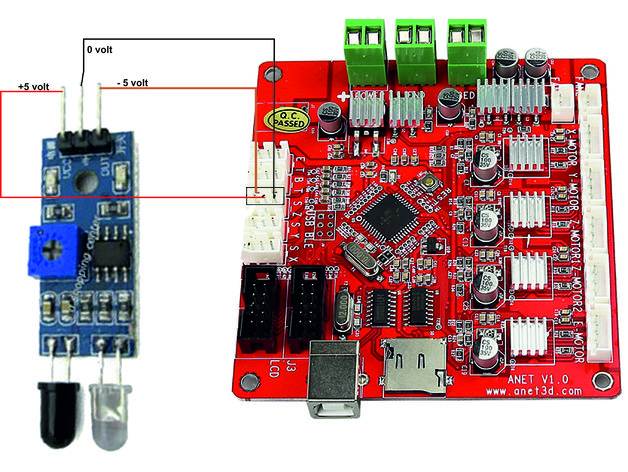
autolevel anet a8 3D Print Model
Summary
autonivel with effective and economic proximity sensor.
is installed directly at end of stroke z axis.
without changes in skinet just as the capacitive does not modify anything. -
Anet a8 z-motor filler block 3D Print Model
Summary
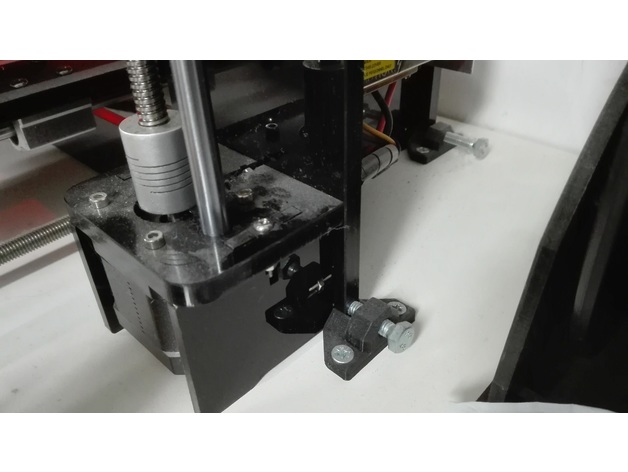
This is simply a block to stabilise the frame …. meh -
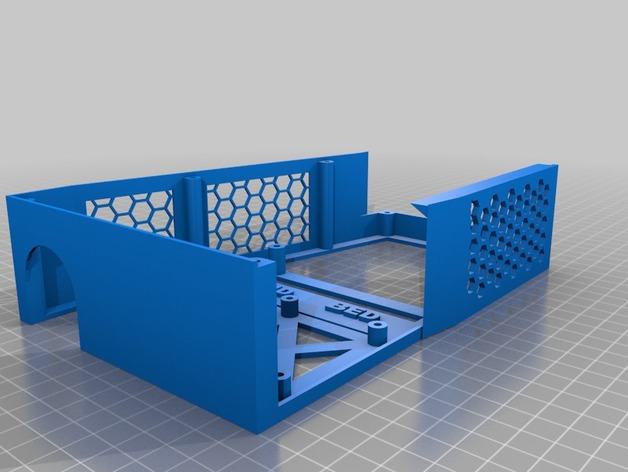
Prefect case for Anet A8 Remix 3D Print Model
Summary
So, I really liked this case but it did not fit my setup because i have the “Hulk” Frame Brace for the Anet A8. This original case had a little overhang that rested on top of the left back support. So i modified this case to remove the “lip” so it would fit my setup. I also added a name tag bar just above the mofset’s mount, labeled: bed , and hotend. -
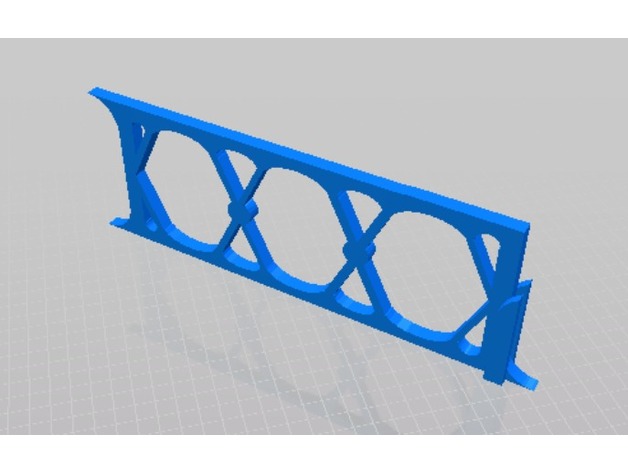
Z-Axis Stabiliser for Anet A8 3D Print Model
Summary
A useful tool to stabilize the z-Axis.
An alternative to the already existing things.
Post-Printing -
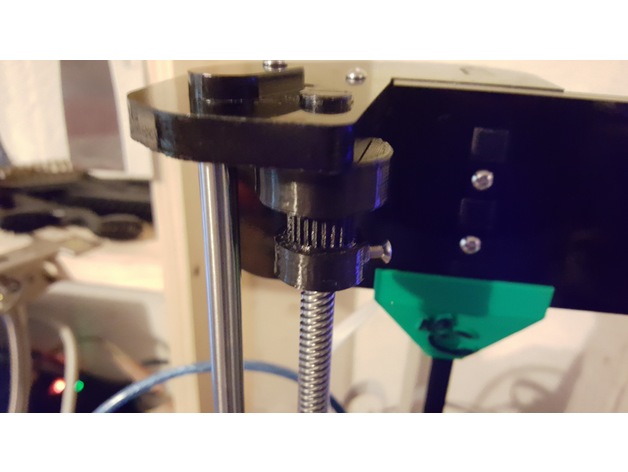
Anet A8 (Prusa) Z axis synchronising gizmo, 608 bearing 3D Print Model
Summary
Modified for the 608 bearing. Changed the 2 pulleys to one pulley, and added .1 to the inner diameter, and swapped out the toothed pulley for deeper toothed one (by Grimlock_UK).
Print Settings
Printer:
Anet A8 Rafts:
No Supports:
No Resolution:
.2 Infill:
30 Notes:
See original post by FredGenius for instructions and tool to put belt together.https://www.thingiverse.com/thing:2350350 -
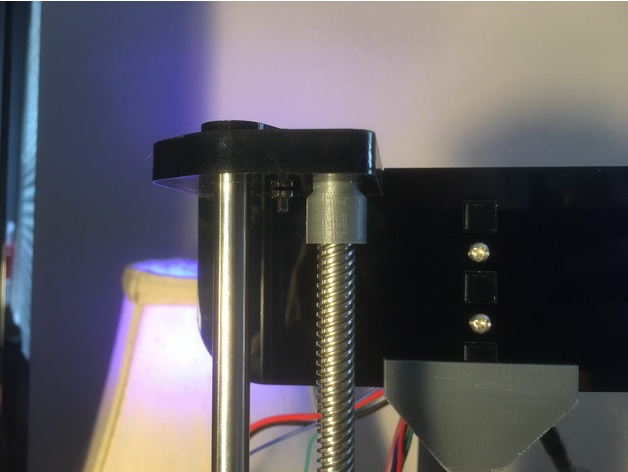
Anet A8 Z-Axis Rod Stabilizers 3D Print Model
Summary
These parts will improve the stability of your Z-Axis. Designed with very tight tolerances to pressure fit the rods yet spin freely on the frame. No need for bearings or screws. Just print two.
Print Settings
Printer:
Anet A8 Rafts:
Doesn’t Matter Supports:
No Resolution:
0.1mm Infill:
25% -
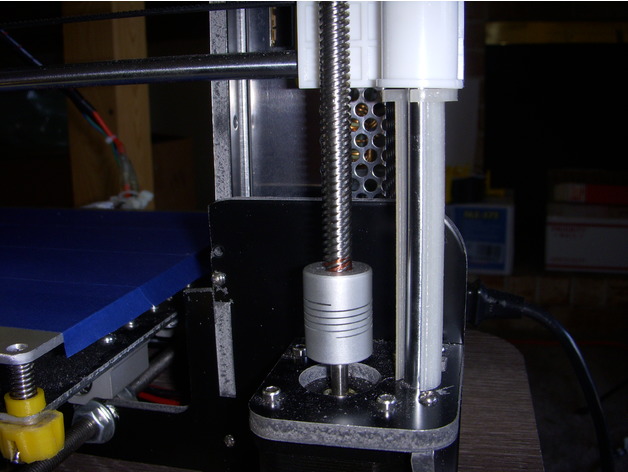
Anet A8 Z Axis Height Gauge 3D Print Model
Summary
A quick design of a thing used to help set and check the Z axis height. I rotated the object 90 degress so that the large diameter is at the bottom of the print I then multiplied it by 1 to print 2 each. -
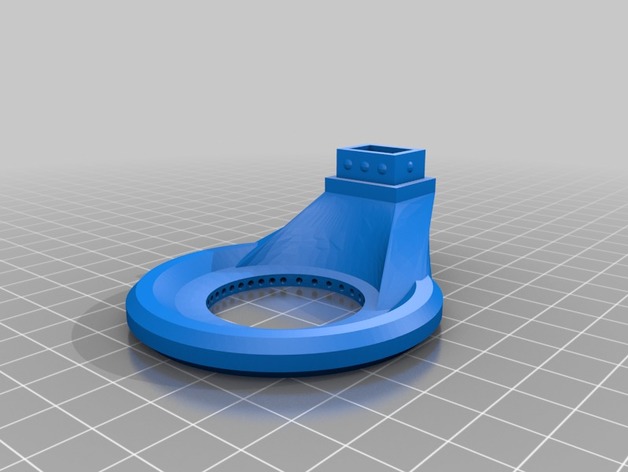
Anet A8 Fan short nozzle with optimized air flow 3D Print Model
Summary
I use a shorter nozzle so i need another fan. The fan have an opitmized air flow.
Print Settings
Printer:
Anet A8 Supports:
Yes Resolution:
0,1mm Infill:
25 % -
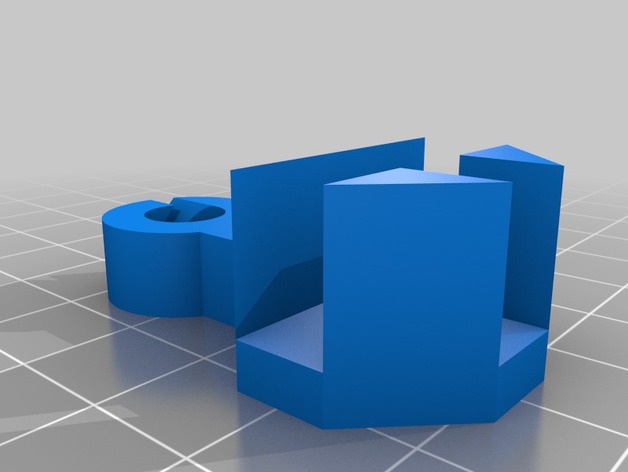
Anet A8 Side Filament Guide V2 3D Print Model
Summary
Slots onto the corner of an Anet A8 and guides filament coming in from the side.
Will work with any T joint that is 8mm thick.
If you print one off, click “I Made One” above and show me!
This is the second version of this filament guide, you can view the previous version here: https://www.thingiverse.com/thing:2076358
Improvements:
Smaller size
Improved filament insertion slot
Reduced volume
Print Settings
Printer:
Anet A8 Rafts:
Doesn’t Matter Supports:
No Infill:
20%-100% recommended -
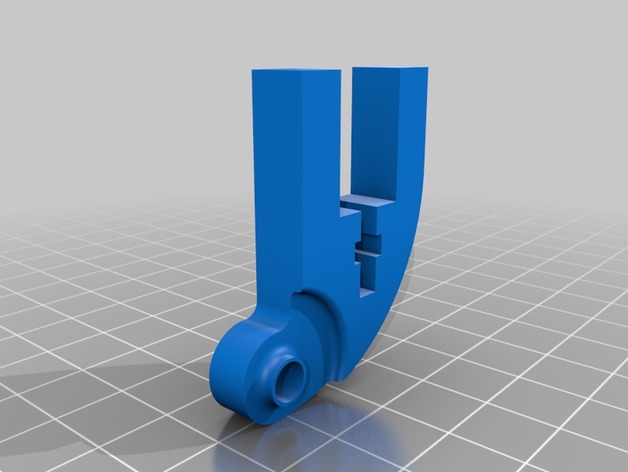
Anet A8 Y-Axis belt tensioner with Ø3mm and Ø5mm hole Zahnriemenspanner Umlenkung Y-Achse 3D Print Model
Summary
Neue Umlenkung für den Anet A8, zum Spannen des Zahnriemens, für Zahnriemenscheiben mit Ø5mm Bohrung oder Ø3mm Bohrung. Das zweite Teil muss gespiegelt gedruckt werden.
Attention: The second part must be printed mirrored. -
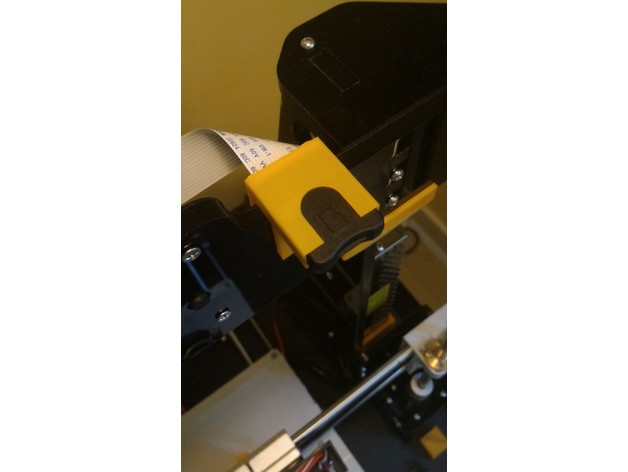
Anet A8 Micro SD extend cord holder 3D Print Model
Summary
A simple but effective micro SD extension holder.
Print Settings
Printer:
Anet A8 Rafts:
Doesn’t Matter Supports:
Yes Resolution:
0.2mm Infill:
20% Notes:
Hotend temp : 190 °C
Hotbed temp : 45 °C
Material : PLA (orange)Overview and Background
I’ve designed a very simple holder for a micro sd extension I bought on ebay. It was one like this : http://www.ebay.com/itm/TF-Micro-SD-To-SD-Card-Extension-Cable-Adapter-Flexible-Extender-For-Car-GPS-YG-/112084033724?hash=item1a18baa0bc:g:fTEAAOSwZVlXmDqZ
I know the design is ugly, but at least it works.
Skills Learned
Modeling -
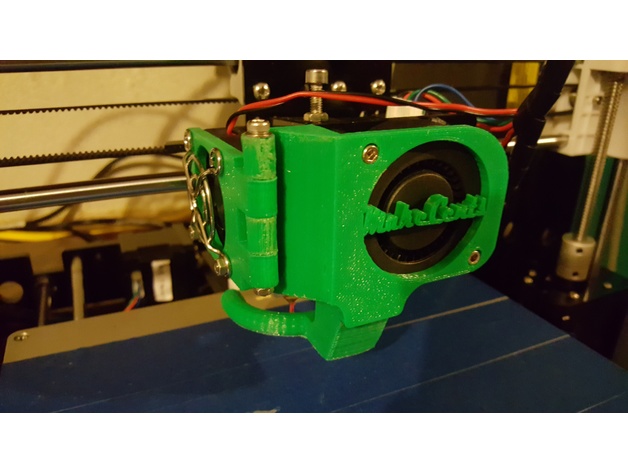
Anet A8 Remix of Extruder Fan Mod V2 by hadoko 3D Print Model
Summary
I added a slot on the bottom of the front of the front mount, and a tab on the half moon shape fan nozzle to hold it in place.
Print Settings
Printer:
Anet A8 Rafts:
No Supports:
Yes Resolution:
.2 Infill:
10 Notes:
Check out his original mod for instructions. Hardest part is drilling to flush mount the screws.https://www.thingiverse.com/thing:2290361
I added my logo to the front of mine, but the files uploaded I removed it. -
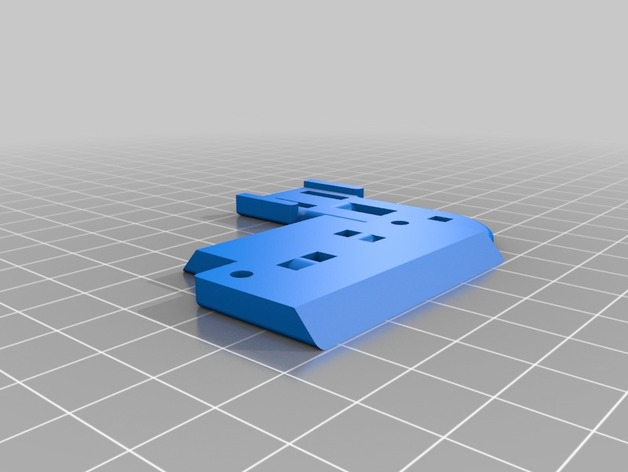
Anet Autolevel sensor mount(V6 hotend + Bowden) 3D Print Model
Summary
I originally printed the first one. I really like the design. The only problem is that the sensor sits too low to use the v6 hotend with a bowden extrusion setup. The highest you can raise it on the original, you were stil about 4mm away from the print surface.
So I chopped it a bit to make it higher, and gave it some more adjustment room.
I have not tested it. I haven’t had a chance to print it yet as the printer is not quite together yet. -
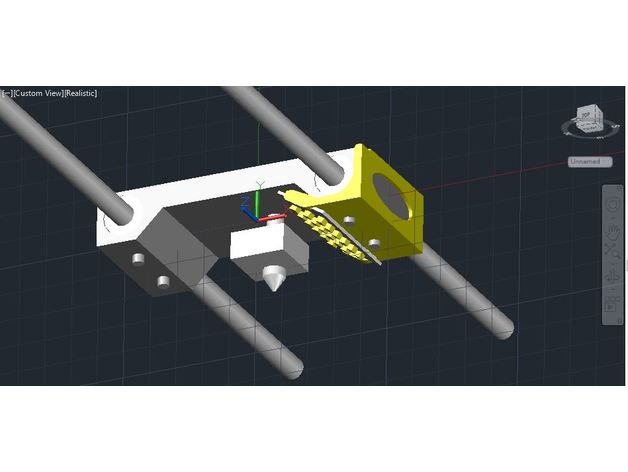
Anet a6 prusa i3 led plate holder 3D Print Model
Summary
I designed this for my anet a6 prusa i3 3d printer. Every time I was printing I needed a flashlight to see in detail what the printer was doing. At first I wanted to add lights to the frame but since the extrude is moving there was never a perfect spot without shadow. So I measured the aluminum extruder base and made a 3d model of it. Then designed something so it would fit the led plate I had. I think I found the same Led in the link below but i am not sure. For the costs it is worth trying. And if not you have to change the clamping part in acad yourself to make it fit to the different measurements of the new led plate. The file is made for a led plate of 47X20 mm.
The power leads are put together with the rest of the extruder cables and go to a switch. power is taken from the powersupply. The led plate will consume just minimal power so no worries if the powersupply can feed the led’s.
order the led plate here:
https://nl.aliexpress.com/item/1PCS-Super-Bright-T10-18-LED-1210-SMD-3528-Car-Auto-Interior-Reading-Door-Light-Panel/32800244364.html?spm=2114.010208.3.68.267Quc&ws_ab_test=searchweb0_0,searchweb201602_4_10152_10065_10151_10068_10084_10083_10080_10304_10082_10081_10177_10110_10136_10137_519_10111_10060_10112_10155_10113_10114_437_10154_10056_10055_10054_10182_10059_303_100031_10099_10078_10079_10103_10073_10102_10052_10053_10142_10107_142_10050_10051,searchweb201603_2,ppcSwitch_7&btsid=f5f04a42-0ce2-4926-bc45-6bfa0c134434&algo_expid=857e0932-25b8-43dd-b230-5caa9d3c3864-9&algo_pvid=857e0932-25b8-43dd-b230-5caa9d3c3864 -
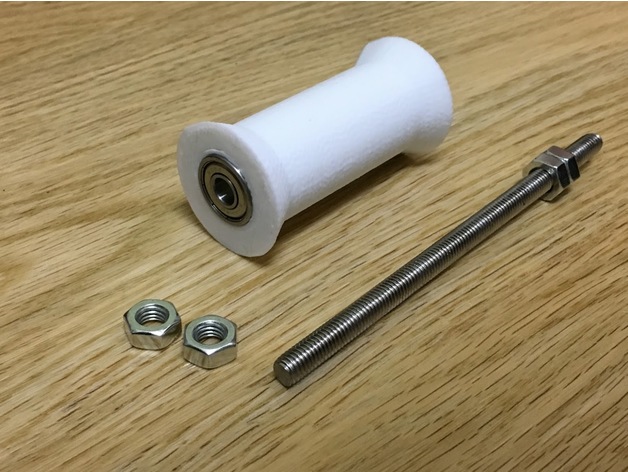
Anet A6 Spoolholder(w/608 bearing) 3D Print Model
Summary
Anet A6(DIY Kit) have a default spoolholder that is not smooth, not built with bearing.
So I build spoolholder with two 608 bearing.
Print Settings
Printer Brand:
Prusa Printer:
Prusa Clone Rafts:
No Supports:
No Resolution:
0.3mm Infill:
30% or any Notes:
Printed with Anet A6 printer
Post-Printing
After printing, Indentate two 608 bearing at both side. -
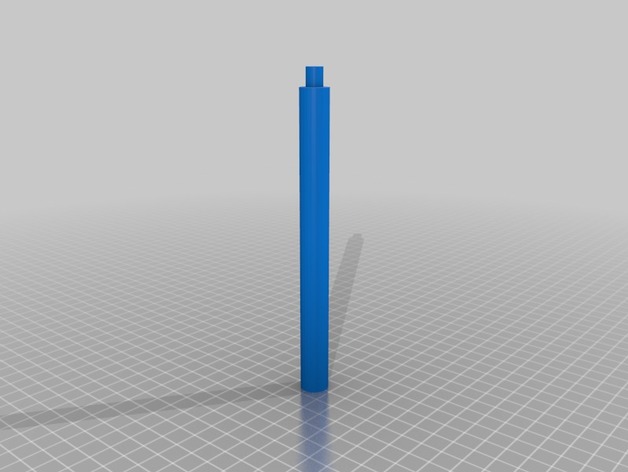
Anet A8 – X Axis Frame – Stabilizing Rod 3D Print Model
Summary
This is stabilizing rod for the main frame of the Anet A8.
Print both parts. put them together and install them as one rod.
The diameter of the outer holes are 8mm (M8 screws).
Print Settings
Printer:
Anet A8 Rafts:
Doesn’t Matter Supports:
No Resolution:
0.2 Infill:
20% Notes:
Use Brim
How I Designed This
Autocad 2017, I share the DWG File if you want -
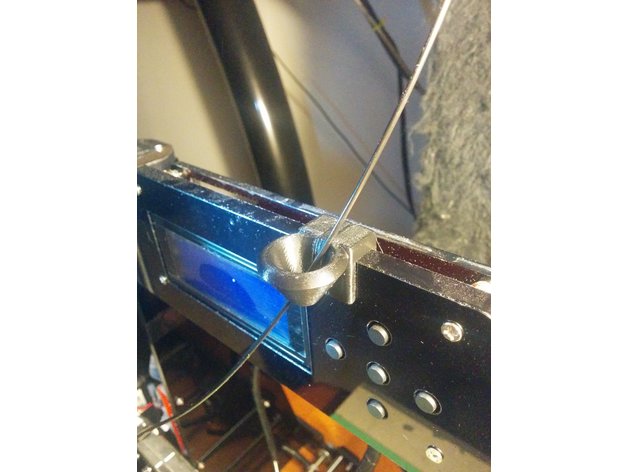
Anet A8 Filament Guide 3D Print Model
Summary
Hi!
This is a simple, clip on/slide on, filament guide that I made for my Anet A8. it’ll fit on anything that is 8mm thick.
It clips/slides on the top part, right between the screen and the buttons.
What’s different about this one is that it’s in two parts (both parts are “joined” by the smallest possible bridge so you print both in one file then detach the side part)… The big part has a gap where you can slide in your filament (you have to take It off the printer to do that), and the small part fills that gap once you’ve put in your filament. I thought it’d look neater that way.
I printed at 60mm/s with 15% infill and it was fine, although printing at 30mm/s gave me a better finish..
sorry for the photo quality, taking good photos of black parts is really hard.
Oh! there are two separate STL files, one has a straight “middle”, and the other one has a cross-shapped notch. I printed the straight one and it sits perfectly, but I thought having a notched one might be more secure. Print whatever you choose and comment about it. -
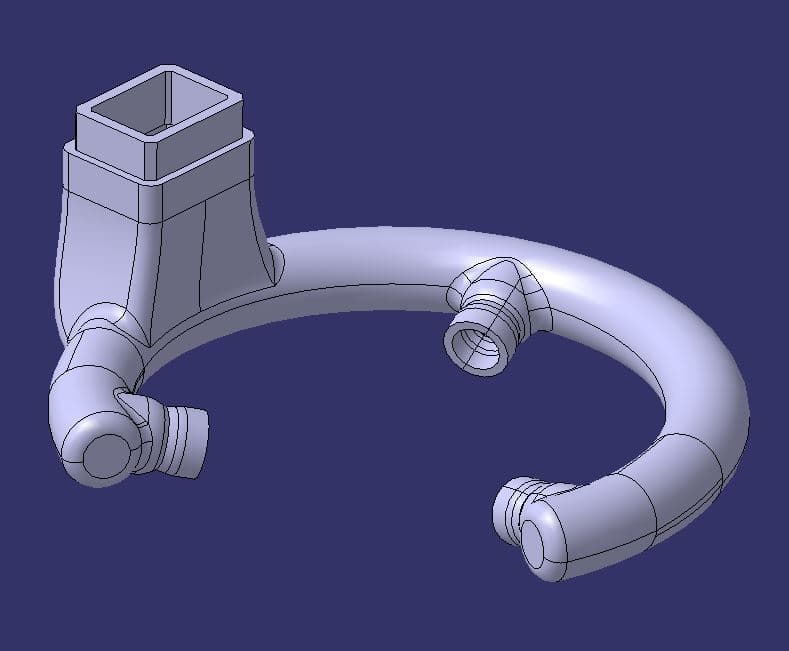
3D printer blowing 3D Model
Three-way blowing for a 3D printer. The nozzle has the correct aerodynamic geometry. He showed himself perfectly. Used on Anet A6 and Prusa i3 steel.
-
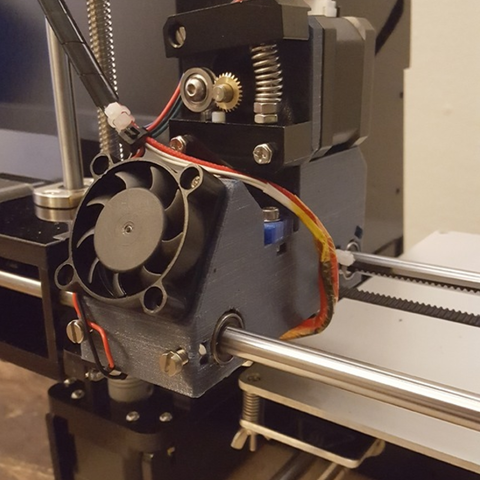
Anet A6 J-Hotend mod 3D Print Model
I wanted to mount a chines J-hotend to a A6 Anet printer, but for that i had to make a new X wagen.
The dimentions for the cooling fins/parts are: diameter 22,25mm X 26mm. -
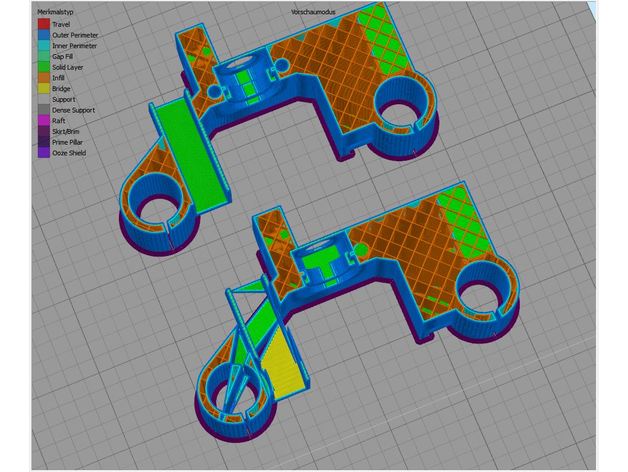
Fixed Direct Drive Anet A6 E3D Hotend_for_S3D 3D Print Model
Summary
Ich habe dieses Objekt für einen Freund Repariert.
Auf dem Foto könnt ihr die Fehler sehen, die S3D gemacht hat / gefunden hat.
Cura sliced die Original Datei ohne Probleme.
I have repaired this object for a friend.
In the photo you can see the mistakes that S3D has made / found.
Cura sliced the original file without any problems
(Translated by Google) -
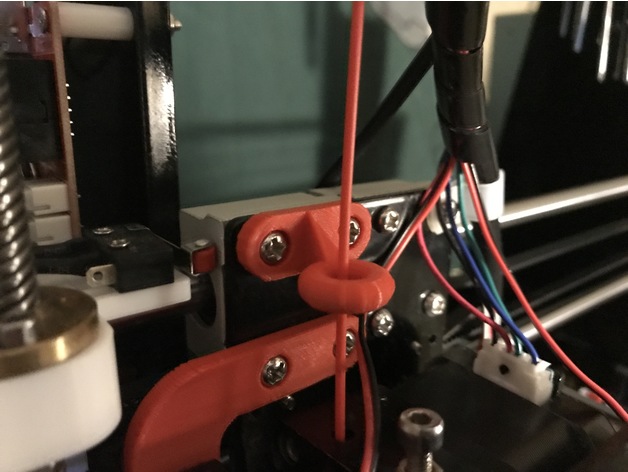
Anet A8 filament guide 3D Print Model
Summary
This simple filament guide screws into your extruder carriage and ensures that the filament is pulled directly straight down into the extruder. -
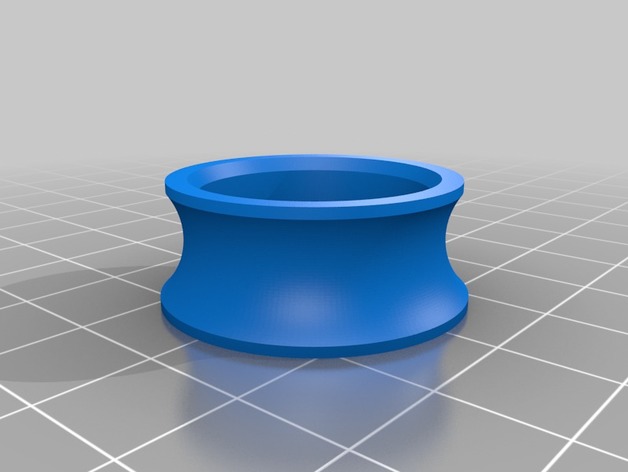
Anet A8 Spool Rollers Top Mount 3D Print Model
Summary
This is a really tidy spool holder that sits nicely on top of your Anet A8 printer. You can fit up to 3 spools on top of the printer with this design. This is a remix of Thing 2016985
You will need:
4qty 608 bearings for each spool you want to hold
2qty 26cm 8mm OD bar
Enjoy!
Print Settings
Printer:
Anet A8 Rafts:
Yes Supports:
No Resolution:
0.2 Infill:
100% -
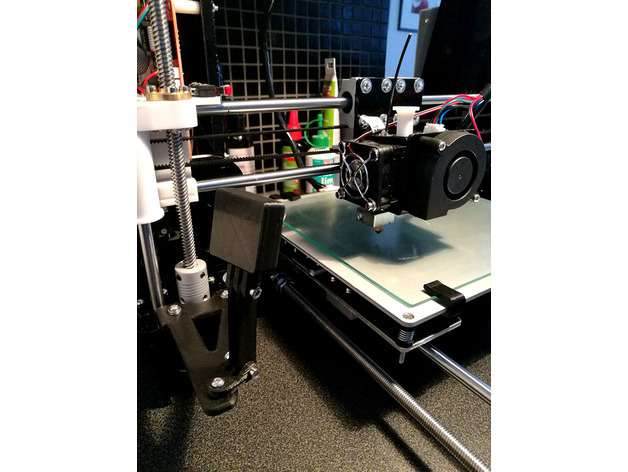
Anet A8 Pi Camera Motor Mount 3D Print Model
Summary
Pi camera bracket for Anet A8 I use the camera housing/mount to thingiverse user anoved http://www.thingiverse.com/thing:403712
Print Settings
Printer:
Anet A8 Rafts:
Doesn’t Matter Supports:
No Resolution:
0.2 Infill:
25
How I Designed This
Fusion 360 -
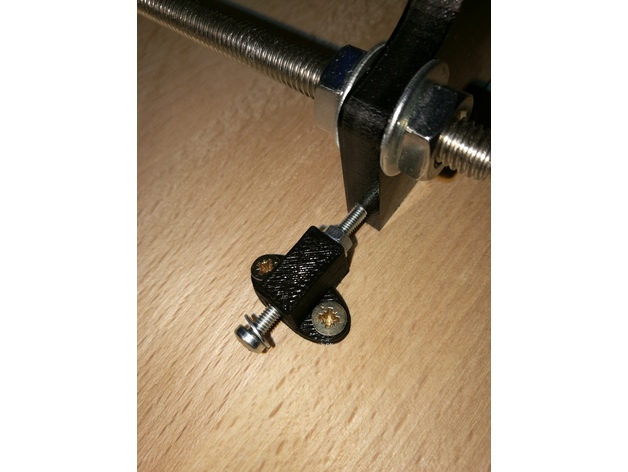
Anet A8 adjustment for Y-axis and printer leveling 3D Print Model
Summary
I’ve had the problem the floor on which the table for the printer stood wasn’t leveled. Which led to corners at the z-axis which haven’t had 90°. The same happened at the y-axis, because the threaded bars are bent.
If you just have a problem with a bend y-axis:Parts List:
Wooden board
10x screws for wood 3×12
1x M3x30
2x washer for M3
1x nut for M3
Angle profile length ~240mm
First cut the angle profile in two parts of ~62mm length and two parts of ~50mm length.
Drill in every part two holes and screw the ~62mm parts at the front of the housings and the ~50mm parts at the sides.
Print the STL, put the M3 screw with the washers and the nut in the small hole and screw it onto the wooden board near the side of the frontplate of the y-axis. Use the M3 screw to adjust the y-axis.
If you also have problems that your printer isn’t levelled perfect horizontally:
Parts List:
4x screwable case legs
Drill 4 holes in the corners of the wooden board by following the manual of the case legs. Use a water bubble to level the board.
Print Settings
Printer:
Anet A8 Rafts:
No Supports:
No Resolution:
0.2 Infill:
100% -
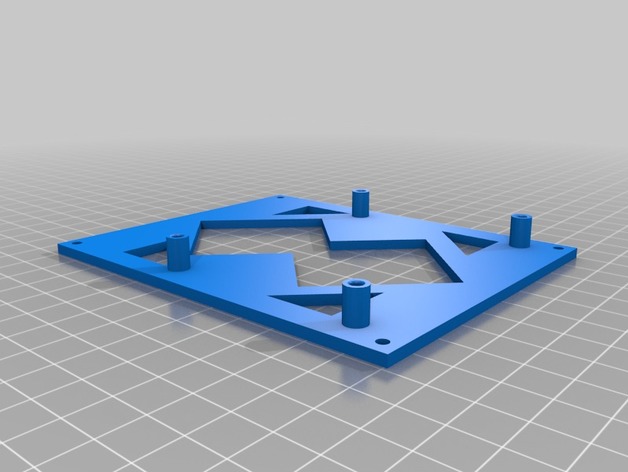
Anet A2 Mainboard Cover MKS Mosfet 3D Print Model
Summary
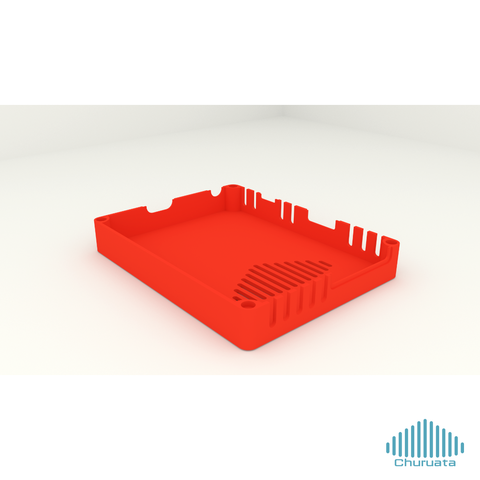
This is a Mainboardcover for Stock Anet A2 Mainboard with mounts for MKS Mosfet.
Print Settings
Printer:
Anet A2 Rafts:
No Supports:
No Resolution:
0.2 Infill:
20% -
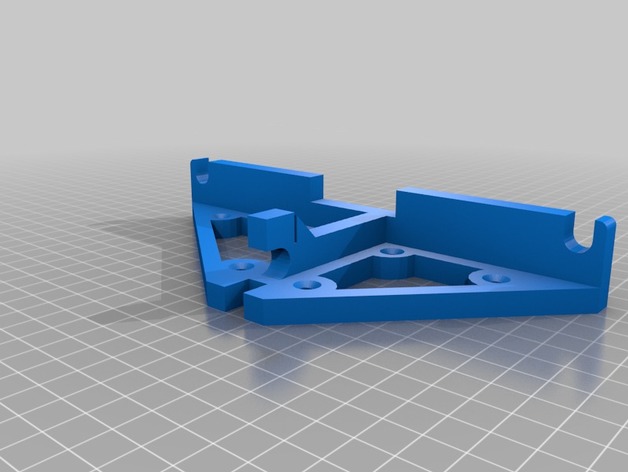
Anet A6 Back Frame Brace with Screwholes
Summary
This is a Remix of the back frame brace from http://www.thingiverse.com/thing:1912107
I put some screw holes in it. -
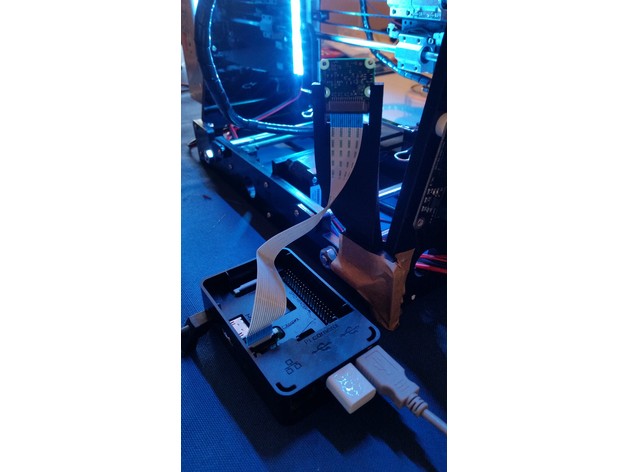
Raspberry Pi Camera 1.3 holder for Anet A8 (or any 3D printer with 8mm frame)
Summary
Simple one piece holder for Raspberry Pi Camera 1.3, i made this for the Anet A8 but as long your 3Dprinter frame is 8mm and you have clearance, it should be compatible.
Can be printed without supports.
Print Settings
Printer Brand:
Prusa Printer:
Prusa Clone Rafts:
No Supports:
No Resolution:
0.2 Infill:
10-20% -
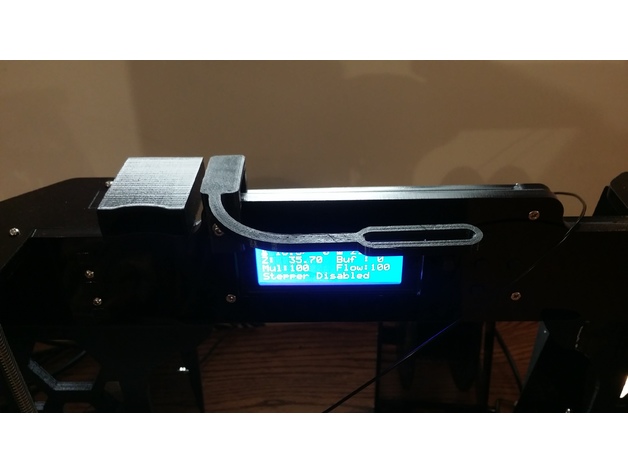
Anet A8 Filament Guide Arm redux
Summary
I needed a way to guide filament to the extruder, so I printed
Anet A8 Filament Guide Armhttp://www.thingiverse.com/thing:1915337
Made byhttp://www.thingiverse.com/DevDorian
but, it wouldn’t fit as I have a corner bracehttp://www.thingiverse.com/thing:2243664
that replaced the stand offs behind the LCD, so I made the connector thick enough to go around the three layers of the frame. I also worried it might be too wide to get around my SD Card adapter, so I shrunk its width. Which I now think was not necessary…