Summary
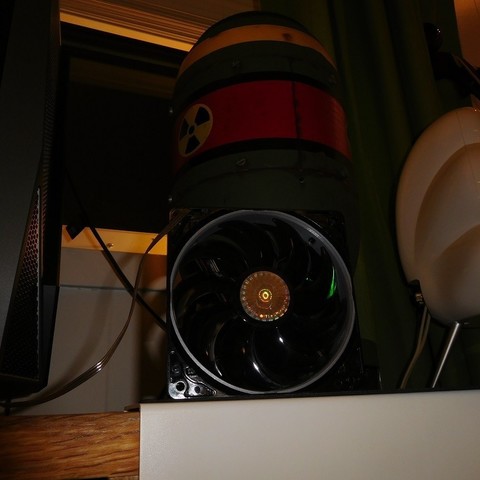
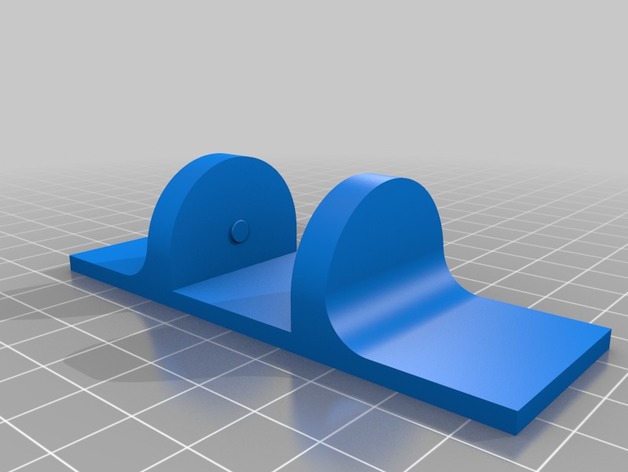
Just like my other set of feet, but these are bigger feets for a bigger fan. All the better to blow you more. 😛
Print Settings
Printer Brand:
Creality
Printer:
CR-10S
Rafts:
No
Supports:
No
Resolution:
1.5
Infill:
20%
Tag: 120mm
-
Feet for a 120mm fan 3D Print Model
-
AM8 Electronics Case with 120mm Fan Cover 3D Print Model
Summary
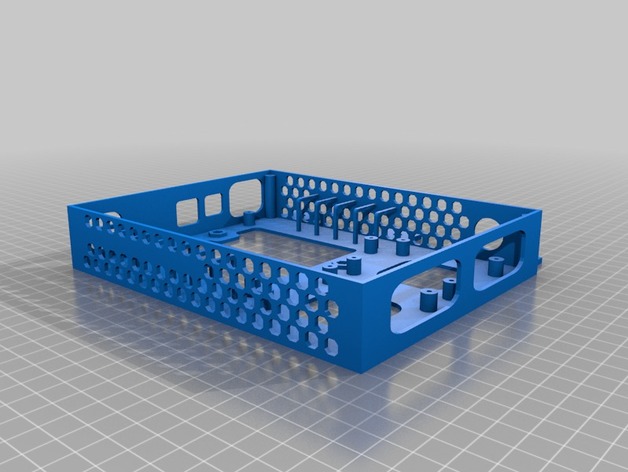
I loved this design by feenix82, especially the internal cable management, but wanted it to fit the AM8 Misumi Extrusion Frame. I only adjusted the tabs here to fit the frame. After printing I realized I made the tabs a little too thin and the screw would bottom out, therefore you may need to add a washer under the screw head to prevent that. The cover with 120mm fan is awesome but for some reason my printer had issues printing the honeycomb pattern horizontally so I got rid of them. This may actually improve airflow as it’ll pull more air from the sides of the case and out the front. Who knows. Either way, I like that the motherboard and mosfet is enclosed and this should provide some much needed cable management.
Print Settings
Rafts:
No
Supports:
Doesn’t Matter
Resolution:
.2mm
Infill:
15%
Notes:
I printed with supports but many say you don’t need it. In my case it may have caused more issues as in trying to remove supports I broke some of the cable management loops inside and had to glue them. You’ll have to try it and see how it works with your printer. -
MKS SBASE 1.3 BOX include Dual Mosfet, Four TL-Smoother, and FAN 120mm and Bracket to Alumunium Profile 3D Print Model
Summary
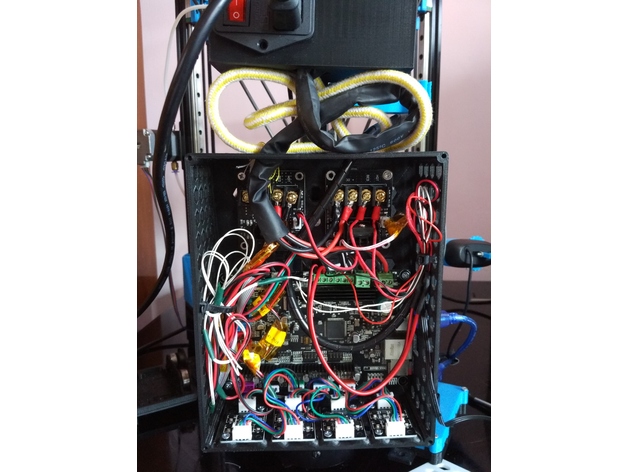
This is MKS Sbase case the dimension is 200x160x63 need a larger printer to do that.
Support for dual mosfet and four TL Smoother
Cooling by 120 mm Fan
add three hole on center to mount to alumunium profile vertically
Print Settings
Printer Brand:
Prusa
Printer:
Prusa Clone
Rafts:
No
Supports:
No
Infill:
20 -
Wanhao i3 120mm PSU Fan Upgrade for Undermount 3D Print Model
Summary
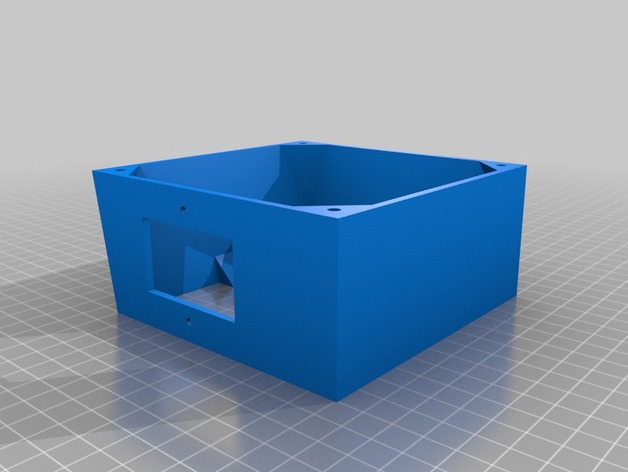
I needed a 120mm fan upgrade for my Maker Select v2, as the stock fan makes a terrible grinding noise every time I turn the printer on. But, none of the options worked for me, because I have mounted my control box under the table my printer is on! So I flattened the top and increased the angle on the bottom to accommodate the 120mm fan.
This is an extended back cover for the Wanhao Duplicator i3 PSU (also rebranded as Monoprice Maker Select, Balco 3D Printer, Cocoon Create). This model allows you to use a 120mm fan instead of the noisy tiny internal one. The new fan will be mounted outside of the power supply, but it will be much more silent. It adds about 10mm of extra length to the bottom.
I don’t know if other versions of the printer have a different arrangement for the screw holes. This was designed for a v2.1 (v2 should be the same). Check compatibility for v1 and rebranded versions before printing.
The stock screws won’t work for this part. Use M3x8mm or longer to attach the cover to your PSU case. Screw holes aren’t countersunk (just counterbored), so choose screws with a flat top.
Print Settings
Printer Brand:
Wanhao Printer:
Wanhao Duplicator i3 V2 Rafts:
Doesn’t Matter Supports:
Yes Resolution:
0.2mm Infill:
10% Notes:
It should be aligned with the PSU screw holes facing the build plate, already. Enable supports for the IEC connector/power switch plate and wiring loom slot.
It’s not a must, but I recommend using 3 shells/solid perimeters for the holes where the fan mounts on, so when threading the screws the plastic doesn’t break.
Post-Printing
Installation guide
Unplug the power cord from the wall socket and from the printer. Safety first!
Unscrew the 4 black screws that hold the sheet metal back cover in place. Save them if you plan to reinstall the stock cover in the future (they are too short to work with this mod).
The cable loom going from the control box to the printer goes through a cut in the back plate and is held by a zip tie. Cut that zip tie to free the loom from the plate.
Disconnect the spade connectors going to the IEC power socket + switch combo. Notice the wire colors and location to reinstall them later in the correct position. Take a picture if necessary.
Disconnect the small fan from the power supply.
Unscrew the fasteners holding the socket/switch in place. You should be able to lift it off the plate (use a flat screwdriver as leverage if you need so to get it out).
Position the back cover and align it with the screw holes tapped in the case of the control box. Make sure the wire loom goes through the U-shaped cut-out provided.
Use M3x8mm or longer to attach the plate to the metal case.
Take the wires that were attached to the IEC connector/switch and guide them through the rectangular cutout provided (located on the top or sides, depending on the model you have printed). Re-attach the wires to the switch and screw it in back. You can reuse the stock screws that came with it (be gentle when doing this, you’re threading into plastic).
Take your 120mm fan and use the +12v and GND wires to connect it to the psu. If your fan has a molex connector (3 or 4 pin) you should be able to just plug the cable in to the existing connector you left coming from the power supply.
You may want to use some electrical tape or a drop of hot glue to secure the connection.
Align the fan with the mounting holes of the printed cover. Use M4x40mm screws or self-tappers of similar length to secure the fan to the cover. Make sure to tidy all the cables up inside so they don’t catch on the fan blades.
Enjoy your silent printer!
Extra
I recommend the addition of a fan grill to protect your fingers from the spinning blades. It is one of the drawbacks of having the fan exposed instead of inside the case. Be careful! -
120mm Fan Cowl for 2″ PVC 3D Print Model
Summary
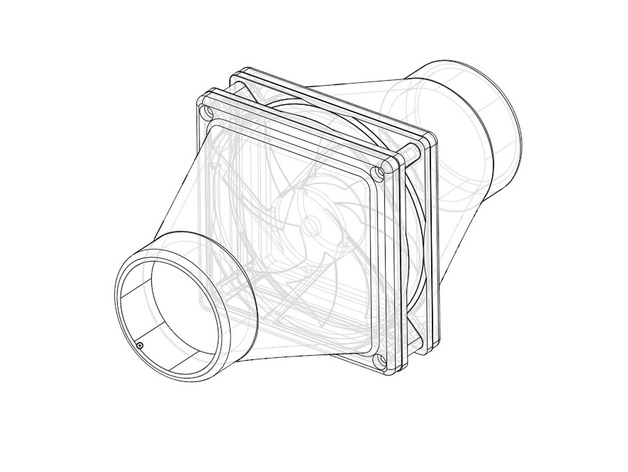
This is a fan cowl for a 120mm fan adapted to a 2″ PVC pipe. They can be joined together to create a forced air chamber.
Print Settings
Printer:
MadCat MKII Rafts:
No Supports:
No Resolution:
.3 Infill:
60%